Last Updated on December 18, 2025 by Dee
There’s something magical about alcohol markers. The way the colors blend together like watercolor but dry in seconds? Pure creative bliss. Whether you’re brand new to alcohol ink markers or you’ve been coloring for years, sometimes you just need a fresh spark of inspiration.
Download the free alcohol marker drawing templates at the end of this post!
I’ve been teaching art for nearly two decades, and alcohol markers have become one of my absolute favorite mediums. They’re forgiving, vibrant, and honestly? They make you look like a better artist than you might feel on a Tuesday morning.
But before we dive into the creative ideas, let’s make sure you know exactly how to use these brilliant tools. Trust me—understanding the basics will make every single one of these projects turn out better.
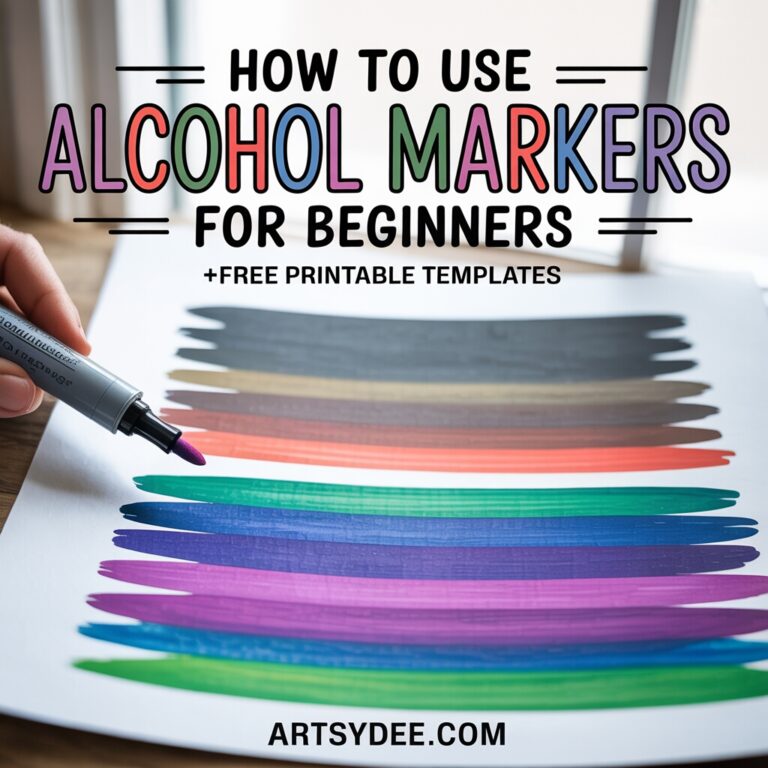
How to Use Alcohol Markers: A Complete Guide for Beginners
If you’ve just opened your first set of alcohol markers and you’re staring at them wondering where to start, you’re in the right place. Learning how to use alcohol markers isn’t complicated, but there are a few things that’ll make your life so much easier.
Understanding Your Markers
Alcohol markers have two ends—usually a brush tip (flexible and soft) and a chisel tip (broad and flat). Some brands have a bullet tip instead of chisel. The brush tip is perfect for detailed work, blending, and creating varied line widths. The chisel tip covers large areas quickly and creates bold lines. These markers are a fabulous addition to your toolkit and make layering, shading, and blending so much easier and more expressive than traditional pens or coloured pencils — especially when you want vibrant, smooth colour transitions that dry fast and stay crisp on the page.
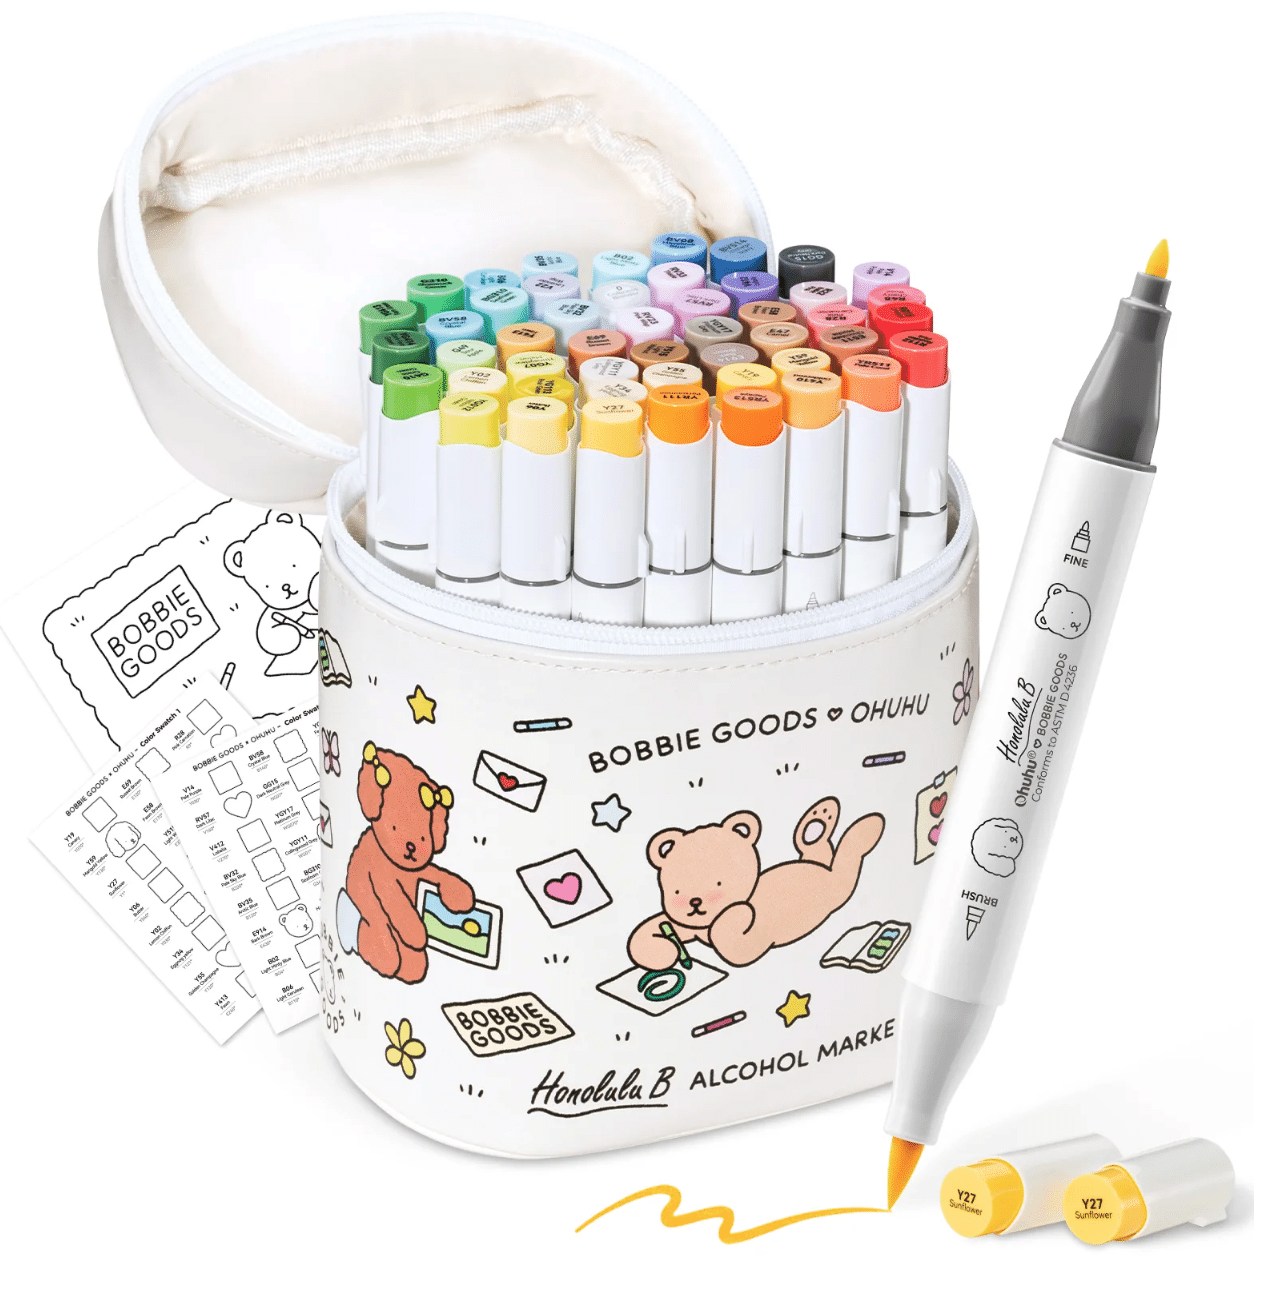
A set that’s been inspiring both beginners and seasoned colourists lately is the Ohuhu × Bobbie Goods 48-colour dual-tip alcohol marker set. It comes with 48 bright, blendable hues plus a colourless blender, and each marker features both a soft brush tip and a fine detail tip for flexibility across techniques. The specially curated palette and co-branded design make this set a joy to use for illustration, journaling, card making, and sketching, so you can move effortlessly from big colour washes to detailed line work — and it feels gorgeous to hold and work with too. 👉 Grab yours here: Ohuhu × Bobbie Goods Alcohol Markers
The “alcohol” part? That’s the solvent base. It evaporates quickly (which is why they dry so fast) and allows colors to blend seamlessly while wet.
Basic Technique for Using Alcohol Markers
Start Light: Always begin with your lightest color. You can add darker tones on top, but you can’t remove them. This is the golden rule of alcohol marker coloring.
Work in Sections: Don’t try to color an entire drawing at once. Work in small sections while the ink is still wet for the best blending results.
Use Confident Strokes: Hesitant, scratchy marks will show. Make smooth, confident strokes in one direction. You can layer more strokes on top, but keep them consistent.
Blend While Wet: This is crucial. Alcohol markers blend beautifully when the ink is still wet. Once it dries, you’re adding a new layer rather than blending. Work quickly or use a colorless blender marker to reactivate dried ink.
Layering Colors
Here’s where alcohol markers really shine. You can layer colors to create depth and new shades. Try coloring with a light blue, then adding a layer of light purple on top—you’ll get a gorgeous lavender blend. Experiment with your colors on scrap paper first to see what combinations you love.
How to Shade with Alcohol Markers Like a Pro
Shading is what takes your alcohol marker art from flat and basic to dimensional and impressive. And the good news? It’s easier than you think.
The Basic Shading Technique
Choose three shades of the same color family—light, medium, and dark. Let’s say you’re coloring an apple:
- Base Layer: Color the entire apple with your lightest shade
- Mid-tones: While it’s still wet, add your medium shade to the areas that would be in shadow (usually the bottom and sides)
- Shadows: Add your darkest shade only to the deepest shadows
- Blend: Use your lightest marker again to blend the edges where colors meet
The key is working quickly while the ink is wet. If it dries, don’t panic—just add another light layer to reactivate the ink and keep blending.
Understanding Light Source
Before you start shading, decide where your light is coming from. If light comes from the top-right, your shadows will be on the bottom-left. Sounds obvious, but you’d be surprised how many people forget this and end up with wonky shading.
The Flicking Technique
For areas that need a gradual fade (like the edge of a shadow), try the flicking technique. Color your darker shade, then quickly “flick” the marker off the edge while it’s still wet. This creates a natural gradient that fades to nothing.
Using a Colorless Blender
A colorless blender marker is your secret weapon for shading with alcohol markers. It extends the working time of your ink, smooths out harsh lines, and can lighten areas that got too dark. Apply it to the edges of your shaded areas and watch the magic happen.
Alcohol Marker Tips and Tricks You Need to Know
After years of using alcohol markers, I’ve picked up some tricks that make the whole process smoother. Here are my favorites:
Color on the Cap, Not the Side
When choosing colors, look at the cap—not the marker body. The plastic body often shows a different shade than what actually comes out. Test on scrap paper when in doubt.
The Circular Blending Method
Instead of coloring in one direction, try small circular motions when blending two colors together. It creates a more seamless transition and looks more natural, especially for organic subjects like flowers or skin tones.
Protect Your Work Surface
Alcohol ink bleeds through paper. Always put cardboard or extra paper under your work, or you’ll end up decorating your desk (ask me how I know).
Use the Right Paper
This is so important it gets its own section below, but seriously—regular printer paper will bleed and feather. Marker paper is non-negotiable if you want good results.
Test Before You Commit
Keep a piece of scrap marker paper next to you and test color combinations before you use them on your actual artwork. Takes two seconds, saves potential disasters.
Store Markers Horizontally
This keeps the ink distributed evenly between both tips. Storing them vertically means one tip gets all the ink while the other dries out.
Work from Background to Foreground
Color background elements first, then work your way to the foreground. This prevents smudging and makes layering easier.
Clean Your Blender Marker
Your colorless blender will pick up color as you use it. Clean it by coloring on scrap paper until it runs clear again. Otherwise, you’ll transfer unwanted colors into your artwork.
How to Refresh Alcohol Markers and Bring Them Back to Life
Few things are sadder than a dried-out alcohol marker. But before you toss it, try these methods to refresh it.
Signs Your Markers Need Refreshing
- Streaky, uneven color
- Lighter output than usual
- One tip works but the other doesn’t
- The marker skips or feels dry
Method 1: Rubbing Alcohol Refill (Most Common)
Most alcohol markers can be refilled with isopropyl alcohol (91% or higher works best):
- Remove the chisel or bullet tip (it usually pulls straight out)
- Add 2-3 drops of rubbing alcohol directly into the marker barrel
- Replace the tip and let it sit tip-down for 30 minutes
- Test on scrap paper
This won’t restore the color intensity, but it will make dried markers usable again for blending and layering.
Method 2: Official Refill Inks
Brands like Copic sell official refill inks. These restore both moisture AND color intensity. They’re more expensive than rubbing alcohol but worth it for your favorite colors:
- Remove the tip
- Add ink according to package directions (usually 1-2ml)
- Replace tip and wait
- Test and add more if needed
Method 3: The Soaking Technique
For really stubborn dried tips:
- Pour a small amount of rubbing alcohol into a shallow dish
- Stand the marker tip-down in the alcohol for 5-10 minutes
- Remove and let it absorb into the marker body
- Test on paper
Reviving Just One Dry Tip
Sometimes only one end dries out. Remove that tip, soak it in rubbing alcohol for a few minutes, then put it back in the marker. Often this is all you need.
Prevention is Better Than Revival
- Always replace caps immediately after use
- Store horizontally
- Keep them away from heat sources
- Use them regularly—markers that sit unused for months will dry out faster
Best Paper for Alcohol Markers (Yes, It Really Matters)
Using the wrong paper with alcohol markers is like trying to paint with watercolors on tissue paper. Technically possible, but why would you do that to yourself?
Why Regular Paper Doesn’t Work
Alcohol ink is thin and fast-drying. Regular paper absorbs it too quickly, causing:
- Feathering (fuzzy edges on your lines)
- Bleed-through (ink soaking through to the other side)
- Uneven color (splotchy, streaky results)
- Wasted ink (the paper drinks it up like a sponge)
What Makes Good Alcohol Marker Paper
The best marker paper is:
- Smooth: So ink glides without catching
- Non-porous: To prevent bleed-through
- Slightly coated: To give you working time for blending
I’ve written a complete guide to the best marker paper for artists, but here are the highlights:
Top Paper Recommendations

Bleedproof Marker Paper – Bee Paper Bleedproof Marker Paper is specifically designed for alcohol markers. The name says it all. Smooth surface, minimal bleed-through, and your colors stay vibrant.
Copic Marker Paper – Copic Marker Paper is the gold standard if you’re using Copic markers, but it works beautifully with any alcohol-based brand. Pricey but worth it for special projects.
Mixed Media Paper – Strathmore 400 Series Mixed Media Paper is a budget-friendly option that handles alcohol markers reasonably well. There’s some bleed-through, but it’s manageable.
Bristol Smooth Paper – Strathmore Bristol Smooth is thick, smooth, and works great with alcohol markers. The smooth finish (not vellum) is what you want.
Yupo Paper – Yupo Synthetic Paper is synthetic and completely non-absorbent. Alcohol markers sit on top and blend like butter. Takes some getting used to, but the results are stunning.
Papers to Avoid
- Regular printer/copy paper (bleeds everywhere)
- Watercolor paper (too textured, drinks the ink)
- Construction paper (just… no)
- Notebook paper (lines show through, plus bleeding)
Essential Supplies You’ll Need for Alcohol Marker Art
Beyond the markers themselves, a few key supplies will make your alcohol marker journey so much better.
The Must-Haves
Alcohol Markers – Obviously. Popular brands include Copic Markers, Ohuhu Markers, Prismacolor Premier Markers, and Arteza Alcohol Markers. Start with a basic set (24-48 colors) rather than buying hundreds at once.

Colorless Blender Marker – Colorless Blender Marker is essential for smoothing colors and fixing mistakes. Every brand makes one. Get it.
Marker Paper – Covered above, but don’t skip this. Marker paper makes or breaks your results.
Fine Liner Pens – Sakura Pigma Micron Pens or Copic Multiliner are alcohol-proof, meaning they won’t smudge or bleed when you color over them. Perfect for outlines and details.
White Gel Pen – Uni-ball Signo White Gel Pen adds highlights, stars, and final details that make your art pop. The difference this makes is ridiculous.
The Nice-to-Haves
Blending Stumps – Blending Stumps aren’t just for pencils. Dip them in rubbing alcohol and use them to blend small areas of alcohol marker color.
Rubbing Alcohol (91% or higher) – Isopropyl Alcohol 91% for refilling dried markers, custom blending, and creating special effects. Get the highest percentage you can find.
Paint Markers or Paint Pens – Posca Paint Markers are opaque and sit on top of alcohol marker color. Great for adding details, patterns, or correcting mistakes.
Lightbox or Window – LED Lightbox makes tracing so much easier. Or just use a sunny window—free lightbox right there.
Spray Fixative – Krylon Workable Fixative protects finished artwork from smudging and fading. Use it outdoors or in a well-ventilated area.
Marker Storage – Marker Storage Case keeps your collection organized and prevents markers from rolling off your desk at inconvenient moments (i.e., always).
Quality Cardstock – Neenah Cardstock is perfect for making greeting cards with alcohol markers. Thick enough to prevent bleed-through but smooth enough to blend beautifully.
21 Alcohol Markers Art Ideas to Try
Now that you’re armed with the knowledge of how to use alcohol markers properly, let’s get to the fun part—what to actually create with them! These ideas range from simple practice exercises to more detailed projects.
1. Sunset Gradient Skies
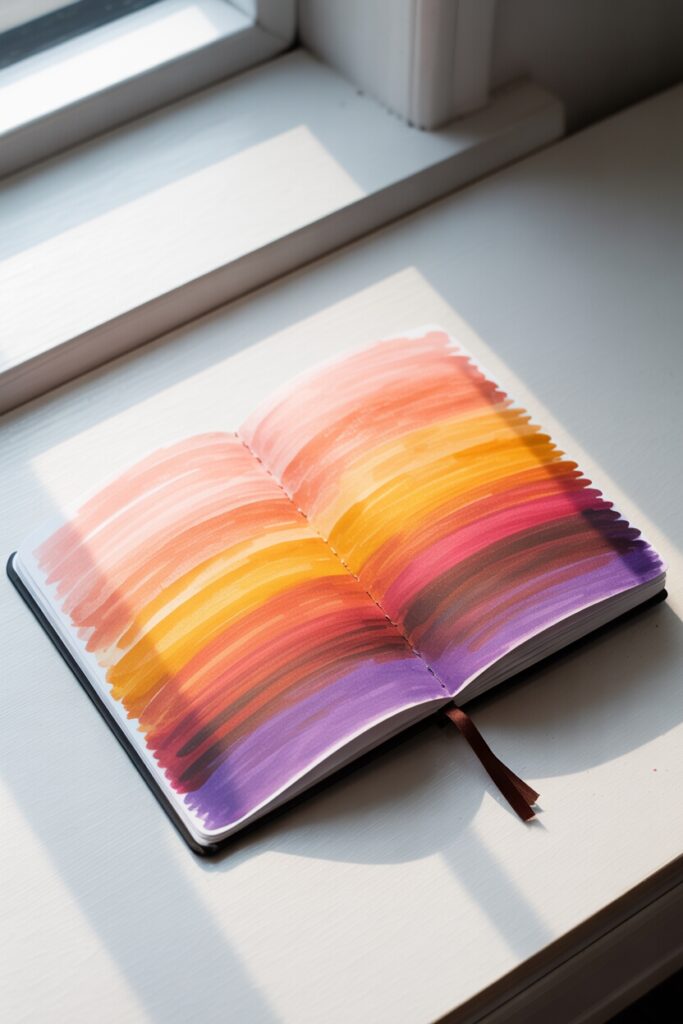
Start simple. Alcohol markers for beginners doesn’t have to mean boring—sunset skies are stunning and surprisingly easy. Grab three to five colors (think peachy pinks, oranges, and deep purples) and blend them horizontally across your paper. The alcohol ink does half the work for you, creating those dreamy transitions naturally.
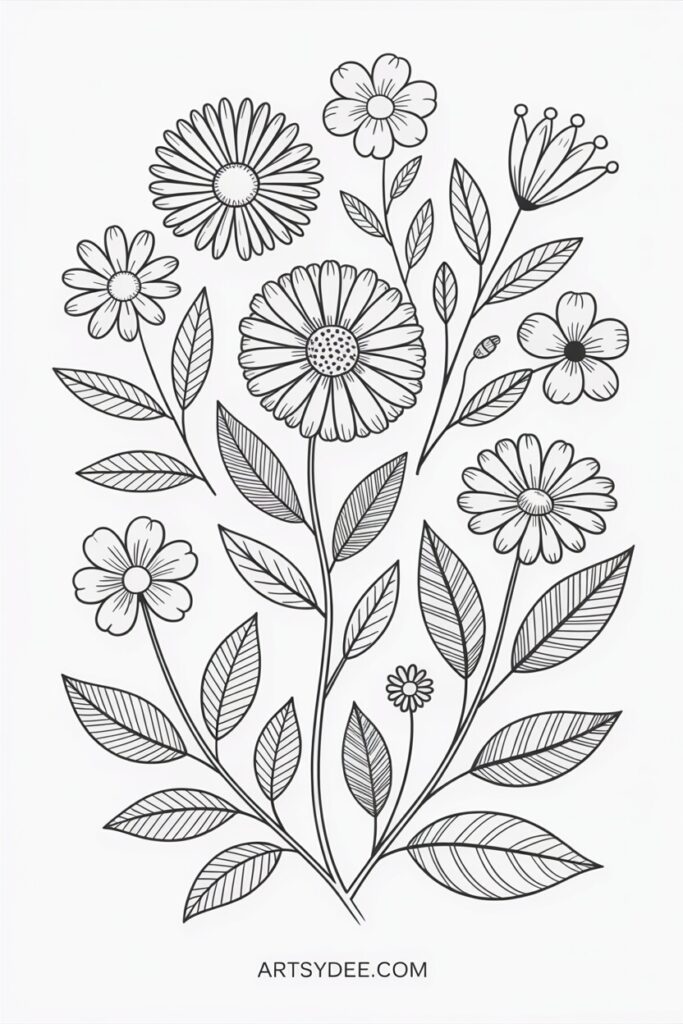
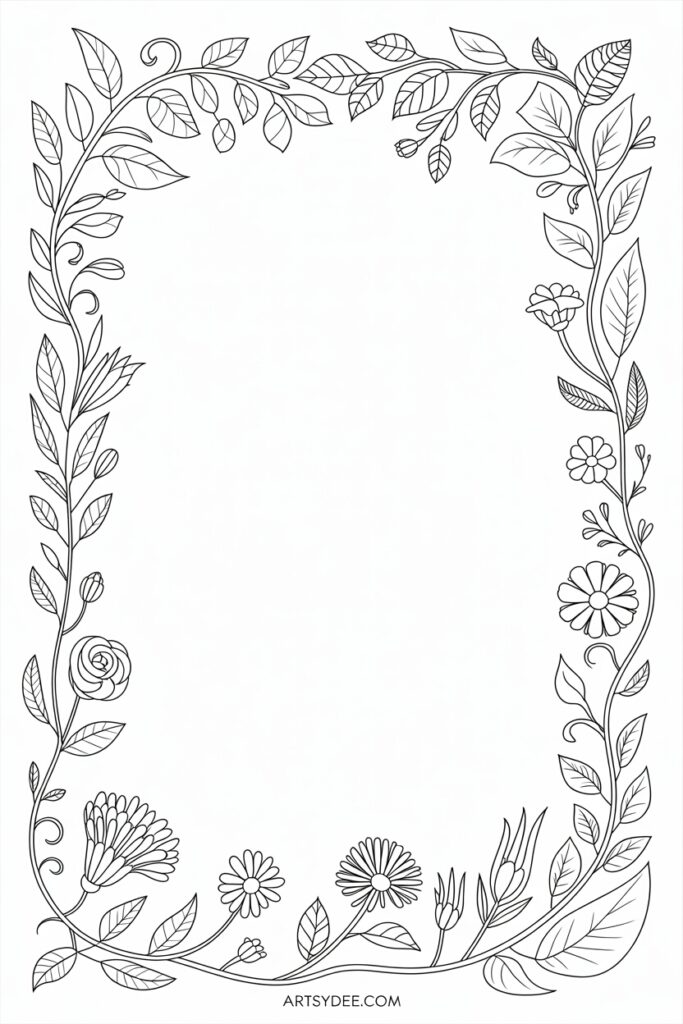
2. Botanical Line Art
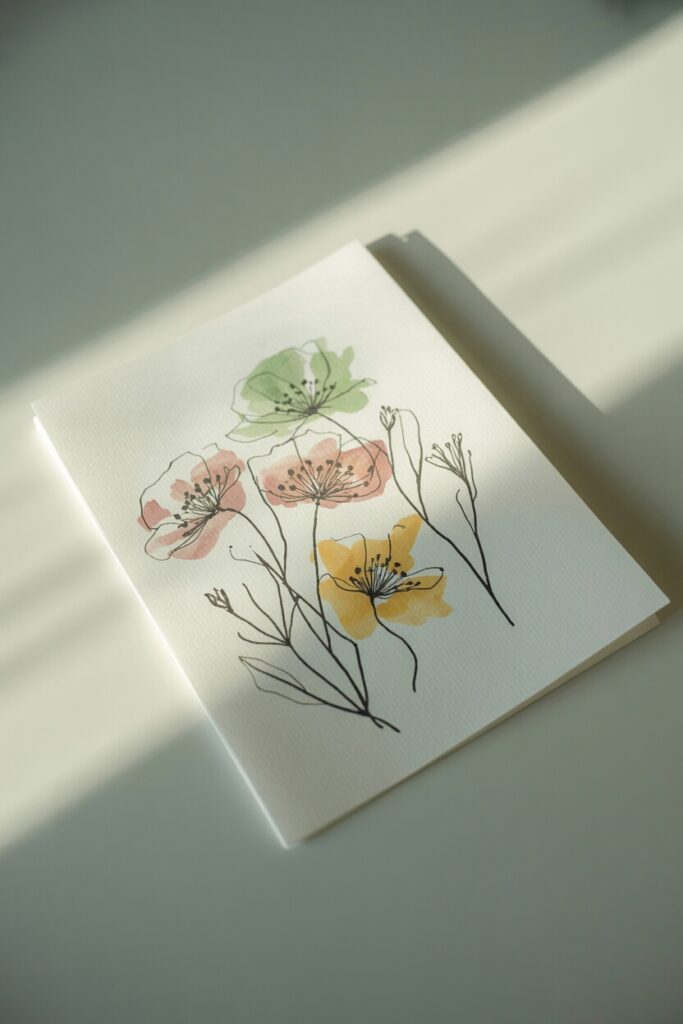
Draw simple flower outlines with a fineliner, then color them in with your alcohol markers. Leaves, petals, stems—they’re all forgiving subjects. The key? Layer your colors. Start light, then add shadows with darker tones. You’ll be amazed how professional it looks.
If you’re into junk journaling, these floral doodles make perfect additions to your DIY junk journal pages.
3. Color Swatches & Testing Pages

Okay, this isn’t technically “art,” but creating color swatch pages is both practical and oddly satisfying. Test your alcohol ink markers on your preferred paper. You’ll learn which colors blend beautifully and which ones… don’t.
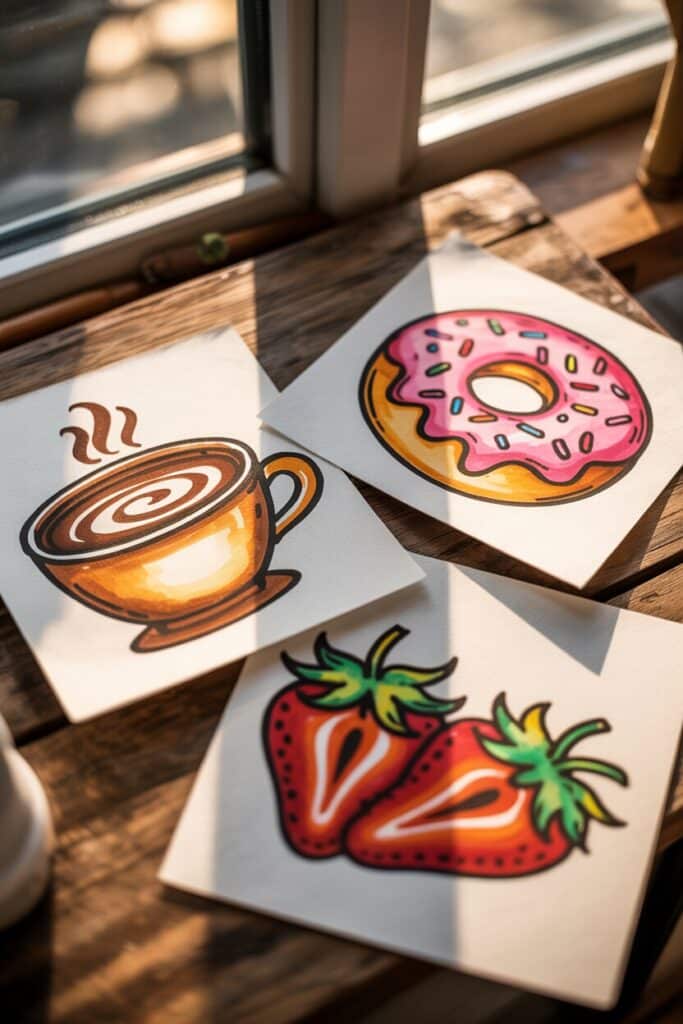
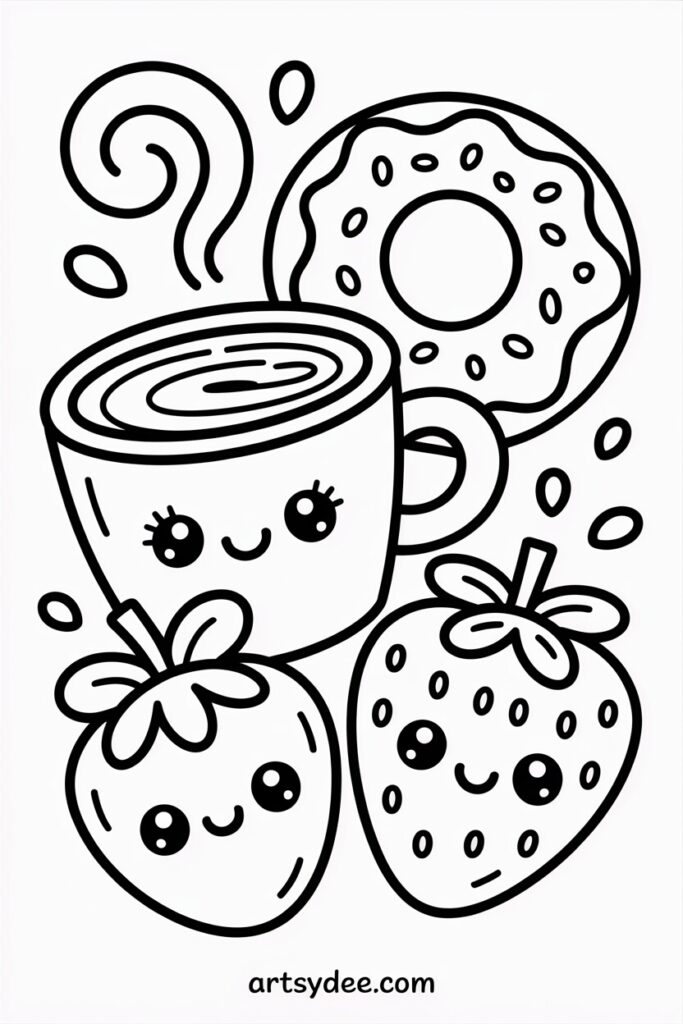
4. Cute Food Illustrations
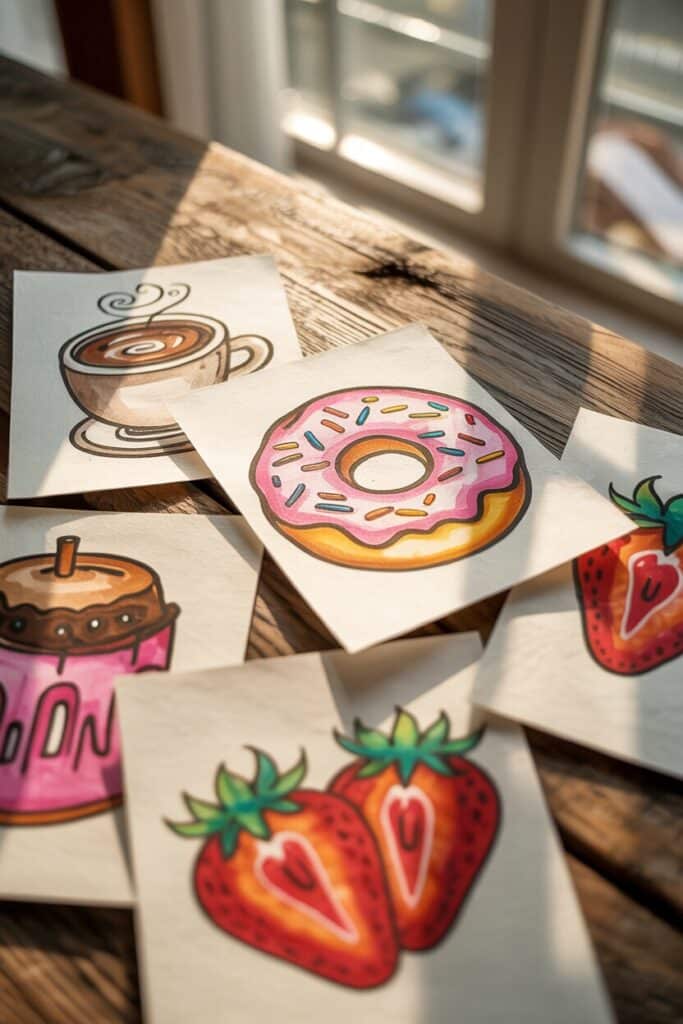
Coffee cups, donuts, sushi, strawberries—food art is always a crowd-pleaser. The smooth, even coverage alcohol markers provide makes food look glossy and appetizing. Add highlights with a white gel pen and you’ve got yourself some seriously cute artwork.
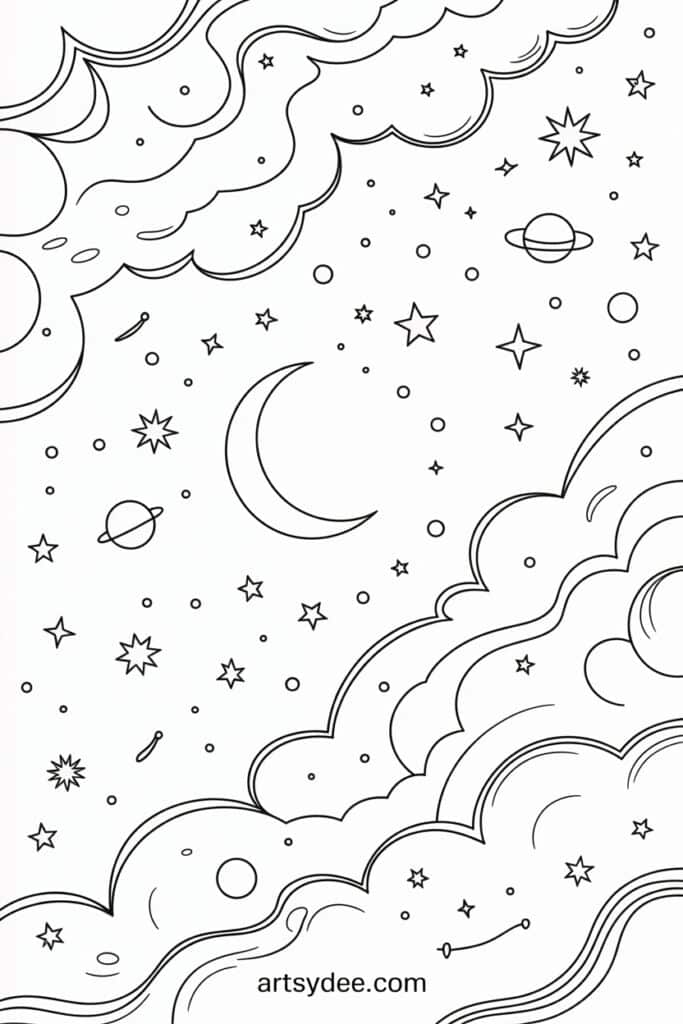
5. Galaxy and Space Scenes
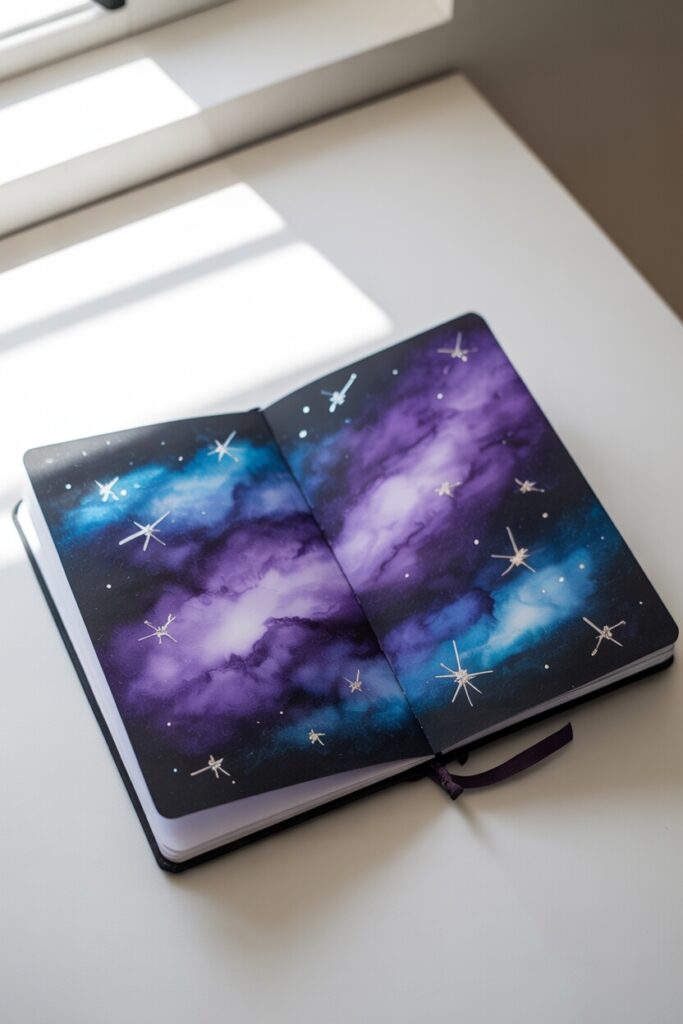
Here’s where alcohol markers really shine. Literally. Layer deep purples, blues, and blacks, then add stars with a white gel pen or paint pen. The way alcohol ink markers blend creates that perfect nebula effect without even trying. Bonus points if you add a tiny planet or two.
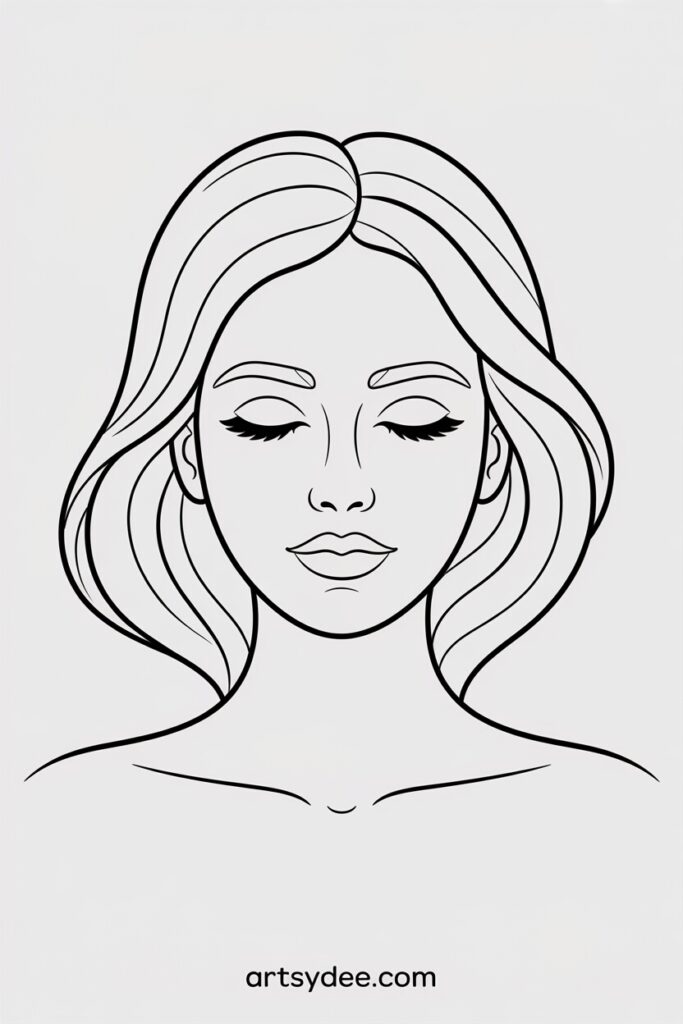
6. Portrait Practice
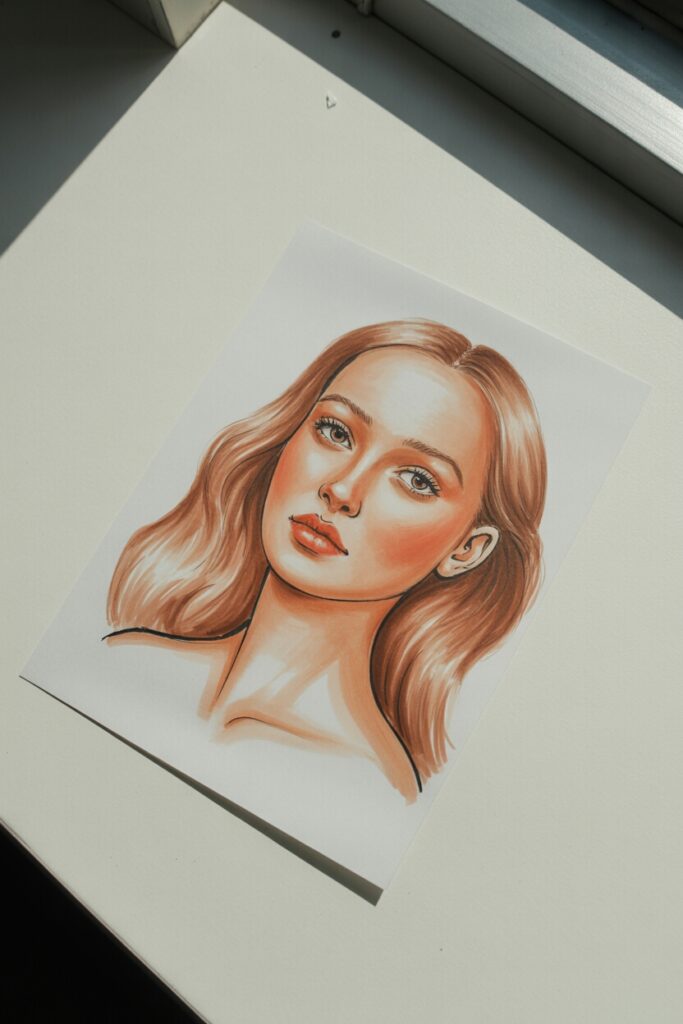
Skin tones can feel intimidating, but alcohol markers are actually brilliant for portraits. Start with light peachy or beige tones, then build up shadows gradually. The blending is so smooth that skin looks natural instead of streaky. YouTube has tons of tutorials if you want to see this in action.
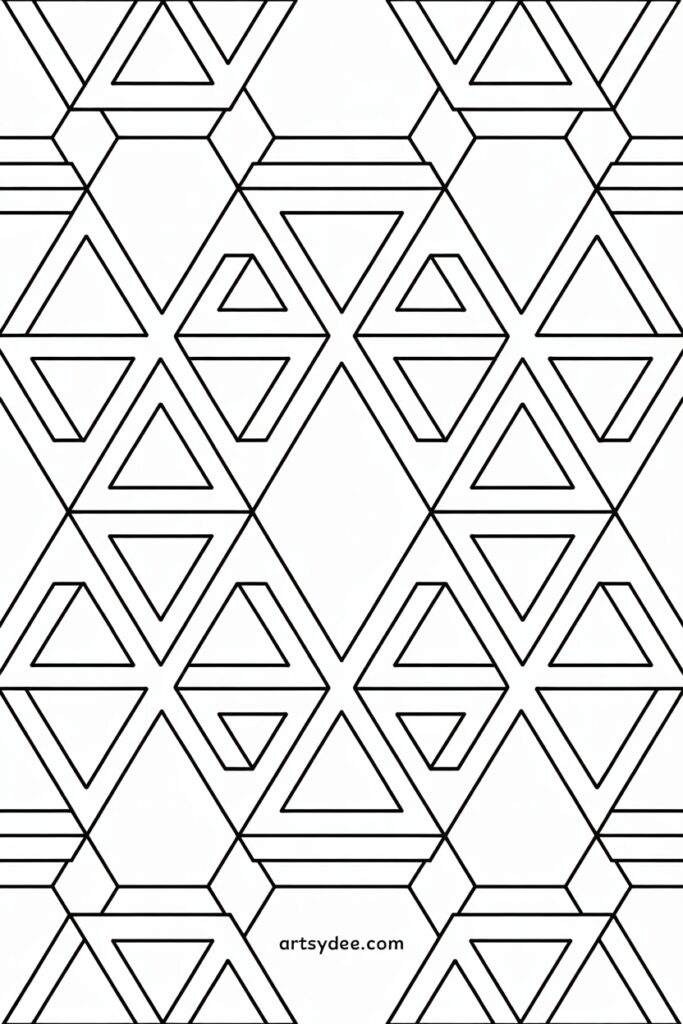
7. Geometric Patterns
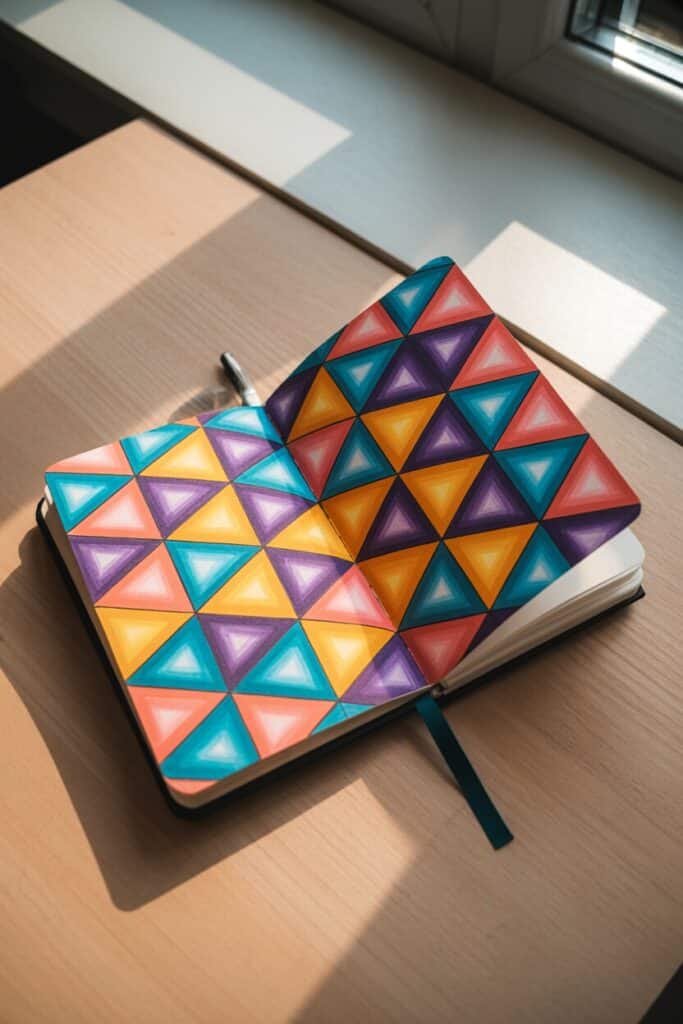
Draw a bunch of triangles, hexagons, or diamonds, then fill each shape with different colors. The crisp edges of alcohol markers make geometric art look sharp and modern. Plus, it’s meditative. Just you, some shapes, and color choices.
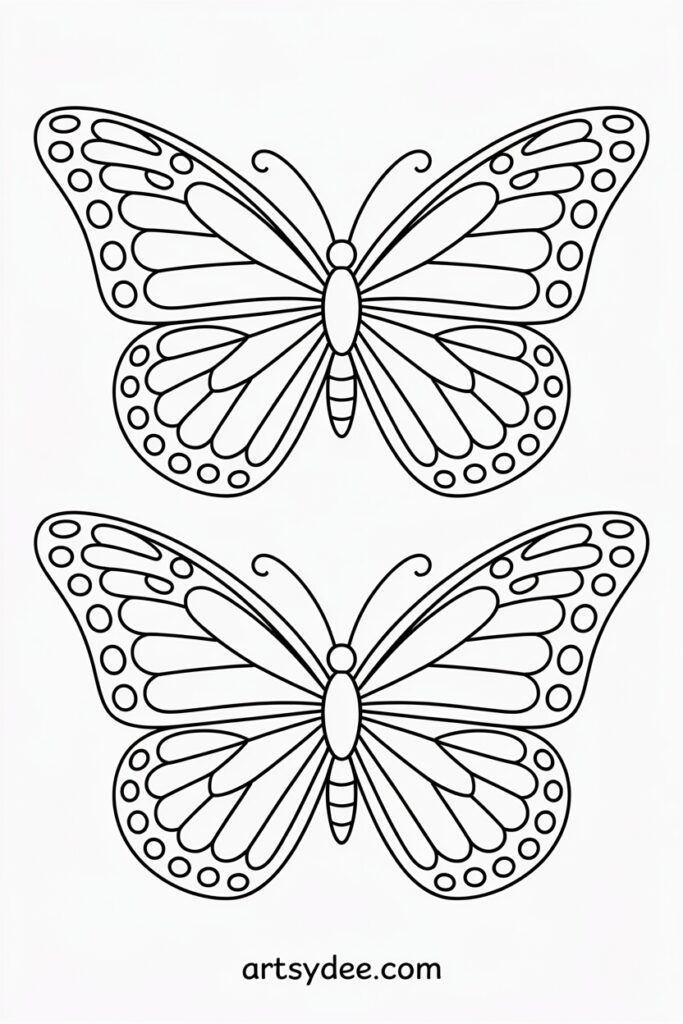
8. Butterflies & Moths
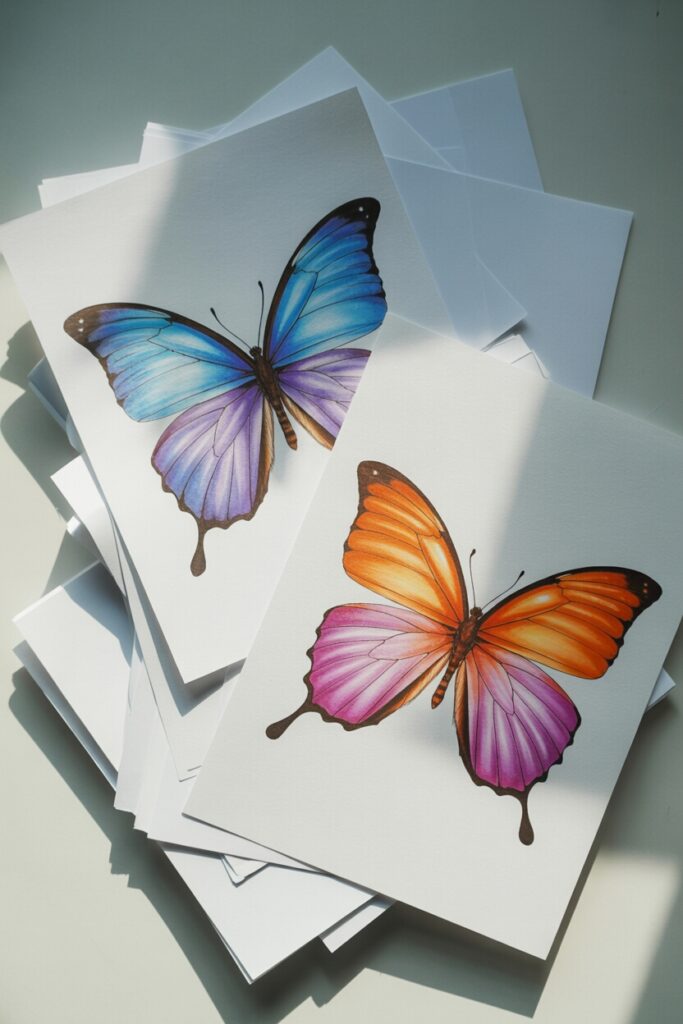
The gradient potential of alcohol markers was basically made for butterfly wings. Blend from light to dark across each wing section, add some pattern details with a fineliner, and you’ve got a showstopper. Moths work too—they’re having a moment in the art world right now.
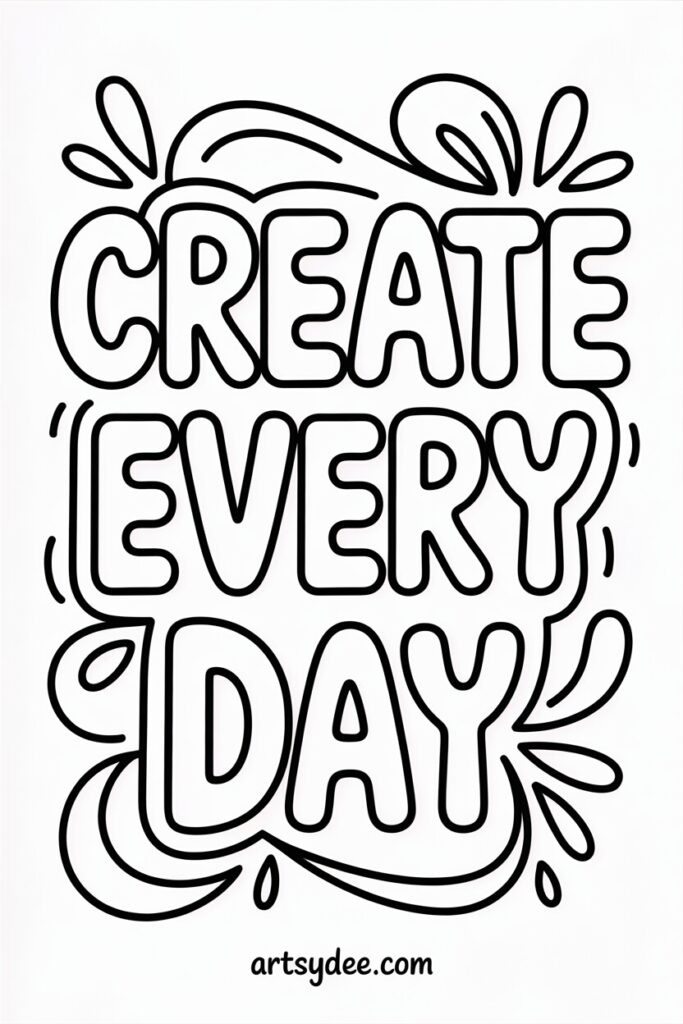
9. Handlettered Quotes

Combine your lettering practice with coloring. Write out a favorite quote in pencil or fineliner, then add gradient effects or shadow lettering with your alcohol pens. The smooth ink flow makes lettering feel easier, especially for beginners who might struggle with brush pens.
10. Seasonal Wreaths
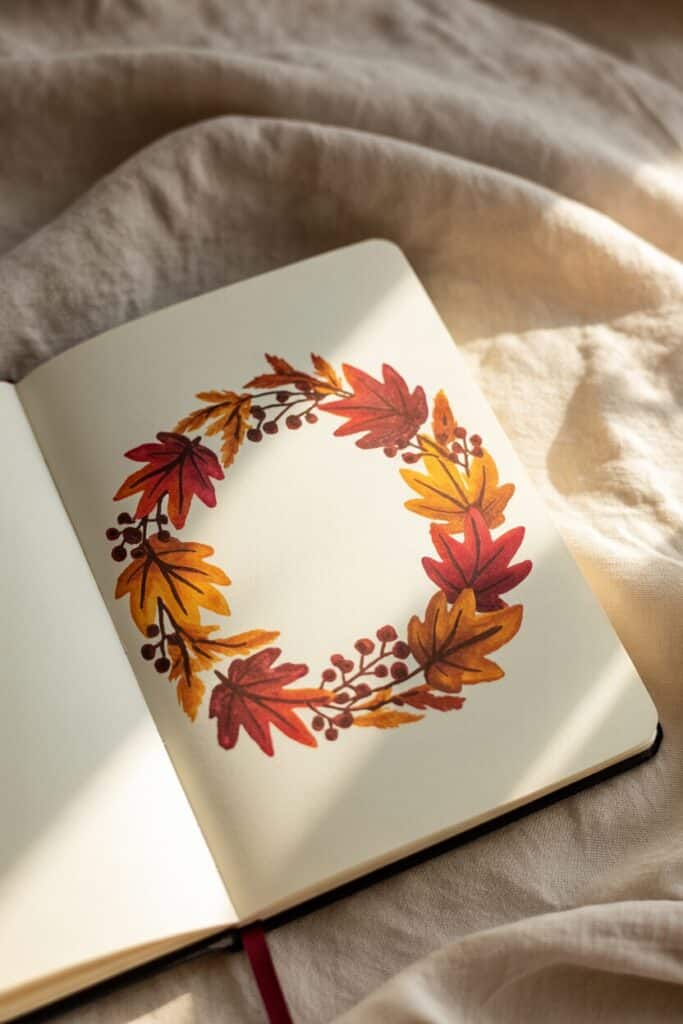
Draw a circle. Add leaves, flowers, berries, or whatever fits the season. Color it in. Congratulations, you’ve made a wreath. Spring florals, autumn leaves, winter holly—wreaths are endlessly adaptable and look gorgeous in alcohol markers.
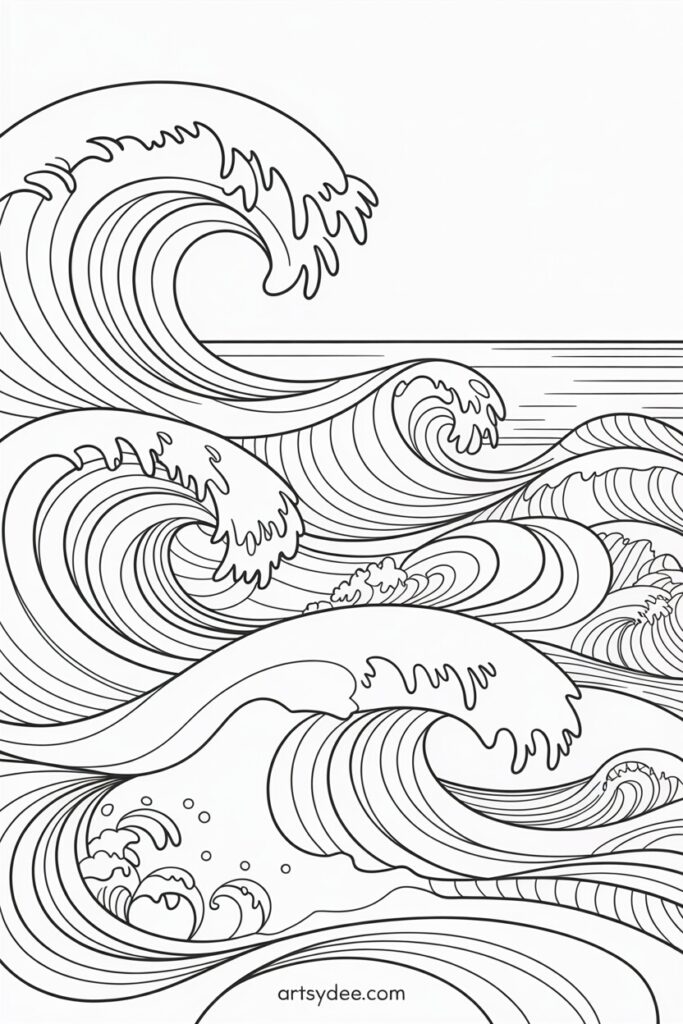
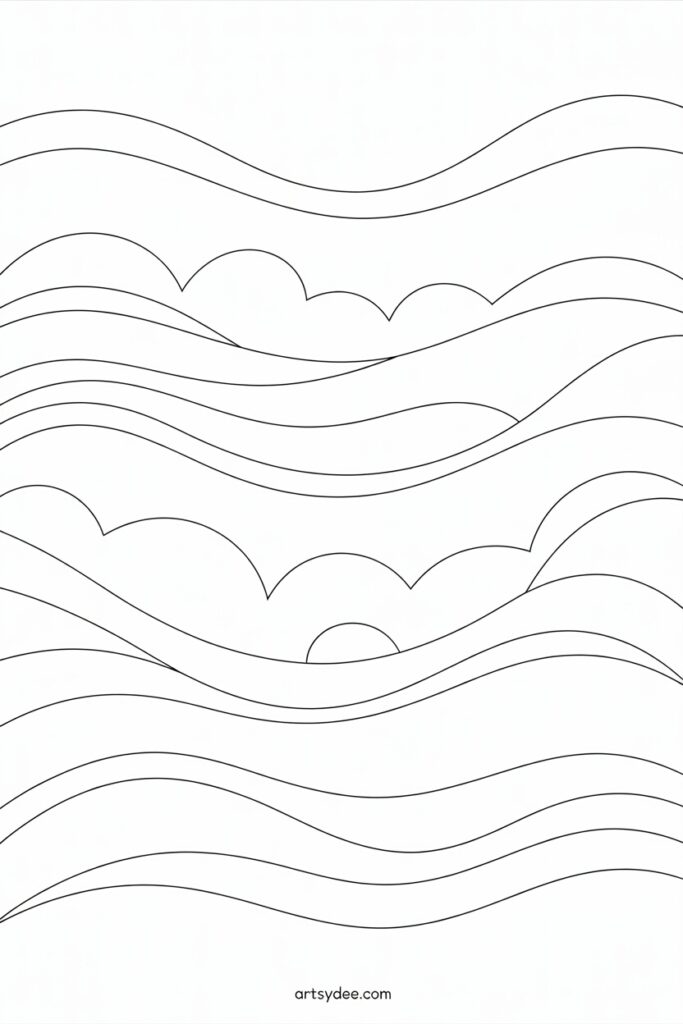
11. Ocean Waves & Seascapes
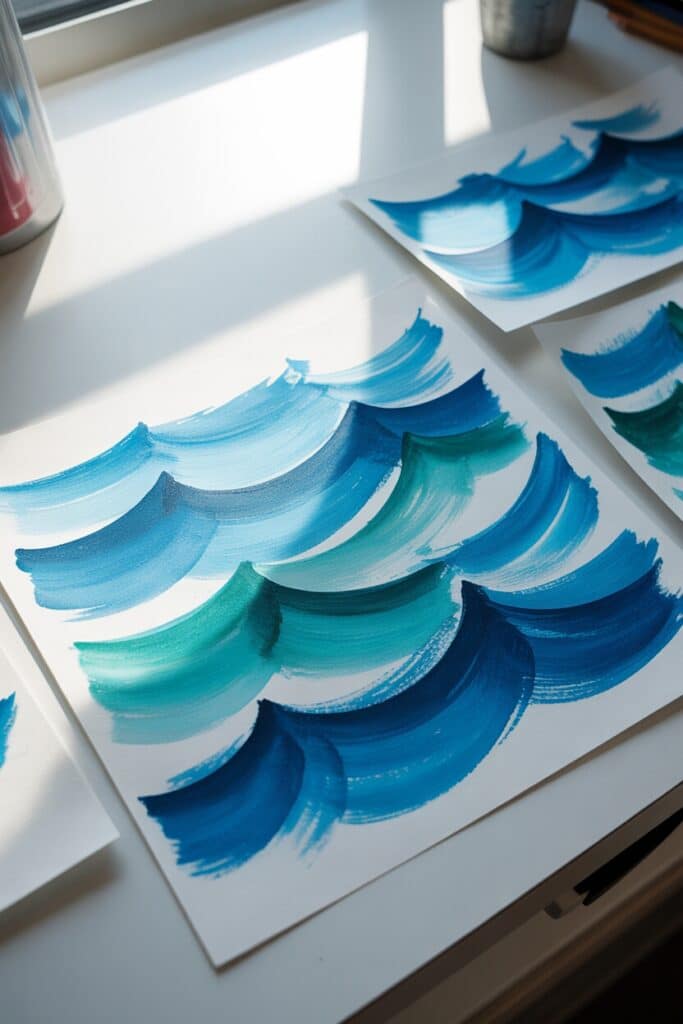
Blues and greens were meant to be blended together. Create wave patterns with different shades, add some white highlights for foam, and you’ve captured the ocean. No need for photorealism—loose, impressionistic waves have their own charm. If you enjoy working with watery mediums, you might also love learning how to paint using watercolor.
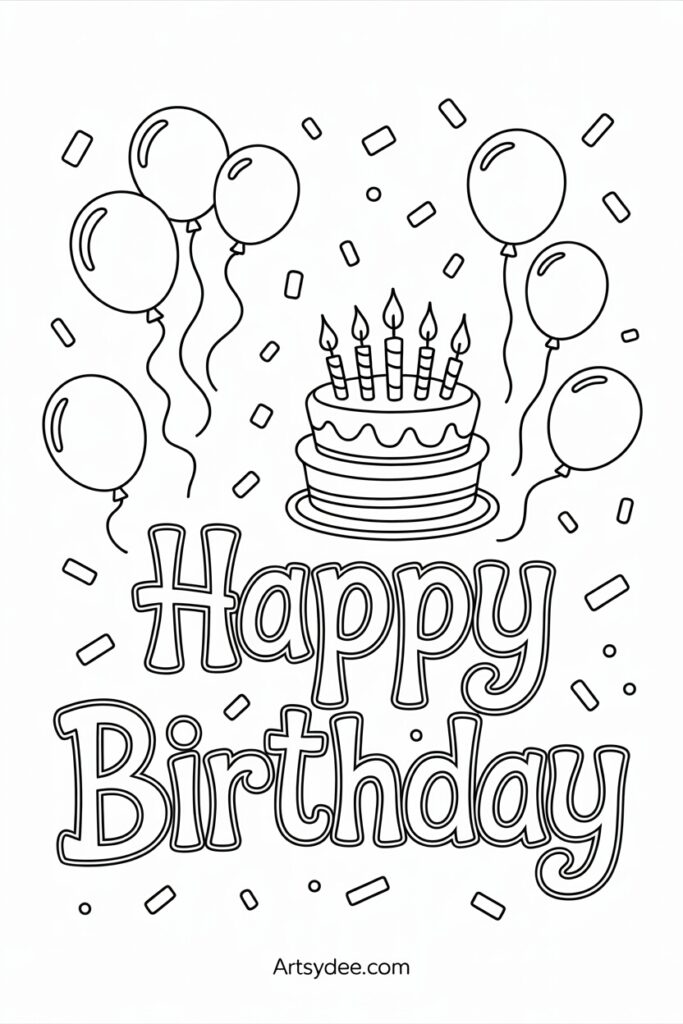
12. Birthday Card Designs
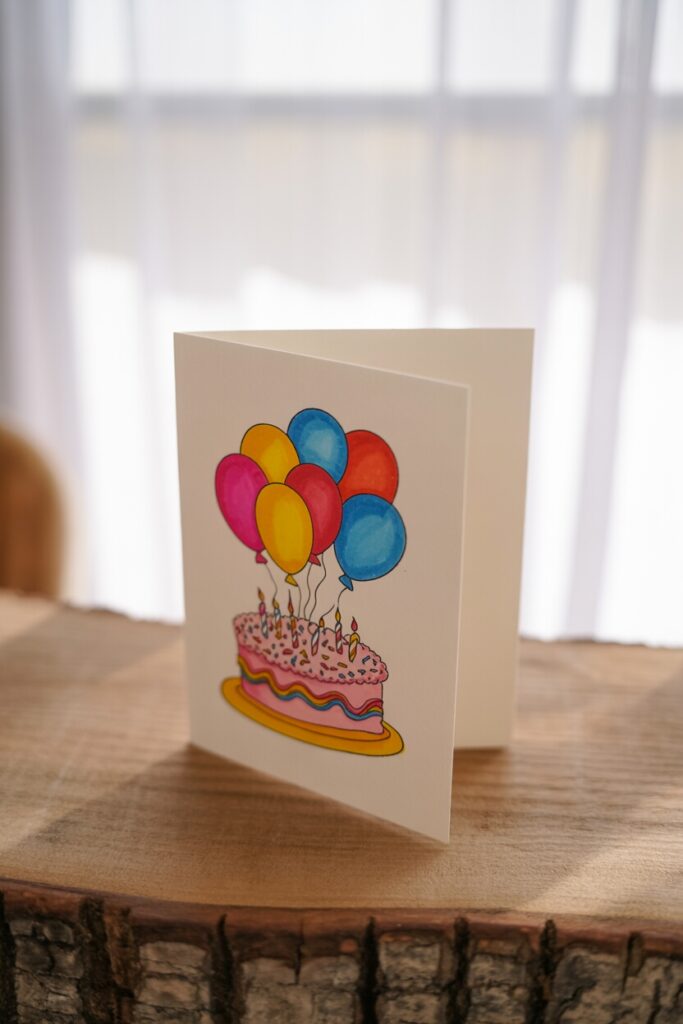
Why buy cards when you can make them? Alcohol markers are perfect for birthday card drawing ideas because they look polished and professional. Balloons, cakes, flowers, cheerful lettering—the options are endless, and your friends will actually want to keep the card.
13. Character Doodles
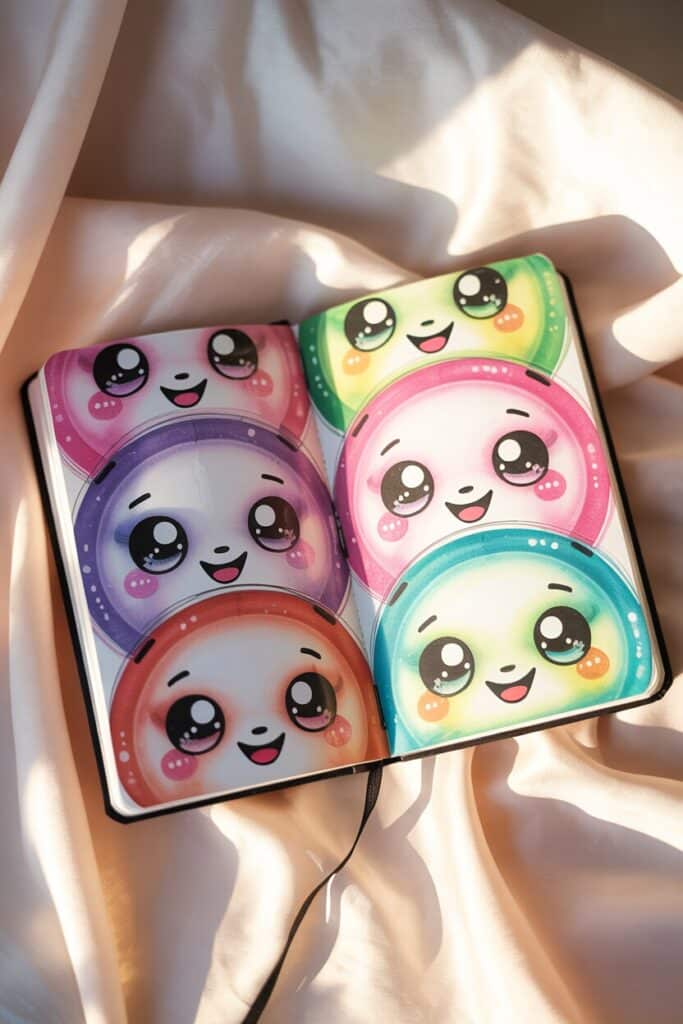
Create your own cute characters. Big eyes, round faces, maybe a little hat. Color them in with your favorite alcohol ink markers and suddenly you’ve got a whole cast of doodle friends. Add personalities with expressions and accessories.
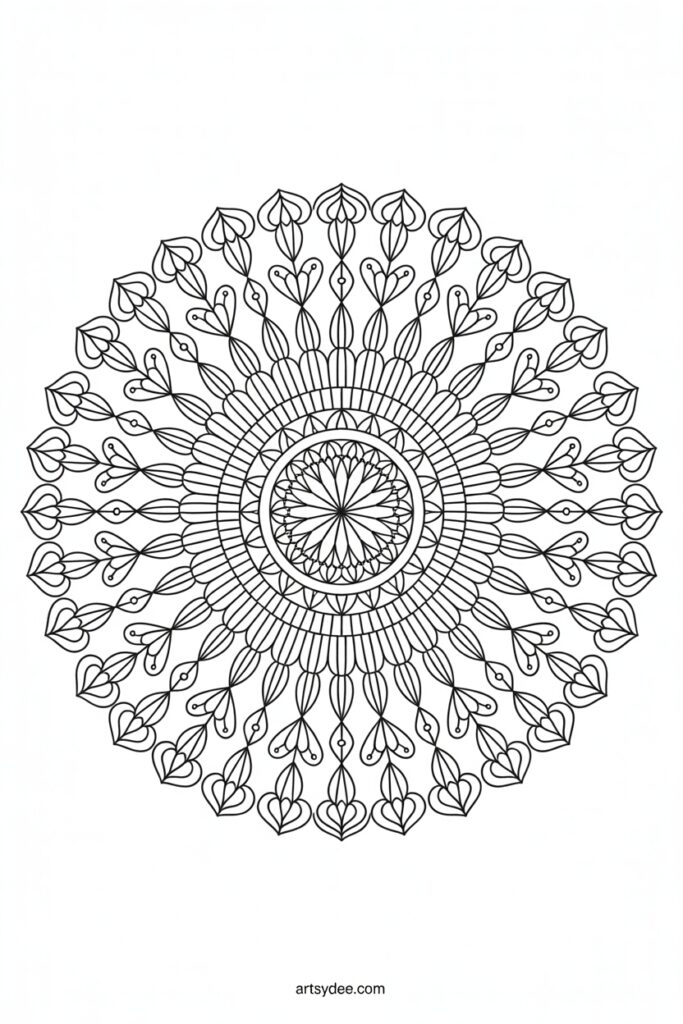
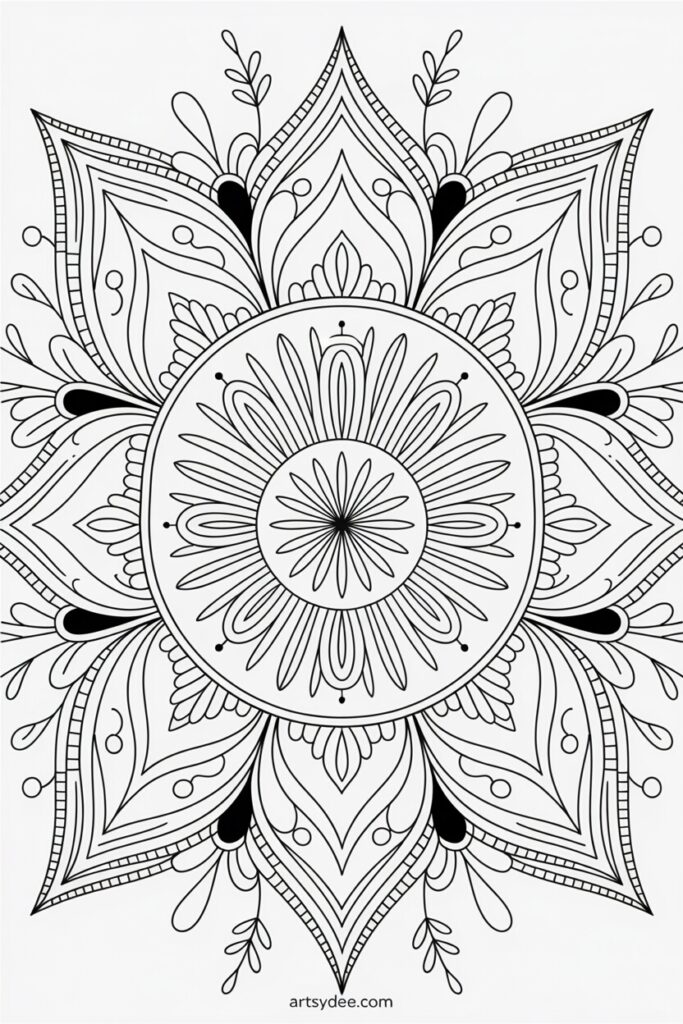
14. Mandala Coloring
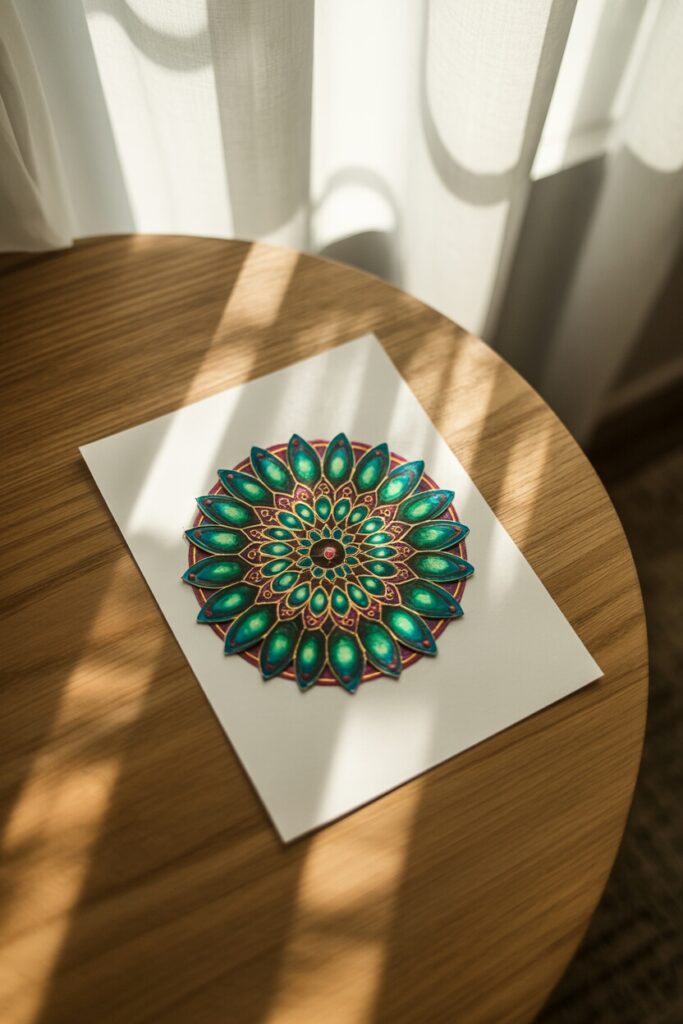
Print or draw a mandala outline, then lose yourself in the meditative process of coloring each section. Alcohol markers make this so satisfying because the colors stay vibrant and blend beautifully. Plus, you can use it as stress relief while creating something beautiful.
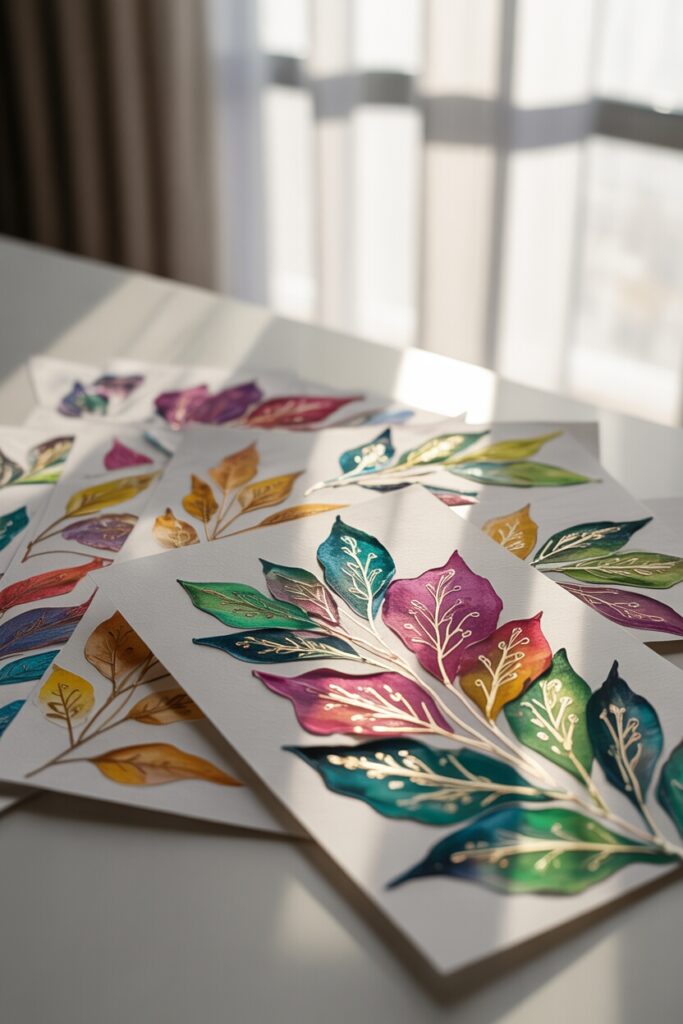
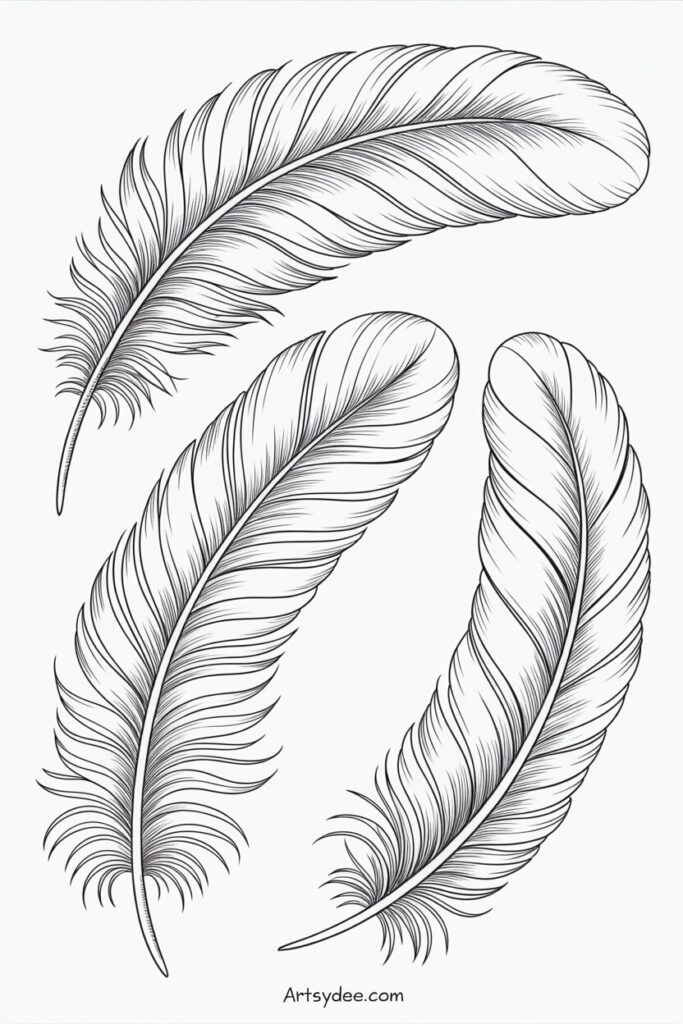
15. Feather Studies
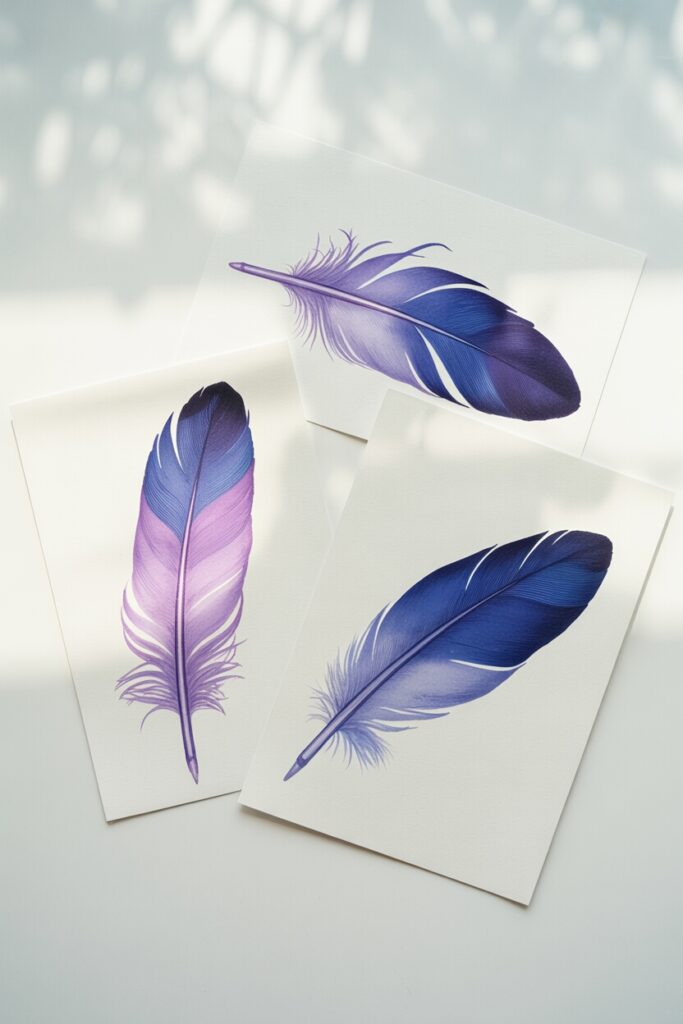
Feathers are surprisingly fun to draw and color. The way alcohol markers blend makes creating that soft, gradient effect on feathers almost effortless. Draw the outline, add the barbs, then blend your colors from the spine outward.
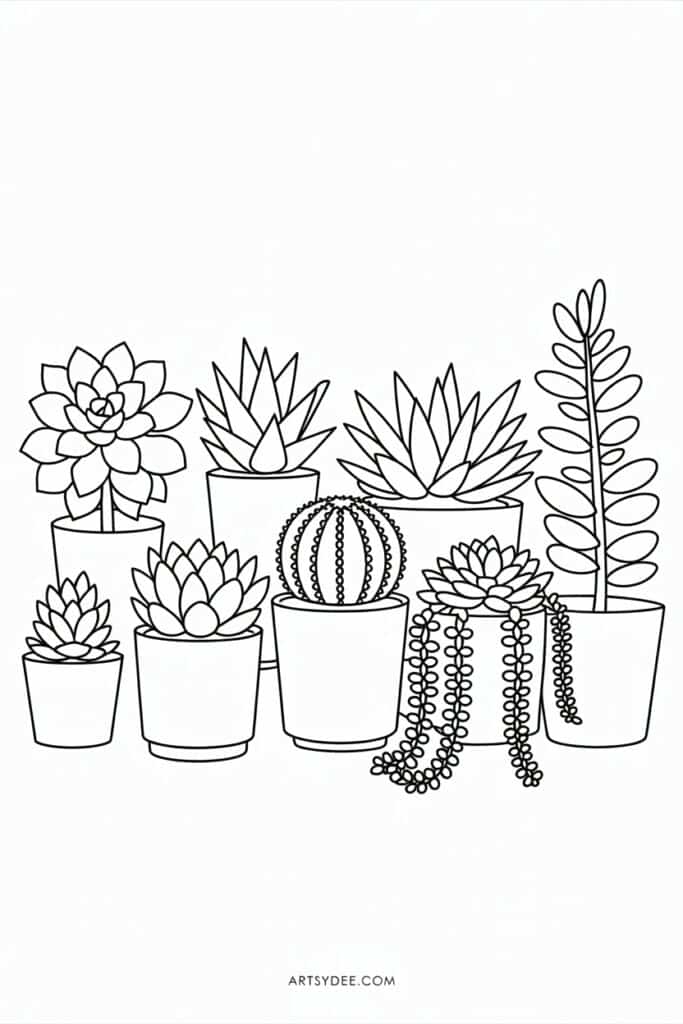
16. Succulent Collection
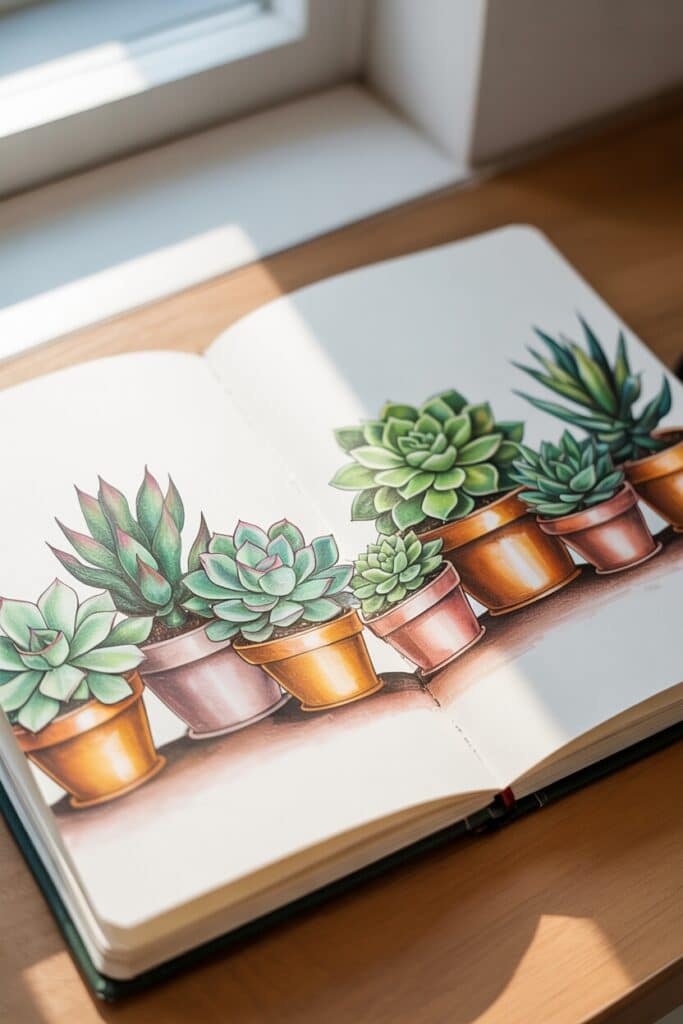
Little round succulents in pots. That’s it. That’s the art idea. But seriously, succulents are ideal for practicing shading because they have simple shapes but interesting depth. Layer greens from light to dark and you’ll be shocked at how three-dimensional they look.
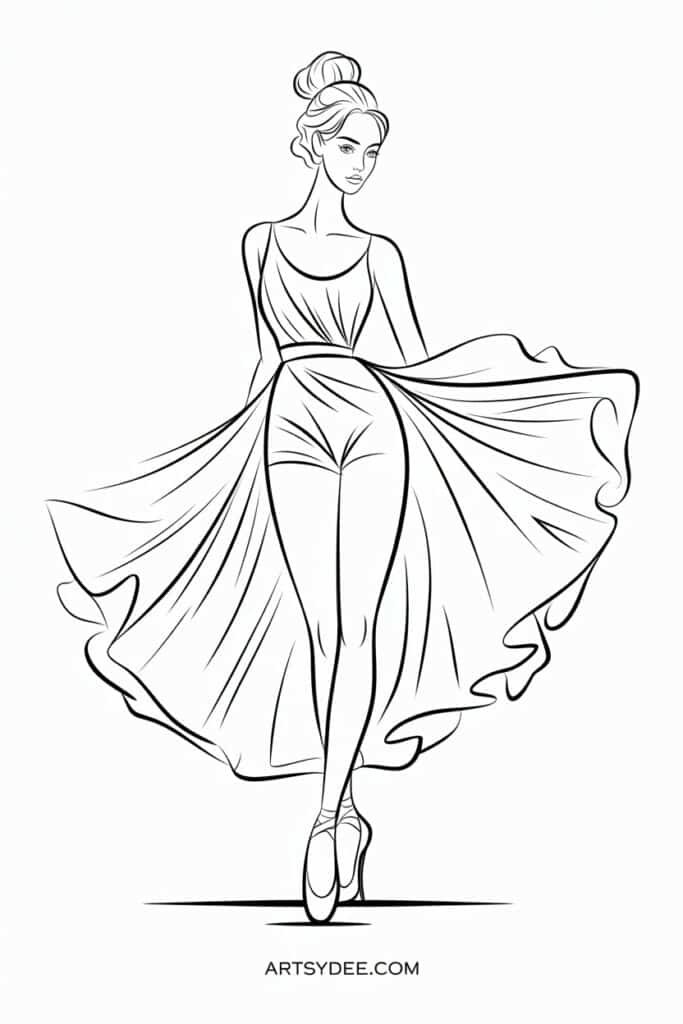
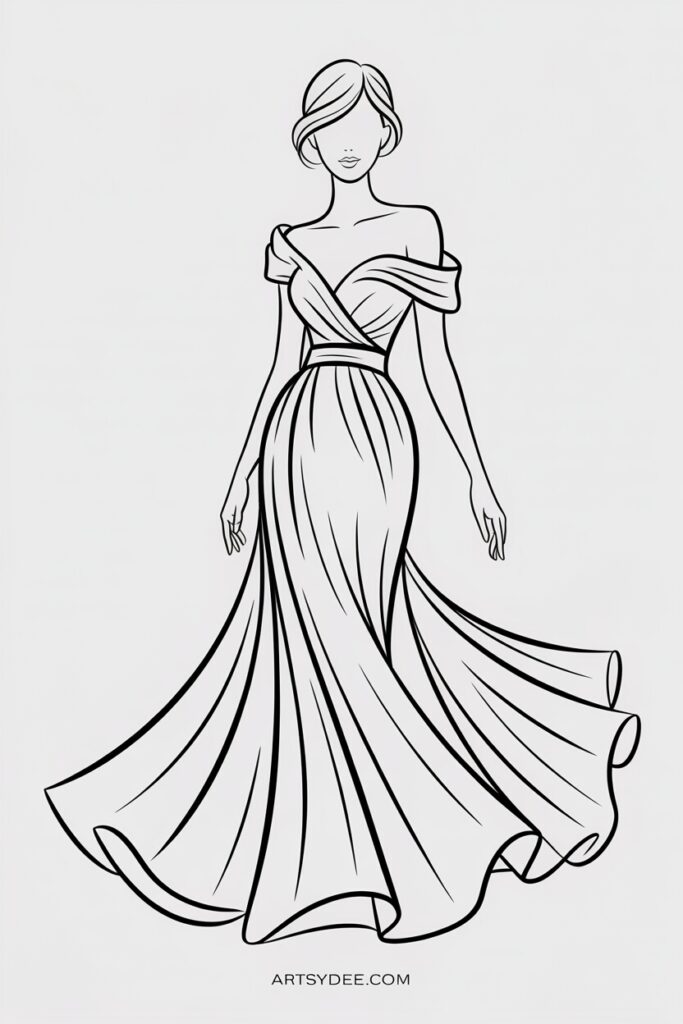
17. Fashion Illustrations

Sketch simple clothing designs or fashion figures, then color them in. Alcohol markers are famous in the fashion illustration world because they show fabric texture and movement beautifully. You don’t need to be a fashion designer—just have fun with patterns and colors.
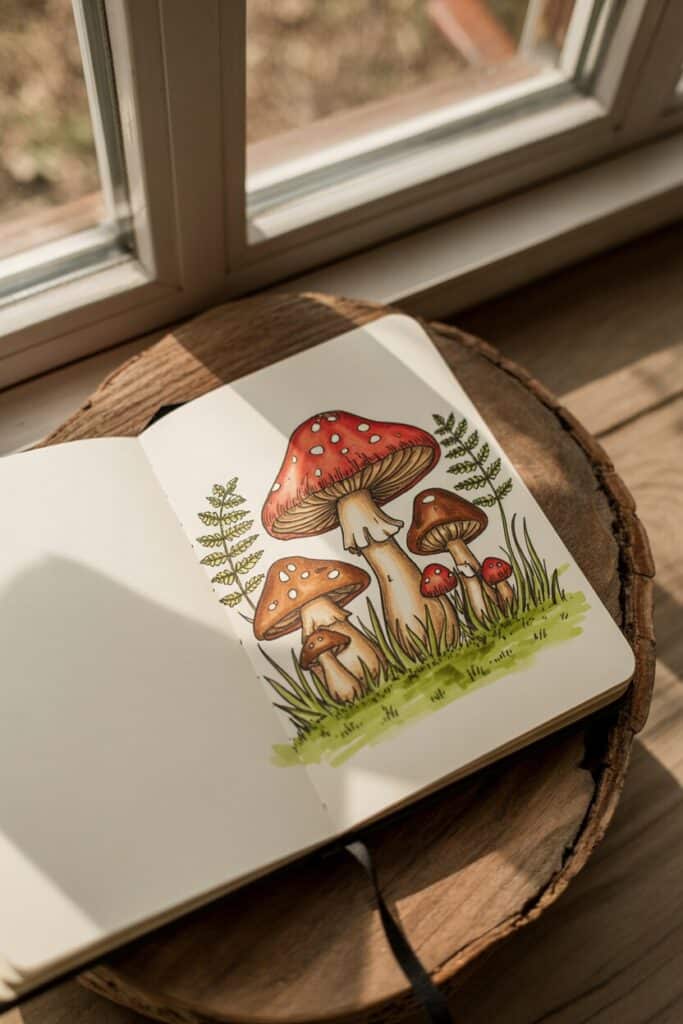
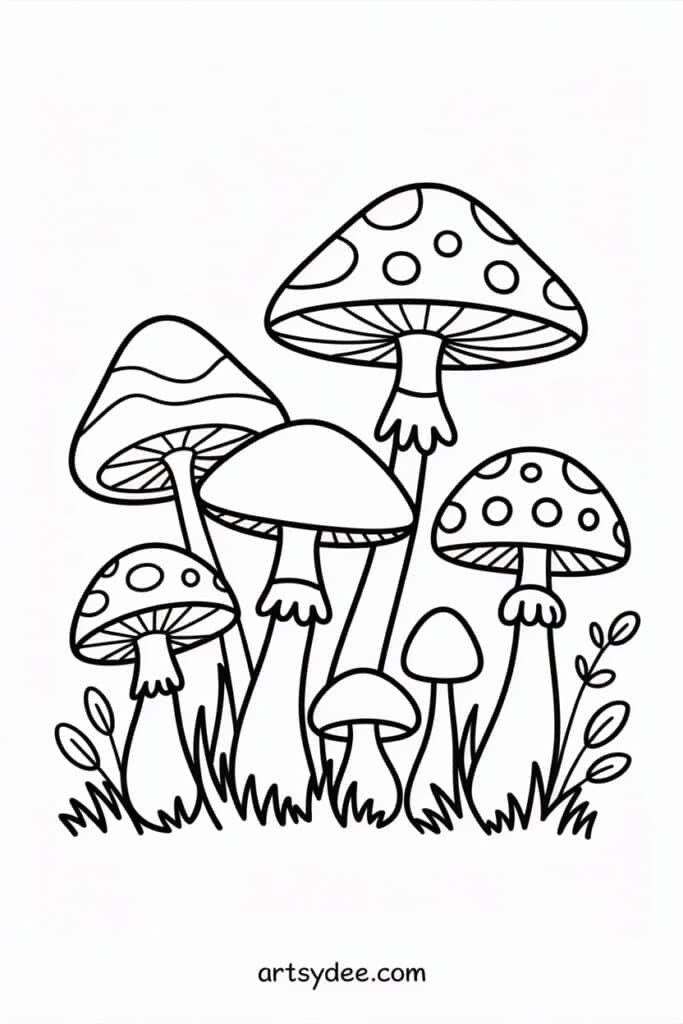
18. Mushroom Clusters
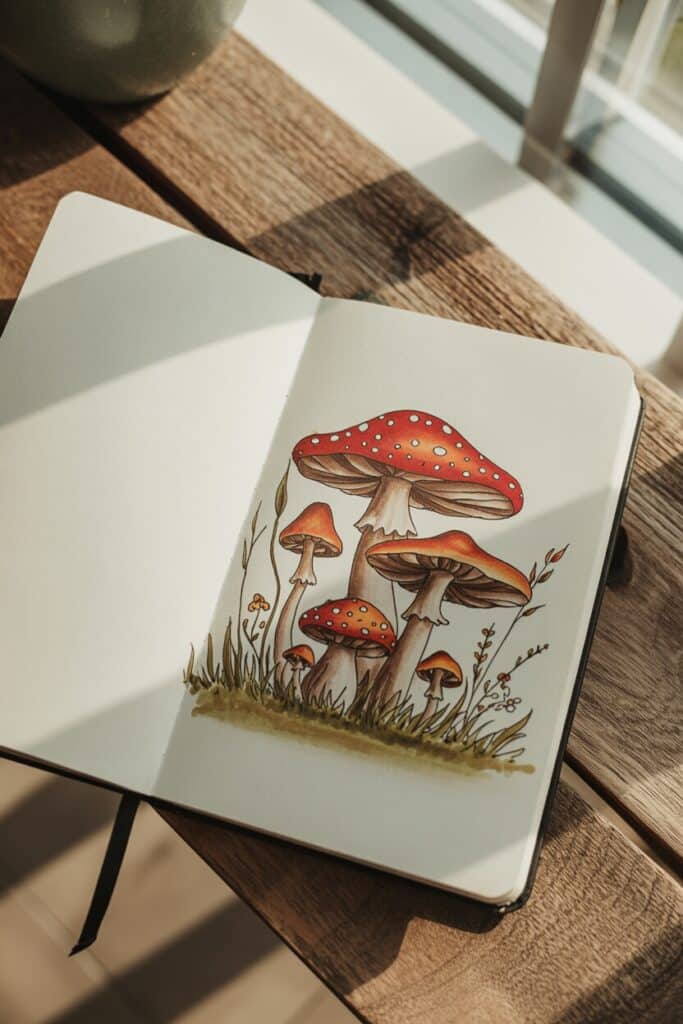
Whimsical mushrooms are having their moment, and alcohol markers are perfect for them. Red caps with white spots, earthy browns, tiny toadstools—they’re quirky, forgiving to draw, and endlessly charming. Add some grass and you’ve got a little woodland scene.
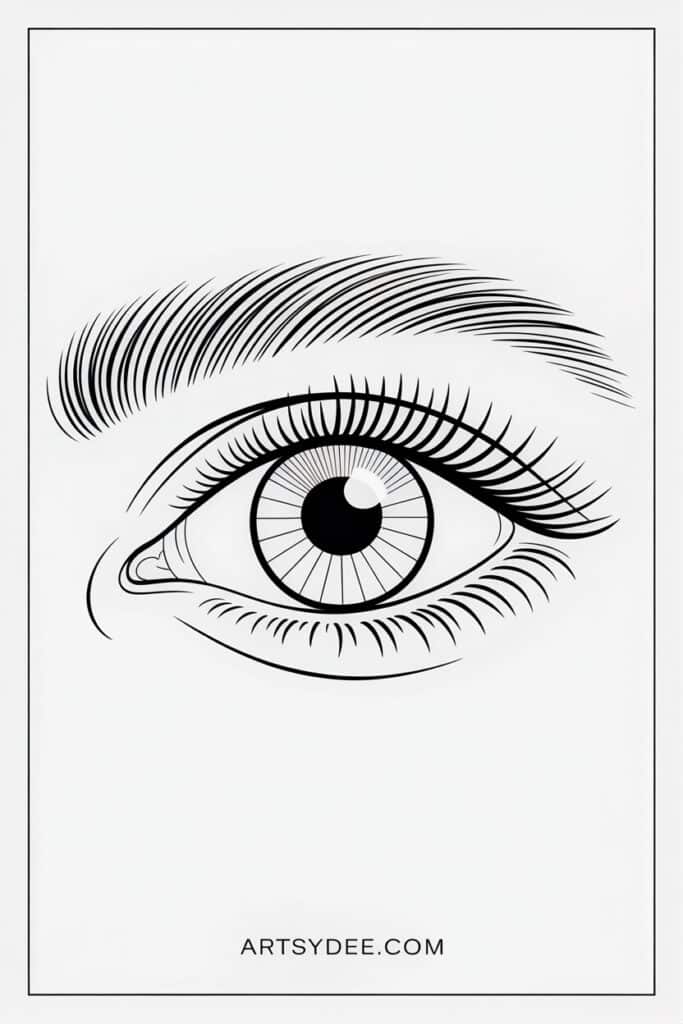
19. Eye Studies

Just eyes. No face needed. Eyes are one of the best projects for practicing detail, color blending, and adding depth. Irises especially look incredible with layered alcohol ink because you can create that complex color variation naturally.
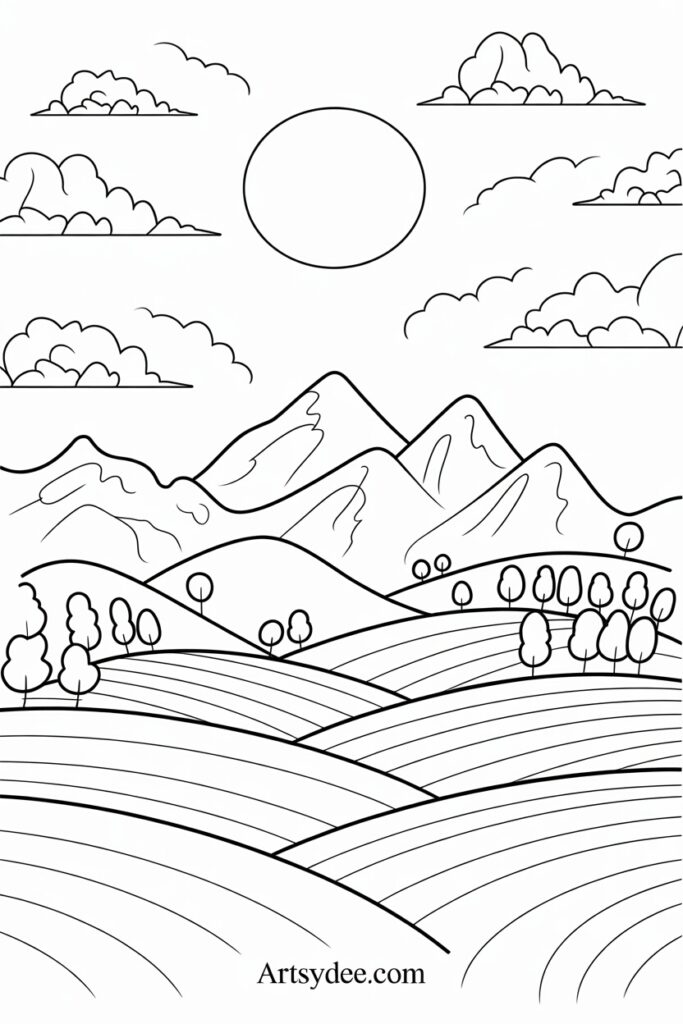
20. Landscape Scenes

Fields, mountains, forests—simple landscape scenes teach you so much about blending. You don’t need to be technical. Suggest hills with color changes, hint at trees with vertical strokes, and let the markers do their blending magic.
21. Mixed Media Magic
Combine your alcohol markers with other mediums. Add fineliner details, gel pen highlights, even colored pencil textures on top. Or use alcohol markers as a base layer, then add details digitally by scanning your art and tracing it in Procreate. The possibilities are endless.
Your Turn to Create
The beautiful thing about these alcohol markers art ideas? There’s no wrong way to use them. Whether you’re following these suggestions exactly or using them as jumping-off points, you’re creating. And that’s what matters.
Start with one idea. Just one. See where it takes you. Maybe you’ll discover you love drawing food art, or maybe geometric patterns become your thing. The only way to find out is to actually pick up those markers and make something.
Remember—the best way to learn how to use alcohol markers is simply to use them. Test colors, try techniques, make mistakes. That’s how you figure out what works for your style.
Download Your Free Alcohol Marker Drawing Templates


Want to skip the sketching and jump straight to coloring? I’ve created a set of free alcohol marker drawing templates featuring several of these ideas. Perfect for practicing your blending and shading techniques or just those days when you want to color without the planning. Grab them below and start creating!
Download the Free Alcohol Marker Templates here 👇🏻
Want more watercolor goodness?
I share brand new tutorials, templates, and creative resources every single week inside my Patreon community. Think: step-by-step watercolor lessons, Procreate brushes, junk journal kits, and printables you won’t find anywhere else.
It’s like having a creative friend who drops new art supplies in your mailbox every week. (Except digital. And way less expensive than my actual art supply habit.)
Join the Artsydee Patreon here and let’s create together! 🎨