Last Updated on November 3, 2025 by Dee
There’s something oddly satisfying about a perfectly repeating pattern. Maybe it’s the endless possibilities, or the way one little design element can transform into something so much bigger. Either way, if you’ve ever wanted to create your own seamless patterns in Procreate, you’re in the right place.
I’m going to walk you through the exact process I use for how to make a seamless pattern in Procreate —no fancy jargon, no overcomplicated steps. Just you, your iPad, and some creative magic.
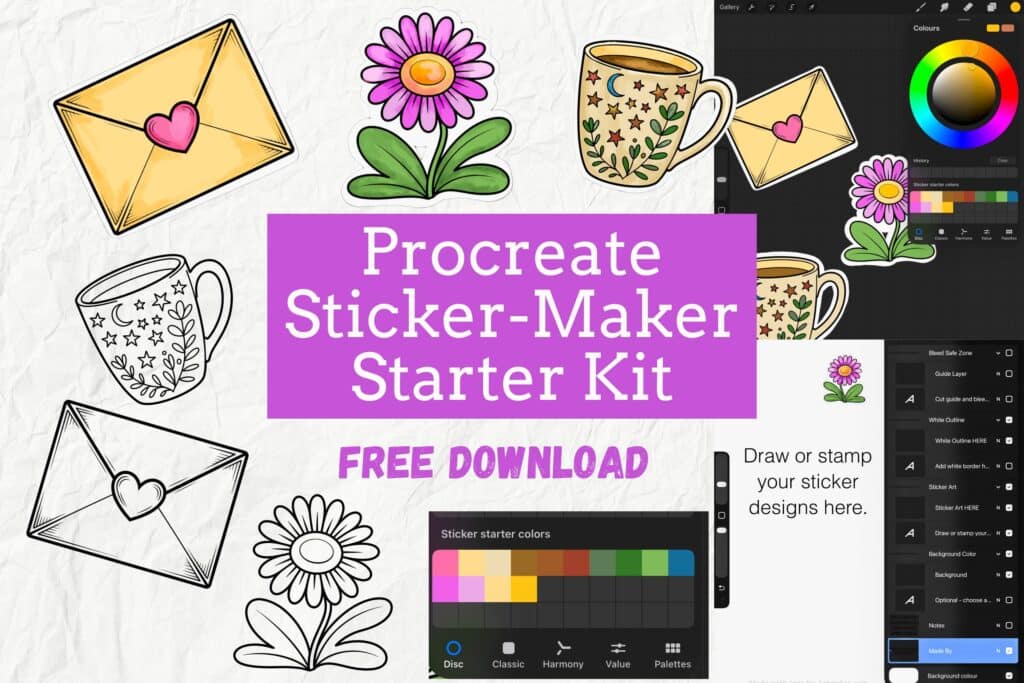
Download my FREE Procreate Sticker making kit at the end of this post!
Why Seamless Patterns Are Worth Your Time
Think about it—once you’ve mastered seamless patterns, you can:
- Design custom digital paper for your art journal or scrapbook pages
- Create unique backgrounds for stickers and prints
- Make wallpapers for your phone or desktop
- Design fabric patterns (hello, Spoonflower!)
- Build a collection of digital products to sell
The best part? Once you understand the technique, you can create infinite variations. Change a color here, adjust a motif there—boom, brand new pattern.
What You’ll Need to Get Started
Before we jump into the tutorial, here’s what I recommend having on hand:
Essential Tools for iPad Artists
The iPad You’ll need a compatible iPad for Procreate that supports the Apple Pencil. I personally use the iPad Pro, but the iPad Air works beautifully too.
Apple Pencil This is non-negotiable for precision work. The Apple Pencil (either generation) gives you pressure sensitivity and tilt control—game changers for digital art.
Procreate App A one-time purchase that’s worth every penny. This app is the backbone of so many Procreate tutorials out there for good reason.
Screen Protector (Optional but Recommended) A matte screen protector gives your iPad that paper-like texture. Makes drawing feel more natural and reduces glare.
iPad Stand Trust me, your neck will thank you. Any adjustable stand works—just something to prop up your iPad at a comfortable angle.
Stylus Grip (Optional) If you find the Apple Pencil too slippery, a silicone grip can make long drawing sessions way more comfortable.
You can find more tools for digital artists that I swear by if you’re looking to level up your setup!
The Seamless Pattern Method (Step-by-Step)
Alright, let’s make some magic happen.
Step 1: Set Up Your Canvas
Open Procreate and create a new canvas. For seamless patterns, I recommend starting with a square canvas—something like 3000×3000 pixels at 300 DPI works great.
Why square? Because it makes the repeat easier to visualize and adjust.
Step 2: Turn On Drawing Guide
Go to Actions (the wrench icon) > Canvas > Drawing Guide.
Tap Edit Drawing Guide and make sure you have a grid showing. This helps you keep your elements balanced, but it’s not essential—just helpful.
Step 3: Draw Your First Elements
Here’s where your creativity kicks in. Start sketching your pattern elements—flowers, mushrooms (here’s how to draw a mushroom if you need a refresher!), leaves, stars, geometric shapes, whatever speaks to you.
Pro tip: Keep your elements away from the edges of the canvas for now. We’ll deal with those in a minute.
If you’re working from a photo reference, you can always trace it in Procreate first to get clean outlines.
Step 4: Duplicate and Offset
This is where the seamless magic happens.
Once you’ve got a few elements drawn, merge your layers (or duplicate and flatten them if you want to keep your original).
Now, go to Actions > Canvas > toggle on Drawing Assist for a new layer.
Actually, scratch that—let me give you the easier method:
- Select your elements (use the selection tool)
- Duplicate the layer
- Move this duplicated layer to the exact opposite corner
Here’s the trick: if your canvas is 2000×2000 pixels and you move something 1000 pixels to the right, you also need to move it 1000 pixels down. This creates the seamless repeat.
Procreate’s Snapping feature (Actions > Canvas > Snapping) can help you get precise movements.
Step 5: Fill in the Gaps
Now you’ll notice some empty space in the middle of your canvas. This is where you add more elements to fill in those gaps and create a balanced, cohesive pattern.
Feel free to experiment with color mixing to add depth and variation to your pattern.
Step 6: Test Your Pattern
Want to see how your pattern looks when repeated?
Duplicate your canvas, then tile it side-by-side in a larger canvas. If the edges line up perfectly without any visible seams, congratulations—you’ve got yourself a seamless pattern!
If you notice gaps or awkward overlaps, go back and adjust your elements until everything flows smoothly.
20+ Seamless Pattern Ideas to Try
Stuck on what to create? Here are some ideas to get your creativity flowing:
Nature-Inspired Patterns:
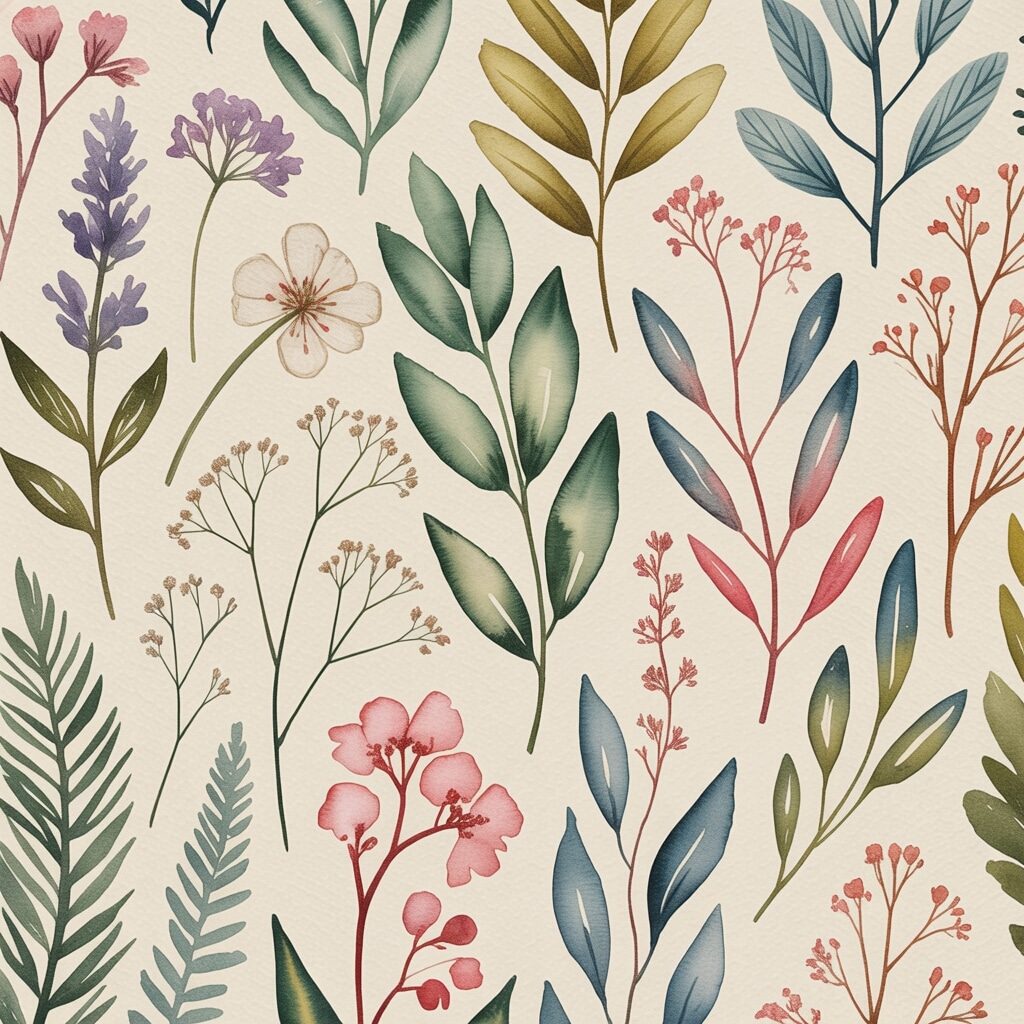
- Pressed flowers and botanical leaves
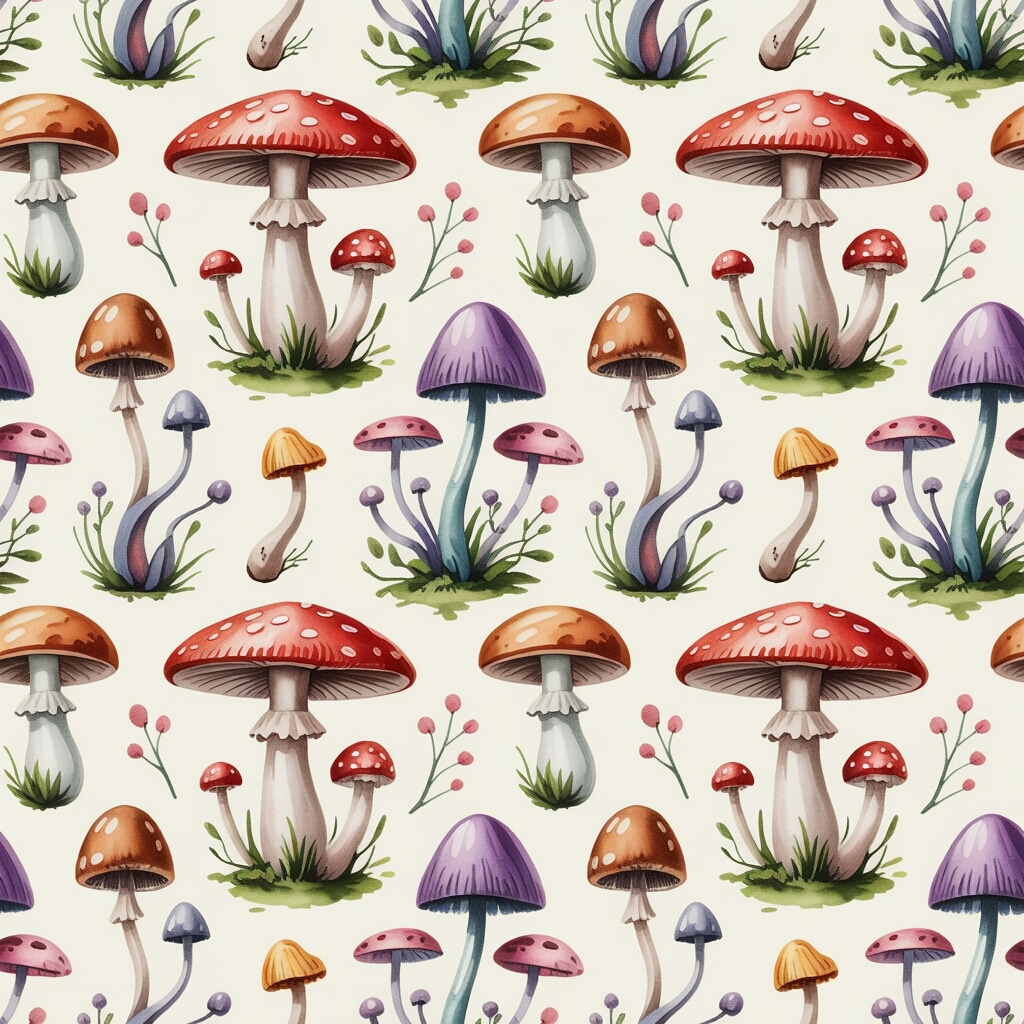
- Tiny mushrooms and toadstools
- Delicate ferns and wildflowers
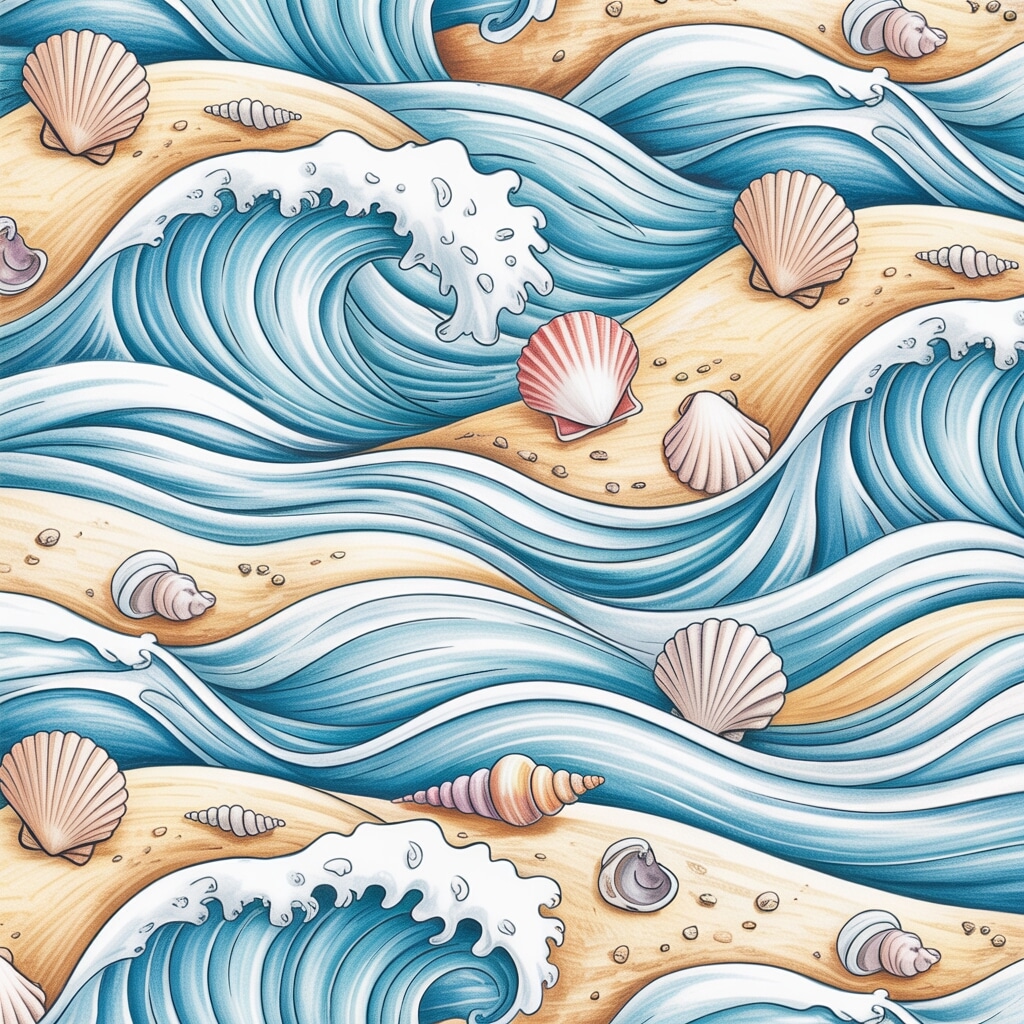
- Ocean waves and seashells
- Woodland creatures (foxes, owls, hedgehogs)
- Spring watercolor florals
Whimsical & Playful:
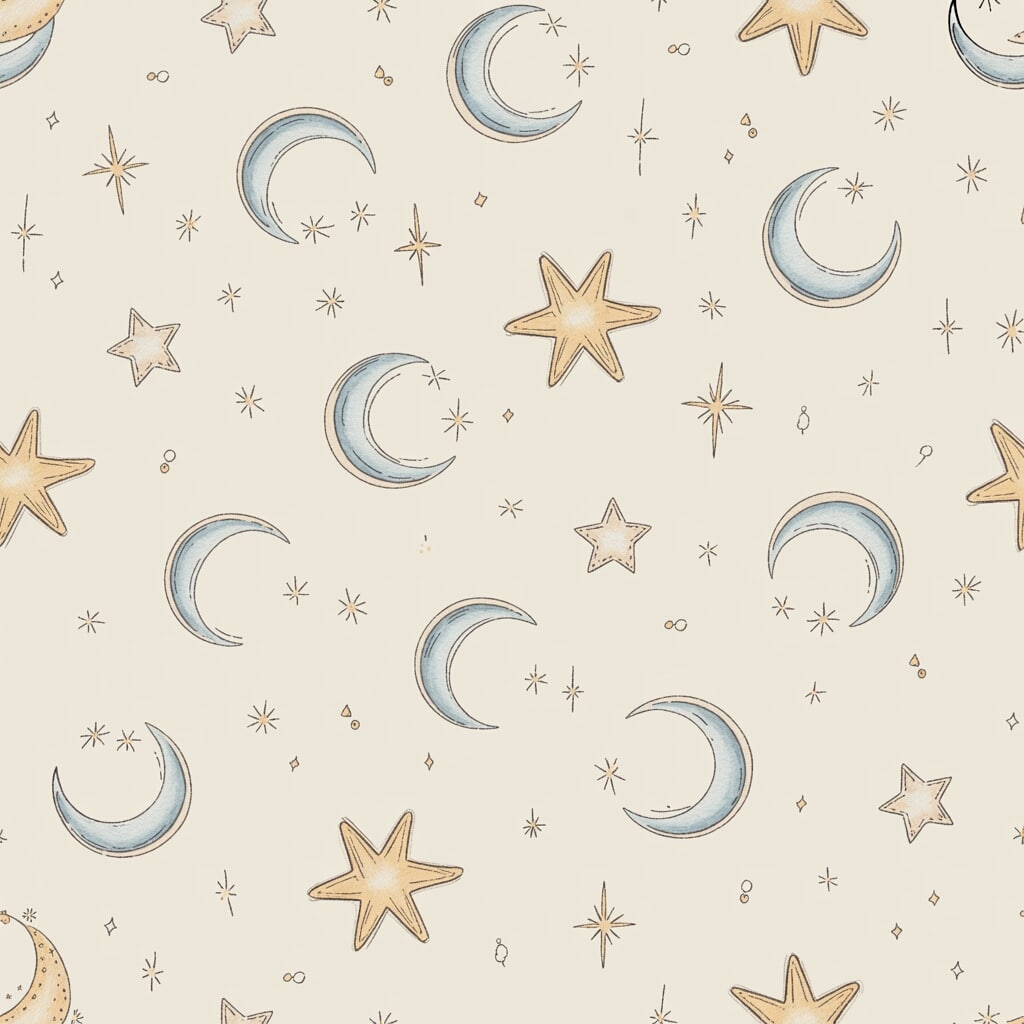

- Hand-drawn stars and moons
- Vintage teacups and saucers
- Books and reading glasses
- Envelopes and vintage stamps
- Hot air balloons and clouds
- Chibi character poses
Geometric & Modern:

- Simple dots and dashes
- Abstract watercolor blobs
- Triangles and hexagons
- Chevron stripes
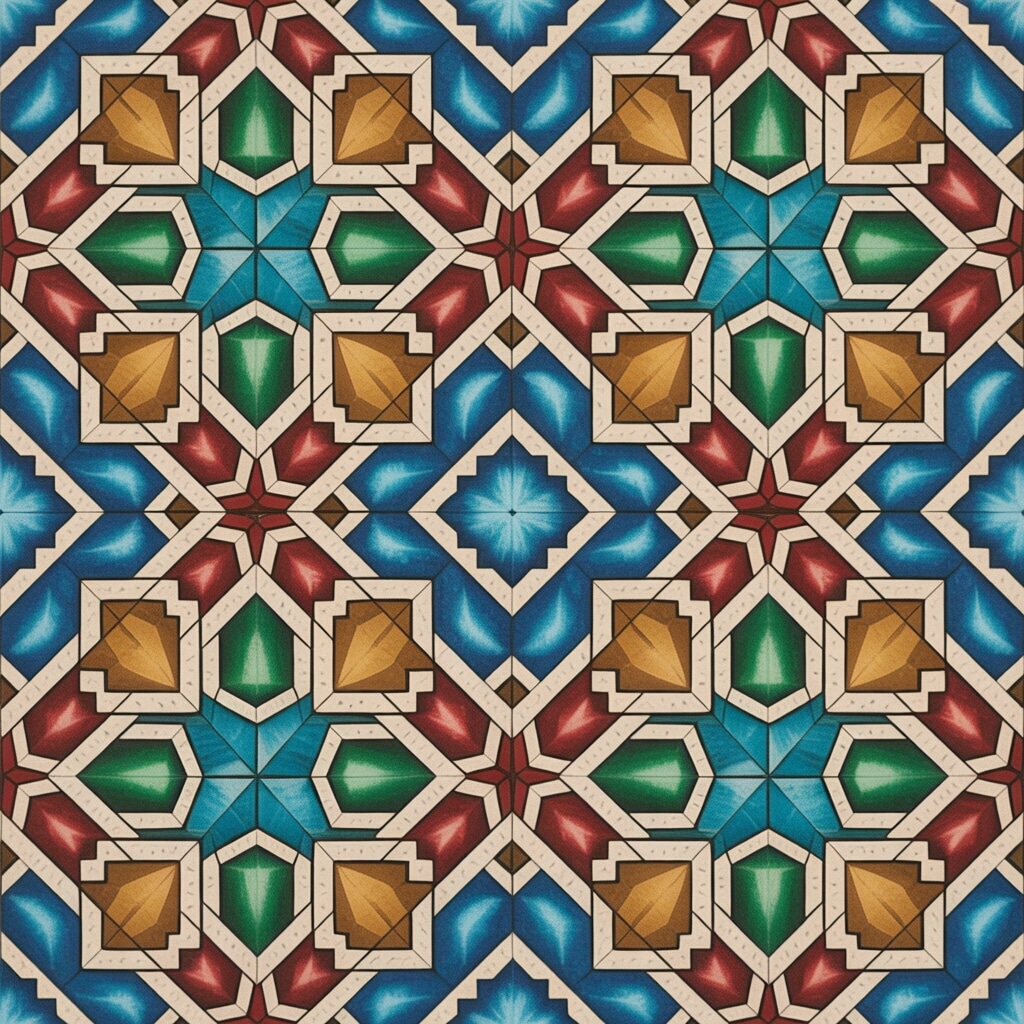
- Moroccan tile shapes
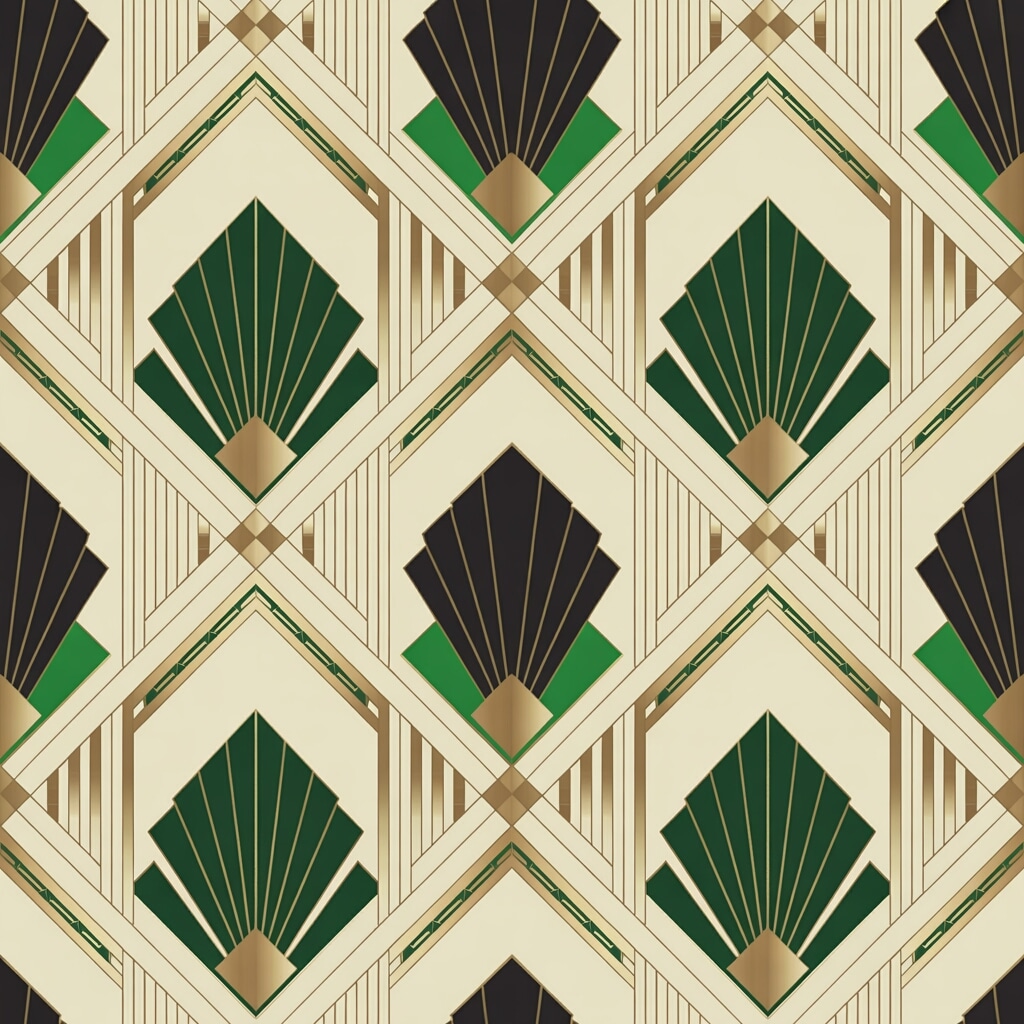
- Art deco lines
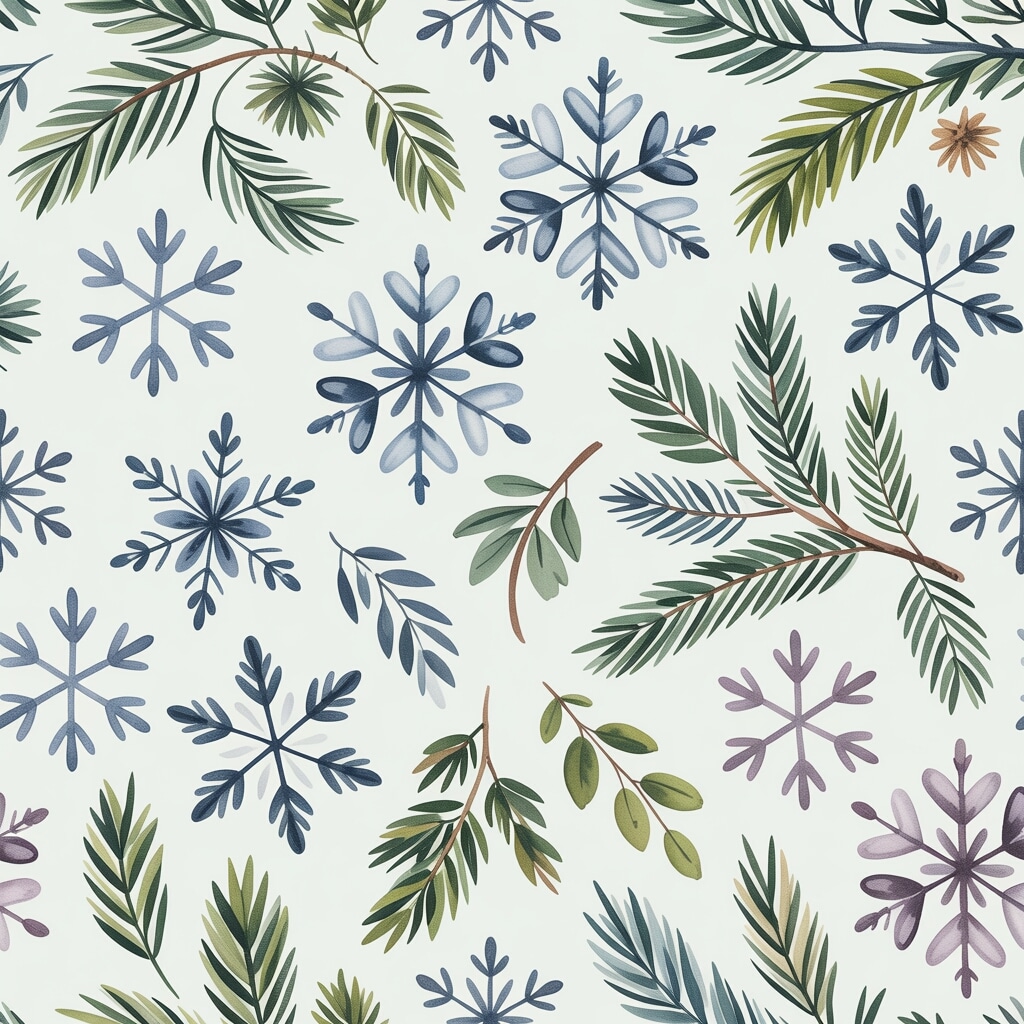
Seasonal Themes:
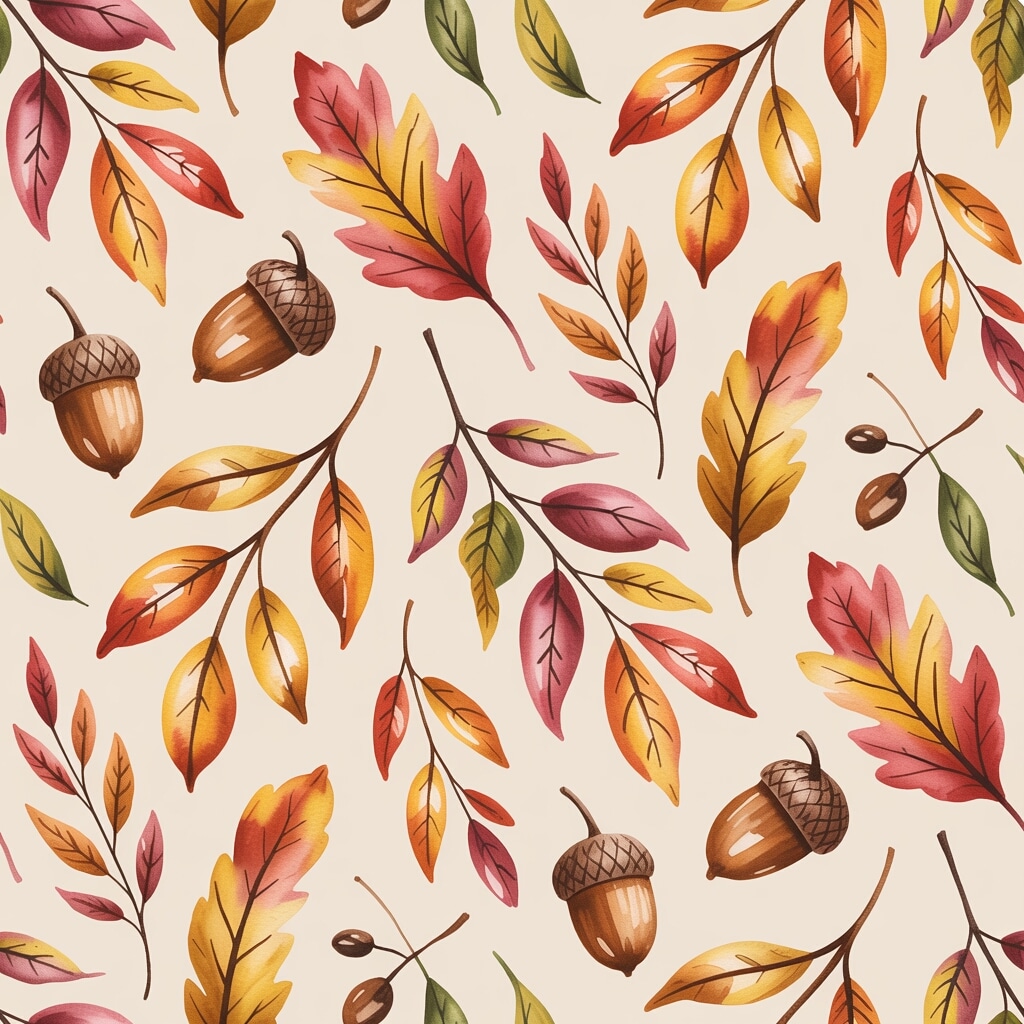
- Autumn leaves and acorns
- Winter snowflakes and pine branches
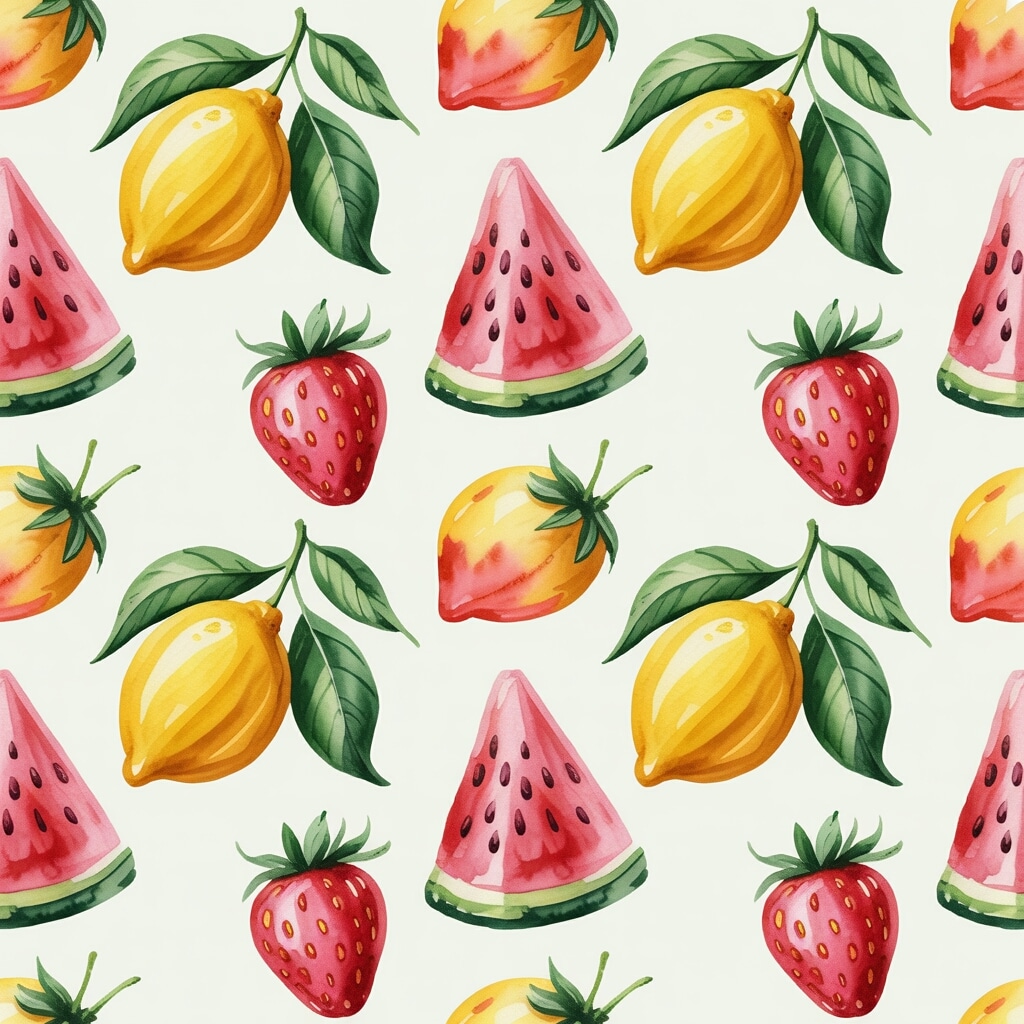
- Summer fruits (lemons, strawberries, watermelon)
- Spring cherry blossoms
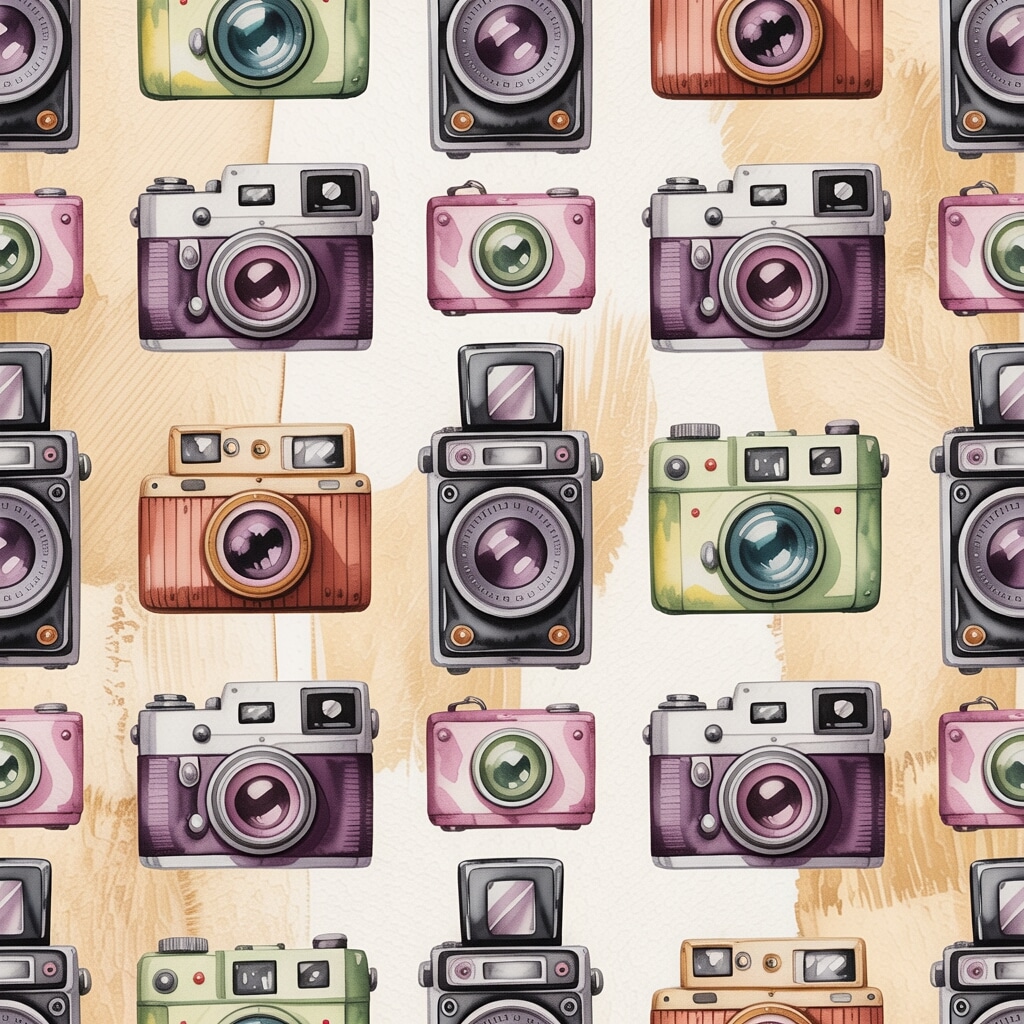
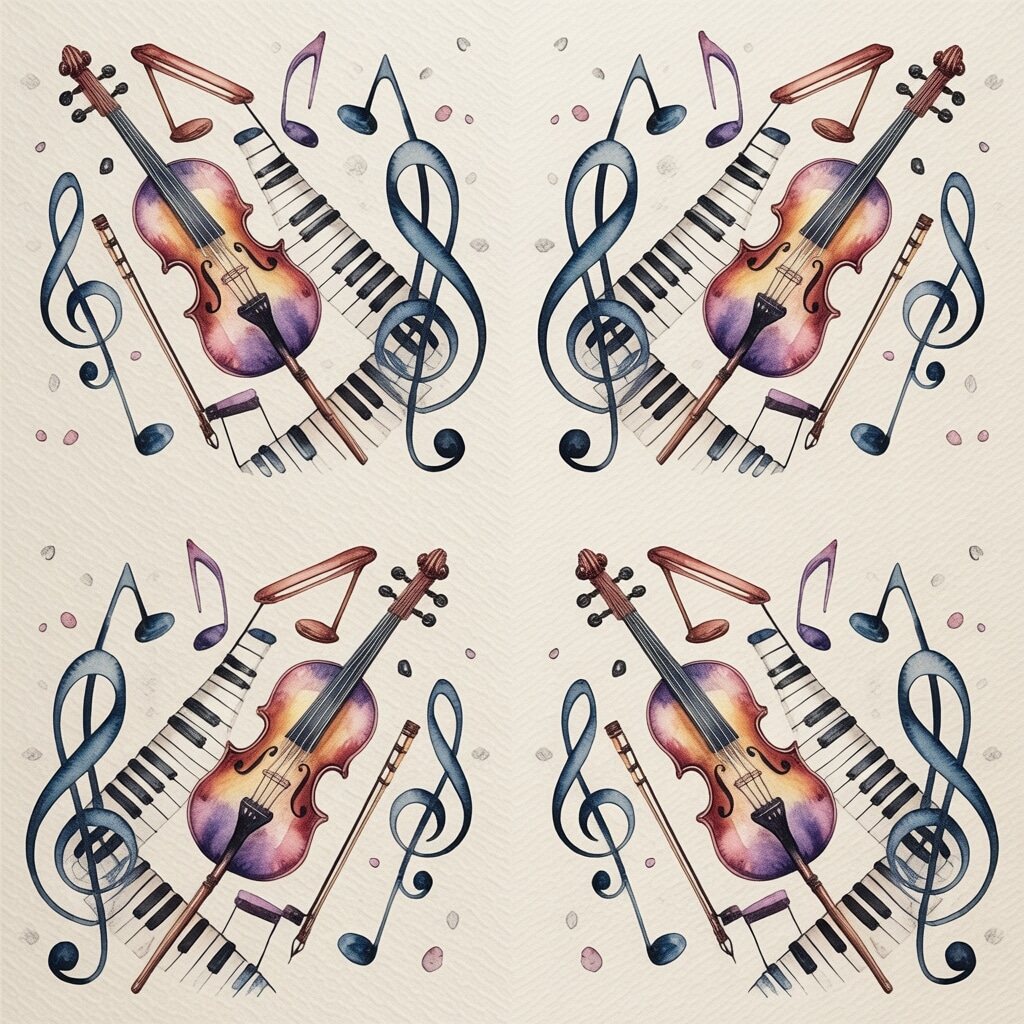
Quirky & Fun:
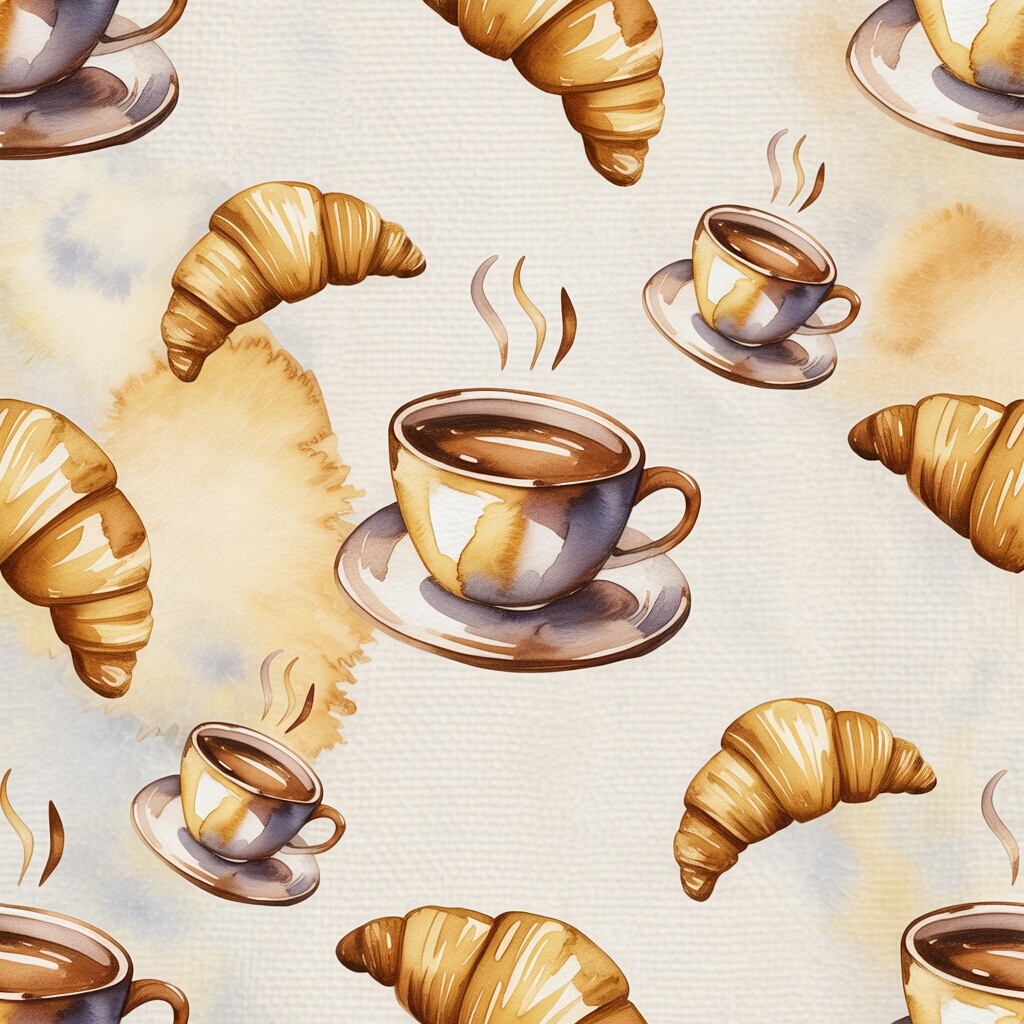
- Coffee cups and croissants
- Vintage cameras
- Cacti and succulents
- Hand-lettered words or phrases
- Musical notes and instruments
The possibilities are honestly endless. And once you’ve created your pattern, you can use it for coloring pages in Procreate, custom stickers, or even print them out for traditional crafts.
Tips for Creating Better Patterns
Vary Your Scale Mix large and small elements to create visual interest. A pattern with all same-sized objects can feel flat.
Consider Color Harmony Stick to a cohesive color palette. Three to five colors usually work best. Too many and your pattern can feel chaotic.
Leave Breathing Room Don’t overcrowd your pattern. Negative space is your friend—it helps the eye rest and makes your design feel more sophisticated.
Think About Your End Use Creating a pattern for phone wallpaper? Keep important elements away from where icons typically sit. Designing fabric? Consider how the pattern will look when worn or draped.
Sketch Traditionally First Sometimes I’ll sketch pattern ideas with Micron pens or acrylic markers in my sketchbook before bringing them into Procreate. There’s something about the tactile process that sparks different ideas.
Pin this for later 👇🏻

What to Do With Your Finished Patterns
Now that you’ve created some gorgeous seamless patterns, what’s next?
- Create digital paper packs to sell on Etsy or in your own shop
- Design custom wrapping paper for gifts
- Make phone or desktop wallpapers (for yourself or to share with your email list!)
- Print them on fabric through print-on-demand services
- Use them as backgrounds for stickers or planner pages
- Add them to your art journal for unique page backgrounds
Ready to Start Creating? Download my Procreate Sticker Making Kit below!
Seamless patterns might seem tricky at first, but once you nail the technique, you’ll be creating them in your sleep. Seriously, I sometimes dream in repeating florals now.
The key is practice and experimentation. Try different styles, play with colors, and don’t worry if your first few attempts aren’t perfect. (Mine definitely weren’t!)
Download my FREE Procreate Sticker Making Kit to kickstart your digital art journey! This kit includes brushes, templates, and everything you need to start creating beautiful stickers and patterns in Procreate.
Happy pattern making! I’d love to see what you create—tag me on Instagram or Pinterest so I can cheer you on.
xx Dee
Want more Procreate tips? Check out my full collection of Procreate tutorials for beginners and beyond!