Last Updated on July 18, 2026 by Dee
When I first started watercolor painting, I made the mistake of jumping straight into complicated subjects—flowers, landscapes, portraits. No wonder I felt frustrated and ready to give up after every session.
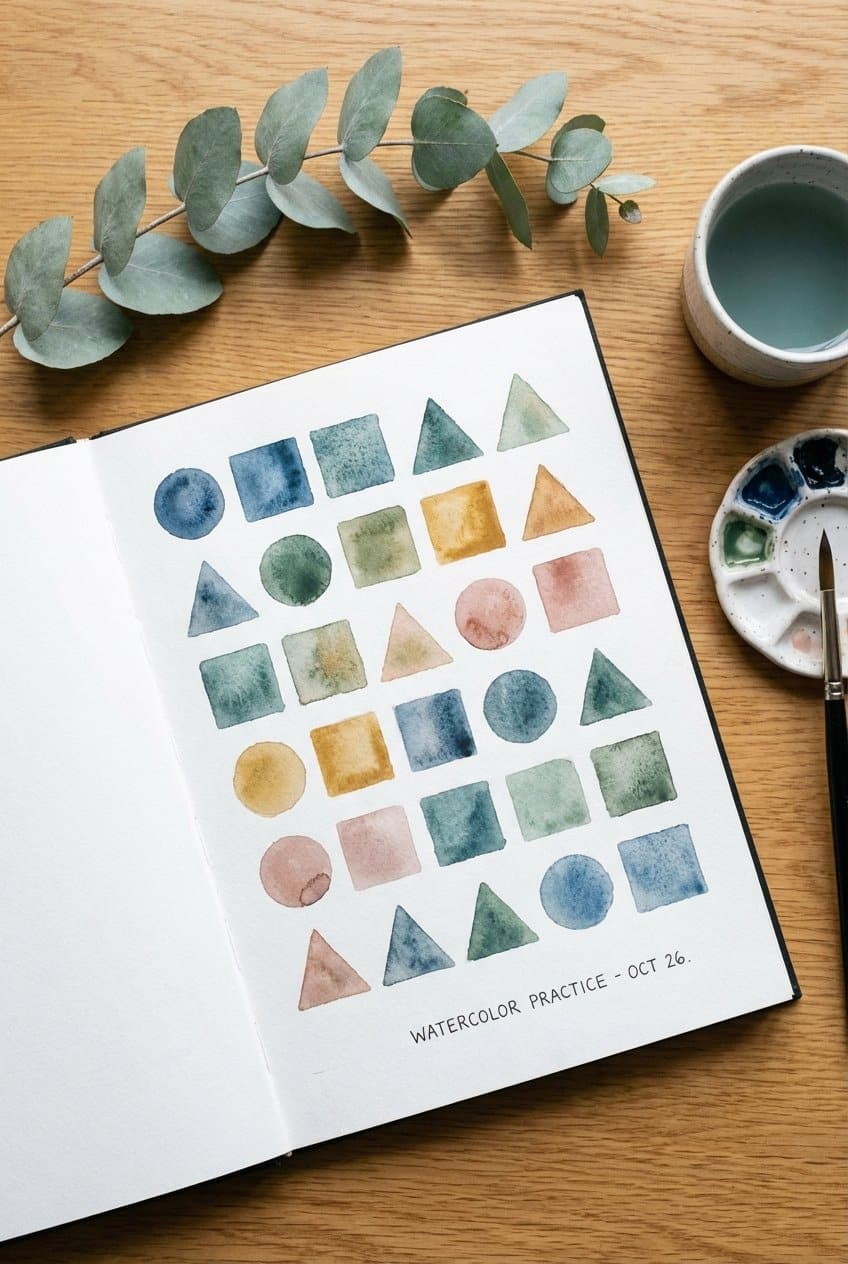
Then a fellow artist suggested something that changed everything: practice with simple shapes first. Circles, squares, triangles. It sounded almost too basic, but those humble geometric forms taught me more about watercolor behavior than any complex painting ever did.
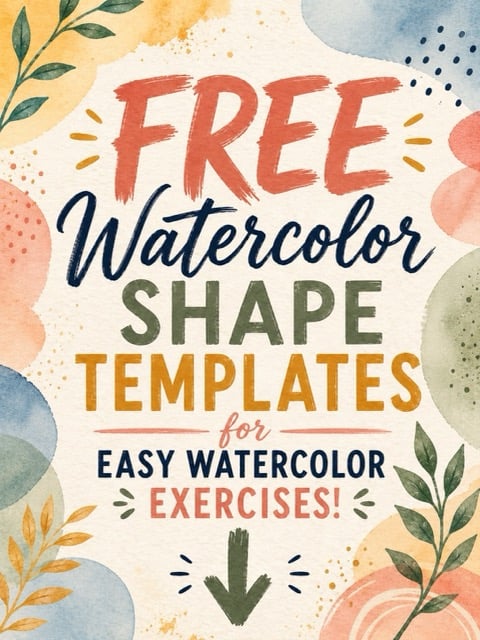
Grab your free Simple Watercolor Shapes Practice Templates below!
Simple watercolor shapes aren’t just for beginners—they’re the foundation that even professional artists return to when they want to sharpen their skills or try new techniques.
🎬 Love video tutorials? Subscribe to my YouTube channel for weekly watercolor tutorials and art inspiration!
What’s Inside
Why Practice with Simple Shapes
Quick Answer: Simple shapes isolate fundamental watercolor techniques—water control, brush pressure, pigment flow—without the distraction of trying to “get the subject right.”
When you paint a circle, you’re not worried about whether it looks like a specific flower or fruit. You’re free to focus entirely on how the water moves, how the pigment settles, and how your brush responds to different pressures.
This kind of focused practice accelerates your learning exponentially. Five minutes of intentional shape practice teaches you more than an hour of frustrated painting where you’re trying to do too many things at once.
Ready to take these shape drills further? My premium watercolour reference sets on Patreon come with colour-recipe cards for every wash you practise here.
Browse the reference sets →Circle Exercises for Watercolor Control
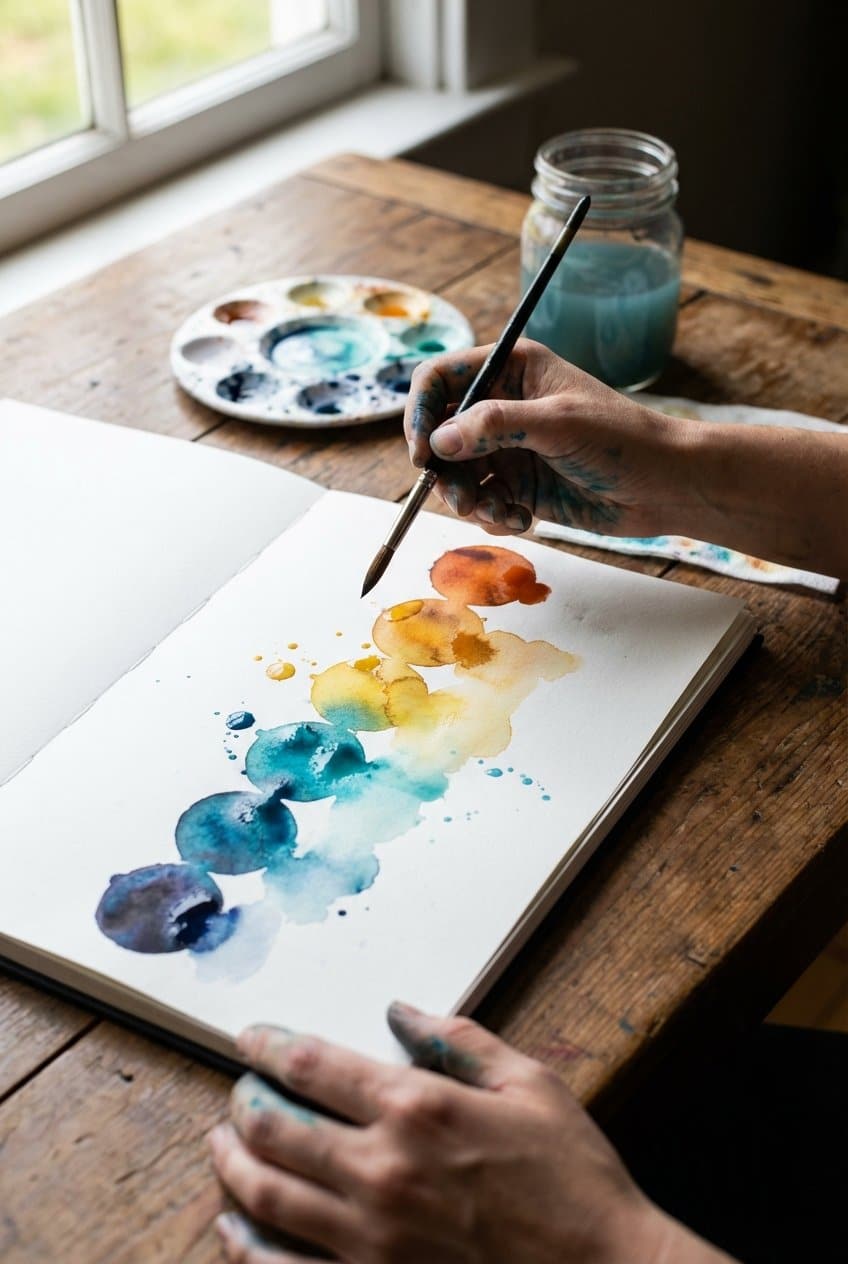
Circles are wonderfully forgiving—there’s no expectation of straight lines or sharp corners. They’re perfect for practicing smooth, flowing brush movements and understanding how water and pigment interact.
Exercise 1: Gradient Circles
Paint a row of circles, each one slightly lighter than the last. Start with full-strength pigment and gradually add more water. This teaches you pigment-to-water ratios better than any tutorial.
Exercise 2: Wet-on-Wet Circles
Wet your circle shape first with clean water, then drop in pigment and watch it bloom. Try different wetness levels to see how it affects the spread.
Exercise 3: Color Blend Circles
Start with one color on one side of the circle and a different color on the other. Let them meet and blend in the middle. This is the foundation for painting everything from sunsets to flower petals.
I find a good round brush essential for smooth circles. My Escoda round brushes hold their point beautifully even after years of use.
Square Practice for Wash Techniques
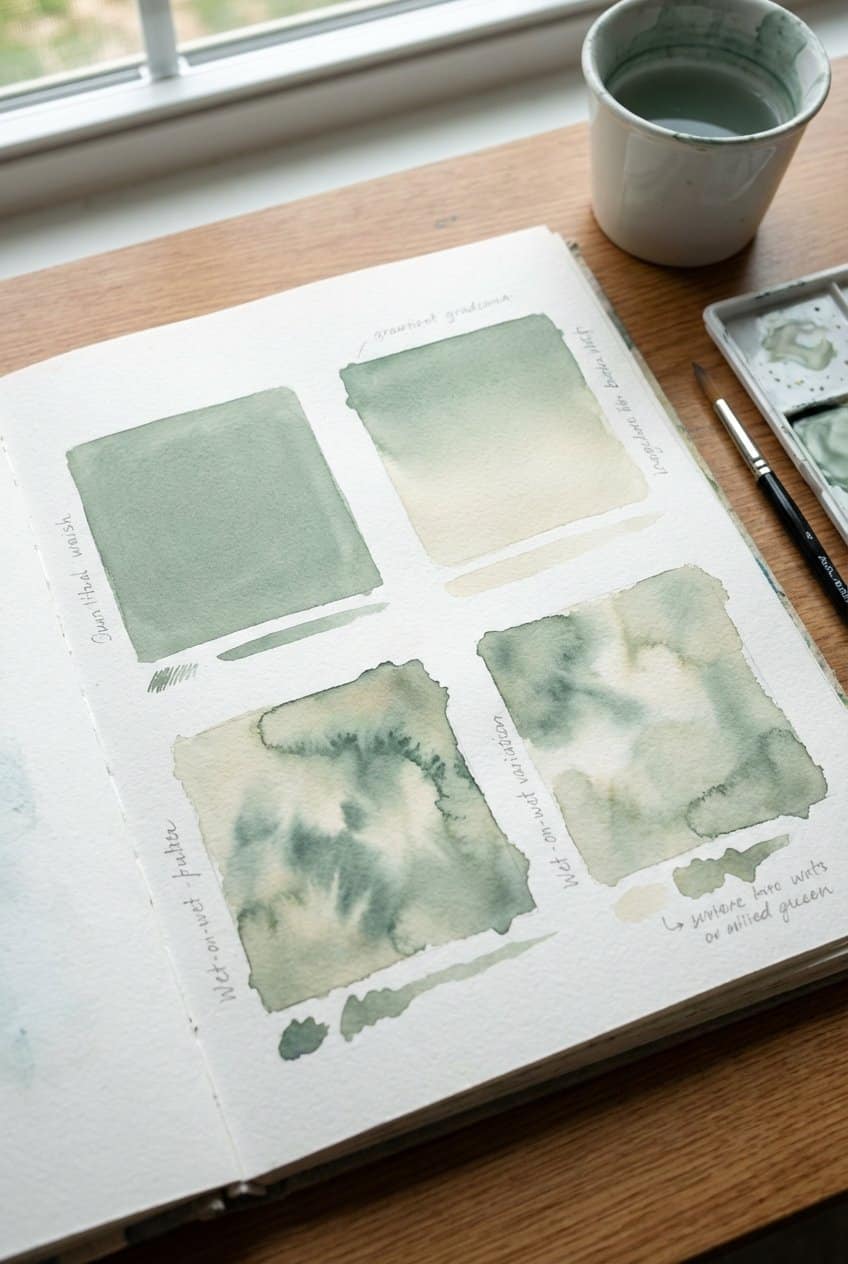
Squares and rectangles are the best shapes for practicing flat washes and gradients. Those straight edges reveal every wobble and inconsistency in your wash, making them perfect training grounds.
Exercise 1: Perfect Flat Wash
The goal is completely even color from edge to edge. Tilt your paper slightly, load your brush well, and work in horizontal strokes, picking up the bead of paint at the bottom of each stroke.
Exercise 2: Graded Wash
Start with full pigment at the top and gradually add water to each stroke as you work down. You’ll end with a beautiful gradient from dark to light.
Exercise 3: Variegated Wash
Add different colors as you work down the square, letting them blend naturally. This creates beautiful, dynamic backgrounds.
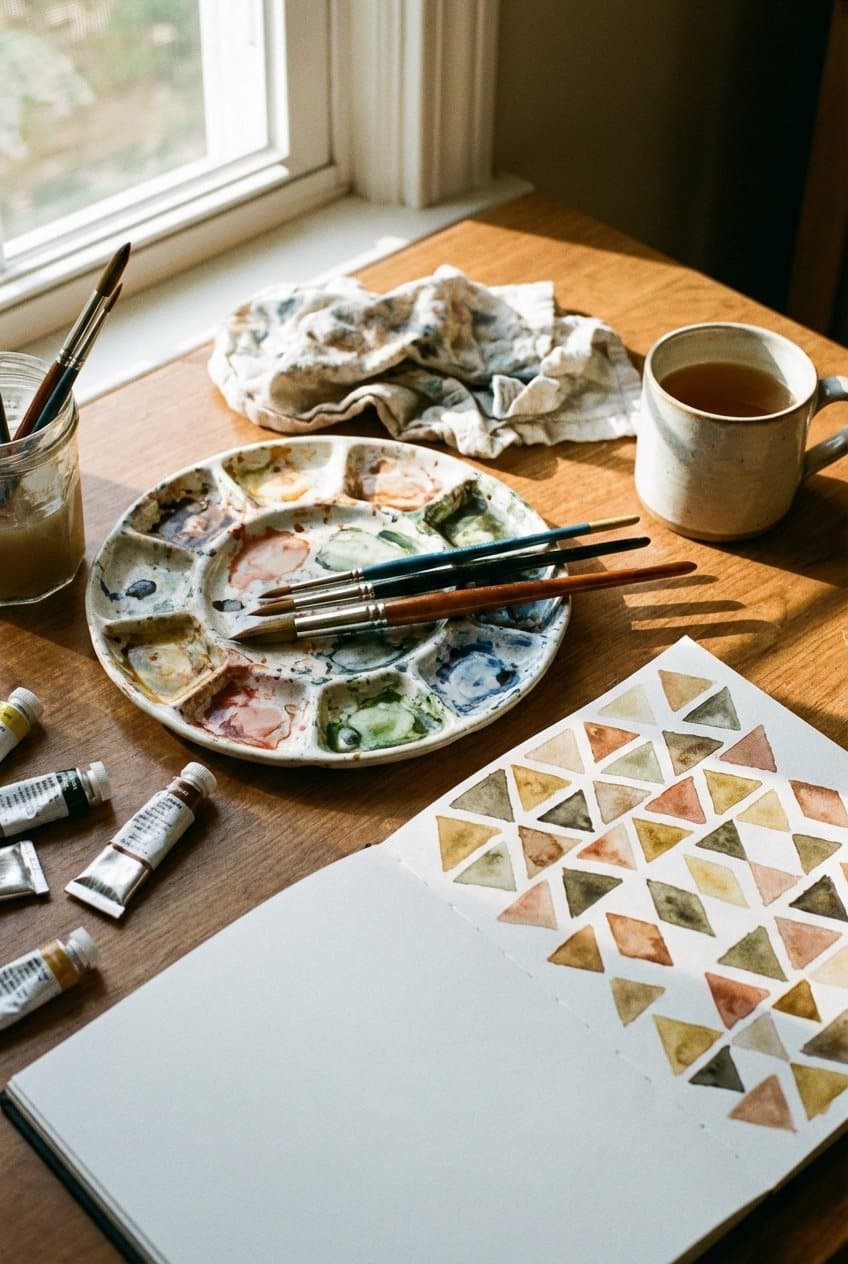
Triangle Drills for Brush Control
Triangles challenge your brush control with their sharp corners and varying angles. They’re excellent for developing the precision you’ll need for more complex subjects later.
- Point-down triangles – Practice starting broad and tapering to a point
- Point-up triangles – Start at the point and widen your strokes
- Right triangles – Combine straight lines with angled strokes
- Overlapping triangles – Practice transparency and layering
For sharp corners, try lifting your brush completely and repositioning rather than trying to turn it in one motion. This gives you much cleaner points.
A Simple Daily Practice Routine
Quick Answer: A 10-15 minute daily routine of shape practice builds skills faster than sporadic longer sessions and helps establish a sustainable creative habit.
Here’s a simple routine you can do in about 15 minutes:
- Warm up (2 min) – Paint random circles just to get the feel of your brush
- Focused exercise (8 min) – Choose one exercise from above and practice mindfully
- Color play (5 min) – Paint shapes using colors you’ve never tried together
The key is consistency over duration. Ten minutes every day beats two hours once a week. Your muscle memory and intuition develop through regular practice, not marathon sessions.
A good watercolor sketchbook makes daily practice more inviting. I use my Canson XL Watercolor Sketchbook for practice sessions—the paper handles all these exercises well and it’s affordable enough that I don’t feel precious about “wasting” pages.
Supplies You’ll Need
Shape practice doesn’t require fancy supplies, but having quality basics makes the experience more enjoyable and your results more predictable.

| 
| 
| 
|
This post contains affiliate links, which means I may earn a small commission at no extra cost to you if you make a purchase. I only recommend products I genuinely love and use myself!
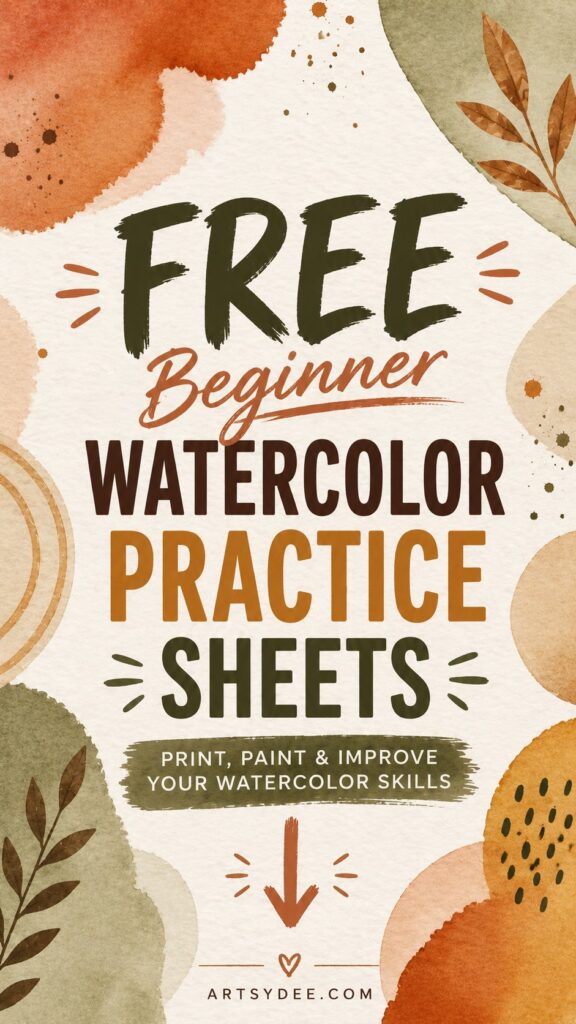
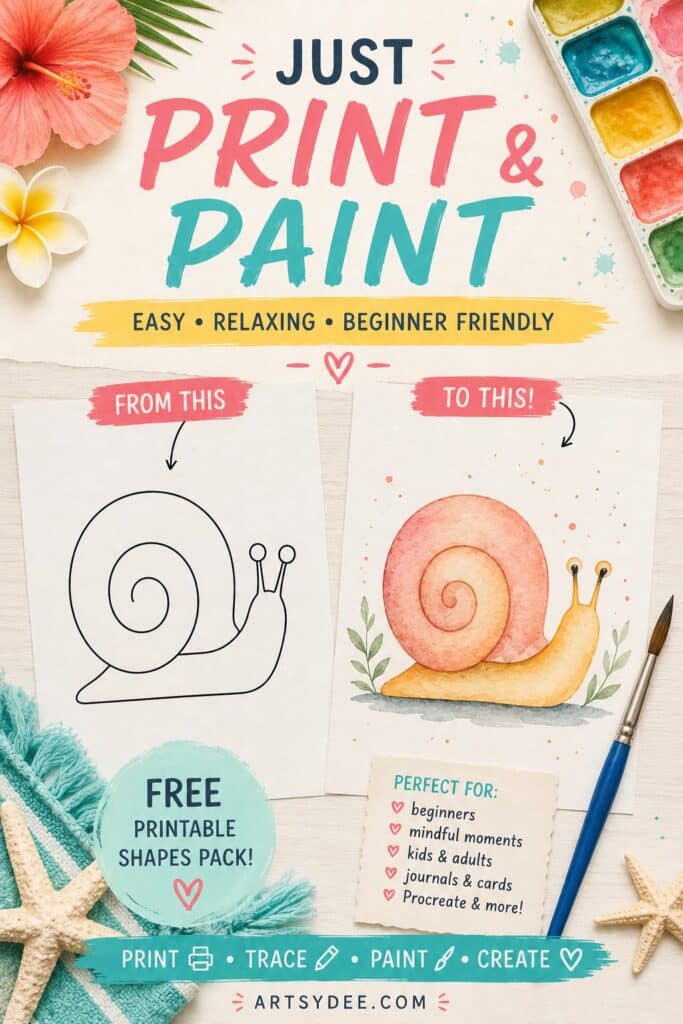
Free Shape Practice Templates
Want some structure for your shape practice? I’ve created printable templates with outlined shapes that are perfect for practicing watercolor techniques. Just print, trace lightly, and paint!
Looking for more printable resources? Check out my Payhip shop for premium watercolor templates and guides!
Frequently Asked Questions
How long should I practice watercolor shapes each day?
Even 10-15 minutes of focused daily practice is effective. Consistency matters more than duration—regular short sessions build muscle memory and intuition faster than occasional long sessions.
What’s the best paper for watercolor shape practice?
Use at least 140lb (300gsm) watercolor paper or a quality watercolor sketchbook. For practice, cold-pressed paper offers a good balance of texture and smooth flow.
Should I sketch shapes before painting them?
For technique practice, try painting shapes freehand—it helps develop your brush control. If you want more precise shapes, a light pencil outline works fine, just keep it simple.
How do I know when I’m ready for more complex subjects?
When you can paint consistent flat washes, smooth gradients, and controlled wet-on-wet effects in your shapes, you’re ready to apply those skills to more complex subjects. But many artists continue shape practice alongside their other work.
Final Thoughts
There’s a zen quality to painting simple shapes. No pressure to create a masterpiece, no reference photos to compare yourself to, just you, your brush, and the beautiful unpredictability of watercolor.
Start with circles tomorrow morning—just five minutes while your coffee cools. I promise you’ll learn something about watercolor that you didn’t know before. And those lessons will show up in every painting you make from now on.
Want to see these techniques in action? Head over to my YouTube channel where I share step-by-step watercolor tutorials every week. Hit subscribe so you don’t miss the next one!
Tag me on Instagram @artsydee or Pinterest when you try these exercises—I love seeing your practice pages!
You Might Also Like
- Tiny Watercolor Florals for Sketchbooks
- One-Page Watercolor Sketchbook Ideas
- Mini Watercolor Landscapes for Beginners
- Easy Watercolor Ideas Using Circles and Lines
- What to Paint First When You’re New to Watercolor
Pin this for later!
Daily circles, squares and triangles build the control — colour confidence is the other half. My Patreon reference sets add colour-recipe cards to every printable, so your flat, graded and variegated washes land where you want them.
See the reference sets →