Last Updated on November 19, 2025 by Dee
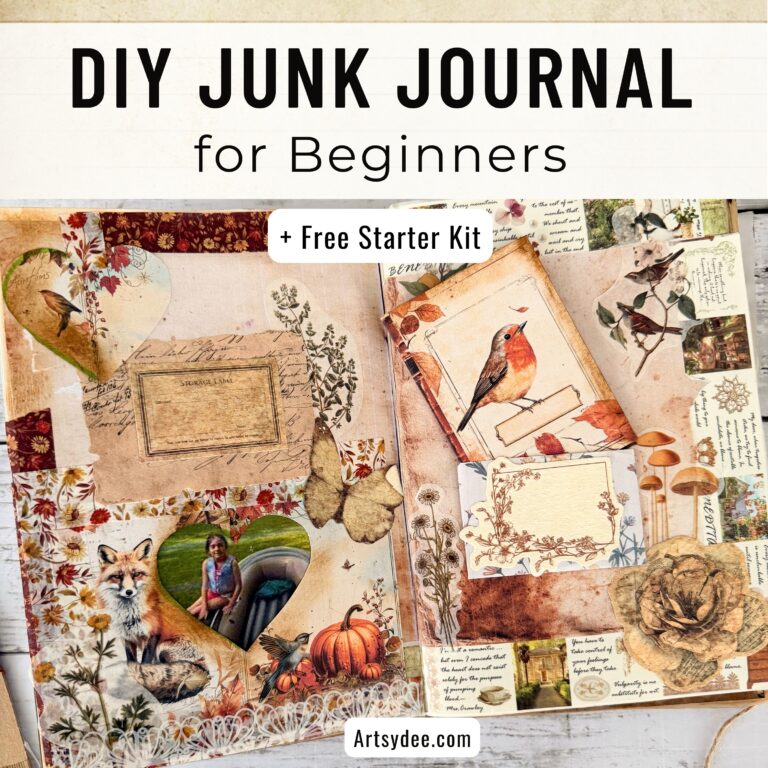
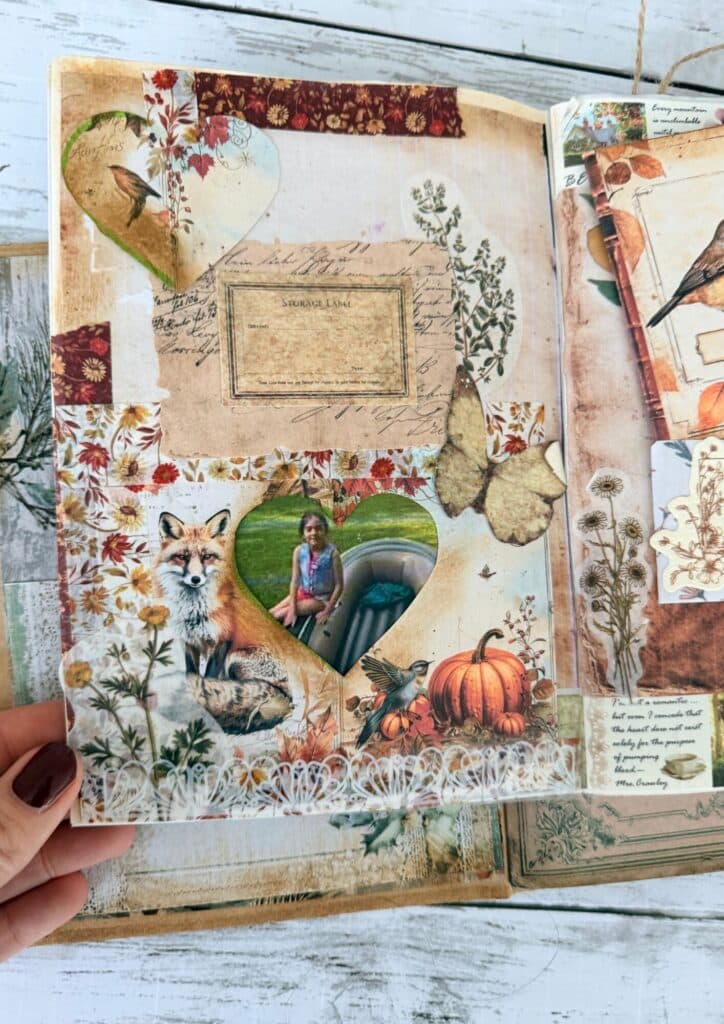
There’s something wonderfully imperfect about a junk journal. It’s not precious or polished—it’s messy, layered, and completely yours. Think of it as a creative dumping ground where old ticket stubs, fabric scraps, and random bits of paper come together to tell your story. No rules, no judgment, just pure making.
Want to dive in? Download my free DIY junk journal starter kit at the bottom of this page.
What Exactly Is a Junk Journal?
A junk journal is a handmade book filled with repurposed papers, vintage ephemera, and whatever oddments you can’t bear to throw away. Coffee-stained napkins? In. Old book pages? Perfect. That beautiful wrapping paper from your birthday? Absolutely.
Unlike traditional journals with their pristine white pages, junk journals celebrate texture and randomness. They’re thick, bumpy, and stuffed with pockets, fold-outs, and layers. The pages might be different sizes. Some might be see-through. Others might have torn edges or paint splatters.
And that’s exactly the point.
Why Make a Junk Journal?
Because it’s ridiculously fun, for starters. But also:
It’s therapeutic. There’s something deeply satisfying about gluing, cutting, and arranging things. It quiets the brain in the best way.
It uses what you already have. Raid your recycling bin, dig through old magazines, save those pretty shopping bags. Suddenly, trash becomes treasure.
There are no mistakes. Glued something wonky? That’s character. Ripped a page? Add a patch over it. Everything adds to the story.
It’s yours. No two junk journals look the same. Yours will be a perfect reflection of your aesthetic, your memories, your weird little collections.
Gathering Your Supplies
This post includes affiliate links. If you purchase through them, I may earn a small commission at no extra cost to you. I only recommend products I truly love.
You don’t need much to get started, and you definitely don’t need fancy art supplies. In fact, if you’re just beginning your creative journey, check out my guide to essential art supplies for beginners for more tips on building your toolkit without breaking the bank.
Here’s what I typically use:
The Basics
Papers – This is where the “junk” part comes in. Gather anything and everything:

- Old book pages (check thrift stores for damaged books)
- Scrapbook paper
- Brown paper bags
- Music sheets
- Vintage letters or postcards
- Tissue paper
- Tea-stained paper (I have a whole tutorial on this—it’s easier than you think)
- Wrapping paper scraps
- Old maps
- Magazine pages
- Napkins with pretty patterns
Binding materials – You’ll need something to hold it all together:
- Waxed linen thread (stronger than regular thread)
- A large needle with a big eye
- Or, for the no-sew route: book rings, binder clips, or even ribbon
Adhesive – Because everything needs to stick:
- Glue stick for paper
- Mod Podge for sealing and layering
- Double-sided tape for quick sticking
- Washi tape (functional AND decorative)
Cutting tools:
- Scissors (sharp ones for clean cuts)
- Craft knife and cutting mat for precision work
- Paper trimmer if you want straight edges (optional)
Cardstock or chipboard – For the covers. You want something sturdy. Heavy cardstock or chipboard works perfectly.
The Fun Extras
Once you’ve got the basics sorted, these are the things that make junk journaling especially magical:
Embellishments:
- Vintage stickers
- Lace trim
- Ribbon scraps
- Buttons
- Paper clips (the decorative kind)
- Rubber stamps and ink pads
- Dried flowers or try my free rose printables for a vintage botanical touch
For adding color and texture:
- Watercolor paints
- Colored pencils (and here’s my guide on choosing the best sketchbook for colored pencils if you want to incorporate drawing)
- Gel pens
- Acrylic paint (for backgrounds)
- Distress ink (for aging paper edges)
Organizational bits:
- Envelopes (for creating pockets)
- Library pockets (so satisfying to tuck things into)
- Paper bags (mini ones work great as pockets)
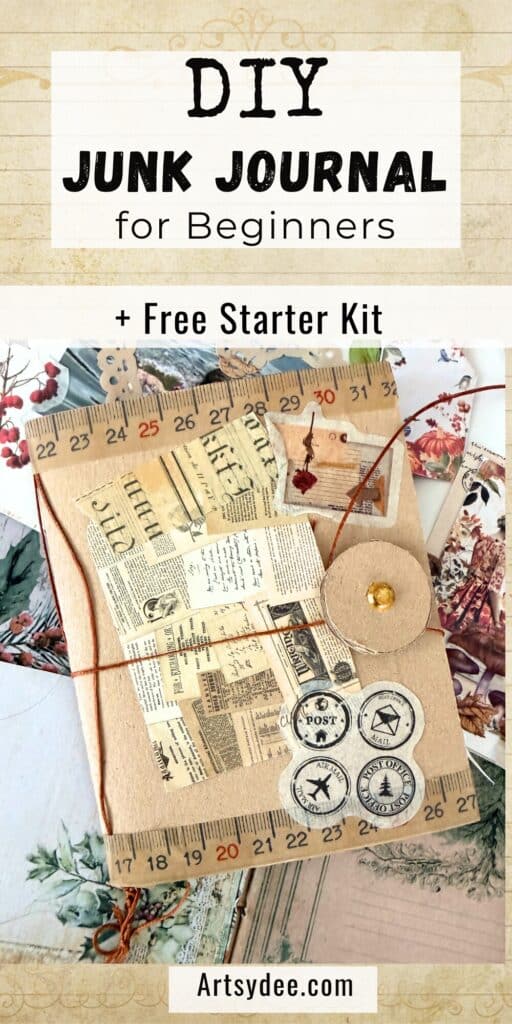
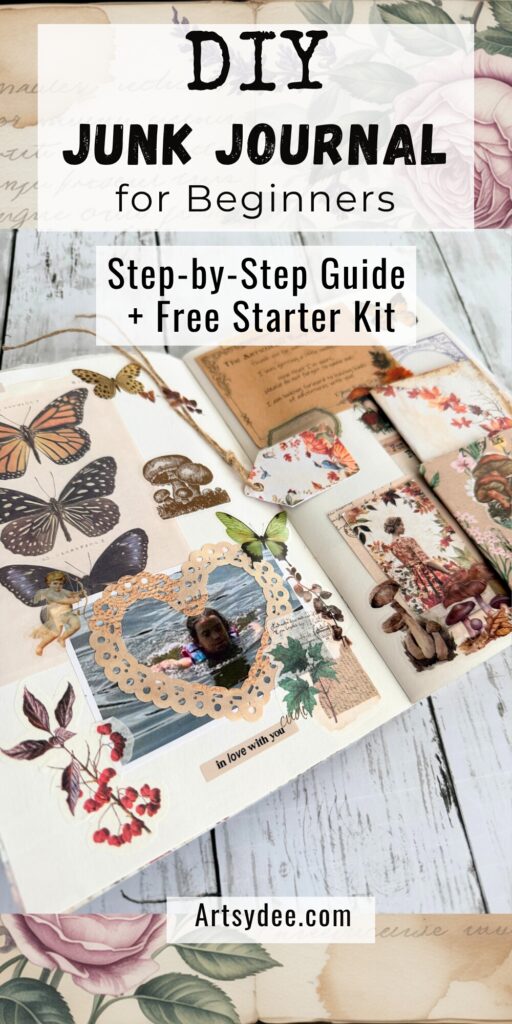
Pin this for later!👇🏻
Three Ways to Start a Junk Journal
Here’s the thing: you don’t have to make a journal from scratch. There are actually three main approaches, and they’re all completely valid.
Option 1: Use an Existing Book or Journal
The easiest way to start junk journaling? Grab something that already exists and transform it.
Old hardcover book – Find a damaged or outdated book at a thrift store. The pages are already bound, you’ve got a sturdy cover, and you can either work directly on the existing pages or glue new papers over them. Vintage books add instant character.
Blank journal or notebook – Pick up an inexpensive composition notebook, spiral notebook, or even a watercolor journal. The pages are already there—just start layering, gluing, and decorating.
Store-bought scrapbook – A blank scrapbook gives you thicker pages that can handle heavy layering and plenty of glue without warping.
This approach is perfect if you want to jump right into the creative part without worrying about binding or construction.
Option 2: Create Signatures and Bind Your Own
This is the method I walked through in detail below—gathering loose papers, folding them into signatures, and binding them together. It gives you complete control over what papers go inside and creates that signature chunky, layered look.
Option 3: Hybrid Approach
Start with an existing journal, then add signatures. Glue folded paper bundles into the binding or use book rings to attach extra sections. You get structure plus freedom.
Pick whichever method feels right for you. There’s no wrong way to start.
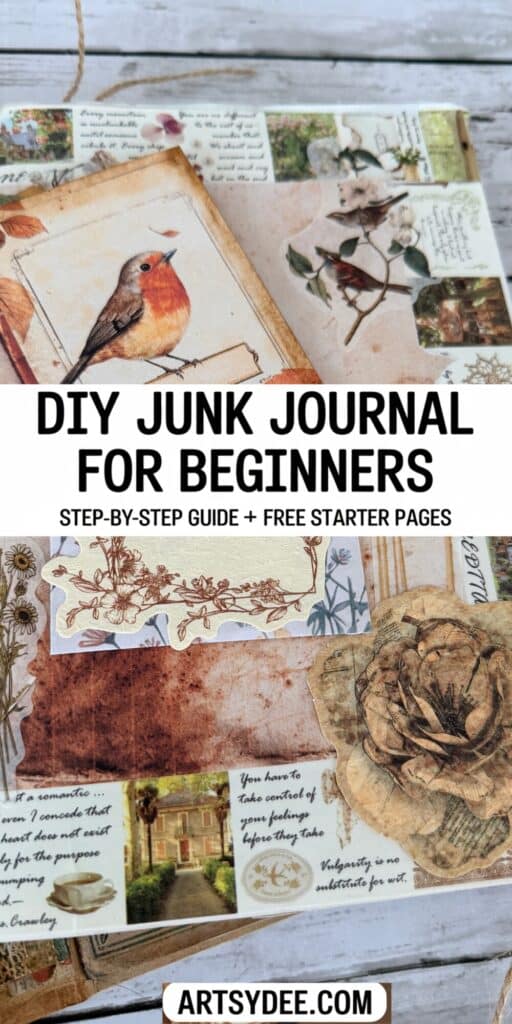
How to Make a Junk Journal from Scratch
If you’re going the DIY binding route, here’s my process. It’s relaxed, a bit messy, and totally doable.
Step 1: Decide on a Size
There’s no “right” size for a junk journal, but it helps to have a rough dimension in mind. Common sizes:
- A5 (5.8″ x 8.3″) – A nice portable size
- Half-letter (5.5″ x 8.5″) – Fits standard printer paper folded in half
- Traveler’s notebook size (4.3″ x 8.25″) – Long and skinny
- Whatever-feels-right size – Seriously, don’t overthink it
I usually aim for something around 6″ x 8″, but I’ve made journals as small as 4″ x 5″ and as big as 9″ x 12″. Use what feels good in your hands.
Step 2: Cut Your Cover
Using chipboard or heavy cardstock, cut two pieces for your front and back covers. These should be slightly larger than your pages—maybe an extra quarter-inch on each side.
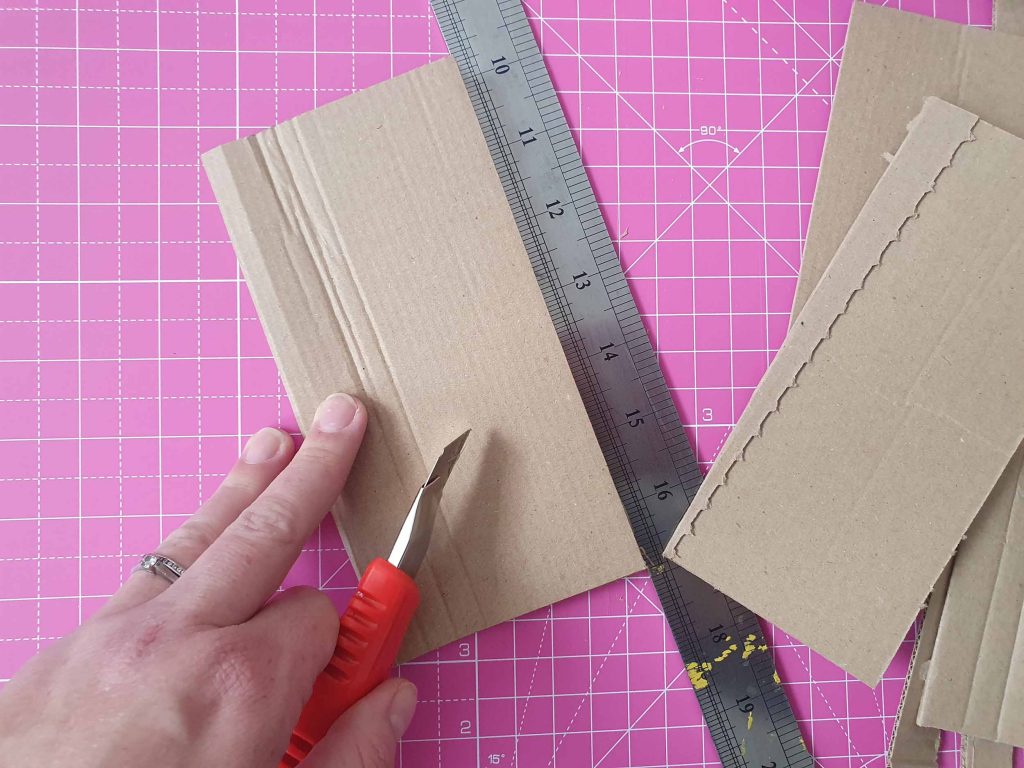
Mine are usually about 6.5″ x 8.5″ for a finished journal that’s roughly 6″ x 8″.
You can decorate them now or later. I tend to leave mine plain at first, then add layers as the journal develops its personality.
Step 3: Prepare Your Pages (Signatures)
This is where it gets fun. In bookbinding terms, a “signature” is a folded section of pages. Instead of trying to bind 50 individual sheets, you’ll create little booklets that get sewn together.

Here’s how:
- Take 3-5 sheets of paper (they can all be different—that’s the beauty of it)
- Fold them in half together
- Press down the fold with a bone folder or the back of a spoon
- Repeat until you have 3-6 signatures (or more—go wild)
I like mixing textures here. Maybe one signature has mostly book pages, another has brown kraft paper, another is full of music sheets. The variety makes it interesting to flip through later.
Step 4: Punch Holes for Binding
Stack your signatures together between your two covers. Line everything up as evenly as you can (perfection is not the goal, but you also don’t want pages sliding out everywhere).
Mark where you want your binding holes. For a simple binding, three holes work great:
- One in the center
- One about an inch from the top
- One about an inch from the bottom
Use an awl or a thick needle to punch through all the layers at once. If your stack is too thick, punch each signature separately, using your first one as a template.
Step 5: Bind It Together
Now for the satisfying part. Thread your needle with waxed linen thread—you’ll want a length about three times the height of your journal.

There are dozens of bookbinding stitches, but for your first journal, a simple pamphlet stitch works perfectly:
- Start from the inside of your middle signature
- Push the needle out through the center hole
- Go back in through one of the outer holes
- Come back out through the center
- Go in through the remaining outer hole
- Come back out through the center
- Tie a knot with your starting thread
Pull everything snug (but not so tight it warps the covers), trim the excess thread, and you’re done.

Prefer no-sew? Use book rings through the holes instead. Or binder clips along the spine. Or punch two holes and tie it closed with ribbon. There’s no wrong way.
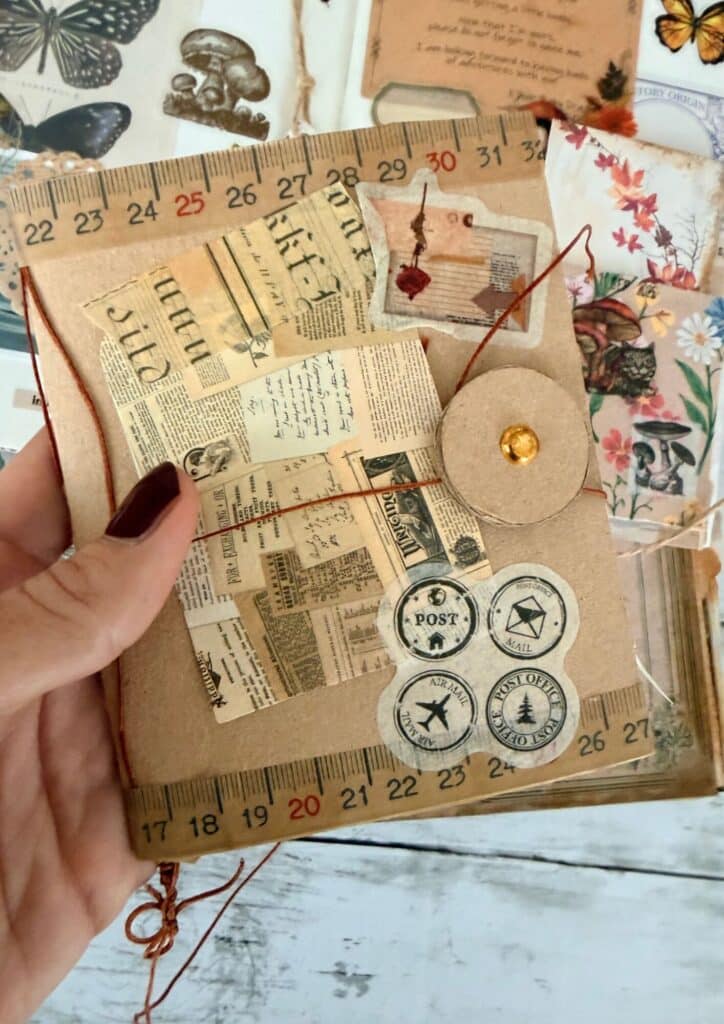
Step 6: Add Pockets and Layers
This is where junk journals really come alive. Go through your signatures and add:
Pockets – Glue Envelopes or Paper bags onto pages. Cut them down if they’re too big. These are perfect for tucking in loose ephemera, receipts, notes, or photos.
Fold-outs – Glue a piece of paper along one edge so it folds out to reveal extra space. I love using old maps for this.
Tip-ins – These are small pieces of paper glued onto a page. Think vintage postcards, decorative napkins, tissue paper, or scraps of patterned paper.
Tabs – Cut strips of paper or washi tape and fold them over the edge of certain pages to create tabbed sections.
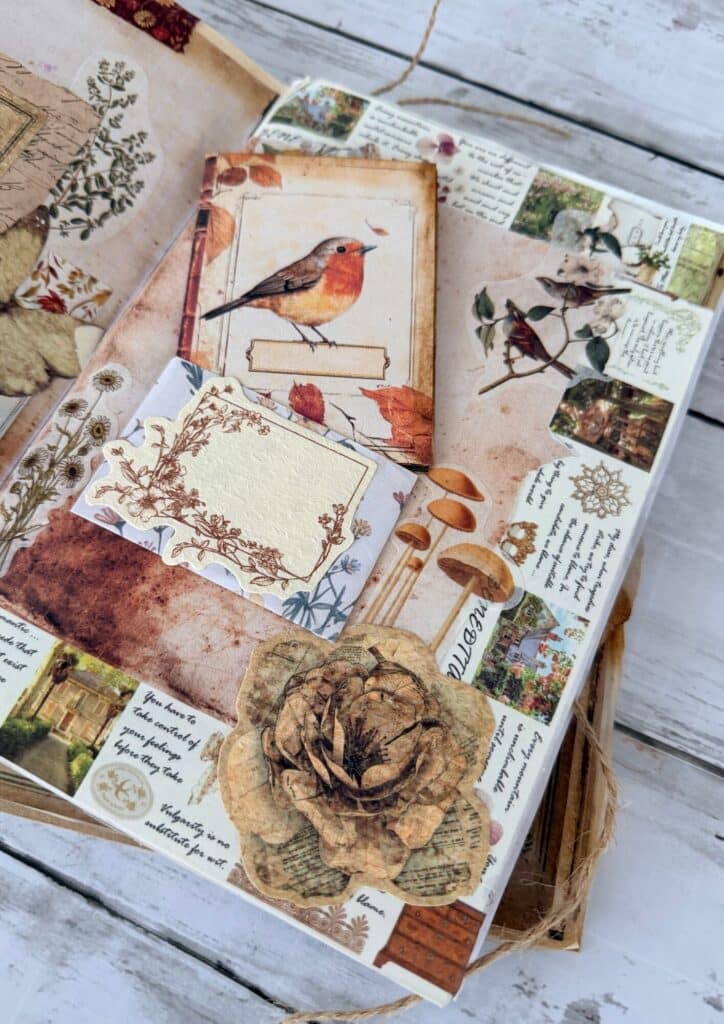
Layer things up. Overlap papers. Let some hang off the edges. Rip some on purpose. This is the messy, magical part.
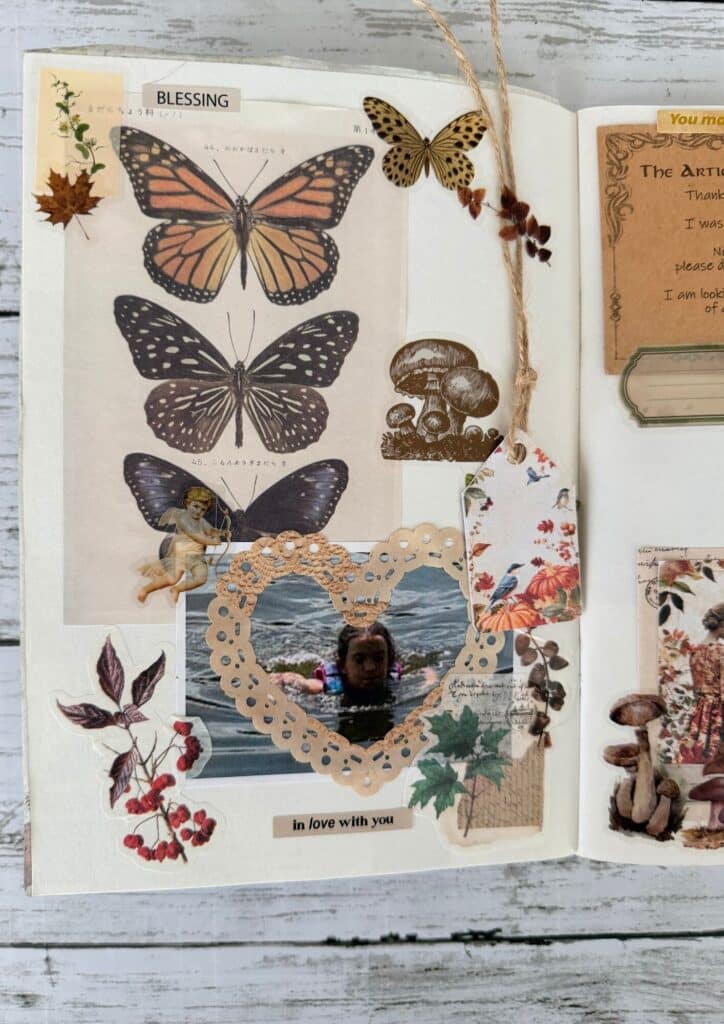
Step 7: Embellish
Now bring in the good stuff:
- Add lace trim along edges
- Glue on vintage stickers or print my free rose printables
- Sew buttons onto pages with embroidery thread
- Stamp images using rubber stamps and ink pads
- Age paper edges with distress ink or tea stained paper for that vintage look
- Add ribbon bookmarks
- Tuck dried flowers into pockets
- Use paper clips to attach ephemera
The beauty is that you can keep adding to your journal as you use it. It’s never really “finished.”
Ideas for Using Your Junk Journal
So you’ve made this beautiful, bumpy book. Now what?
Memory keeping – Glue in ticket stubs, receipts, photos, notes. Document life as it happens.
Travel journal – Collect maps, brochures, postcards, napkins from cafes. Let the journal become a textured record of your trip.
Gratitude journal – Write what you’re thankful for, then decorate the pages with pretty papers and stickers.
Art journal – Paint, draw, collage. There’s something freeing about working in a book that’s already “messy.” If you need inspiration, check out my art journal prompts to get started.
Quote collection – Write down favorite quotes, song lyrics, or poems. Decorate around them with washi tape and vintage images.
Recipe journal – Glue in recipe cards, handwritten family recipes, photos of meals. Add pockets for recipe clippings.
Garden journal – Press flowers, tape seed packets, sketch plants, note what’s blooming.
Smash journal – Literally just smash everything in there. No organization, no plan, just stick it all in and see what happens.
Tips for Beginners Starting a Junk Journal
Start small. Your first journal doesn’t need to be 200 pages thick. Make something simple, see if you like it, then make another.
Use what you have. Seriously. Raid your recycling bin before buying anything. Old envelopes, junk mail, tissue paper from gift bags—it all works.
Don’t overthink it. There’s no such thing as a mistake in a junk journal. If you don’t like something, glue something else on top of it.
Build as you go. You don’t need to fill every page before you bind it. Leave some pages blank and add to them later.
Embrace imperfection. Wonky glue smears? Part of the charm. Ripped page? Character. Crooked binding? Adds personality.
Save everything. Once you start junk journaling, you’ll see potential everywhere. That pretty napkin? Save it. The paper bag from the bakery? Keep it. You’ll use it eventually.
Try different base journals. Start with an old book, a composition notebook, or even a watercolor journal to see what you like best.
My Favorite Junk Journal Styles
If you need inspiration, here are a few aesthetic directions to explore:
Vintage/Antique – Think old book pages, sepia-toned photos, lace, vintage postage stamps, tea-stained paper, typewriter embellishments. Romantic and nostalgic.
Nature/Botanical – Pressed flowers, free rose printables, botanical prints, leaf stamps, green and brown tones, natural fabrics like burlap or muslin.
Travel – Maps, vintage luggage tags, passport stamps, ticket stubs, foreign text clippings, bold colors.
Cottagecore – Soft florals, gingham ribbon, pressed wildflowers, handwritten recipes, garden sketches, muted pastels.
Dark Academia – Old dictionary pages, wax seals, calligraphy supplies, coffee stains, deep burgundy and forest green, classical art prints.
Whimsical/Eclectic – Bright colors, fun stickers, patterned washi tape, mixed fonts, playful doodles, anything goes.
Pick a vibe that feels like you, or don’t. Half the fun is watching your journal develop its own personality as you fill it.
Where to Find Junk Journal Supplies
Thrift stores – Old books (especially ones falling apart), vintage postcards, sheet music, maps, buttons, lace, ribbon. Goldmine.
Your house – Wrapping paper, shopping bags, napkins, old letters, magazines, scrapbook paper you never used, fabric scraps, tea bags (for staining paper).
Dollar stores – Cheap scrapbook paper, stickers, ribbon, envelopes.
Online – Dick Blick for quality art supplies (check out my beginner art supplies guide for more recommendations). Amazon for embellishments, paper packs, and tools.
Free printables – Download the junk journal starter kit at the bottom of this page. I’ve included printable stickers, background pages, and a pocket insert to get you going.
Common Questions About Starting a Junk Journal
Do I need to know how to draw? Nope. Junk journaling is more about layering and collaging than drawing. If you want to add sketches, great. If not, use stamps, stickers, and printed images. If you do want to try drawing, grab some colored pencils or explore art journal prompts for inspiration.
How thick should my journal be? However thick you want. I usually aim for 50-100 pages (counting both sides), but I’ve made skinny 20-page journals and absolute monsters with 200+ pages. There’s no rule.
Can I use a pre-made journal or old book? Absolutely. Some people buy blank journals or repurpose old hardcover books and junk them up by gluing in papers, pockets, and ephemera. That’s totally valid. Making one from scratch just gives you more control over page variety and size, but starting with an existing composition notebook, scrapbook, or watercolor journal is often easier for beginners.
How do I keep pages from getting too bulky? Use thin papers when you can—tissue paper, book pages, and napkins add texture without much thickness. If things get too puffy, you can always remove pages or press the whole journal under heavy books for a day or two.
What if I mess up? There’s no such thing. Seriously. If you glue something in the wrong spot, glue something else on top. Rip a page? Patch it with washi tape. Everything becomes part of the story.
What’s the best paper for junk journals? The beauty is there’s no “best” paper—variety is the point. Mix thick and thin, smooth and textured, plain and patterned. Old book pages, scrapbook paper, tea-stained paper, tissue paper, and brown kraft paper all work beautifully together.
How long does it take to make a junk journal? Depends on the complexity. A simple bound journal might take 2-3 hours. Decorating and filling it can take weeks, months, or years—it’s an ongoing project. If you start with an existing book or journal, you can begin using it immediately.
Can kids make junk journals? Yes! It’s a fantastic craft for kids. They can use glue sticks, child-safe scissors, and all sorts of papers. Starting with a composition notebook makes it even easier—no binding required.
Why I Love Junk Journaling
It’s meditative. It’s messy. It’s a way to use all those beautiful scraps I can’t bring myself to throw away. Every journal I make feels like a little time capsule—full of textures, colors, and memories.
And honestly? It’s just really fun to make something with your hands. No screen, no perfectionism, just paper, glue, and creativity.
If you’ve been wanting to try it, now’s the time. Grab some papers, dig out your glue stick, and make something beautifully imperfect.
Download Your Free Junk Journal Starter Kit
Ready to start? I’ve put together a free starter kit with these printable papers & stickers for you to start your own junk journal!
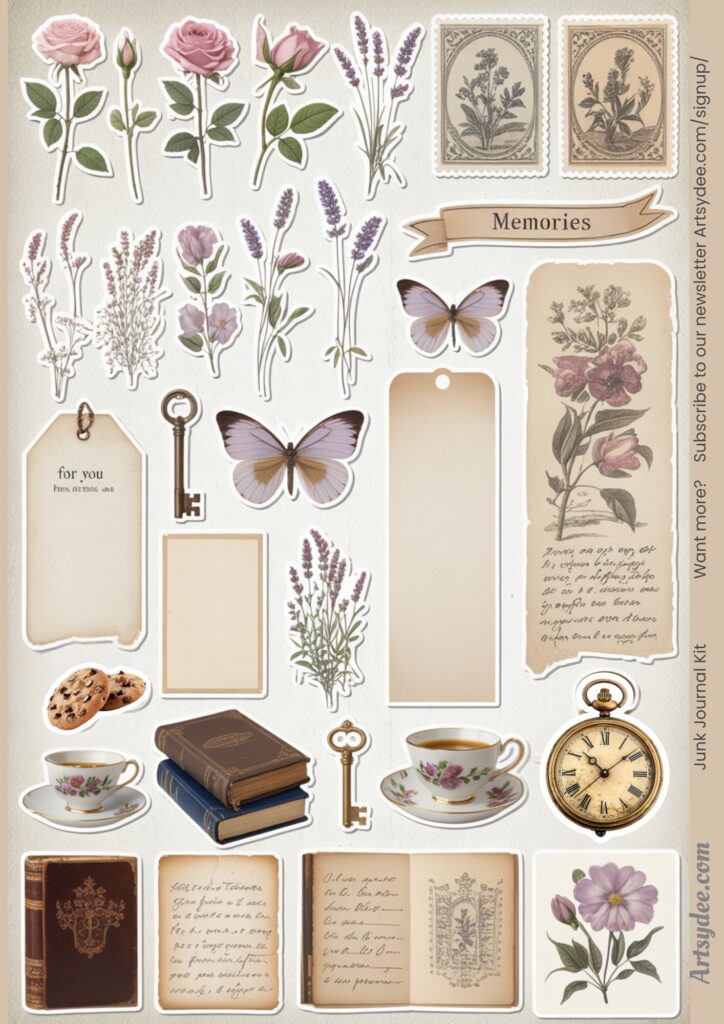
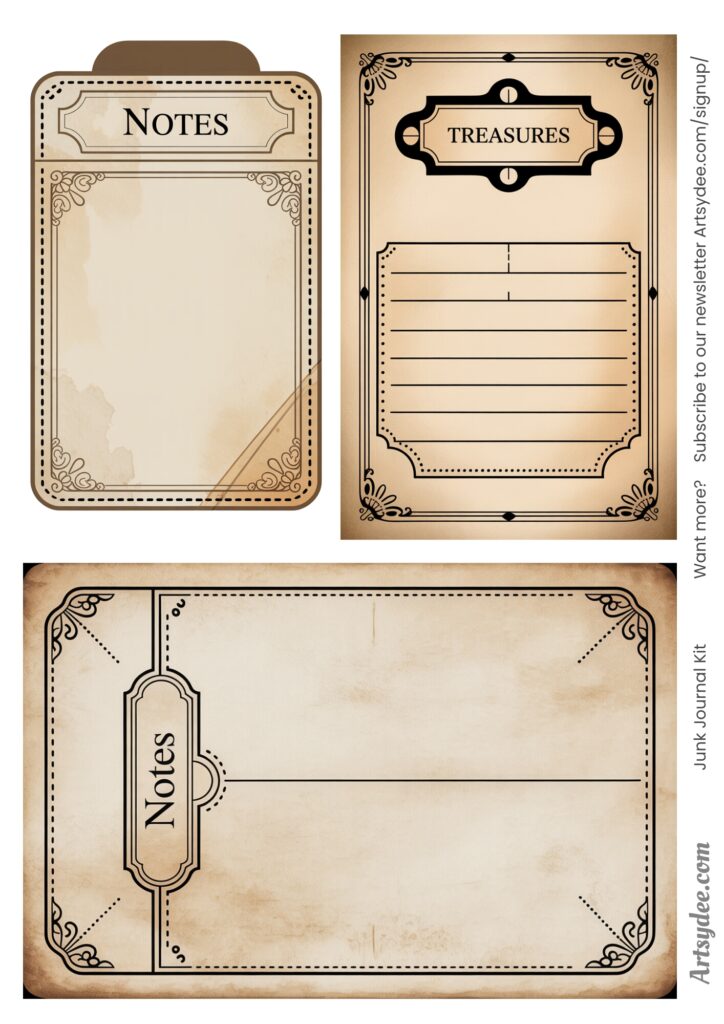
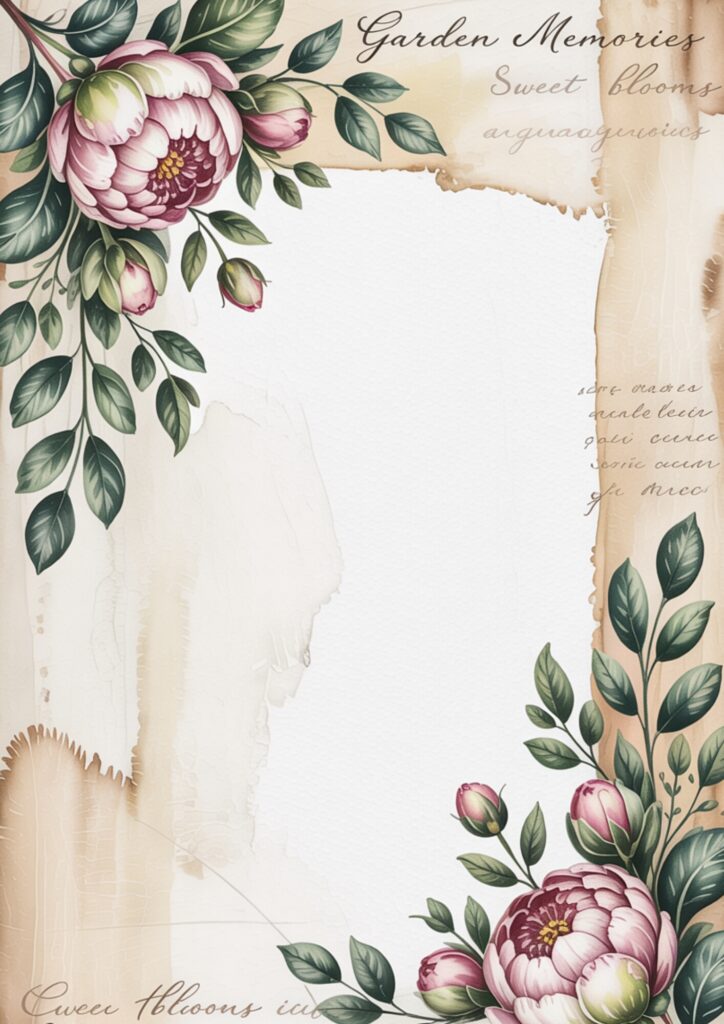

Grab the Free Junk Journal Starter Pages HERE (below)!
Every freebie and tutorial on Artsydee is made with love (and plenty of coffee!) ☕ If you’d like to say thanks, you can buy me a coffee here → ko-fi.com/artsydee
To access the free in-post printables for this post, you’ll just need to create a free account or login with the Grow.me tool. Then, confirm by email and refresh the page and ALL my free printables will automatically unlock in every post!
Want more pages like these?
Inside the Artsydee Creation Club, you’ll get instant access to over 200 exclusive junk journal resources—kits, printables, and embellishments you won’t find anywhere else.
Fresh inspiration drops every week. No more scrambling for supplies or waiting around for freebies. Just grab what you need and start creating.
Plus, you’ll get early peeks at new releases and help shape what I make next.
Join us HEREHave you made a junk journal before? I’d love to see what you create. And if you have questions, drop them in the comments—I’m always happy to help.
Happy creating! Dee