Last Updated on January 23, 2026 by Dee
Skip the drawing and jump straight into painting! These free watercolor sketchbook templates give you ready-made outlines so you can focus on brushwork, colour mixing, and building confidence.
One of the biggest barriers to watercolor painting isn’t the painting itself — it’s the drawing. So many beginners put off picking up a brush because they’re worried their sketch won’t be good enough, or they’ll “waste” expensive paper on wonky proportions.
Here’s the solution: watercolor templates.
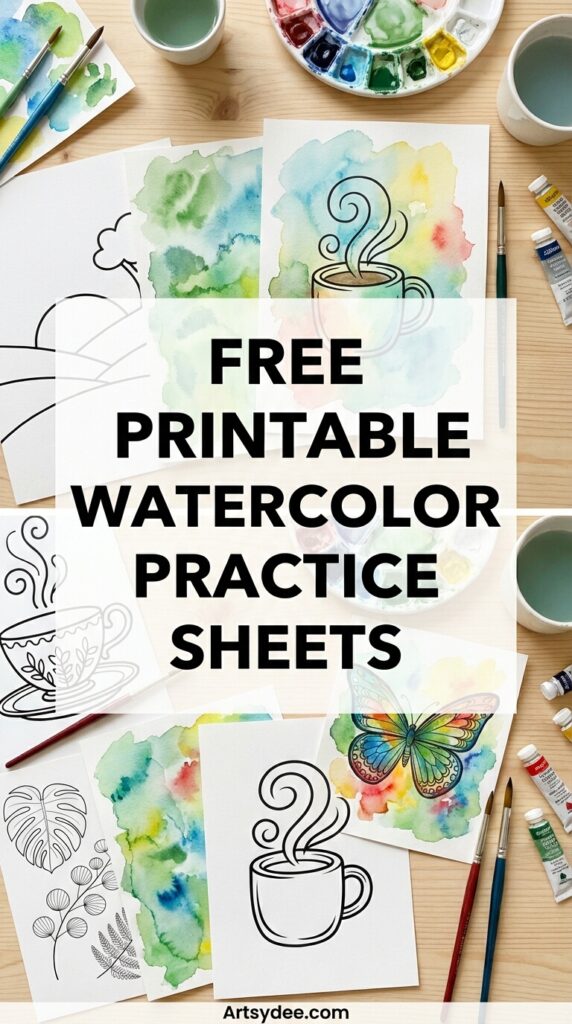
These printable practice sheets give you clean outlines ready to paint over. No drawing required. No perfectionism paralysis. Just print, grab your paints, and start creating beautiful watercolor art immediately.
I’ve created 8 FREE watercolor sketchbook templates specifically designed for beginners. Each one features a simple, achievable subject with clean lines that guide your brushwork without being fussy or complicated. They’re perfect for building confidence, practising techniques, and filling your sketchbook with pages you’re genuinely proud of.
Table of Contents
What’s Included in the Free Watercolor Templates Pack
I’ve designed these templates with beginners in mind. Each subject is simple enough to complete in one sitting, but interesting enough to teach you valuable watercolor skills.
Your 8 free templates include:
Three Flowers — a rose, daisy, and tulip. These teach you petal shapes, layering, and working with organic forms. Flowers are wonderfully forgiving because real blooms are imperfect too.
Three Fruits — an apple, lemon, and pear. Perfect for practising smooth washes, colour gradients, and creating the illusion of roundness with simple shading.
Three Botanical Leaves — monstera, eucalyptus, and fern. These help you explore different greens, negative space, and delicate brushwork for fine details.
A Cosy Coffee Mug — complete with steam rising. Great for practising hard edges versus soft edges, and adding those charming little details that bring paintings to life.
Soft Clouds and Rainbow — an atmospheric piece that’s perfect for wet-on-wet techniques. Let the watercolours do the blending for you.
A Detailed Butterfly — beautiful wing patterns that teach you symmetry, fine lines, and working with multiple colours in one piece.
A Simple Landscape — rolling hills, a tree, and sun. This introduces basic composition and layering foreground, middle ground, and background.
A Cute Cupcake — frosting swirls and a cherry on top. Sweet, cheerful, and perfect for practising textures and highlights.
For more free painting resources, check out my collection of free watercolor stencils with over 40 printable designs.
How to Use Watercolor Templates
Using these printable watercolor practice sheets is simple, but a few tips will help you get the best results.
Step 1: Download and print your templates. Click the download button above to get your free PDF. Print on regular printer paper for practice runs, or on watercolor paper for keepsake pieces.
Step 2: Choose your paper wisely. For quick practice, regular copy paper works fine — the outlines will buckle a bit with water, but it’s perfect for experimenting without pressure. For finished pieces you want to keep, print directly onto watercolor paper (most home printers can handle lightweight watercolor paper around 190gsm).
Step 3: Gather your supplies. You’ll need a basic watercolor set, a couple of round brushes, water, and something to mix colours on. The Winsor & Newton Cotman set is perfect for beginners. I may earn a small commission from this link.
Step 4: Paint over the outlines. The printed lines are your guide — paint right over them. The watercolour will cover the lines as you work, or you can embrace them as part of the finished piece.
Step 5: Let it dry and admire your work! Watercolours dry lighter than they appear when wet, so don’t panic if colours look intense at first.
Best Paper for Printing Watercolor Templates
The paper you choose makes a genuine difference to your results.
For practice: Regular printer paper (80gsm) is absolutely fine. It will buckle and warp with water, but that’s okay — you’re learning, not creating gallery pieces. This is ideal for experimenting with colours and techniques without worrying about “wasting” good paper.
For better results: Cardstock (160-200gsm) holds up better to water and gives a more satisfying painting experience. Most printers handle this weight easily.
For keepsake pieces: Print directly onto lightweight watercolor paper. Look for paper around 190gsm that’s compatible with inkjet printers. The Canson XL Watercolor Paper works well and is affordable for practice. Affiliate link.
Pro tip: If your watercolor paper is too thick for your printer, you can trace the templates using a lightbox or sunny window. A LED light tracing box makes this process easy. I may earn a commission from this link.
For more guidance on paper and supplies, my watercolor pencils guide covers everything beginners need to know about materials.
Affiliate Disclosure: This post contains affiliate links. If you make a purchase through these links, I may earn a small commission at no extra cost to you. I only recommend products I genuinely love and use myself!
Template 1: Rose, Daisy, and Tulip
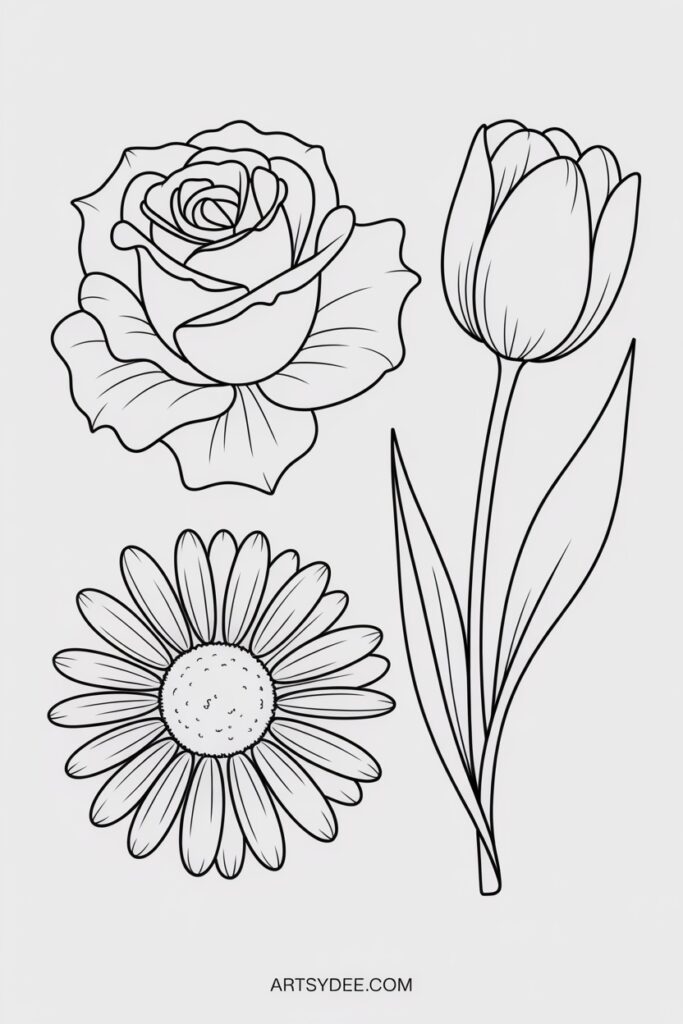
The floral templates are perfect for beginners because flowers are inherently imperfect. Your petals don’t need to be symmetrical — real flowers aren’t either.
Painting tips:
For the rose, start from the centre and work outward. Use a slightly darker shade for the inner petals to create depth. Let colours blend at the edges while still wet.
For the daisy, paint the petals first with a pale wash, then add the bright yellow centre while the petals are still slightly damp for a soft blend where they meet.
For the tulip, work in long, smooth strokes that follow the natural curve of the petals. Tulips look beautiful with subtle colour variations — try adding a slightly different shade on one side.
My watercolor flowers tutorial has more detailed techniques for painting beautiful blooms.
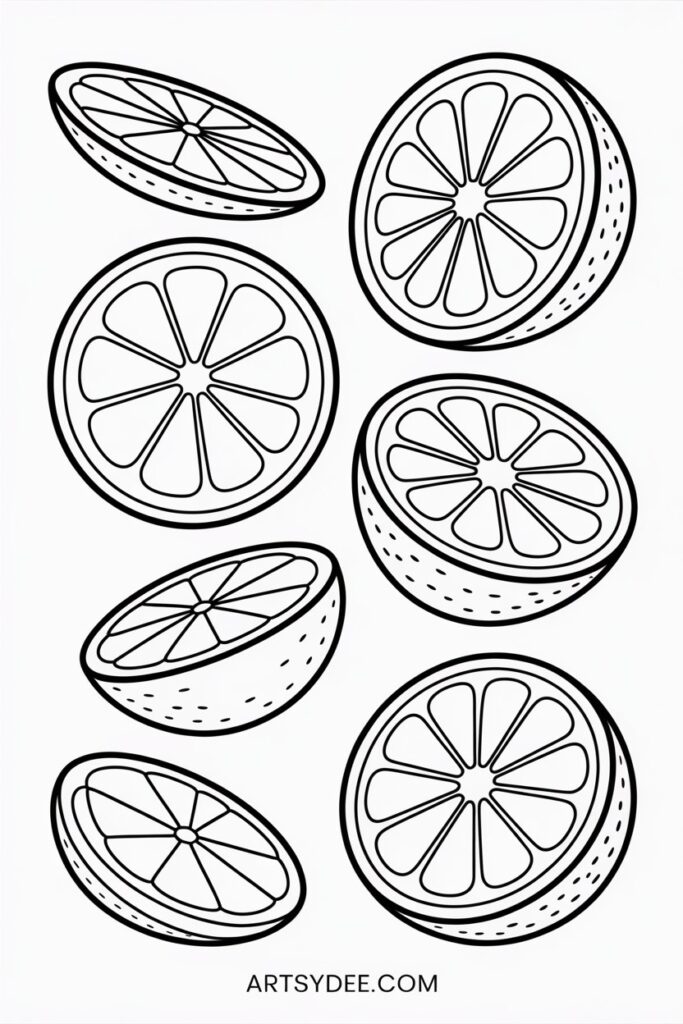
Template 2: Apple, Lemon, and Pear
Fruit subjects are brilliant for learning how to create dimension with watercolour. The key is leaving white highlights and building up colour gradually.
Painting tips:
For the apple, leave a small white spot for the highlight. Start with a light wash of red or green, then add deeper colour around the edges while the first layer is still damp.
For the lemon, use a bright yellow and leave the highlight white. Add a tiny touch of green at each end for realism. The segments on a lemon slice are perfect for practising negative painting.
For the pear, blend two colours — try yellow-green at the top transitioning to golden at the bottom. Pears have a lovely organic shape that looks beautiful with loose, imperfect edges.
Check out my simple watercolor paintings post for more beginner-friendly fruit and food ideas.
Template 3: Monstera, Eucalyptus, and Fern
Botanical subjects let you explore the wonderful world of greens. Mixing your own greens from blue and yellow gives much more natural results than using green straight from the pan.
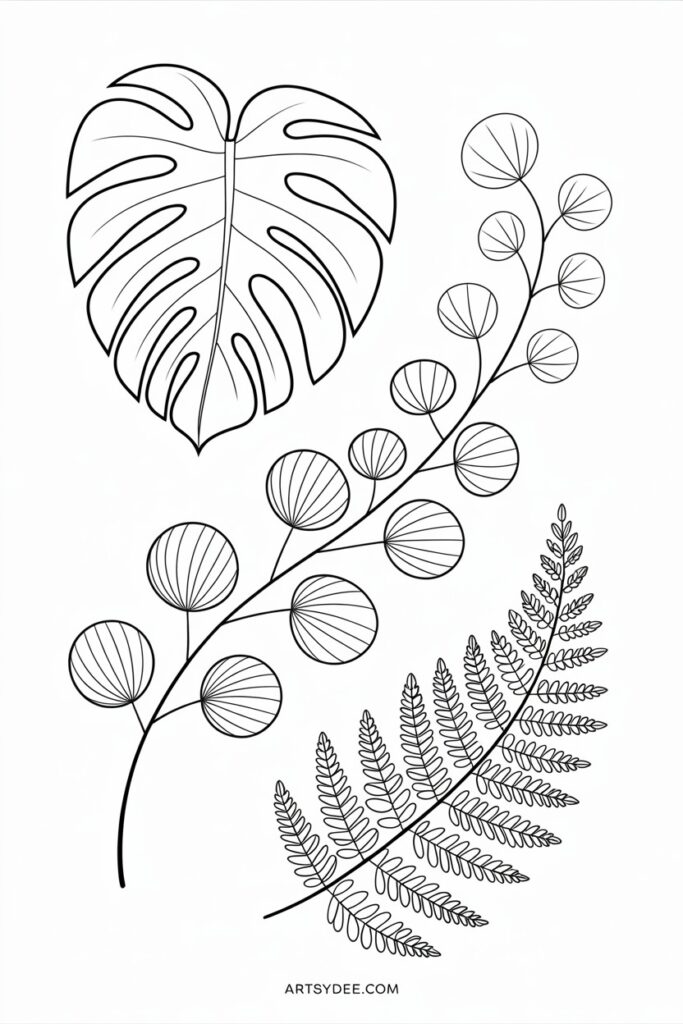
Painting tips:
For the monstera, the bold shape is forgiving. Paint the whole leaf in one go, then lift out the distinctive holes with a damp brush while still wet.
For the eucalyptus, work from the stem outward, painting each small leaf with a single confident stroke. Vary your greens slightly for a natural look.
For the fern, use the tip of your brush for fine, delicate fronds. Work quickly and don’t worry about perfection — ferns are naturally wispy and irregular.
For more botanical inspiration, browse my watercolor trees tutorial with 15 free tree templates.
Template 4: Coffee Mug with Steam
This cosy subject teaches you the difference between hard and soft edges — one of the most important concepts in watercolour.
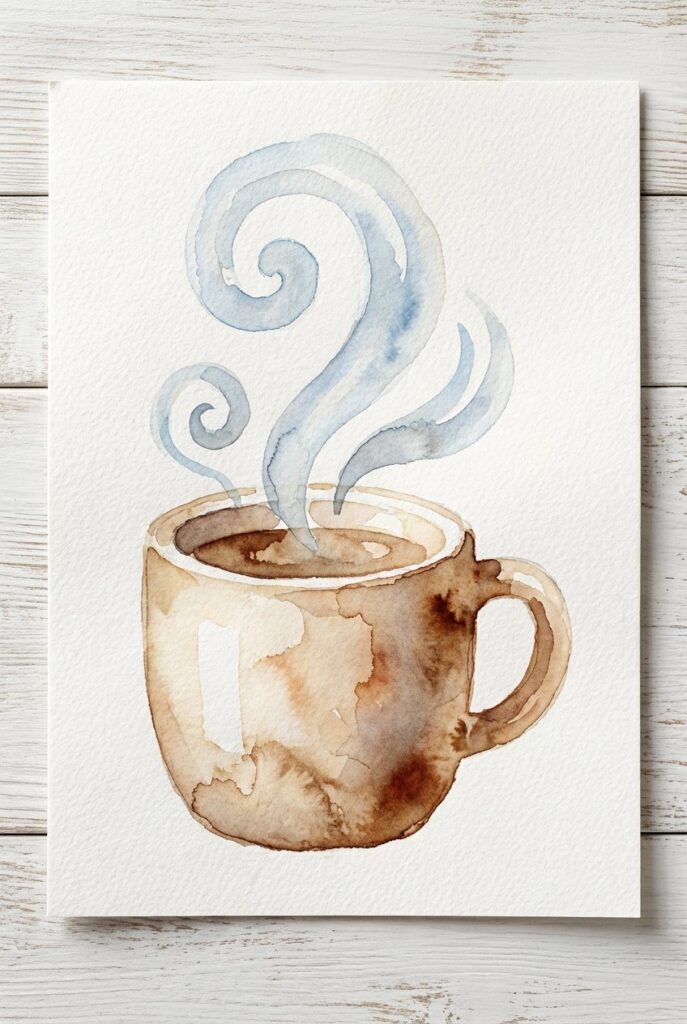
Painting tips:
The mug itself needs relatively hard edges to look solid. Let each section dry before painting the adjacent area to keep colours from bleeding together.
The steam needs soft edges to look wispy and ethereal. Paint with very diluted grey, and while still wet, soften the edges with a clean damp brush.
Add a cast shadow beneath the mug with a pale grey wash — this grounds the object and makes it look three-dimensional.
Template 5: Clouds and Rainbow
This dreamy template is perfect for practising wet-on-wet technique, where you add paint to already-wet paper and let the colours blend themselves.
Painting tips:
Wet your paper first with clean water. Drop in soft grey-blue for the clouds and watch them bloom and spread. Leave white areas for the fluffy highlights.
For the rainbow, work while the paper is still slightly damp so the colours blend gently at the edges. Classic rainbow order: red, orange, yellow, green, blue, purple.
The magic of this template is that there’s no “wrong” result. Clouds come in every shape imaginable, and the wet-on-wet technique creates beautiful, unpredictable effects.
My watercolor clouds tutorial has more techniques for painting atmospheric skies.
Template 6: Butterfly
The butterfly template is slightly more detailed, teaching you pattern work and symmetry.
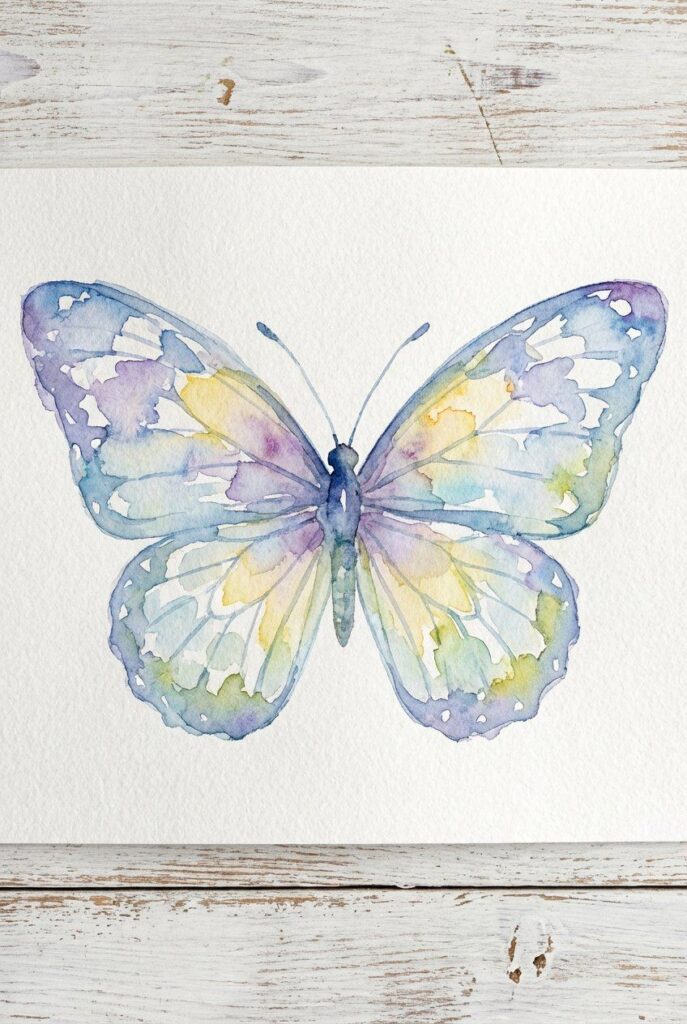
Painting tips:
Start with the lightest colours as your base wash, then add patterns and details once the first layer is dry. Building up layers prevents colours from becoming muddy.
Work on one wing at a time, matching colours and patterns across both sides. Perfect symmetry isn’t necessary — real butterflies have subtle variations.
Use the very tip of a fine brush for the delicate wing patterns and antennae.
Template 7: Simple Landscape
Landscapes teach composition and the concept of atmospheric perspective — things in the distance appear lighter and bluer than things up close.
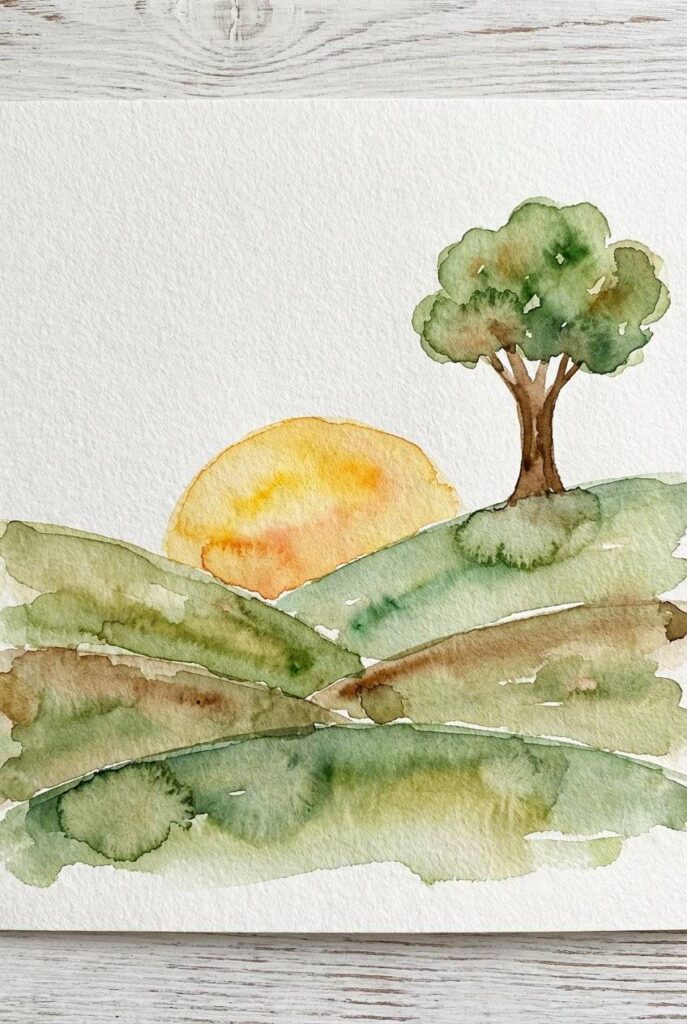
Painting tips:
Work from back to front. Paint the sky first, then the distant hills (lightest), then middle hills (medium), then the foreground tree and grass (darkest, most detailed).
Each layer should be completely dry before adding the next to keep edges crisp and prevent colours bleeding together.
The sun can be left as white paper, or painted with a very pale yellow wash.
For more landscape inspiration, explore my watercolor sunset tutorial.
Template 8: Cupcake
The cupcake is pure fun — cheerful colours, swirly frosting, and that adorable cherry on top.
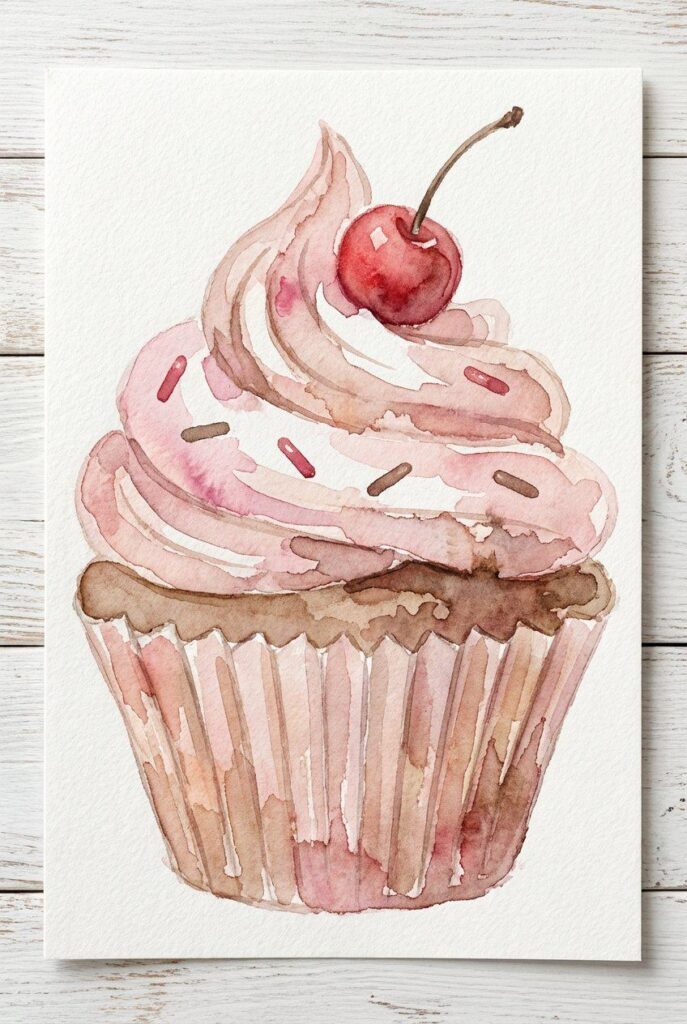
Painting tips:
Paint the cupcake wrapper with vertical stripes or a solid colour. Brown gives a classic chocolate look, or try pink for something sweeter.
For the frosting, use circular motions that follow the swirl shape. Leave small white highlights where light would hit the curves.
The cherry should have a bright highlight left as white paper — this one small detail makes it look shiny and delicious.
Tips for Getting the Most from Watercolor Templates
Don’t be precious. These templates are designed for practice. Print multiple copies and experiment with different colour combinations, techniques, and approaches. Some will be beautiful. Some won’t. That’s exactly how learning works.
Try the same template multiple ways. Paint one version loose and splashy. Paint another tight and controlled. Try different colour palettes. You’ll discover what style feels most natural to you.
Use them for colour mixing practice. Before painting, mix the colours you plan to use and swatch them on scrap paper. This prevents surprises and helps you learn how colours interact.
Progress to freehand. Once you’ve painted a template several times, try drawing the same subject freehand in your sketchbook. You’ll be surprised how much easier it feels after practising the shapes.
For more structured practice, my easy watercolor tutorials guide you through techniques step by step.
Recommended Supplies for Using These Templates
You don’t need expensive materials, but a few quality basics make the experience more enjoyable.

| 
| 
| 
|
Paints: The Arteza Watercolor Paint Set offers great pigment at a budget-friendly price. I may earn a commission from this link.
Brushes: A Pentel Aquash Water Brush is perfect for beginners — the water reservoir means one less thing to manage. Affiliate link.
Palette: A simple folding watercolor palette gives you space to mix colours properly. I may earn a small commission.
Paper: For printing templates on proper watercolor paper, try Strathmore 400 Series — reliable quality at a reasonable price. Affiliate link.
Download Your Free Watercolor Templates
Ready to skip the drawing and jump straight into painting? These 8 free watercolor sketchbook templates are waiting for you.
What you’ll get:
Three flowers: rose, daisy, and tulip. Three fruits: apple, lemon, and pear. Three botanical leaves: monstera, eucalyptus, and fern. Plus a cosy coffee mug, dreamy clouds with rainbow, detailed butterfly, simple landscape, and cute cupcake.
Print them as many times as you like. Experiment with colours. Build your confidence. Fill your sketchbook with beautiful paintings — no drawing skills required.
Grab your FREE templates here:
More Free Watercolor Resources
Love free printables? I’ve got plenty more for you:
- 40 FREE Printable Stencils for Watercolor Painting
- 23 Free Printable Watercolor Templates for Beginners
- 10 Beginner Watercolor Templates for DIY Projects
- 70+ Outline Drawings for Painting and Coloring
- 50+ Sketch Book Watercolor Ideas to Spark Your Creativity
Happy painting! 🎨