Last Updated on June 23, 2026 by Dee
There’s something deeply satisfying about slipping a handmade bookmark between the pages of a good book. Not a receipt. Not a torn scrap of paper. A real bookmark — one you painted yourself, with colors that bleed and bloom in ways only watercolor can.
Watercolor bookmarks are one of those rare projects that feel both creative and genuinely useful. They’re small enough to finish in a single sitting, forgiving enough for total beginners, and beautiful enough to give as gifts that people actually keep. Whether you’re looking for a quick creative warm-up or a thoughtful handmade present, bookmarks are the perfect little canvas.
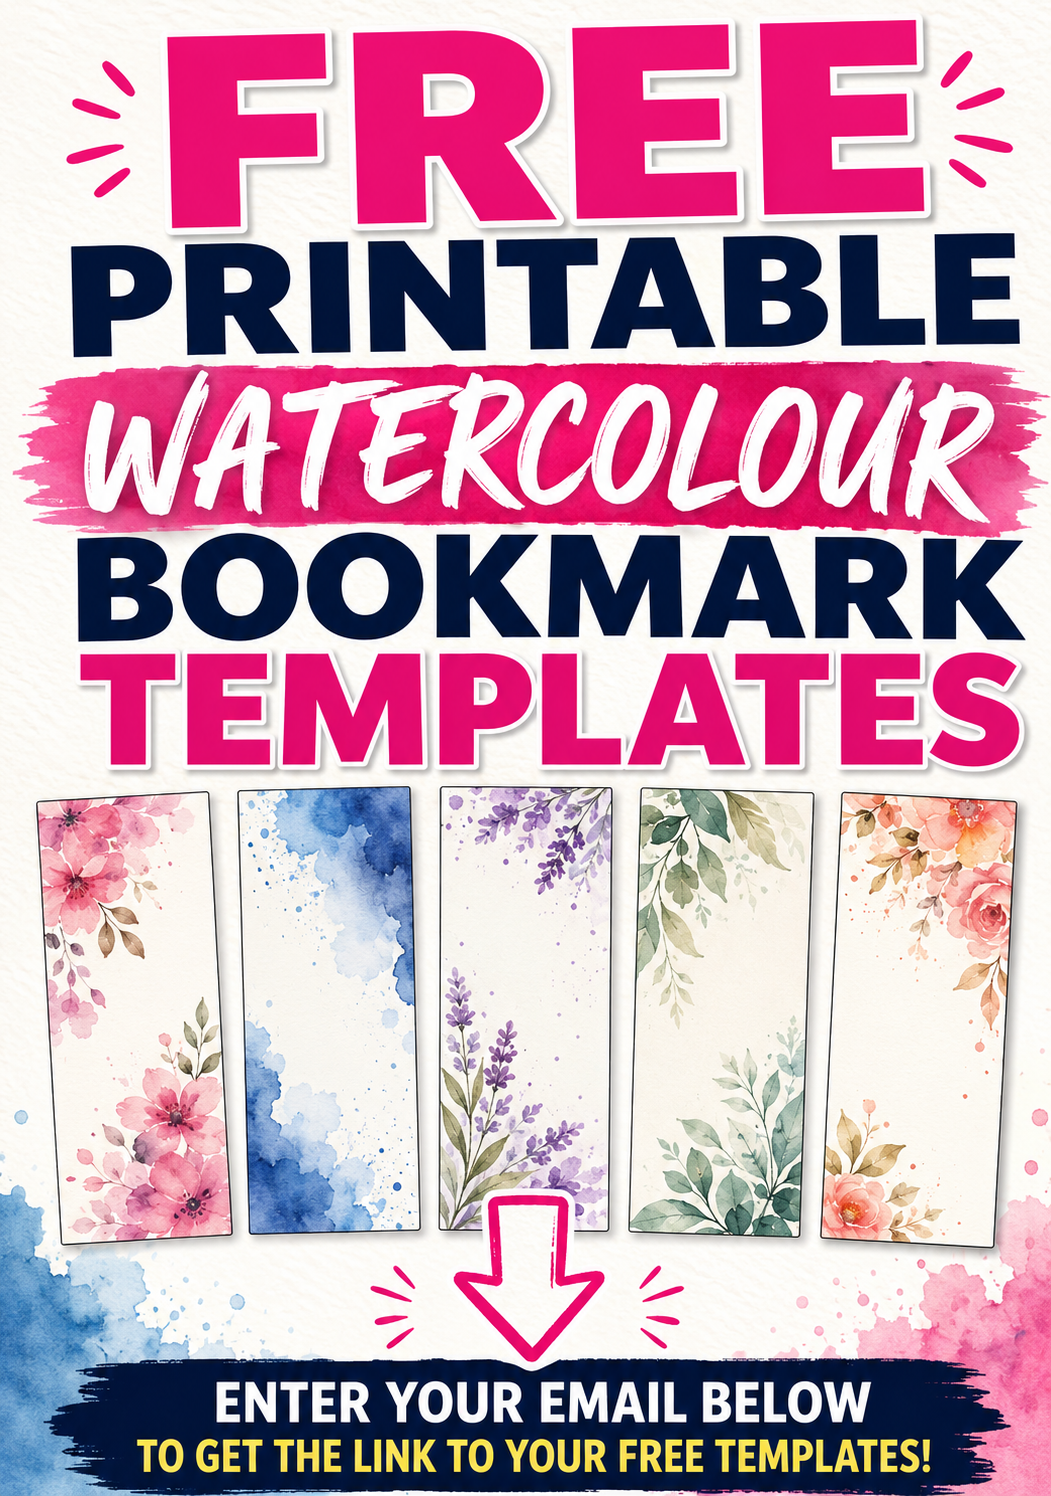
Grab your free Printable Watercolor Bookmark Templates below!
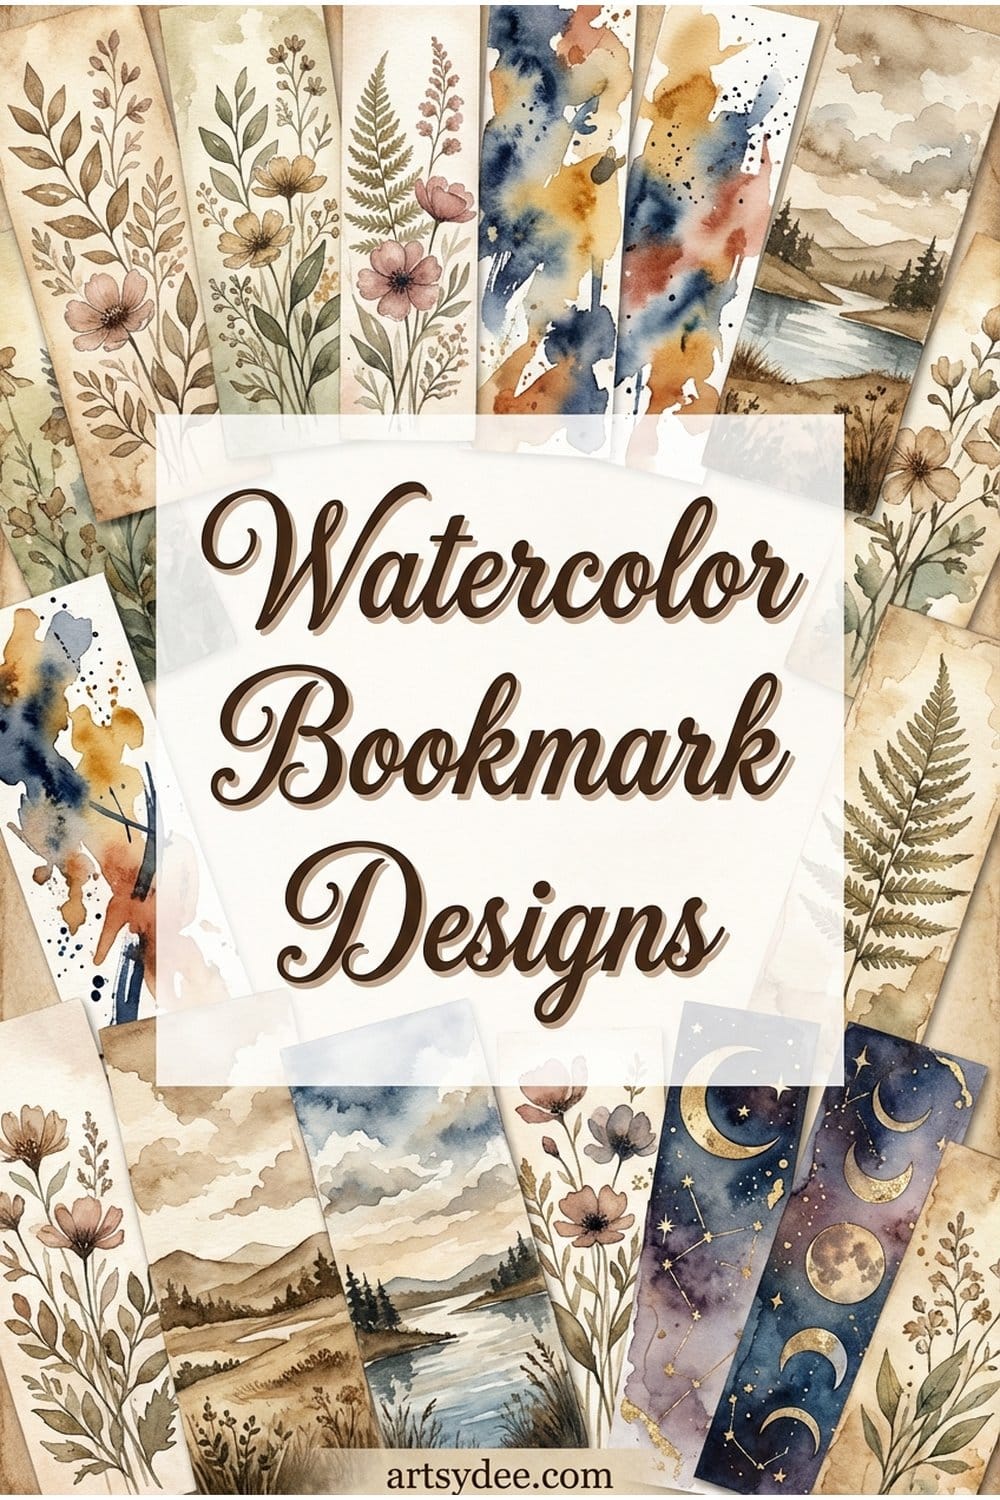
I’ve pulled together over 30 watercolor bookmark ideas in this post — from loose florals and dreamy galaxy washes to nature-inspired designs and seasonal themes. There’s something here for every skill level, and honestly, most of these are way easier than they look.
🎬 Love video tutorials? Subscribe to my YouTube channel for weekly watercolor tutorials and art inspiration!
Table of Contents
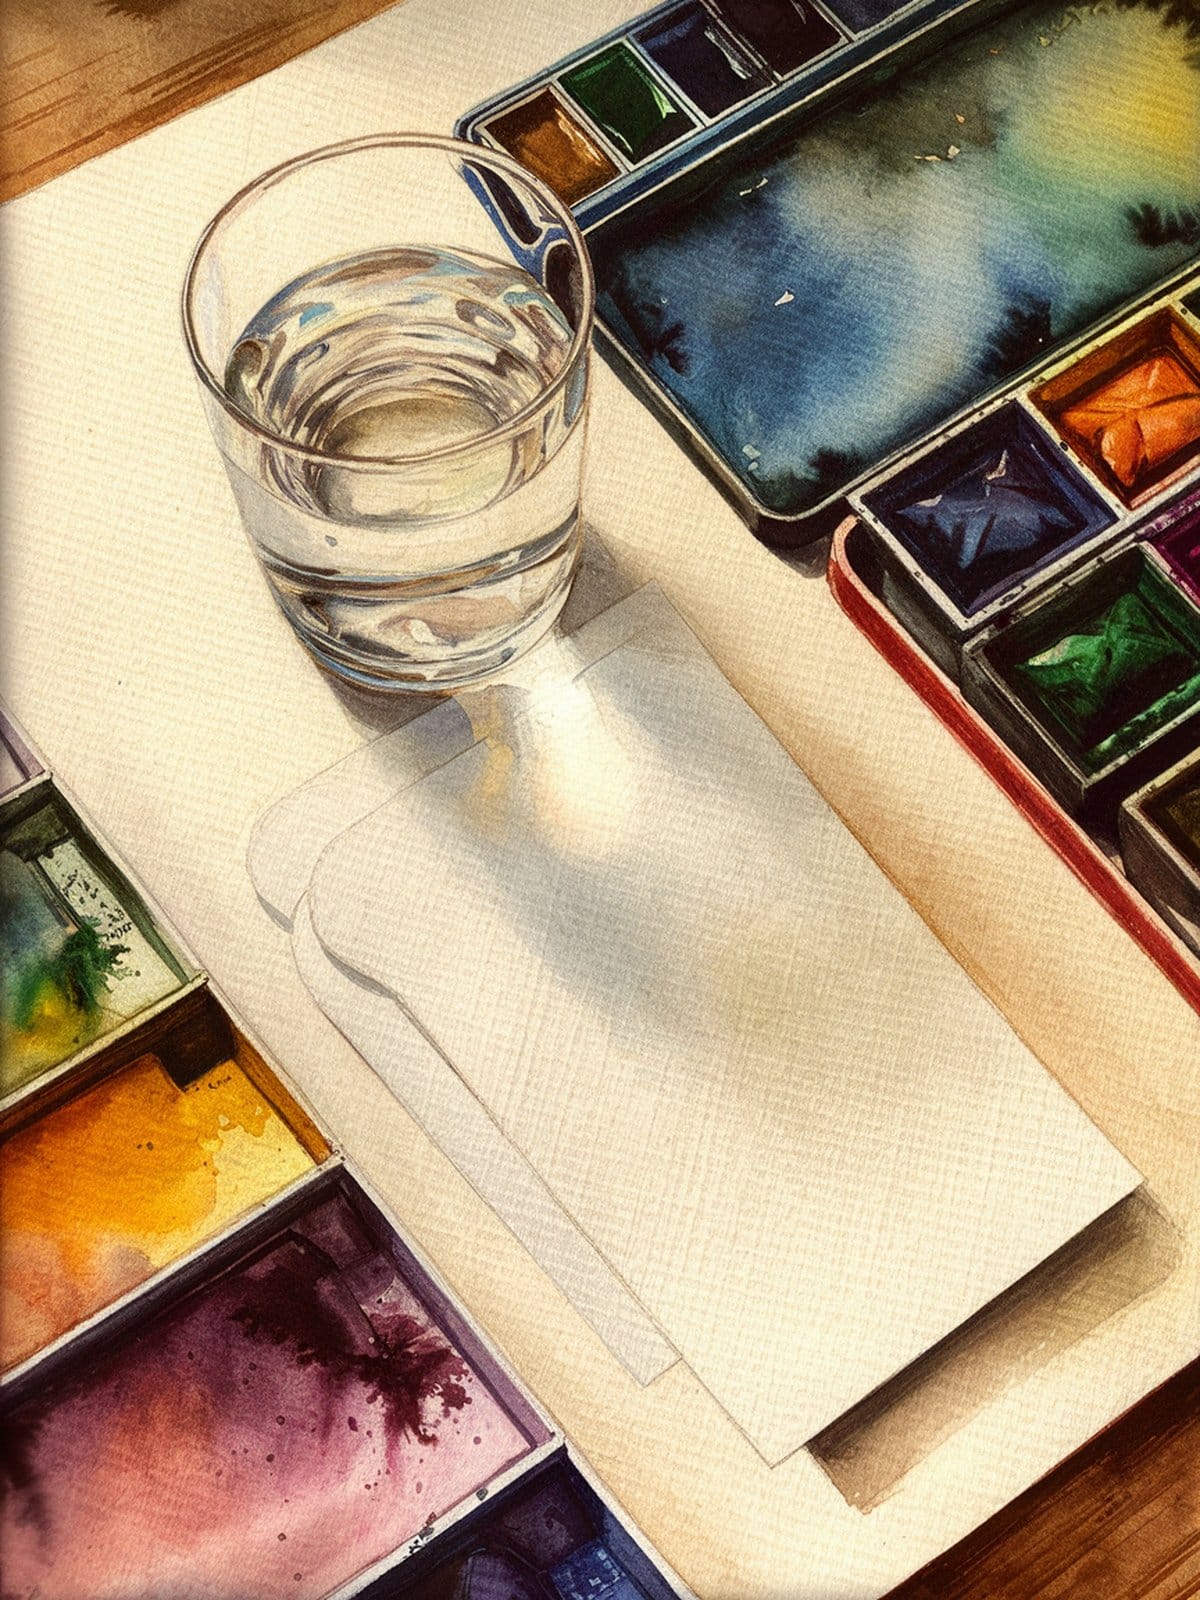
Supplies You’ll Need for Watercolor Bookmarks
Quick Answer: You need watercolor paper (or cardstock, 200gsm+), a basic watercolor paint set, round brushes in sizes 2-6, a ruler, pencil, scissors, and optionally some ribbon for tassels.
The beauty of making watercolor bookmarks is that you don’t need anything fancy. If you already have watercolor supplies, you’re basically good to go. Here’s what works best:
Paper: This is the one thing that actually matters. Regular printer paper buckles and pills the second water touches it. Use watercolor paper or heavy cardstock — I like the Canson XL Watercolor Pad because the paper handles washes beautifully and it’s reasonably priced. Anything 200gsm or heavier will do. Cold press gives you that lovely texture; hot press is smoother if you want cleaner lines.
Paint: A basic student-grade set is perfect for bookmarks. The Winsor & Newton Cotman set has a great range of colors and the pigments are surprisingly vibrant for the price. If you’re just starting out, check my post on watercolor painting ideas for beginners for more supply recommendations.
Brushes: A couple of round watercolor brushes in sizes 2, 4, and 6 will cover almost everything. Size 2 for details, size 6 for washes and backgrounds.
Other bits: A ruler and pencil for marking out your bookmark dimensions, sharp scissors or a craft knife for cutting, and some ribbon or twine if you want to add tassels.
Free Printable Watercolor Bookmark Templates
If you’d rather skip the drawing part and jump straight into painting, these templates are for you. This free pack includes 16 bookmark outlines across four pages — floral borders, nature themes, botanical designs, and geometric patterns. Just print on cardstock, grab your brushes, and paint.
Basic Watercolor Bookmark Tutorial (Step by Step)
Quick Answer: Cut watercolor paper to 2×6 inches, sketch a light pencil outline of your design, wet the paper slightly, apply watercolor paint using wet-on-wet or wet-on-dry technique, let dry completely, and finish with a clear sealant.
Here’s the basic process for making a watercolor bookmark from scratch. Once you get this down, you can apply it to any of the design ideas further down the post.
Step 1: Cut Your Paper
Standard bookmark size is roughly 2 inches wide by 6 inches tall, but there are no rules here. Some people prefer wider bookmarks (2.5 inches), and shorter ones (5 inches) work well for smaller paperbacks. Use a ruler and pencil to mark your measurements, then cut with scissors or a craft knife against a straight edge.
Pro tip: Cut a few extras. You’ll want to practice, and it’s easier to cut a batch at once.
Step 2: Sketch Your Design (Lightly)
Use a very light pencil line to sketch your design. You can barely press down — watercolor is translucent, so heavy pencil marks will show through your paint. Some designs (like abstract washes) don’t need any sketching at all. If you need design inspiration, I’ve got easy watercolor sketchbook ideas that translate perfectly to bookmarks.
Step 3: Paint
This is the fun part. For soft, blended backgrounds, wet the entire bookmark strip with clean water first, then drop in color — this is the wet-on-wet technique and it creates those gorgeous seamless gradients. For sharper details like flower petals or leaves, paint on dry paper (wet-on-dry) so the paint stays where you put it.
Work from light to dark. Lay down your lightest colors first, let them dry, then build up shadows and details. If you want to explore different techniques, my guide to simple watercolor ideas for beginners covers the basics beautifully.
Step 4: Let It Dry Completely
This is the hardest step because you have to be patient. Watercolor needs to dry fully before you handle it — at least 30 minutes, ideally an hour. Rushing this is how bookmarks end up with smudged paint and sad fingerprints.
Step 5: Finish and Protect
Once dry, trim any uneven edges, punch a hole at the top if you want a tassel, and seal with a clear fixative spray or laminate it. More on sealing below.
Floral Watercolor Bookmark Ideas
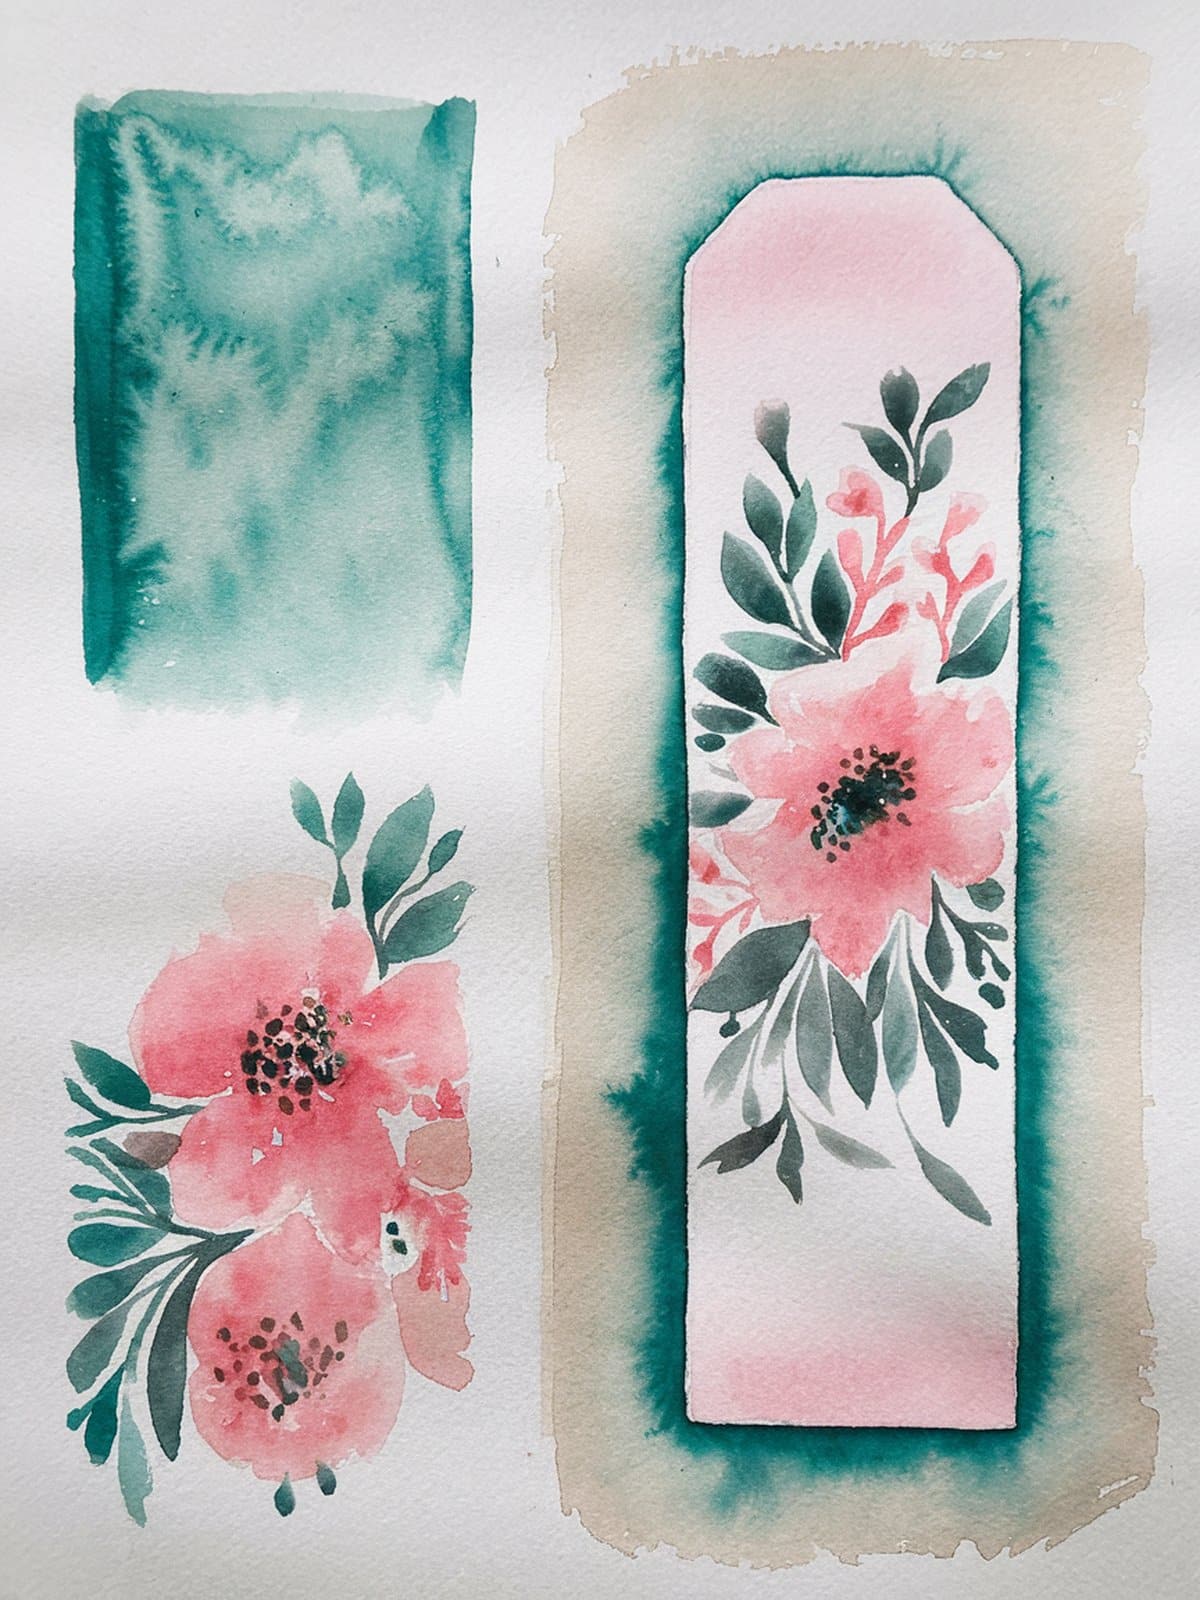
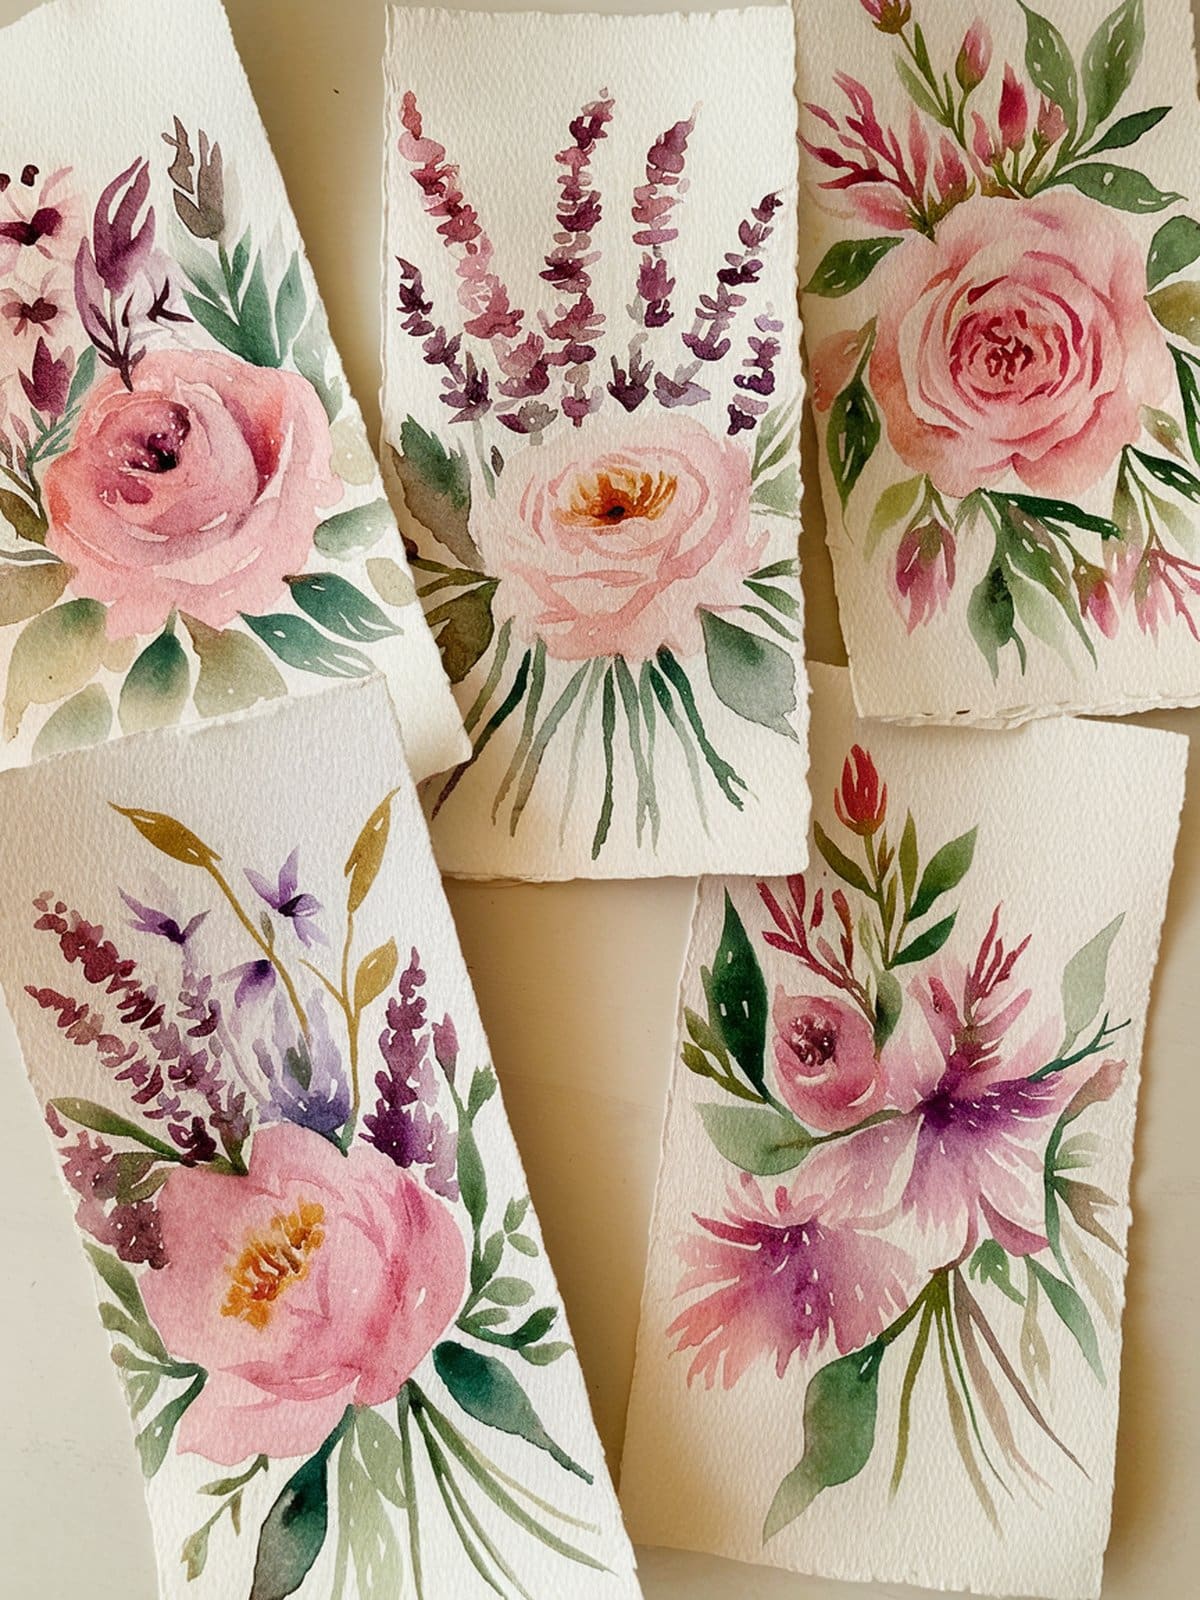
Quick Answer: Floral watercolor bookmarks work beautifully with loose roses, daisies, lavender sprigs, wildflower bouquets, or single statement blooms. The loose watercolor style is especially forgiving for beginners.
Florals are hands-down the most popular watercolor bookmark design, and for good reason. They look gorgeous, they’re endlessly adaptable, and the loose watercolor style actually hides imperfections rather than highlighting them.
Here are some floral bookmark ideas to try:
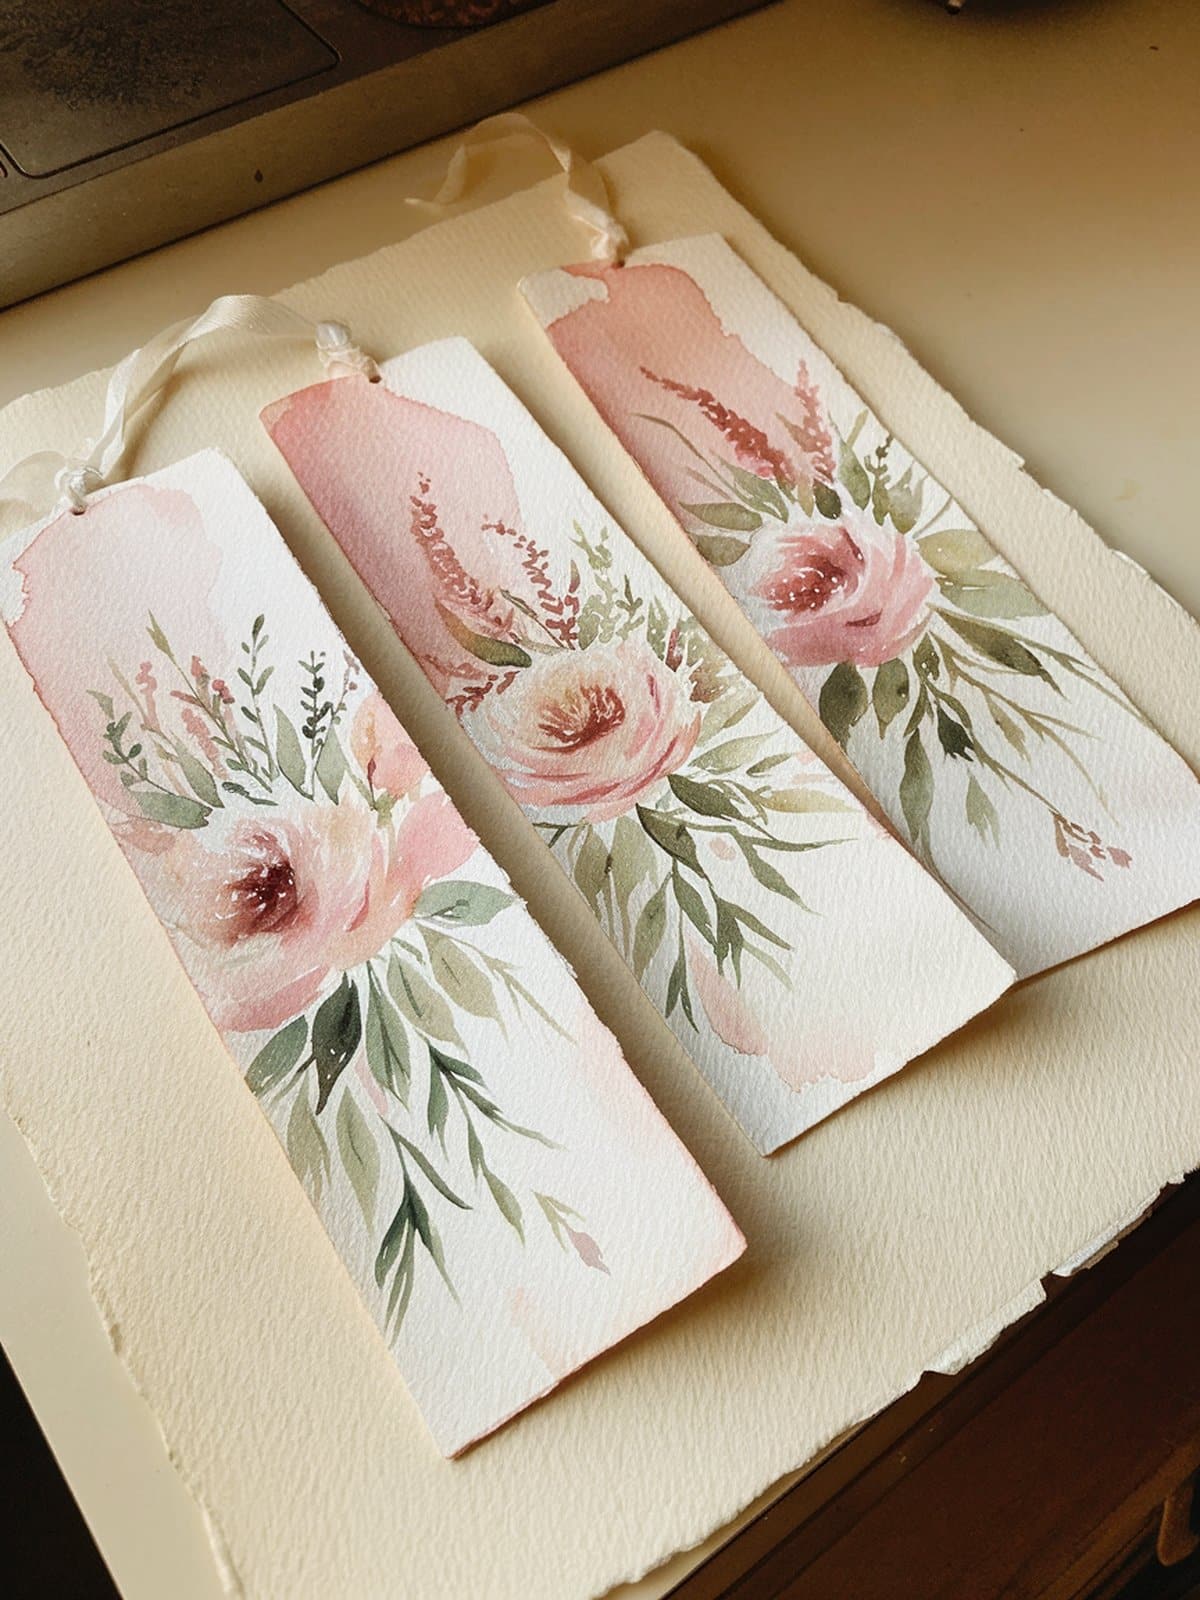
- Loose roses climbing up the bookmark — Start with a pink or red wash at the bottom, then paint two or three loose roses with green leaves trailing upward. The beauty of loose watercolor flowers is that they don’t need to look “perfect.” If you want to practice this style first, have a look at my loose watercolor flowers tutorial.
- A single statement bloom — One large peony or sunflower centered on the bookmark, filling most of the space. Bold and simple.
- Wildflower meadow — Tiny flowers scattered across the bookmark in pinks, purples, and yellows. Think daisies, cornflowers, and poppies growing up from the bottom edge.
- Lavender sprigs — A few stems of lavender with that gorgeous purple-blue gradient. Clean, elegant, and surprisingly easy.
- Botanical border — Paint a frame of small flowers and leaves around the edges, leaving the center open (perfect for adding a name or quote with a fine-tip pen once it’s dry).
The key with floral bookmarks is to keep your brushstrokes loose and let the watercolor do some of the work. Fight the urge to overwork it — a few confident strokes look better than twenty careful ones.
Abstract and Galaxy Bookmark Designs
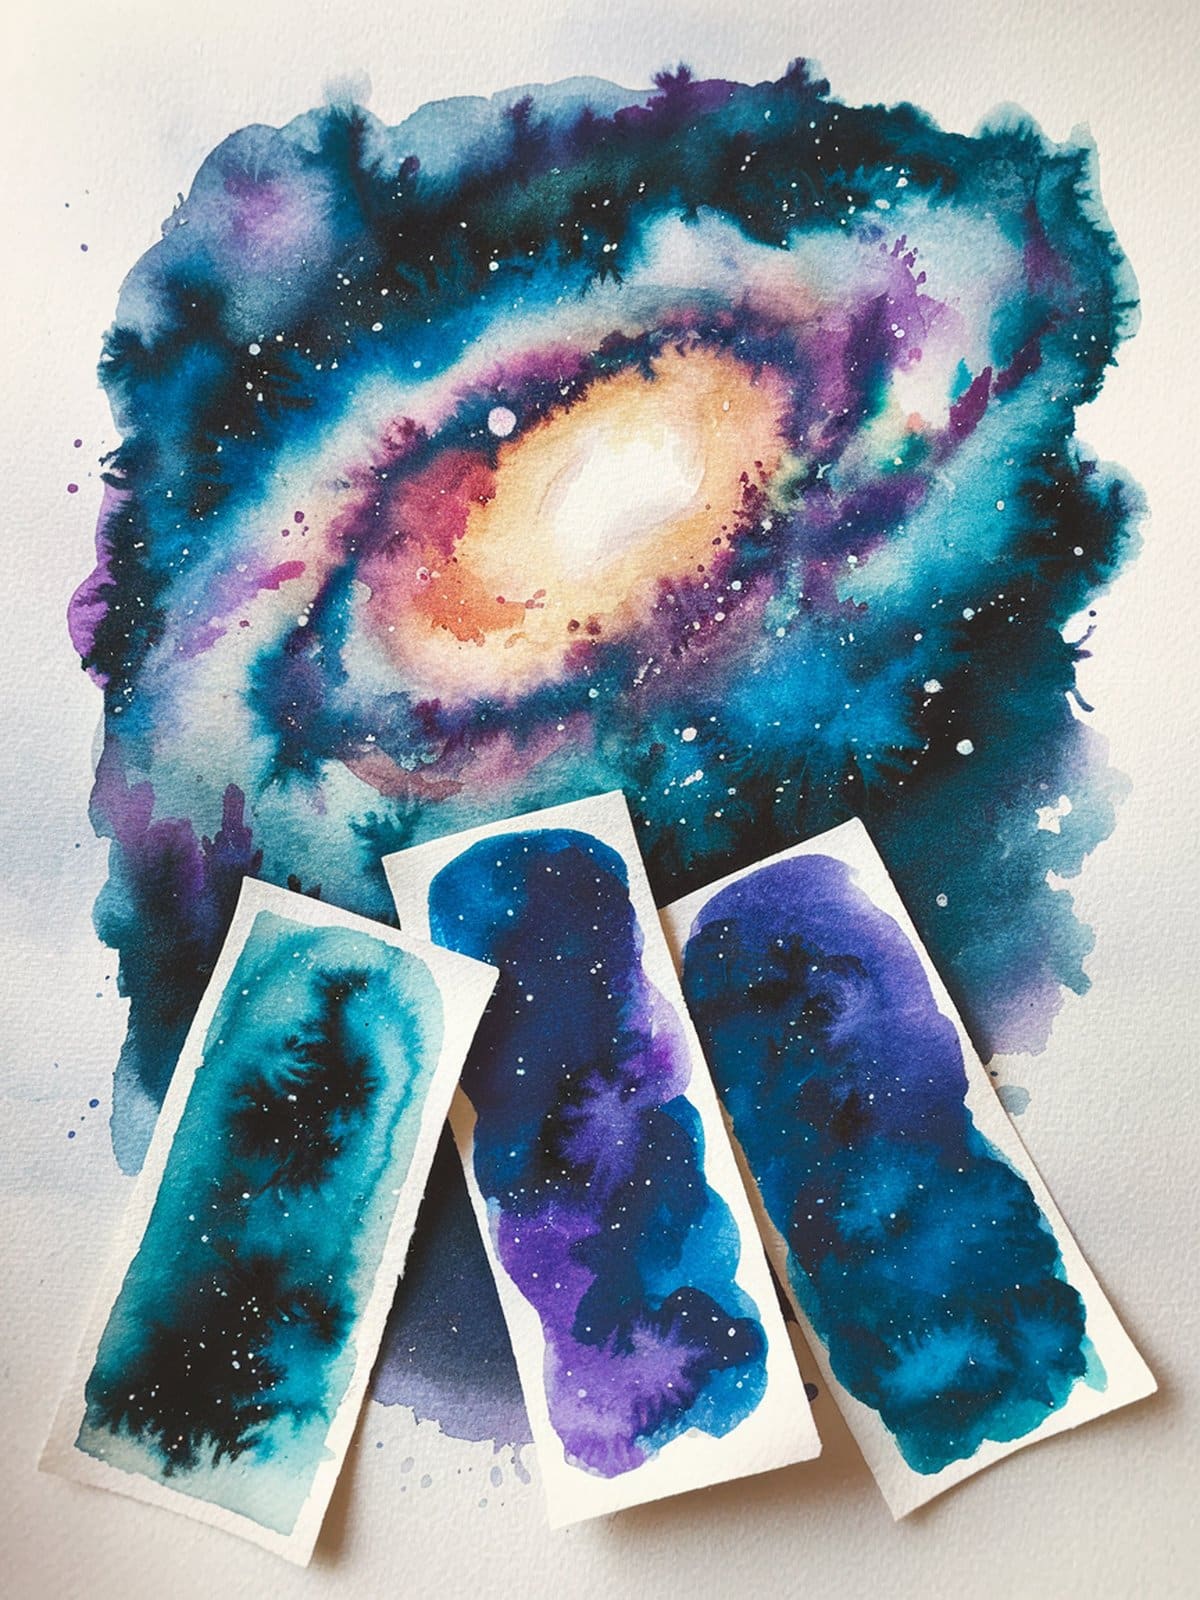
Quick Answer: Abstract and galaxy watercolor bookmarks use wet-on-wet techniques with rich color blends. Galaxy designs layer deep purples, blues, and blacks with white ink stars, while abstract designs play with color gradients and paint splatter effects.
If florals aren’t your thing, abstract and galaxy designs are incredibly fun — and honestly some of the easiest bookmarks to make because there’s no “wrong” way to do them.
Galaxy Bookmarks
Galaxy bookmarks look impressive, but the technique is straightforward. Wet the entire bookmark, then drop in deep purples, midnight blues, and touches of black. Let the colors merge and blend on their own. Once dry, flick white ink or white gouache across the surface for stars (an old toothbrush works brilliantly for this). Add a couple of larger dots for bright stars. Done.
You can also add constellation patterns by connecting some of the white dots with a fine white pen. Orion and the Big Dipper are recognizable enough to be a nice touch.
Abstract Designs
These are the ultimate beginner-friendly bookmarks:
- Color gradient wash — Blend two or three analogous colors (like teal to purple, or sunset orange to pink) from top to bottom. Just pure color and flow.
- Paint splatter — Lay a solid color wash, then flick contrasting paint across it. Messy, expressive, and no two are ever the same.
- Geometric color blocks — Tape off triangles or stripes with washi tape, paint different colors in each section, then remove the tape for crisp lines.
- Alcohol drop effect — Paint a solid wash, then drop rubbing alcohol onto the wet surface. It pushes the pigment outward, creating beautiful organic patterns.
If you want more abstract painting ideas for your sketchbook practice, check out my post on easy watercolor sketchbook ideas — many of those techniques work beautifully on bookmarks too.
Nature-Inspired Watercolor Bookmarks
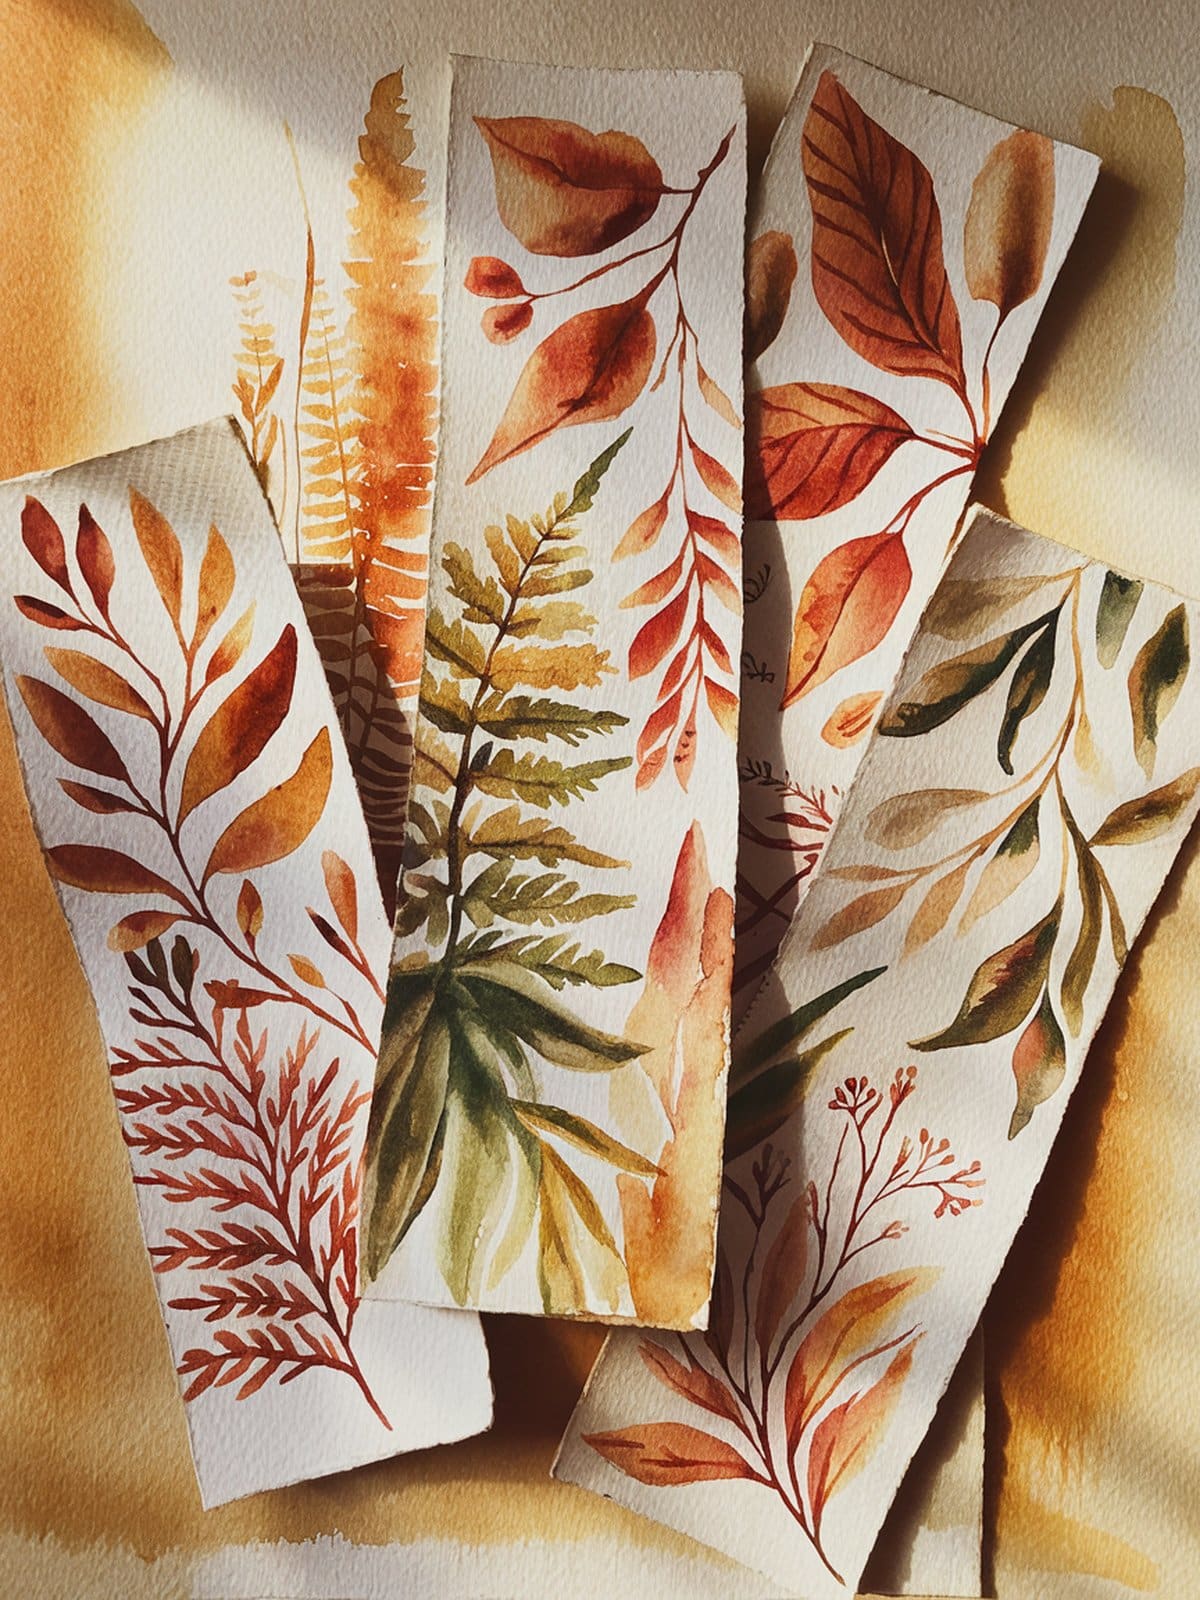
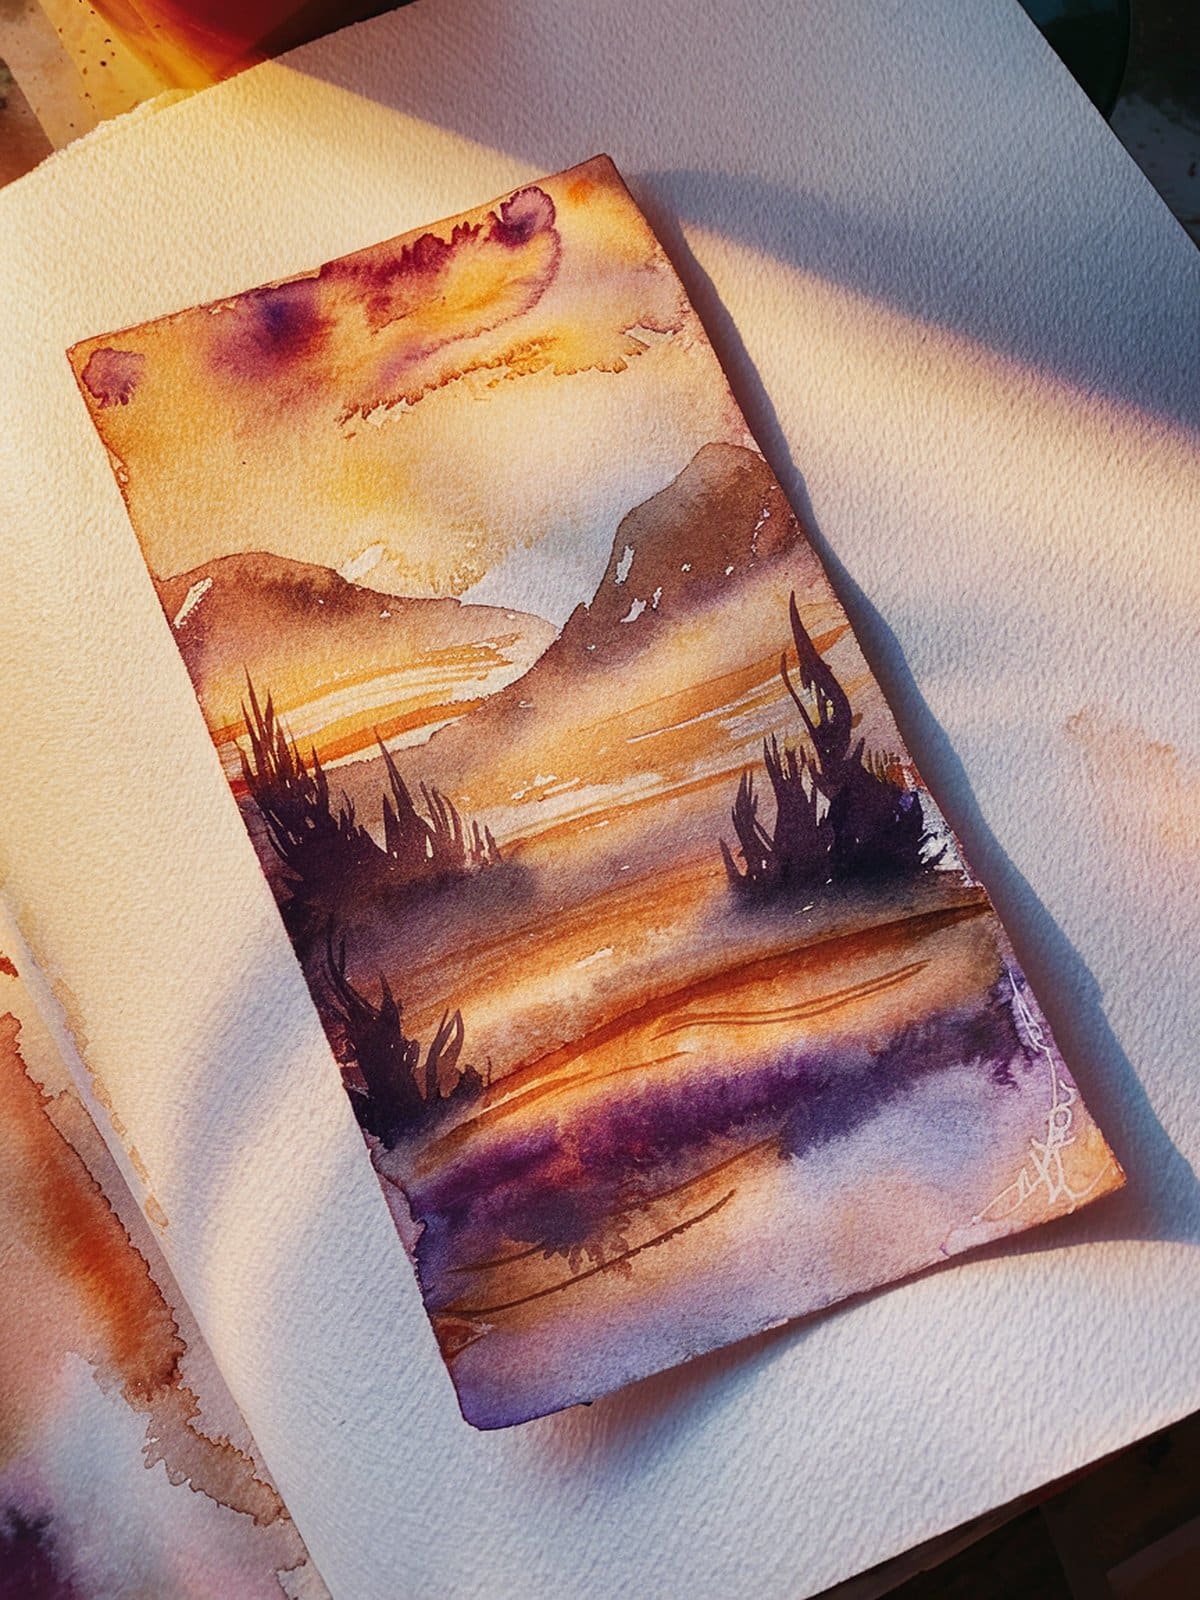
Quick Answer: Nature-inspired bookmarks can feature mountain landscapes, ocean waves, forest scenes, feathers, leaves, or seashells. These designs work well with the wet-on-wet technique for soft, atmospheric backgrounds.
Nature gives us endless bookmark inspiration, and watercolor is the perfect medium for capturing those soft, atmospheric qualities of the natural world.
- Mountain silhouette — A sunset wash at the top fading to darker tones, with mountain silhouettes painted in at the bottom. Layer your mountains in increasingly darker values for depth.
- Ocean waves — Paint layered waves in different shades of teal and blue, with white space left for foam. A strip of sandy beach at the bottom finishes it off.
- Autumn leaves — Scatter watercolor leaves in warm oranges, reds, and golden yellows across the bookmark. Paint each leaf with a single wet-on-wet stroke and let the colors bleed naturally. If you’re working on fall-themed art, you might also enjoy my sketch ideas for beginners post which has seasonal sections.
- Pine forest — Simple triangular tree shapes in various greens, layered from lighter in the back to darker in the front. A misty, atmospheric look comes from painting the background trees while the paper is still damp.
- Feathers — A single detailed feather running the length of the bookmark. The soft barbs of a feather are basically made for watercolor — wet-on-wet gives them that fuzzy, realistic edge.
- Seashells — A collection of shells in warm sandy tones with turquoise accents. Lovely for summer bookmarks or beach-lover gifts.
Gift-Worthy Watercolor Bookmark Ideas
Quick Answer: Watercolor bookmarks make wonderful handmade gifts for Mother’s Day, teacher appreciation, Christmas, and birthdays. Personalize them with the recipient’s favorite colors, initial, or a meaningful quote.
Handmade watercolor bookmarks are one of those gifts that look like you spent way more time on them than you actually did. They’re personal, useful, and the kind of thing people genuinely love receiving.
Mother’s Day Bookmarks
Paint a bookmark with her favorite flowers — roses, peonies, or whatever shows up in her garden. Add a simple message on the back with a fine-tip pen: her name, a date, or just “For Mum.” Pair it with a book she’ll love. Done — meaningful, beautiful, and guaranteed to make her day.
Teacher Gift Bookmarks
Make a set of 3-5 bookmarks in different designs and bundle them with a ribbon. Teachers are almost always readers, and a handmade set shows real thoughtfulness. Floral or botanical designs are universally appealing, or go with bright, cheerful colors for primary school teachers.
Christmas Bookmarks
Holiday-themed bookmarks make great stocking stuffers or gift toppers. Think poinsettias in red and green, snowy pine branches, or a simple Christmas ornament design. A set of bookmarks tucked inside a new novel is a lovely gift combo. For more seasonal project ideas, my free watercolor sketchbook templates include seasonal themes you can adapt.
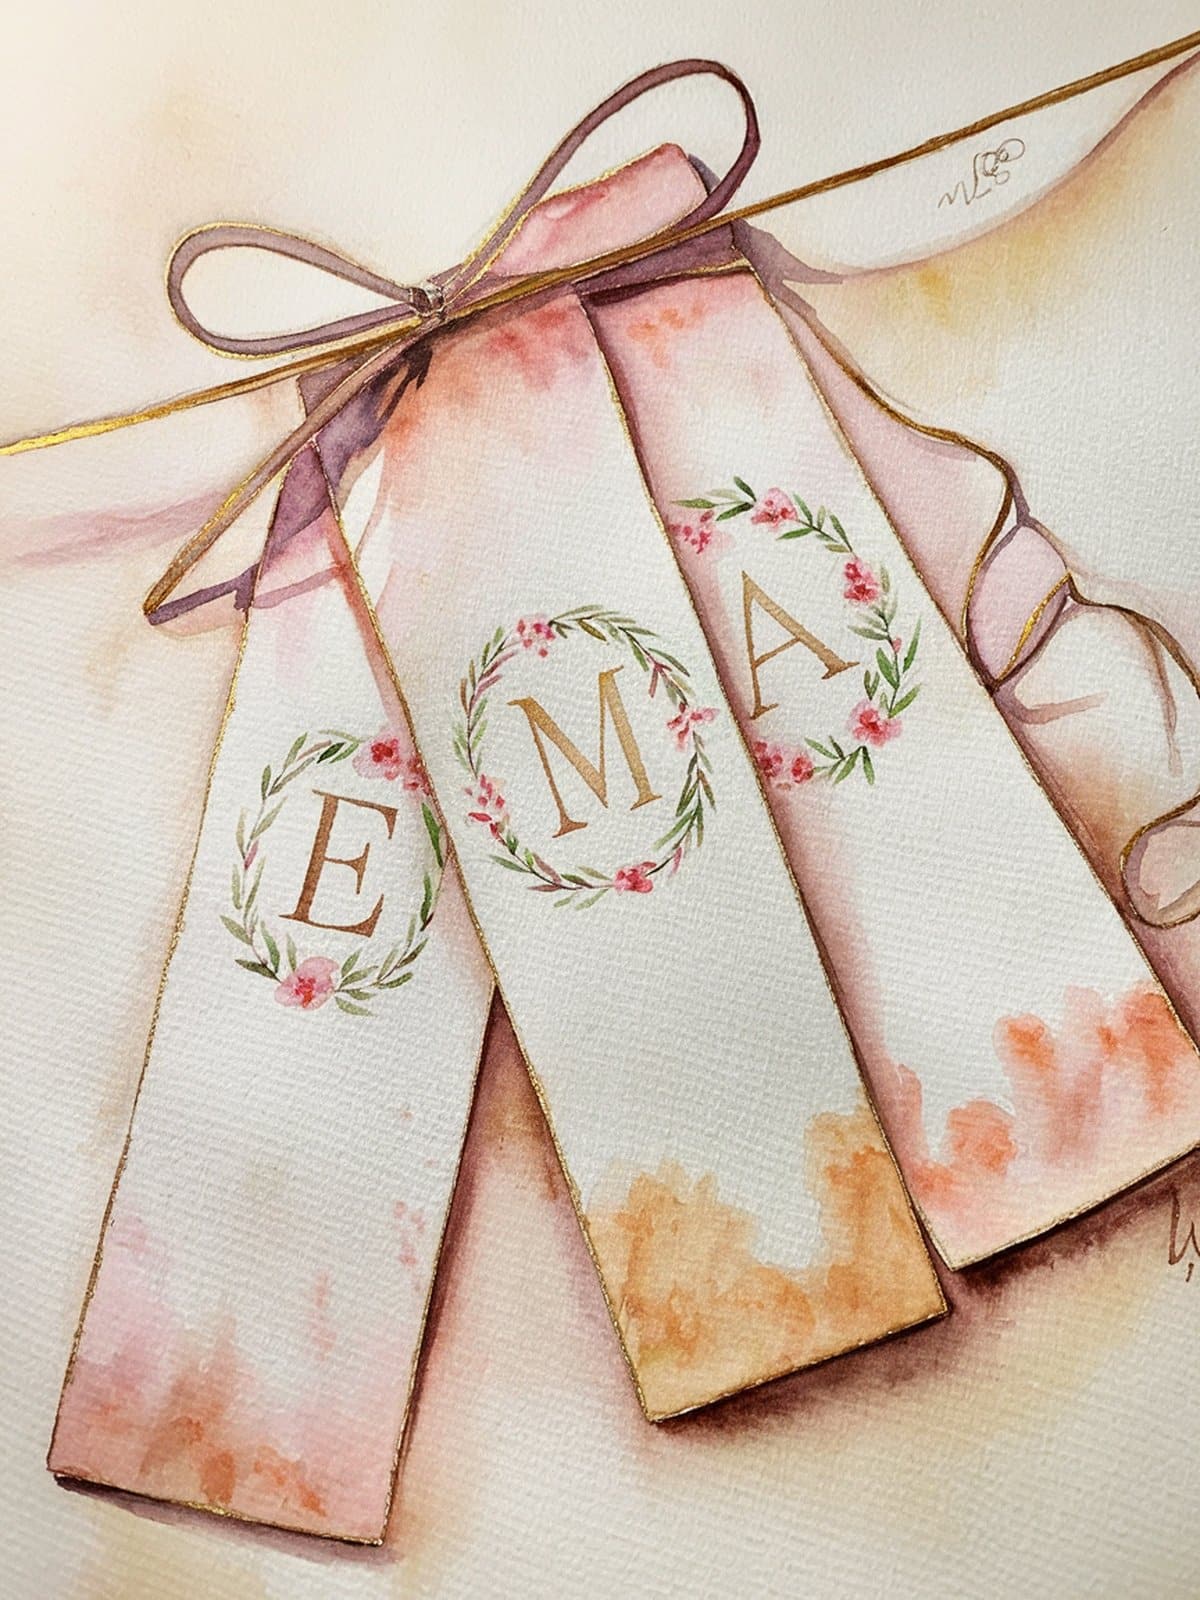
Personalised Bookmarks
Paint a watercolor background, let it dry, then add the person’s initial or name using a brush pen, gold marker, or calligraphy pen. Monogrammed bookmarks feel extra special and only take a few minutes longer to make.
Watercolor Bookmark Tips for Beginners
Quick Answer: Start with simple designs like color washes and gradients before attempting detailed subjects. Use heavy paper (200gsm+), work from light to dark colors, let each layer dry before adding the next, and cut several blank bookmarks so you can practice freely.
If you’re new to watercolor (or just new to painting on such a small scale), these tips will save you a lot of frustration:
- Start with washes, not details. A simple gradient bookmark in two or three colors is genuinely beautiful. You don’t need to paint a masterpiece.
- Use enough water. Dry, scratchy watercolor looks worse than overwatered watercolor. Be generous with your water, especially for background washes.
- Work light to dark. With watercolor, you can always add more pigment, but you can’t take it away. Start with your palest colors and gradually build up darker tones.
- Let each layer dry. If you paint wet-on-wet when you didn’t mean to, colors will bleed into each other in ways you might not want. A hair dryer speeds up the drying process if you’re impatient.
- Embrace the happy accidents. Watercolor has a mind of its own, and that’s actually what makes it beautiful. A “mistake” often turns into the most interesting part of the bookmark.
- Cut extras. Seriously, cut 10-15 blank bookmarks at the start. Having a stack ready means you can experiment without worrying about wasting paper.
If you want more beginner-friendly painting projects, have a look at my simple watercolor ideas for beginners post — everything there can be scaled down to bookmark size.
How to Seal and Protect Watercolor Bookmarks
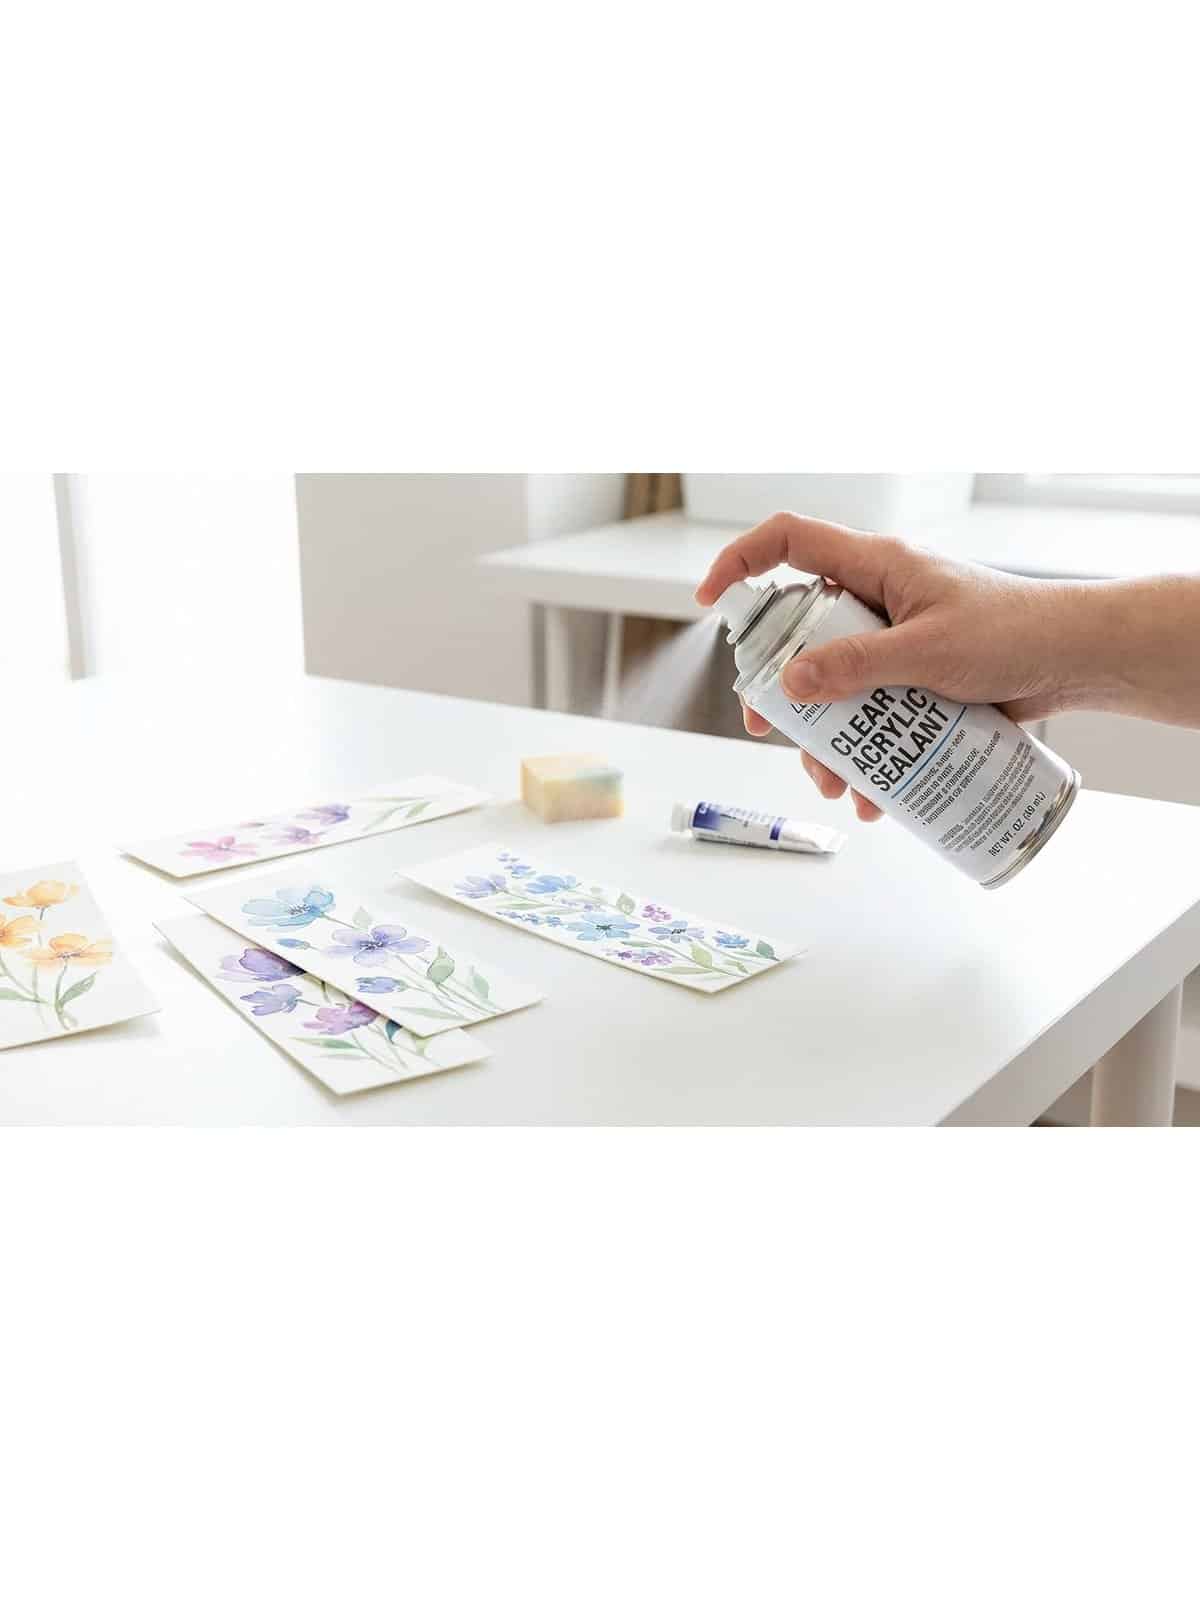
Quick Answer: Seal watercolor bookmarks with clear acrylic spray sealant (matte or satin finish), self-adhesive laminating sheets, or Mod Podge. This protects against moisture, fingerprints, and everyday handling.
The biggest question people have about watercolor bookmarks: won’t the paint rub off? It can, yes — watercolor is water-soluble even after it dries. But a quick seal fixes this completely.
Option 1: Clear acrylic spray sealant — The easiest and most professional-looking option. Hold the can about 12 inches away and apply 2-3 light coats, letting each dry between applications. Use matte or satin finish to keep the watercolor aesthetic. Glossy works too but changes the look quite a bit.
Option 2: Self-adhesive laminating sheets — Available in matte finish, these are peel-and-stick. Quick, no-fuss protection. The bookmark will feel slightly thicker and more durable, which some people actually prefer.
Option 3: Mod Podge — Brush a thin, even coat over the dried watercolor. Use the matte formula. This works well but requires a gentle hand — brush too aggressively and you might reactivate the watercolor underneath.
Option 4: Clear packing tape — The budget-friendly option. Press clear tape over both sides of the bookmark. Not the prettiest solution, but surprisingly effective for bookmarks you’re making with kids.
Recommended Supplies
Here are my top picks for making watercolor bookmarks. You don’t need everything on this list — a basic paint set, decent paper, and a couple of brushes will get you started.

| 
| 
| 
|
This post contains affiliate links, which means I may earn a small commission at no extra cost to you if you make a purchase. I only recommend products I genuinely love and use myself!
Looking for even more printable resources? Check out my Payhip shop for premium watercolor templates and guides!
And if you haven’t already, check out my free printable bookmarks collection for even more ready-to-use designs you can download right now.
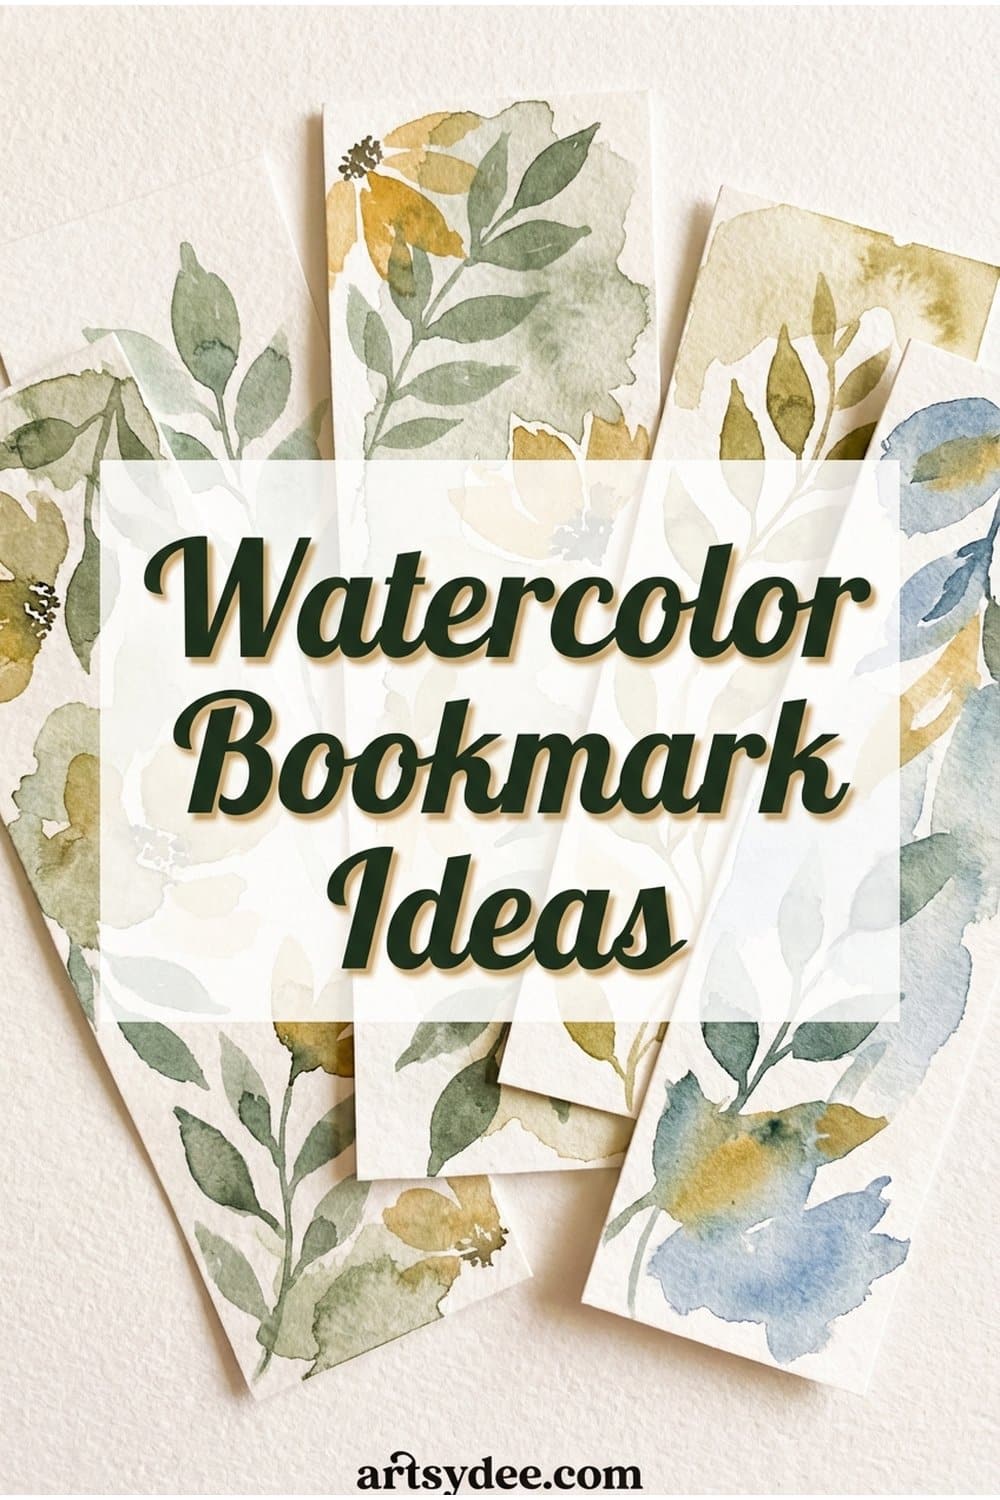
Pin this for later 👇🏻
Watercolor Bookmarks FAQ
What paper is best for watercolor bookmarks?
Watercolor paper or heavy cardstock (200gsm or higher) is essential. Cold press watercolor paper gives a beautiful textured finish, while hot press provides a smoother surface. Regular printer paper will buckle and pill, so don’t skip on this one — the paper is the single biggest factor in how your bookmarks turn out.
How do I keep watercolor bookmarks from warping?
Thicker paper (300gsm) warps less than thinner paper. You can also tape the edges of your bookmark strip to a flat surface while painting, then remove the tape after everything has dried completely. For really stubborn warping, press the dry bookmark under a stack of heavy books overnight.
Can I use watercolor bookmarks without sealing them?
You can, but the paint may smudge with moisture or heavy handling over time. If the bookmark is for personal use and you’ll be careful, unsealed is fine. For gifts or bookmarks that will see daily use, a quick spray of clear acrylic sealant or a laminating sheet makes them much more durable.
How long does it take to make a watercolor bookmark?
A simple abstract wash bookmark takes about 5-10 minutes of painting time plus 30-60 minutes of drying time. A more detailed floral or nature design might take 15-25 minutes to paint. The actual hands-on time is quite short — most of the wait is just letting things dry between layers.
What size should a watercolor bookmark be?
The standard bookmark size is about 2 inches wide by 6 inches tall (5cm x 15cm). However, there’s no strict rule — some people prefer wider bookmarks at 2.5 inches, or shorter ones at 5 inches for smaller books. Cut a few different sizes and see what feels best in your hand and in your favorite book.
Final Thoughts
Watercolor bookmarks are one of those projects that remind me why I fell in love with art in the first place. They’re small, low-pressure, and the results are almost always better than you expect. Whether you paint one bookmark or twenty, each one is a tiny piece of art that actually gets used every day.
Start with a simple color wash, work your way up to florals or galaxies, and don’t worry about making them perfect. The charm of a handmade bookmark is that it’s handmade — a little bit of imperfection is what makes it beautiful.
Grab your free templates above and see what happens. Sometimes the best creative sessions start with someone else doing the setup for you.
Want to see watercolor techniques in action? Head over to my YouTube channel where I share step-by-step watercolor tutorials every week. Hit subscribe so you don’t miss the next one!
Happy painting, and happy reading.
Follow me on Pinterest for daily art inspiration, and subscribe to Artsydee on YouTube for weekly watercolor tutorials!
You Might Also Like
- Free Printable Bookmarks
- Easy Watercolor Sketchbook Ideas
- Loose Watercolor Flowers Tutorial
- Watercolor Painting Ideas for Beginners
- Loose Watercolor Sketchbook Pages
🎨 Want more free printables? Browse my Free Printables Library — over 400 free templates, coloring pages, drawing guides, and creative resources all in one place!
Pin this for later!