Last Updated on July 20, 2026 by Dee
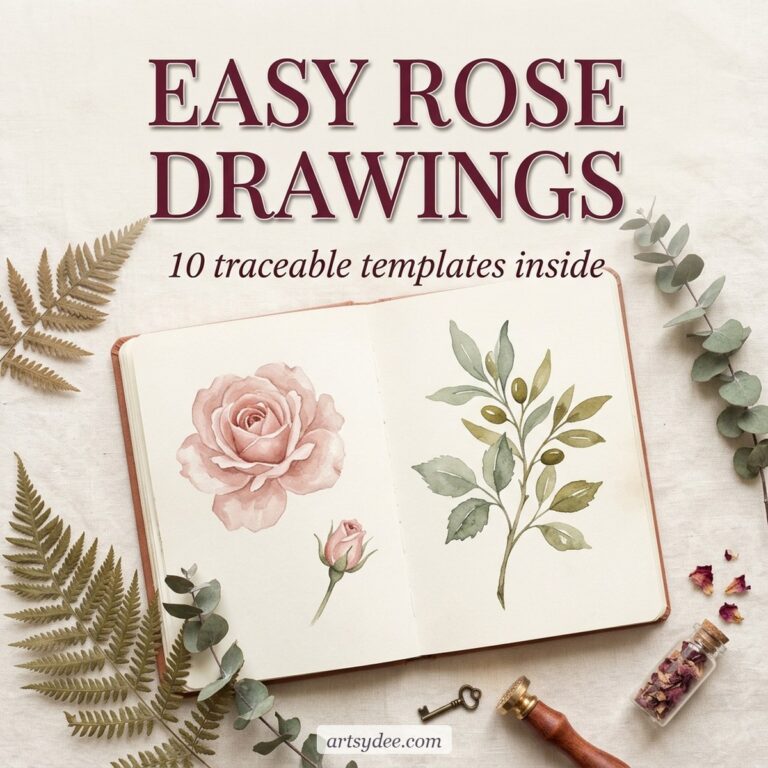
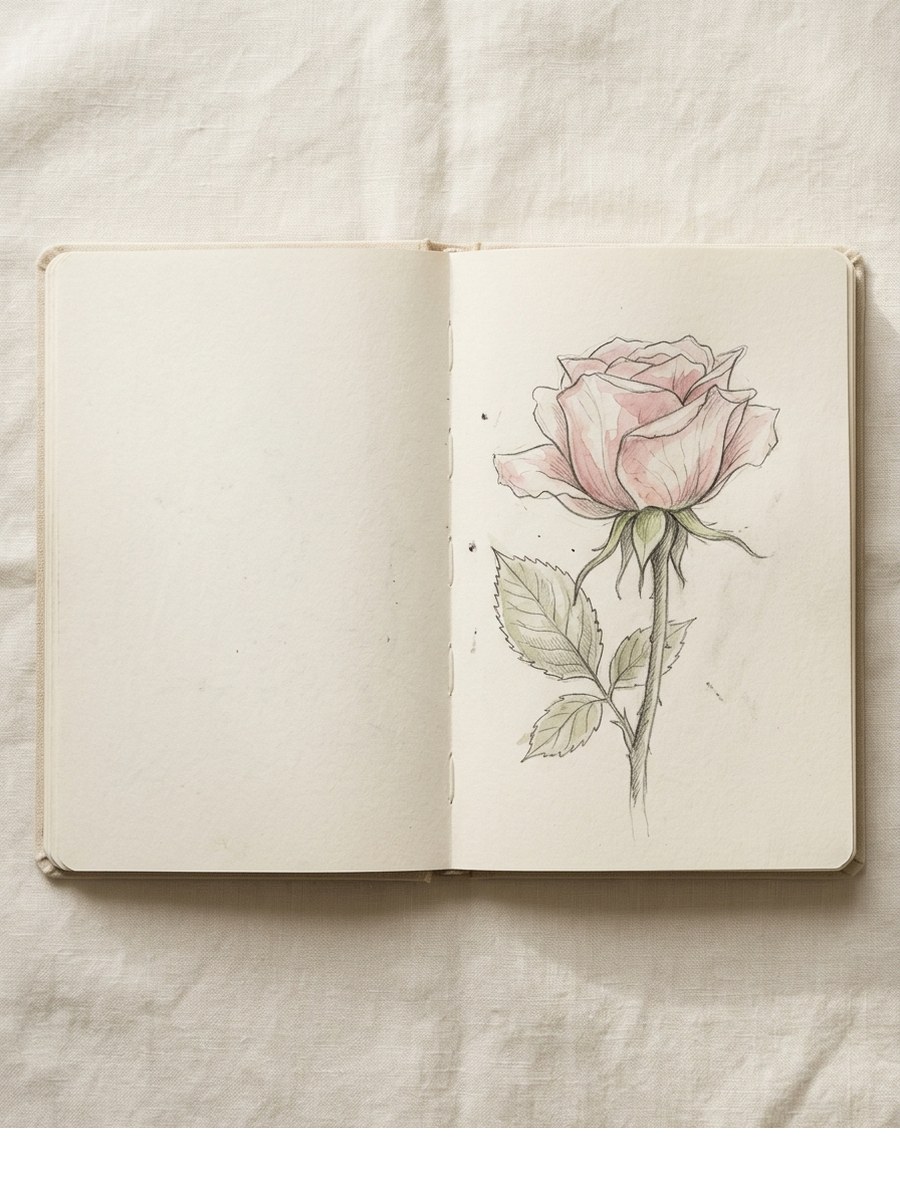
Roses are the rite-of-passage subject for almost every sketchbook artist. They’re romantic, they’re a little intimidating, and they reward you tenfold the moment you stop trying to draw them perfectly. A spiral centre, a few overlapping petals, a soft sage leaf or two — and suddenly your page feels like the kind of vintage botanical you’d frame.
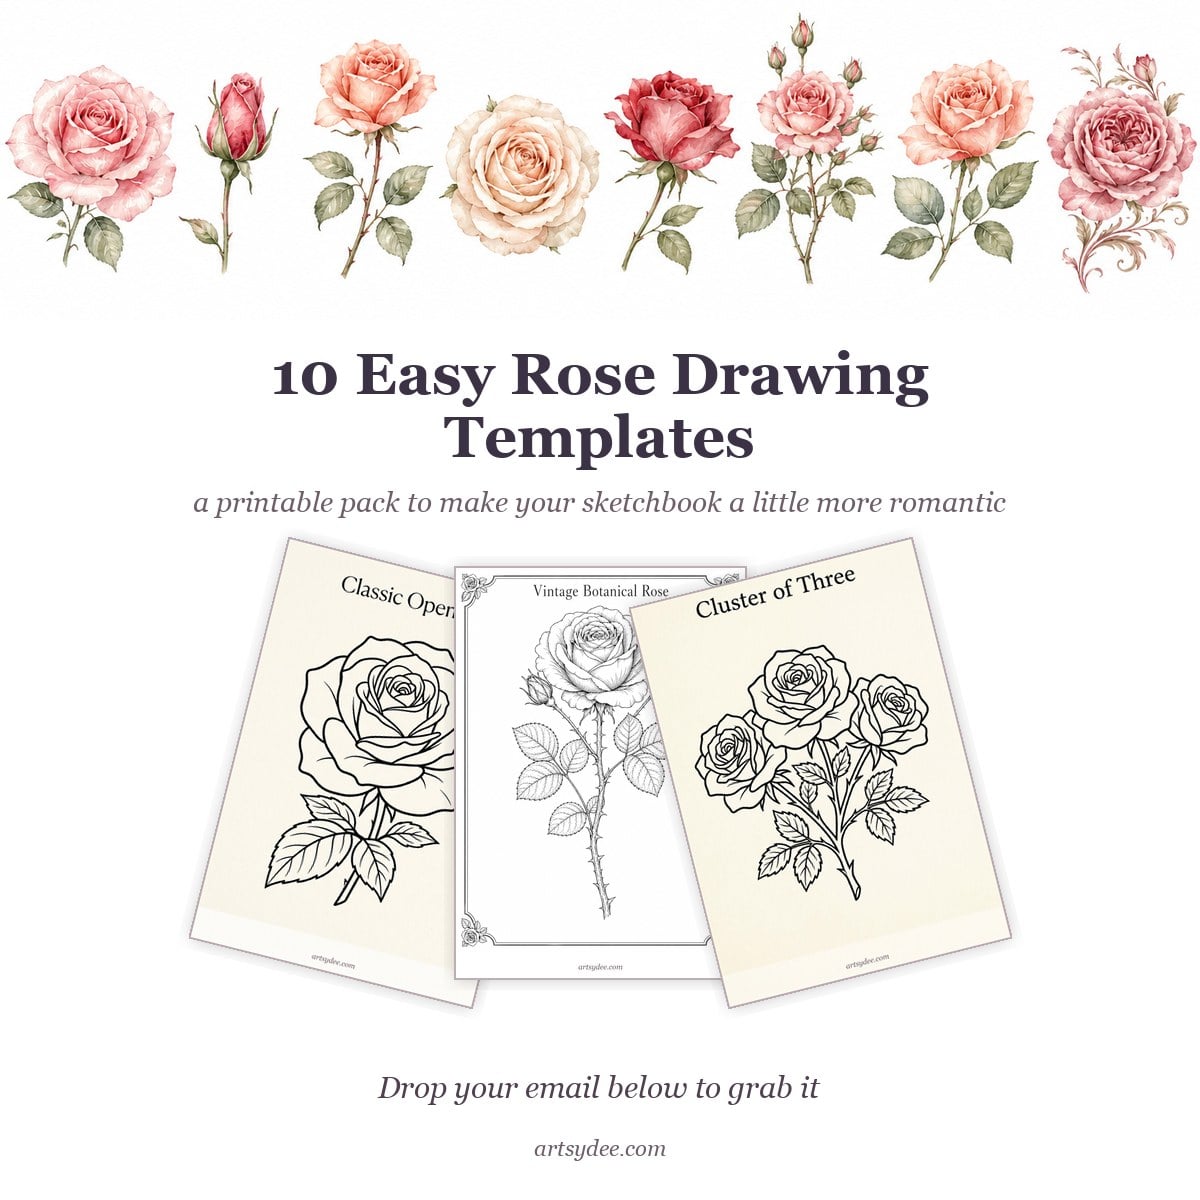
I’ve put together a free pack of 10 easy rose drawing templates — a classic open rose, a tightly-furled rosebud, a long-stem with leaves, a cluster of three, a top-down mandala view, a side profile, a vintage botanical illustration, a friendly cartoon rose, an ornate Victorian medallion, and a thorny long-stem. Trace them, watercolour over them, or use them as warm-ups when your sketchbook feels too quiet.
🎬 Prefer watching? Subscribe to my YouTube channel — I drop sketchbook flip-throughs and step-by-step tutorials every week.
Table of Contents
Why roses are the rite-of-passage flower for sketchbook artists
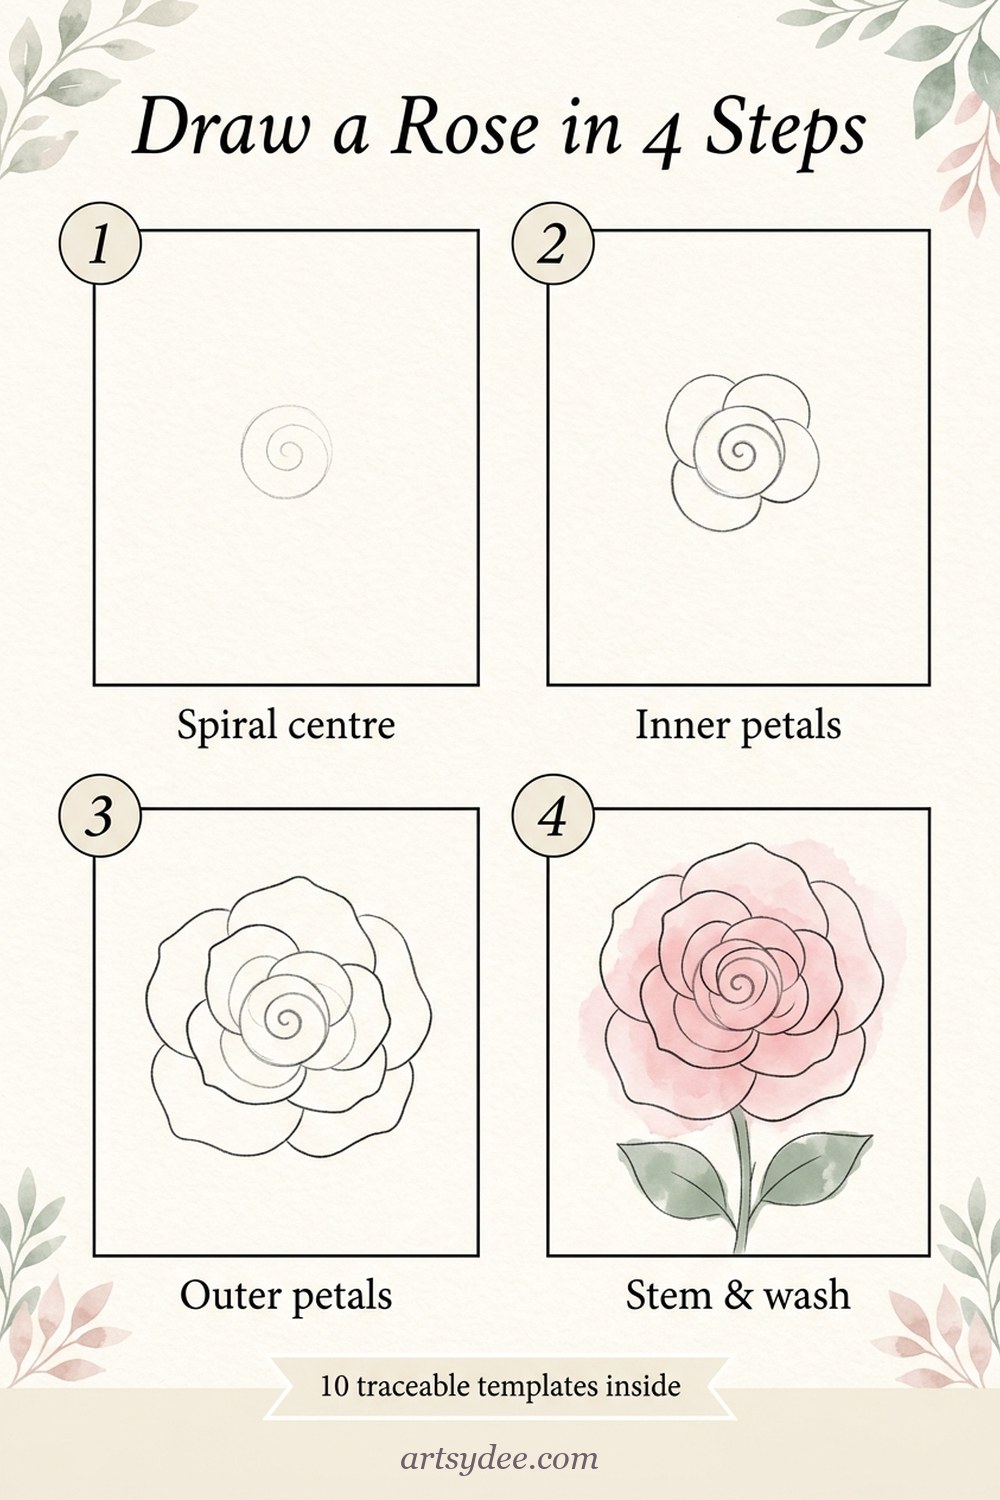
Quick answer: Roses look intricate, but they’re built on one simple shape: a spiral. Once you draw the spiraled centre, every petal is just a soft curve wrapping around it. They forgive wonky symmetry, they read beautifully in graphite, ink and watercolour, and a single rose can feel like a finished page on its own.
Most beginners avoid roses because they think roses are “advanced”. They’re not — they’re just stacked. The trick is to stop drawing the rose you imagine and start drawing the spiral that’s actually there. Once you see the centre as a tight little curl, every petal becomes a soft “C” shape wrapping around it. Asymmetry helps; the wonkier the petals, the more romantic the rose looks.
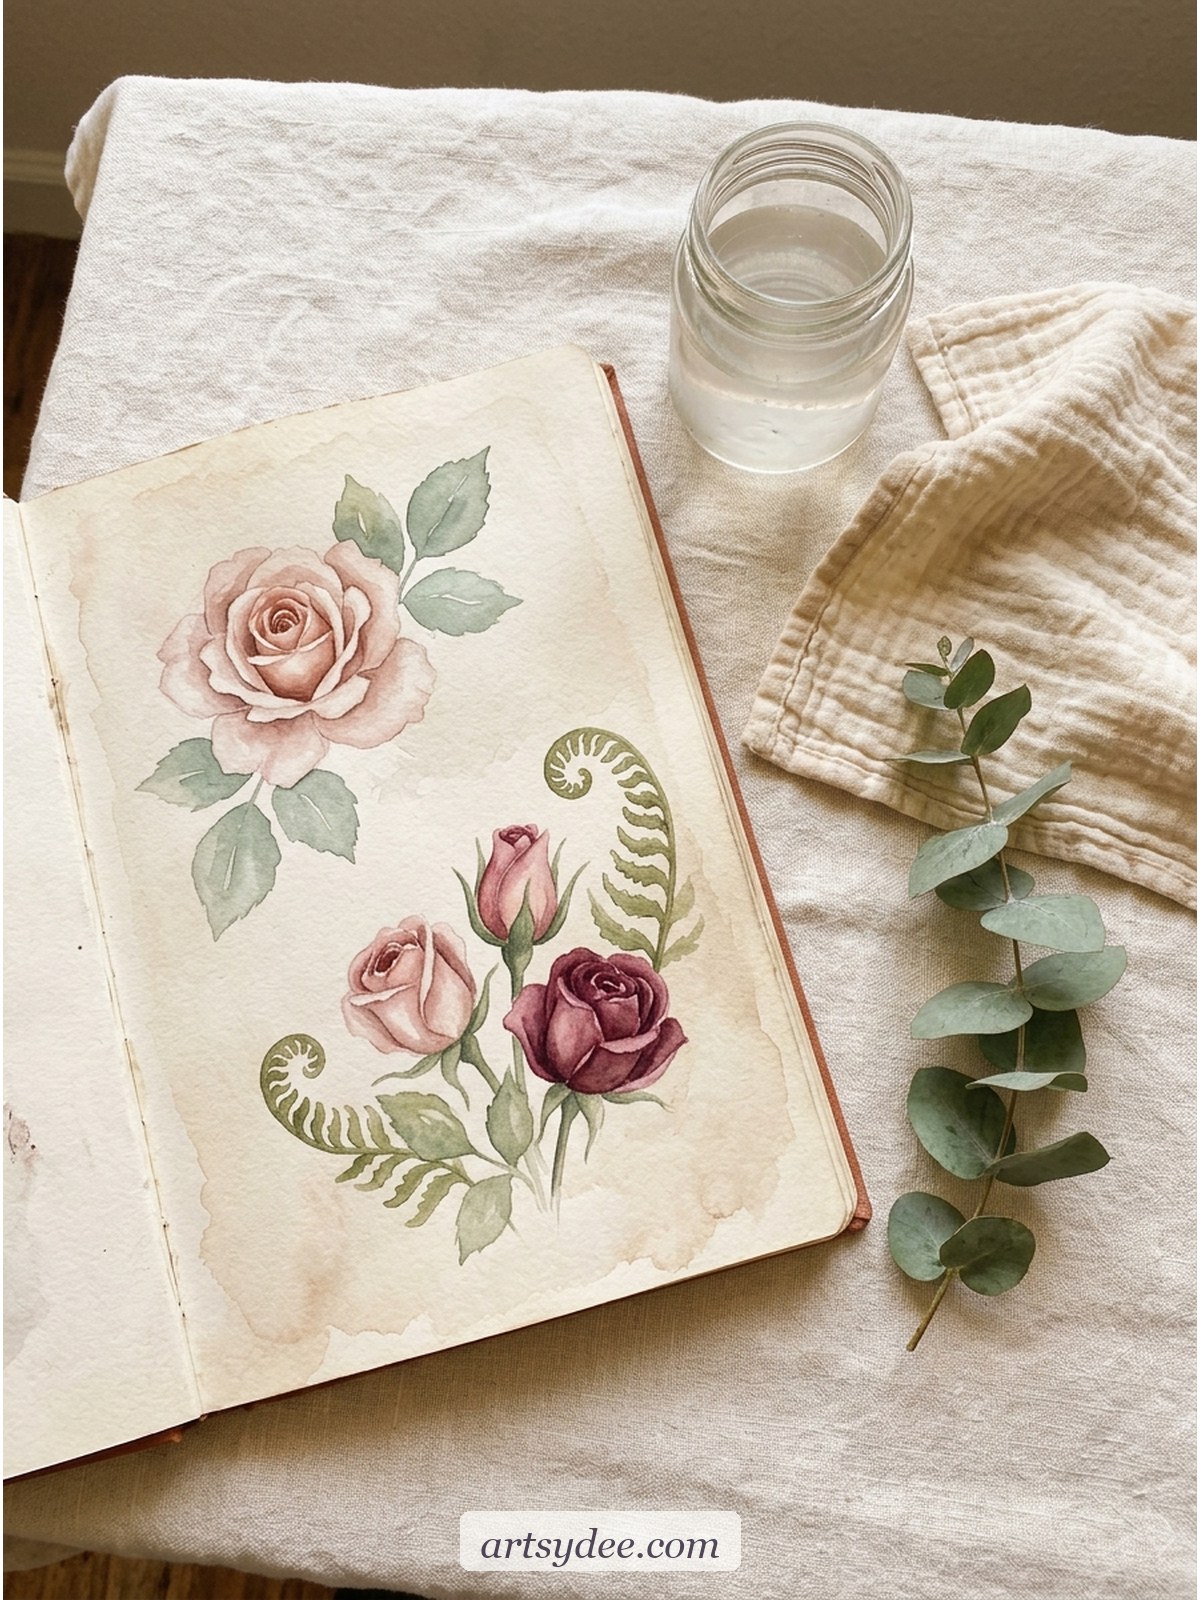
The other thing I love: roses make the sketchbook feel cared for. You can draw a quick mushroom or a doodle in five minutes and it’s lovely, but a single open rose with a sage-green leaf and a curled stem feels like a gift to your future self. They suit slow-Sunday journaling. They pair beautifully with eucalyptus, ferns, and tiny filler florals. And they’re the reason watercolour was invented, basically.
Roses coming along nicely? My shop has premium drawing template sets for the rest of your botanical sketchbook.
Browse the shop →Grab your free 10 rose drawing templates
Quick recap of what’s in the pack — all sized for A4, all clean line art you can trace or paint over:
- Classic open rose — the storybook bloom with a spiraled centre and curling outer petals
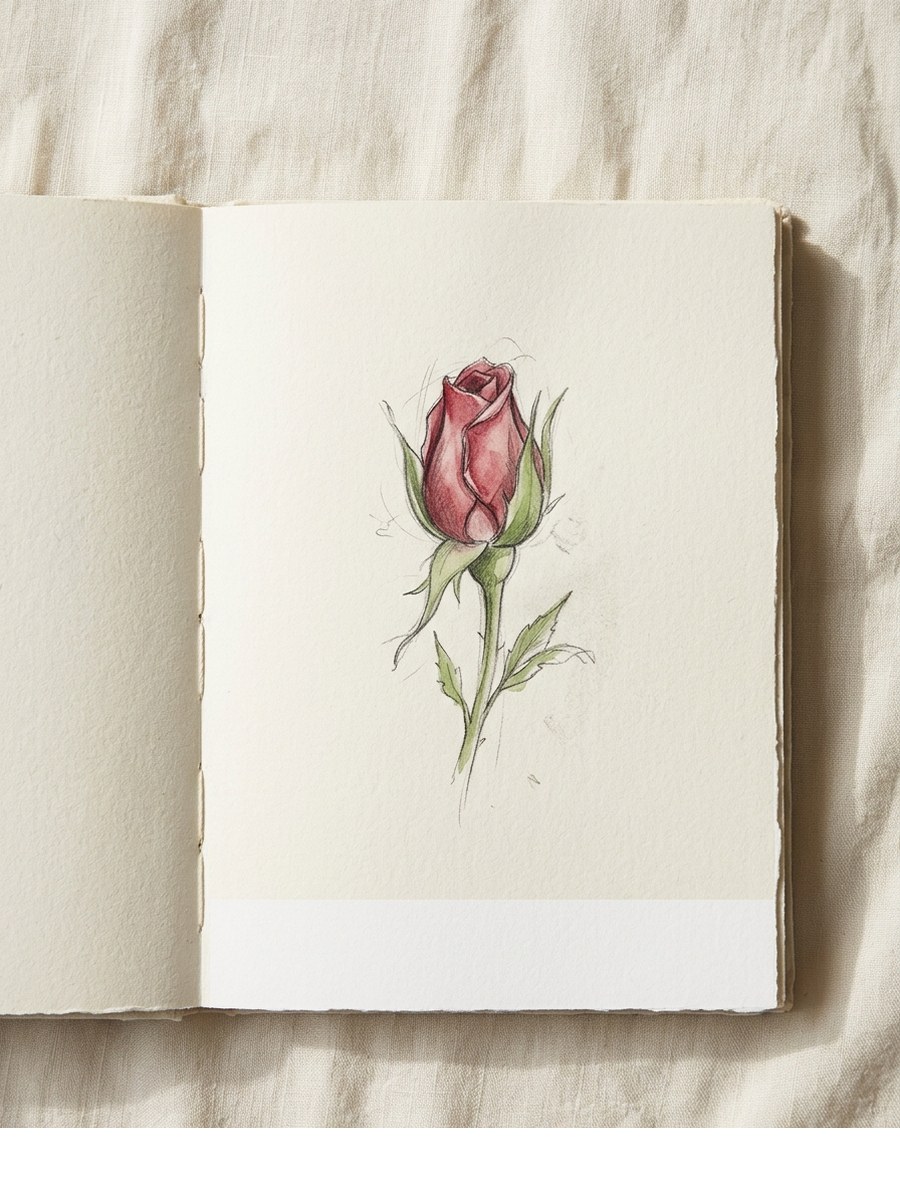
- Single rosebud — a tight tear-drop bud with the calyx flaring beneath
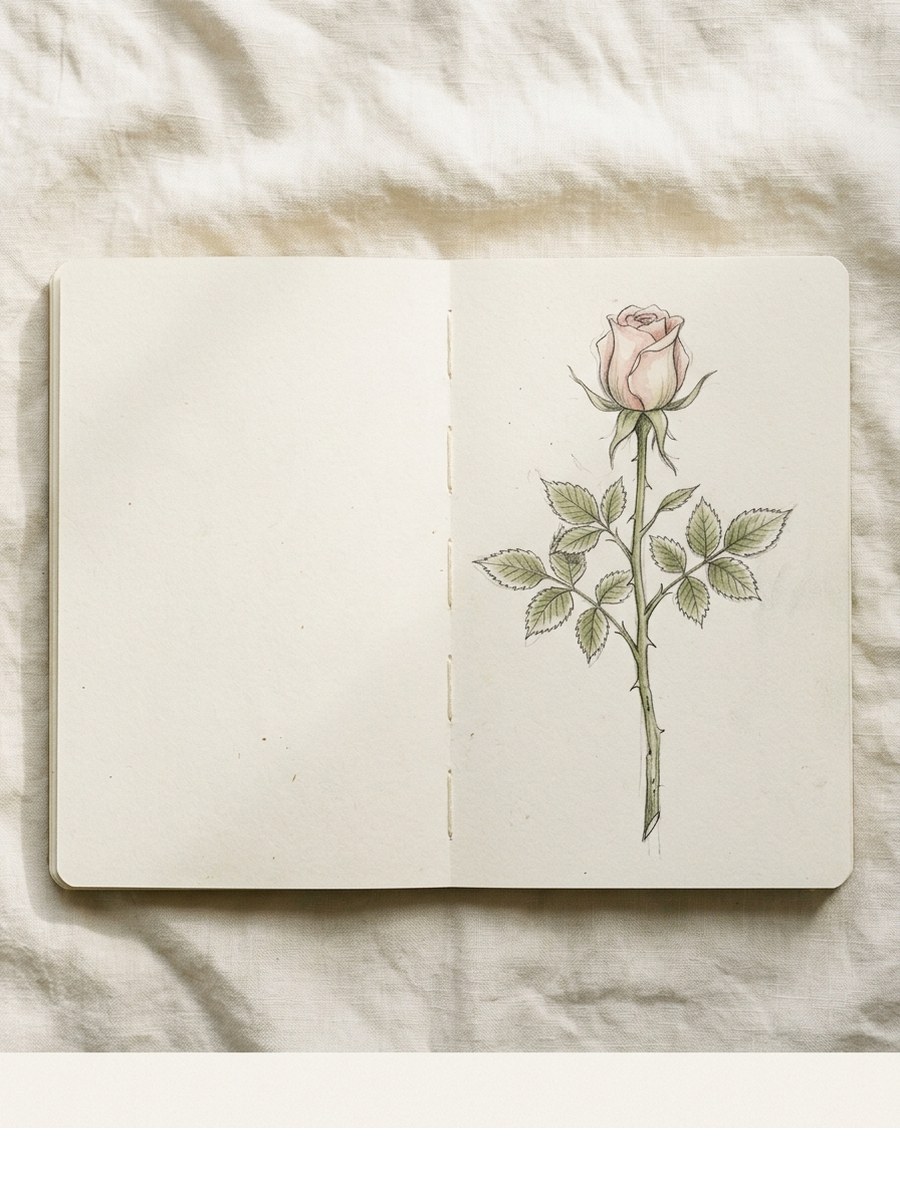
- Single stem with leaves — a long-stem with three pairs of pinnate leaves and visible thorns
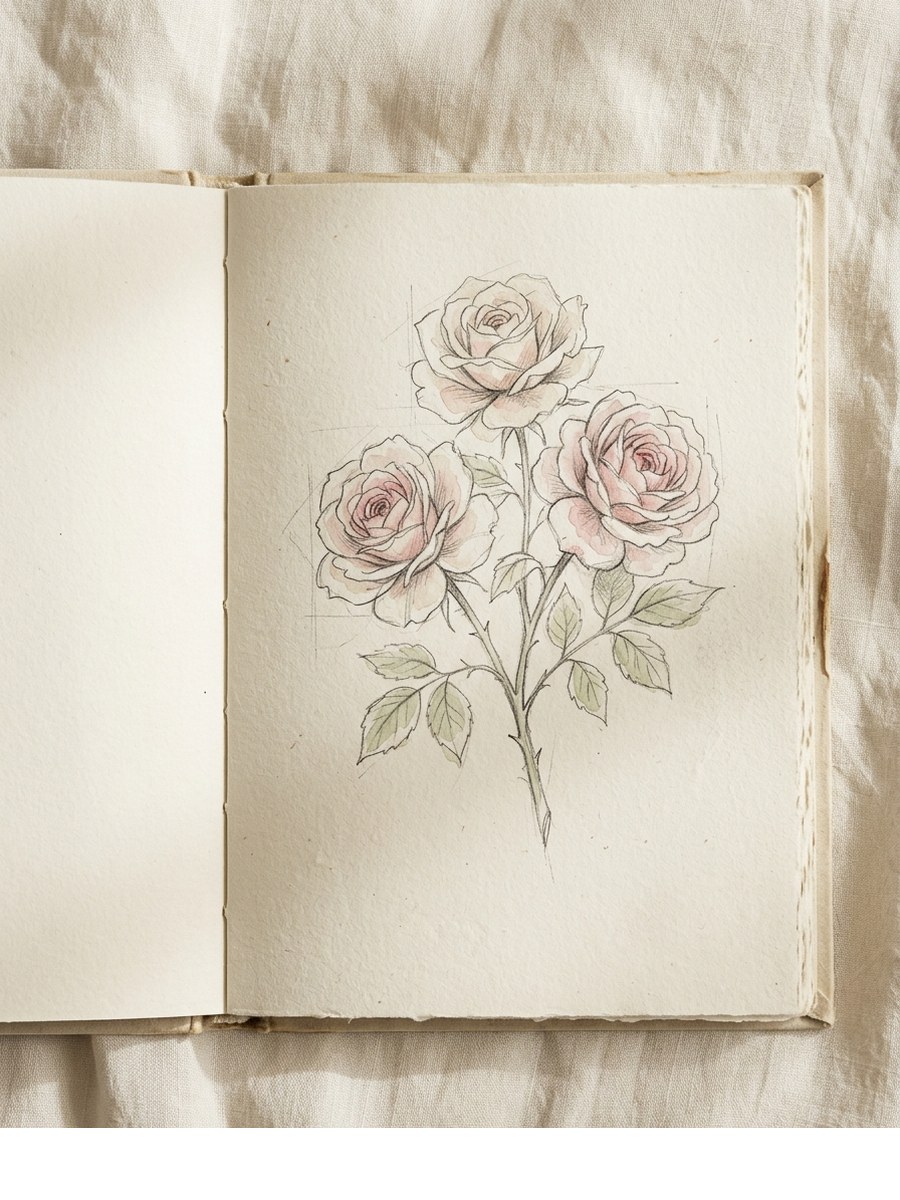
- Cluster of three — a tiny bouquet, one open rose flanked by two half-open ones
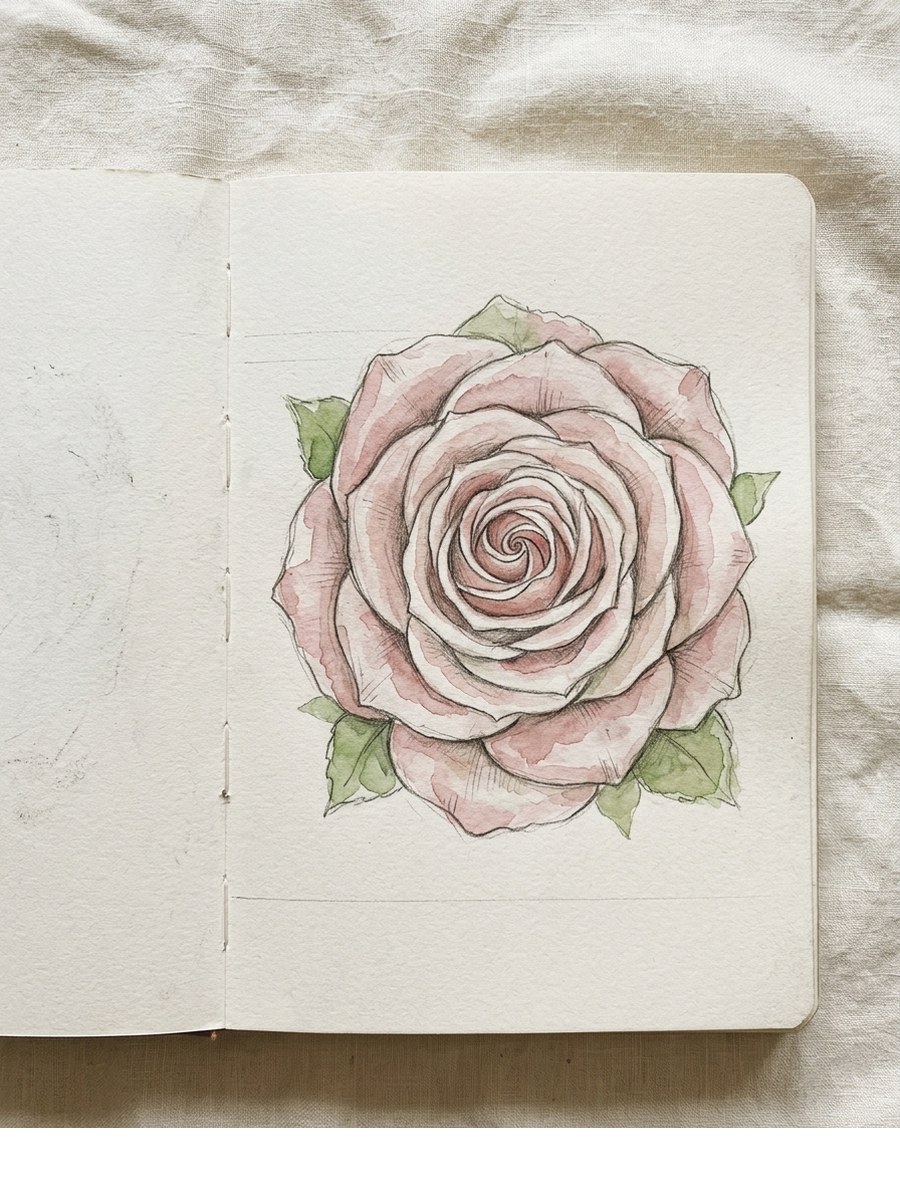
- Top view rose — a bird’s-eye mandala-like view of concentric petal layers
- Side view rose — a profile of the layered petal structure with calyx and stem
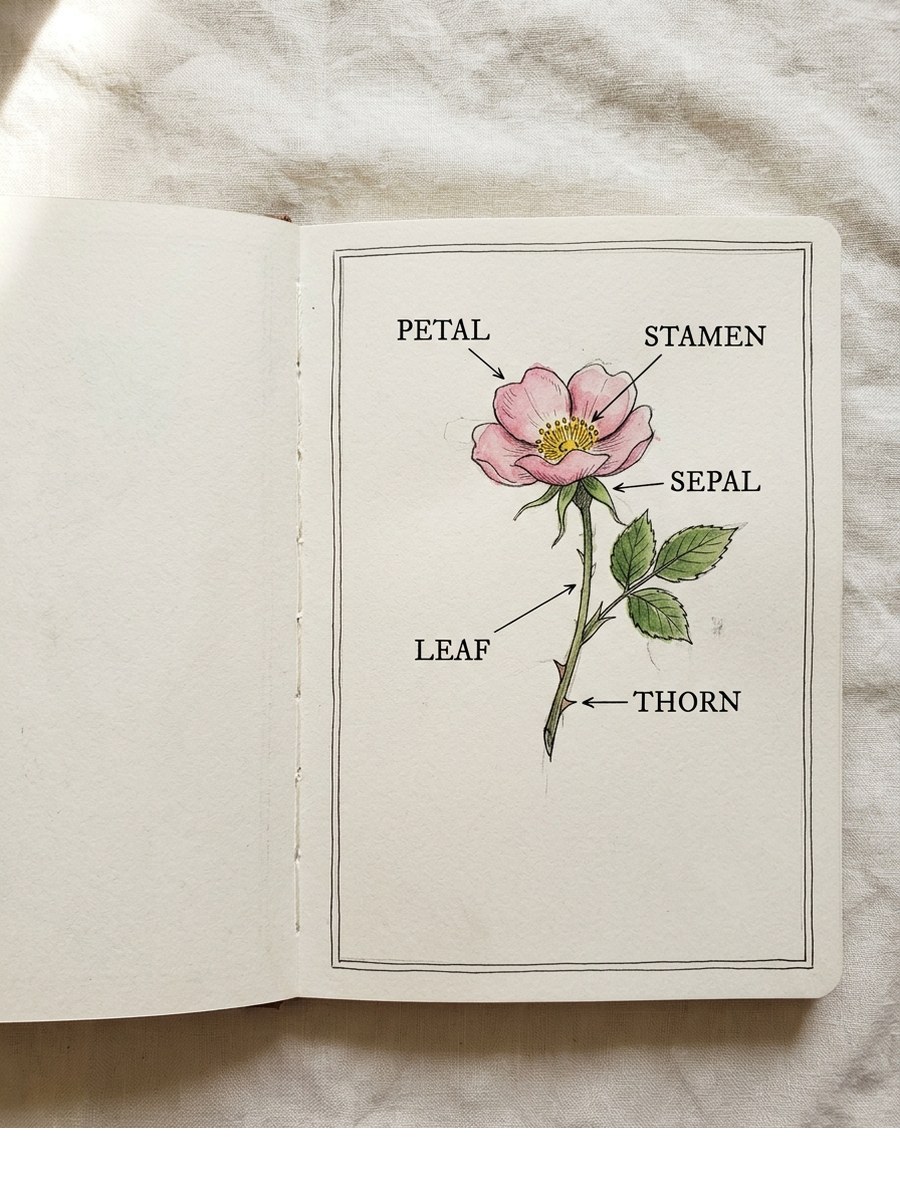
- Vintage botanical rose — a scientific-illustration feel with full anatomy, thorns and leaves
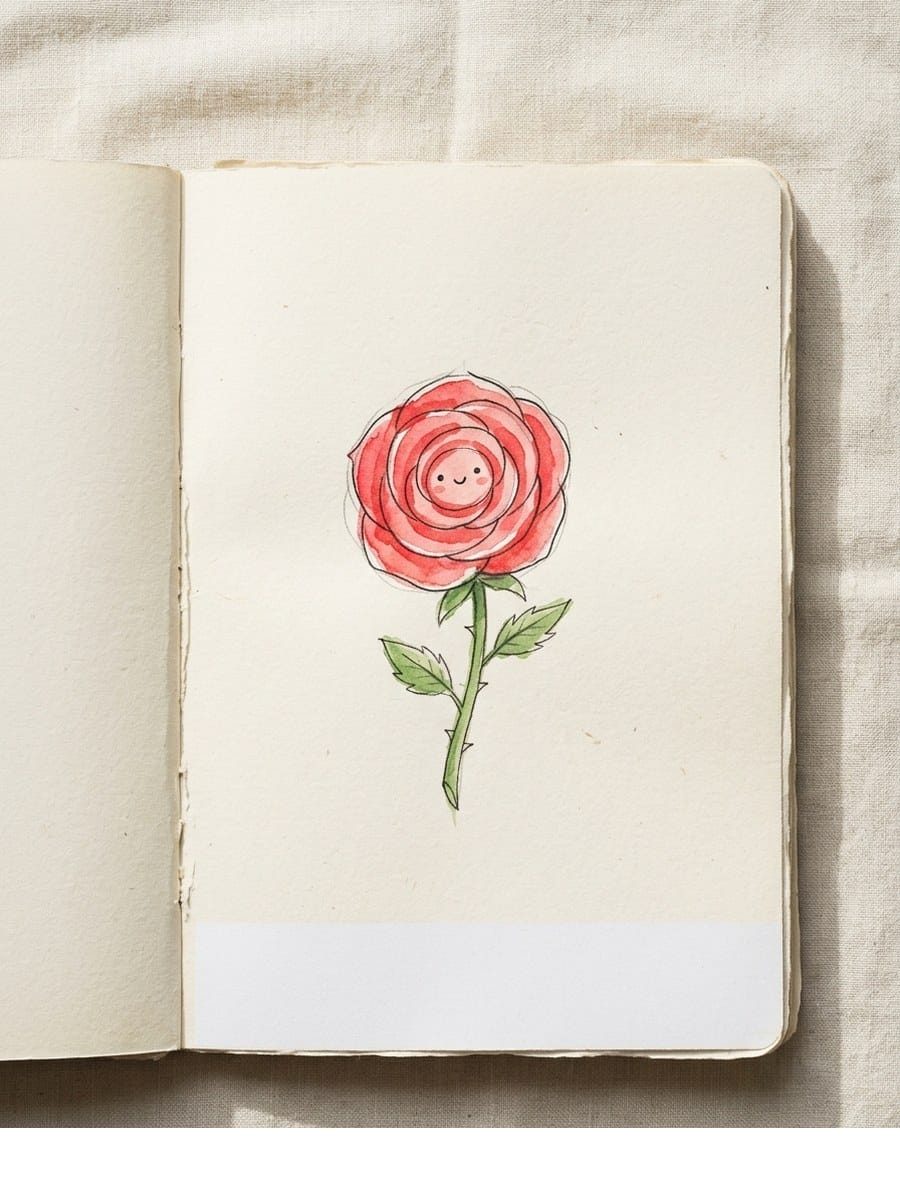
- Simple cartoon rose — a friendly, swirly cartoon-style bloom for journaling
- Ornate decorative rose — a rose inside a Victorian curling-vine medallion frame
- Rose with thorns — a long-stemmed rose with prominent sharp thorns and a fallen petal
Scroll back up to the email box if you haven’t grabbed it yet — pop your email in and the pack lands in your inbox in a couple of minutes. That’s the only step.
What you need to get started
Quick answer: A pencil, an eraser, a piece of paper, and a printed template are enough. If you want to add value or wash, a graphite set (2H–6B) covers all the shading you’ll need; for paint, a small watercolour pan set with one round brush will get you through every rose in this pack — alizarin crimson, quinacridone rose and sap green do most of the heavy lifting.
Roses are forgiving when it comes to supplies. The list below is what I actually reach for when I’m sketching something romantic — nothing fancy, all easy to find:
Heads up: a couple of links below are affiliate links. If you click and buy something I may earn a small commission at no extra cost to you. I only link to supplies I genuinely use.
- A soft graphite pencil set — a Faber-Castell graphite set is great for layered shading on the deep folds between rose petals.
- A small watercolour pan set — I use a Winsor & Newton Cotman pocket box for everything romantic; the alizarin crimson, quinacridone rose, sap green and burnt sienna cover every rose in this set.
- Cold-press watercolour paper — even if you’re tracing, paint over a printed template on a sheet of Strathmore 400-series watercolour paper for the loveliest washes and softest petal bleeds.
- A round watercolour brush — a single Princeton Velvetouch round size 6 handles the body of the petals and the fine veins of the leaves.

|

|

|

|
10 easy rose drawings to try
Quick answer: The ten roses in this pack go from absolute-beginner (a tightly-furled bud or a simple cartoon rose) to gently more involved (a vintage botanical with full anatomy and an ornate Victorian medallion). Pick whichever one matches your mood — there’s no order you need to follow.
1. The classic open rose
The storybook bloom. Start with a small spiral in the middle of your page — that’s the centre. Then layer soft “C”-shaped petal curves around it, each one slightly bigger than the last, gently overlapping. Add a short stem and two sage-green leaves at the bottom. This is the rose every artist draws first, and the one you’ll come back to forever.

2. The single rosebud
The quiet one. A bud is a teardrop with the petals wrapped tightly around the centre — almost like a small flame. The calyx (those little green sepals) flares outward beneath the bud and points down toward the stem. Buds are perfect for journal corners and recipe-page accents because they’re tiny and full of promise.
3. The single stem with leaves
A long-stem rose with three pairs of pinnate leaves and small thorns visible along the stem. This is the florist-shop rose — elegant, structured, slightly formal. The leaves grow in opposite pairs along the stem; the further down you go, the bigger they get. Don’t forget the thorns: tiny triangles, alternating sides, never evenly spaced.
4. The cluster of three
A tiny bouquet — one fully open rose in the centre and two smaller half-open roses on either side, their stems gathered together at the base. Add a few filler buds and small leaves between the blooms. The trick: overlap the stems near the base and let the heads sit at slightly different heights so it doesn’t look like a marching band.
5. The top view rose
The mandala one. Looking straight down at a rose gives you concentric circular layers of petals spiralling out from a tightly-coiled centre. No stem, no leaves — just the bloom filling the page. This is my favourite rose for a quick meditation: draw the spiral first, then add ring after ring of petals, each slightly larger and more relaxed than the last.
6. The side view rose
A side profile of the layered petal structure on a curving stem. From the side, you can see how the petals stack — the inner furled centre, the outer petals curling down, the calyx flaring under the bloom. This is a great pose for showing how a rose feels three-dimensional rather than flat. One leaf curling out from the stem grounds the whole thing.
7. The vintage botanical rose
The illustrated-encyclopaedia rose. Detailed anatomy: every petal layer visible, a long straight stem with thorns, two pairs of pinnate leaves, a small bud growing off a side branch. This one rewards patience — it’s slower, more deliberate, and looks unbelievably beautiful in fine ink with a soft sepia or burgundy wash. Keep your line weights varied: thicker at the base of each petal, lighter at the tip.
8. The simple cartoon rose
The friendly one. A swirly spiral for the centre, a few rounded petals around it, a short stem and two simple rounded leaves. Thicker outlines, less fuss. Perfect for journaling pages, planner doodles, or sticker-style illustrations. The whole rose can be drawn in under a minute once you’ve got the swirl down.
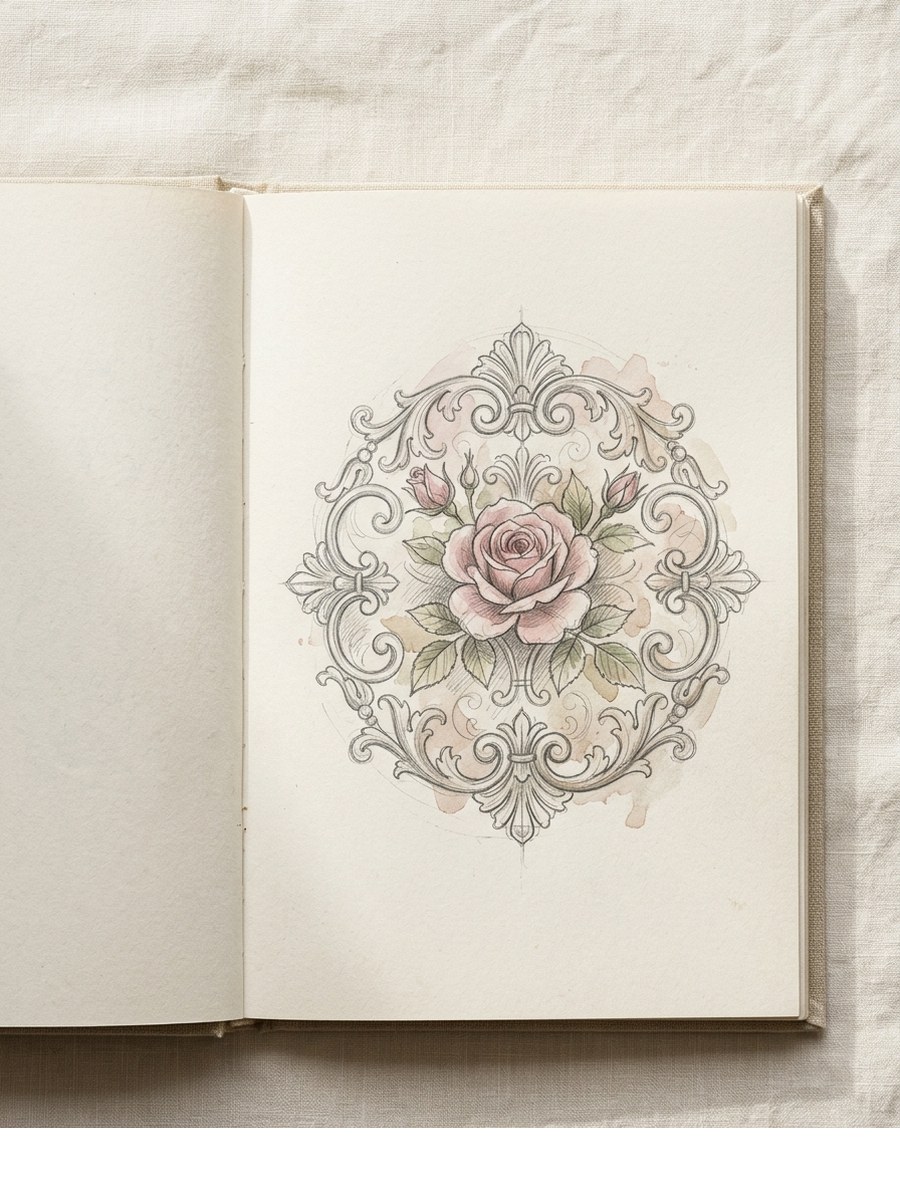
9. The ornate decorative rose
The Victorian medallion. A large open rose at the centre, surrounded by an ornamental circular border of curling vines, leaves and small filler florals — like a vintage tattoo or a stained-glass window. Beautiful as a stand-alone sketchbook centrepiece, or as the cover-page flourish for a journal. Build the rose first, then layer the border around it slowly.
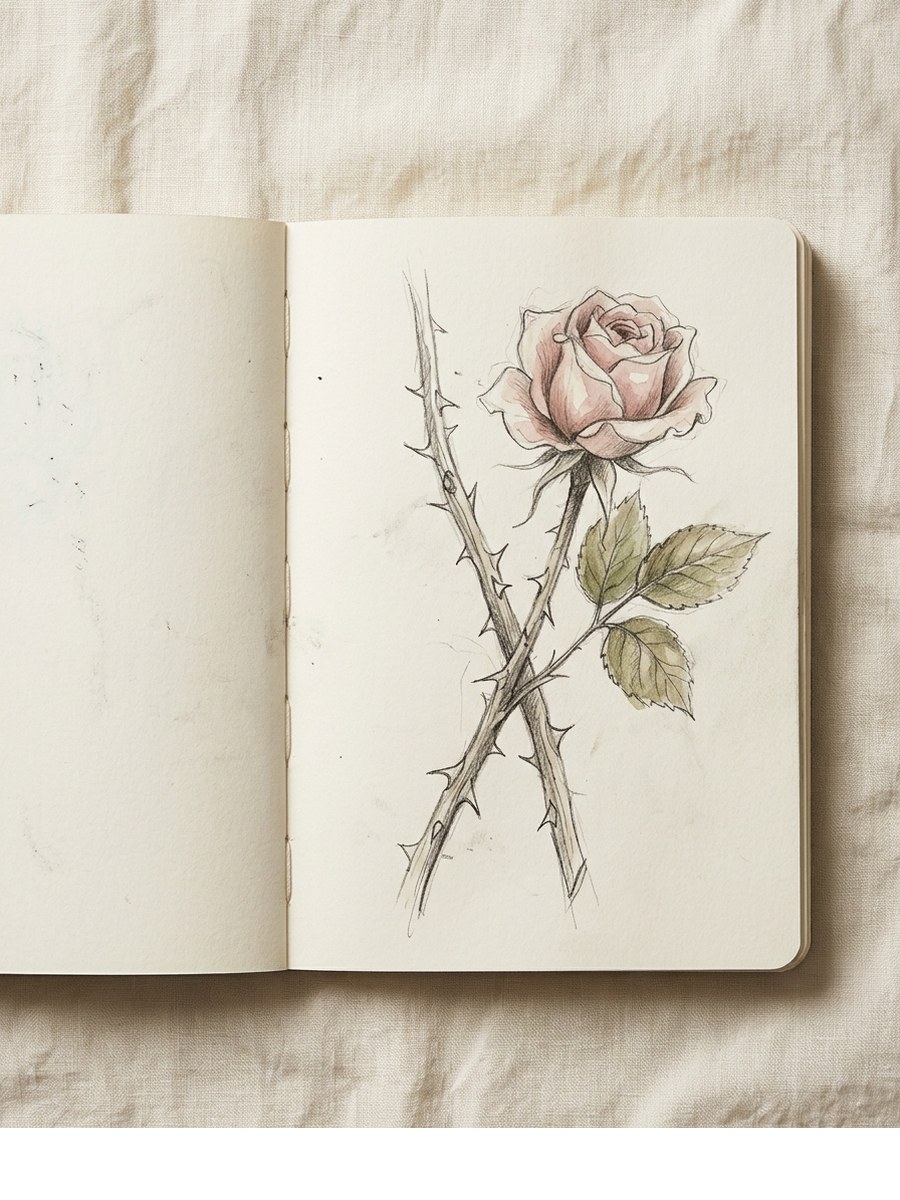
10. The rose with thorns
The slightly dangerous one. A long-stemmed rose with prominent sharp thorns running up the curving stem, two pairs of pinnate leaves, and one fallen petal at the base for atmosphere. The thorns are what make the rose feel real — soft petals balanced against sharp armour. Don’t space the thorns evenly; cluster two or three together, then leave a stretch bare.
How to take your rose drawings further
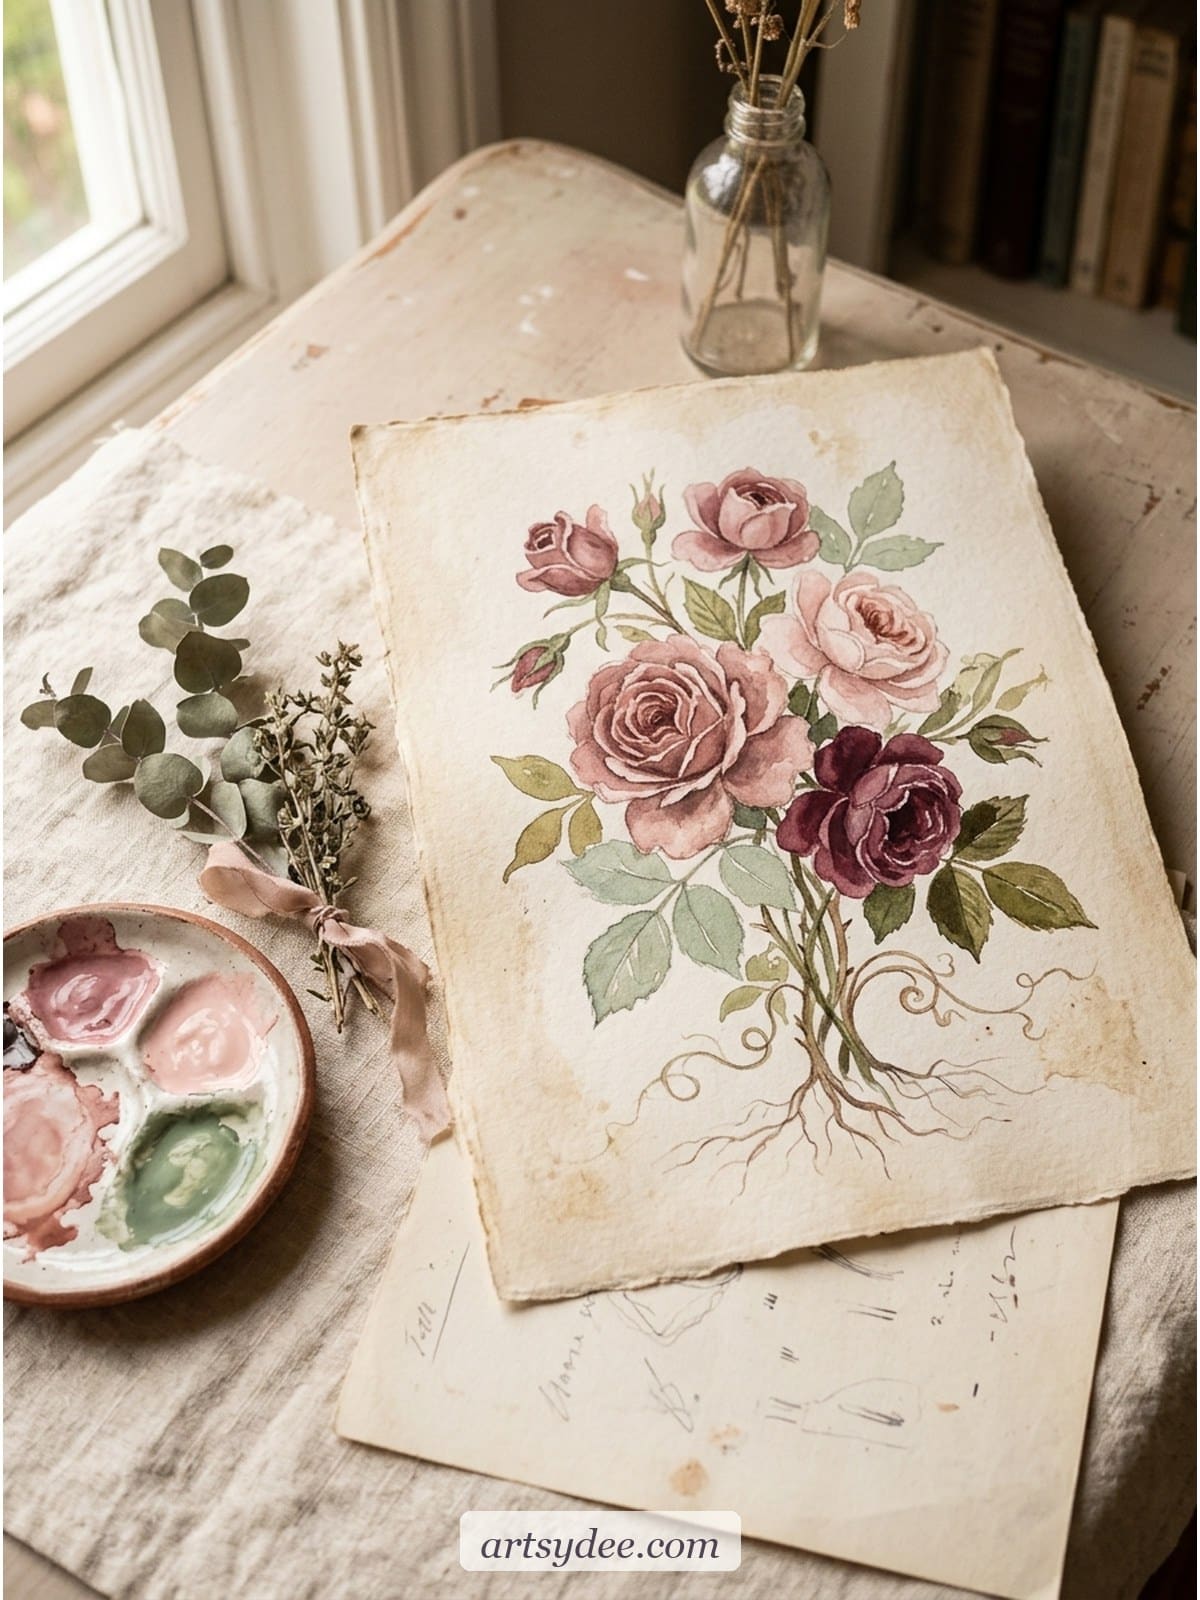
Quick answer: Once you’re comfortable with the line work, paint over a printed template with a soft watercolour wash — alizarin crimson for a deep classic rose, quinacridone rose for a modern blush, sap green for the leaves, or a wet-on-wet bleed of dusty rose and burgundy in the petal folds. Watercolour over a traceable line is the fastest way to graduate from “drawing a rose” to “painting a rose”.
If you want to keep practising, try the same rose four times across one page in different mediums — graphite, ink, watercolour, gel pen. You’ll learn more from one page of comparison than from four separate finished pieces. And once you’ve drawn one rose enough times to know it by feel, try it again in a different palette: the classic open rose is iconic in burgundy, but it’s stunning in dusty lilac or warm peach too. Romantic doesn’t have to mean red.
And if roses turn into a phase you want to stay in, my Patreon drops new watercolour template packs every month — the kind you can trace, paint, or re-mix into your own sketchbook. The Tier 2 Creatives Treasure Chest is £8 a month and includes the full back catalogue of watercolour PDFs, Procreate brushes, and printable extras (a lot of which sit in this dreamy floral-and-botanical space).
Tips for beginners
Quick answer: Start every rose with a small spiral, build petals as soft “C” curves wrapping around it, vary your petal sizes (never identical), embrace asymmetry — wonky roses look more romantic than perfect ones — and ground every rose with a leaf or stem so it doesn’t float on the page.
- Spiral first. Every rose, every angle, starts with a small spiral. Once that’s down, you’re not drawing a rose — you’re just wrapping curves around a centre. The hardest part is over.
- Petals are “C” shapes. Don’t try to draw petals as full ovals. Draw soft “C” curves that overlap each other like fish scales — the negative space between the curves is the rose.
- Vary the sizes. Real rose petals are never identical. Some catch the light, some fold under, some tear at the edge. The more uneven your petal sizes, the more alive the rose looks.
- Embrace asymmetry. A perfectly symmetrical rose looks fake. Let the centre lean. Let the outer petals curl unevenly. The wonkier the rose, the more romantic it reads — that’s a paradox you can rely on.
- Ground them. Even one tiny leaf at the base or a single curling stem stops a rose from floating on the page. Add a soft shadow line under the bloom if you want extra weight.
Want monthly templates? Join the Creations Club
If junk-journal-adjacent printables are more your thing — vintage ephemera, scrapbook kits, pocket pages, decorative borders, and seasonal collections — that’s the home of the Artsydee Creations Club. £8 a month, new printables every month, and a growing back catalogue. Watercolour and Procreate templates live on my Patreon; junk-journal printables live in the Creations Club.
You can also browse the full Artsydee Payhip shop if you’d rather pick up individual template packs.
Rose drawing FAQ
What’s the easiest rose to draw for beginners?
Start with the simple cartoon rose — a swirl in the centre, a few rounded petals, a short stem and two leaves. You can draw it in under a minute and it always looks charming. Once that feels comfortable, the classic open rose is your next step: same spiral start, but with more petal layers and a softer line.
Can I print these rose templates on regular paper?
Yes — they print beautifully on standard A4 printer paper for tracing and pencil work. If you want to paint over them with watercolour, print onto a sheet of cold-press watercolour paper instead so the paper doesn’t buckle when wet.
What pencils should I use to draw roses?
A 2H for the initial outline (so it stays light and erases cleanly), an HB or 2B for general shading, and a 4B–6B for the deepest shadows in the petal folds and under the calyx. A blending stump helps for the soft transitions between petal layers, but your finger works in a pinch.
How do I draw rose petals so they don’t look stiff?
Three things. One: start every petal as a soft “C” curve, never a closed shape. Two: vary the petal sizes — some big, some small, some half-hidden behind others. Three: embrace asymmetry. Real roses have petals that lean, fold, curl back, and tear at the edge. The more “imperfect” your petals, the softer and more romantic the rose looks.
Can I sell drawings I make using these templates?
The templates are for personal practice — trace them, paint over them, fill your sketchbook. Original artwork you create after practising is yours. The template files themselves can’t be resold or redistributed.
Final thoughts
If your sketchbook has been quiet, a rose is a kind way back in. It looks intricate, it feels meaningful, and it asks almost nothing of you in terms of supplies. Print one of the templates tonight, trace it lightly, and see what happens when you add a soft watercolour wash and a single sage-green leaf.
📌 Pin this for later — save the pin below to your favourite sketchbook board so the templates stay close to hand. And if you’d like more like this, follow me on Pinterest where I share a new aesthetic drawing prompt or template pack most weeks.
You might also like
- Easy Drawings for Beginners — 50 simple ideas to get you sketching tonight
- Loose Watercolor Flowers — wet-on-wet techniques for dreamy florals
- Aesthetic Things to Draw — moody, dreamy, sketchbook-friendly prompts
- 100 Sketchbook Prompts — a year’s worth of drawing ideas
- Watercolor Flowers — a deeper dive on painting florals from scratch
Ten free rose templates are a lovely place to start, but botanical sketchbooks are hungry things. My Payhip shop has premium drawing template sets, reference packs and Procreate brushes for the leaves, buds and blooms that come next.
Have a browse →