Last Updated on November 5, 2025 by Dee
Painting lilies in watercolor brings out their soft petals and graceful shapes in a way that feels both simple and rewarding. You don’t need advanced drawing skills to start—you can use free printable templates to guide your painting and focus on enjoying the flow of watercolor.
If you have been wondering how to paint lilies in watercolor, with just a few supplies and some easy steps, you can create a piece that feels polished and personal.
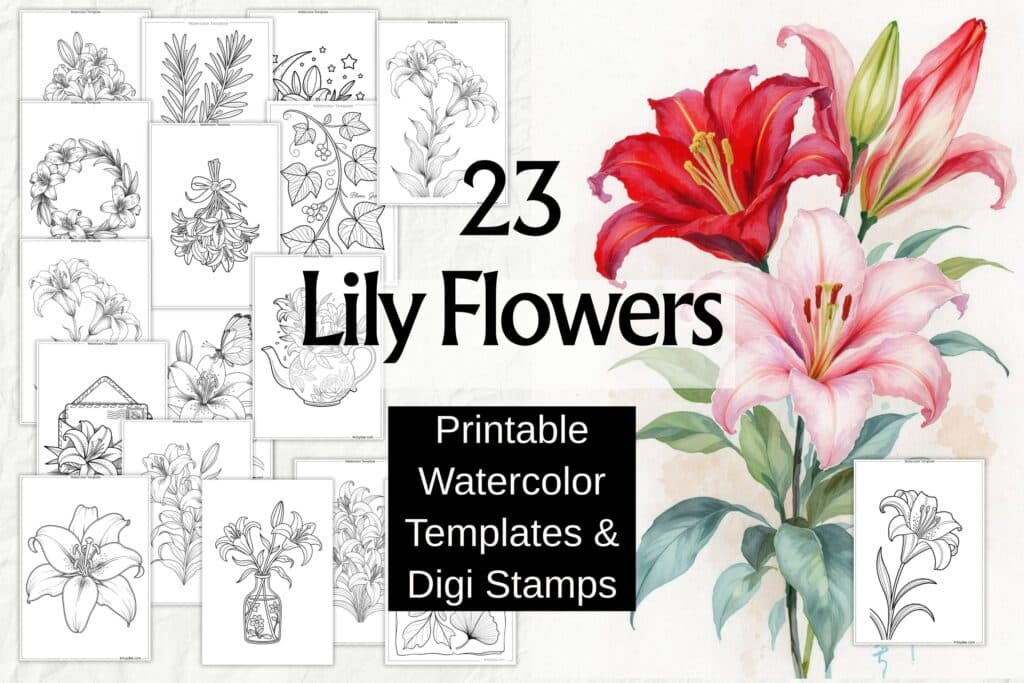
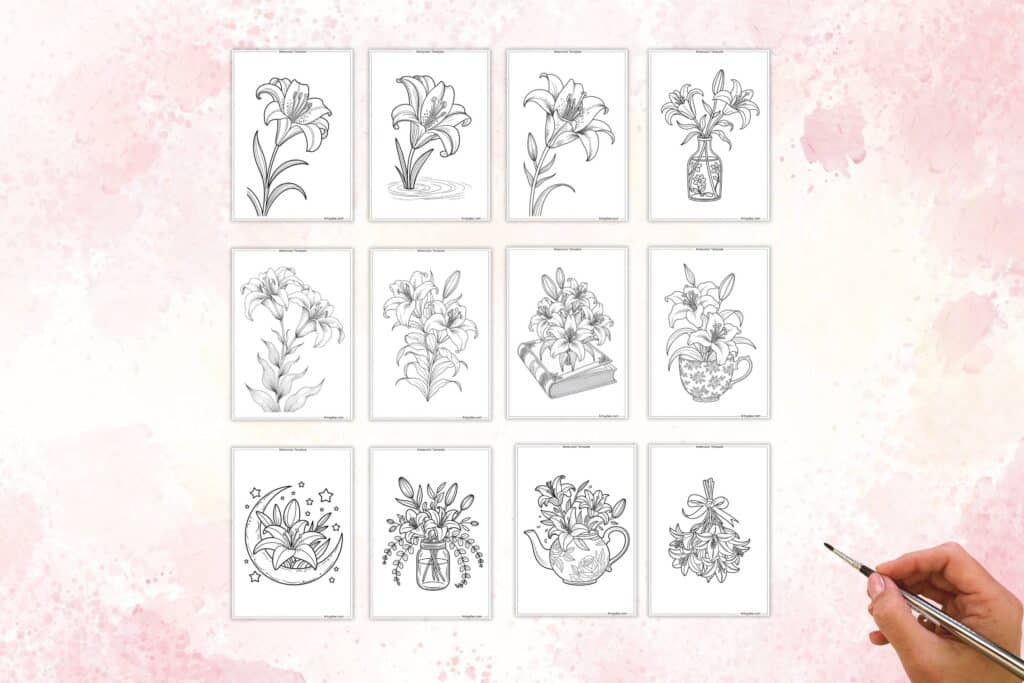
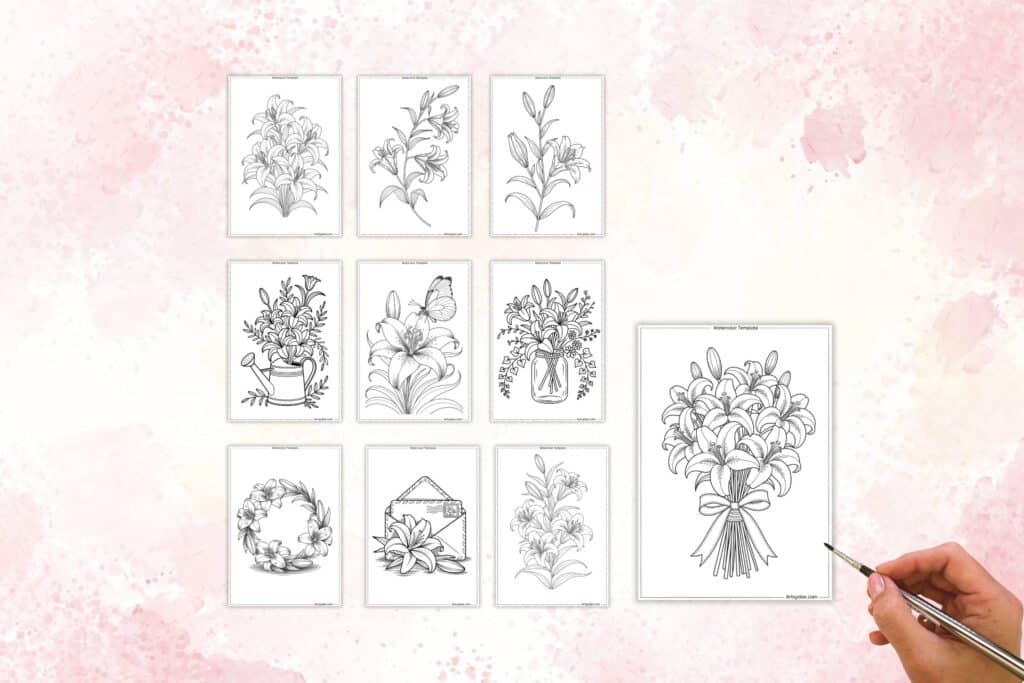
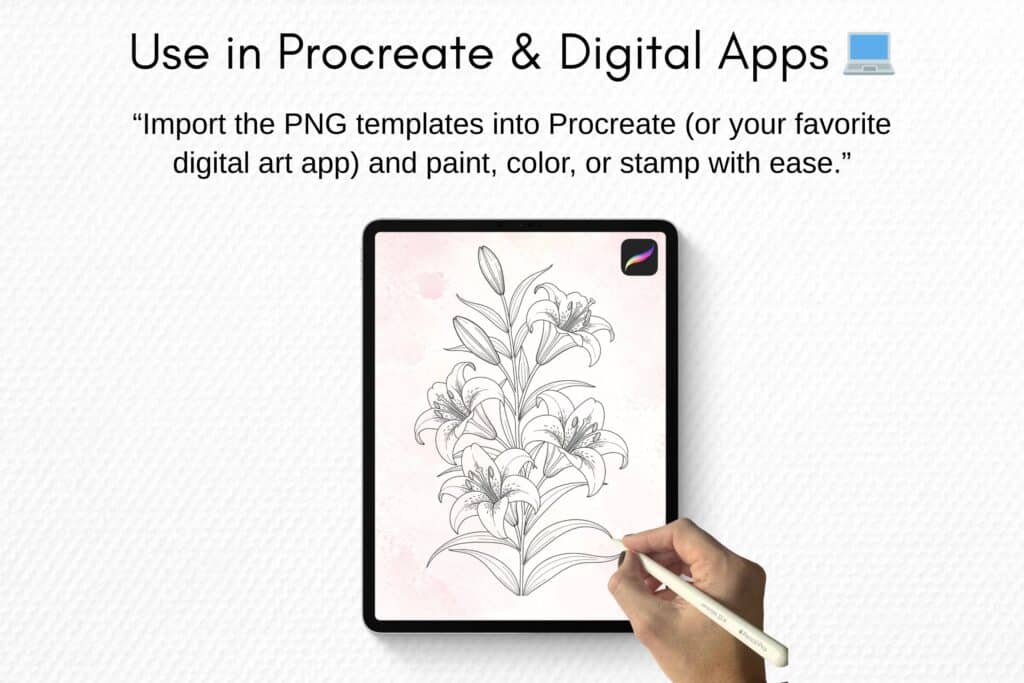
You’ll explore how to set up your workspace, choose the right brushes, and layer colors to capture the natural look of lilies. The templates make the process easier by giving you clear outlines, so you can spend more time experimenting with color and texture instead of sketching. Get the full set of Watercolor Lily Templates here and Grab the 3 free lily watercolor templates at the end of this post!
As you follow along, you’ll also pick up techniques for blending, shading, and adding small details that bring your lilies to life.
Key Takeaways
- Learn simple steps to paint watercolor lilies with ease
- Use free printable templates to skip sketching and start painting
- Explore techniques to add detail and finish your artwork
Table of Contents
Getting Started With Watercolor Lilies
You can begin painting lilies in watercolor by learning the basics of the medium. Understanding why lilies make a strong subject and using free printable templates to guide your practice helps you build confidence while keeping the process simple and enjoyable.
Overview of Watercolor Painting
Watercolor painting relies on water to move pigment across paper. You control the look of your art by adjusting how much water you use, which creates light or dark values.
This makes it easy to create soft blends for petals or sharper lines for details. You will need a few basic supplies:
- Watercolor paper (140 lb or heavier)
- Round brushes in small and medium sizes
- A palette for mixing colors
- Water jars for rinsing brushes
Unlike opaque paints, watercolor art is transparent. Each layer shows through the next, so planning where to leave white space is important.
Practice simple washes before starting your lily to get comfortable with how the paint flows.
Why Choose Lilies as a Subject
Lilies work well for watercolor because their petals have smooth curves, bold shapes, and subtle color changes. This allows you to practice both broad washes and fine details in the same painting.
They also come in many varieties, from white calla lilies to bright pink stargazers. This gives you freedom to experiment with different color palettes, such as warm oranges or cool purples.
Painting lilies helps you practice three common watercolor skills:
- Blending gradients for soft petals
- Adding texture with darker markings
- Balancing composition with leaves and stems
Because lilies are recognizable flowers, your painting will look complete even with a simple style.
Benefits of Using Printable Templates
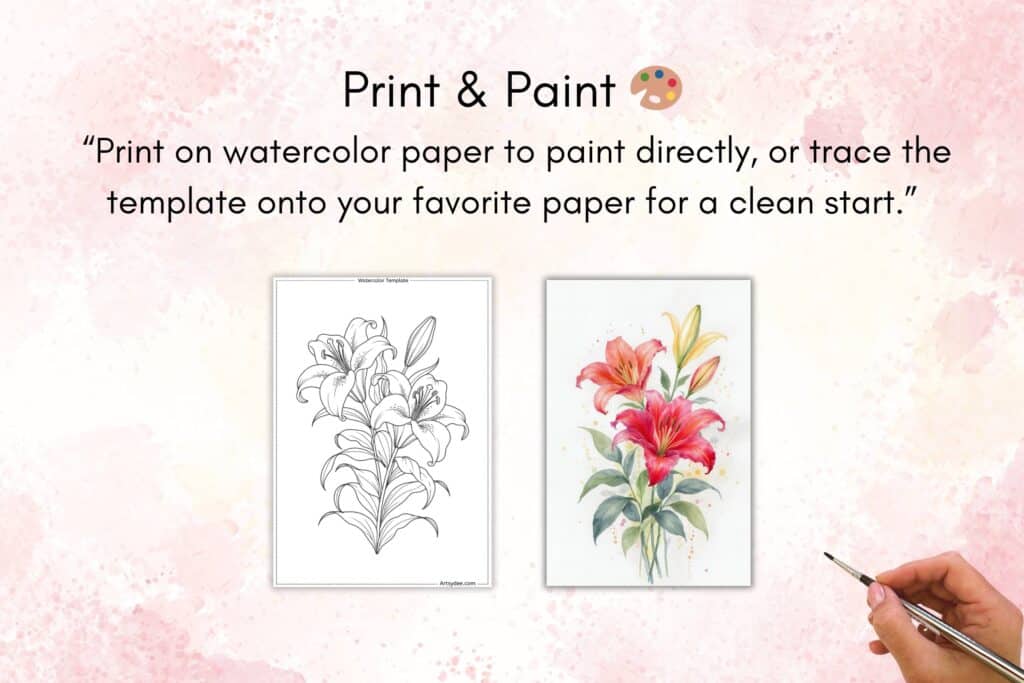
Free printable watercolor templates give you a ready-made outline of the flower. Instead of sketching from scratch, you can trace or transfer the design onto watercolor paper.
This saves time and helps you focus on painting techniques. Templates also keep proportions accurate.
Petals, stems, and leaves will line up correctly, so you don’t have to worry about uneven shapes. This is especially helpful if you are new to drawing.
- Practice multiple times without redrawing
- Experiment with colors on the same design
- Gain confidence before painting freehand
Having access to free printable watercolor templates makes it easier to start right away. You can download and print them at home, then jump straight into painting your lilies.
Essential Supplies for Painting Lilies
This is my go-to list of recommended watercolor painting supplies that we use for all our watercolor art, junk journaling, and art journaling!
- Watercolors: Windsor & Newton is a reputable brand that offers high-quality watercolor paints. You can choose from their range of professional-grade watercolor tubes or pans, depending on your preference.
- Watercolor Paper: Look for cold-pressed, 140lb (300gsm) watercolor paper for the best results. This type of paper is durable and has a nice texture that’s ideal for watercolor painting.
- Brushes: A selection of round and flat brushes in various sizes will give you the versatility you need for different strokes and details. Sable or synthetic brushes designed for watercolor will give you the best performance.
- Palette: A mixing palette with wells for both mixing and holding your paints is essential. It can be a simple plastic one or a porcelain palette for a more luxurious feel.
- Water Container: Any clean jar or container will do, but having two for clean and dirty water can help keep your colors pure.
- Masking Fluid: This is used to cover areas of your painting that you want to keep white. Make sure to apply it with an old brush or a dedicated masking fluid brush, as it can ruin fine bristles.
- Pencils: A soft pencil, like a 2B, is great for sketching your design before painting.
- Eraser: A kneaded eraser is gentle on watercolor paper and can lift pencil lines without damaging the surface.
- Paper Towels or a Rag: These are useful for blotting your brush to control the amount of water and paint.
- Board: If you’re using watercolor paper from a pad or sheets, you might want to tape your paper down to a board to prevent warping.
This post contains affiliate links, which means I may earn a small commission if you make a purchase through these links at no extra cost to you. I only recommend products I genuinely use and love in my own art practice. Your support helps me keep creating free content and tutorials for the art community. Thank you!
Choosing the Right Watercolor Paper
Watercolor paper is not the same as regular paper. It is designed to absorb water without buckling or tearing.
You should look for paper that is at least 140 lb (300 gsm) in weight. There are three main textures:
- Hot press: smooth surface, good for fine details.
- Cold press: slightly textured, the most versatile choice.
- Rough: heavy texture, adds a natural look.
For painting lilies, cold press paper works best. It allows you to layer washes for petals while keeping edges soft.
If you want sharper details in the stamens or veins of the flower, hot press paper is also a good option. Always tape down your paper on a board before painting.
This keeps it flat as it dries and prevents warping.
Selecting Watercolor Paints and Brushes
Choose watercolor paints that have good transparency so you can build up layers. Artist-grade paints usually have more pigment and produce brighter colors, but student-grade paints are fine if you are practicing.
A small set with warm and cool versions of primary colors is enough to mix the pinks, yellows, and greens found in lilies. Brushes matter just as much as paints.
A round brush in sizes 6–10 works well for petals. A smaller round brush (size 2–4) helps with stamens and fine lines.
A flat brush is useful for backgrounds or large washes. Natural hair brushes hold more water, but synthetic brushes are more affordable and still work well.
Make sure your brushes have a sharp tip so you can paint both broad strokes and fine details.
Preparing Your Workspace
Set up your workspace where you have good lighting. Natural daylight is best, but a bright desk lamp works too.
Keep your paper at a slight angle if you want better control of how water flows. Have two water containers ready: one for rinsing brushes and one for clean water.
This helps keep your colors fresh. Place a roll of paper towels or a clean cloth nearby to blot excess water or lift mistakes.
Arrange your paints, brushes, and templates within easy reach. A flat, uncluttered surface helps you stay focused and prevents accidental spills.
Keeping your materials organized saves time and makes the painting process more enjoyable.
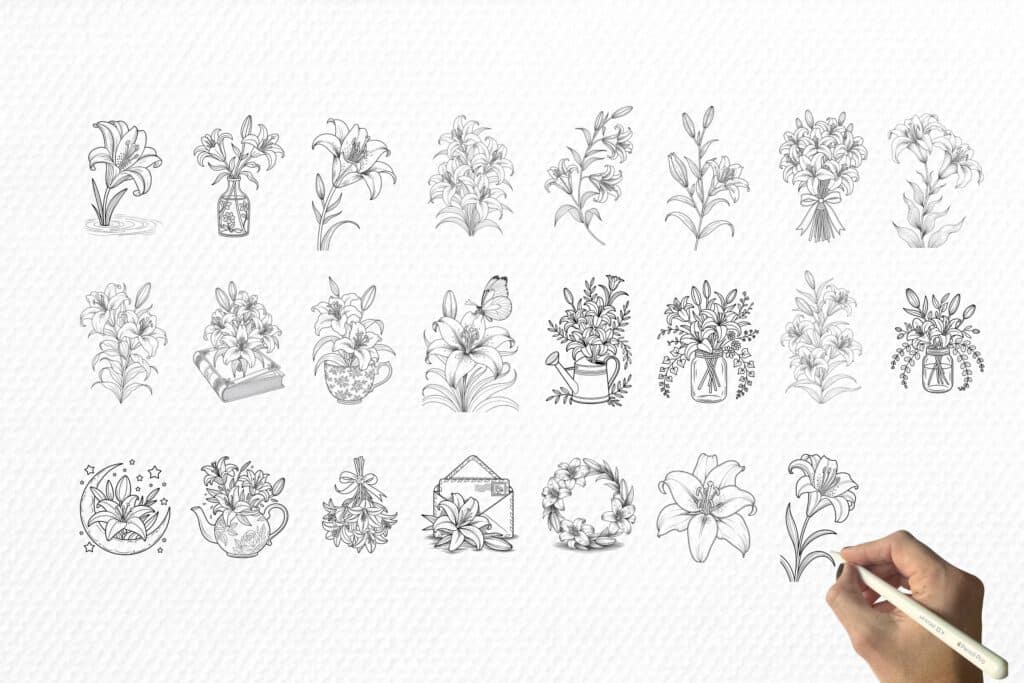
Grab the full set of delicate Lily Watercolor Templates & digital stamps here!
How to Use Free Printable Painting Templates
Using watercolor templates or pre-drawn outlines can save you time and make painting lilies easier. You can skip sketching, focus on color, and practice brush control.
With the right steps, your printable watercolor templates will look clean, transfer well, and stay useful for future projects.
Downloading and Printing Templates
Start by choosing free printable watercolor templates that match the design you want, such as lilies or other floral outlines. Many sites offer watercolor printables in PDF format, making them simple to download and print.
For the best results, print on plain printer paper rather than watercolor paper. This keeps the outlines sharp and prevents wasting expensive paper.
Use a standard black-and-white printer setting so the lines are clear but not too dark. If you want to adjust the size, use your printer’s scaling option.
For example, set the print to 80% for a smaller flower or 120% for a larger one. Always check the preview before printing to avoid cutting off parts of the design.
Keep your printed templates flat and clean. Store them in a folder or sleeve so they don’t bend or smudge before you transfer them.
Transferring Templates to Watercolor Paper
To move the outline from your watercolor printable template onto watercolor paper, you can use graphite transfer paper. Place the watercolor paper on the bottom, the graphite sheet in the middle, and the printed template on top.
Trace over the lines with a pencil to transfer the design. If you don’t have graphite paper, you can make your own.
Shade the back of the printed design with a soft pencil, then place it face-up on your watercolor paper and trace the outline. The pencil marks will transfer lightly.
Keep your lines faint so they don’t show through the paint. You can erase or soften them before painting if needed.
A light outline works best for watercolor since heavy lines may distract from the finished piece.
Tips for Reusing and Storing Templates
Free watercolor templates can be reused many times if you handle them carefully. Avoid cutting or folding them, since clean edges make tracing easier.
Store your watercolor printables in a binder with plastic sleeves. This keeps them flat, protected, and easy to flip through when you want a new project.
Label each sleeve with the subject, such as lilies, roses, or landscapes, so you can find designs quickly. If you want to reuse a template often, consider laminating it.
A laminated template won’t tear or smudge and can be traced over multiple times. You can also print extras and keep a set of watercolor coloring pages ready for practice or teaching.
Step-by-Step Guide to Painting Lilies in Watercolor
You will start by creating a clean sketch to guide your painting. Then you will move into light washes, layer colors for depth, and finish with details that bring the lilies to life.
Each stage builds on the last, so take your time and let the paint dry between steps.
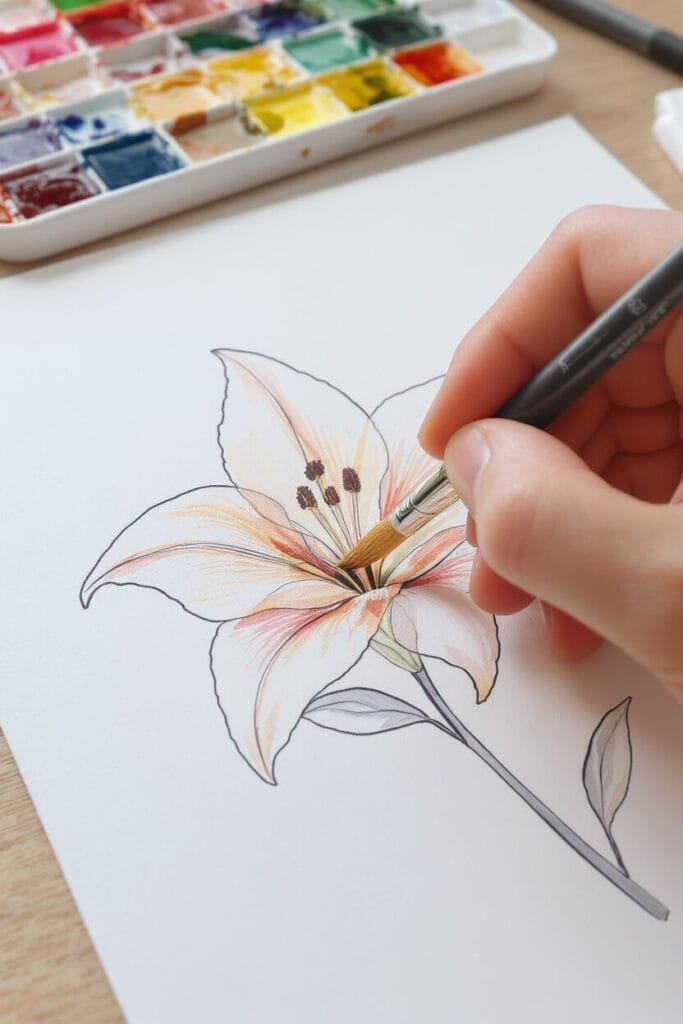
Sketching and Outlining the Lilies
Begin with a light pencil sketch on watercolor paper. Use smooth, simple lines to map out the petals, stems, and leaves.
Keep your strokes gentle so the graphite does not show through the paint. Focus on the overall shape of the lily rather than small details at this stage.
Mark the direction each petal curves. This will help you later when adding shading and highlights.
If you want more accuracy, use a printable template. Place it under your paper and trace lightly.
This makes it easier to keep proportions correct without erasing too much. Once the sketch is in place, outline the main shapes with a waterproof pen if you prefer stronger edges.
Otherwise, leave it in pencil for a softer look.
Applying Initial Washes
Start with a clean brush and plenty of water. Apply a light wash of color to the petals using diluted paint.
For lilies, soft pinks, yellows, or whites with hints of blue or purple often work well. Use the wet-on-wet method to blend colors smoothly.
Wet the petal area first, then drop in pigment so the paint spreads naturally. This keeps the look soft and natural.
Leave small areas unpainted to act as highlights. White space in watercolor is important because it adds brightness without needing white paint.
For the leaves and stems, use a light green wash. Mix in a little yellow or blue for variation.
Keep the first layer light so you can build richer tones later.
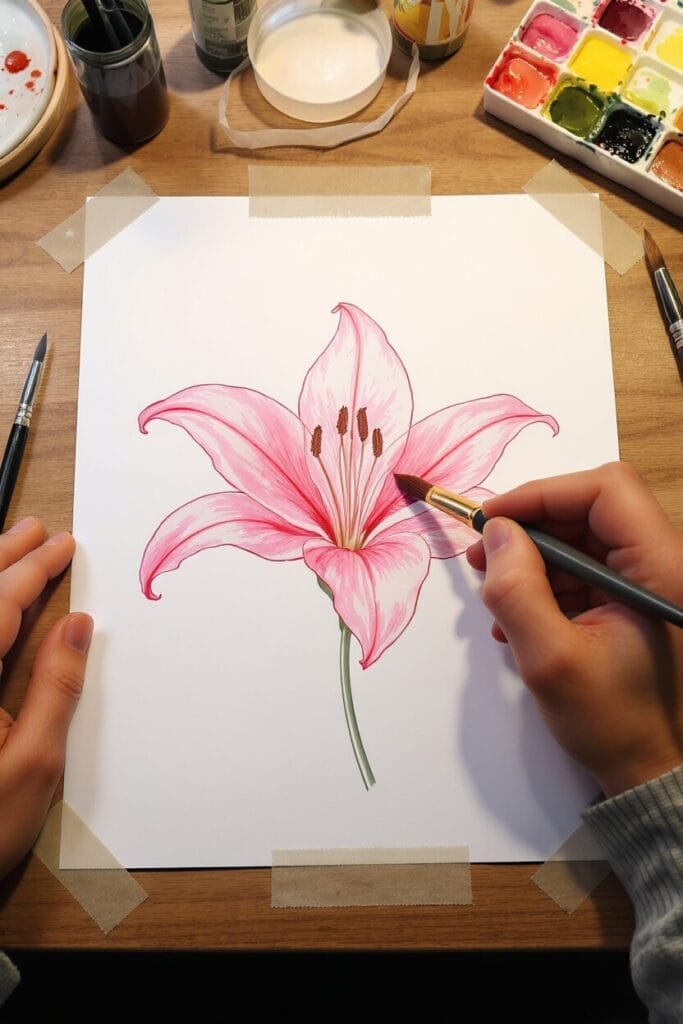
Building Layers and Adding Details
Once the first washes dry, add more layers to create depth. Use a slightly stronger mix of paint to show shadows where petals overlap.
Layering is key in watercolor painting because it builds contrast without losing transparency. Work petal by petal, letting each layer dry before adding another.
This prevents colors from bleeding together. Use the wet-on-dry technique here for sharper edges.
Add fine lines to suggest veins in the petals. Use a small round brush and a slightly darker shade of the base color.
Keep these lines light and not too regular, since natural patterns vary. For leaves, layer darker greens along the edges or where they curl.
This creates dimension and makes them look less flat.
Finishing Touches and Highlights
In the final stage, refine the painting with small details. Deepen shadows at the base of petals and where they meet the stem.
This makes the flowers stand out more clearly. Add subtle color accents, such as a touch of orange or red near the center of the lily.
Keep these details minimal so they do not overwhelm the softer washes. Use a fine brush or even a white gel pen to place highlights on the edges of petals.
These small touches give the flower a fresh, luminous look. If one area looks too heavy, soften it with a damp brush or lift excess paint with a paper towel.
This keeps the overall effect light and natural.

Creative Watercolor Techniques for Lilies
You can bring lilies to life by focusing on how water and pigment interact, how colors build up in layers, and how small details create depth.
These methods help you control softness, vibrancy, and texture so your flowers look natural and balanced.
Wet-on-Wet Technique
Start by wetting the petal shape with clean water before adding paint. When you drop color into the damp surface, it spreads softly and creates smooth transitions.
This works well for the gentle gradients in lily petals. Use lighter washes first, then add slightly stronger pigments while the paper is still damp.
Try pinks, yellows, or oranges for the base, then let the colors merge naturally. To avoid muddy results, limit how many colors you place at once.
A good approach is to work with two main hues and let them blend on the paper. For example:
- Soft pink + magenta for a Stargazer lily
- Yellow + light orange for an Asiatic lily
Keep a tissue nearby to lift excess water if the paint spreads too far.
Layering and Color Blending
Once the first wash is dry, you can add new layers to deepen the color. This layering technique helps you build contrast between petals and highlight the flower’s shape.
Apply thin, transparent washes instead of heavy strokes. Each layer should dry fully before you add the next.
This prevents the colors from mixing too much and keeps the petals crisp. Use blending to soften edges where petals overlap.
A damp brush with clean water can smooth harsh lines and create softer transitions. A simple order to follow:
- Base wash – light color for the whole petal
- Second layer – mid-tone for shadowed areas
- Final details – darker accents near the center or edges
Adding Texture and Depth
Texture makes lilies look less flat and more natural. You can create speckles, veins, and shadows with small brush techniques.
For speckles, load a brush with pigment and tap it gently over the petals. This works well for varieties like Stargazer lilies that have dotted patterns.
To paint veins, use a fine brush with a slightly darker tone than the base color. Keep the lines light and uneven so they look organic.
Depth also comes from shadow placement. Darken the base of each petal where it meets the center of the flower.
Add subtle shading under overlapping petals to show layers. You can also use a dry brush to add texture on edges.
This creates a rougher mark that contrasts nicely with smooth washes. Small touches like these make your watercolor painting ideas feel more complete and realistic.
Displaying and Sharing Your Watercolor Lily Art
Once your watercolor lilies are complete, you can protect them, show them off, and even reuse them in creative ways. Framing helps preserve the paper, digitizing makes it easy to share, and finished pieces can be turned into useful or decorative items.
Framing and Presenting Your Artwork
Framing your watercolor art keeps the paper flat and prevents damage from light or dust. Use acid-free mats and backing boards to avoid yellowing over time.
A simple white or neutral mat can make the lilies stand out without distracting from the colors. Choose glass or acrylic with UV protection if you plan to hang your painting in bright areas.
This extra step helps prevent fading. For a softer look, consider floating the artwork inside the frame so the edges of the paper are visible.
If you want a less formal option, you can display your painting on a clipboard, pin board, or even hang it with clips. This works well if you plan to rotate different watercolor printables or seasonal artwork.
Digitizing and Sharing Online
Scanning or photographing your lilies lets you share them on social media, art forums, or with friends and family. A flatbed scanner usually gives the best detail, but a good photo near a window with natural light can also work.
Avoid harsh shadows or yellow indoor lighting. Once digitized, you can adjust brightness and color balance with free editing tools.
Keep edits minimal so the image still looks true to your original painting. Save high-resolution files if you want to print copies later.
Sharing your work online helps you connect with other artists. You can keep your watercolor art organized in folders and revisit your progress over time.
Creative Uses for Finished Paintings
Your watercolor lilies don’t have to stay on the wall. You can scan or photograph them and turn the images into greeting cards, bookmarks, or stationery.
Printing smaller versions also works well for gift tags or journal decorations. If you enjoy crafting, you can transfer your artwork onto fabric or create stickers from your designs.
This gives your watercolor printables new life beyond the original paper. Another option is to frame smaller pieces together in a grid layout.
This creates a collection of your lily paintings and makes a bigger impact as wall art.
Frequently Asked Questions
You can make painting lilies in watercolor easier by following clear steps, practicing simple techniques, and using the right tools.
Templates, photos, and brush choices can also help you improve your results and build confidence.
What are the basic steps to start painting lilies with watercolors?
Begin by sketching the outline of the lily lightly in pencil.
Next, apply a light wash for the base color of the petals.
Layer in deeper tones while the paper is still slightly damp to create depth and shading.
Can you suggest some easy techniques for beginners to paint watercolor lilies?
Use the wet-on-wet method to blend colors smoothly on the petals.
Try layering light washes first and then add darker tones once the first layer dries.
Practice simple petal shapes on scrap paper before starting your main painting.
How can I use free printable templates to paint watercolor lilies?
Print the template and transfer the outline onto watercolor paper using tracing or light graphite.
This saves time and lets you focus on painting instead of drawing.
You can also reuse the same template to practice different color combinations.
What are some tips for turning a photograph into a watercolor painting of lilies?
Start by simplifying the photo into basic shapes and outlines.
Focus on the main petals and leave out distracting background details.
Use the photo as a color reference, but adjust tones to match the soft look of watercolor.
What is the golden rule beginners should follow when painting with watercolors?
Always work from light to dark.
It’s easier to add more pigment than to remove it once the paper is stained.
Keeping your first washes light sets the foundation for richer layers later.
Are there any specific watercolor brushes you recommend for painting lilies?
A round brush in sizes 6 to 10 works well for most petals.
A smaller round brush, like size 2 or 3, helps with fine details and edges.
A flat brush can be useful for background washes or larger leaves.

Grab the Free Lily Watercolor Templates here 👇🏻!
To access the free in-post printables for this post, you’ll just need to create a free account or login with the Grow.me tool. Then, confirm by email and refresh the page and ALL my free printables will automatically unlock in every post!
Love This Template? Get Even More Exclusive Creative Goodies on My Patreon! 🎨
If you’re enjoying these free printables, why not join my Artsydee Patreon community? As a member, you’ll gain access to exclusive Procreate tutorials, watercolor lessons, and tons of printables like this one—delivered to you monthly (and sometimes even twice a month!). Plus, you’ll get sneak peeks at upcoming projects and have a say in what content I create next. ✨
Join today and unlock premium resources to take your creativity to the next level!