Last Updated on September 12, 2025 by Dee
Pumpkin carving is a classic way to bring a little extra fun to your Halloween. It can seem tricky if you’re new to it, but with printable templates and a few simple tips, anyone can make a creative jack-o’-lantern.
You’ll find 7 fun and easy pumpkin carving templates here, plus step-by-step tips to help your pumpkin turn out great.
Whether you want something silly, spooky, or just simple, these templates are perfect for all ages. You can print them out at home and use them to guide your carving, making the whole process easier and less stressful.
All you need is your pumpkin, some basic tools, and a little creativity to get started.
Carving pumpkins is a great way to spend time with family or friends and show off your creativity. With the right template and tips, you’re sure to have a pumpkin that looks amazing on your doorstep this Halloween.
Table of Contents
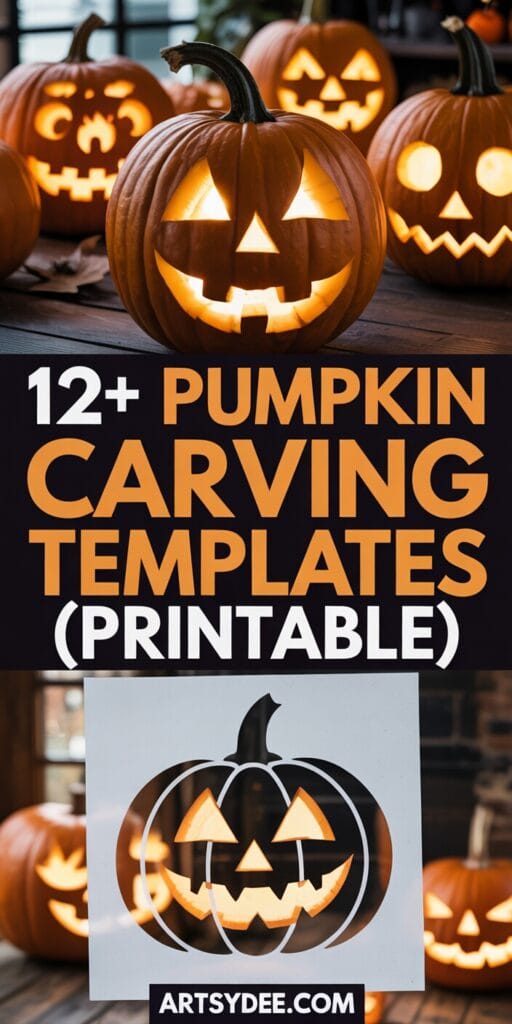
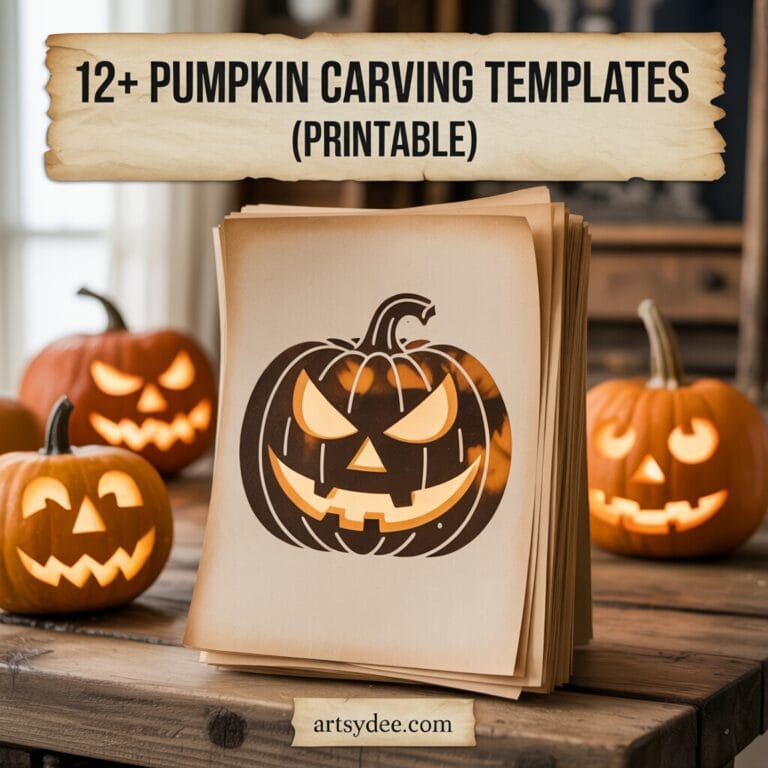
12+ Fun & Easy Pumpkin Carving Templates Printable
Pumpkin carving can be much more enjoyable and stress-free with ready-to-print stencils. Using printable templates gives you clear patterns to trace, making it simple to create fun, cute, and spooky designs with your pumpkin.
Classic Jack-o’-Lantern Faces
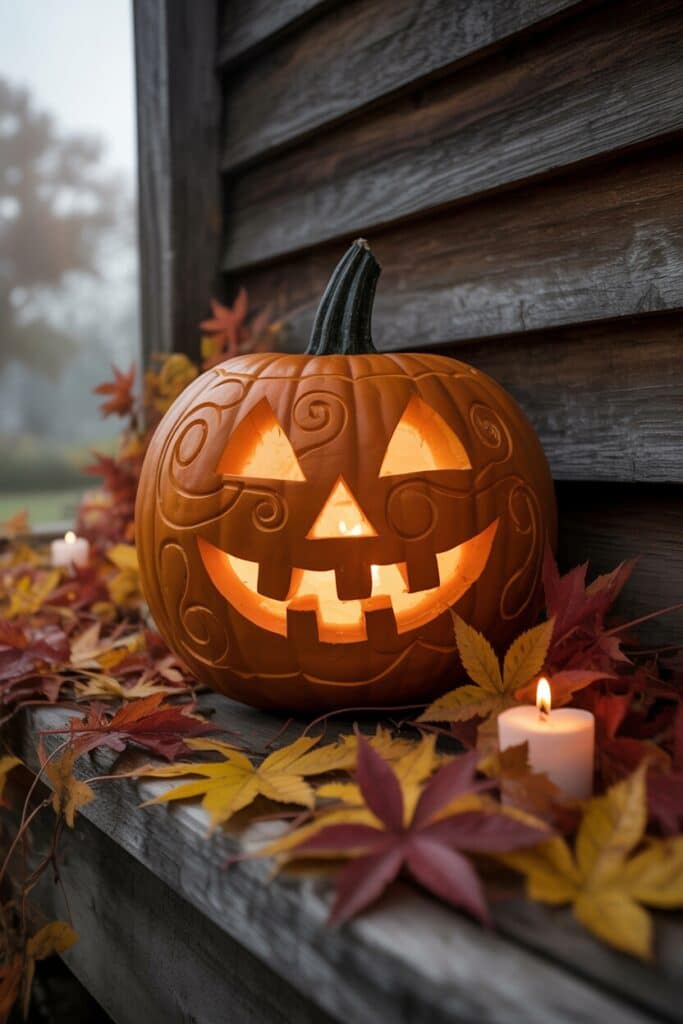
A classic jack-o’-lantern face is a must for Halloween. You can use printable templates with triangle eyes, a nose, and a wide toothy grin to keep things simple and festive.
Some templates offer different face shapes, from sharp and spooky to friendly smiles. Many classic designs are easy enough for beginners.
You only need basic cutting tools and a marker to trace the pattern. If you want to add a twist, some printables let you choose between big eyes, wavy mouths, or square teeth.
A table of classic face options:
| Style | Features | Difficulty |
|---|---|---|
| Grinning | Big mouth, round eyes | Easy |
| Scary | Angled eyes, jagged teeth | Medium |
| Goofy | Crooked smile, one tooth | Easy |
Print the template, tape it to your pumpkin, and use a pin or pen to transfer the design. These are great for both kids and adults.
Cute Animal Pumpkin Templates

Animal pumpkin templates are perfect for families and younger kids. You can find patterns for cats, owls, bats, and even unicorns.
Each animal has unique details like whiskers, ears, or wings to carve or paint. These templates mix carving with drawing.
For example, you might carve the eyes and nose, then draw or paint extra features. Some printables keep things very basic with outlines that are easy to cut.
- Popular animal stencils:
- Cat with pointy ears and whiskers
- Wise owl with feather shapes
- Smiling bat with big wings
Instructions on each template help guide the steps. Choose your favorite animal and add it to your pumpkin display for a cute look.
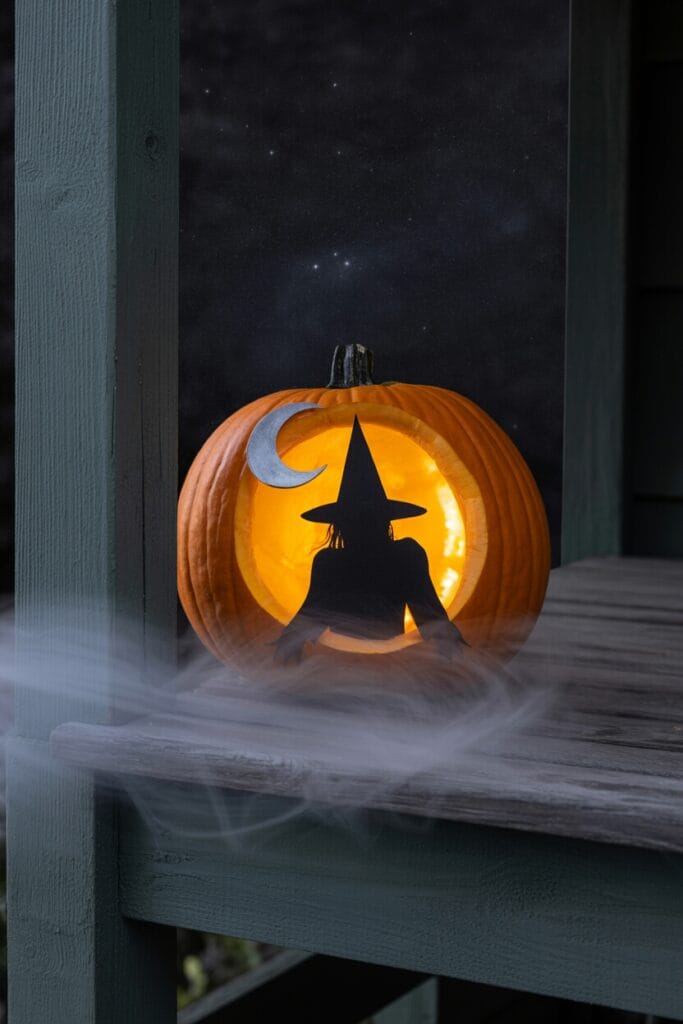
Halloween-Themed Stencils
Halloween-themed stencils make it easy to carve ghosts, witches, spiders, or haunted houses. These designs add extra spooky details to your pumpkins and stand out at night with a candle inside.
Most templates come with fine outlines to cut around. Some stencils need extra care, like thin spider legs or delicate broomsticks, so they are best for grown-ups or older kids.
With printable guides, you can create scenes or single shapes—mix and match for a bigger Halloween effect.
Here is a list of themes you might find as printables:
- Ghosts with waving arms
- Witch flying on a broom
- Spider crawling on a web
- Haunted house with windows
You can print several, cut them out, and use as a group display to decorate your porch.
Simple Geometric Designs

Simple geometric templates use shapes like circles, stars, squares, or zigzags. These are perfect for quick pumpkin carving and work well if you like a modern look.
Templates often have repeating patterns for a fun effect. You can make stripes, dots, or stars by tracing and cutting out the shapes.
Since the cuts are usually straight or curved lines, these stencils are great for anyone just learning to carve.
Try using:
- Diamond shapes for a classic pattern
- Polka dots for a cute pumpkin
- Starbursts for a twinkling effect
Simple templates mean you spend less time carving and more time enjoying your pumpkin. They also work well if you plan to carve several pumpkins at once.
Pumpkin Carving Tips
Pumpkin carving is easier and more fun when you pick the right pumpkin, use the correct tools, and follow clear steps. Using printable templates can help, but knowing good techniques makes your design stand out and your experience safer.
How to Choose the Best Pumpkin
Pick a pumpkin that feels heavy for its size and is free from soft spots or bruises. A smooth, unblemished surface is best for adding your printable template.
Pumpkins with a flat bottom will sit still while you carve, making the process safer. Shape matters too—round or oval pumpkins work for most designs, but if you want something special, try a tall or flat pumpkin for variety.
Check the stem; a green, firm stem means your pumpkin is fresh. Avoid ones with cracks around the stem.
Examine the pumpkin by tapping it lightly. A hollow sound often means it’s ripe and easy to carve.
If you want to use a stencil, make sure the pumpkin is big enough for the pattern.
Must-Have Carving Tools
A basic pumpkin carving kit usually has a saw, scoop, and poking tool. The saw is safer than a kitchen knife and helps you cut detailed shapes.
Use a scoop with a sturdy handle to clean out the insides, getting rid of seeds and stringy bits. A marker or pen can help you trace your template onto the pumpkin.
You may also want a pin or poking tool to outline the design before cutting. For special effects, use tools like a scraper or small chisel to shave rather than fully cut through the skin.
If you want smooth results, keep paper towels nearby for wiping the pumpkin and your hands. Carving tools made for pumpkins are easier for kids to use and help prevent accidents.
Must-Have Tools Table:
| Tool | Purpose |
|---|---|
| Carving saw | Cutting shapes and designs |
| Scoop | Cleaning out seeds and pulp |
| Poking tool | Tracing and outlining templates |
| Scraper | Thinning walls, adding shading |
| Marker/Pen | Marking the design on the pumpkin |
Step-by-Step Carving Guide
Before you carve, spread out newspaper or plastic to catch mess. Cut a lid around the pumpkin stem at an angle, so the top doesn’t fall inside.
Scoop out seeds and scrape the inside until it’s about one inch thick where you’ll carve. Tape your printed template onto the pumpkin.
Use a poking tool or pin to make small holes along the lines of the design. Remove the template and use a marker to connect the dots, making the outline easy to see.
Use a small saw to carefully cut out the shapes, starting in the center and working out. Push gently—rushing can break pieces.
When finished, put a light inside and see how your design glows. If pieces shift, you can use toothpicks to hold them in place.
Creative Pumpkin Decorating Ideas
Decorating pumpkins goes beyond simple carving. You can mix carving with painting or even dress up your pumpkin for extra fun.
Painting and Carving Combinations
You don’t have to pick between painting and carving. Try sketching a simple face or design with a marker, then cut out a few shapes with a pumpkin carving tool.
After you carve, paint the rest of the pumpkin to add color and detail. Some ideas to try:
- Paint large areas, like the cheeks or forehead, before carving for neat patterns.
- Add glow-in-the-dark or metallic paint to make your pumpkin stand out at night.
- Use stencils for painting simple shapes around the carved parts for a professional look.
Combine different paint colors like black, white, gold, or bright neon shades. You can even use acrylic paint pens to draw finer details like lines or dots.
Mixing techniques helps your pumpkin look unique and playful.
Adding Fun Accessories
Dress up your pumpkin with hats, glasses, or even tiny costumes. Use hot glue or craft pins to attach accessories safely without damaging the pumpkin too much.
Here are some popular accessory ideas:
- Wigs or Yarn Hair: Glue on yarn or use craft hair to give your pumpkin a funny hairstyle.
- Hats or Crowns: Place a toy crown, witch hat, or tiny beanie on top for quick personality.
- Googly Eyes: Stick on extra-large plastic eyes for a silly face.
- Paper Masks: Cut a mask from colored paper and tape it over the carved mouth or eyes.
You can also wrap scarves around the bottom or add jewelry, buttons, or even fake mustaches. Accessories are easy to mix and match, so you can change your pumpkin’s look anytime.
Pumpkin Safety and Cleanup
Carving pumpkins is a fun tradition, but it’s important to stay safe.
Use pumpkin carving kits or tools instead of kitchen knives.
These tools are designed for pumpkins and help cut safely.
Always supervise young kids while they are working with sharp tools.
It’s best if adults do the carving and children help by scooping out seeds or designing the face.
Pumpkin Carving Safety Tips
| Tip | Why It Helps |
|---|---|
| Use proper tools | Reduces risk of slips or cuts |
| Carve on a stable surface | Prevents pumpkin from rolling |
| Cut away from your body | Lowers chance of injury |
| Keep hands and tools dry | Makes handling safer |
| Supervise young kids | Ensures their safety |
Cleanup is easy if you prepare first.
Lay down newspaper or a plastic tablecloth before you begin.
Have a bowl ready for seeds and pulp.
Use a spoon or scoop for cleaning out the insides.
Wipe down tools and your work area as soon as you finish.
Throw away the pulp, or try roasting the seeds for a snack.
Wash your hands and any tools you used with soap and water.
Preserving Your Carved Pumpkin
Carved pumpkins are fun, but they can start to rot quickly if you don’t take care of them.
There are some simple ways to help your jack-o’-lantern last longer and look its best.
Start by removing all seeds and strings from inside the pumpkin.
Use a large spoon to scrape the inside walls until they feel dry.
After carving, dab the inside and cut edges with a clean paper towel to soak up extra moisture.
Dryness helps slow down mold and soft spots.
Try these easy methods to preserve your pumpkin:
- Rub petroleum jelly on all cut edges to keep them from drying out and shriveling.
- Spray with a bleach solution (1 tablespoon bleach to 1 quart water) to kill bacteria and mold. Let it air dry after spraying.
- Keep your pumpkin cool. Set it outside, away from direct sun and heat. Nighttime is best for leaving it outdoors during October.
Here’s a simple checklist to remember:
| Step | Why it Helps |
|---|---|
| Clean the inside well | Less mold & rot |
| Dry after carving | Slows down decay |
| Use preservation tips | Keeps pumpkin fresh longer |
| Store in cool place | Stops wilting and softening |
If your pumpkin starts to shrivel, soak it in cold water for a couple of hours to help it perk back up.
Frequently Asked Questions
Pumpkin carving is more fun and less stressful when you know which patterns to use, how to make your pumpkin last, and how to carve safely.
These answers help you pick easy designs, find the right tools, and learn some simple tricks to keep your pumpkin looking great.
What are some simple patterns to start with for first-time pumpkin carvers?
Start with classic jack-o’-lantern faces that use basic shapes like triangles and circles for the eyes, nose, and mouth.
Smiley faces, ghosts, or a simple cat design are easy to carve and perfect for beginners.
Cartoon characters often use large, bold outlines that make cutting easier.
How can I make sure my carved pumpkin lasts longer?
Use a clean, sharp knife to reduce damage to the pumpkin’s skin.
Keep your carved pumpkin in a cool, dry place away from direct sunlight.
Rubbing the cut edges with petroleum jelly or vegetable oil helps slow down drying and mold.
What tools do I need for pumpkin carving?
You can use pumpkin carving kits that come with small saws, scoopers, and poking tools.
A large metal spoon works well for scooping out seeds.
If you don’t have a kit, a serrated kitchen knife, a small paring knife, and pushpins or toothpicks can also be used.
Are there any safety tips I should follow while carving a pumpkin?
Always carve in a well-lit space and use tools with handles that you can grip easily.
Cut away from your hands and keep your fingers clear of the blade.
Supervise young children and let them help with scooping or drawing the pattern instead of cutting.
Can you suggest any creative themes for pumpkin carving?
Try themes like animals, favorite cartoon or movie characters, spooky haunted houses, or silly monster faces.
You could carve shapes like stars, moons, or your family initials.
Using printable stencils can make it easier to follow more detailed designs.
How do I preserve my pumpkin after carving it?
Rinse the carved pumpkin with cold water to remove any leftover pulp.
To slow down mold, spray the inside and cut surfaces with a mixture of water and a small amount of bleach (one tablespoon per quart).
You can also store your pumpkin in the fridge overnight to keep it fresher.
Grab the Free Piumpkin Carving Templates HERE (below)!
To access the free in-post printables for this post, you’ll just need to create a free account or log in with the Grow.me tool. Then, confirm by email and refresh the page, and ALL my free printables will automatically unlock in every post!
Love These Watercolor Templates? Get Even More Exclusive Creative Goodies on My Patreon! 🎨
If you’re enjoying these free printables, why not join my Artsydee Patreon community? As a member, you’ll gain access to exclusive Procreate tutorials, watercolor lessons, and tons of printables like this one—delivered to you monthly (and sometimes even twice a month!). Plus, you’ll get sneak peeks at upcoming projects and have a say in what content I create next. ✨ Join today and unlock premium resources to take your creativity to the next level!
Thanks for sharing!