
Last Updated on July 26, 2026 by Dee
If you’ve ever painted something you actually love in Procreate and then felt unsure how to save or share it without losing quality — I’ve got you, friend 💛
In this blog post, I’m walking you through the three easiest ways to export your artwork from Procreate — whether it’s for printing, posting, or saving for future edits. Plus, I’ve included a free Export Settings Cheat Sheet you can download and keep handy.
Oh — and if you’re more of a visual learner, you can watch the full tutorial here:
👉 Watch on YouTube
Let’s get into it 👇
🖼️ Why Exporting Properly in Procreate Matters
I know it’s tempting to just screenshot your finished piece and call it done — but if you want your art to look crisp, professional, and true to your style, the file format you export in really matters.
Choosing the right format (like PNG vs. JPEG vs. PSD) can affect:
- The quality of your image
- Whether or not you can edit it later
- How it prints or appears online
💾 3 Quick Ways to Export Images from Procreate
Here’s how to save your Procreate art the right way — with step-by-step instructions for each option.
1. Save as PNG (Perfect for Transparent Backgrounds & Print)
- Tap the wrench icon (Actions)
- Go to Share
- Tap PNG
🔍 Why PNG?
- Keeps the background transparent (great for stickers or layered artwork)
- Preserves the fine details and resolution
- Ideal for printing, digital stickers, or uploading to design tools
🧠 Bonus tip: Add some watercolor texture overlays to your art before exporting for a soft, organic finish that mimics real paper.
2. Save as JPEG (Great for Social Media & Quick Sharing)
- Wrench icon → Share → JPEG
🔍 Why JPEG?
- Smaller file size (good for quick uploads)
- Perfect for Instagram, blog images, and email attachments
- Flattens your artwork into one layer — so make a copy first if needed!
If you’re planning to use your art as part of a coloring page or printable, this is a great choice. (And if you love coloring digitally, you might enjoy these mindful digital coloring pages).
3. Save as PSD (Keep All Your Layers for Future Editing)
- Wrench icon → Share → PSD
🔍 Why PSD?
- Preserves all your layers
- Perfect if you want to open the artwork later in Photoshop or another editing app
- Best for projects that evolve or get reworked over time
This option is especially handy if you’re working with layered designs — like templates, textures, or Procreate stamp brushes you want to reuse.
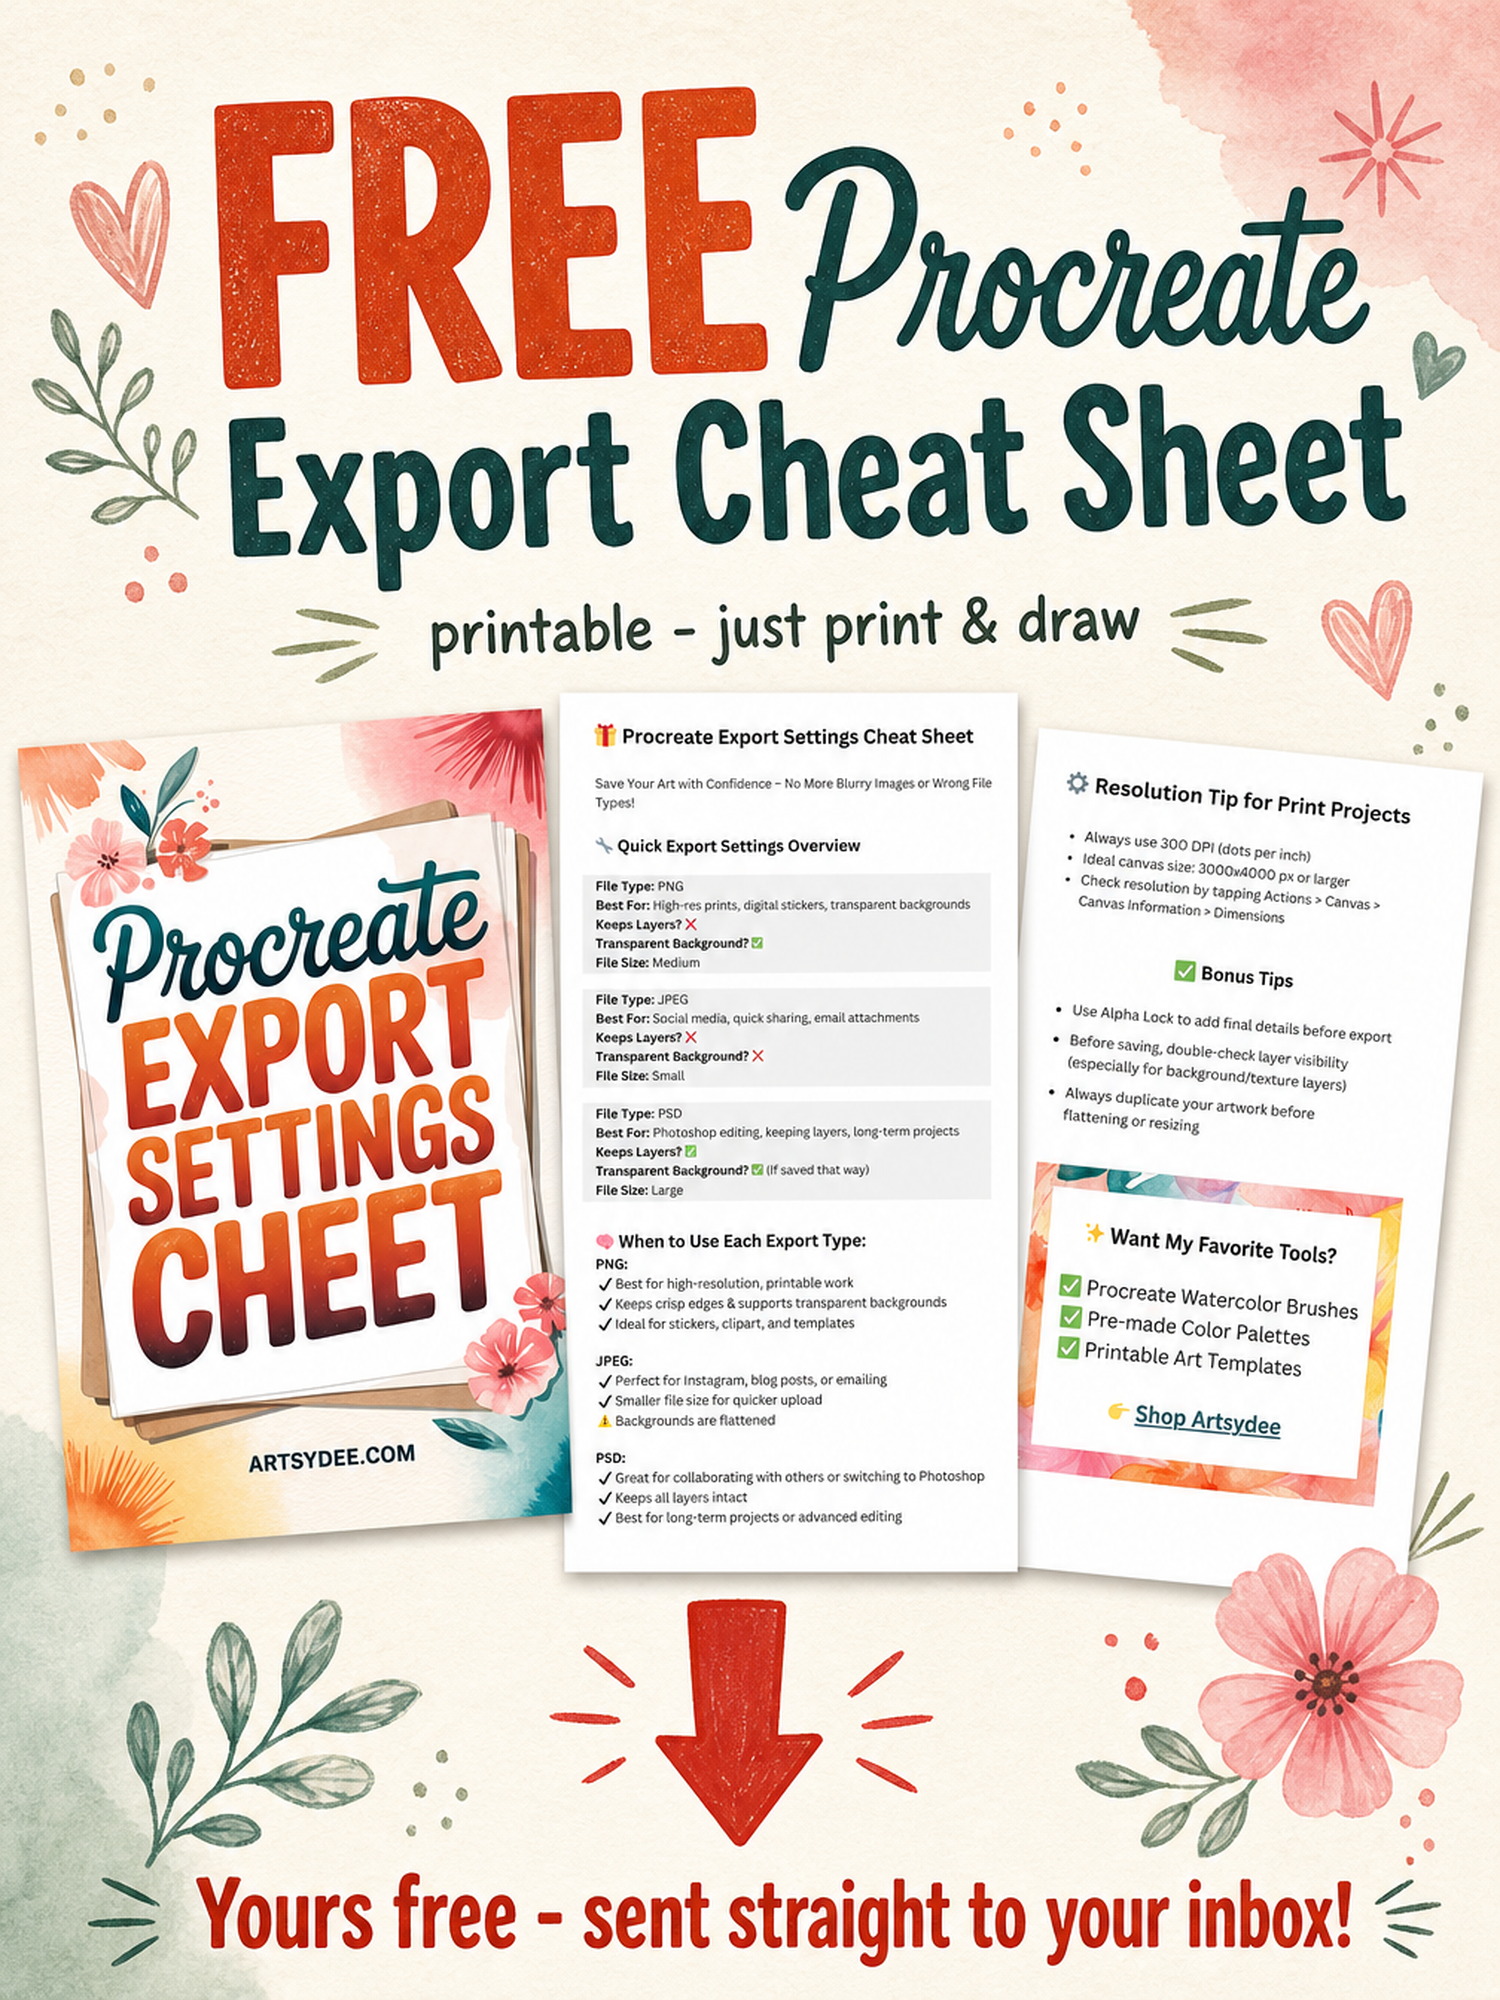
🌻 Freebie Download: Procreate Export Cheat Sheet!
👉 Pop your email into the box near the top of this post and I’ll send these straight to your inbox — free!
Love This Tutorial? Get Even More Exclusive Creative Goodies on My Patreon! 🎨
If you’re enjoying these free printables, why not join my Artsydee Patreon community? As a member, you’ll gain access to exclusive Procreate tutorials, watercolor lessons, and tons of printables like this one—delivered to you monthly (and sometimes even twice a month!). Plus, you’ll get sneak peeks at upcoming projects and have a say in what content I create next. ✨
Join today and unlock premium resources to take your creativity to the next level!
👉Join Artsydee’s Patreon Here!
✨ Extra Tips for Crisp, Professional Results
- Always export at 300 DPI for anything you want to print
- Double-check canvas dimensions under Actions → Canvas Info
- Want to add a finishing touch? Try layering a watercolor texture overlay just before saving
- If you’re sharing a coloring page you made in Procreate, make sure it’s exported as PNG for the best line clarity. (Need help with that? Here’s how to use a coloring page in Procreate)
💡 Creative Ideas for Your Exported Procreate Art
Once your artwork is beautifully saved, here are some fun ways to use it:
- ✏️ Print it as a physical coloring page (great for family or students!)
- 📲 Upload it to your blog or website
- 🖼️ Add it to a digital journal or scrapbook
- 🛍️ Turn it into a printable for Etsy or your shop
- 🧷 Use it as a base for layered collage art or junk journaling
Want to learn how to use watercolor templates in Procreate? That’s another lovely way to create without the stress of starting from scratch.
🎨 Wrap-Up: Save Like a Pro
Whether you’re creating digital watercolor paintings, stickers, or simple doodles, exporting your artwork with the right settings is one of those small steps that makes a huge difference.
Download the cheat sheet, play with the export options, and explore what works best for your style.
And remember: the art you make doesn’t have to be perfect — just yours.
With love & creative vibes,
Dee @artsydee
Exporting Images from Procreate: FAQ
What are the three easiest ways to export from Procreate?
Tap the wrench icon (Actions), go to Share, and you’ll pick between PNG, JPEG, and PSD. PNG is best for transparent backgrounds and print, JPEG is great for quick social sharing, and PSD keeps all your layers for future editing. Each one is just a couple of taps away.
Should I export as PNG, JPEG, or PSD?
It depends on what you’re doing with the art. Choose PNG when you want transparency and crisp detail for stickers or printing, JPEG when you need a smaller file for Instagram, blog posts, or email, and PSD when you might rework the piece later in Photoshop. One quick note — JPEG flattens everything into one layer, so make a copy first if you’ll need those layers again.
What DPI should I export at for printing?
Always export at 300 DPI for anything you plan to print — that’s what keeps it looking crisp instead of fuzzy. It’s also worth double-checking your canvas size under Actions then Canvas Info before you start, since you can’t add resolution back after the fact. Setting this up early saves a lot of disappointment at the printer.
How do I keep my layers so I can edit later?
Export as PSD. It preserves every layer, which is perfect for projects that evolve over time — layered designs, textures, or Procreate stamp brushes you want to reuse. You can reopen it in Photoshop or another editor and pick up right where you left off.
Is there a free export cheat sheet?
Yes! I put together a free Export Settings Cheat Sheet so you always have the right settings handy. Just pop your email into the box near the top of the post and I’ll send it straight to your inbox — no cost, just a little reference to keep beside you while you work.
What’s the best format for a coloring page or stickers?
Go with PNG. For coloring pages it gives you the cleanest line clarity, and for stickers it keeps that transparent background so they layer neatly into digital journals or cut properly on a Cricut. If print quality matters, pair PNG with that 300 DPI setting.
Where can I learn more Procreate tips beyond exporting?
If you’re enjoying the free printables and tutorials, my Patreon community is where I share exclusive Procreate tutorials, watercolor lessons, and monthly printables. Members also get sneak peeks at upcoming projects and a say in what I make next. It’s a lovely way to keep leveling up your skills.