Last Updated on July 7, 2026 by Dee
You know that feeling when you open your sketchbook, stare at a perfectly blank page… and close it again?
Yeah. We’ve all been there.
The truth is, most people don’t use their sketchbooks because they’re afraid of ruining them. But a sketchbook isn’t meant to be a gallery — it’s meant to be a playground. A place where you can experiment, get messy, and try things without worrying about the result.
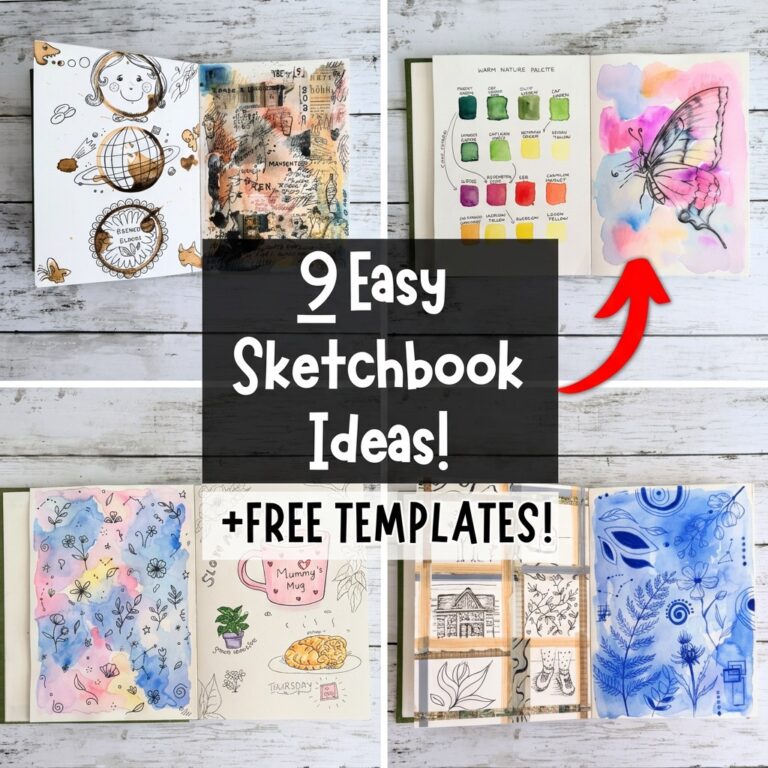
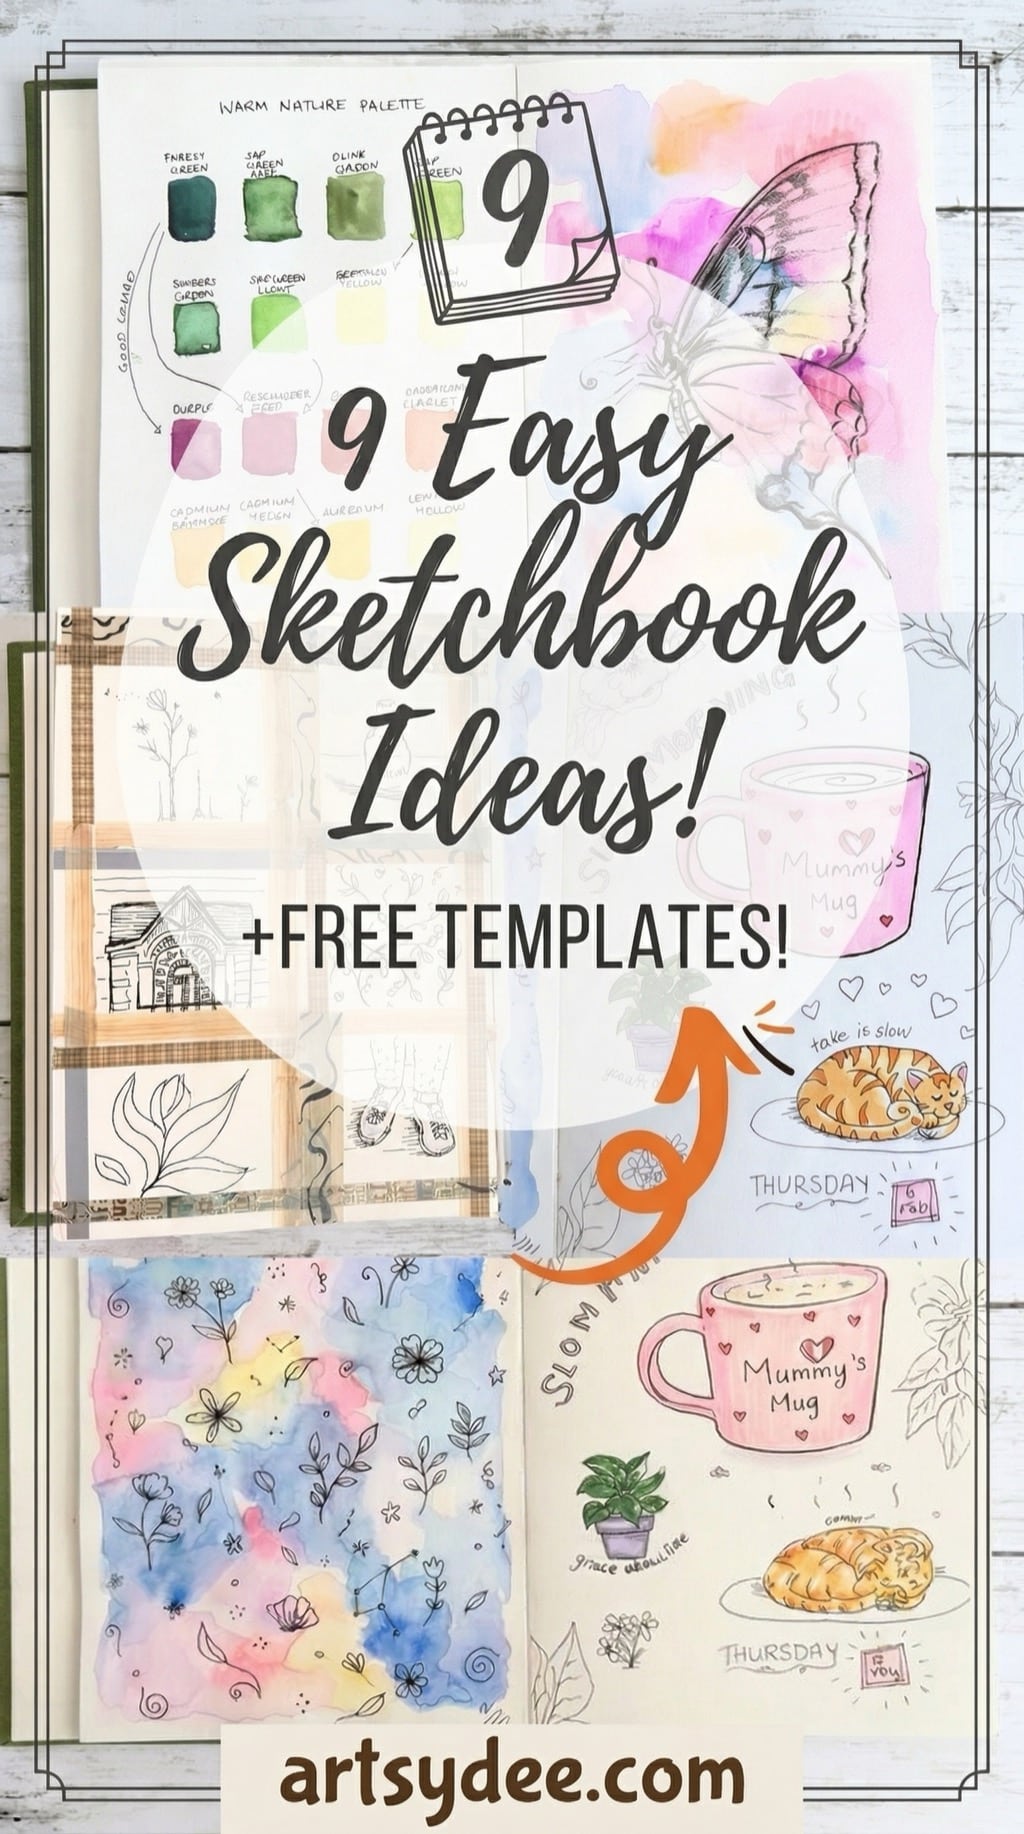
So today I’m sharing 9 easy sketchbook ideas that are genuinely fun to make. None of them require advanced skills. Some of them use instant coffee. One of them is deliberately ugly. And all of them will have you reaching for your sketchbook instead of avoiding it.
I’ve put together two free resources for you today — scroll down to grab your free butterfly drawing templates and your free printable sketchbook prompts sheet!
I’ve also filmed a full video walking you through every single page — so if you’d rather watch me flip through and explain each idea, hit play below.
👉 Subscribe to my YouTube channel for new creative ideas every week!
Table of Contents
What You’ll Need
You don’t need anything fancy for these — most of them work with whatever you already have lying around. But here’s what I used in mine:
- A lay-flat sketchbook (I love one with removable pages)
- Watercolour paints
- Sakura Micron pens (permanent, so they won’t smudge over watercolour)
- Faber-Castell Pitt artist pens
- Ohuhu alcohol markers
- Washi tape
- Instant coffee (yes, really)
- Letter stamps
1. Watercolour Wash + Pen Doodles
This is probably the easiest page in the whole book — and it’s one of the most satisfying.

Start by painting a loose watercolour wash using different pastel shades. I used cerulean blue, rose madder, and cadmium yellow, painting them wet-on-wet. That just means you put water down on the page first, then drop in colour, and let the pigments naturally bleed into each other.
Once it’s completely dry (and it needs to be completely dry — don’t rush this bit), grab some permanent fine liner pens like Micron pens and start doodling on top. Little flowers, leaves, dots, moons, stars — whatever comes to mind. Just fill the space with organic, natural patterns.
The beautiful thing about this page is there’s no planning involved. The watercolour wash gives you a gorgeous background and you just play on top of it.
Tip: You could take this further by layering on collage paper, adding pencil details, or sticking down some washi tape. But honestly, even as it is, it’s a really complete page.

2. Slow Morning Journal Page
This one is more of an illustrative journal page. I called it “Slow Morning” because that’s exactly what it was — one of those gentle mornings where you just want something easy and creative to work on alongside your coffee.

I drew a little ginger cat (mine was sitting right there, so he became the model), added the date, some delicate pen floral outlines, and then reached for my
What I love about this type of page is it becomes a little memory capsule. Weeks later you can flip back and instantly remember that morning — what the light was like, how you felt, what was going on.
Fun fact: This is actually how a lot of famous artists worked. Frida Kahlo’s diaries were full of pages like this — little drawings mixed with words and colour, capturing moments from everyday life.
3. Palette Swatches
This one is both beautiful and genuinely useful.

Take the colours from a watercolour set and paint out swatches of every single colour, labelling each one so you have a permanent reference. This is one of the most practical things you can put in a sketchbook, because watercolour looks different wet versus dry — and the names on the tubes can be misleading.
I also wrote notes about which colour combinations work well together. Having this reference page means you’re not guessing when you start your next painting.
Tip: Your swatches don’t need to be perfect little squares. Mine are pretty loose. Just get enough paint down to see the true colour when it dries, and leave space for notes. Future you will thank you.
4. Butterfly Mixed Media Page
This is where it gets exciting — and it’s actually one of the ideas behind the free drawing templates I’ve created for you (more on those in a moment).

I started with watercolour brush pens, painting in loose colour first — blues, oranges, pinks, purples — just a colourful abstract background. Once it dried, I drew out the outline of a butterfly in pencil on top, added some shading into the wing details, and then went over certain parts with a Faber-Castell Pitt pen to add depth.
So you get this lovely layered effect: watercolour underneath, pencil in the middle, permanent pen on top. Three different media on one page.
And here’s the thing — I’ve created free butterfly drawing templates for you, so you don’t even need to draw the butterfly yourself. Print the template, trace it, and paint straight into it.
👉 Grab your free butterfly drawing templates here
5. Washi Tape Windows

This is one of my absolute favourites.

Take different washi tapes from your collection and lay them down in a grid to create little window frames on the page. Then draw a different subject in each window — wildflowers, a bottle, a little house, some creeping vines, whatever you can see around you or whatever pops into your head.
The washi tape does all the compositional work for you. It divides the page up so you don’t have to think about layout at all — you just fill in the windows. Look around your room right now and there’s your inspiration.
Tip: If you want it to feel cohesive, pick washi tapes that share a colour palette. I went with blues, greys, and browns — but you could do all pastels, all bold colours, whatever you’ve got. The tape itself becomes part of the artwork.
6. Monochromatic Page

This one is really striking. The concept is simple: use just one colour for the entire page.
I chose cobalt blue. First I painted a loose watercolour background, deliberately dropping in extra pigment while it was still wet to get those gorgeous bloom effects. Then once it dried, I drew all sorts of elements on top — concentric circles, an eucalyptus sprig, leaves, a cosmos flower, fern fronds, geometric squares, and little celestial elements scattered in the background.
What makes it work is the mix of geometric shapes with organic, natural ones. Structured squares alongside flowing ferns and soft florals — and because everything is the same colour, it all feels harmonious.
Why this works: There’s actual colour theory behind it. When you limit yourself to one colour, your eye doesn’t get distracted by competing hues — it focuses on shapes, composition, and textures instead. It’s incredibly calming to create and satisfying to look at. Try it with any colour you love — terracotta, forest green, warm sepia.
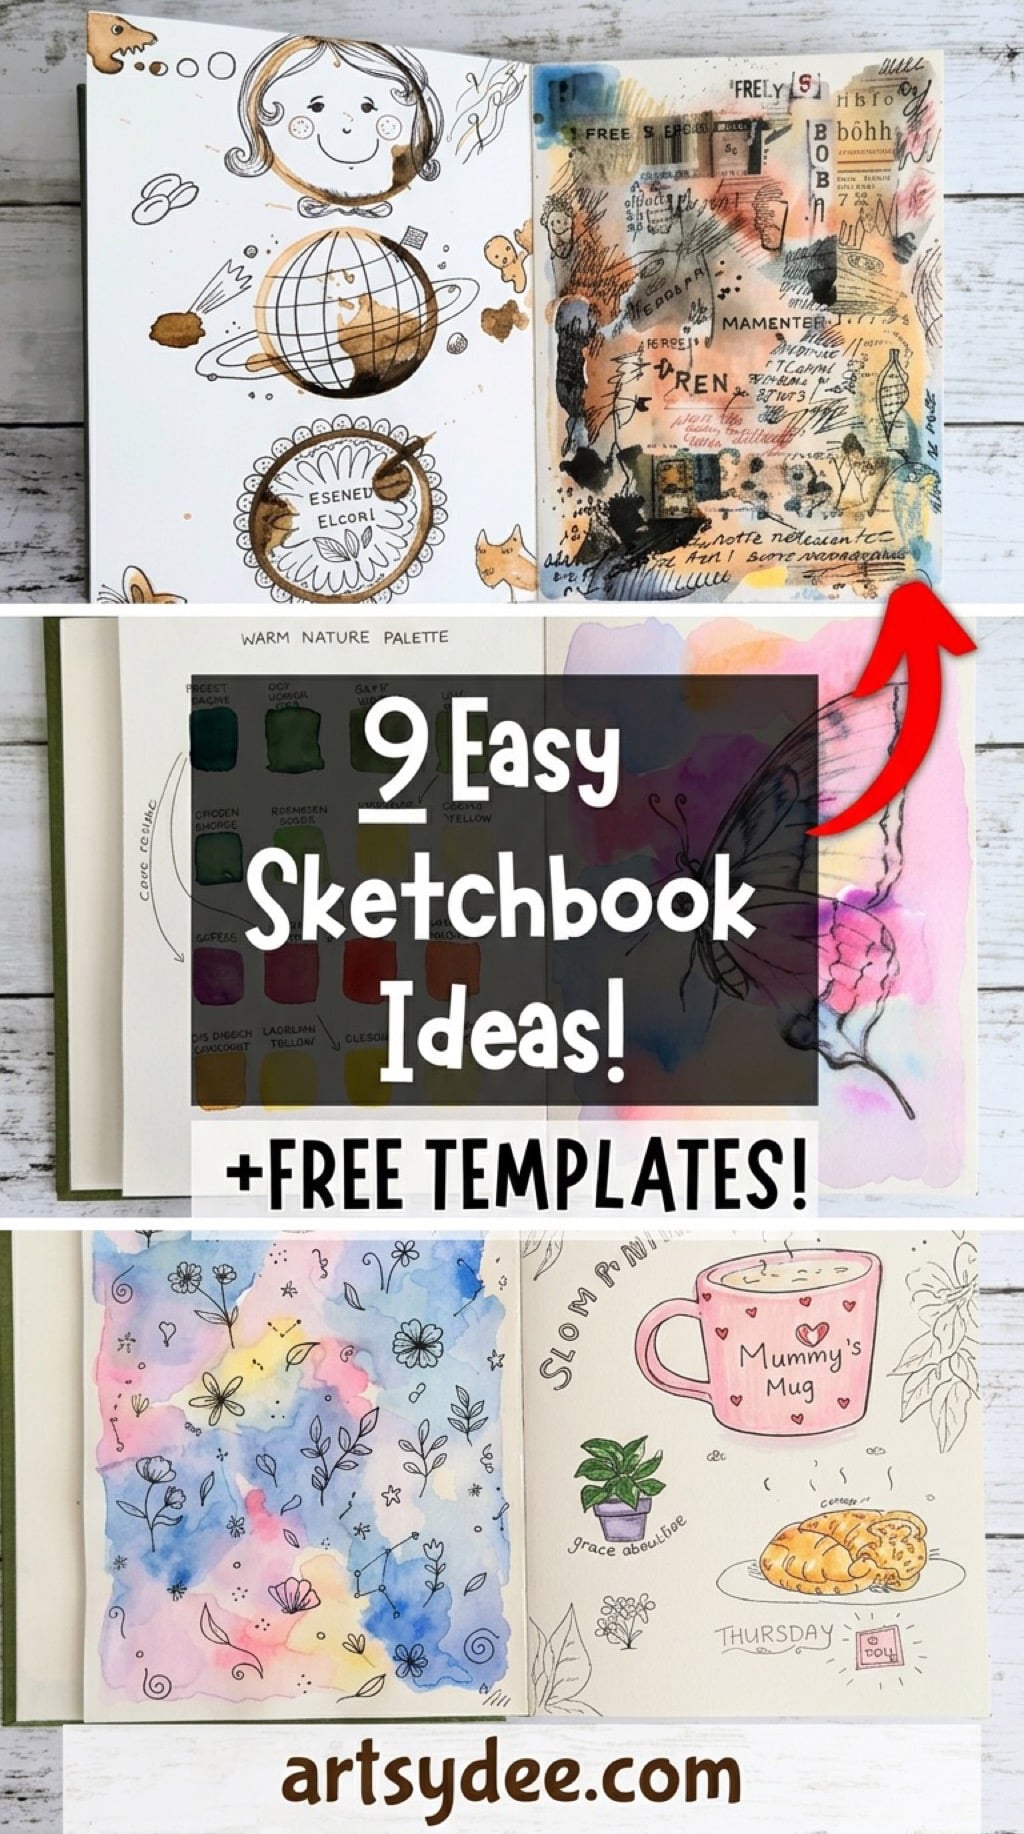
7. Coffee Ring Stain Art

Right, this one is genuinely one of the most fun pages in the whole book.
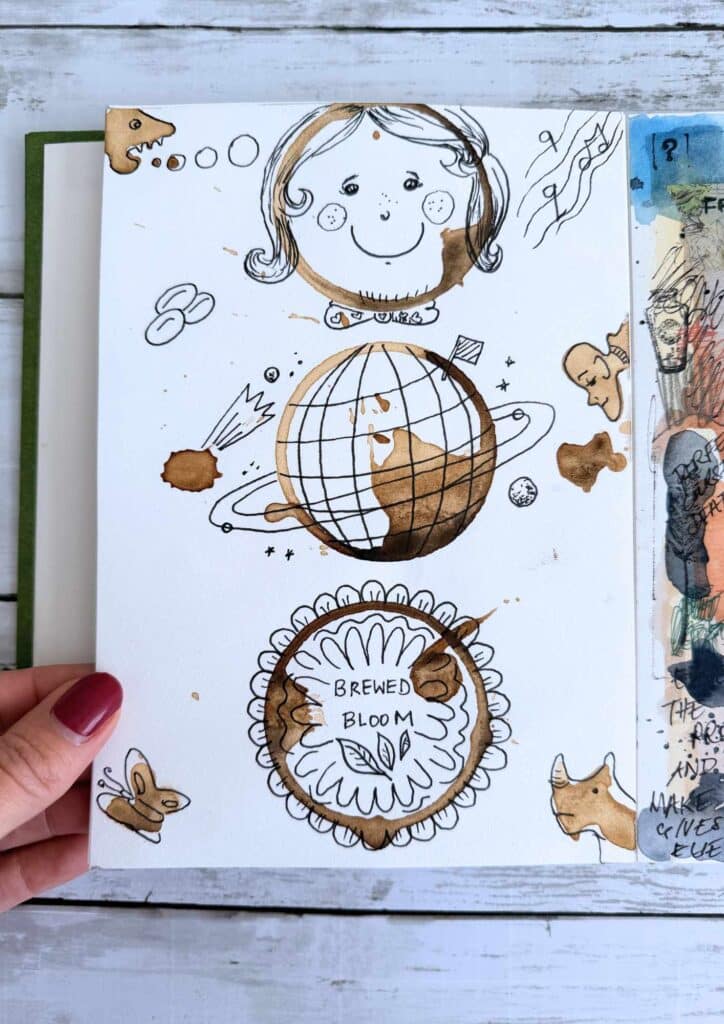
Mix up some instant coffee — not too much water, you want it quite strong and dark. Dip the bottom of your coffee mug into a bowl of it and stamp it onto the page. I did three stamps and let some of the coffee splatter as I was stamping, which gives you this authentic, spontaneous feel.
Once the stains are dry, go in with a fine liner pen and start filling the circles with doodles — faces, patterns, whatever comes to you in the moment.
You can get an amazing range of tones from coffee, from a pale golden wash right through to a rich, dark sepia. And your sketchbook ends up smelling incredible — this rich coffee warmth every time you open the page.
Any coffee works — instant, filter, whatever you’ve got. The stronger the mix, the darker the stain. It looks impressive but takes about ten minutes.
8. The Ugly Page (Do This One First)
This is the most important page in this post. Seriously.
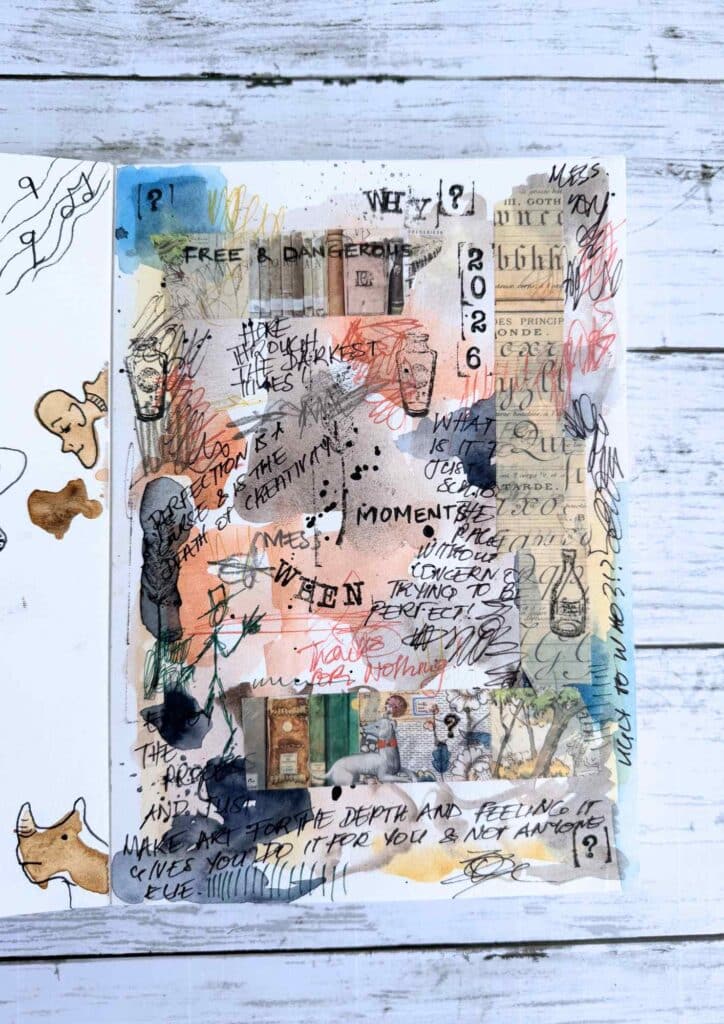
The whole concept is that you give yourself full permission to make a mess. I used washi tape, bits of collage, different brown watercolours, some black, stamped botanical elements, letter stamps, wrote things imperfectly, scribbled — just threw everything at the page with absolutely no plan.
And here’s why this matters: most people don’t use their sketchbooks because they’re afraid of ruining them. They think every page needs to look like something worthy of social media. But a sketchbook is meant to be played in. It’s meant to be messy and imperfect and full of experiments.
Making an ugly page on purpose is one of the most freeing things you can do. Once you’ve got one messy page in there, the pressure is completely gone. Every page after that feels easier.
My advice: Do this page first in a new sketchbook. Get it out of the way. Scribble, stamp, splash paint, write your name badly — whatever. It genuinely changes how you feel about the rest of the book.
9. Contour Line Drawing
And lastly — a quick contour line drawing. Coffee is clearly a theme in this sketchbook! I drew a little coffee cup and saucer using a continuous line, which means you try not to lift your pen off the paper. I did lift mine a couple of times, but that’s completely fine. The charm of a contour drawing IS the wobbles, the overlaps, the bits that don’t quite line up.

This is actually a classic art school warm-up exercise — artists have been doing contour drawings for centuries to train hand-eye coordination and loosen up before a session. It takes about two minutes and you can draw literally anything. Your hand, your mug, your shoes, a plant on the windowsill.
Pro tip: Try doing it without looking at the paper — that’s called a blind contour drawing. The results are hilarious and oddly beautiful. It’s the ultimate “it doesn’t need to be perfect” exercise.
Free Butterfly Drawing Templates
If the mixed media butterfly page caught your eye (idea #4), I’ve made it easy for you. I’ve created a free set of butterfly drawing templates that you can print and use in your own sketchbook.
Trace them, paint into them, cut them out and collage them — however you want to use them.
Grab the Free Butterfly Watercolor Templates
👉 Pop your email into the box near the top of this post and I’ll send these straight to your inbox — free!
Join the Artsydee Creations Club
If you love creative resources like these, you’ll love the Artsydee Creations Club. It’s a growing vault of 500+ digital art resources including junk journal kits, digital papers, stickers, washi tapes, and so much more.
👉 Join the Artsydee Creations Club here
Frequently Asked Questions
What sketchbook should I use for these ideas?
I recommend a lay-flat sketchbook with mixed media paper. This means you can use watercolour, pens, markers, and collage without the pages buckling. A sketchbook with removable pages is a bonus — you can tear out pages to frame or share.
Do I need to be good at drawing for these?
Not at all! That’s the whole point of this list. Most of these ideas don’t even require traditional drawing skills. The watercolour wash page, palette swatches, coffee ring art, and ugly page need zero drawing ability. Even the contour line drawing is meant to look wobbly.
What pens work best over watercolour?
You need permanent ink pens that won’t smudge when water touches them. Sakura Micron pens and Faber-Castell Pitt pens are both brilliant choices. Always make sure your watercolour is completely dry before drawing over it.
Can I use these ideas in an art journal too?
Absolutely! Every single one of these ideas works just as well in an art journal, junk journal, or any creative notebook. The ugly page idea is especially useful for any new journal where you want to break that fear of the first page.
Watch the Full Video
If you want to see every page up close and hear me walk through exactly how I made each one, watch the full video on my YouTube channel:
👉 Subscribe to my YouTube channel for new creative ideas every week!
Final Thoughts
If there’s one thing I want you to take away from this, it’s that your sketchbook doesn’t need to be perfect. It needs to be used.
Pick one of these ideas — just one — and try it today. The ugly page is a brilliant place to start if you’re feeling nervous. Once that’s done, everything else flows more easily.
The more you make, the more ideas will come to you. I promise.
Happy creating! 💛
Dee x
👉 Follow me on Pinterest for more sketchbook and art inspiration!
This post contains affiliate links, which means I may earn a small commission at no extra cost to you if you make a purchase. I only recommend products I genuinely use and love.
Thank you
This is really good