Last Updated on June 23, 2026 by Dee
Mother’s Day is the kind of day that begs for something handmade. Store-bought is fine, sure, but a card you actually painted? That’s the kind of thing mums hang on the fridge for years. And the good news is you don’t need to be an experienced watercolourist to make one — a few soft washes of pink, a little green for leaves, and you’ve got something genuinely beautiful.
I’ve put together a free printable pack of 8 watercolour Mother’s Day card templates for you — pencil sketches you can print, paint, and pop in the post. AND right after the table of contents there is a bonus step-by-step tutorial sheet to keep next to your paint palette!
I’ve been making watercolour Mother’s Day cards for years, and the same principles keep working: keep it loose, lean into the wet-on-wet flow, and pick a single bloom (or a small bouquet) instead of a busy scene. Roses, peonies, tulips, eucalyptus — all easy to suggest with just a few brushstrokes once you’ve got a template to follow.
So in this post I’ll walk you through a simple 4-step rose card you can copy, share a little gallery of card front ideas to inspire you, and chat through the supplies that make the biggest difference for beginners.
🎬 Love video tutorials? Subscribe to my YouTube channel for weekly watercolour tutorials and creative inspiration!
Table of Contents
Why Paint Your Own Mother’s Day Card
A hand-painted Mother’s Day card says something a printed one never quite manages: I sat down, I made this, I was thinking about you the whole time. Even a wobbly first attempt has heart in it. That’s the bit that lands.
Watercolour is the perfect medium for this because it does most of the pretty work for you. You drop a wash of pale pink onto damp paper, the pigment blooms, and suddenly you’ve got a soft rose petal — no drawing skill required. The whole process takes about 20 minutes per card once you’ve got your template lined up.
Free Printable Watercolour Card Templates
Here’s the freebie I promised — a 10-page PDF with 8 hand-drawn pencil card front templates: roses, peonies, tulips, eucalyptus, a wildflower bunch, a delicate floral wreath, a single peony, and a cottage-garden bouquet. Print them on watercolour paper, fold in half, and paint straight onto the card front. Easy.
How to Paint a Watercolour Rose Card in 4 Simple Steps
Quick answer: Fold your watercolour paper in half, sketch a rose lightly in pencil, wet the petals and drop in pale pink, then add deeper rose tones and soft green leaves while the paper is still damp. The whole card takes about 15–20 minutes.
1. Fold your card base
Grab a sheet of watercolour paper (A5 folded or A4 folded both work) and crease it cleanly down the middle with a bone folder or your fingernail. Cold press paper holds water beautifully without warping — I use my Canson XL Watercolor Sketchbook pages for cards because the paper is sturdy enough to take a stamp without buckling.
2. Sketch your rose lightly
If you’re using one of the free templates from above, you’ve already done this step. Otherwise sketch a loose spiral with two or three petal shapes opening outwards. Keep the pencil lines very light — you want them to disappear under the paint.
3. Wet the petals and drop in pale pink
This is where the magic happens. Brush clean water over each petal shape, then touch a watery pink (try a mix of permanent rose with a tiny bit of opera pink) into the damp area and watch it bloom. Don’t fuss with it. The pigment knows what to do.
4. Add deeper tones and soft green leaves
While the petals are still damp, drop a more concentrated pink into the centre of the rose so it pools darker in the middle and stays soft at the edges. Then mix sap green with a touch of yellow for the leaves and brush them in around the bloom. Let it dry completely before adding any details with a finer brush.
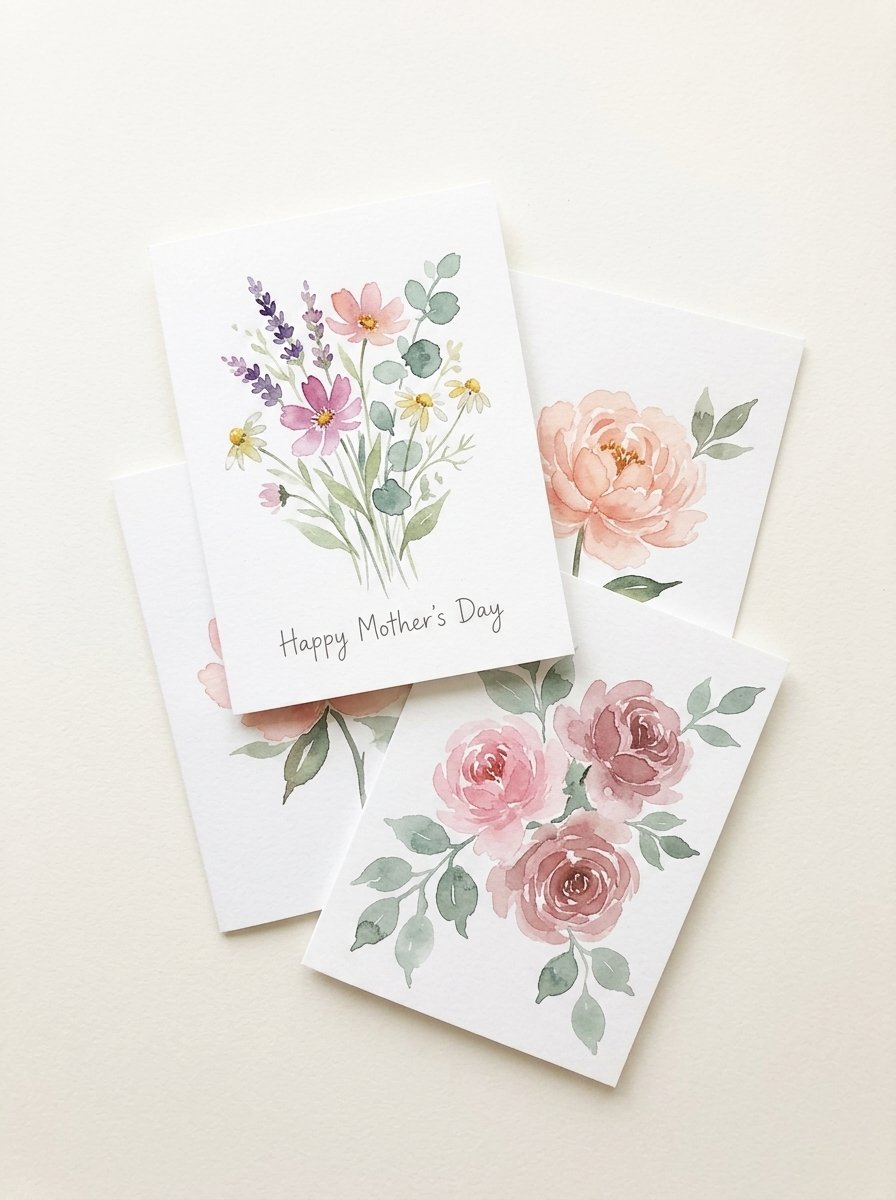
8 Easy Watercolour Mother’s Day Card Ideas
Stuck for ideas? Here are 8 simple compositions that all use the same loose wet-on-wet approach — every single one is included in the free template pack above so you can print and paint along.
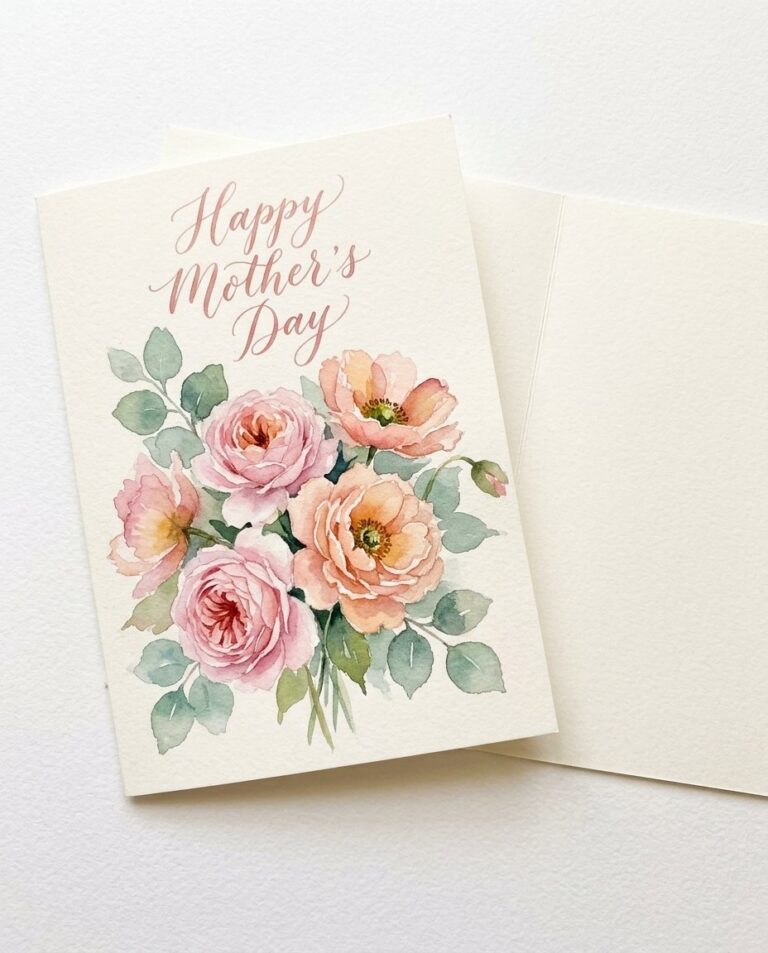
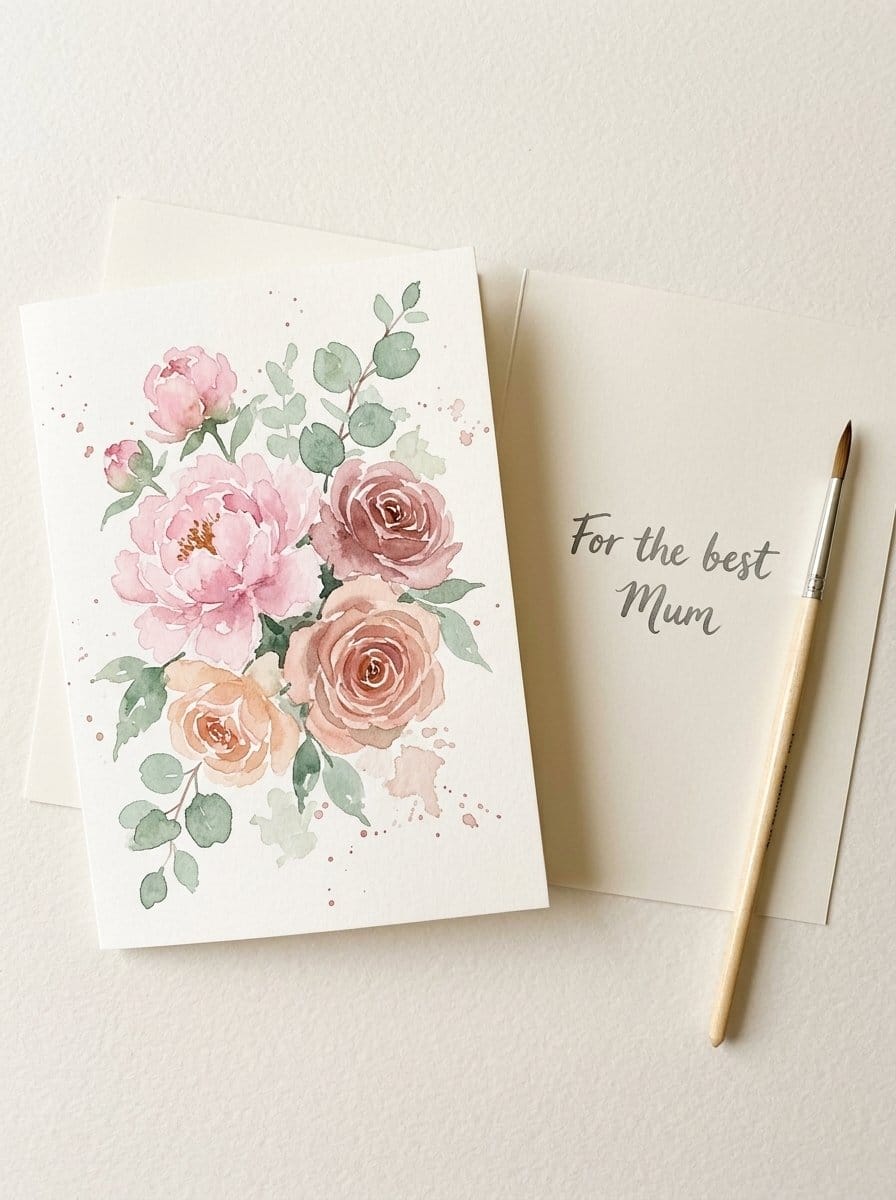
- A small rose bouquet — three open garden roses gathered together with leaves. Classic and always lovely.
- A single peony bloom — one big ruffly peony with a small bud beside it. Easier than it looks because it’s all about loose layered washes.
- A wildflower meadow bunch — cosmos, daisies, and lavender stems gathered loosely. Perfect if your mum loves a country garden vibe.
- Eucalyptus and roses — trailing eucalyptus stems with two small roses tucked in. Soft, modern, very on-trend.
- A tulip trio — three tulips with their long leaves. Spring-perfect.
- A cottage garden bouquet — a peony, two roses, sweet pea, and trailing eucalyptus. Slightly more advanced but stunning.
- A delicate floral wreath — small flowers and leaves in a circle, with the centre left empty so you can hand-letter “Happy Mother’s Day” inside.
- A single large peony — one big bloom centred on the page. Minimalist and modern.
If you want to take your floral painting further, my guide to loose watercolour flowers walks you through the wet-on-wet technique in much more detail.
Watercolour Supplies for Beginner Card Makers
You don’t need much to get started — a small set of pans, one or two round brushes, a ceramic palette for mixing, and a sketchbook of cold press paper will see you through dozens of cards. Here are the exact supplies I reach for again and again:


This post contains affiliate links, which means I may earn a small commission at no extra cost to you if you make a purchase. I only recommend products I genuinely love and use myself!
If you’d like to keep your watercolour stash growing, my Payhip watercolour templates collection has loads of seasonal printable pencil sketches — birth flowers, botanicals, mini scenes — all designed for exactly this kind of relaxed painting.
Tips for Painting Loose Watercolour Florals
A few small things make a big difference when you’re painting loose watercolour cards:
- Mix more pigment than you think you need. Running out mid-petal forces you to remix and the new mix is never quite the same.
- Tilt your paper while it’s wet. Letting gravity move the pigment creates lovely natural variation.
- Stop earlier than feels right. Loose watercolour florals look most beautiful when there’s still some white paper showing through. Overworking them turns the petals muddy.
- Use a good round brush with a fine point. A cheap brush splays out and you lose detail. I always grab my Escoda round watercolour brushes for card work — the tip is sharp enough for tiny stamen but the belly holds enough paint for a full petal.
- Paint a few cards in one session. The first one is always the warm-up. Card three or four is usually the keeper.
Mother’s Day Watercolour Card FAQ
What watercolour paper is best for Mother’s Day cards?
Cold press 300gsm watercolour paper is the sweet spot — sturdy enough to fold into a card without cracking, and textured enough to hold a wet wash without warping. Hot press is too smooth and the pigment beads up; rough is too toothy for a clean fold.
Do I need expensive paints to make a nice card?
No. A student-grade pan set like Winsor & Newton Cotman gets you 80% of the way there for a fraction of the price of artist-grade tubes. The honest truth is that good paper makes a much bigger difference than expensive paint when you’re starting out.
How do I write a message inside without smudging the paint?
Wait at least an hour for the front to dry completely (or use a hairdryer on cool), then write your message in pencil first if you’re nervous. A waterproof fineliner like a Micron 03 works beautifully and won’t bleed if you accidentally splash water later.
Can kids use these templates too?
Absolutely — the templates are pencil outlines so children just colour inside them with watercolour, much like a paint-with-water book. The wreath template with its empty centre is especially lovely because kids can write their own message in the middle.
How do I post a watercolour card without it getting damaged?
Pop your finished card inside a clear cellophane sleeve, then into a sturdy C5 envelope marked “Do Not Bend.” That’s enough protection for most postal routes. If you’re sending internationally, slip a piece of card stock behind it for extra rigidity.
Final Thoughts
The best part about painting your own Mother’s Day card isn’t actually the finished card — it’s the hour you spend at the kitchen table, music on, paint pooling on the page, thinking about the person you’re making it for. That’s the gift, really. The card is just the bit you put in the envelope.
Grab the free templates above, pour yourself a tea, and give one of these a try. And if you’d like to see more watercolour techniques in action, head over to my YouTube channel where I share a new tutorial every week. Hit subscribe so you don’t miss the next one.
You can also follow along on Pinterest for daily watercolour inspiration and printable freebies.
You Might Also Like
- Loose Watercolour Flowers — A Beginner’s Guide
- Easy Watercolour Sketchbook Ideas to Try Today
- Watercolour Painting Ideas for Beginners
- Simple Watercolour Ideas for Beginners
- Free Watercolour Sketchbook Templates
Pin this for later!