Last Updated on November 5, 2025 by Dee
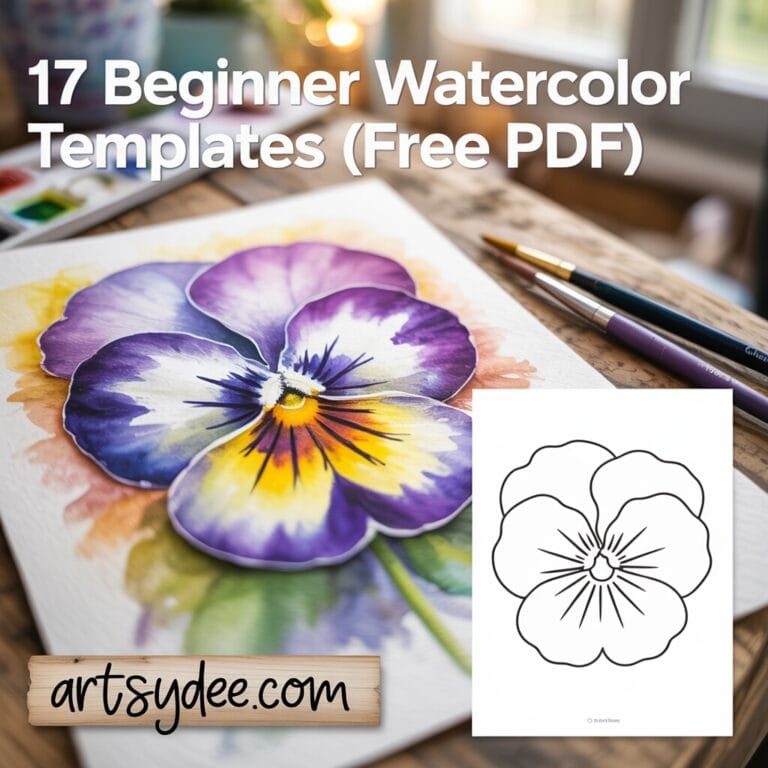
Starting with watercolor doesn’t have to be intimidating. In fact, the easiest way to begin is with beginner watercolor templates that give you a clear outline to paint on while you practice blending, layering, and brush control.
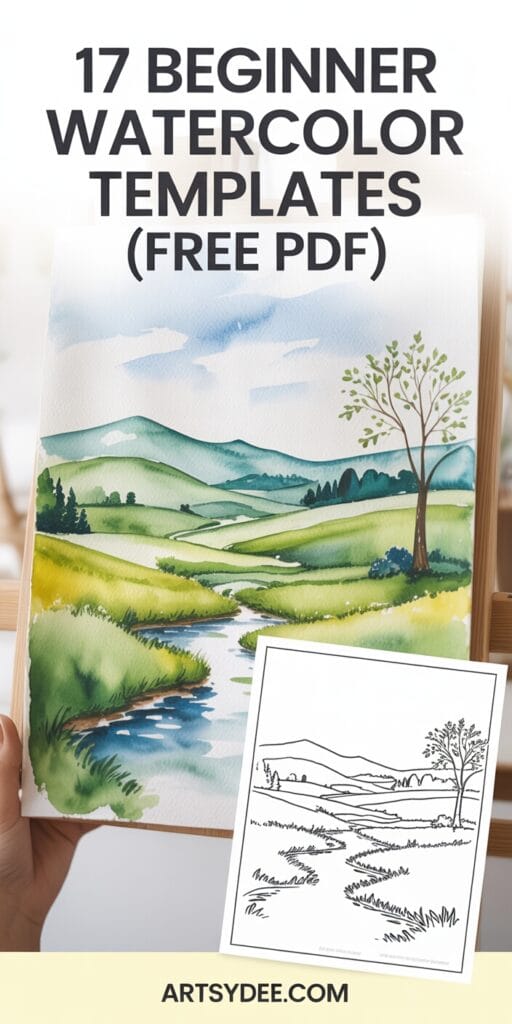
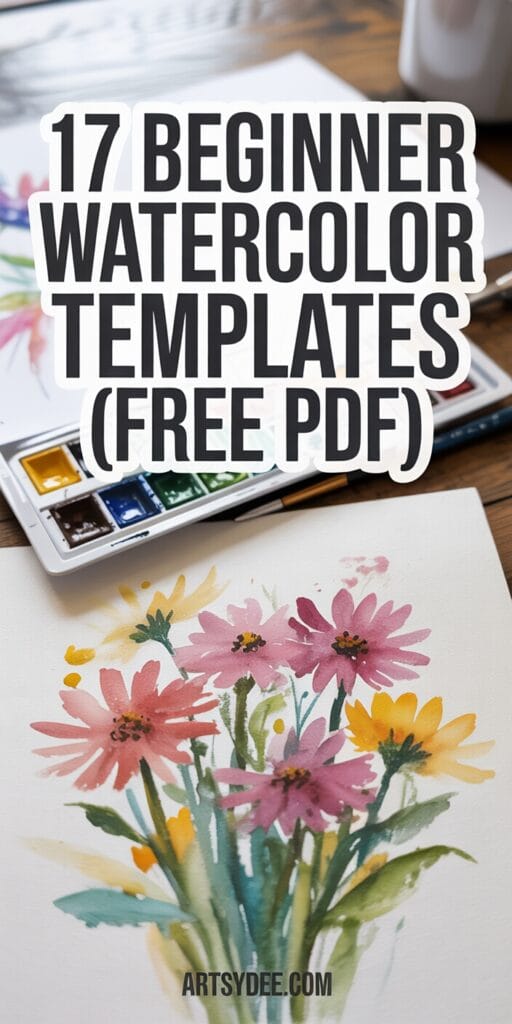
In this post, I’m sharing 10 beginner watercolor templates designed for fun DIY painting projects you can try at home. From flowers and leaves to landscapes, animals, and even ocean scenes, these templates make it simple to explore watercolor without worrying about sketching or complicated details.
Each design is clean, beginner-friendly, and perfect for experimenting with color. Whether you’re brand new to painting or just looking for easy watercolor practice, these templates will help you create artwork you’ll actually enjoy making.
✨ Don’t forget—you can grab your free beginner watercolor templates at the end of this post and start painting today!
Table of Contents
🌸 How to Use Watercolor Templates for DIY Watercolor Art
Using watercolor templates is one of the easiest ways to build confidence as a beginner. Instead of starting with a blank page, you can simply print the template onto watercolor paper or lightly trace it with a pencil onto your sketchbook.
The clean outlines act as a guide, helping you focus on the fun part—adding color! Begin with light washes, letting each layer dry before building up richer tones. You can also experiment with blending colors inside the outlines to create soft gradients, or leave white space for highlights.
If you’re working digitally (in apps like Procreate), you can import the PNG version of the template as a base layer and paint on top. Templates take away the pressure of drawing everything yourself, so you can practice brush control, layering, and color mixing while still ending up with a finished piece of DIY watercolor art you’ll be proud to display.
🎨 Themes Included in the Beginner Watercolor Templates Set
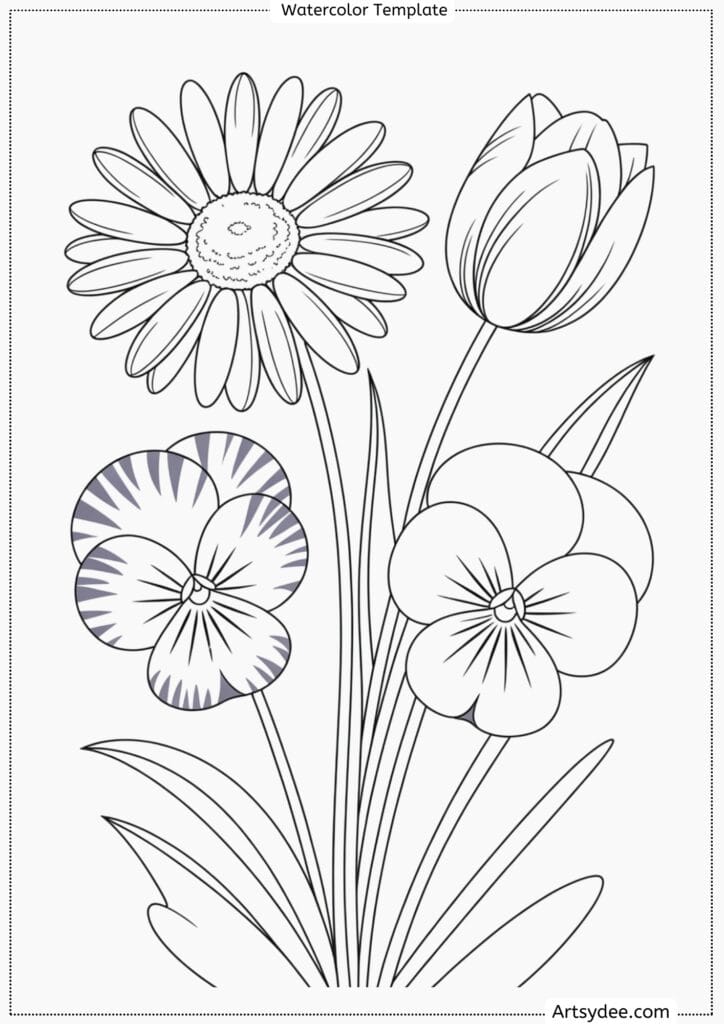
- 🌸 Simple Flowers – daisies, tulips, and pansies with clean outlines.
- 🌅 Sunset Landscape – horizon line with soft sky and trees in silhouette.
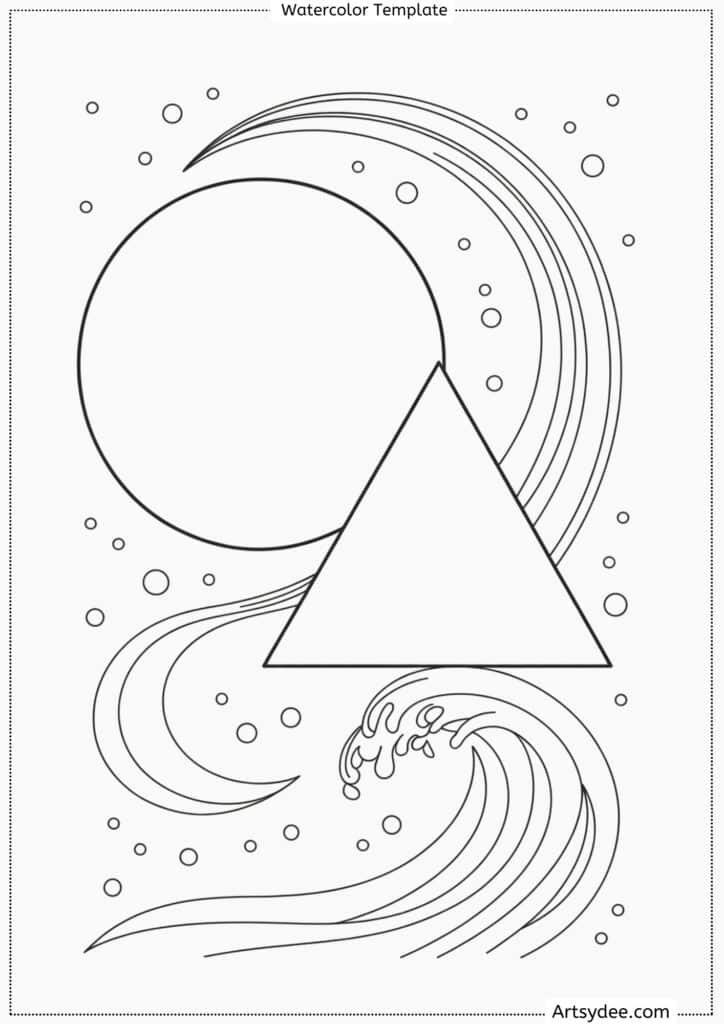
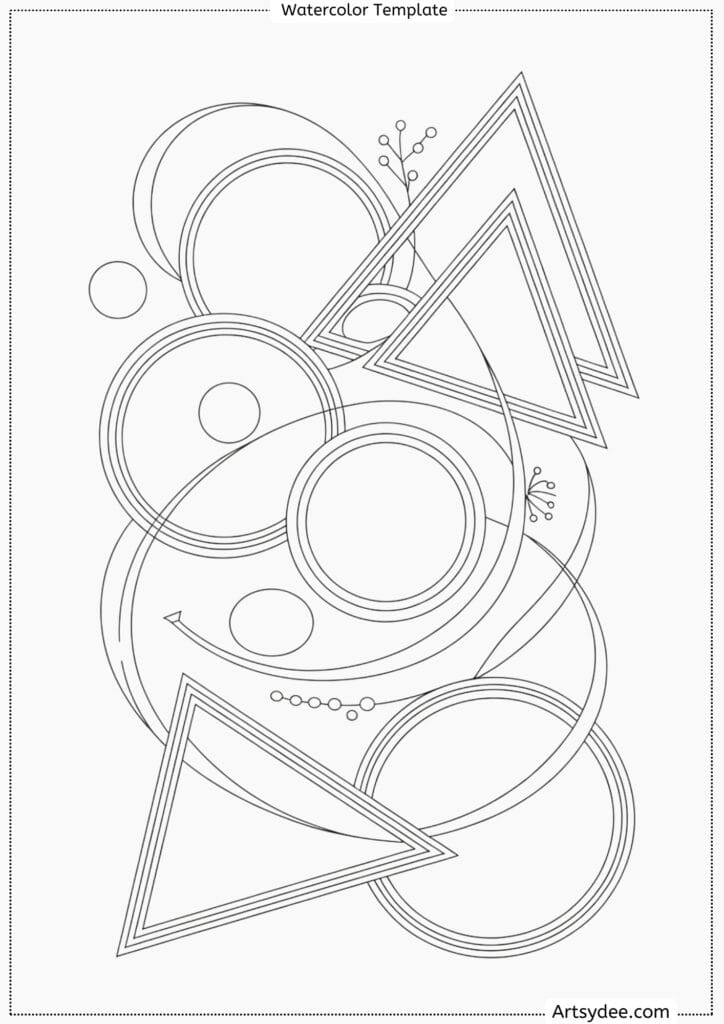
- 🔵 Abstract Shapes – overlapping circles, triangles, and curves.
- 🐇 Cute Animals – bunny, kitten, and puppy with simplified outlines.
- 🏙️ City Skyline – blocky building silhouettes against a sky.
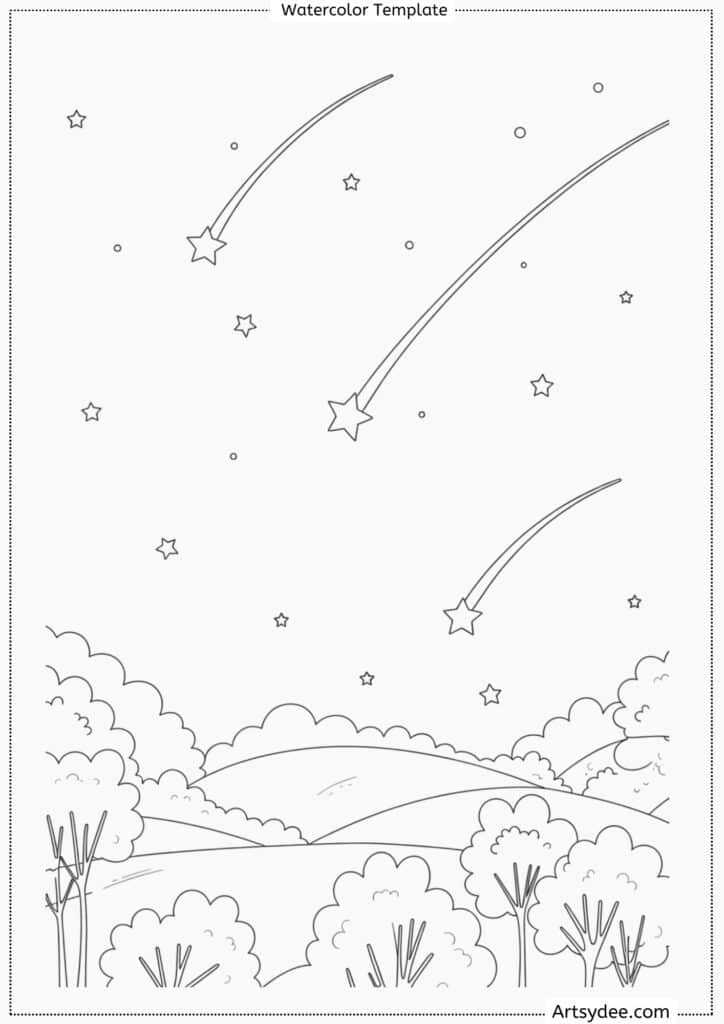
- 🌌 Shooting Stars Scene – night sky with stars and streaks.
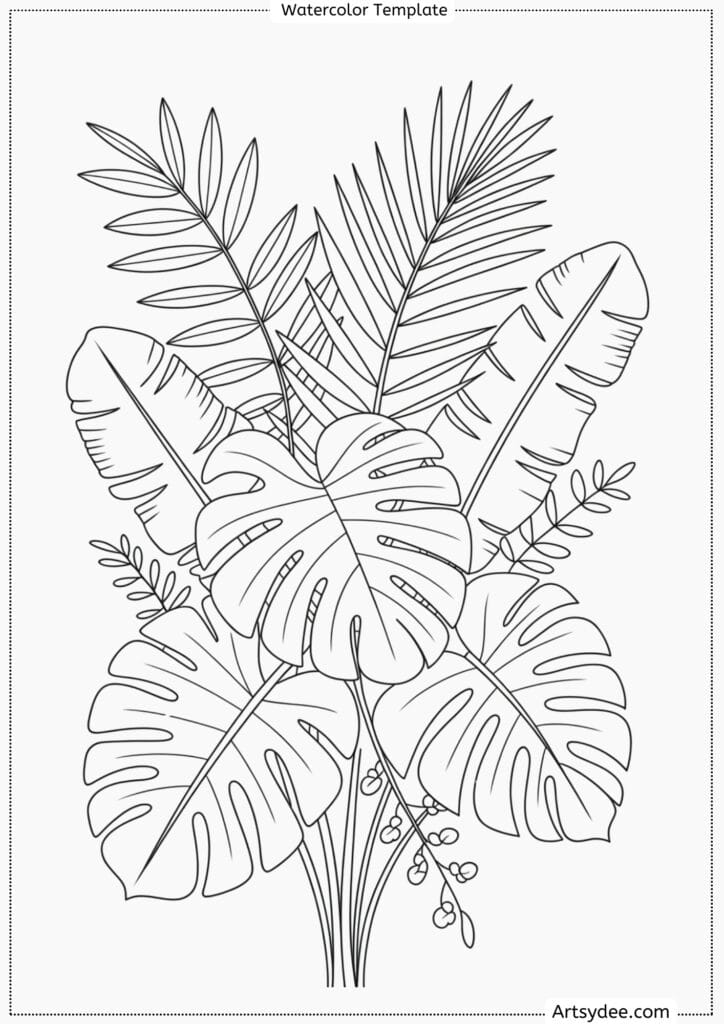
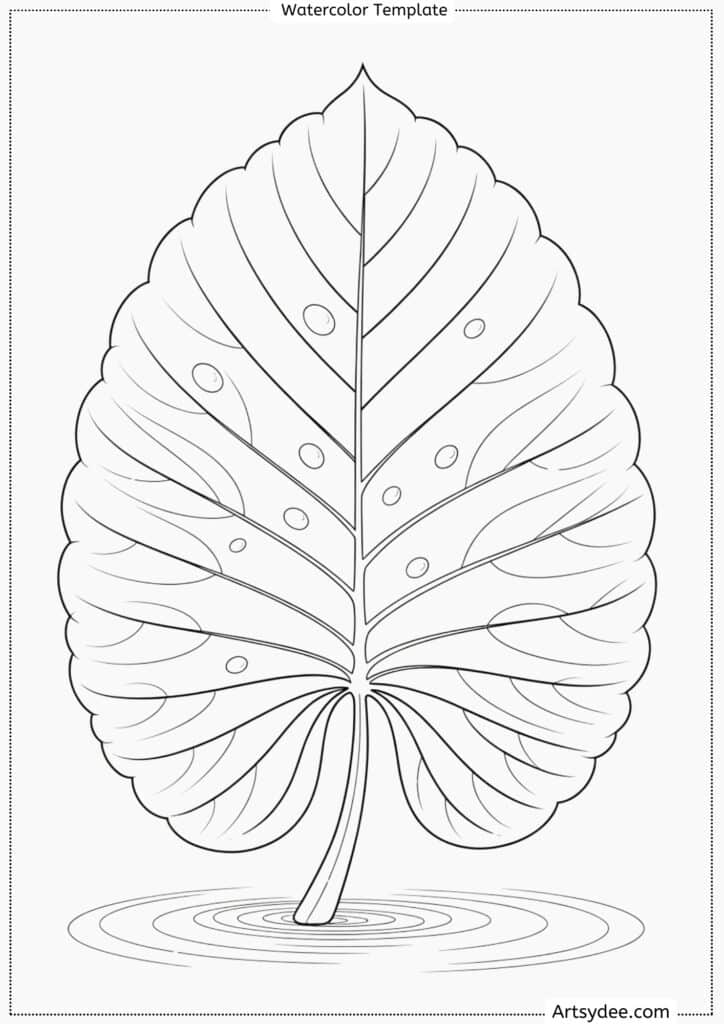
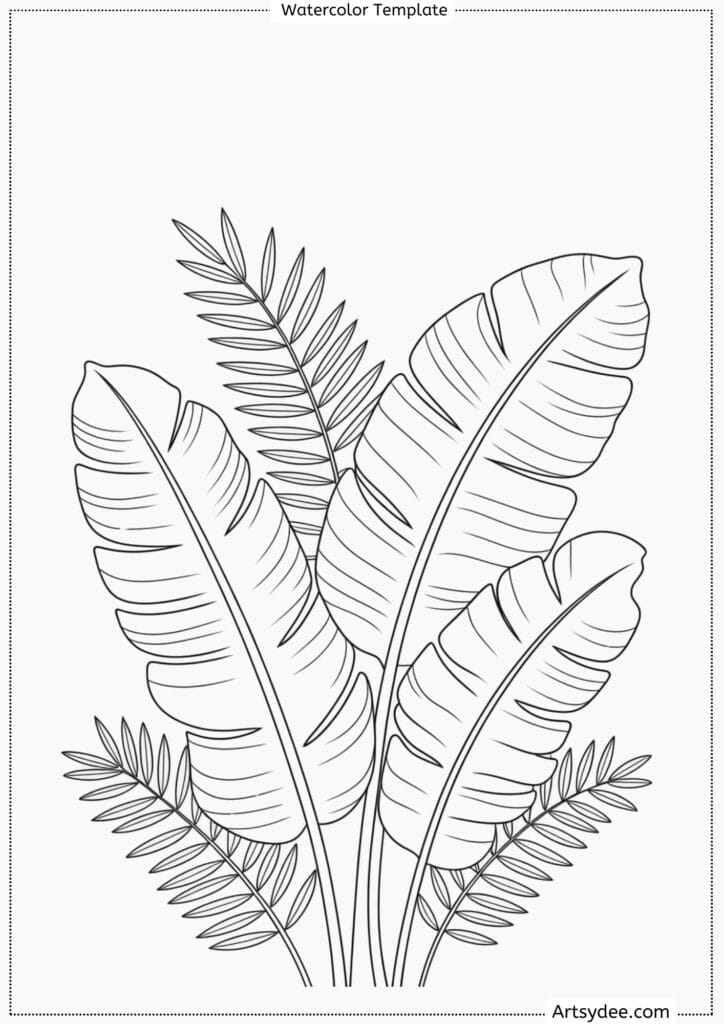
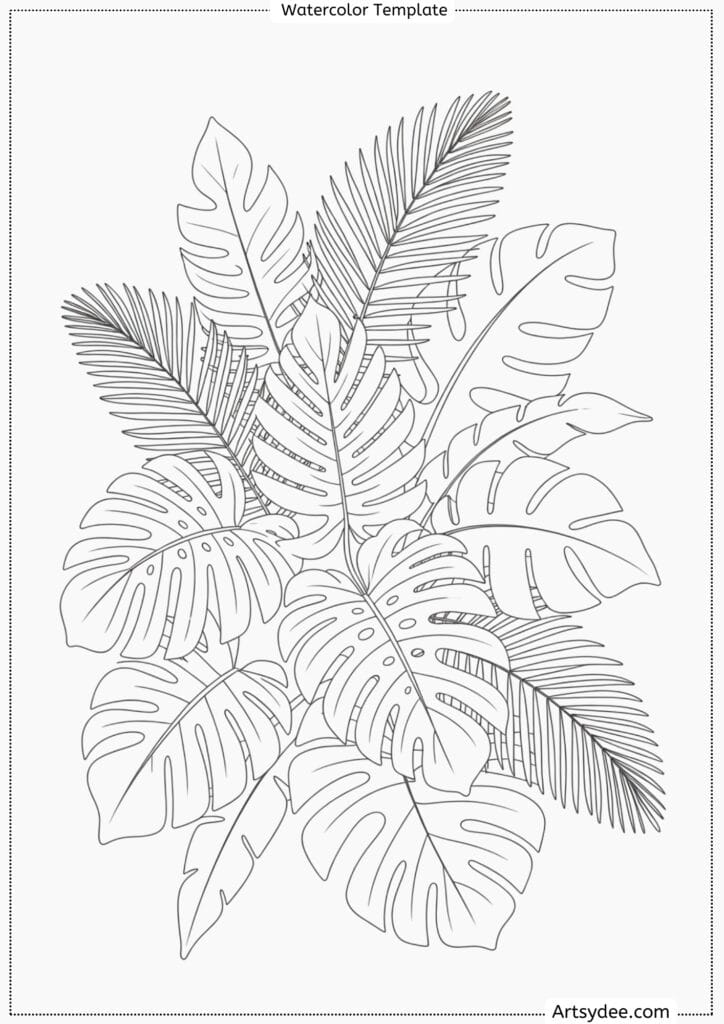
- 🌿 Tropical Leaves – monstera, palm, and banana leaves clustered together.
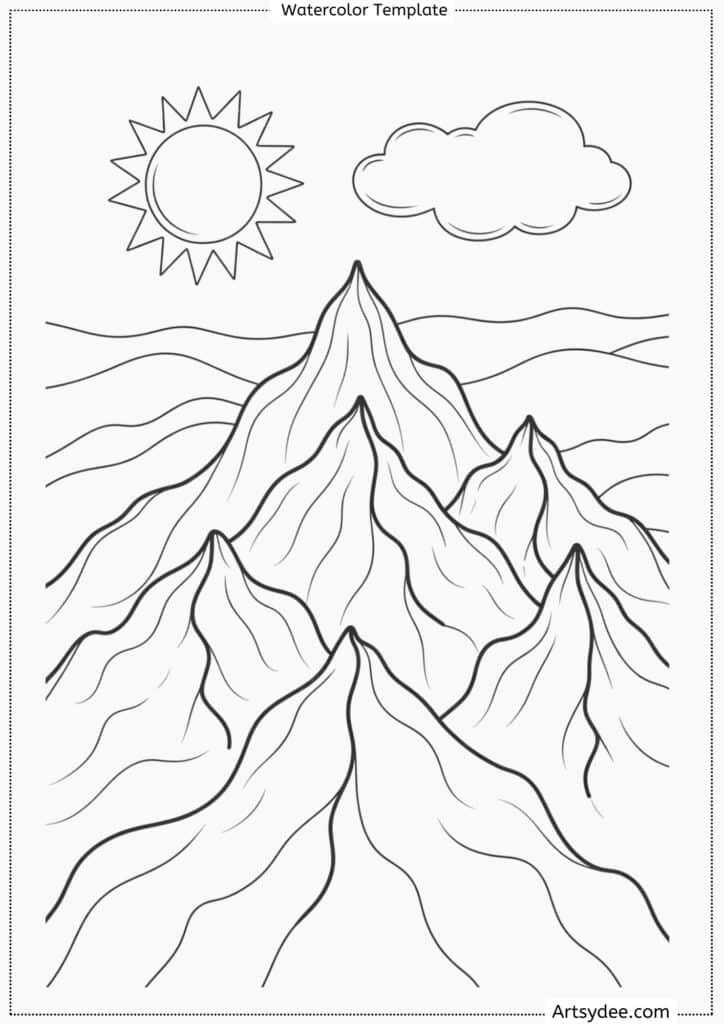
- ⛰️ Mountain Range – three overlapping peaks with simple sky.
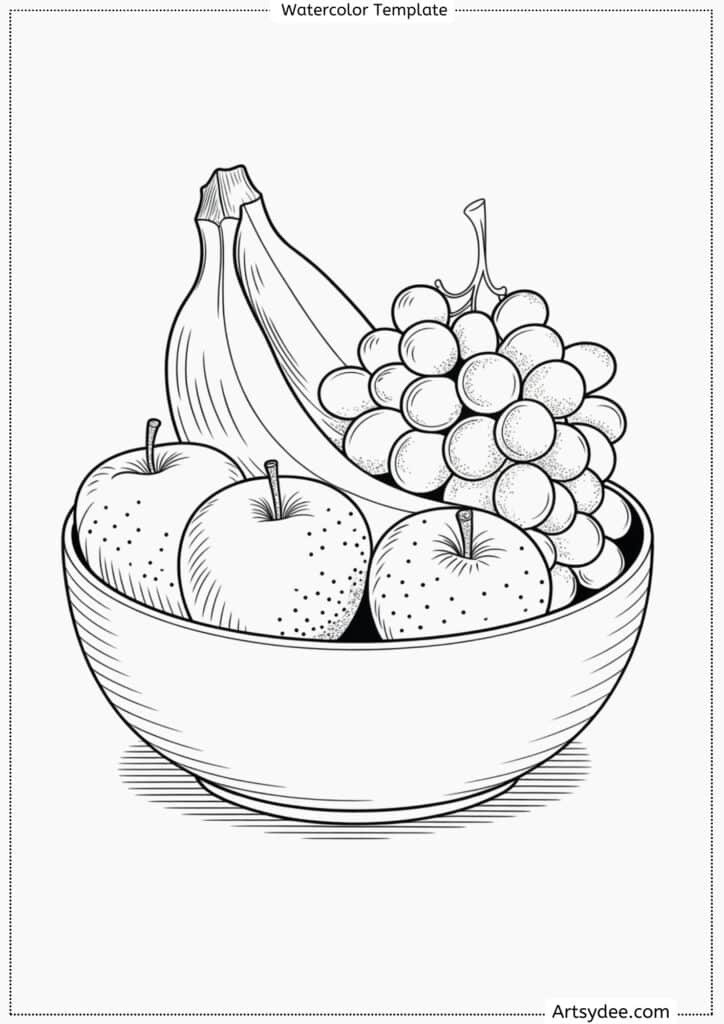
- 🍎 Fruit Bowl Still Life – apples, bananas, and grapes in a bowl.
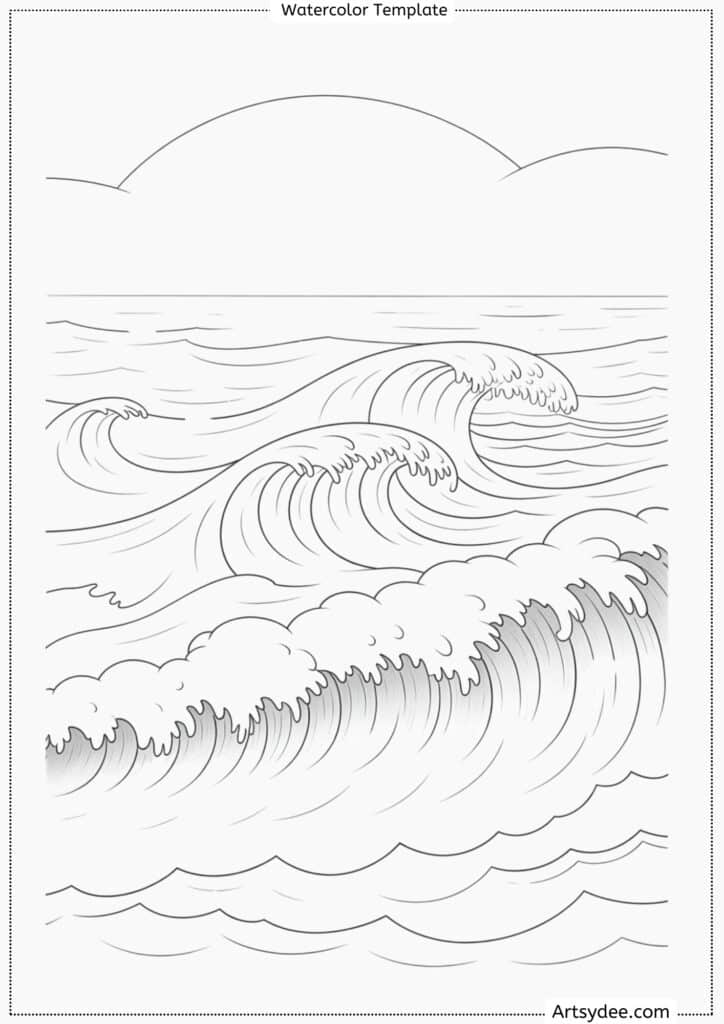
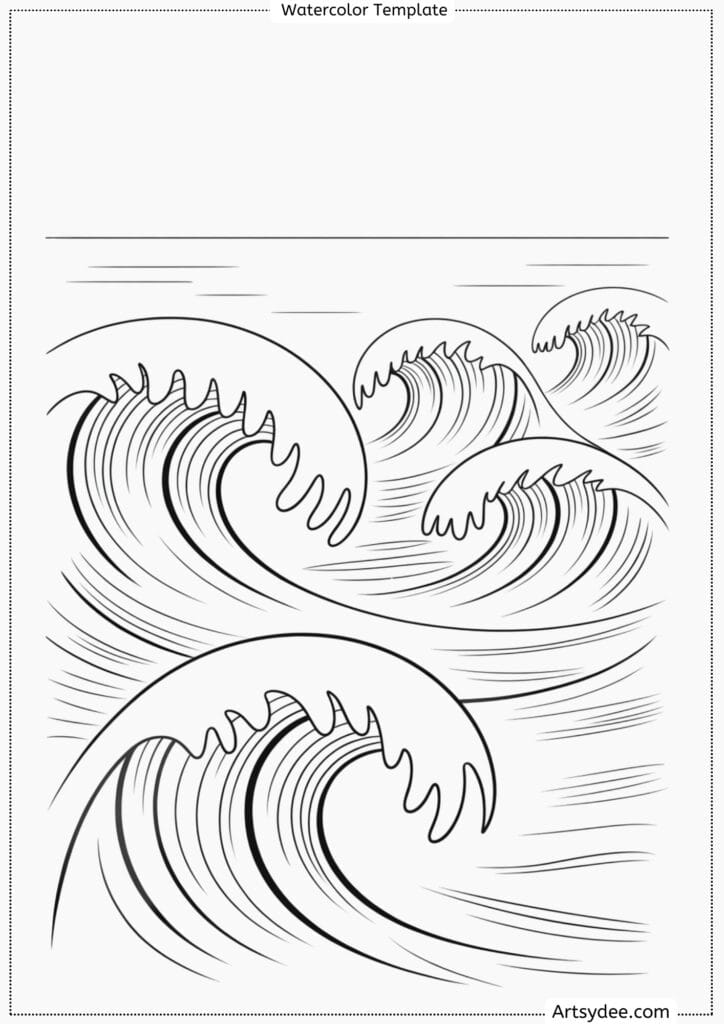
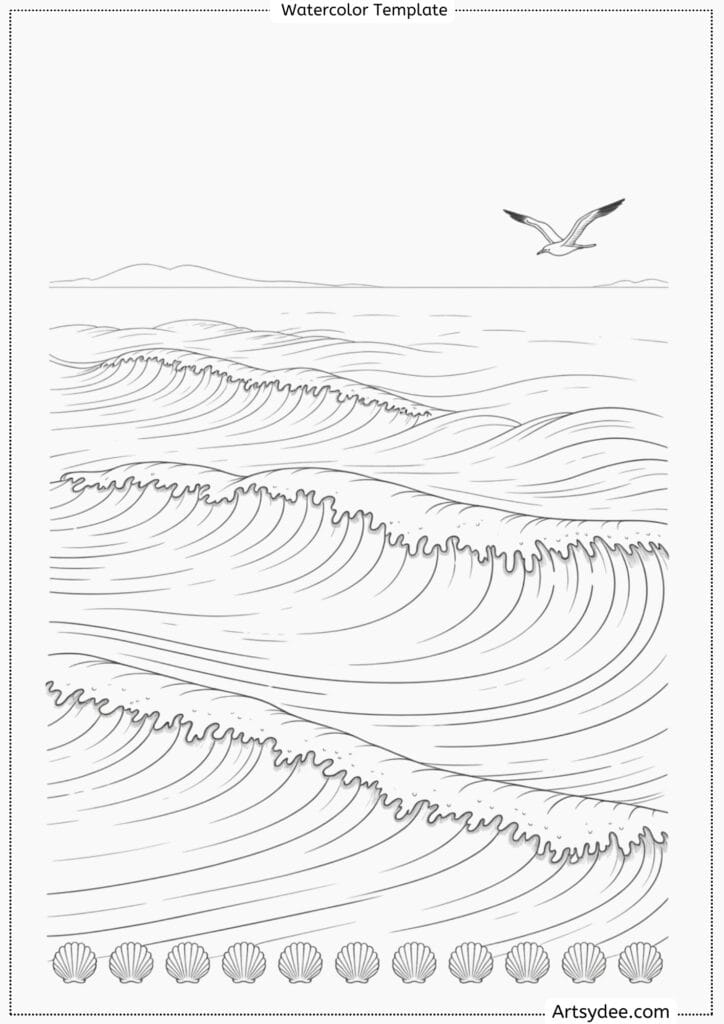
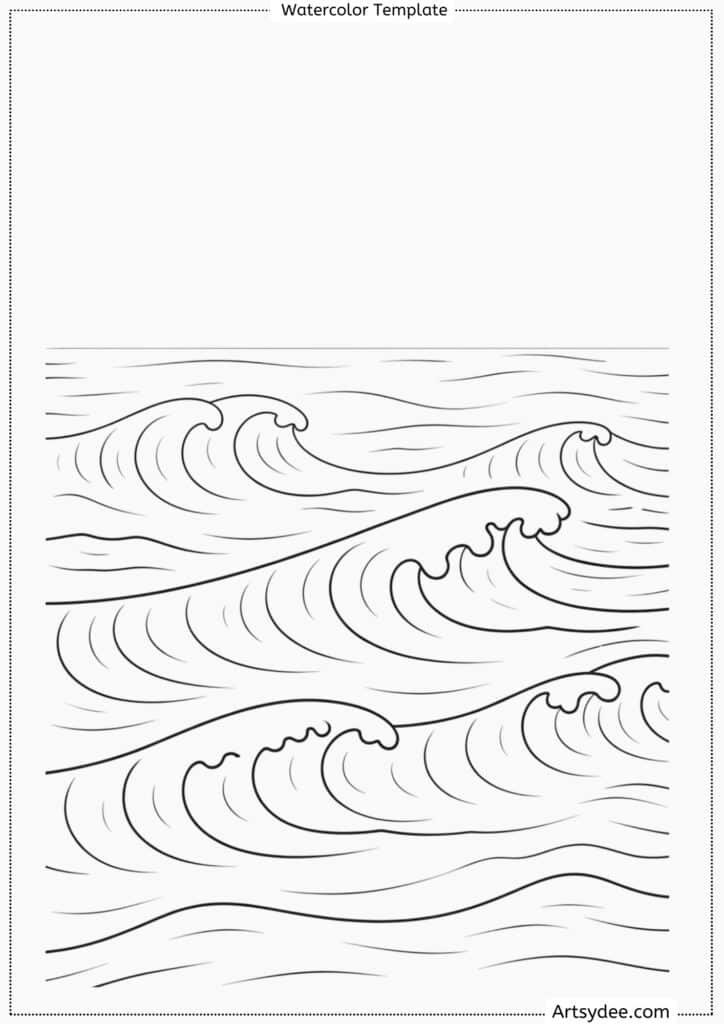
- 🌊 Ocean Waves – rolling waves with foam detail.


Watercolor Painting Supplies To Get Started!
This is my go-to list of recommended watercolor painting supplies that we use for all our watercolor art, junk journaling, and art journaling!
**This page may contain affiliate links to products I have used or recommend. If you purchase something from this page, I may receive a small percentage of the sale at no extra cost to you.**
- Watercolors: Windsor & Newton is a reputable brand that offers high-quality watercolor paints. You can choose from their range of professional-grade watercolor tubes or pans, depending on your preference.
- Watercolor Paper: Look for cold-pressed, 140lb (300gsm) watercolor paper for the best results. This type of paper is durable and has a nice texture that’s ideal for watercolor painting.
- Brushes: A selection of round and flat brushes in various sizes will give you the versatility you need for different strokes and details. Sable or synthetic brushes designed for watercolor will give you the best performance.
- Palette: A mixing palette with wells for both mixing and holding your paints is essential. It can be a simple plastic one or a porcelain palette for a more luxurious feel.
- Water Container: Any clean jar or container will do, but having two for clean and dirty water can help keep your colors pure.
- Masking Fluid: This is used to cover areas of your painting that you want to keep white. Make sure to apply it with an old brush or a dedicated masking fluid brush, as it can ruin fine bristles.
- Pencils: A soft pencil, like a 2B, is great for sketching your design before painting.
- Eraser: A kneaded eraser is gentle on watercolor paper and can lift pencil lines without damaging the surface.
- Paper Towels or a Rag: These are useful for blotting your brush to control the amount of water and paint.
- Board: If you’re using watercolor paper from a pad or sheets, you might want to tape your paper down to a board to prevent warping.
This post contains affiliate links, which means I may earn a small commission if you make a purchase through these links at no extra cost to you. I only recommend products I genuinely use and love in my own art practice. Your support helps me keep creating free content and tutorials for the art community. Thank you!
10 Beginner Watercolor Ideas for DIY Watercolor Art
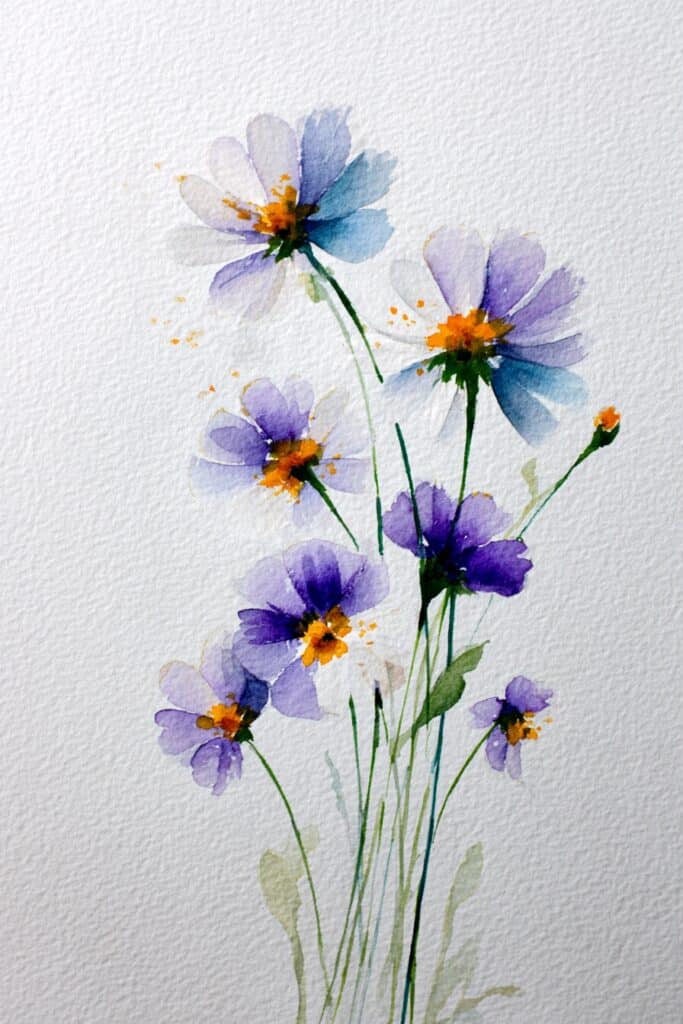
1) Simple Flowers
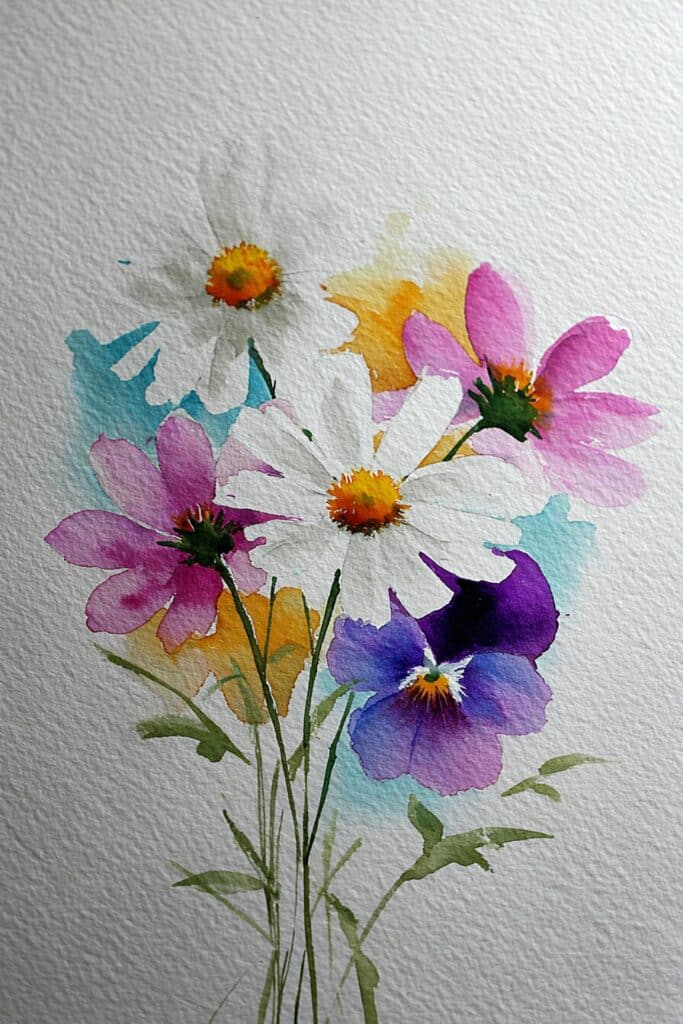
You can start watercolor practice by painting basic flowers.
Flowers are a common subject because their shapes are easy to simplify and paint with loose brush strokes.
This makes them less intimidating than complex objects.
Begin with round petals, such as daisies or pansies.
Use light washes for the first layer, then add darker tones to suggest depth.
Keeping your strokes loose helps the petals look natural rather than stiff.
If you want step-by-step guidance, you can follow tutorials that show how to paint flowers like tulips, roses, or lavender.
For example, these easy watercolor flower painting ideas give you a wide range of simple designs to try.
Practice layering colors to create soft blends.
Let each layer dry before adding details, such as the flower’s center or small lines on the petals.
This prevents muddy colors and gives your painting a clean look.
You can also experiment with different brush sizes.
A round brush works well for petals, while a fine brush helps with stems and small details.
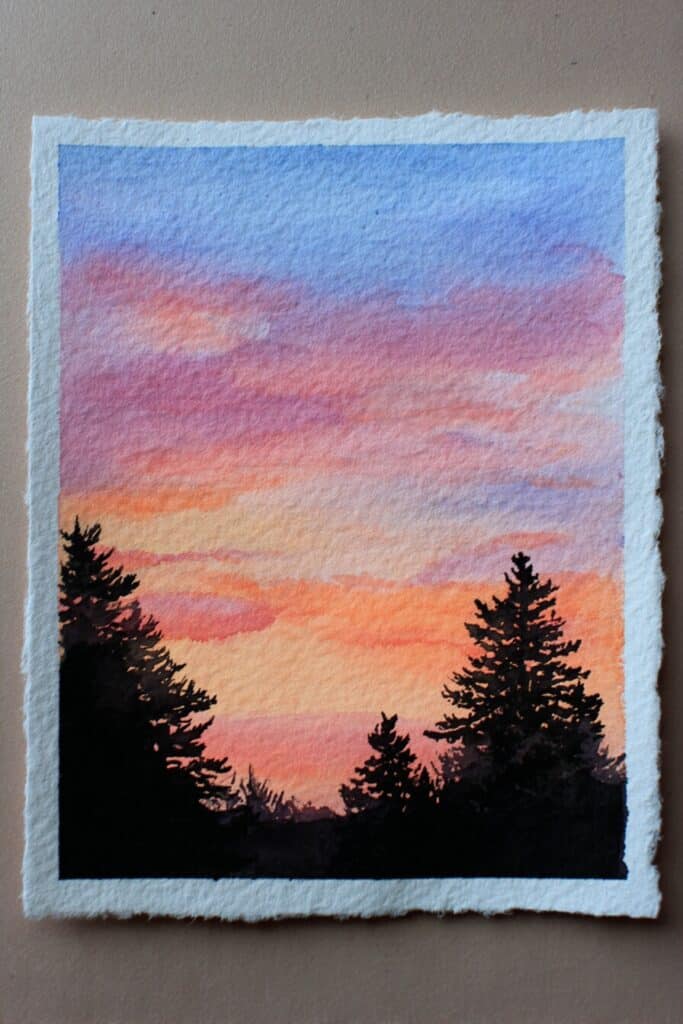
2) Sunset landscape
A sunset landscape is a simple and rewarding subject for watercolor practice.
You can focus on blending warm shades like orange, pink, and yellow with cooler tones such as blue or purple.
This helps you build control over smooth color transitions.
Start by using the wet-on-wet method to create a soft sky.
Lay down clean water on the paper, then add your colors while the surface is still damp.
The pigments will flow together and form natural gradients without harsh edges.
Add darker tones near the horizon to suggest depth.
You can also place a light wash of water at the bottom for reflections if you want to suggest water.
Small silhouettes of trees or hills can make the scene feel complete.
If you want step-by-step guidance, try a beginner watercolor sunset tutorial that walks you through each stage.
For more inspiration, you can explore sunset painting ideas that show different color combinations and approaches.
3) Colorful abstract shapes
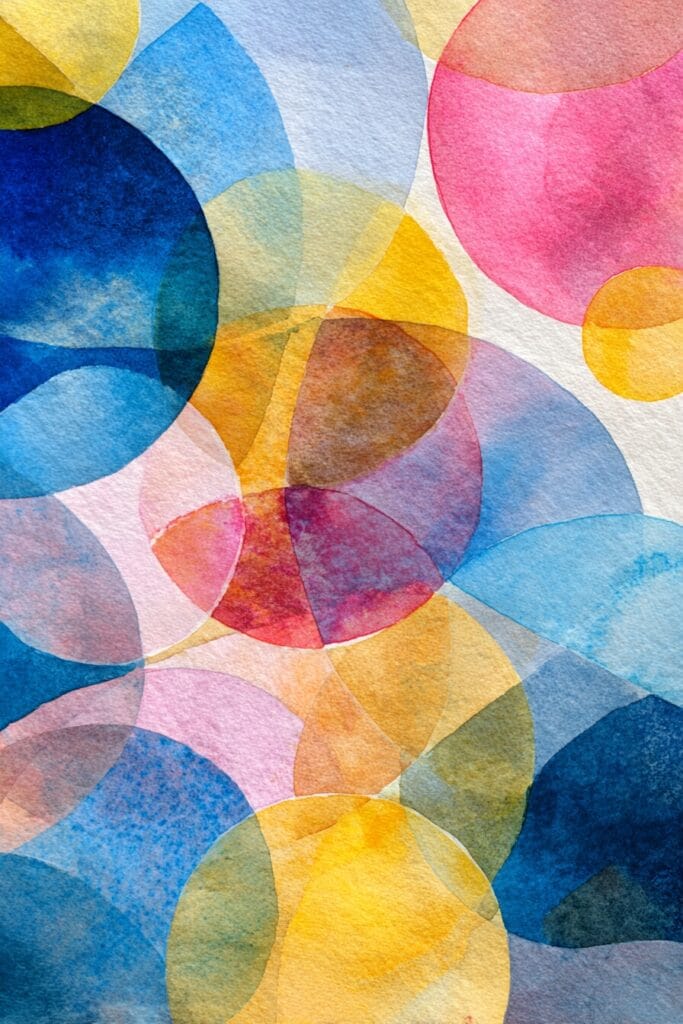
You can create abstract shapes by focusing on color, form, and movement instead of painting a realistic subject.
This approach lets you play with overlapping washes, soft edges, and bold color choices.
Start with simple shapes like circles, triangles, or loose curves.
Let the paint flow naturally and allow colors to blend on the paper.
This creates interesting textures and gradients without much effort.
Try limiting your palette to two or three colors at first.
A smaller selection helps you see how shades mix and keeps your painting balanced.
For inspiration, you can explore easy abstract watercolor painting ideas designed for beginners.
Experiment with layering.
Once the first layer dries, add new shapes on top to build depth.
This technique adds variety and makes your piece feel more complete.
If you want more guidance, you can look at simple abstract watercolor tutorials that explain how to use shapes and patterns instead of focusing on realistic details.
4) Cute animal portraits
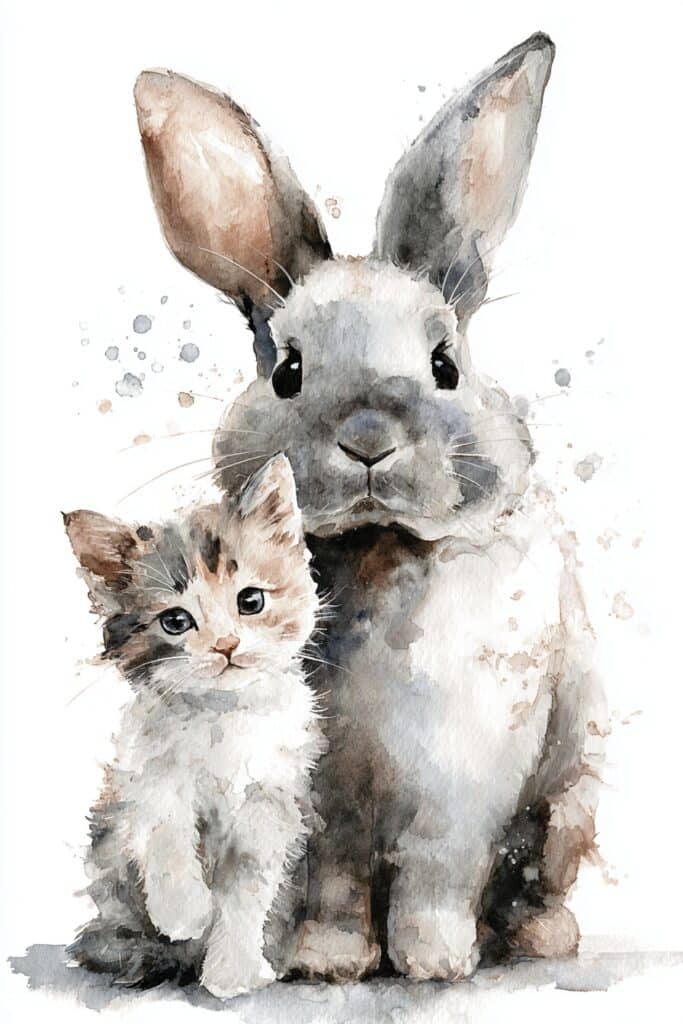
You can practice watercolor skills by painting simple animal portraits.
Start with animals that have clear shapes, like cats, dogs, or rabbits.
Their basic outlines make them easier to sketch before adding color.
Focus on soft washes to build up fur texture.
Light layers help you create depth without making the painting look heavy.
Small details, such as eyes or whiskers, can be added last with a fine brush.
If you need inspiration, you can find step-by-step guides for beginner animal watercolor paintings.
These tutorials often show you how to break animals into basic forms, which makes the process less overwhelming.
You can also explore collections of easy watercolor animal ideas for more practice.
Many of these examples focus on friendly, approachable animals that work well for beginners.
5) City skyline silhouette

You can create a city skyline silhouette by painting a simple wash for the sky and then layering dark building shapes on top.
This contrast between light and dark makes the skyline stand out clearly.
Start with a wet-on-wet wash to paint the background sky.
Blend colors like blue, pink, or orange to suggest different times of day.
Let the sky dry fully before adding the buildings.
Use a flat brush or fine liner brush to paint the city shapes in a solid dark tone.
Keep the edges sharp so the buildings look crisp against the sky.
If you want extra detail, add windows or lights with a white gel pen once the paint is dry.
This gives the silhouette more depth without making it too complex.
For inspiration, you can look at beginner-friendly skyline watercolor tutorials or follow a step-by-step city skyline painting guide to see how artists build up the layers.
6) Shooting stars scene
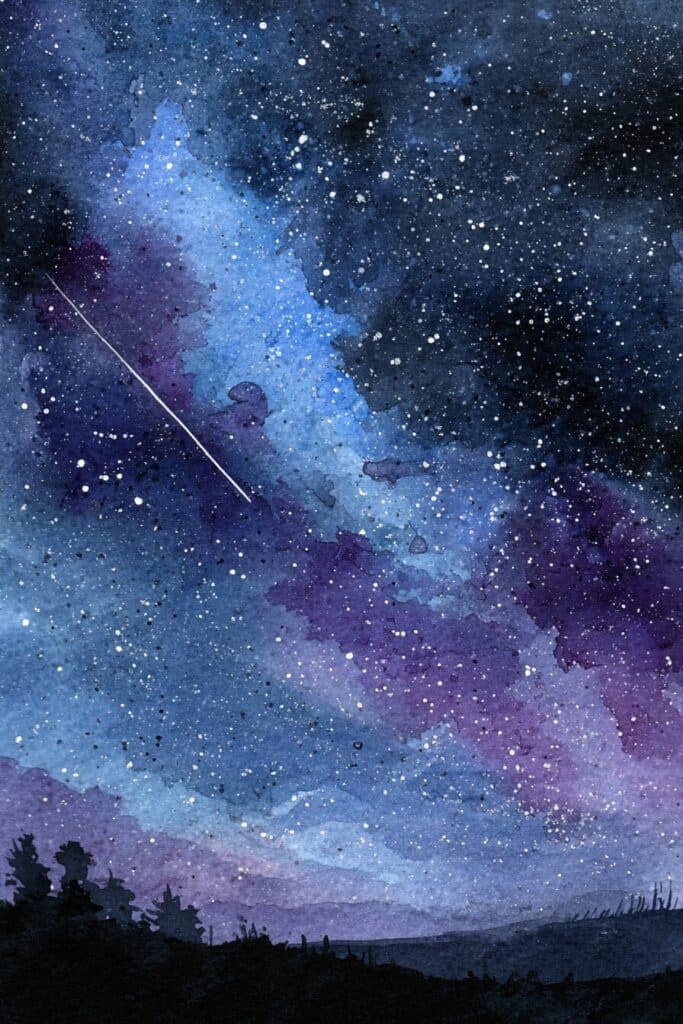
You can create a simple night sky by blending dark blue, purple, and black watercolors.
Keep the colors soft and layered so they blend smoothly into each other.
Let the paper dry slightly before adding details.
To paint stars, use a small brush or even a toothbrush to flick white paint across the sky.
Vary the size of the dots to make the stars look more natural.
Keep some areas denser with stars and others more open.
For shooting stars, drag a thin line of white paint across the sky with a quick stroke.
You can add one or two to keep the scene balanced without overcrowding it.
A few well-placed streaks add movement and focus.
If you want extra depth, add a silhouette of trees or hills at the bottom.
This creates contrast and makes the night sky stand out.
Tutorials like this step-by-step galaxy painting guide can help you practice the technique.
You can also find more inspiration from collections of night sky painting ideas that show different ways to use stars and landscapes together.
These references give you options to adjust the scene to your own style.
7) Tropical leaves cluster
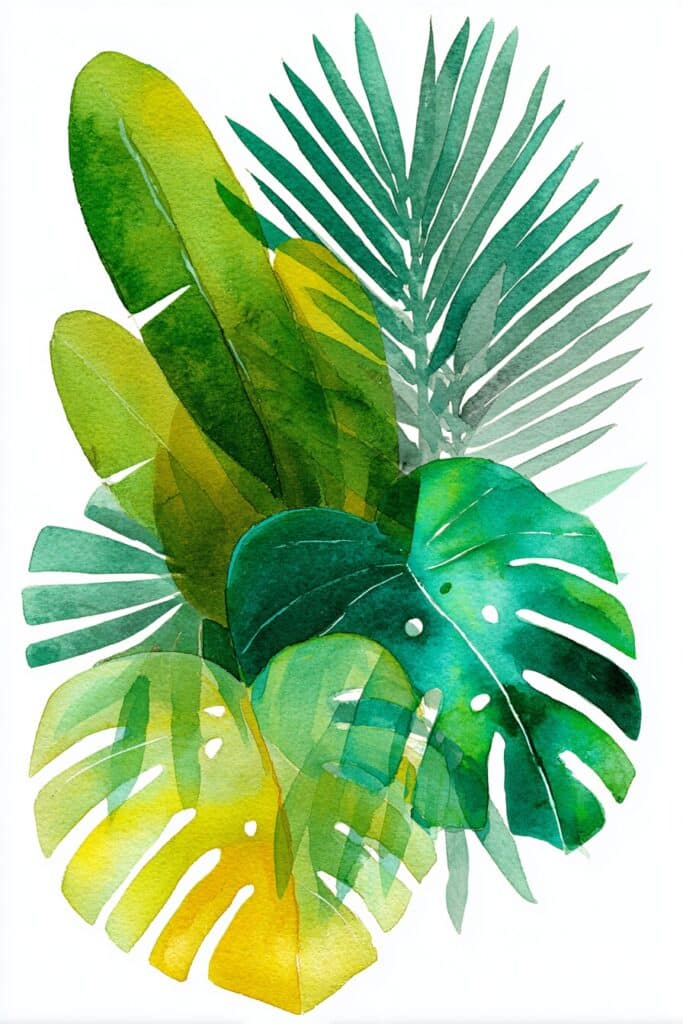
Painting a cluster of tropical leaves helps you practice layering and composition.
Instead of focusing on one leaf, you place several together to create a small arrangement.
This approach teaches you how shapes overlap and how colors interact.
Start with light washes for the base shapes.
Once the first layer dries, add darker tones to suggest depth and shadow.
Keep your brushstrokes loose so the leaves look natural rather than stiff.
You can include a mix of leaf types, such as palm, monstera, or banana leaves.
Tutorials like this tropical leaves watercolor guide show how to combine different shapes into one group.
Mixing varieties makes the cluster more interesting.
Pay attention to direction.
Angle some leaves upward and others outward to avoid a flat look.
Slight variations in green, from bright lime to deep forest, also add contrast.
If you are new to watercolor, try following step-by-step lessons such as easy tropical leaves tutorials.
These guides give you clear brush techniques and color ideas to help your cluster look balanced.
8) Mountain range with sky
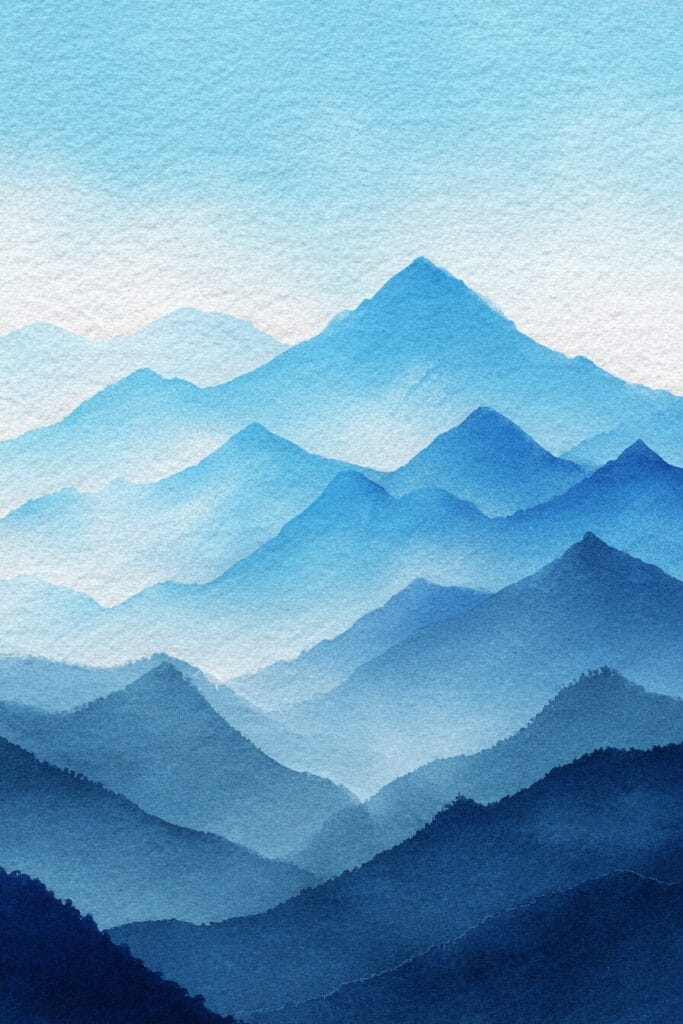
You can create a calm and balanced scene by painting a mountain range with a simple sky.
This subject gives you space to practice layering colors while keeping the shapes loose and natural.
Start with the sky before adding the mountains.
Light washes of blue or soft gradients from warm to cool tones help set the mood.
Let the paper dry so the mountains stay sharp against the background.
When painting the mountains, use lighter shades for distant peaks and darker tones for closer ones.
This technique adds depth and makes the scene feel more realistic.
You can try simple shapes at first and then add detail as you gain confidence.
For extra practice, follow a step-by-step beginner watercolor mountain tutorial.
You can also find inspiration in collections of mountain watercolor ideas that show different color schemes and styles.
Experiment with blending edges where the sky meets the peaks.
Soft transitions can create a misty look, while crisp lines give a clearer, bolder effect.
Both approaches work well and let you explore different moods in your painting.
9) Fruit bowl still life
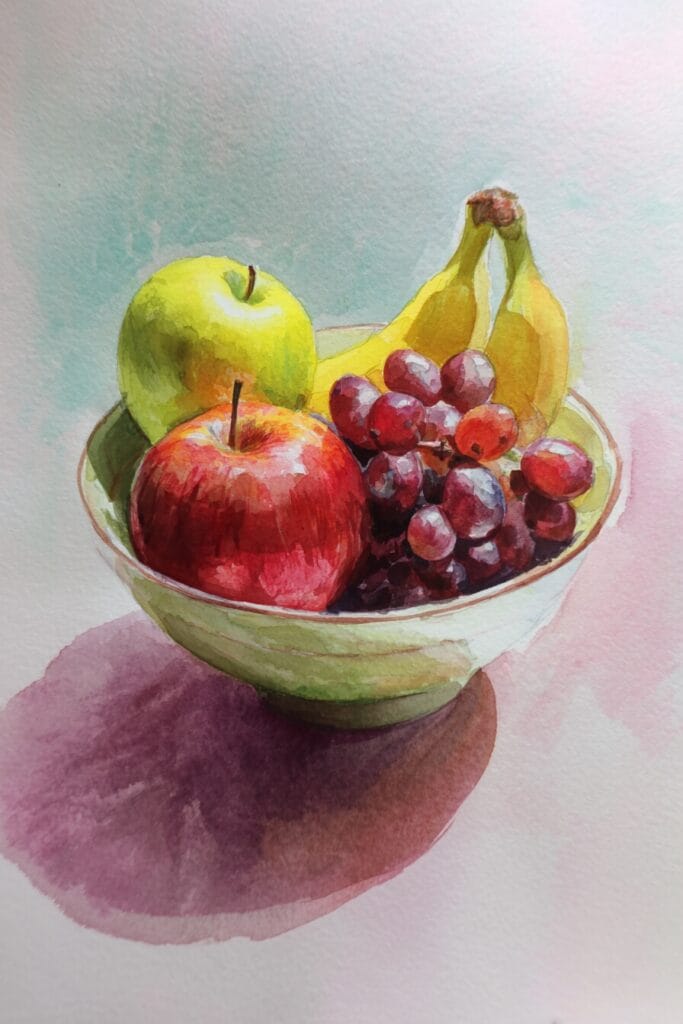
Painting a fruit bowl helps you practice shapes, colors, and shading in one project. You can arrange simple fruits like apples, bananas, or grapes in a bowl and use them as your subject.
This exercise teaches you how to balance objects in a composition. Start by sketching the outline of the bowl and fruit with light pencil marks.
Keep the shapes simple so you can focus on painting. Pay attention to how each fruit overlaps and how the bowl curves.
When you add watercolor, begin with light washes of color. Layer more pigment gradually to show depth and roundness.
For example, you might use a pale yellow base for a lemon before adding darker tones. You can find step-by-step guidance in tutorials like this fruit bowl watercolor painting for beginners.
These lessons show you how to build up color and detail at a steady pace. If you want more variety, try painting a mix of fruits with different textures.
A shiny apple, a rough pineapple, or soft grapes each require slightly different brushwork. This helps you practice observation while keeping the subject interesting.
10) Ocean waves with foam
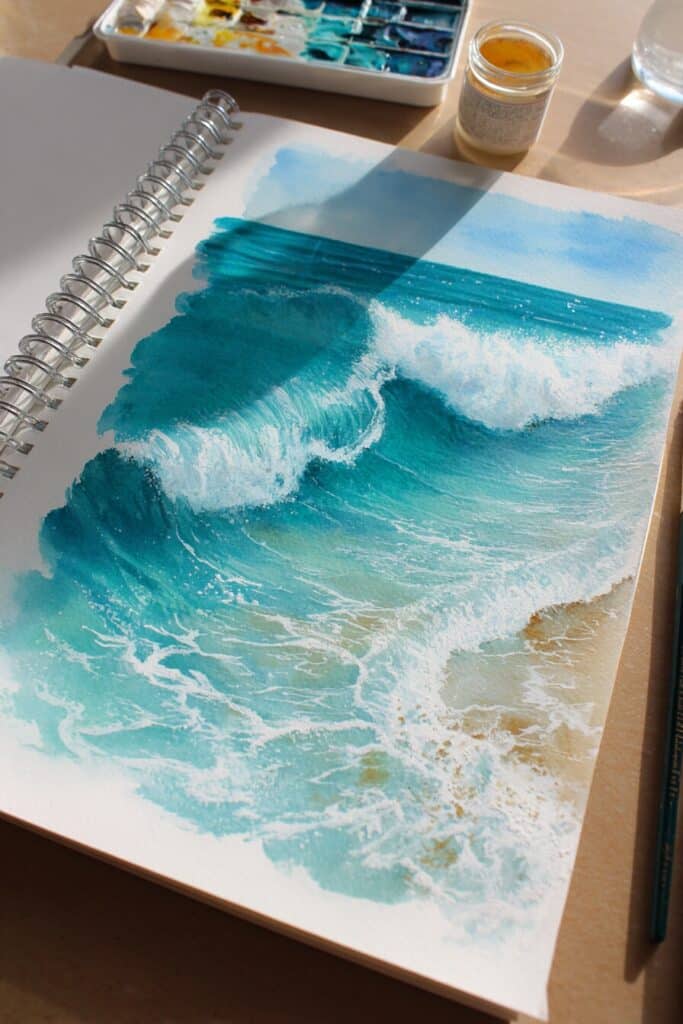
You can practice painting ocean waves with foam to improve your brush control and water management. Start with a light wash of blue or turquoise for the base layer of the sea.
Let it dry slightly before adding darker tones to suggest depth and movement. Use a dry brush or lifting technique to create the look of white foam on the surface.
By gently blotting or lifting paint, you can form natural-looking wave crests. This helps you capture the lightness and texture of sea spray without overworking the paper.
If you want a step-by-step guide, you can follow this realistic beach waves watercolor tutorial that shows how to build up foam, shadows, and splashes.
Another helpful option is this beginner video on painting sea foam, which demonstrates brush techniques in real time. Keep your strokes loose and avoid too much detail.
Waves look more natural when you suggest motion rather than outline every part. Focus on layering light and dark values, and let the white of the paper act as the brightest highlights.
Pin this for later!
Essential Watercolor Techniques
You need to control water, paint, and timing to create strong watercolor paintings. Paying attention to how colors blend, how layers build up, and how pigments interact will help you improve faster.
Wet-on-Wet vs. Wet-on-Dry
Wet-on-wet means you apply paint to damp paper. This makes colors flow and spread softly, creating blurred edges and natural blends.
It works well for skies, backgrounds, and areas where you want smooth transitions. Wet-on-dry is when you paint on dry paper.
This gives you sharper edges, more control, and cleaner shapes. It is useful for details, defined lines, and layering without colors bleeding into each other.
Key differences:
| Technique | Effect | Best For |
|---|---|---|
| Wet-on-Wet | Soft edges, blended colors | Backgrounds, skies |
| Wet-on-Dry | Crisp edges, controlled shapes | Details, defined forms |
Practice switching between these two methods in one painting to balance soft washes with sharp details.
Layering and Glazing Basics
Layering, also called glazing, means applying thin washes of color on top of dry layers. Each layer should be transparent so the colors beneath can show through.
This builds depth and richer tones without muddying the paint. You need patience because each layer must dry fully before adding another.
Try starting with lighter washes and working toward darker tones. For example, paint a pale yellow base, let it dry, then glaze with a thin red to create a glowing orange.
This method gives you more control than mixing all the colors on your palette.
Color Mixing Tips
Watercolor paints often look different on paper than in the palette. Testing mixes on scrap paper helps you see the true result.
Keep a small chart of your mixes to use as a guide. Use the primary colors—red, blue, and yellow—to create secondary colors.
For example:
- Blue + Yellow = Green
- Red + Blue = Purple
- Red + Yellow = Orange
To mute a color, mix it with its complement. For example, add a little red to green to make a natural earthy tone.
This helps create shadows and more realistic effects. For beginners, it’s better to mix fewer pigments at once.
Too many colors can turn muddy. A simple palette with careful mixing often looks cleaner and brighter than overcomplicated blends.
You can learn more about beginner-friendly watercolor techniques to help guide your practice.
Common Mistakes Beginners Make
When you start painting with watercolor, small habits can affect the final look of your work. Problems like damaging the paper surface, flooding the page, or rushing the drying process often lead to muddy colors and uneven textures.
Overworking the Paper
You may feel tempted to keep brushing over the same spot to fix mistakes or add more detail. This often causes the paper fibers to break down, leaving rough patches that won’t hold paint well.
Once the surface is damaged, colors sink in unevenly and textures look blotchy. To prevent this, use light layers and let each wash dry before adding more.
Instead of scrubbing, blot with a tissue or lift paint gently with a damp brush. Choosing high-quality watercolor paper also helps because it is designed to handle more layering without tearing.
Using Too Much Water
Water control is one of the hardest skills to learn. Adding too much water can cause paint to spread uncontrollably, leaving puddles and backruns.
Colors may also look pale or washed out when the pigment becomes too diluted. A simple way to manage this is to test your brush on scrap paper before touching the painting.
If the brush drips, tap it on a paper towel first. Work with a balance of water and pigment so your strokes stay clear and intentional.
You can also tilt the paper slightly to guide the flow instead of letting water pool in one area. Practicing wet-on-wet and wet-on-dry techniques will help you understand how much water is needed for different effects.
Ignoring Drying Times
Rushing to add more paint before the first layer dries often leads to muddy colors. Wet layers blend together in ways you may not want, and edges lose their sharpness.
This can make details like leaves, petals, or shadows appear blurred. Patience is key.
Give each layer time to dry completely before painting over it. Use a hair dryer on a low, cool setting if you want to speed up the process.
You should also plan your painting in stages. Work on one area while another dries.
This keeps your colors clean and helps you build depth without smudging. Learning to respect drying times is one of the fastest ways to improve your watercolor results.
Grab the Free Beginner-Friendly Watercolor Templates HERE (below)!
Every freebie and tutorial on Artsydee is made with love (and plenty of coffee!) ☕ If you’d like to say thanks, you can buy me a coffee here → ko-fi.com/artsydee
To access the free in-post printables for this post, you’ll just need to create a free account or log in with the Grow.me tool. Then, confirm by email and refresh the page, and ALL my free printables will automatically unlock in every post!
Love These Watercolor Templates? Get Even More Exclusive Creative Goodies on My Patreon! 🎨
If you’re enjoying these free printables, why not join my Artsydee Patreon community? As a member, you’ll gain access to exclusive Procreate tutorials, watercolor lessons, and tons of printables like this one—delivered to you monthly (and sometimes even twice a month!). Plus, you’ll get sneak peeks at upcoming projects and have a say in what content I create next. ✨ Join today and unlock premium resources to take your creativity to the next level!