Last Updated on March 15, 2024 by Dee
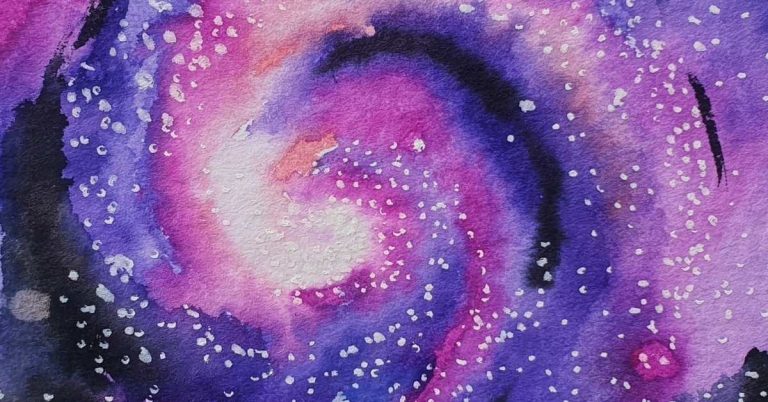
In a galaxy far, far away… there was a creative person who wanted to paint a watercolor galaxy…and that person is you!
If you have seen any of those gorgeous, hypnotizing galaxy paintings that artists have put on the web or Pinterest, then it’s no surprise you want to try out painting one of your own! Perhaps you want to paint a galaxy as a gift for an astronomer friend, or maybe for a school project, a birthday card or even as a page in your art journal???
[Related Article: Let’s Explore Steampunk Art!]
As magnificent as stellar constellations, nebula’s, black holes and spiral galaxies are when you look at them in real life (through a telescope, or in photos from the Hubble) it can be a daunting task to actually paint one! So… this is where I have come to help!
This article will give you step-by-step instructions to paint your own watercolor galaxy. I have included 3 different types of galaxies examples that are painted in watercolor paint, and also 4 different galaxy paintings done in watercolor brush pens! Hopefully, this variety of different galaxy ideas gives you a clearer picture of what you can do and how to do it!
So let’s begin…
“Purple Smoke” Galaxy Watercolor Painting
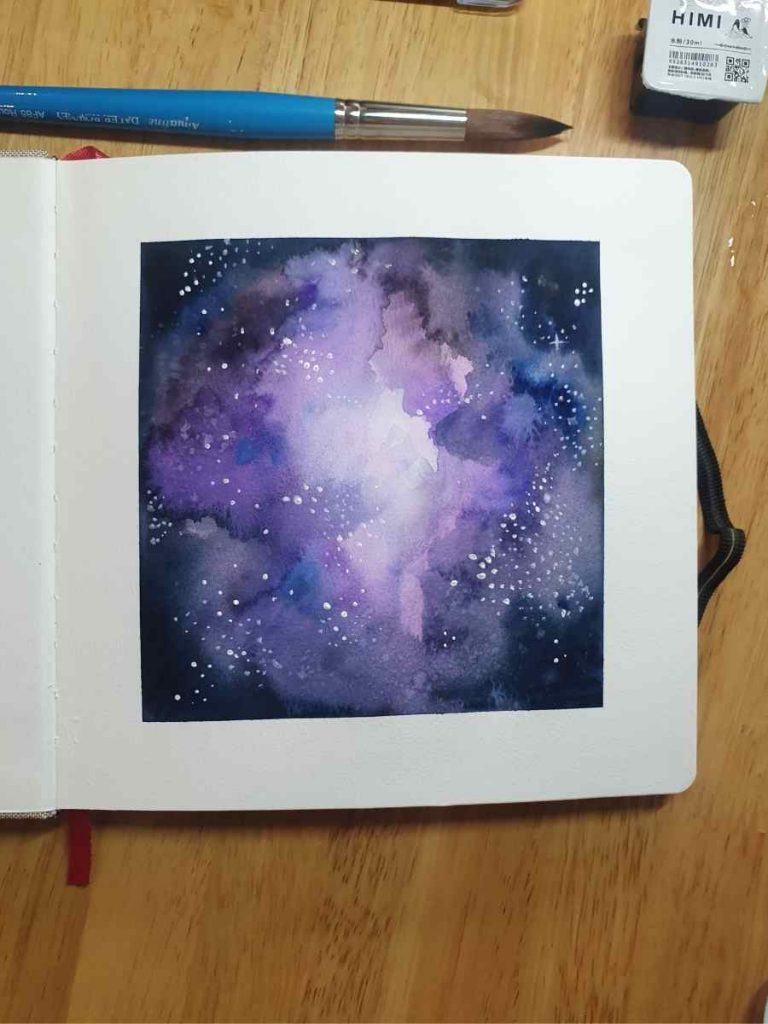
For this watercolor galaxy idea, I made a hyper lapse video so you could see the painting process in action! Sometimes this helps you to have a better idea of how to actually PUT the paint on the paper! I tend to use a lot of water, but find that at times I need to let it dry in between layers so that the watercolor pigments don’t completely bleed into one another.
Step 1: Put artists masking tape around the edge of your watercolor page.
Step 2: Paint a wash of Dioxazine Purple to define a loose shape of where the lightest area of the watercolor galaxy will be.
Step 3: Paint Cobalt blue into parts of the outer area of the painting. I work with quite a bit of water on my brush so that the colors bleed and blend quickly when I layer the paint. Try not to put too much watercolor pigment on the mid-section of the painting. We want to leave this middle section quite light to create the feeling of a nebula.
Step 4: Mix Paynes Grey with a touch of Lamp Black and some Cobalt Blue. Apply this color to the outer edges of your painting using the wet-on-wet technique. This allows a gentle gradient to form between colors.
Step 5: Before moving on to the next step, it is very important that you allow your painting to completely dry!
Step 6: Water down some white gouache paint to create a watery but opaque mix. Gently tap the paintbrush with your finger to create a sprinkling of white stars on the surface of your watercolor. I also like to go over the sprinkles and apply more white to stars, and add additional stars.
Step 7: Remove artists masking tape! Purple Smoke Galaxy Painting DONE!
“Blue Steel” Galaxy Watercolor Painting
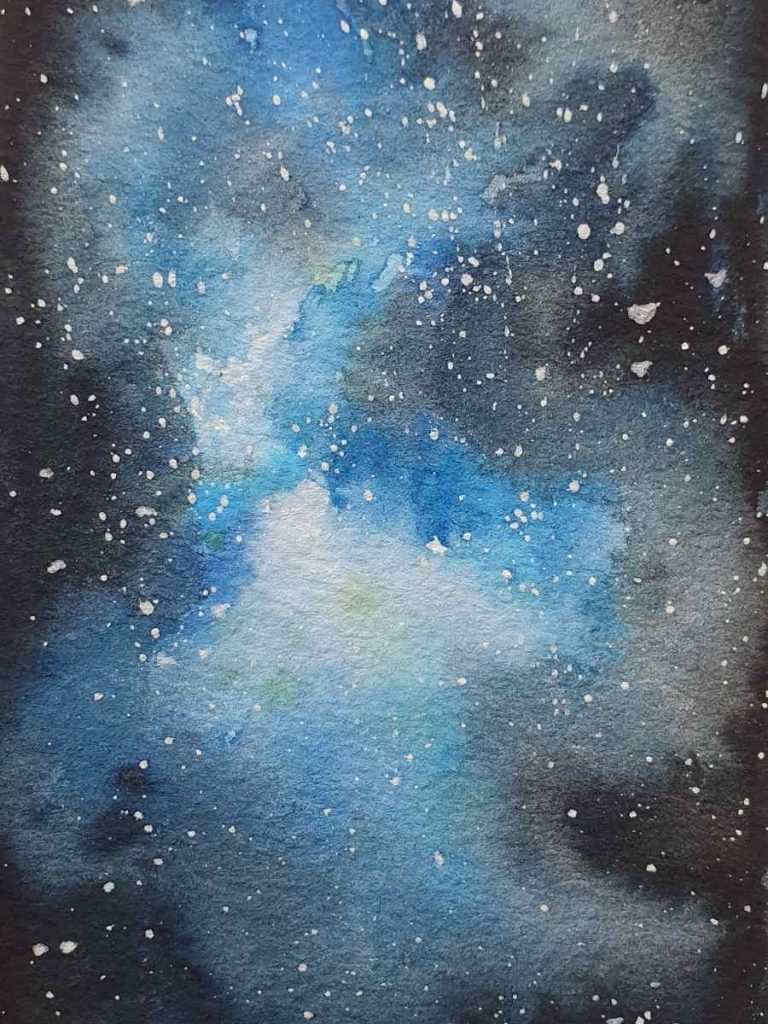


Step 1: Paint a loose wash of Cobalt Blue on your watercolor paper, leaving a lighter area in the mid section of the paper. You can see that I have left a very empty almost ‘x’ shape in the centre of my painitng – this will become the lightest part of my galaxy.
Step 2: Mix Payne Grey with Cobalt blue and start adding this dark color around the edges of the paint. I use the wet-on-wet technique here so that the colors blend and bleed into one another immediately – creating a gentle gradient of color.
Step 3: If you find that your Cobalt blue isn’t strong enough once you have allowed your painting to dry, then you can paint another layer or two of Cobalt blue into the painting to create a more intense effect. I use slow, circular brush movements to allow the Paynes Grey and Cobalt blue to blend into one another gently.
Step 4: Water down some white gouache paint to create a watery but opaque mix. Gently tap the paintbrush with your finger to create a sprinkling of white stars on the surface of your watercolor. I also like to go over the sprinkles and apply more white to stars, and add additional stars.
Step 5: Remove artists masking tape! Blue Steel Galaxy Painting DONE!
“Hot Lava” Galaxy Watercolor Painting
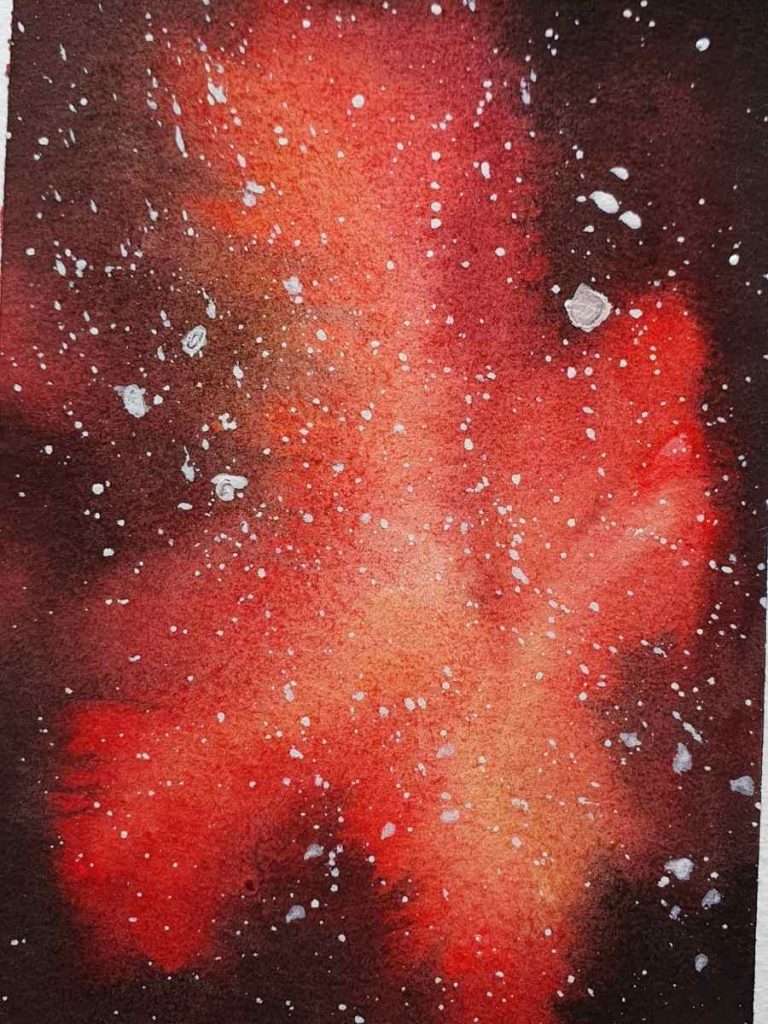

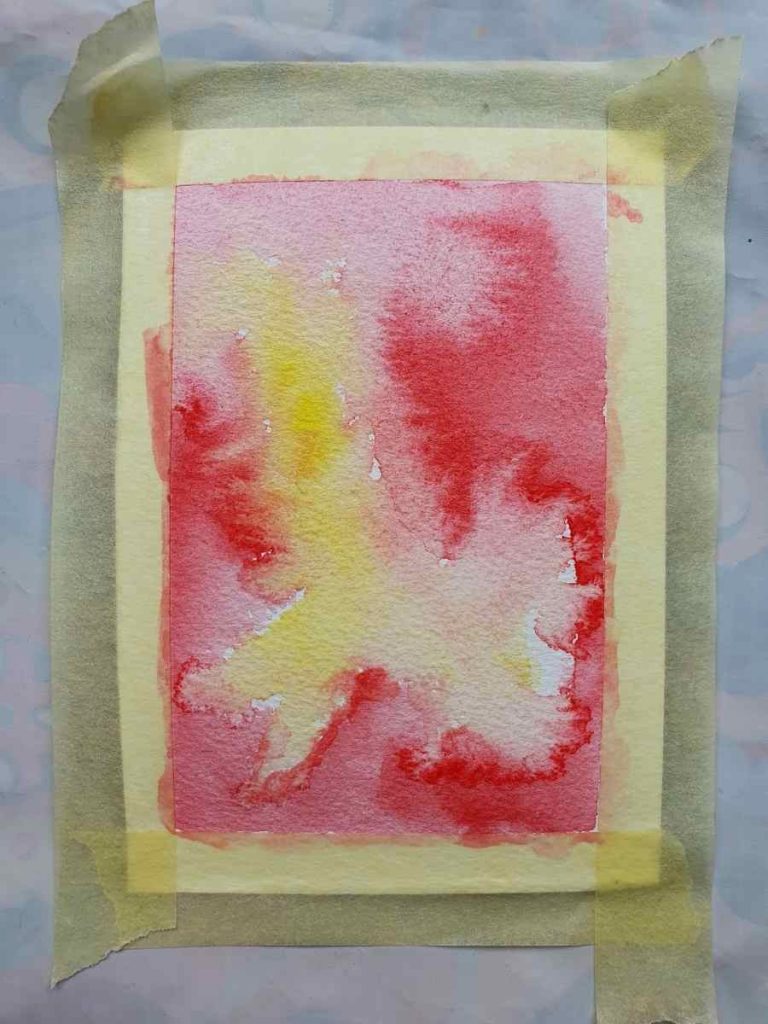
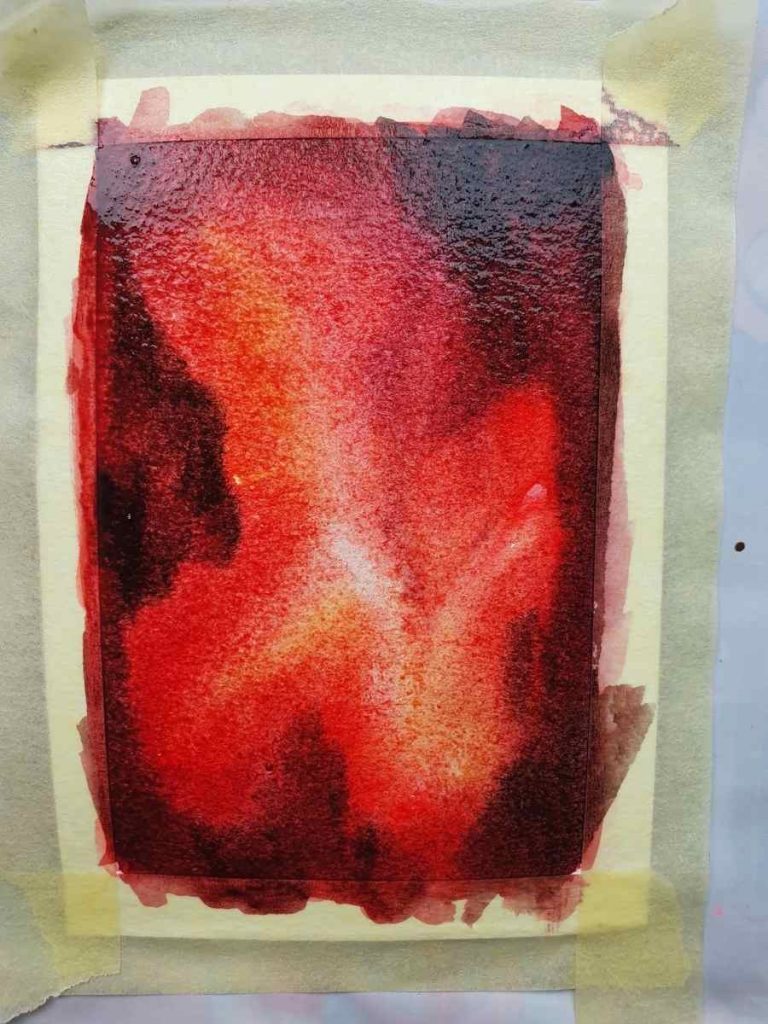

Step 1: Paint a loose wash of Cotman Red Deep Hue on your watercolor paper, leaving a lighter area in the midsection of the paper. You can see that I have left a very empty almost ‘X’ shape in the center of my painitng – this will become the lightest part of my galaxy.
Step 2: Mix Payne Grey with Alizarin Crimson and start adding this dark color around the edges of the paint. I use the wet-on-wet technique here so that the colors blend and bleed into one another immediately – creating a gentle gradient of color.
Step 3: If you find that your Deep Red isn’t strong enough once you have allowed your painting to dry, then you can paint another layer or two of Red into the painting to create a more intense effect. I use slow, circular brush movements to allow the colors to blend into one another gently.
Step 4: Water down some white gouache paint to create a watery but opaque mix. Gently tap the paintbrush with your finger to create a sprinkling of white stars on the surface of your watercolor. I also like to go over the sprinkles and apply more white to stars and add additional stars.
Step 5: Remove artists masking tape! Red Lava Galaxy Painting DONE!
[Related article: Gouache vs Acrylic Paint | What’s the best paint for you?]
Watercolor Brush Pen Galaxy Paintings
I thoroughly enjoy working with watercolor brush pens. They offer the structure of pen drawing, with the fluidity of watercolor. I find the colors to be very bold and bright and it is a lot of fun to blend with them.
It is important to remember that watercolor brush pens are quite a different medium from watercolor paint. They have similar painterly effects ( like bleeding and blooming) but it is more difficult to ‘scrub’ with watercolor brush pens. I also found the pigments of the brush pens continue bleeding into one another much longer than watercolor paint does.
I always recommend playing with your materials and getting a good feel for them before you start your painting project!
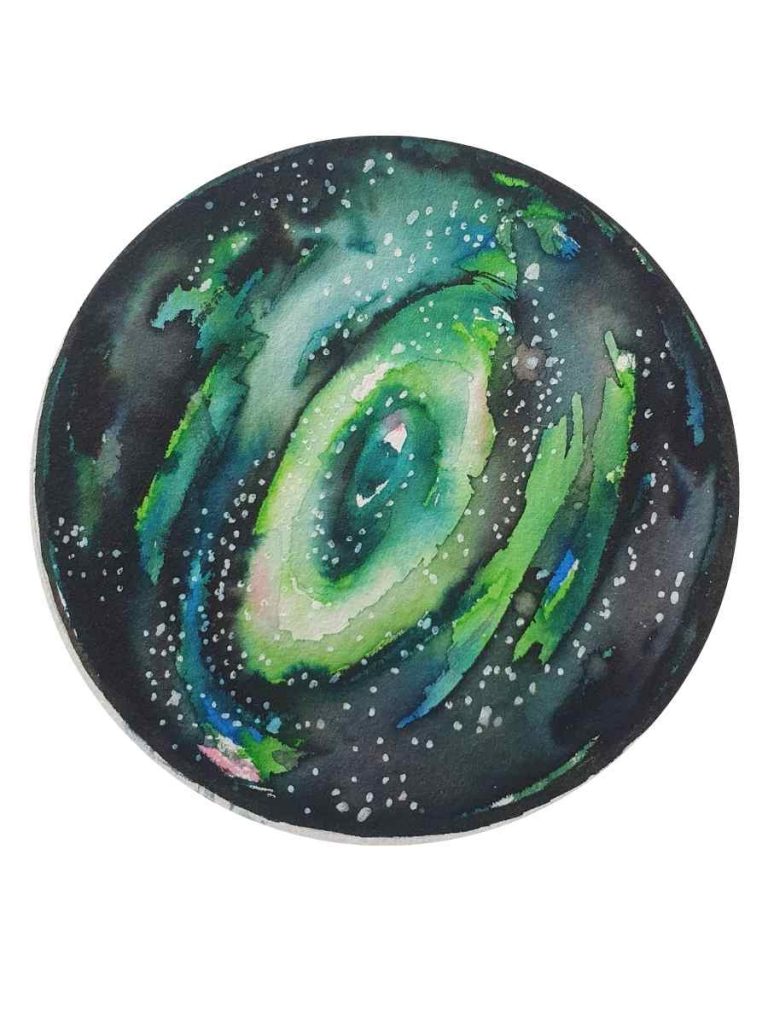
Green Elliptical Galaxy
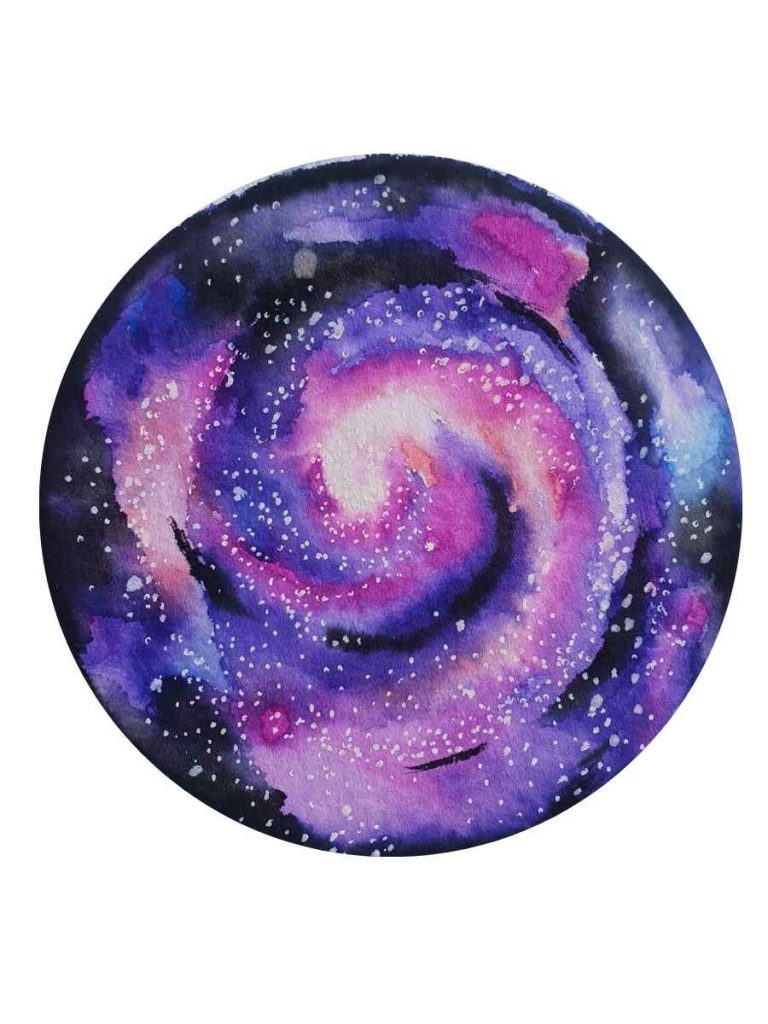
Purple Spiral Galaxy
Red Irregular Galaxy

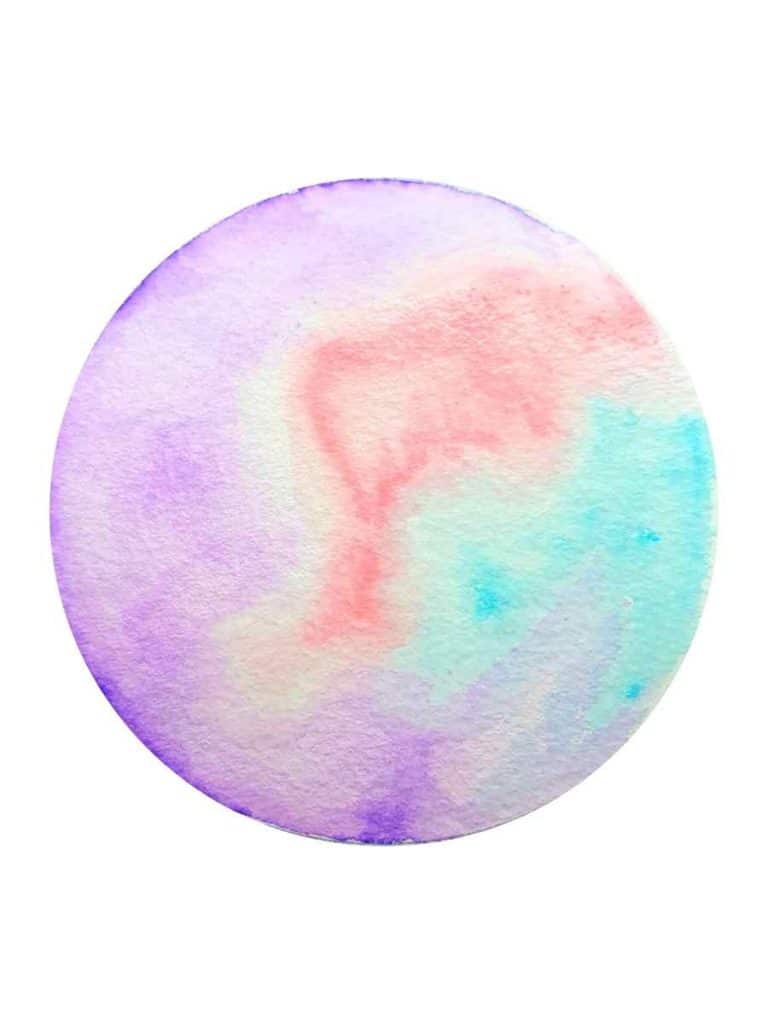
Pastel Irregular Galaxy
Materials Needed to Paint your Own Watercolor Galaxy
**This page may contain affiliate links to products I have used or recommended. If you purchase something from this page, I may receive a small percentage of the sale at no extra cost to you.**
- 300 gsm Watercolor Paper
- Watercolor Paint (I use the Windsor & Newton Cotman Range – a great affordable set for starting out with watercolor painting!)
- Artists Masking Tape
- White Gouache Paint
- Soft Bristle Round Watercolor Brush
- Kitchen Paper Towel (for dabbing excess water off your brush)
- A water container with clean water
- A palette (for easy mixing of colors)
[Related Article: How to Start your Own Art Journal from Scratch!]
Watercolor Painting Tips
- When you first start painting with watercolor, you use a method known as wet-on-dry. Essentially, you do this by dipping your paintbrush into activated, wet watercolor paint and applying it to a dry paper surface. This method offers you more control and it is the basic, standard method used in all painting.
- The second method is called wet-on-wet. This is where you dip your brush into wet, activated watercolor paint and then apply it to a wet paper surface. You can also drip, splatter, or spray the paint onto the wet surface.
- The wet paper surface holds the newly applied pigment and ‘moves’ it along the surface. We call this bleeding or blooming. The watercolor pigments create beautiful shapes or blooms. This process cannot be controlled by the artist and you have to let go and enjoy the results. This can be very exciting!
- Change the water in your water pot regularly so that you don’t accidentally muddy or dirty the colors in your painting.

Conclusion
Painting a watercolor galaxy is such a satisfying process! The step-by-step instructions should give you a good idea of how to paint your own magical watercolor galaxy or brush pen galaxy! Tell me about your latest creative project…
