
Last Updated on July 7, 2026 by Dee
Immerse yourself in the world of art by learning how to paint a cherry blossom watercolor. Cherry blossom watercolors capture the breathtaking beauty of nature, bringing a touch of spring into any home.
With their delicate petals and vibrant colors, these paintings have a timeless charm that can captivate any audience. Whether you’re a beginner or a seasoned artist looking to refine your skills, this step-by-step guide will show you how to create your own cherry blossom watercolor masterpiece.
By the end of this tutorial, you’ll be able to convey the ethereal elegance of cherry blossoms on paper, transforming a blank canvas into a celebration of nature’s beauty.
I absolutely love cherry blossoms for so many reasons and I decided to post my cherry blossom watercolor painting process for anyone who needs some fresh wall art inspiration!
[Related Article: The Best Tutorials for Pen & Ink Watercolor Flowers]
So, how do you paint cherry blossoms in watercolor?
Let’s begin.
Cherry Blossom Watercolor Painting: Step by step
Step 1 – Pencil Drawing of Your Subject Matter
Once you have decided on the size of the paper you will be working on, you can think about your composition and then draw it out in pencil.
I recommend using a 2B lead pencil to first softly sketch out the general shapes of the cherry blossom petals, leaves and the branches to which they are attached. Make sure you are applying only a very light pressure onto the pencil to achieve very light pencil marks on the page.
Once you have sketched the light general shapes, then you can start going over the form again and making changes and alterations to your shapes in order to get your cherry blossoms looking more accurate.
At this stage of the process, you can also add elements like additional leaves, stems or buds to your artwork to complete the composition.
Step 2 – Go over your pencil drawing in pen and ink
For the pen outline, I use two different methods of drawing.
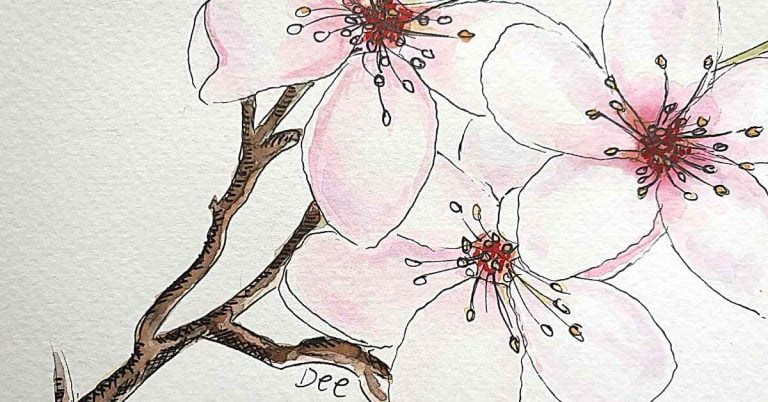
I either use a very solid contour pen line to go over my flowers, or I loosely sketch the shapes of my flowers. In my first cherry blossom example, I loosely sketched the pen and ink over the pencil markings.
When you sketch your subject matter loosely, you leave your shapes open. This creates a lovely whimsical effect which complements the watercolor aesthetic. This method softens your artwork and essentially your pen and ink become the medium which creates shadows and structure.
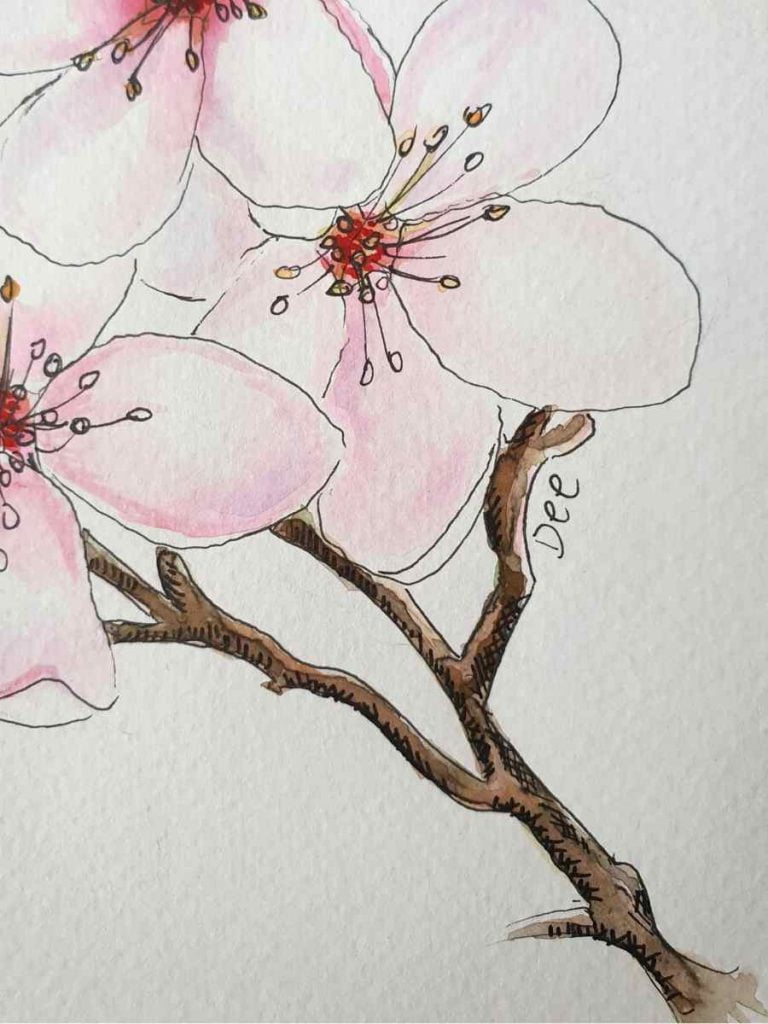
Drawing cherry blossoms with a solid pen and ink outline is also a lovely way to render your artwork. The solid outline helps to give the artwork an almost design-type feeling. The shapes are closed and this sort of illustration can be very effective. It is often used form pattern design and fabric design.
To develop my shadow areas, I use a combination of shading techniques such as cross-hatching, scribbling, hatching, stippling and grading. I find this to be especially effective on the cherry blossom branches.
I like to use Faber Castell Pitt Pens in order to draw my pen outline. Their ink is permanent and then dry vert quickly, which means I can use watercolor over them almost immediately without my ink bleeding.
I find I mostly use the XS pen nib in order to get very fine, sketchy lines. Faber Castell also has a lovely brush pen in their wider set.
Don’t forget to use your kneadable eraser to remove the pencil markings before you start your watercolor. Once your watercolor paint is painted on top of your pencil, it can be almost impossible to erase the pencil.

Step 3 – Start painting washes of your lightest color
As you begin painting with watercolor you will be using a technique called wet on dry. Essentially that means you are putting paint on your paintbrush and then painting directly onto the dry surface of the page. This is a good way to start because you have more control over the areas you are painting color.
Once you have defined your shapes using your initial color you can then work into them using a technique called wet on wet.
Wet on wet is where you paint your watercolor onto a watery surface. The color then blooms and bleeds and creates interesting washes of color. This is less controlled than wet on dry, but I love watching how the watercolor pigment creates gorgeous textures and patterns as it dries.
At this point you need to carefully examine your subject matter and determine what the lightest color of your flower is.
With cherry blossoms, I left a lot of white space in order to give a wonderfully light feeling to the petals. The next lightest color was a very pale pink.
Step 4 – Washes of darker pink over the flowers
Paint washes of darker pink in the centre of the cherry blossom. To mix this color, I used a bit of Permanent Rose with a Cherry Red to get a warmer pink color.

Step 5 – Washes of pink on cherry blossom branches
Using the same warmer pink from the previous step, I painted light washes over the stems and branches of the cherry blossoms.
Step 6 – Final Washes onto Branches
I think used a mixture of sepia and sap green and painted washes over the branches to build up my shadow areas and create a natural, organic color.
Step 7 – Details
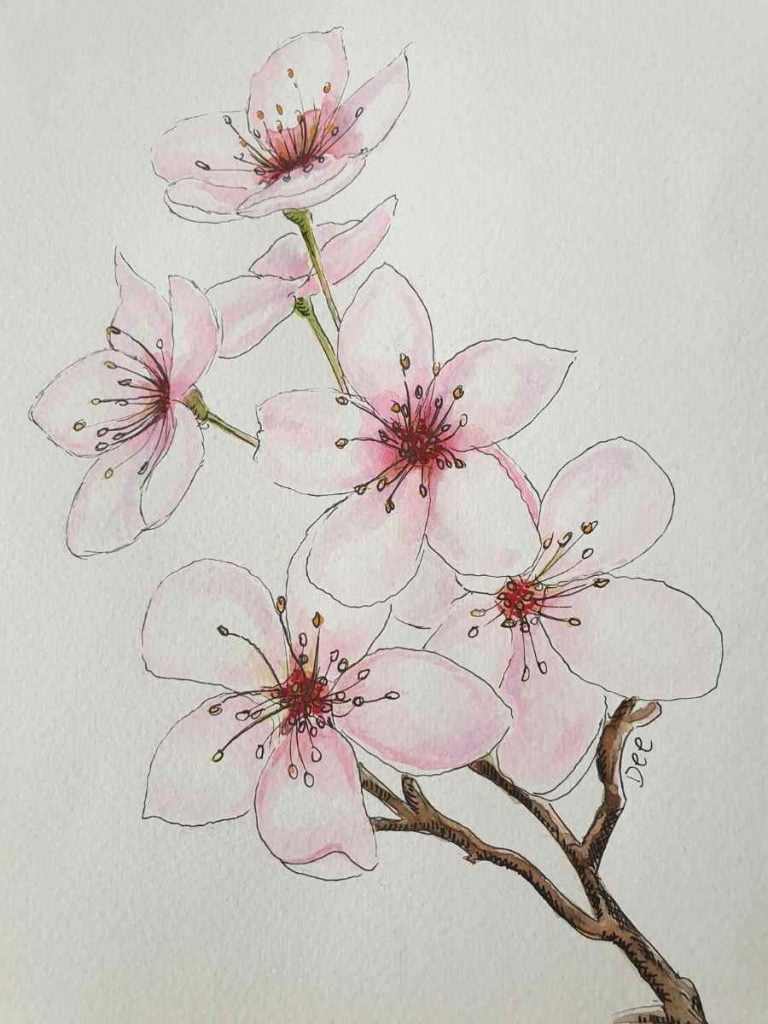
Lastly, go over the small details, adding yellow to the heads of the stamens and some permanent deep red and pink paint to the centre of the flowers.
Remember the following when doing a cherry blossom watercolor painting…
Make sure to use a round, soft bristle brush to compliment the flow of the watercolor paint. It is a good idea to always have a scrap piece of watercolor paper nearby, in order to test out your color combinations and ideas before you put them onto your final piece!
List of materials and supplies needed to paint your own Cherry Blossom Watercolor
- Kitchen paper towel
- Masking Tape
- 2B Pencil
- Kneadable Eraser
- Scrap piece of watercolor paper for testing colors
- 300gsm Watercolor Paper: You need a good-quality, heavy paper that doesn’t buckle.
- Soft Bristle Round or Filbert Brush
- Watercolor pans or tubes. I am currently using the Windsor and Newton Watercolor Pan. The colors are rich and the tray itself is portable and easy to use.
- Faber Castell Pitt Pens
- Sakura White Gel Pens
Further Questions Related to Painting a Cherry Blossom Watercolor:
How do you paint cherry blossoms for beginners?
The step-by-step guideline above will work for both professional and beginner artists. I have given you a comprehensive list of materials and supplies you will need to start the process and if you carefully follow each step, you will be able to complete your own easy cherry blossom painting!
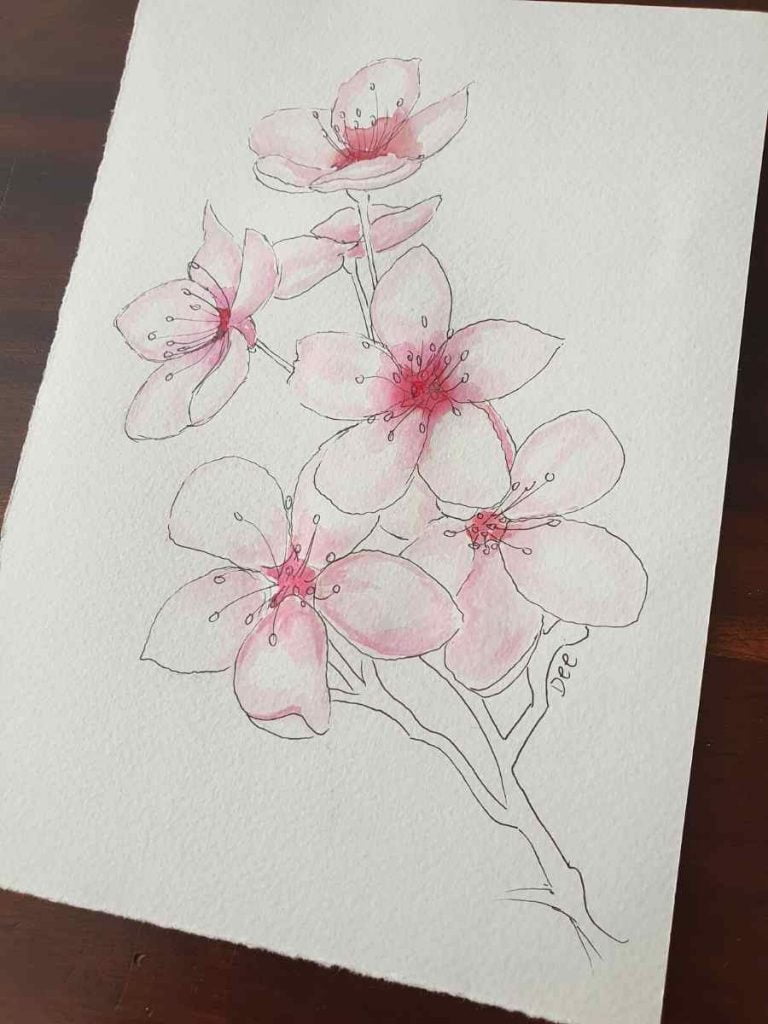
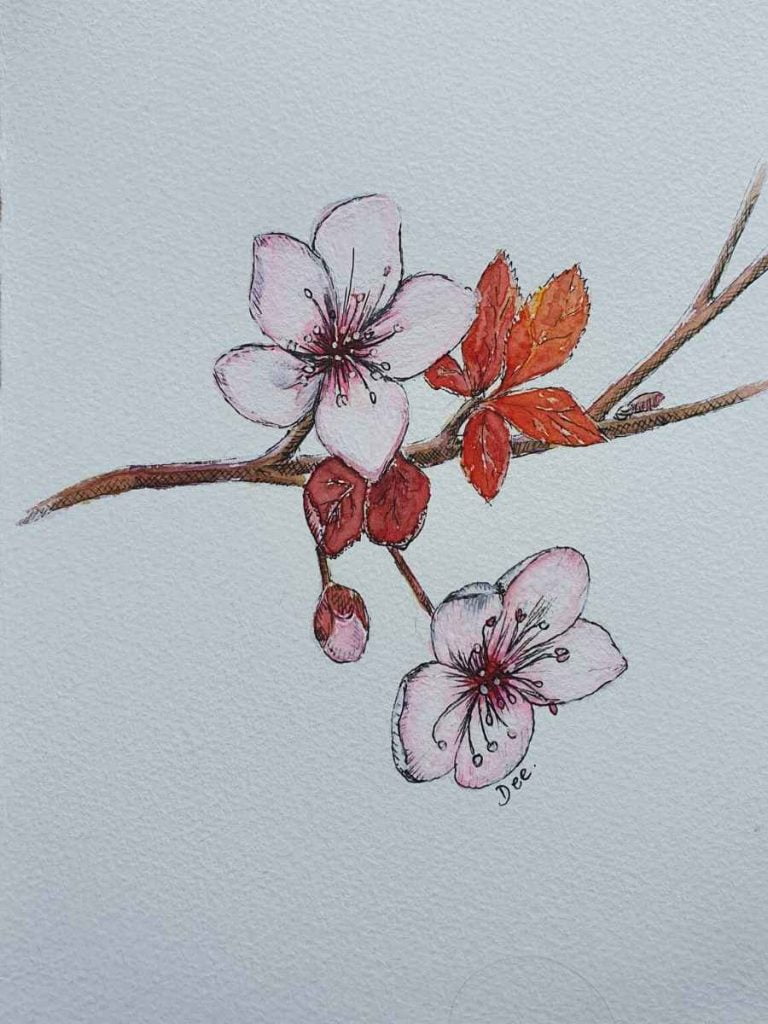
Here is another Cherry Blossom Watercolor I did:
Conclusion
Now that you’ve discovered the techniques and secrets behind painting a cherry blossom watercolor, it’s time to put brush to paper and let your creativity flow. Remember, creating art is a journey of self-expression and there is no right or wrong.
Your cherry blossom watercolor is a reflection of your unique artistic perspective. So, let loose, take your time, and enjoy the process. We can’t wait to see the mesmerizing cherry blossom watercolors you create!
Have a look at some other Pen and Ink Watercolor Flowers Tutorials HERE!
Other articles you may enjoy…
The Best Tape for Watercolor Paper
14 Best Watercolor Brushes for Every Level of Artist
The 11 Best Watercolor Pencils
🎬 Love video tutorials? Subscribe to my YouTube channel for weekly art tutorials and creative inspiration!
Frequently Asked Questions
How do you paint cherry blossoms in watercolour for beginners?
Start with a light 2B pencil sketch of the petals, leaves and branches, then go over it in pen and ink. Paint your lightest washes first — leave plenty of white space and use a pale pink — before building up to darker pinks in the centres. Working light to dark and keeping that white breathing room is what gives cherry blossoms their airy, delicate feel.
What supplies do I need to paint a cherry blossom watercolour?
Nothing elaborate. A basic student-grade watercolour set, cold press paper (140lb/300gsm), and round brushes in a size 6 and a size 10 will see you through. I also reach for a 2B pencil, a kneadable eraser, and Faber Castell Pitt pens for the ink outline — their ink is permanent and dries fast, so watercolour won't make it bleed.
What's the difference between wet-on-dry and wet-on-wet here?
Wet-on-dry means painting onto dry paper, which gives you more control — lovely for defining your shapes first. Wet-on-wet is painting into a damp area so the colour blooms and bleeds on its own. I use wet-on-dry to establish the petals, then wet-on-wet to let those soft, unpredictable washes do their magic.
Which pink do you mix for the blossoms?
For the warmer pink in the centres of the flowers I mix a little Permanent Rose with Cherry Red. Keep the outer petals very pale — almost just tinted water — and save the stronger pink for the middles and the branches, so the flowers still read as light and delicate.
Should I outline in pen before painting?
It's worth it. A pen-and-ink outline gives your blossoms structure and shadow before any colour goes down — go loose and sketchy for a whimsical look, or a solid contour line for a cleaner, design feel. Just rub out your pencil marks with a kneadable eraser first, because watercolour will trap them underneath.