Last Updated on February 13, 2026 by Dee
Painting watercolor flowers is one of the most satisfying things you can do with a brush and a palette of colours. There’s a looseness to floral watercolors that feels forgiving — petals don’t need to be perfect, colours are supposed to bleed and bloom, and happy accidents usually make things better.
I’ve been painting watercolor flowers for years, and they’re still my go-to when I want to relax and make something beautiful without overthinking it. Whether you’re brand new to watercolor or you’ve been painting for a while, flowers are the perfect subject to practise wet-on-wet techniques, colour mixing and brush control.
I’ve put together a free printable pack for you today — grab your 70 Watercolor Flower Templates right after the table of contents!
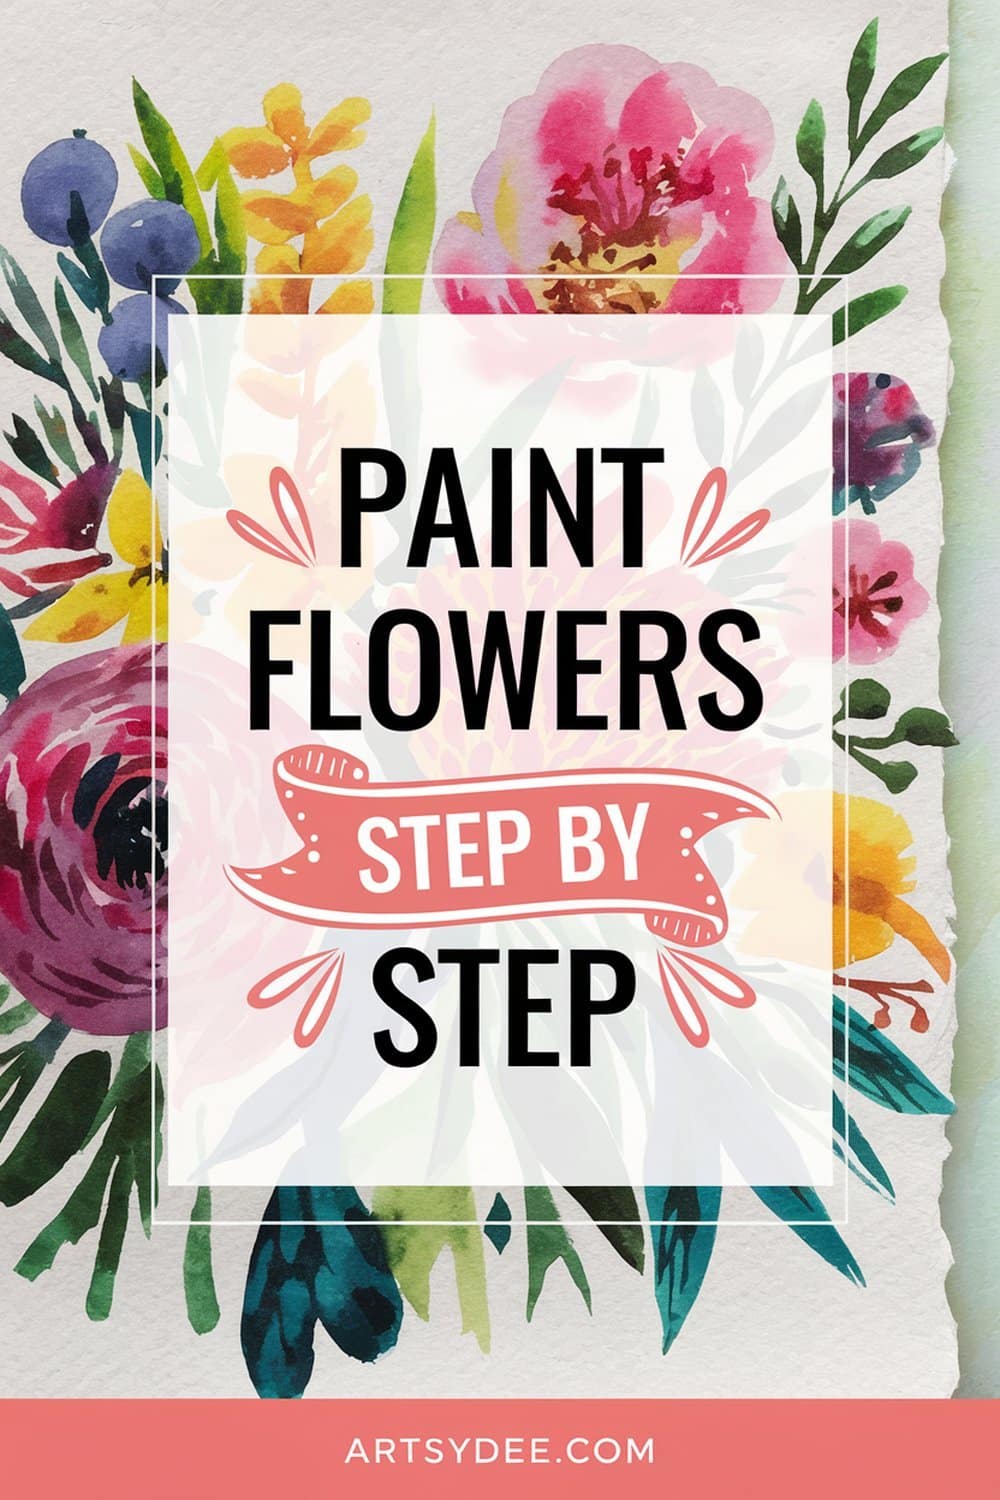
This post walks you through easy watercolor flowers step by step, from simple single-petal blooms to fuller arrangements. Plus there’s that free practice sheet pack waiting for you to print and paint along with.
Table of Contents
Free 70 Watercolor Flower Templates
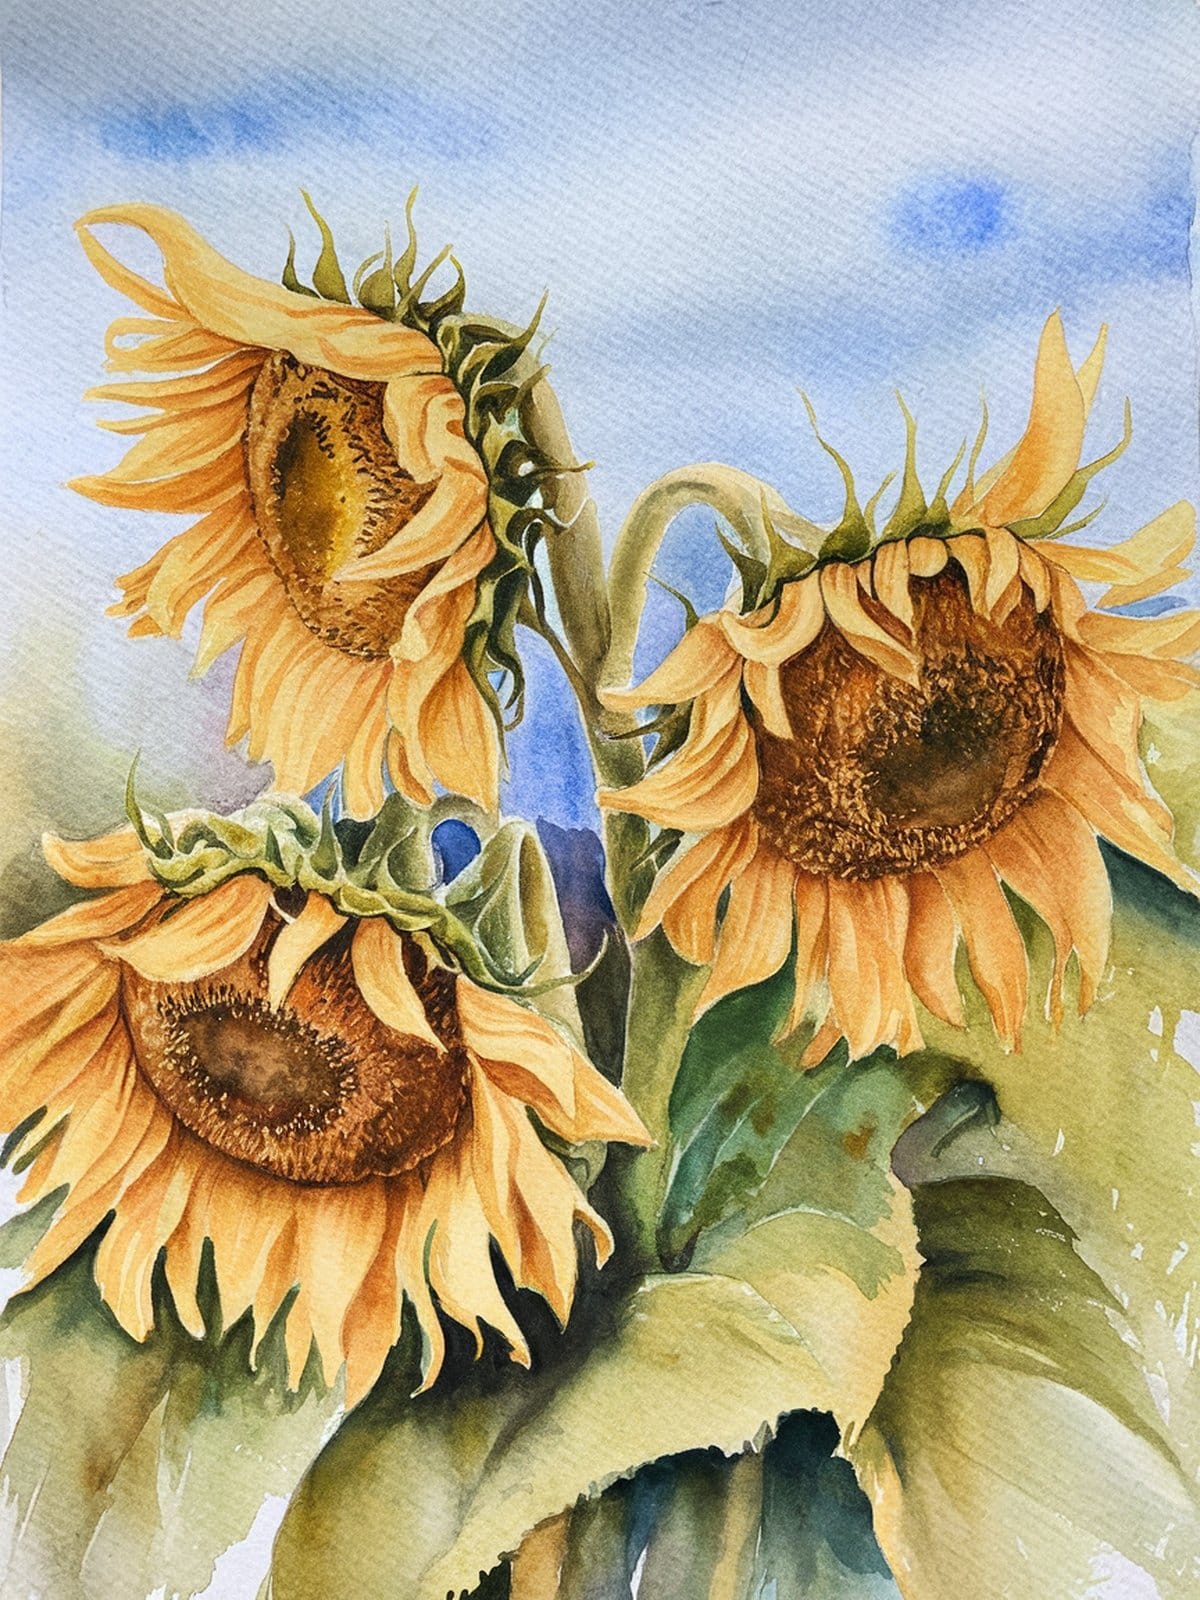
This massive free printable pack includes 70 watercolor flower templates covering roses, daisies, peonies, wildflowers and so much more. Each template gives you outlines and guides so you can practise painting beautiful blooms with confidence. Print them on watercolor paper and paint right alongside the templates.
Want 400+ Creative Resources?
If you love these free printables, you’d really enjoy the Artsydee Creations Club. Every week I add new resources — watercolor templates, Procreate brushes, junk journal kits, coloring pages, and more. Plus you get instant access to a vault of 400+ creative resources the moment you join.
It’s just £8/month (or save with the annual plan) and it’s the best way to keep your creative practice stocked with fresh inspiration. Check out the Creations Club here →
Why Watercolor Flowers Are Perfect for Beginners
Quick Answer: Watercolor flowers are ideal for beginners because the organic shapes of petals and leaves are naturally forgiving — slight imperfections and colour bleeds actually make them look more realistic and beautiful.
Unlike painting buildings or portraits where proportions need to be precise, flowers give you room to play. A petal that’s a bit too big? That’s just how that flower grew. Colours that bled together where you didn’t expect? Now it looks like natural shading.
Flowers also teach you the fundamental watercolor skills you’ll use for everything else — wet-on-wet blending, layering washes, controlling water-to-pigment ratio, and knowing when to stop (arguably the hardest skill in watercolor). Once you can paint a confident rose, you’ve already mastered techniques that transfer to landscapes, abstract work, and beyond.
And honestly? There’s something deeply calming about painting petals. It’s repetitive in the best way — like a mindful art practice that happens to produce something beautiful at the end.
Essential Supplies for Watercolor Flowers
You don’t need a huge collection to paint gorgeous watercolor flowers. Here’s what actually matters:
Paper makes the biggest difference. Use proper watercolor paper — at least 140lb (300gsm) cold press. I love my Canson XL Watercolor Sketchbook for practice sessions. The texture holds water beautifully and gives that lovely grainy quality to your washes. Cheap paper buckles, pills and won’t let you lift colour — it’ll make you think you’re bad at watercolor when really the paper is the problem.
Brushes: A round brush is your best friend for flowers. Size 6 or 8 for most petals, and a smaller size 2 for details and stems. A good quality round brush comes to a fine point when wet, letting you paint both broad strokes and thin lines with the same brush. Escoda round brushes are excellent if you want to invest in one great brush.
Paints: Start with a limited palette — you can mix almost any floral colour from about six tubes. A Winsor & Newton Cotman set is a brilliant starting point for beginners. More on colour mixing for florals later in this post.
Other essentials: Two jars of water (one for rinsing, one for clean water), kitchen paper or a rag for blotting, and a ceramic mixing palette with wells deep enough for juicy washes.
Basic Watercolor Techniques for Flowers
Before jumping into specific flowers, let’s cover the three techniques you’ll use constantly:
Wet-on-wet: Load your brush with pigment and drop it onto already-wet paper. The colour spreads and blooms unpredictably — perfect for soft, dreamy petals and backgrounds. This is how you get that gorgeous bleeding effect where pink fades into peach fades into yellow within a single petal.
Wet-on-dry: Paint onto dry paper for more control and defined edges. Use this for outer petals, stems, and any details where you want crisp lines. Most flower paintings use a combination of wet-on-wet for the initial wash and wet-on-dry for adding definition.
Layering (glazing): Let a layer dry completely, then paint over it with a transparent wash. This builds depth and shadows without muddying your colours. The key word is completely dry — touch the paper with the back of your hand, and if it feels even slightly cool, wait longer.
The practice sheets in the free download guide you through using these techniques on each flower type. They’re designed so you can see exactly where to use wet-on-wet versus wet-on-dry for each bloom.
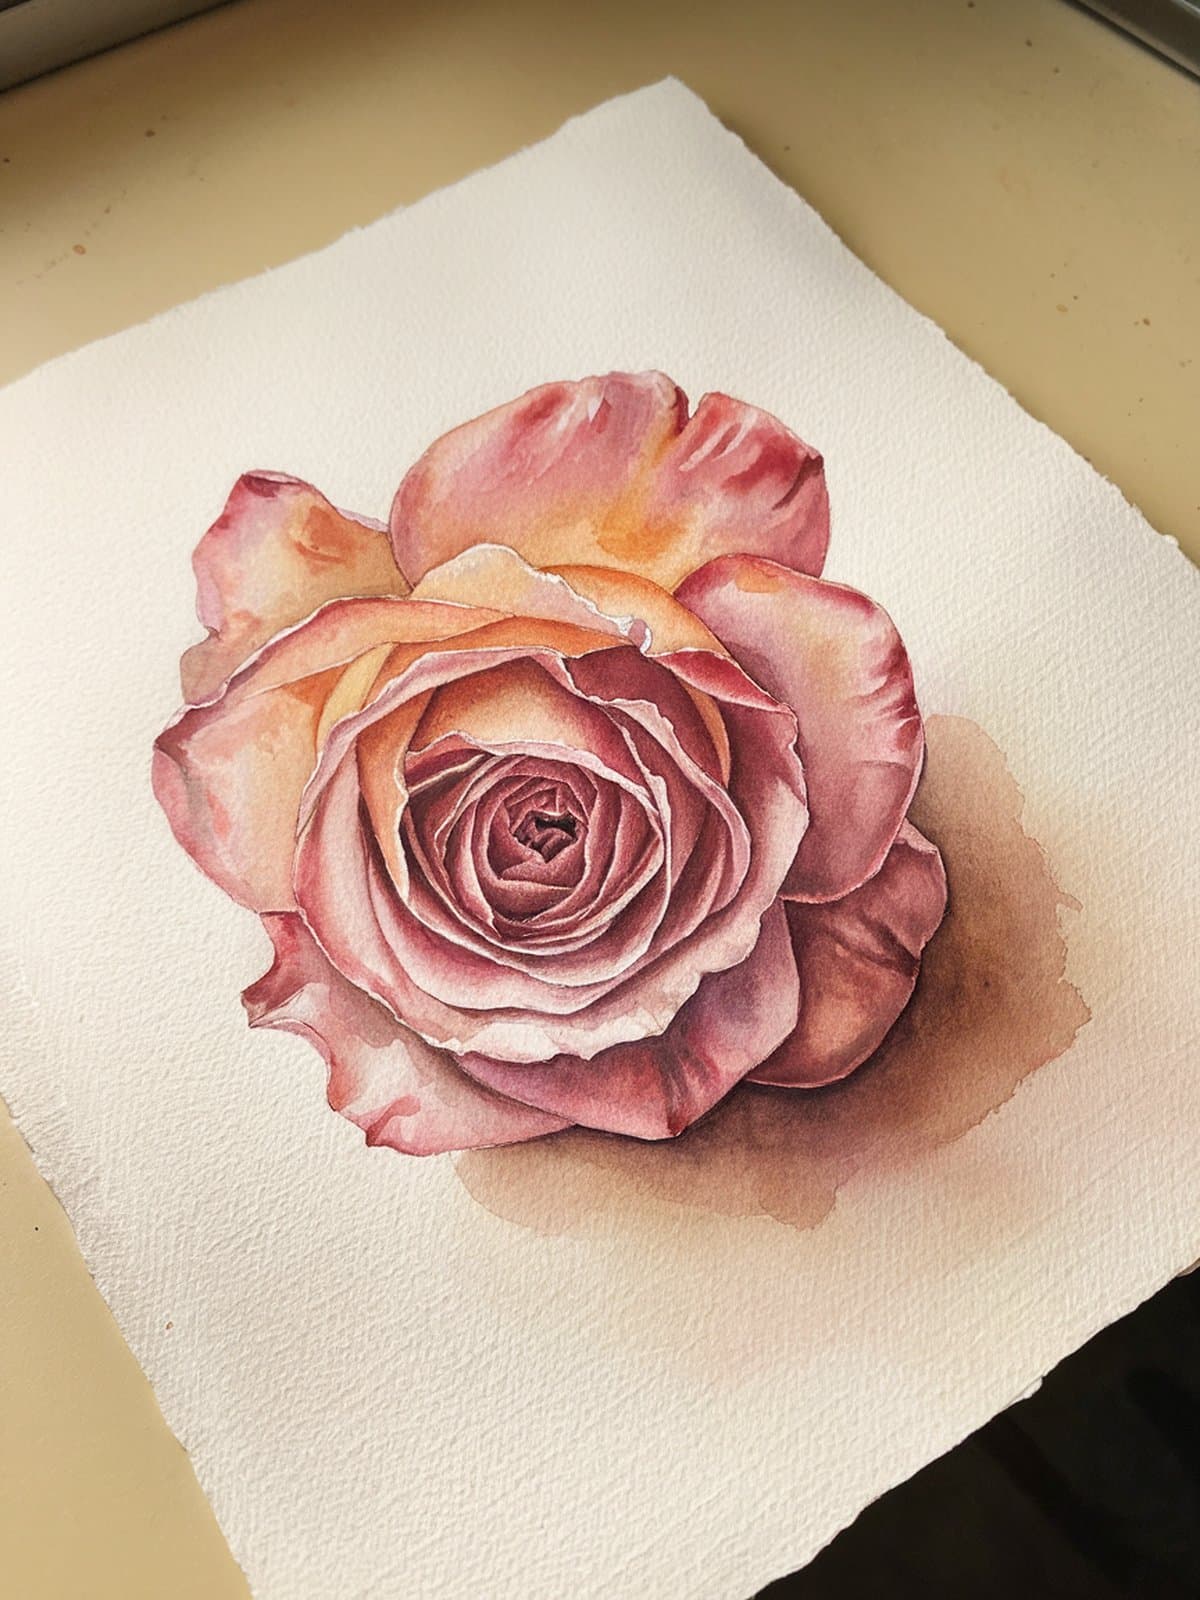
How to Paint Easy Watercolor Roses
Quick Answer: Paint watercolor roses by starting with a small spiral centre using concentrated pigment, then adding larger, looser petals around it with increasingly watered-down colour, working from inside out.
Roses look intimidating but the loose watercolor approach makes them surprisingly simple. Here’s my method:
- Start with the centre. Mix a concentrated wash of your chosen rose colour (I like alizarin crimson mixed with a touch of burnt sienna for warmth). Paint a small, tight spiral — just 2-3 curved strokes close together.
- Add middle petals. Water down your mix slightly. Paint 3-4 C-shaped strokes around the centre, leaving tiny white gaps between them. These gaps become the highlights that give your rose dimension.
- Build outer petals. Water down even more. Paint larger, looser C-shapes and U-shapes around the middle layer. Let some edges bleed into each other — that’s the magic of watercolor roses.
- Drop in colour variation. While everything is still wet, drop in a touch of a second colour (yellow ochre or a deeper crimson) near the centre. Let it bloom naturally.
- Add leaves. Once the rose is dry, paint simple pointed oval shapes in sap green mixed with a little of your rose colour (this ties the colours together beautifully).
The biggest mistake beginners make with roses is overworking them. Three layers of petals is usually plenty. If you keep going, you end up with mud. Less really is more here.
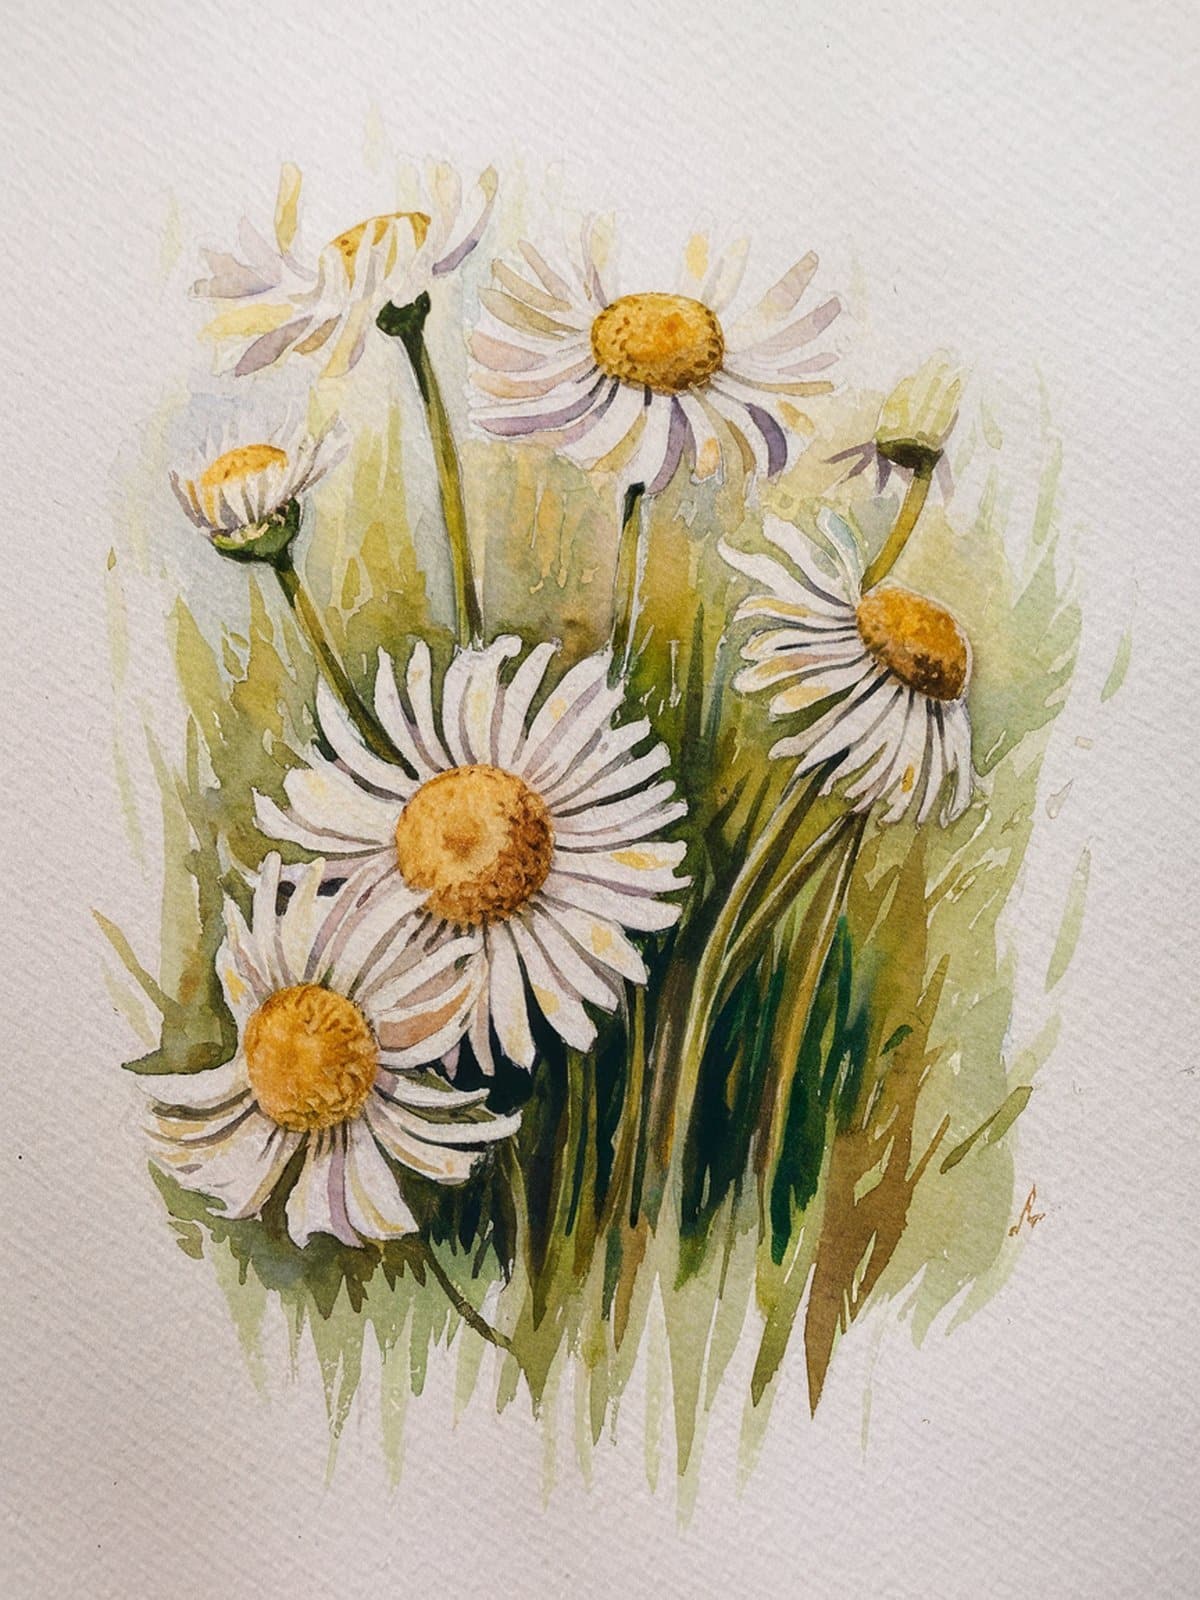
Simple Watercolor Daisies Step by Step
Daisies are the friendliest flower to paint — each petal is basically a single brush stroke, and the yellow centre ties everything together even if your petals aren’t perfectly even (and they shouldn’t be).
- Paint the centre first. A small circle of yellow ochre or cadmium yellow, slightly irregular. While wet, drop a tiny bit of burnt sienna into one side for shadow.
- Add petals. Using a round brush loaded with very dilute white or very pale grey-blue, paint elongated teardrop strokes radiating out from the centre. Press down at the base, lift as you pull outward.
- Vary the petals. Make some longer, some shorter. Overlap a few. Leave gaps where petals fold behind others. This is what makes them look natural rather than mechanical.
- Stems and leaves. Thin green lines for stems (use the very tip of your brush), and simple pointed ovals for leaves.
Try painting a cluster of 3-5 daisies at different angles rather than a single bloom — it’s actually easier and looks much more dynamic. The loose watercolor flowers approach works beautifully for daisies.
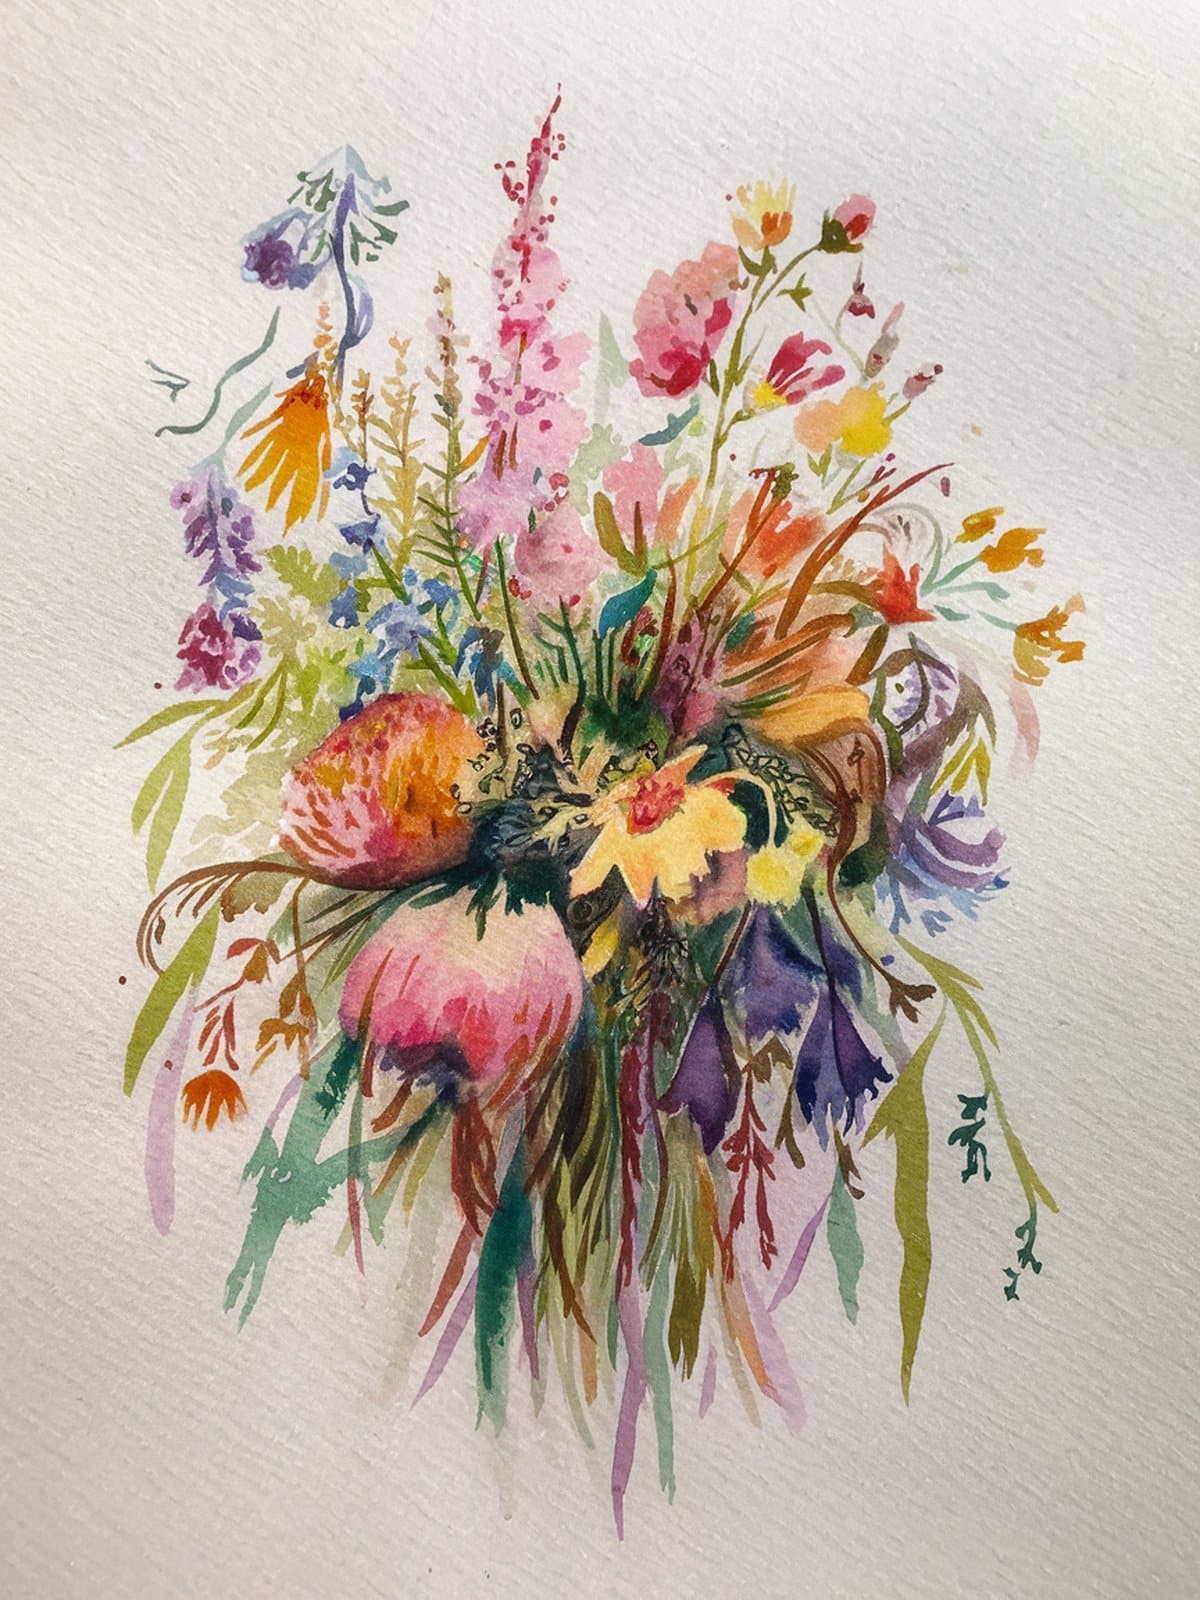
Loose Watercolor Wildflowers
Quick Answer: Loose watercolor wildflowers use minimal brush strokes and lots of water to create impressionistic floral clusters that suggest flowers rather than depicting them precisely.
This is my absolute favourite style of watercolor florals. Loose wildflowers are about suggestion rather than precision — a few strokes of colour that feel like flowers without trying to be botanical illustrations.
The technique is beautifully simple: load your brush with a juicy mix of colour, and make quick, confident strokes. Dots for small flowers, single strokes for petals, splotches for larger blooms. Then add thin green stems to connect them all into a spray or bouquet.
Types of wildflowers that work brilliantly in loose style:
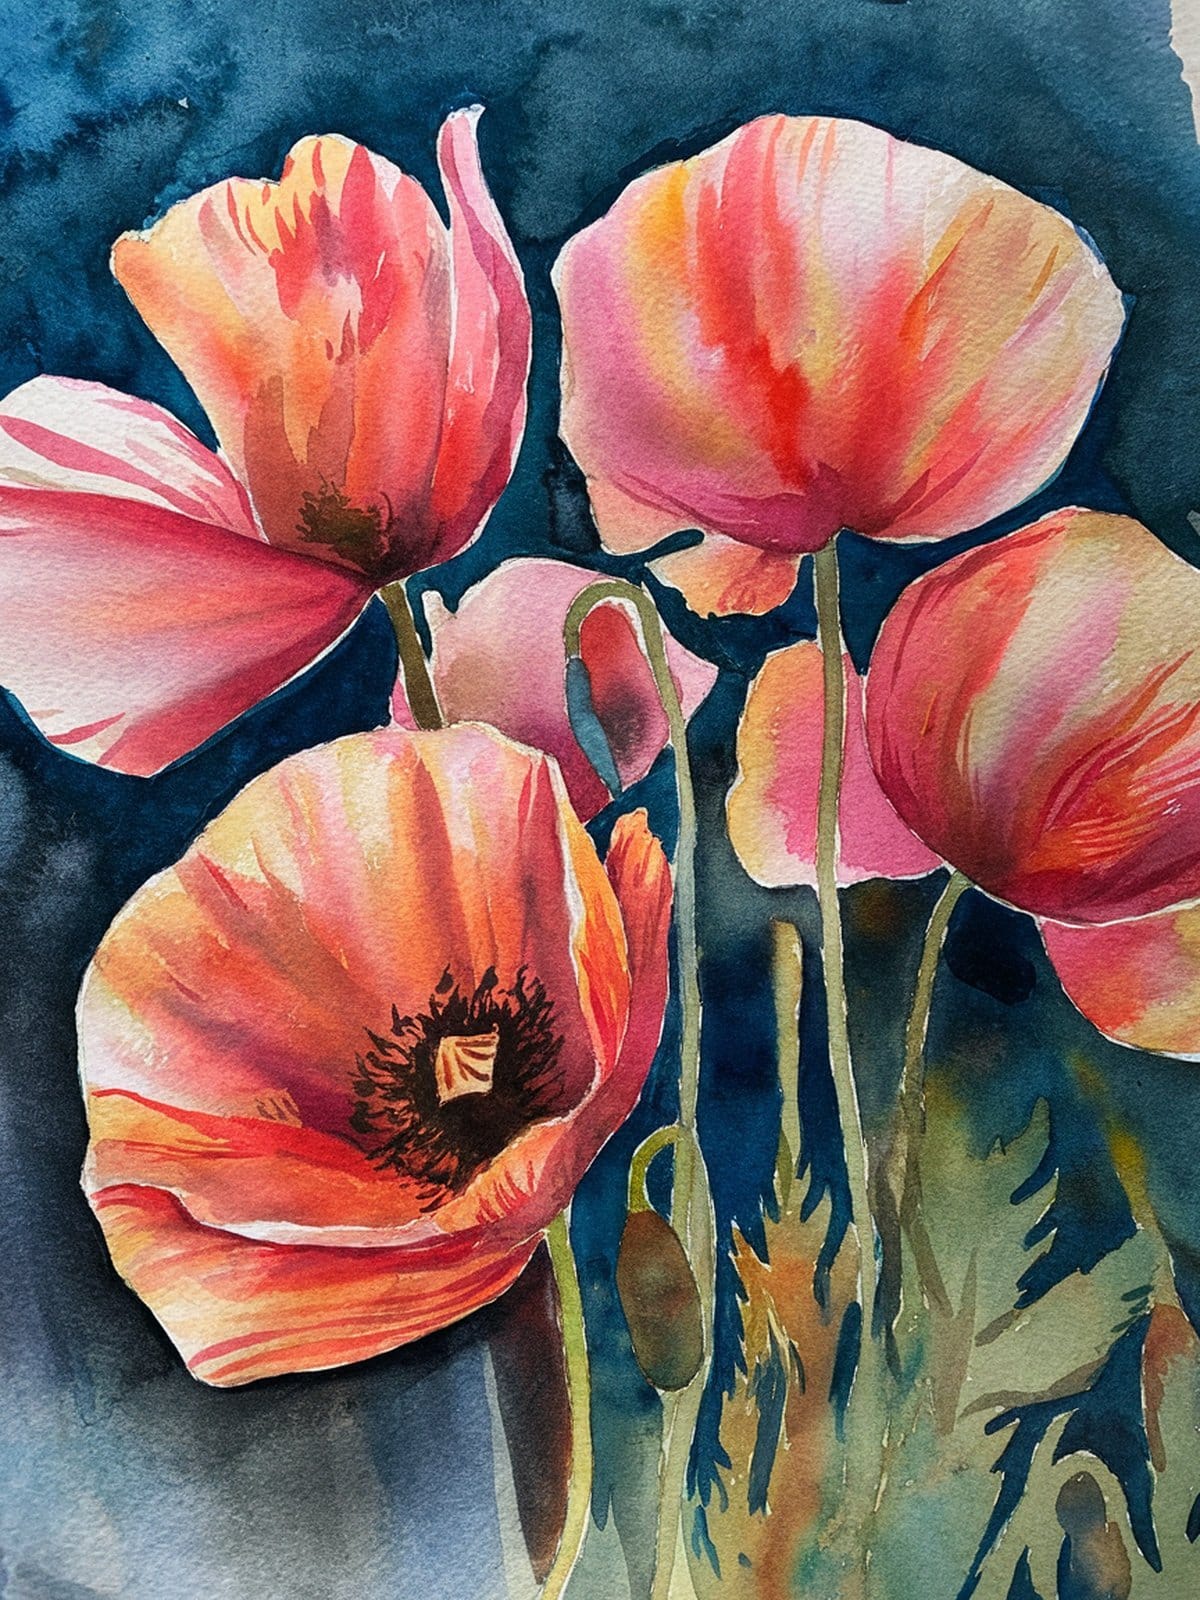
- Poppies — two or three big, swooshy red strokes with a dark centre dot
- Cornflowers — small clusters of purple-blue dots radiating from a centre point
- Queen Anne’s lace — tiny dots of very pale green and white in an umbrella shape
- Buttercups — small yellow dots with the tiniest touch of green
- Forget-me-nots — clusters of tiny blue dots with yellow centres
The key to loose wildflowers is painting fast and not going back to fix things. Every correction makes them tighter and less spontaneous. Trust the paint and let it do its thing.
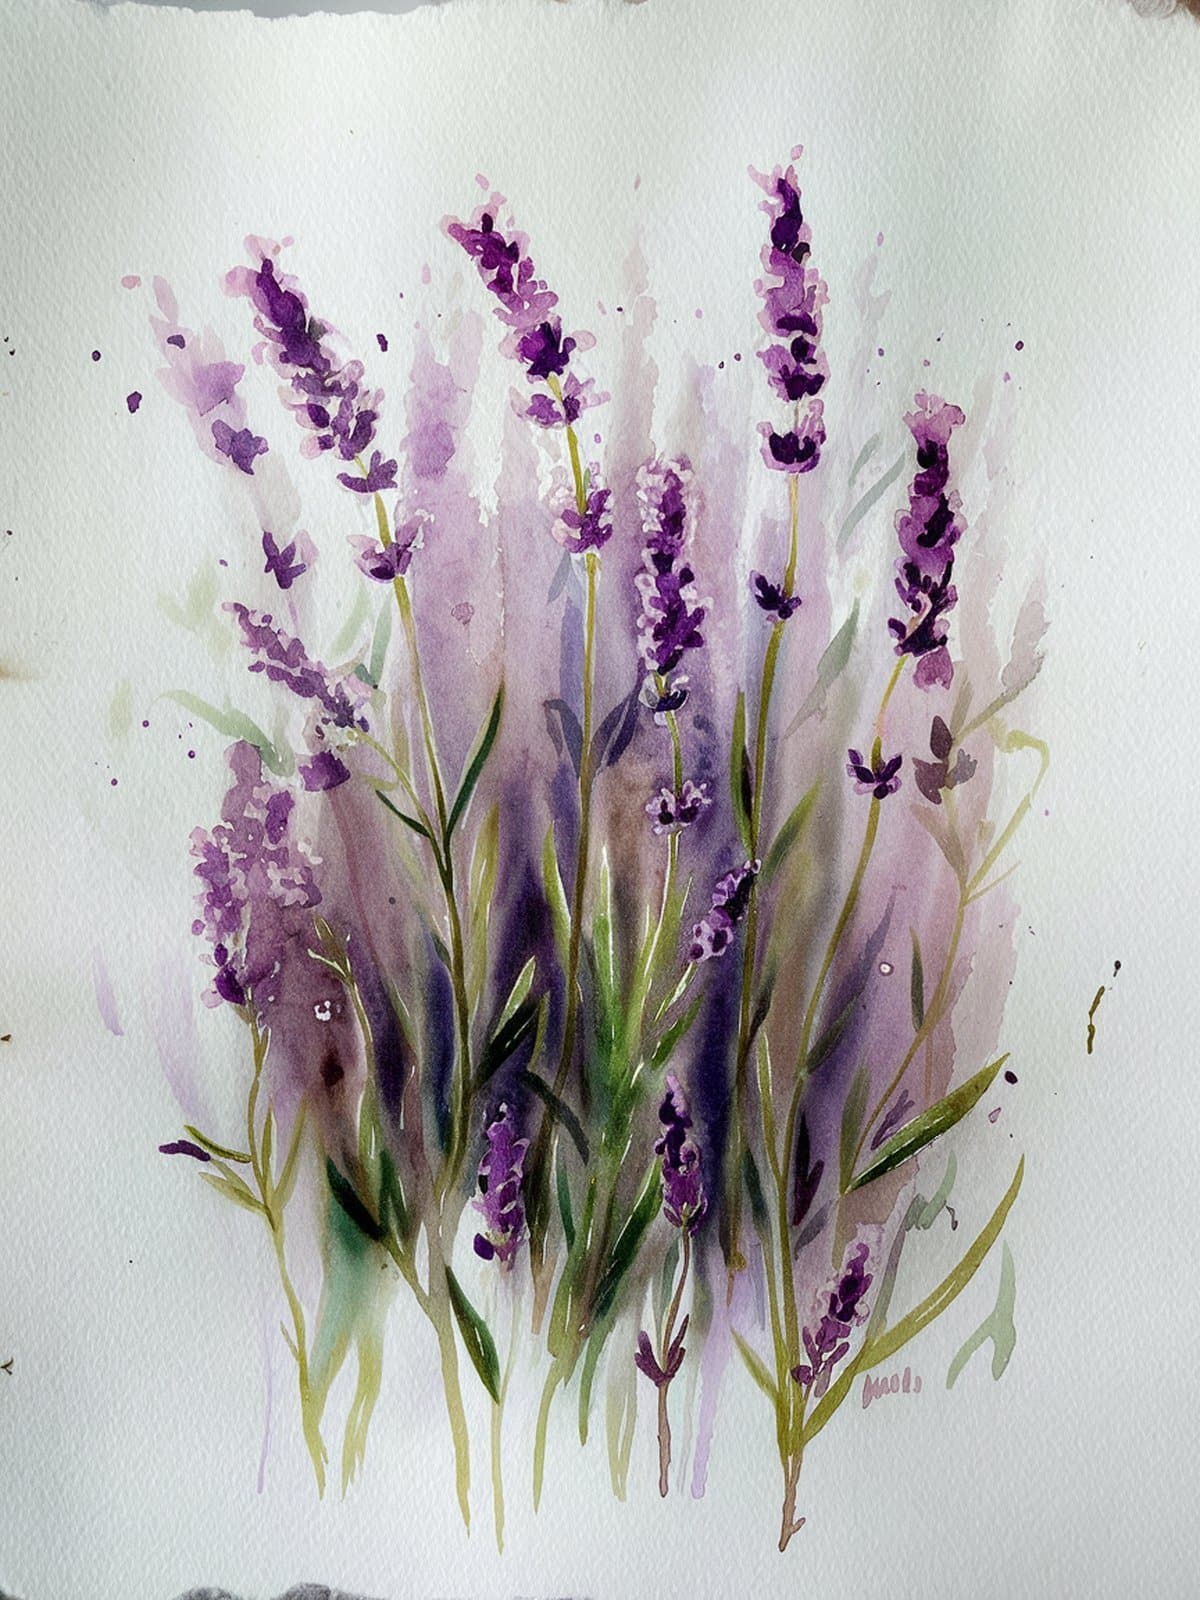
Painting Watercolor Lavender
Lavender is one of those flowers that looks complex but is actually built from a very simple repeating stroke. Once you get the rhythm, you can fill an entire page with lavender stems in minutes.
- Paint the stem first. A thin, slightly curved line in green — lavender stems aren’t perfectly straight, they have a gentle bend.
- Build the flower head. Starting at the top, dab small oval strokes on alternating sides of the stem, working your way down. Use a purple mix (ultramarine blue + a touch of alizarin crimson).
- Vary the purple. Make some strokes darker, some lighter. Add a touch more blue to some, a touch more pink to others. Real lavender isn’t one uniform colour.
- Add tiny leaves. Small, narrow strokes in grey-green along the lower stem.
Group several stems together for a lavender bunch — odd numbers work best (3, 5, or 7 stems). Tie them together visually with a painted ribbon or just let the stems cross naturally at the base. These look stunning in a watercolor sketchbook spread.
Putting It Together: Simple Flower Arrangements
Once you can paint individual flowers, the next step is combining them into arrangements. This doesn’t need to be complicated — even three flowers with some greenery looks beautiful.
Simple arrangement formula:
- Start with 1-2 focal flowers — your largest, most detailed blooms (roses or peonies work well)
- Add 2-3 supporting flowers — medium-sized, simpler shapes (daisies, cosmos, anemones)
- Fill with small accent flowers — tiny buds, berries, or dot-flowers
- Weave in greenery — leaves, stems, eucalyptus, or fern fronds to connect everything
- Add finishing touches — tiny splatters, extra buds, or delicate trailing stems
Work from largest elements to smallest. Place your focal flowers first, then build around them. Leave some white space — arrangements that are too dense lose their airy, watercolor quality. And remember that greenery is what turns a collection of separate flowers into a cohesive bouquet.
Colour Mixing Tips for Florals
You can mix almost every floral colour from a surprisingly small palette. Here’s what I use:
My six-colour floral palette:
- Alizarin Crimson — the base for roses, pinks, and deep reds
- Cadmium Yellow — for warm centres, sunflowers, and warming up mixes
- Ultramarine Blue — mix with crimson for purples, with yellow for greens
- Burnt Sienna — warming agent, shadow colour, beautiful autumn tones
- Sap Green — base green for all foliage (mix with crimson to grey it down)
- Yellow Ochre — warm highlights, centres, and natural-looking yellows
Key mixing tip: Always mix your flower colour into your green when painting leaves near that flower. A rose leaf should have a whisper of crimson in its green. A lavender leaf needs a touch of blue. This colour harmony is what separates okay flower paintings from ones that really glow.
Another thing that changed my florals: never use black for shadows. Mix a dark from alizarin crimson plus ultramarine blue instead. It’s rich and deep without the deadness that black creates in watercolor.
Recommended Supplies

| 
| 
| 
|
This post contains affiliate links, which means I may earn a small commission at no extra cost to you if you make a purchase. I only recommend products I genuinely love and use myself!
Looking for more painting resources? Check out my Payhip shop for premium watercolor templates, practice guides and creative printables!
Watercolor Flowers FAQ
What is the easiest flower to paint in watercolor?
Daisies and simple five-petal flowers are the easiest to start with. Each petal is a single brush stroke, and the yellow centre forgives a lot of unevenness. Loose wildflower dots are even simpler — tiny clusters of colour that suggest flowers without needing any precise petal shapes at all.
Why do my watercolor flowers look muddy?
Muddy flowers usually come from one of three things: working into a wash that’s half-dry (either paint into fully wet or fully dry paper), using too many layers without letting each one dry completely, or mixing complementary colours accidentally (red and green, blue and orange create grey/brown when mixed). Use clean water and limit yourself to 2-3 layers maximum.
How do I make watercolor flowers look more realistic?
Add colour variation within each petal — real flowers aren’t one solid colour. Drop a second colour into wet petals and let it blend naturally. Also pay attention to where the light falls: leave white paper showing on the sun-facing side and add deeper colour on the shadow side. Subtle veining with a fine brush adds realism too.
What type of watercolor paper is best for flowers?
Cold press 140lb (300gsm) watercolor paper is the standard choice. The slight texture helps create interesting effects in your washes and holds water well. Hot press (smooth) paper can work for very detailed botanical illustrations but is less forgiving for loose, expressive florals. Avoid anything below 200gsm — it will buckle and frustrate you.
Can I use watercolor flowers in other projects?
Yes! Watercolor flowers make beautiful additions to handmade cards, sketchbook pages, bullet journals, gift tags, bookmarks, and even custom wrapping paper. Paint them on loose watercolor paper, cut them out once dry, and glue them onto other surfaces.
Final Thoughts
Watercolor flowers are one of the most rewarding subjects to paint, and they genuinely get easier with practice. The more petals you paint, the more your brush learns the movements, and the more confident your strokes become.
Print out the free practice sheets, grab your paints, and give yourself permission to make a few ugly flowers first. They’re part of the process. Before you know it, you’ll be filling entire sketchbook pages with blooms and wondering why you didn’t start sooner.
Want to see these techniques in action? Head over to my YouTube channel where I share step-by-step watercolor tutorials every week. Hit subscribe so you don’t miss the next one!
Love watercolor tutorials? Subscribe to my YouTube channel for weekly painting inspiration and step-by-step guides!
You Might Also Like
- Loose Watercolor Flowers Tutorial
- Watercolor Painting Ideas for Beginners
- Simple Watercolor Ideas for Beginners
- Easy Watercolor Sketchbook Ideas
- Free Watercolor Sketchbook Templates
Pin this for later!