Last Updated on November 17, 2025 by Dee
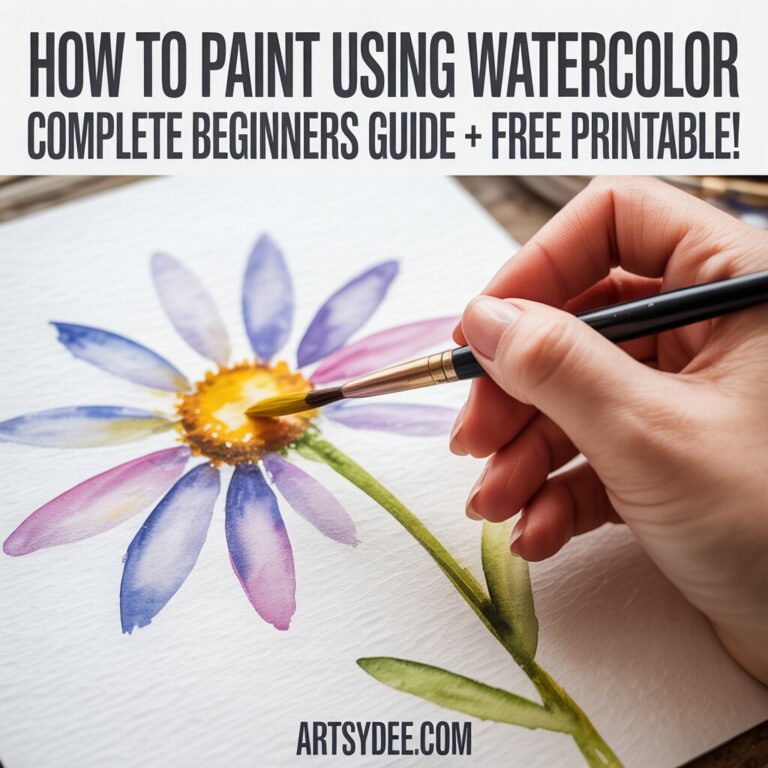
There’s something magical about watercolors. The way pigment blooms across wet paper, colors blend into each other, and happy accidents turn into the best parts of your painting—it’s honestly addictive once you start.
But here’s the thing: watercolor has this reputation for being tricky. Too watery, too streaky, too unpredictable. I get it. After 18 years of teaching high school art, I’ve seen countless students (and fellow teachers!) give up on watercolor before they even really began.
The truth? Watercolor painting isn’t hard—it’s just different. Once you understand a few key techniques and let go of the need for perfection, you’ll discover how freeing and fun painting with watercolors can be.
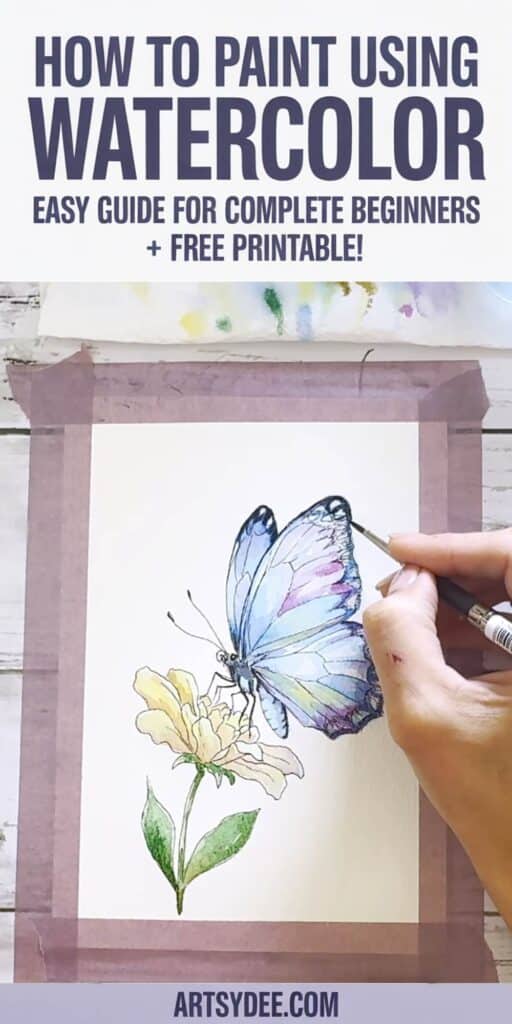
This guide covers everything you need to know about how to paint using watercolor, and watercolor painting techniques, from choosing the best watercolor paints to mastering fundamental methods. Whether you’re learning watercolor painting for the first time or just want to refresh your skills, I’ve packed this post with simple ideas and practical tips that actually work.
Grab the free watercolor color swatch printable and the free whimsical winter watercolor templates at the end of this post to start practicing right away!
Why Watercolor Painting Is Perfect for Beginners
Watercolor gets a bad rap for being difficult, but it’s actually one of the most forgiving mediums once you embrace its nature. Unlike acrylics or oils, watercolors are:
- Affordable – You don’t need expensive supplies to create stunning art
- Portable – A small palette and travel brush fit in any bag
- Quick-drying – No waiting days for layers to dry
- Easy to clean up – Just water, no harsh chemicals needed
- Incredibly versatile – From loose, expressive washes to detailed botanical paintings
The best part? You can start watercolor painting today with just a handful of supplies and see beautiful results immediately.
Essential Watercolor Supplies: What You Actually Need
Let’s talk supplies. You don’t need a fully stocked art studio to start painting with watercolors for beginners. Here’s what I recommend:
Watercolor Paints
For beginners, I always suggest starting with a basic palette of 12 colors. You can mix almost any color you need from primaries, but having a few extra shades makes life easier.
Pan vs. Tube Watercolors:
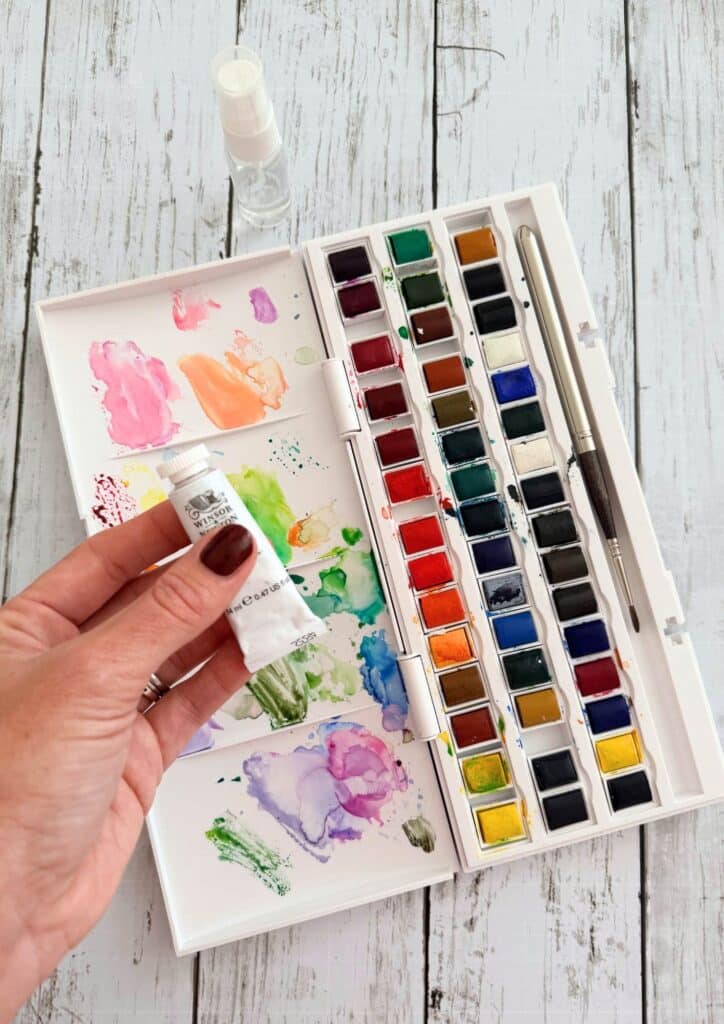
- Pans are perfect for beginners—they’re portable, less messy, and you can easily control how much paint you’re using
- Tubes give you more intense pigment and are great for larger paintings or when you need lots of one color
My top picks for the best watercolor paints for beginners:
- Winsor & Newton Cotman Water Colours – excellent quality without the professional price tag
- Arteza Premium Watercolor Paint Set – vibrant colors, great value
- Daniel Smith Extra Fine Watercolors – if you want to invest in artist-grade paints (totally worth it)
Paper Makes All the Difference
Here’s a golden nugget tip: the paper matters more than the paint. Seriously. Cheap paper will buckle, pill, and make your paintings look muddy no matter how expensive your paints are.
Look for:
- Cold-pressed watercolor paper (it has a slight texture that’s perfect for beginners)
- 140 lb weight minimum (anything lighter will warp)
- 100% cotton if possible (though good wood pulp paper works fine when starting out)
Try these:
- Strathmore 400 Series Watercolor Paper – affordable and reliable
- Canson XL Watercolor Pad – great for practice
- Arches Watercolor Paper – the gold standard (splurge on a few sheets for special paintings)
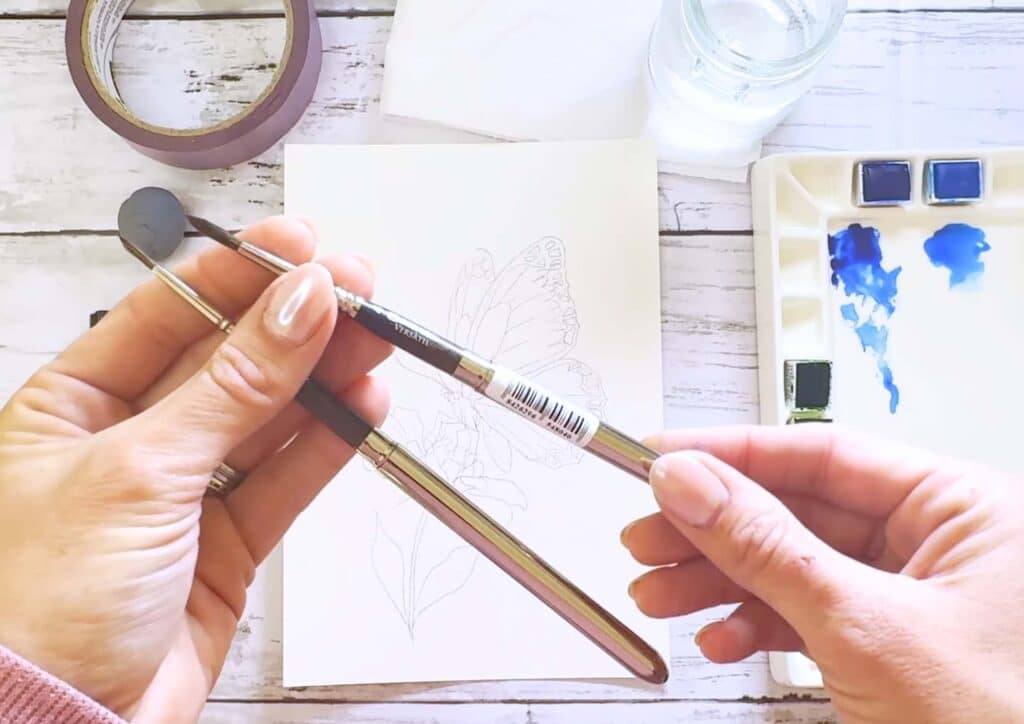
Brushes: Start Simple
You only need 3-4 brushes to start:
- Round brush, size 8 – your workhorse brush
- Round brush, size 4 – for details
- Flat brush, 1 inch – for washes and backgrounds
- Liner brush (optional) – for fine lines and details
Check out:
- Princeton Artist Brush Heritage Series – synthetic brushes that hold water beautifully
- Escoda Travel Brushes – these are super-high quality and are my favorite (I use these ones in almost all my tutorials!). They hold pigment beautifully!
- Royal & Langnickel Zen – fantastic quality for the price
Other Handy Supplies
- Two water jars (one for rinsing, one for clean water)
- Paper towels or a soft cloth
- White ceramic palette or plastic mixing palette
- Masking tape (to secure paper if you’re not using a block)
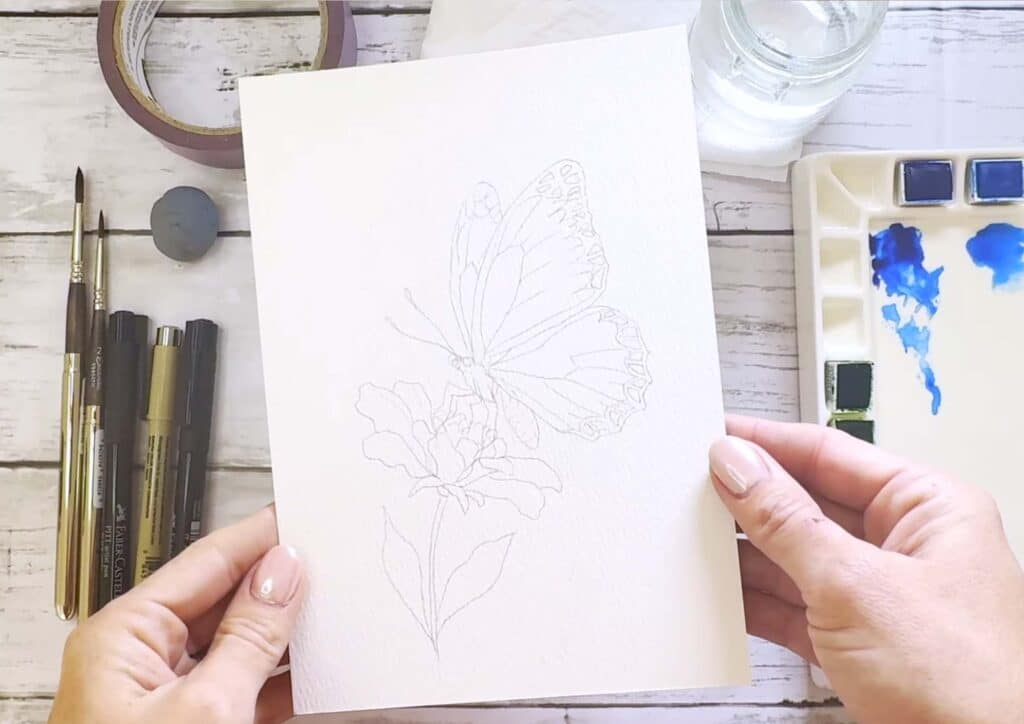
- Pencil and eraser for sketching
5 Fundamental Watercolor Painting Techniques
Ready to actually paint? These watercolor painting techniques are the foundation of everything you’ll create. Master these, and you’re golden.
1. The Wet-on-Wet Technique
This is where watercolor gets its dreamy, soft look. You apply wet paint to wet paper, letting colors blend and bloom naturally.

How to do it:
- Wet your paper with clean water using a large brush
- While the paper is still wet, drop in your paint
- Watch the colors spread and blend on their own
- Tilt your paper to encourage the paint to flow
This technique is perfect for skies, water, backgrounds for art journaling, and loose florals.
Pro tip: The wetter your paper, the more the paint will spread. For more control, use damp paper instead of soaking wet.
2. Wet-on-Dry Technique
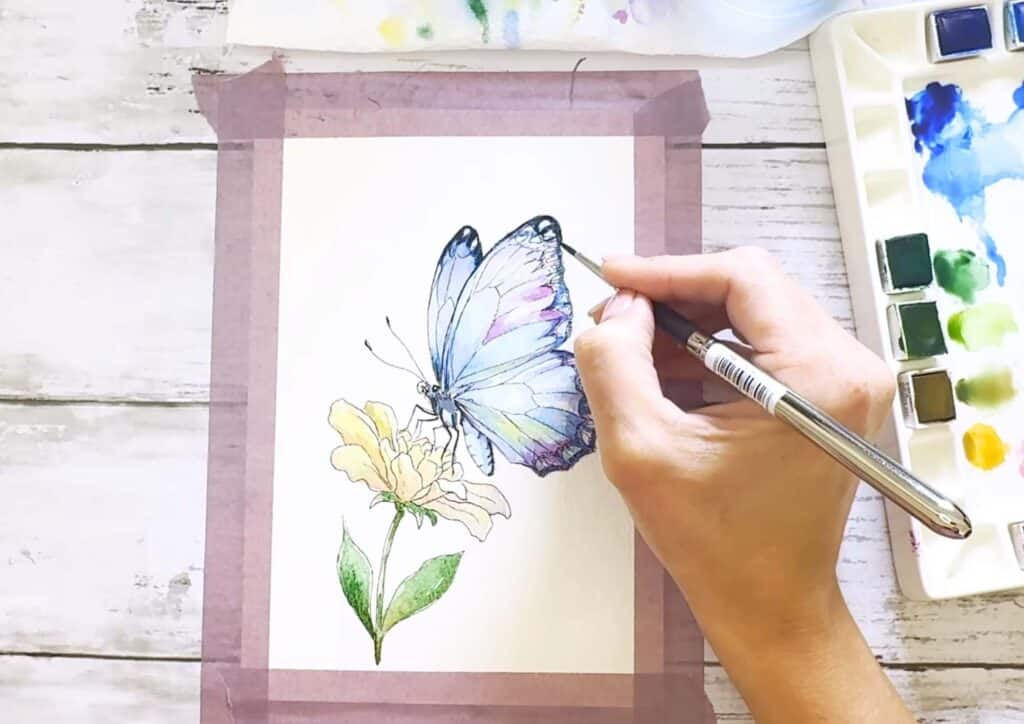
This gives you more control and sharper edges. You’re applying wet paint to dry paper.
How to do it:
- Make sure your paper is completely dry
- Load your brush with paint and water
- Apply brushstrokes where you want them
- Build up layers by letting each one dry completely
Use this technique for details, defined shapes, and when you want crisp edges.
3. Layering and Glazing
Watercolor is transparent, which means you build up color in layers rather than covering things up. This is called glazing.
How to do it:
- Paint your first layer and let it dry completely
- Apply a second layer of color over it
- Where colors overlap, they create new colors
- Keep building layers for depth and richness
This technique is essential for creating dimension in your paintings. Each layer should be completely dry before adding the next, or colors will mix instead of layering.
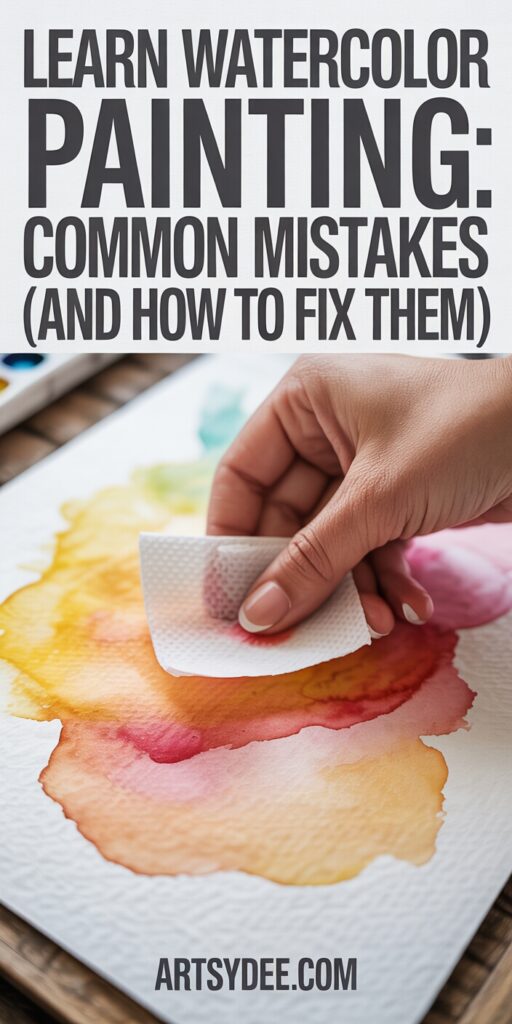
4. Lifting and Removing Paint
Made a mistake? Want to lighten an area? You can lift paint even after it’s dried.
How to do it:
- While wet: Blot with a paper towel or use a clean, damp brush to lift color
- When dry: Rewet the area and gently scrub with a damp brush, then blot
This technique is amazing for adding highlights, creating texture, or fixing oopsies.
5. Dry Brush Technique
This creates texture and is perfect for things like grass, tree bark, or fabric.

How to do it:
- Load your brush with paint
- Wipe most of it off on a paper towel
- Drag the almost-dry brush across dry paper
- The paint will catch on the paper’s texture
Check out more creative journaling techniques that work beautifully with watercolor.
How to Start Watercolor Painting: Your First Projects
Feeling overwhelmed? Don’t be. Start with these ridiculously simple watercolor ideas that look impressive but are actually easy.
Simple Gradient Wash
This teaches you paint-to-water ratio and brush control.

- Mix a puddle of paint (more paint than water)
- Paint a stroke across the top of your paper
- Rinse your brush, add a little water to your puddle
- Paint another stroke below the first, overlapping slightly
- Repeat, adding more water each time
You’ll end up with a beautiful gradient from dark to light. Try this with different colors—it’s weirdly satisfying.
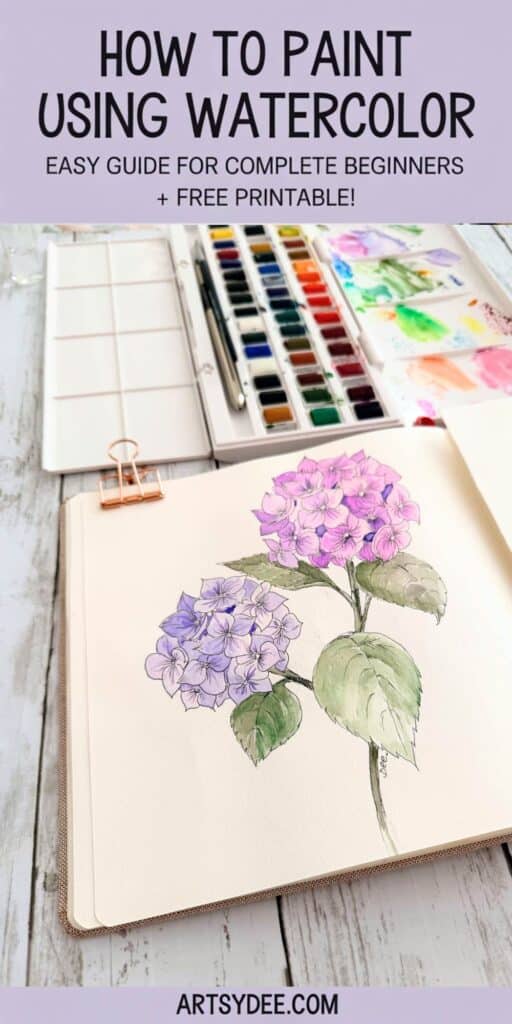
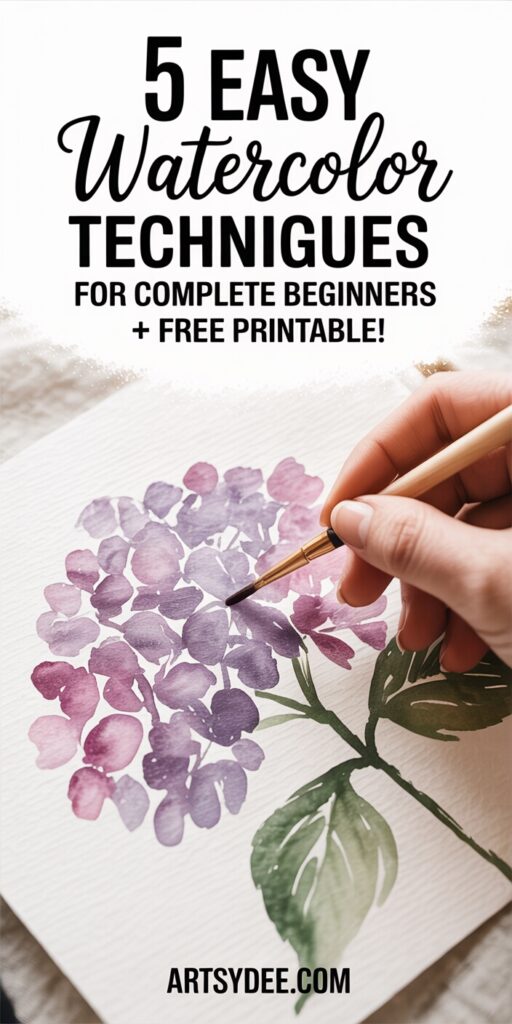
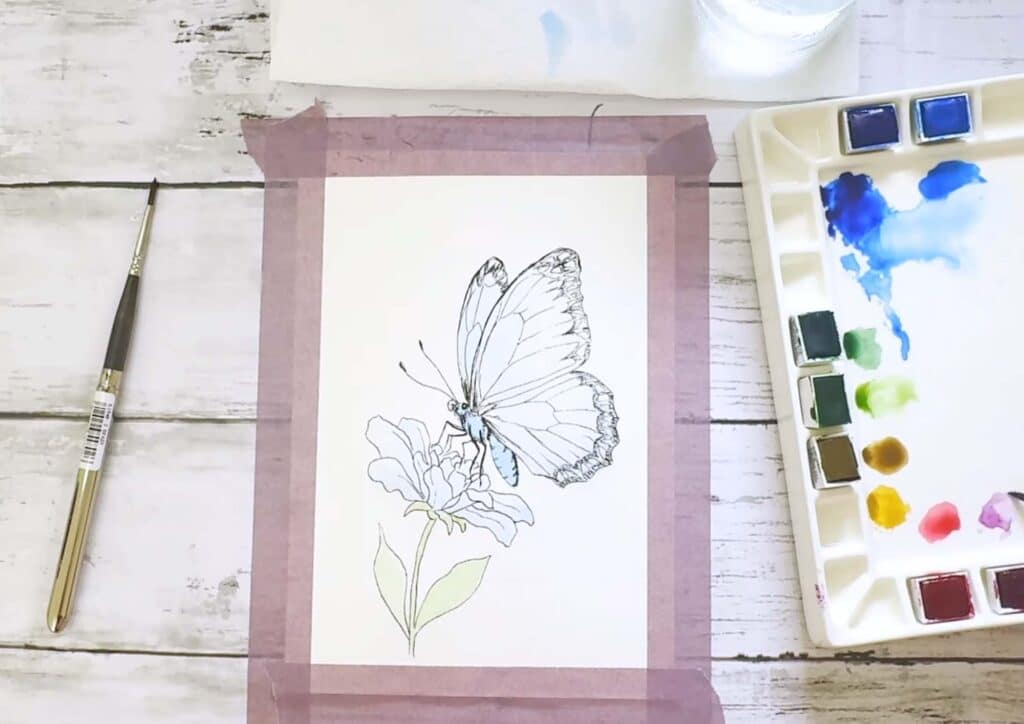
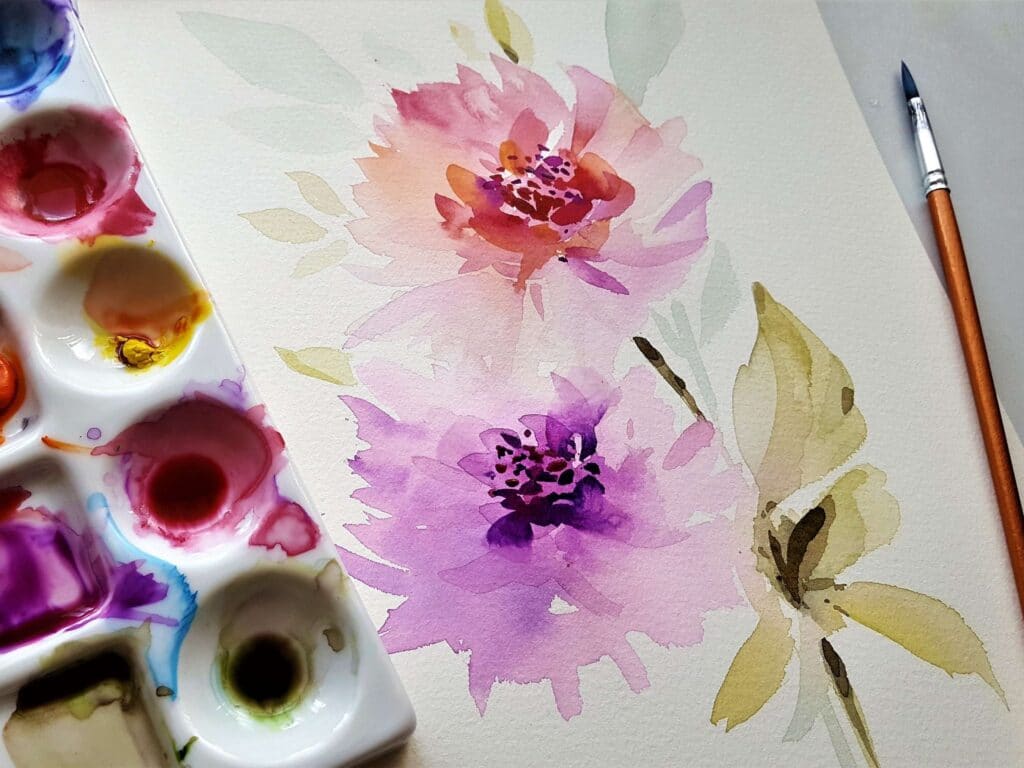
Loose Watercolor Florals
Flowers are perfect for beginners because they’re supposed to look organic and imperfect.
Watch my Watercolor Painting HACK for Beginners where I show you how to paint beautiful watercolors even if you can’t draw. No sketching skills needed—just templates and easy techniques!
For simple florals:
- Paint 5-6 loose circles or ovals in a cluster (these are your petals)
- Let them dry slightly
- Add a darker color to the center
- Paint a simple stem and a couple of leaves
Don’t overthink it. Messy is beautiful with watercolor.
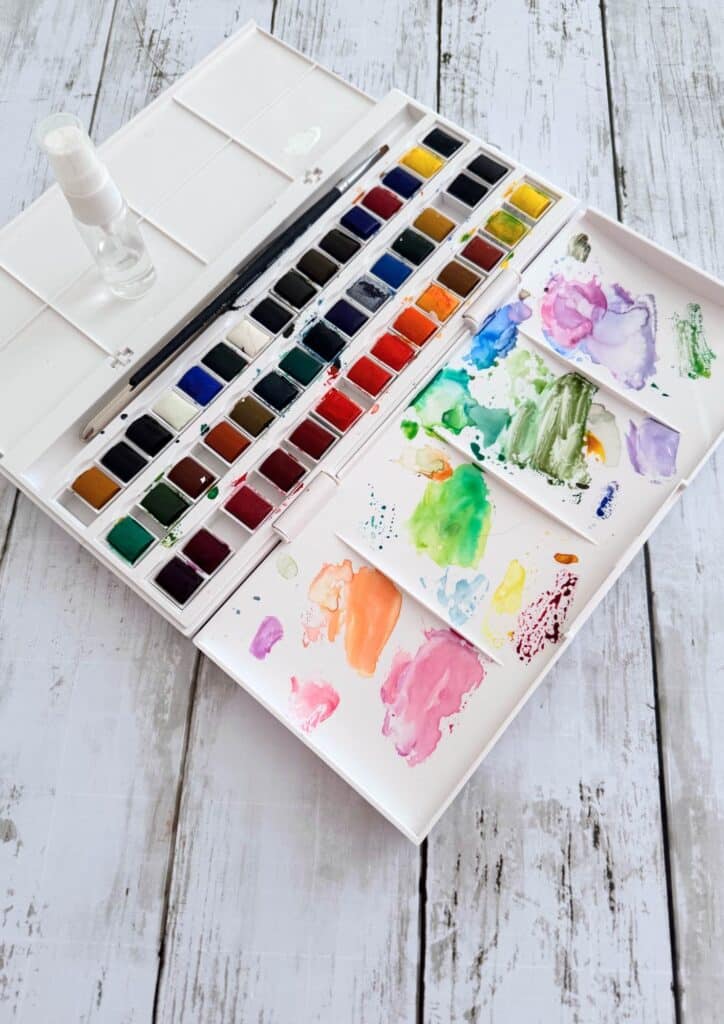
Color Swatches
This isn’t just practice—it’s how you get to know your paints. Plus, you can keep it as a reference guide.
Paint small squares or circles of each color in your palette. Try mixing colors together and recording what you get. This helps you learn which colors work together and how much water you need for different effects.
Impressionistic or Abstract Landscapes
You don’t need to paint a photorealistic seascape. Try this:
- Paint a loose wash for the sky (wet-on-wet)
- Add a darker wash for the sea (let it bleed into the sky)
- Paint darker washes in the at the horizon
- Add a simple palm tree/s
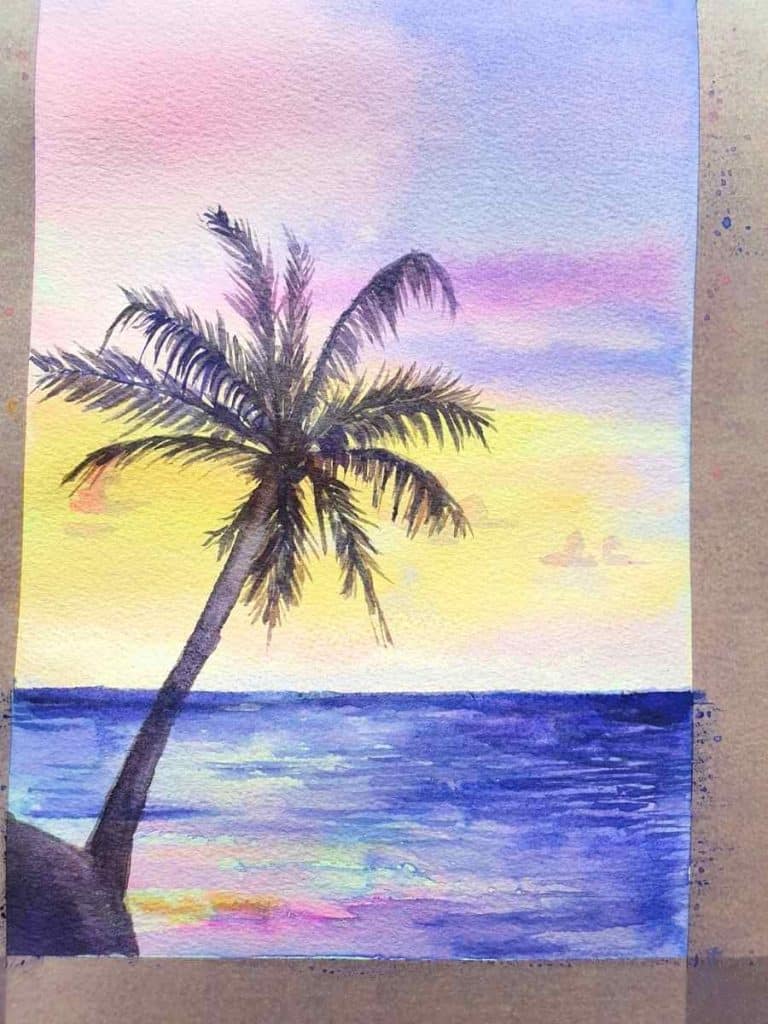
Boom. Seascape. And it probably took you 15 minutes.
For more printable templates and creative resources, check out my Patreon where I share new creative templates and tutorials every week.
Learn Watercolor Painting: Common Mistakes (and How to Fix Them)
Every beginner makes these mistakes. The good news? They’re all fixable.
Mistake #1: Using Too Much Water
Your paint runs everywhere, and everything turns into a muddy puddle.
Fix: Start with less water than you think you need. You can always add more. Aim for a consistency like melted butter—smooth and fluid but not runny.
Mistake #2: Not Letting Layers Dry
When you paint over wet paint, colors mix and turn muddy instead of creating distinct layers.
Fix: Be patient. Wait until each layer is completely dry before adding the next. Use a hair dryer if you’re impatient (guilty).
Mistake #3: Scrubbing the Paper
If you rub too hard while painting or lifting color, the paper surface breaks down and gets fuzzy.
Fix: Use gentle, light strokes. If you need to lift paint, blot instead of scrub. And invest in good paper—it can handle more abuse.
Mistake #4: Overworking Your Painting
You keep adding “just one more thing” until your fresh, beautiful painting turns overworked and tight.
Fix: Step away. Seriously. Know when to stop. Some of my best paintings are the ones I almost ruined but managed to put down the brush in time.
Mistake #5: Giving Up Too Soon
Watercolor has a learning curve. Your first paintings might look wonky. That’s normal.
Fix: Keep going. Paint ugly paintings. Make mistakes. Learn from them. Your 20th painting will be so much better than your first.
Best Watercolor Paints for Different Budgets
Not sure what to invest in? Here’s my honest breakdown:
Budget-Friendly (Under $20)
- Crayola Watercolors – don’t laugh, they’re actually decent for absolute beginners
- Arteza Premium Set – surprisingly good quality for the price
Mid-Range ($20-$50)
- Winsor & Newton Cotman – my go-to recommendation for beginners who want quality
- Sakura Koi Watercolor Field Set – portable and reliable
Professional Grade ($50+)
- Daniel Smith Extra Fine – gorgeous pigments, worth every penny
- Schmincke Horadam Aquarell – if you want to treat yourself
Start with student-grade paints. You can always upgrade later. Honestly, the biggest difference between student and professional grade is pigment concentration and permanence, which won’t matter much when you’re learning.
Painting with Watercolors for Beginners: Daily Practice Ideas
You don’t need hours to practice. Try these 10-15 minute exercises:
Monday: Paint color swatches and practice mixing Tuesday: Do a simple gradient wash in different colors Wednesday: Paint loose florals or leaves Thursday: Practice wet-on-wet techniques with abstract shapes Friday: Try lifting and removing techniques Weekend: Paint something just for fun—no rules
For even more inspiration and step-by-step tutorials, join my Patreon where I share watercolor tutorials, junk journaling resources, creative prompts, and a supportive community of fellow artists.
Tips for Getting the Most Out of Your Watercolor Painting
Mix Your Own Colors
Don’t reach for every color in your palette. Try mixing your own shades—you’ll get more harmonious paintings and a better understanding of color theory.
Embrace Imperfection
Watercolor is supposed to be loose and organic. Those “mistakes”? They’re often the most interesting parts of your painting.
Work from Light to Dark
You can’t make watercolor lighter once it’s on the paper (well, you can try lifting it, but it’s not the same). Always start with your lightest colors and build up to darks.
Keep a Watercolor Journal
Not every painting needs to be a masterpiece. Use a watercolor journal to experiment, test colors, and practice techniques without pressure.
Study Other Artists
Look at watercolor paintings you love. What techniques did they use? How did they handle edges, color, composition? Learn from others, then make it your own.
Your Free Printable Watercolor Color Swatch & Whimsical Watercolor Templates
Ready to start practicing? I’ve created a free printable color swatch template (download at the bottom of the page!) that helps you organize and test all your watercolor paints. It’s the perfect tool for learning how your paints behave and what colors they create when mixed.


Watercolor painting is one of those skills that seems intimidating until you just start. Then suddenly, you’re hooked. You’ll find yourself wanting to paint everything—your morning coffee, the view outside your window, flowers from your garden, abstract shapes that mean absolutely nothing but look beautiful anyway.
The key is to start simple, practice often, and give yourself permission to make messy, imperfect art. Because honestly? That’s where the magic happens.
Want more creative resources, tutorials, and printable templates? Join me over on Patreon for weekly art journaling inspiration, watercolor lessons, and a community of creative souls who love making art as much as you do.
Now grab your supplies and start painting. Your first masterpiece is waiting.
Download the Free Watercolor Templates & Swatching Chart here 👇🏻
Free Whimsical Winter Watercolor Templates 👇🏻
Free Watercolor Swatching Chart 👇🏻
Want more watercolor goodness?
I share brand new tutorials, templates, and creative resources every single week inside my Patreon community. Think: step-by-step watercolor lessons, Procreate brushes, junk journal kits, and printables you won’t find anywhere else.
It’s like having a creative friend who drops new art supplies in your mailbox every week. (Except digital. And way less expensive than my actual art supply habit.)
Join the Artsydee Patreon here and let’s create together! 🎨
What watercolor technique are you most excited to try? Let me know in the comments below!
Related Posts You’ll Love: