


Last Updated on July 12, 2026 by Dee
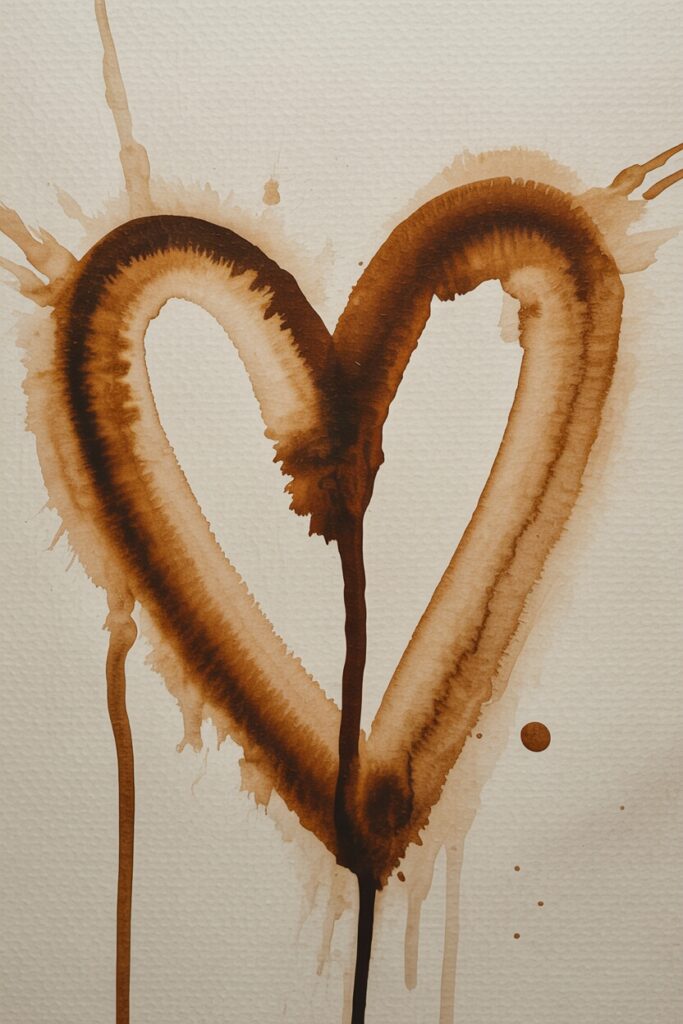
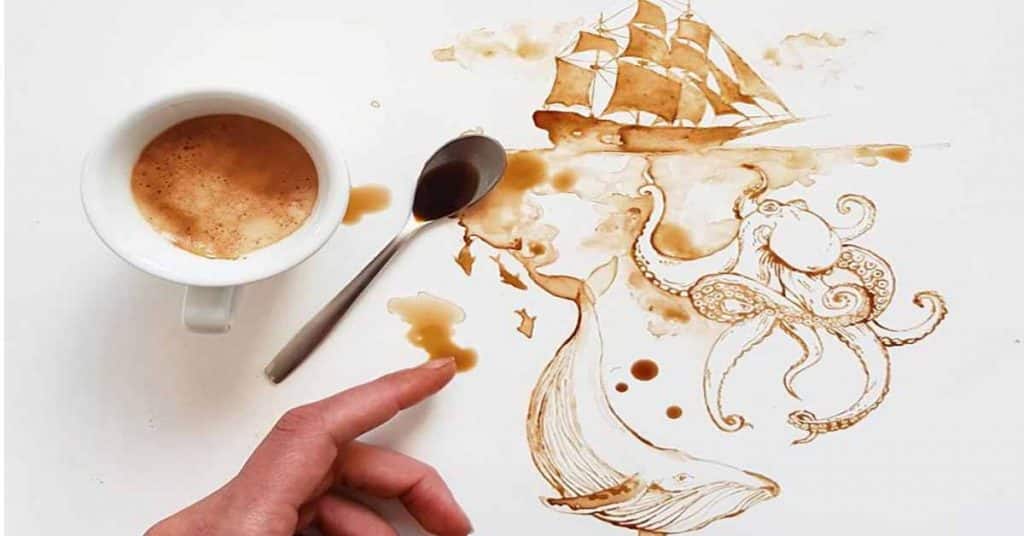
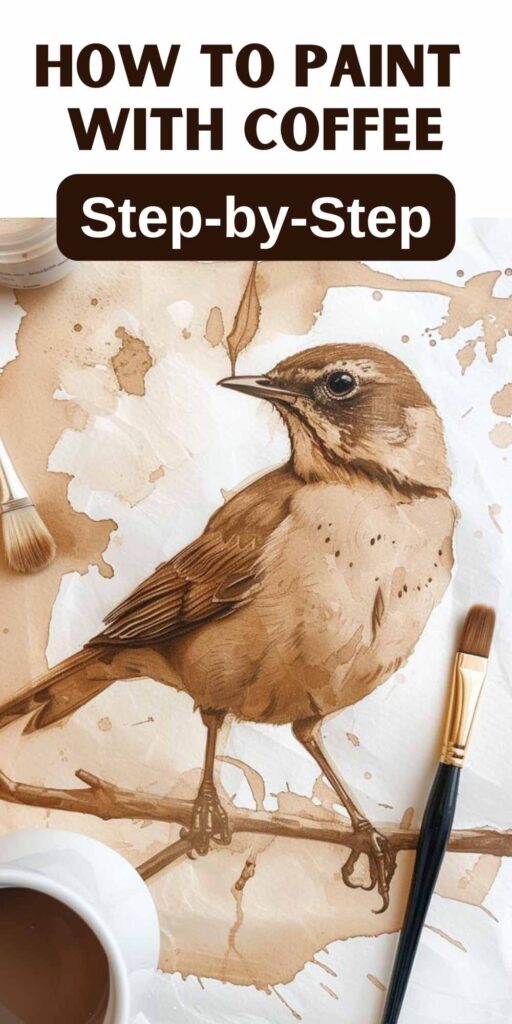
Have you tried to paint with coffee?
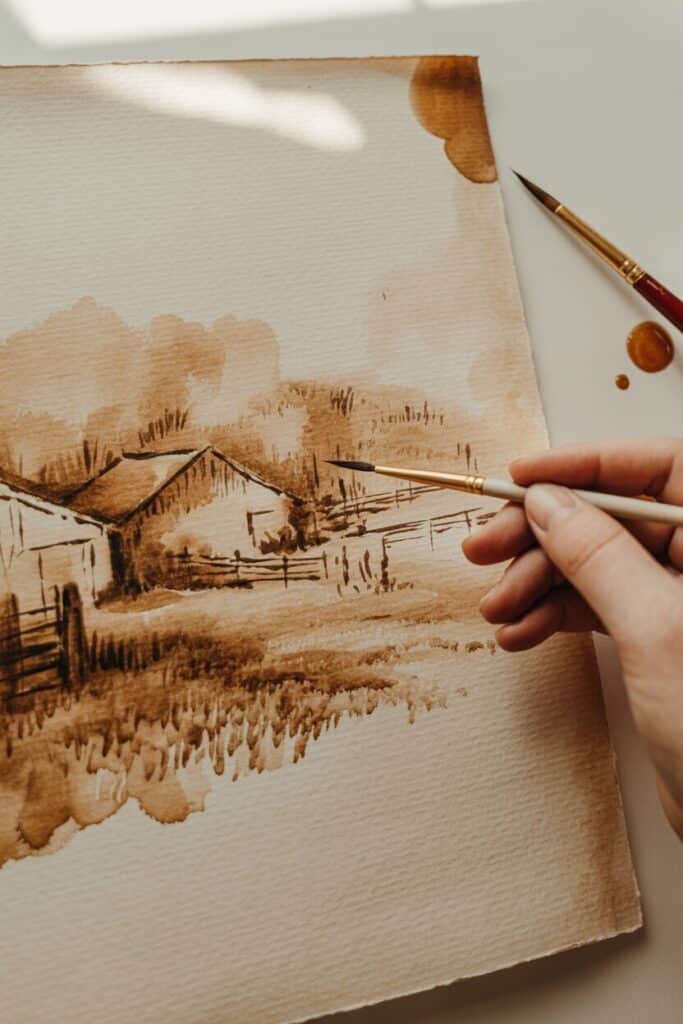
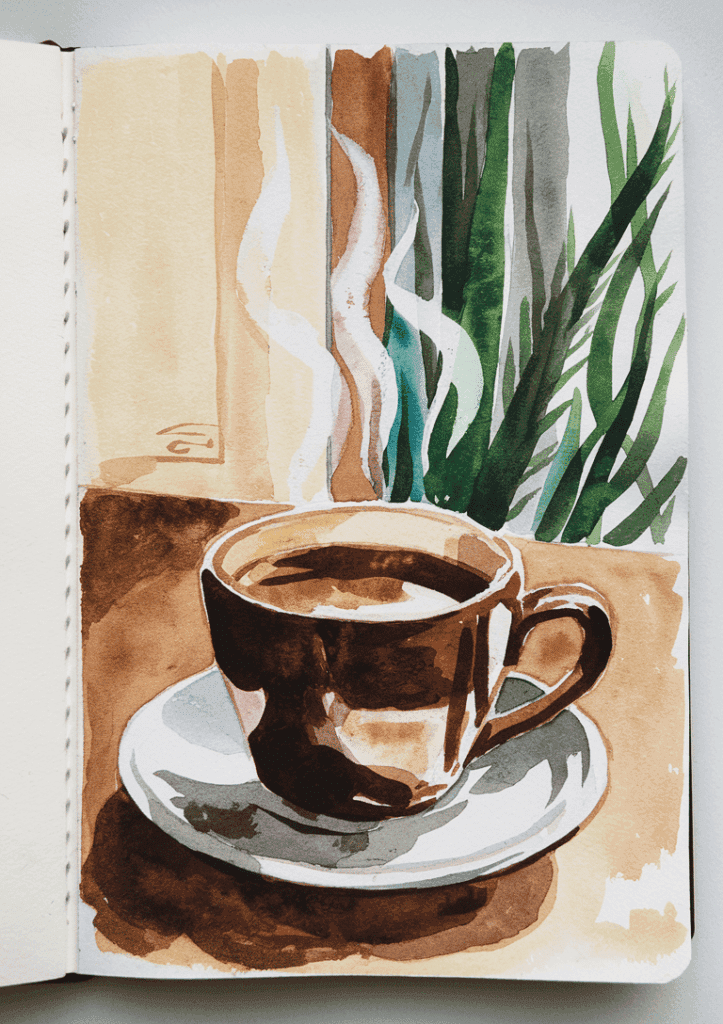
Welcome to the aromatic world of coffee beyond your morning cup—where the rich hues of this beloved beverage become the medium for your artistic expression. Painting with coffee is an innovative, eco-friendly art form that offers a sepia-toned palette and an experience that delights the senses. In this beginner-friendly guide, we’ll explore the simple steps to create your very own coffee masterpiece, from the basic setup to the final, beautiful artwork.
30+ Coffee Painting Ideas for Beginners

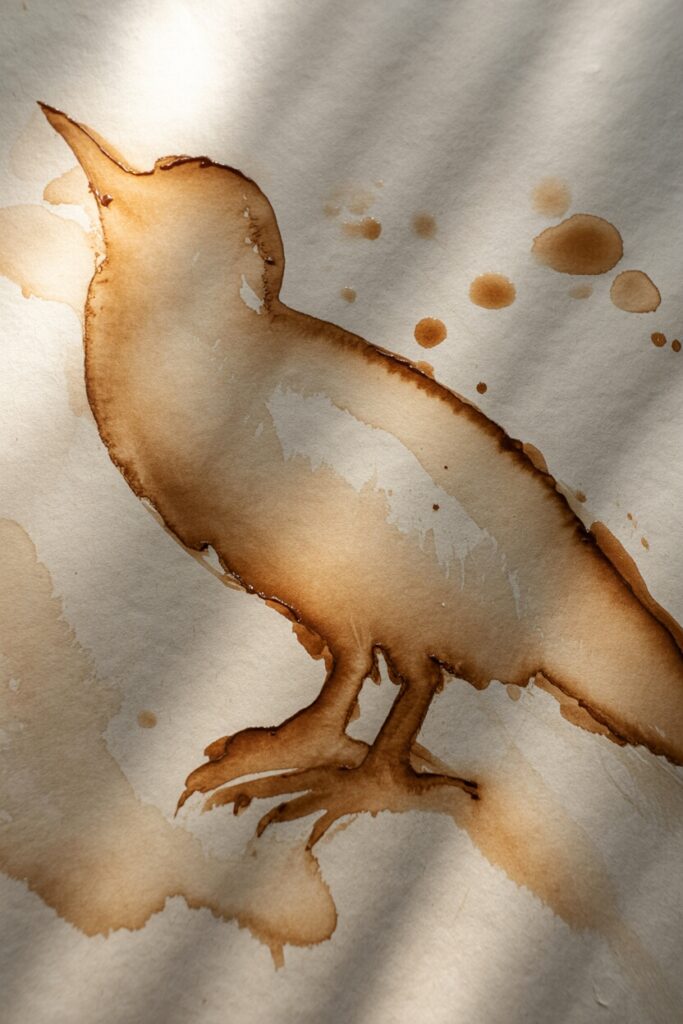
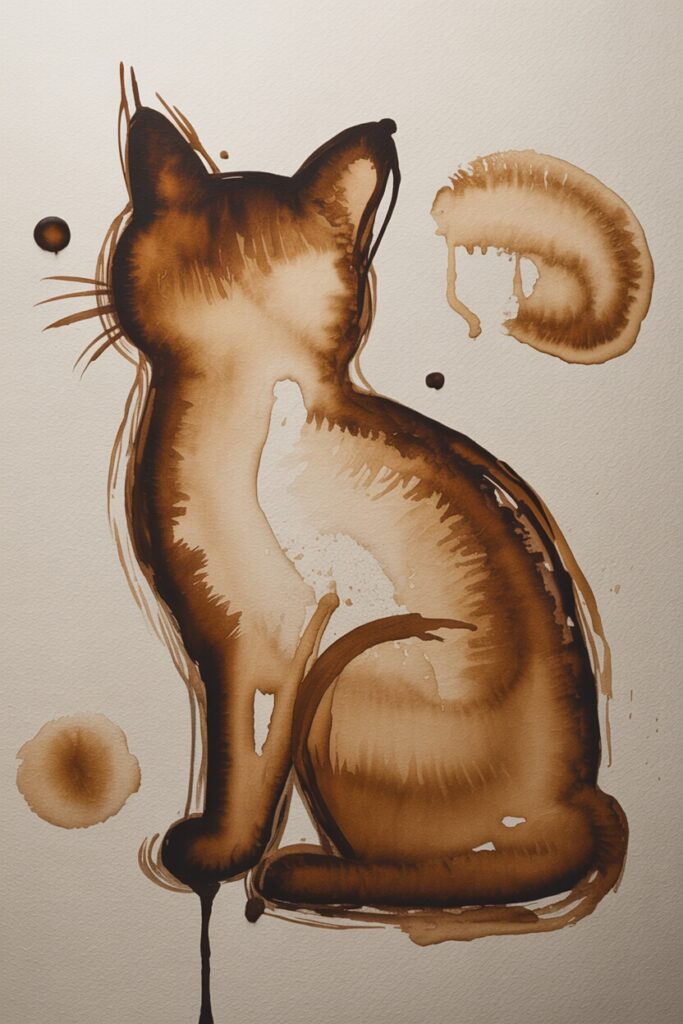
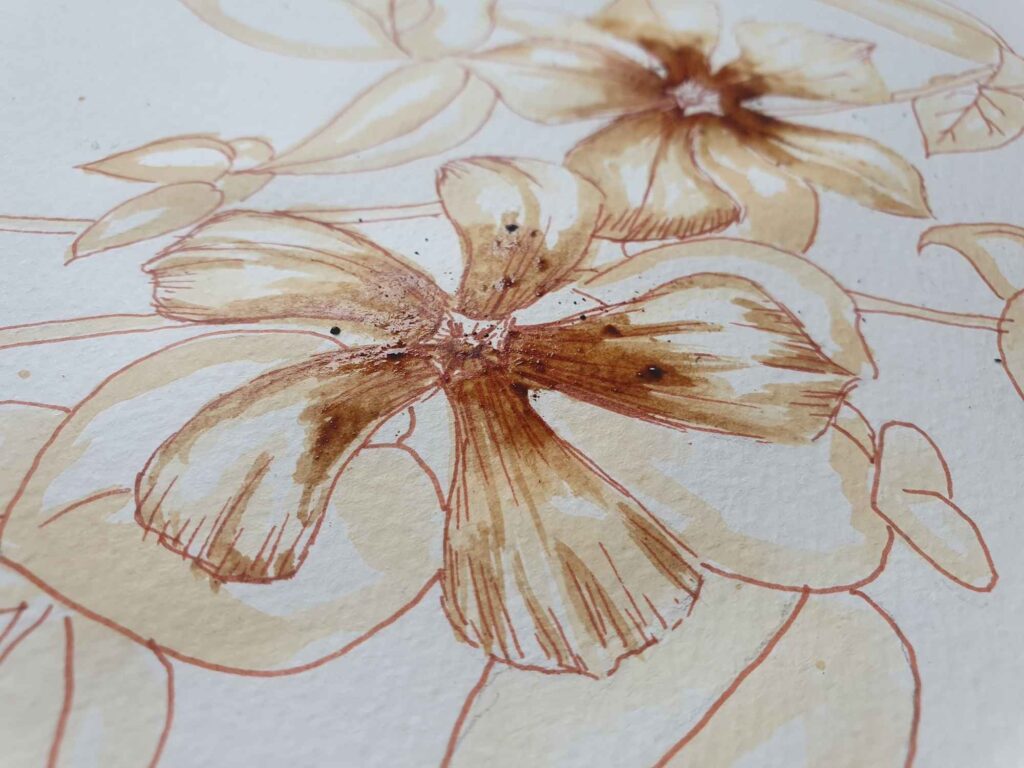
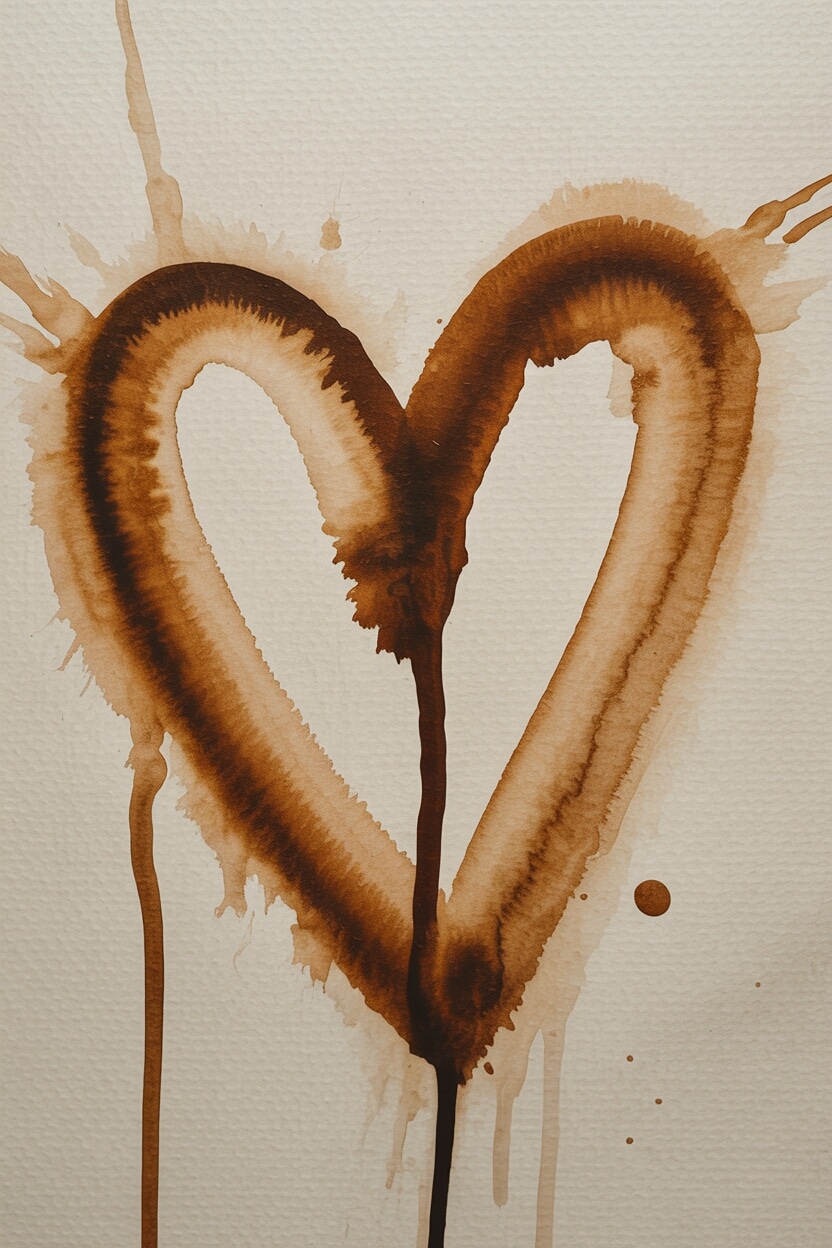
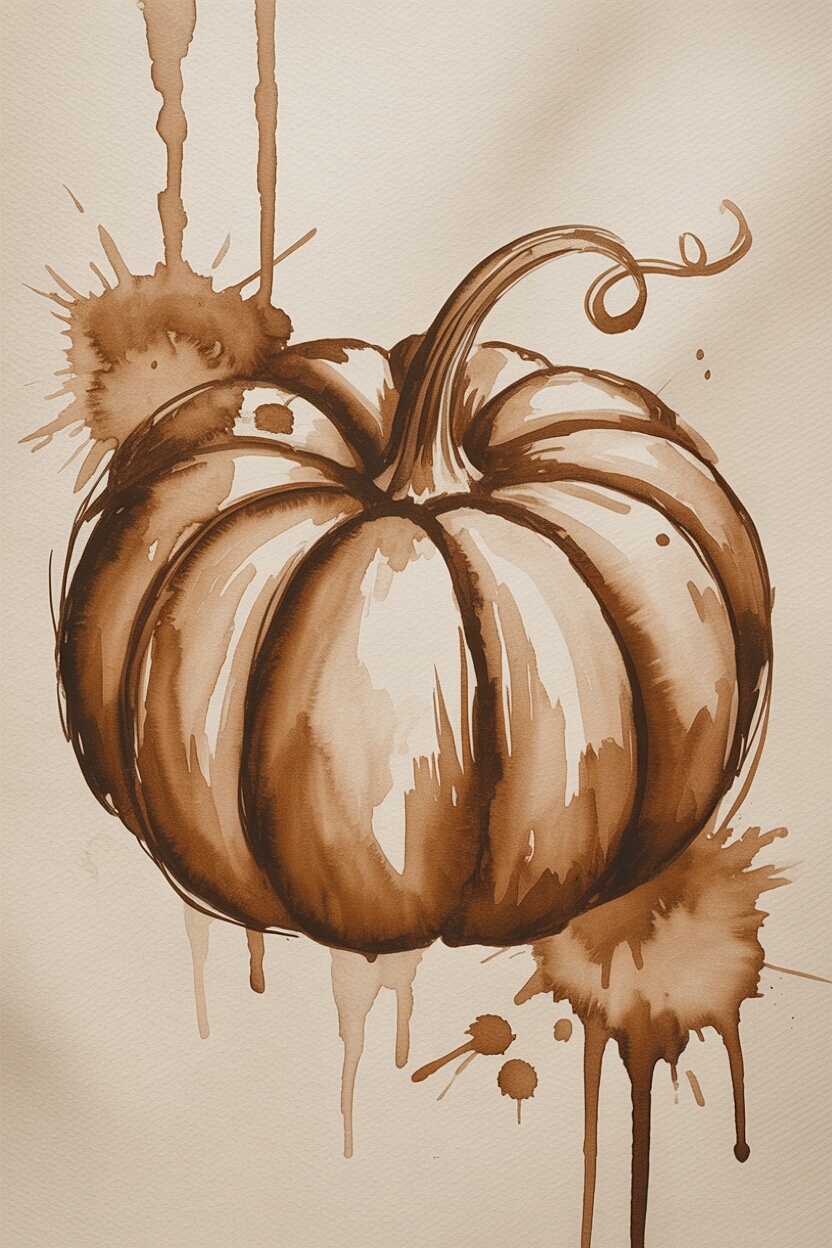
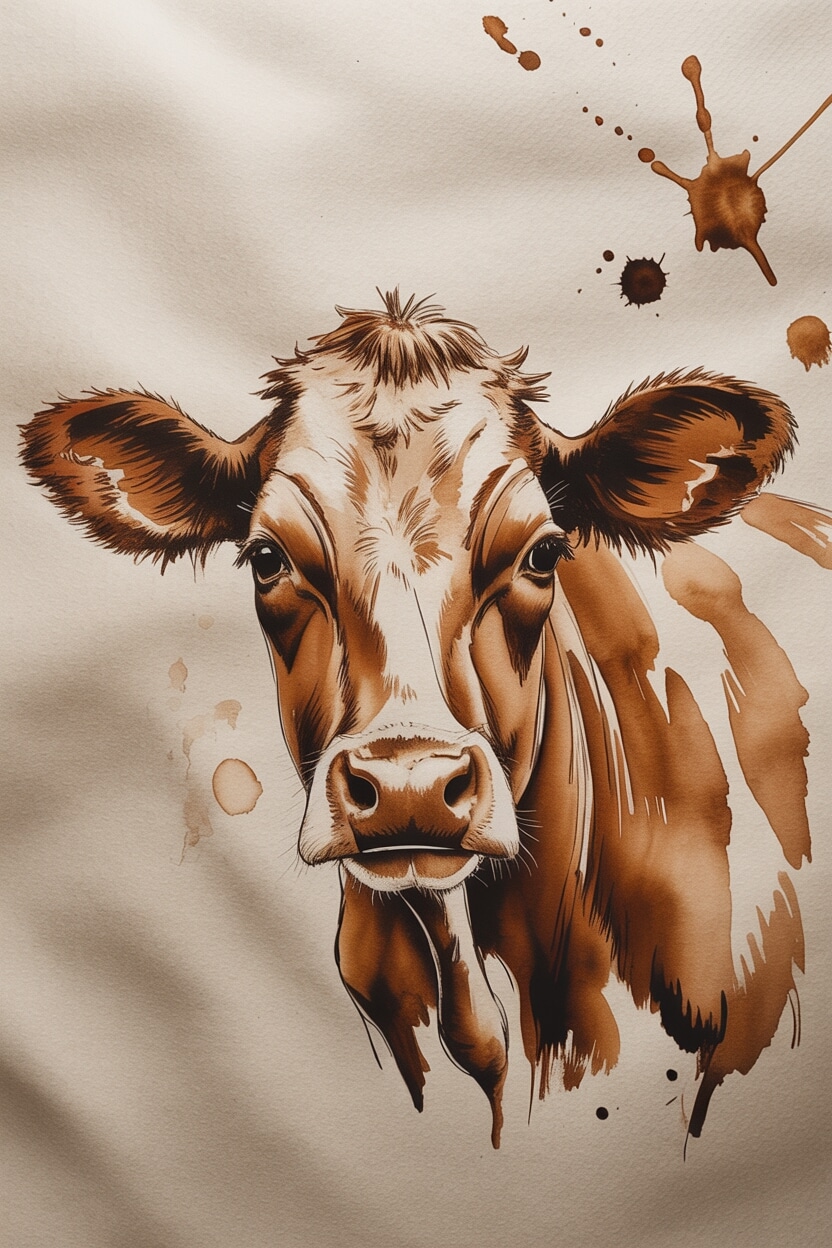
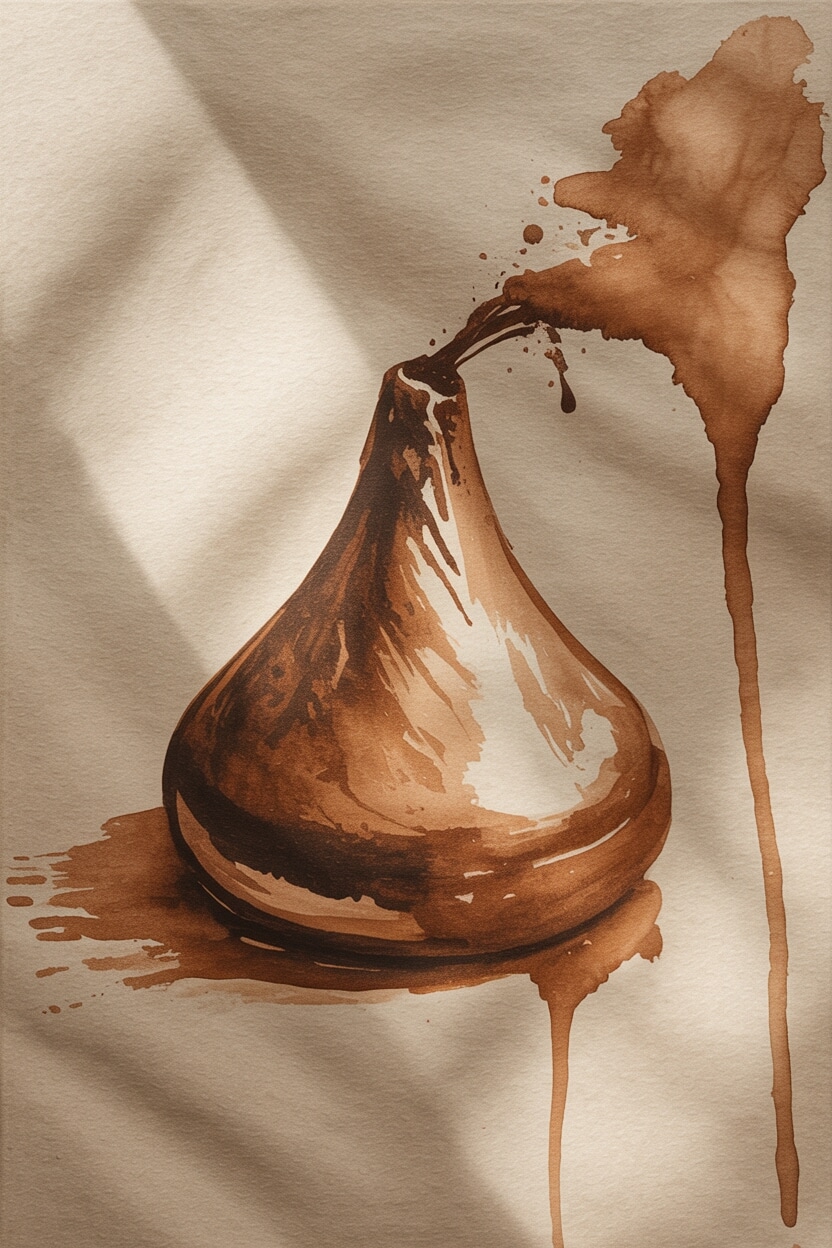
But what to paint? Don’t worry, we’ve got you covered with over 30 coffee painting ideas perfect for beginners. Whether you’re looking to capture the delicate details of a floral arrangement or the bold lines of an abstract piece, these ideas will spark your creativity and help you get started on your coffee painting journey.


Art Supplies Needed for Painting with Coffee
*This page may contain affiliate links to products I have used or recommend. If you purchase something from this page, I may receive a small percentage of the sale at no extra cost to you.**
Coffee: I simply used the instant coffee in the cupboard, which worked fine. Many people use ground coffee beans, which also work quite nicely. You can get darker values with ground coffee beans if you need them.
Paper: For this painting with coffee exercise, I used 200 gsm watercolor paper. This paper is thick enough to hold a lot of liquid and doesn’t bulk or warp. You must always choose a paper that will be thick enough, so that it doesn’t become waterlogged when painting.
Brushes: I used a range of soft bristle nylon watercolor brushes. This kind of brush helps you to move the water and coffee over the surface very gently. You can get smooth lines and washes on the paper’s surface. It’s good to use larger brushes for larger areas in your painting and smaller brushes for the detailed areas.
Paper towel: It’s always good to have a piece or two nearby to dab your brush if you have too much liquid on it. You can also use a paper towel to mop up any accidental drips on your painting or if the paint bleeds too much into another space.
[Related article: Gouache vs Acrylic Paint]
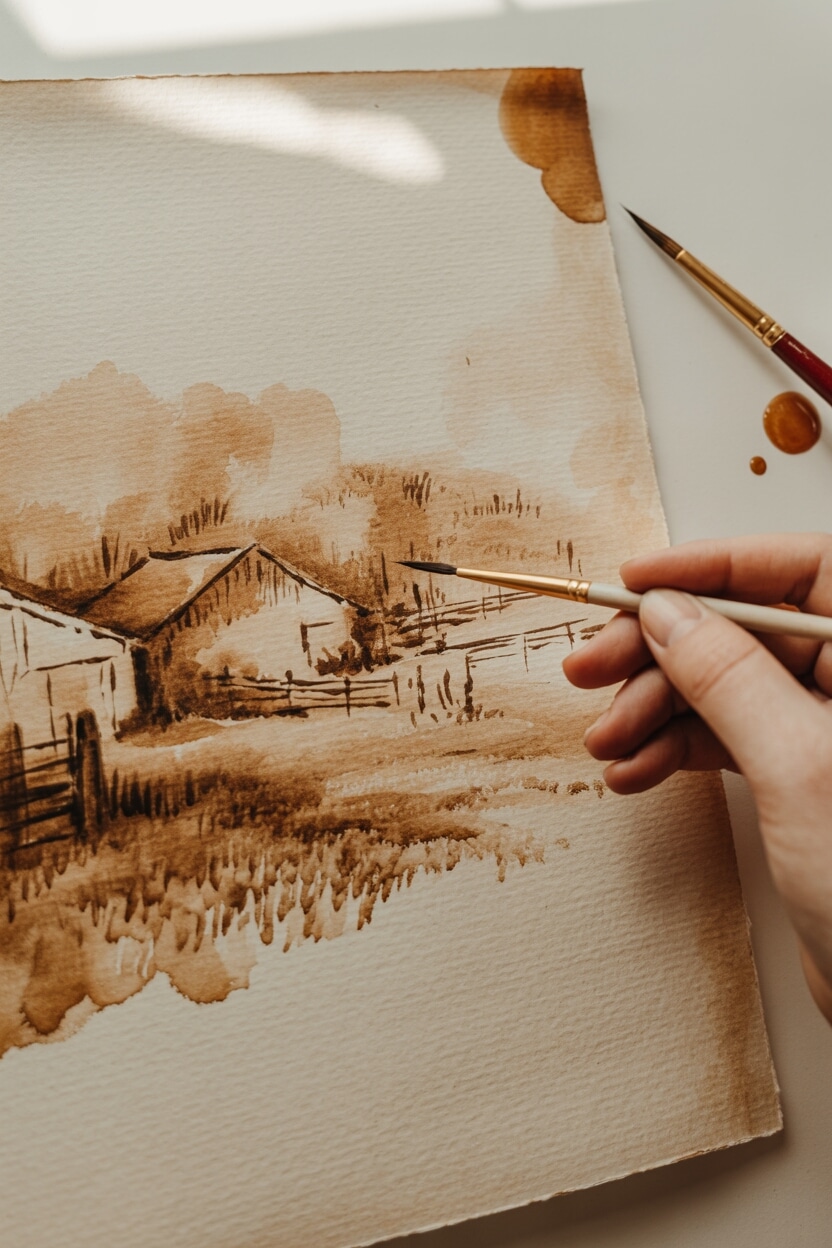
How to Paint with Coffee Step-by-Step
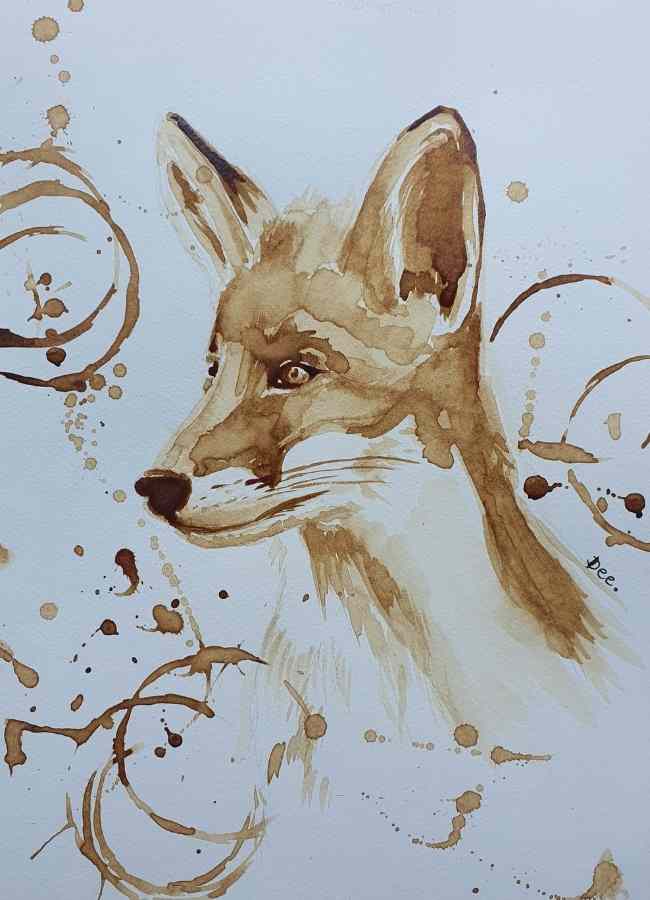
Once you have collected all your materials, you are ready to begin. Follow these steps below to start your own coffee masterpiece! If you are starting out as a first-time coffee painter, I would suggest going for something with quite a simple shape and not too much tonal variation. An apple, an egg, or one of the coffee painting ideas above are good ways to get a handle on the medium. I chose to paint a fox as we have three very sweet foxes that visit our garden occasionally, and I love watching them jump and play with one another.
Step 1
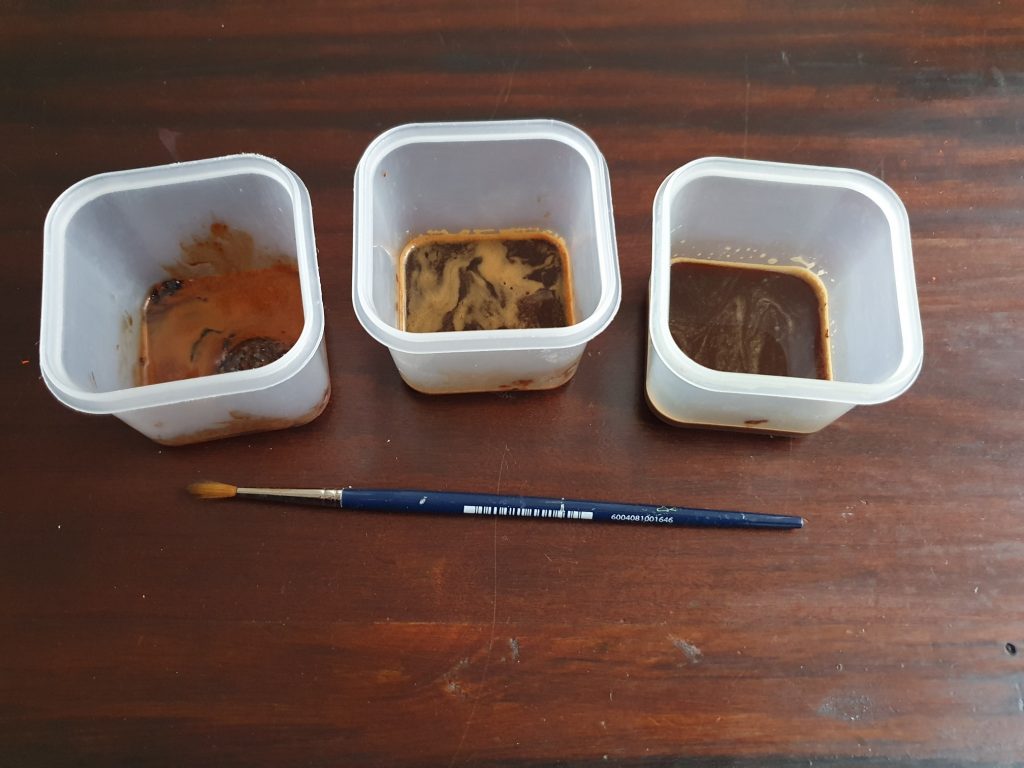
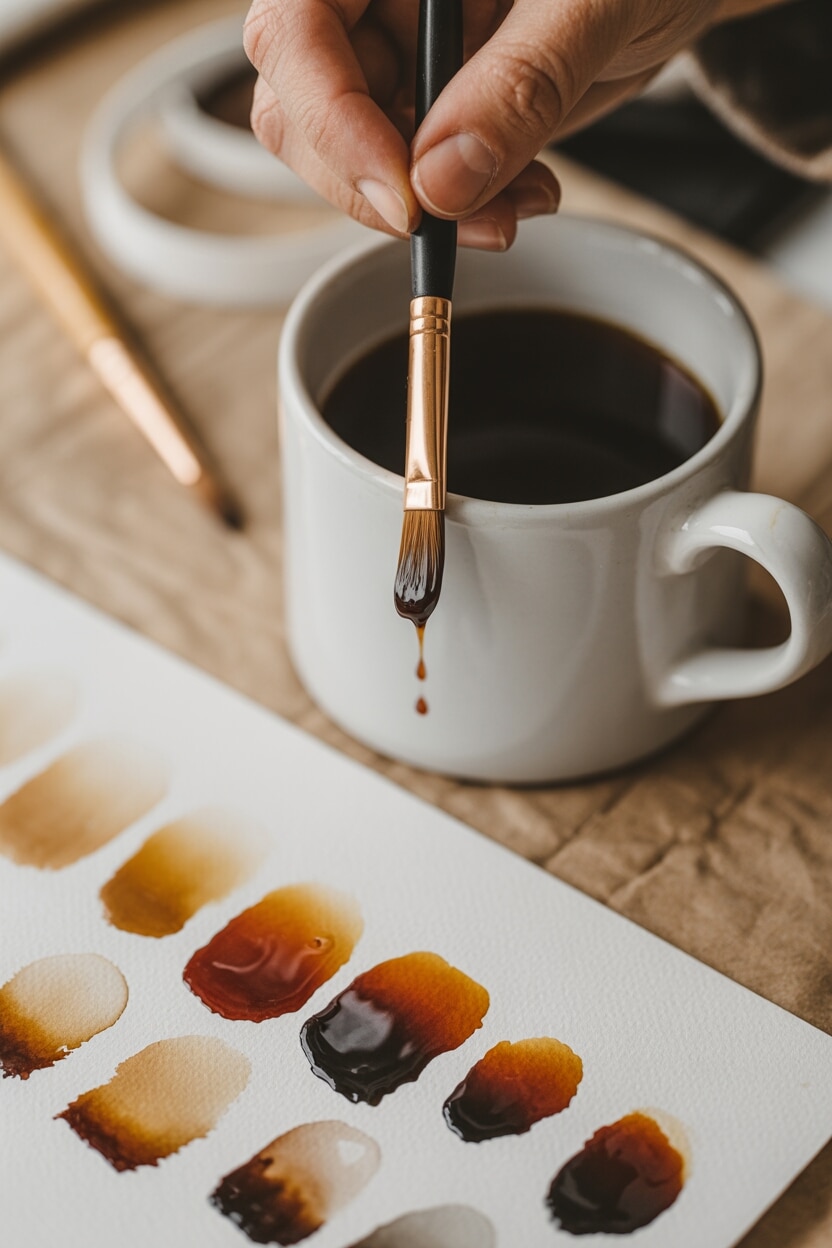
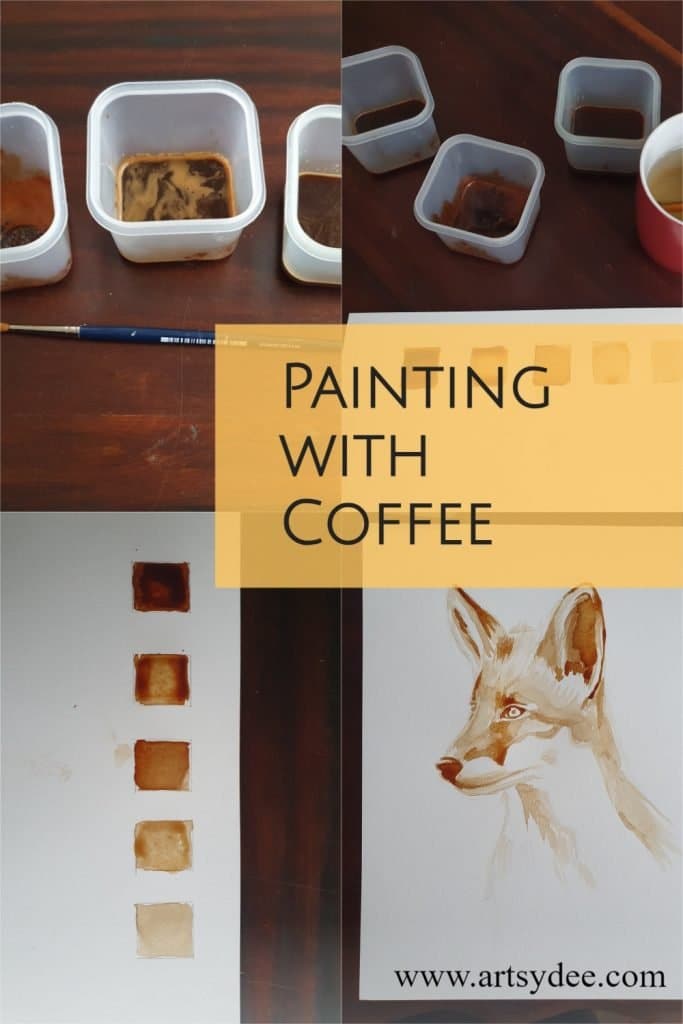
- Put a teaspoon of coffee in three little containers.
- Put a teaspoon of water in the first container, two tablespoons in the second, and 3 in the third. This gives you a nice variation in the tonal value of the coffee.
- Stir the liquid in each container.
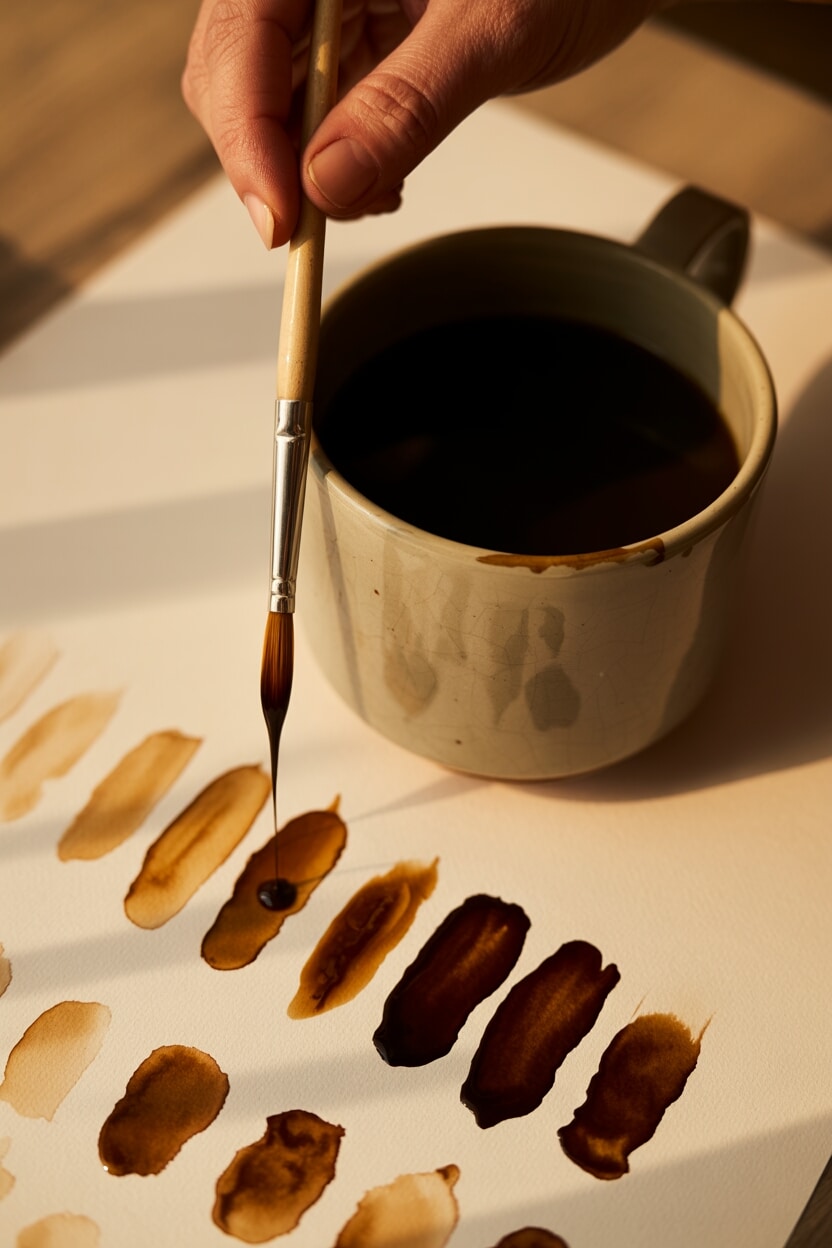
Step 2
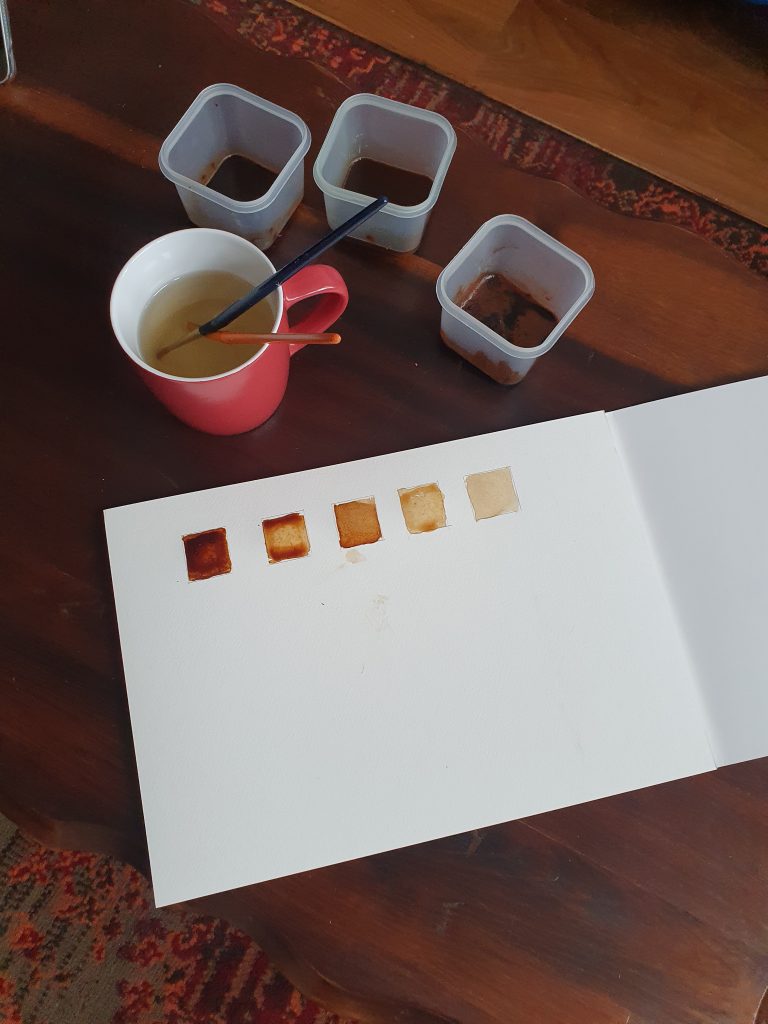
- Draw five blocks and paint out a graded set of tonal variations for yourself. You can use this to assess what tones are needed where on your painting. This also gives you a sense of what the coffee feels like when you paint it on the paper.
Step 3
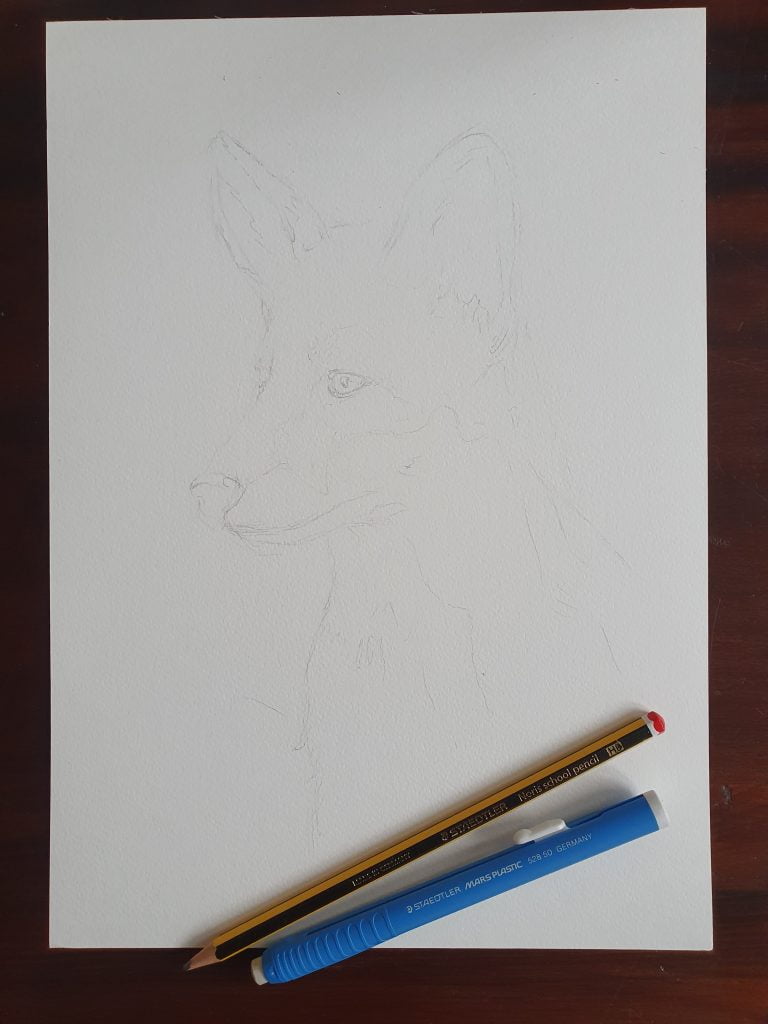
Lightly draw the outline of your subject matter onto your paper. I used pencil for this and then gently tried to erase as much of the visible mark as possible before I began. Once you paint over the pencil you can no longer erase it, so best to do that before you start painitng if you don’t want the pencil marks to be evident. I quite like the look of the pencil marks left visible. It gives the artwork a retro feel.
Step 4
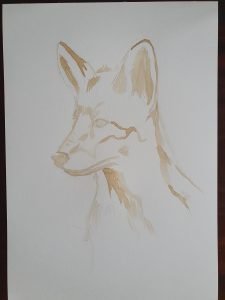
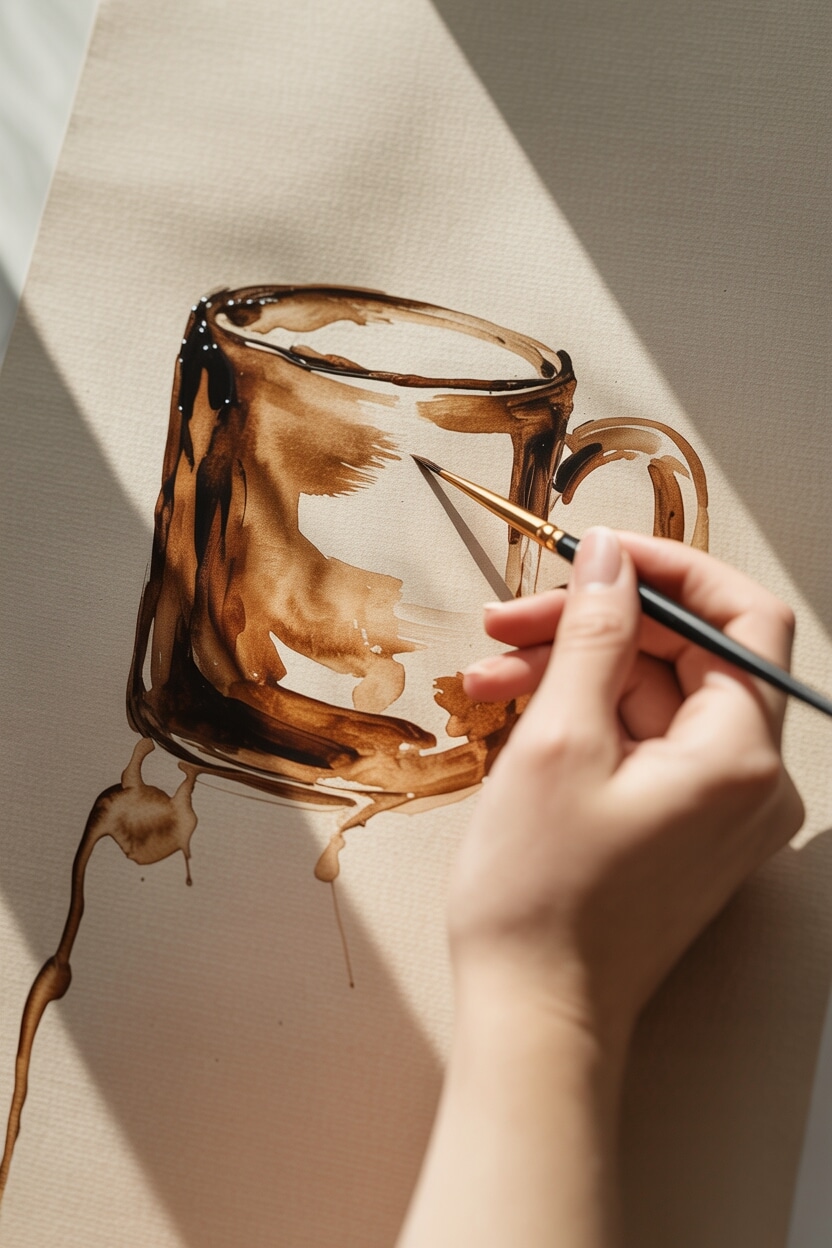
Use the lightest coffee tone to start mapping out your subject matter. Work into the shadow areas and leave your highlights white.
Step 5
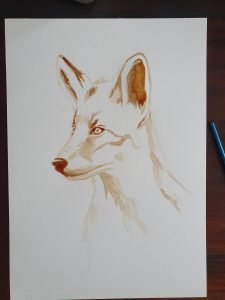
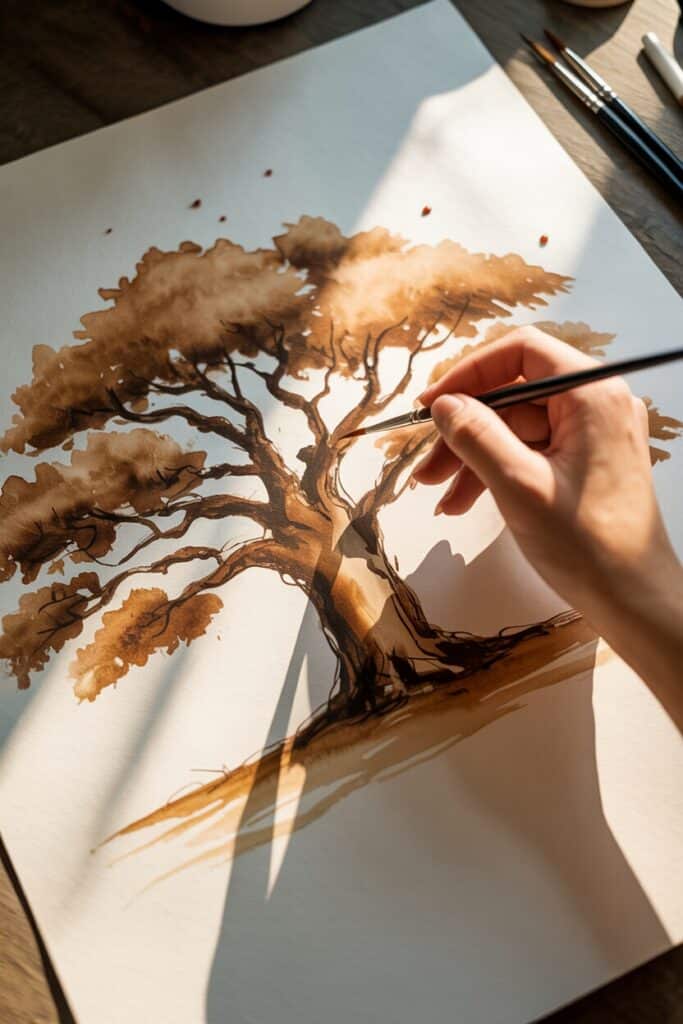
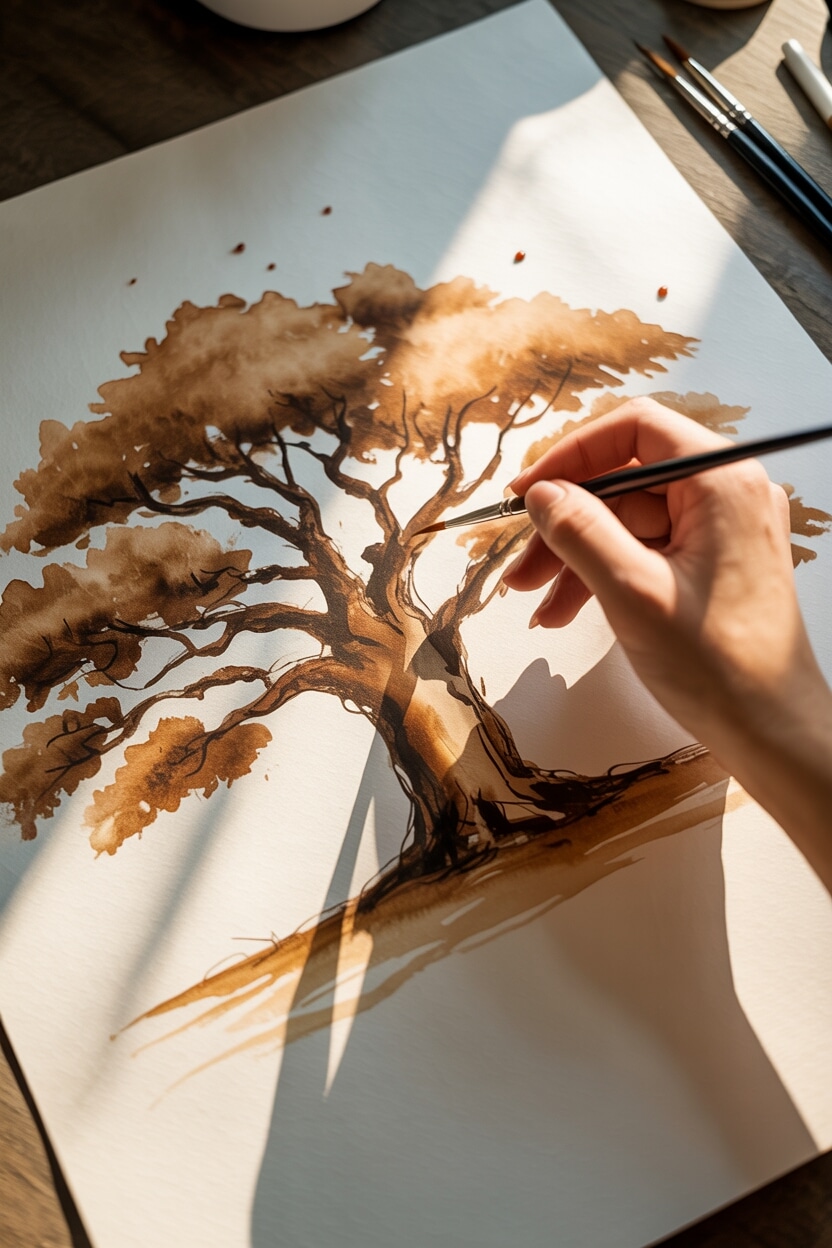
Work further into your darker areas and start painting in your mid tones. Like watercolor paint, coffee is a medium you can layer quite easily. The layering technique is essentially where you paint a wash of coffee and let it dry. You then paint another layer on top of this, which darkens the color of the paint. The more layers you paint on top of one another the deeper and richer your paint effect is.
Step 6
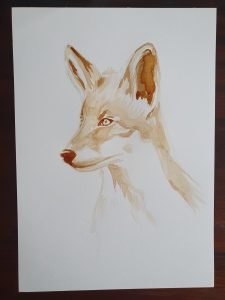
Increase the detail in the subject matter. Paint further into your darker areas. Define shapes.
Be sure to let your darkest areas dry completely before you paint lighter areas around them. If they are not completely dry then the coffee will bleed into the light spaces.
Step 7

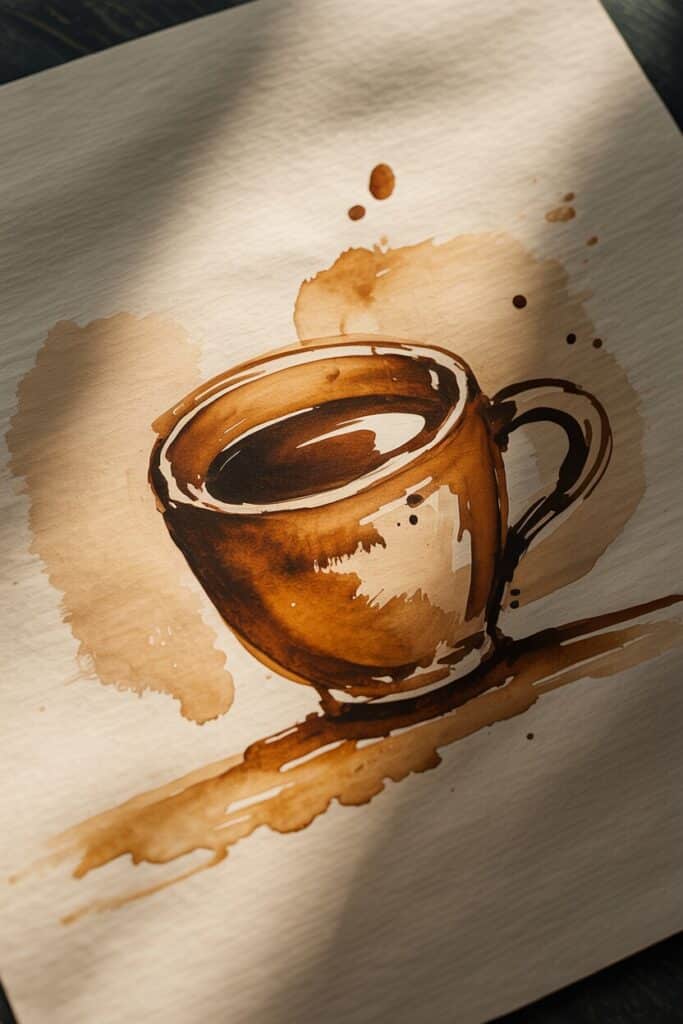
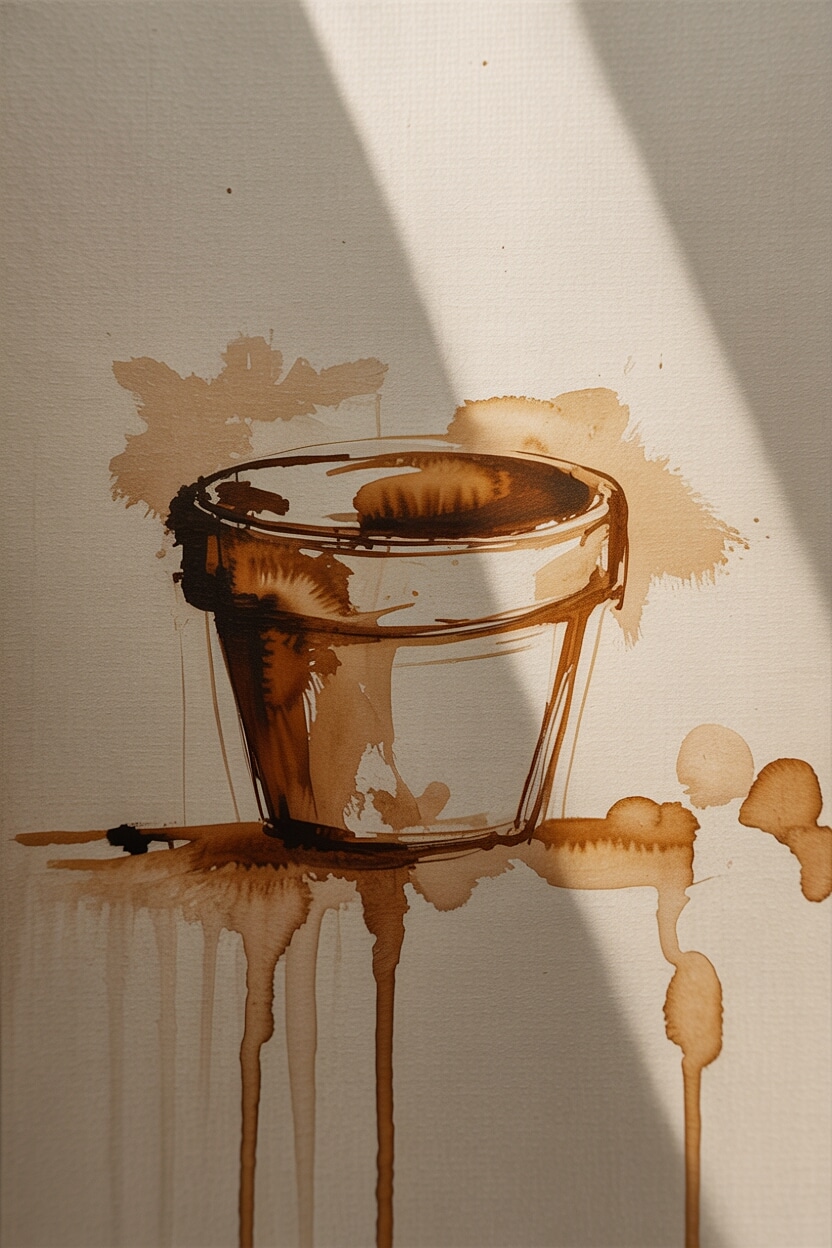
At this point, I added the whiskers and started to plan for a coffee mug stain effect to add a design element to the background of the painting.
Step 8
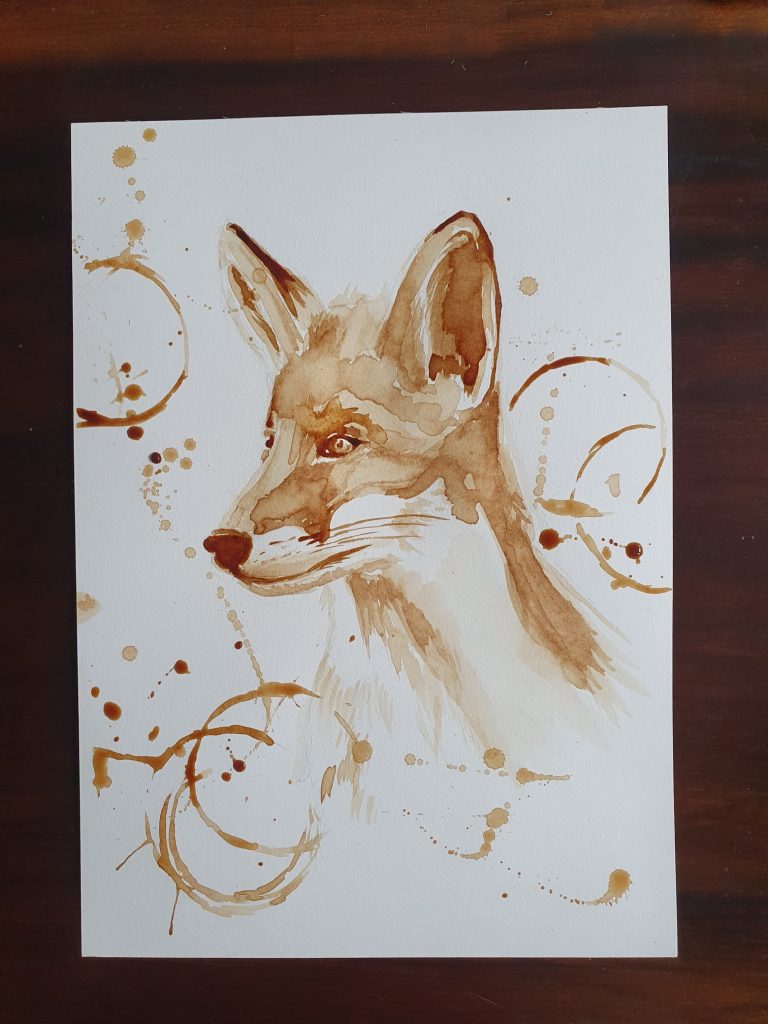
Lastly, I added the coffee stain pattern to the background. Don’t forget to sign your artwork!
Final Thoughts About Painting with Coffee
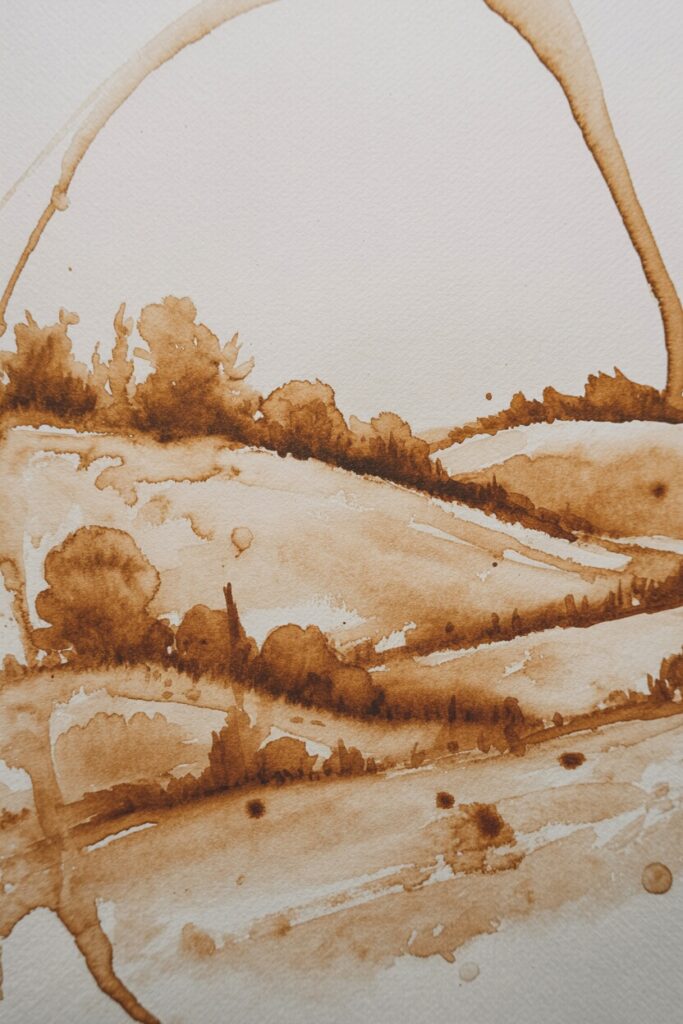
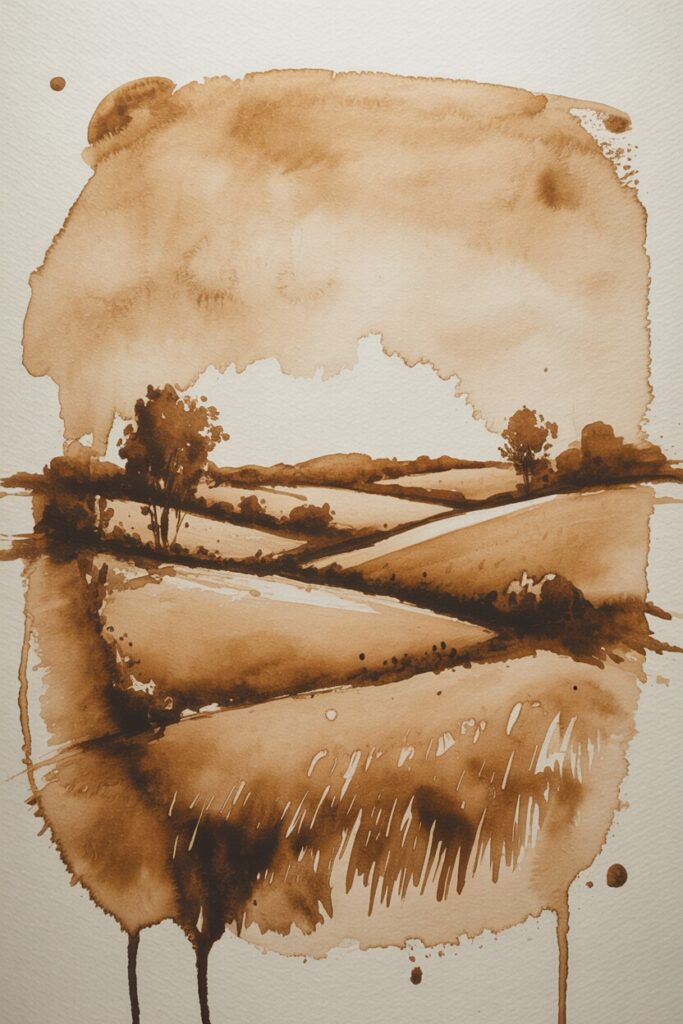
Painting with coffee has proven to be a delightful and versatile medium that offers a unique experience for artists of all levels. The rich, earthy tones and natural gradients you can achieve with coffee are truly captivating. I’m eager to hear about your own adventures in coffee painting—whether you found joy in the process, the aroma that accompanied your art session, or the rustic charm that coffee brings to your artwork.
Share your coffee-painted creations and let’s celebrate the beauty and creativity that this unconventional medium can brew!
Painting with Coffee: FAQ
Can you really paint with coffee?
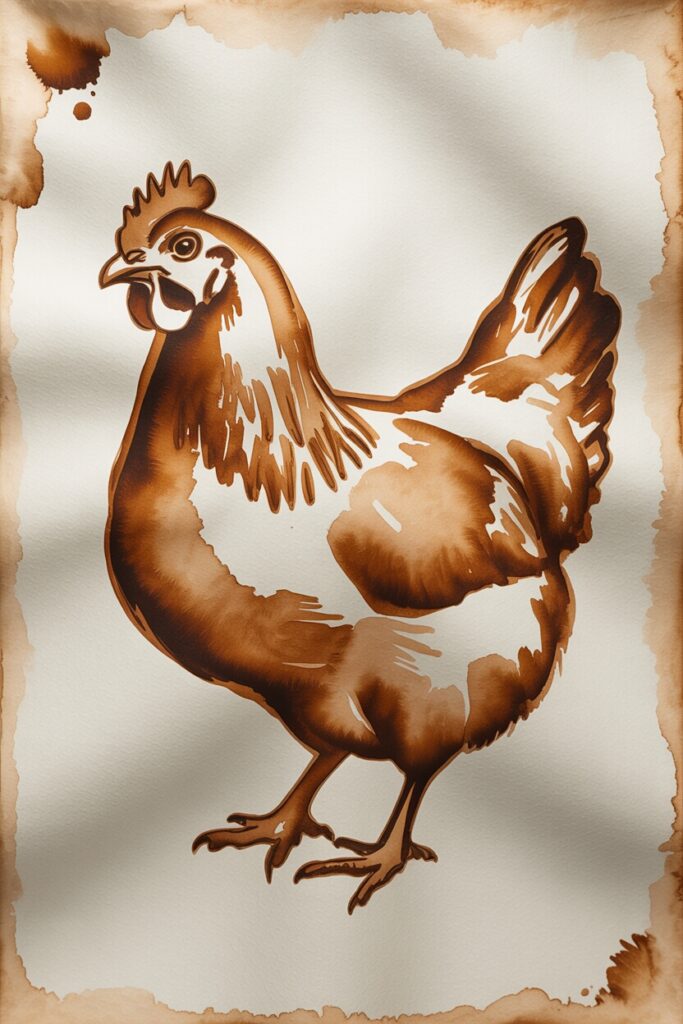
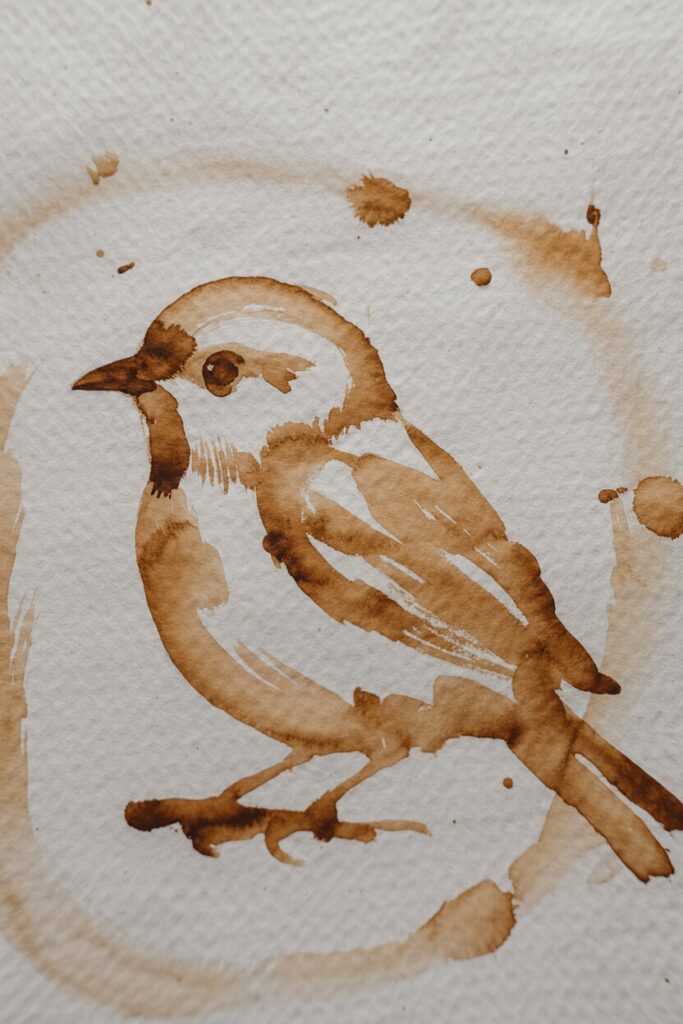
You can, and it is genuinely lovely. Coffee gives you a warm, sepia-toned palette that behaves a lot like watercolour, and it is an eco-friendly way to make art from something already in your cupboard. I have painted foxes, a robin, and a koi fish entirely in coffee, and the earthy tones have a real charm to them.
What kind of coffee works best for painting?
Instant coffee straight from the cupboard works perfectly well, which is what I used. If you want richer, darker values, ground coffee beans will get you there. Either way, you are just mixing coffee with water, so there is no special paint to buy.
What paper and brushes do I need?
Use a thick watercolour paper, around 200 gsm or heavier, so it can soak up plenty of liquid without warping or going soggy. For brushes, soft nylon watercolour brushes let you move the coffee gently across the page for smooth washes. Keep a paper towel handy to dab excess liquid and catch any drips.
How do you make different shades of coffee paint?
Set out three little containers, each with a teaspoon of coffee. Add one teaspoon of water to the first, two tablespoons to the second, and three to the third, then stir. That gives you light, medium, and dark tones. Paint a quick swatch of five graded blocks first so you can see the range before you start your piece.
How do you build up a coffee painting?
Work light to dark, just like watercolour. Map out your subject with the lightest tone and leave your highlights as bare white paper. Then layer your mid and dark tones on top, letting each layer dry fully before adding the next so the colours do not bleed. The more layers you build, the deeper and richer the finish.
Is coffee painting good for beginners?
It is one of the friendliest ways to start painting. It costs almost nothing, there is no pressure, and the medium is forgiving. If it is your first time, pick something with a simple shape and not too much tonal variation, like an apple or an egg, to get a feel for how the coffee moves on the paper.
Do the pencil guidelines show through the coffee?
They can, so sketch your outline lightly and erase as much as you can before you paint, because once coffee goes over the pencil you cannot rub it out. That said, I actually like leaving faint pencil marks visible. It gives the finished piece a lovely retro, hand-made feel.
This is super cool! I can’t wait to try it.
Wow, this is really cool! I had no idea you could paint with coffee 🙂
Great article! I’ve never painted with coffee, but I’ve always wanted to try it because of the lovely brown tones you can create. In fact, I think it would be cool to paint an old school map with coffee. Thanks for sharing this idea!
THIS IS GREAT, HAVE YOU TRIED IT WITH FABRIC? i PAINT ON FABRIC BUT NEVER TRIED COFFEE.
Bom dia!
Já tinha visto a técnica, mas a forma como nos explicou foi a mais acessível de todas!
Agradeço por compartilhar e criei uma pasta no Pinterest especialmente sobre sua arte
Gratidão!