


Last Updated on June 23, 2026 by Dee
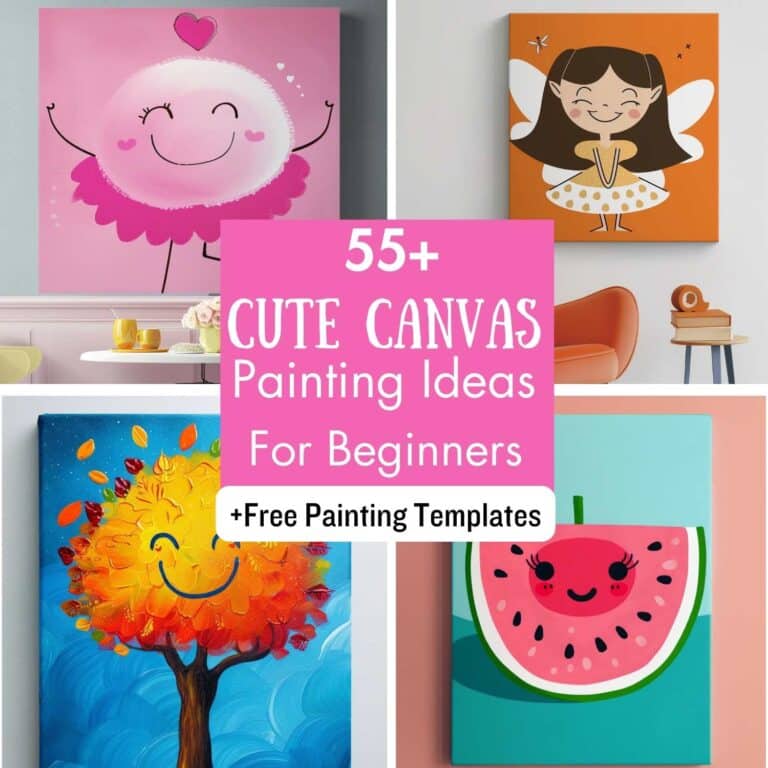
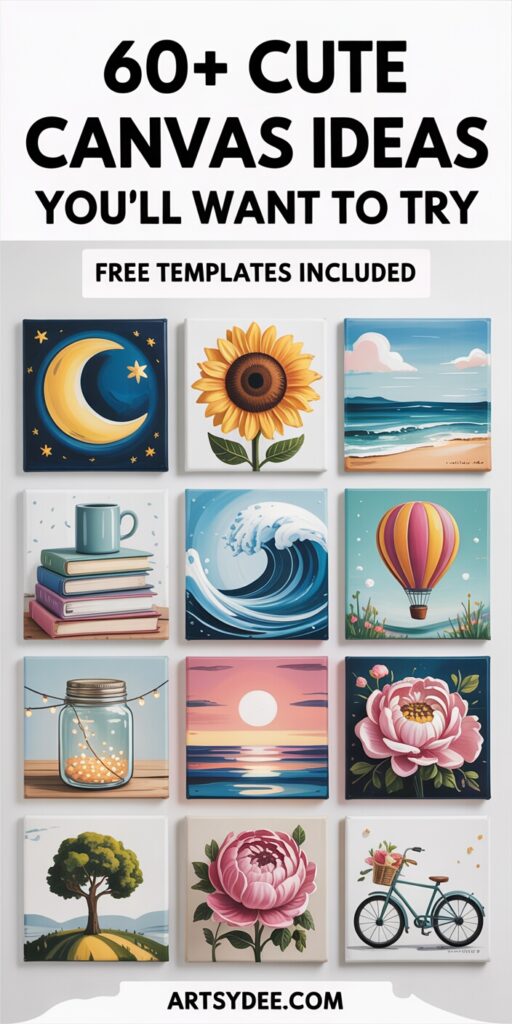
Want to paint something cute but not sure where to start? These 60+ cute canvas painting ideas are perfect for beginners — simple shapes, cheerful colours, and designs that actually look good even if you’ve never picked up a brush before. You’ll find cosy scenes, dreamy moons, sweet florals, adorable animals, and plenty more. And the best part? I’ve included FREE printable templates so you can trace the designs straight onto your canvas. No drawing skills needed. Grab your free templates below and start painting!
Grab the Free Cute Painting Templates HERE (below)!
Table of Contents

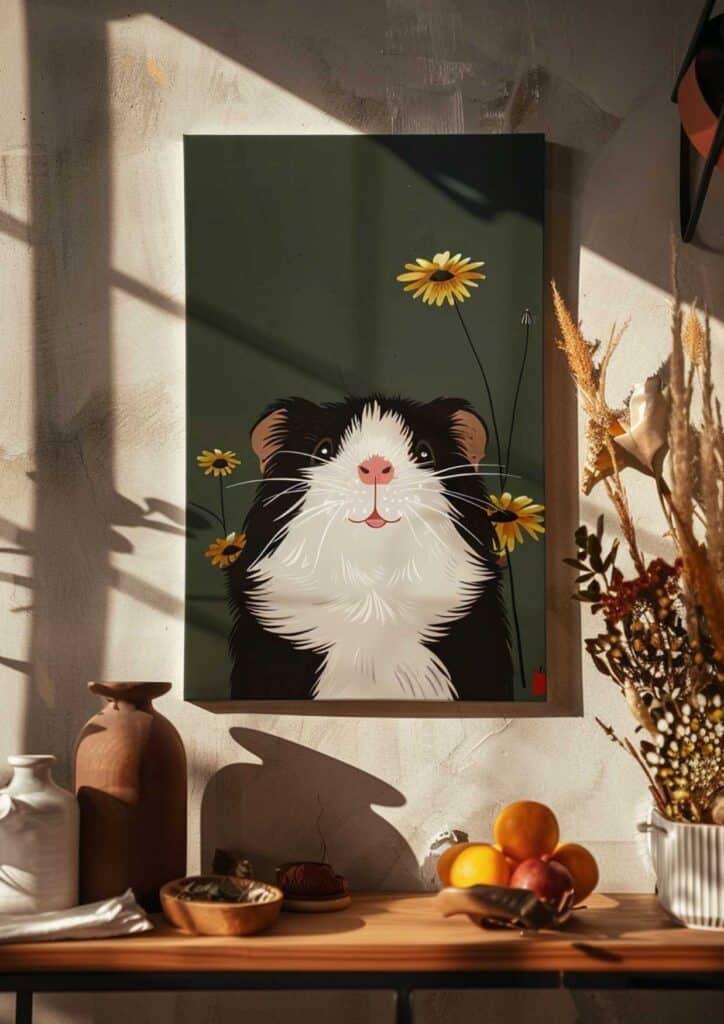
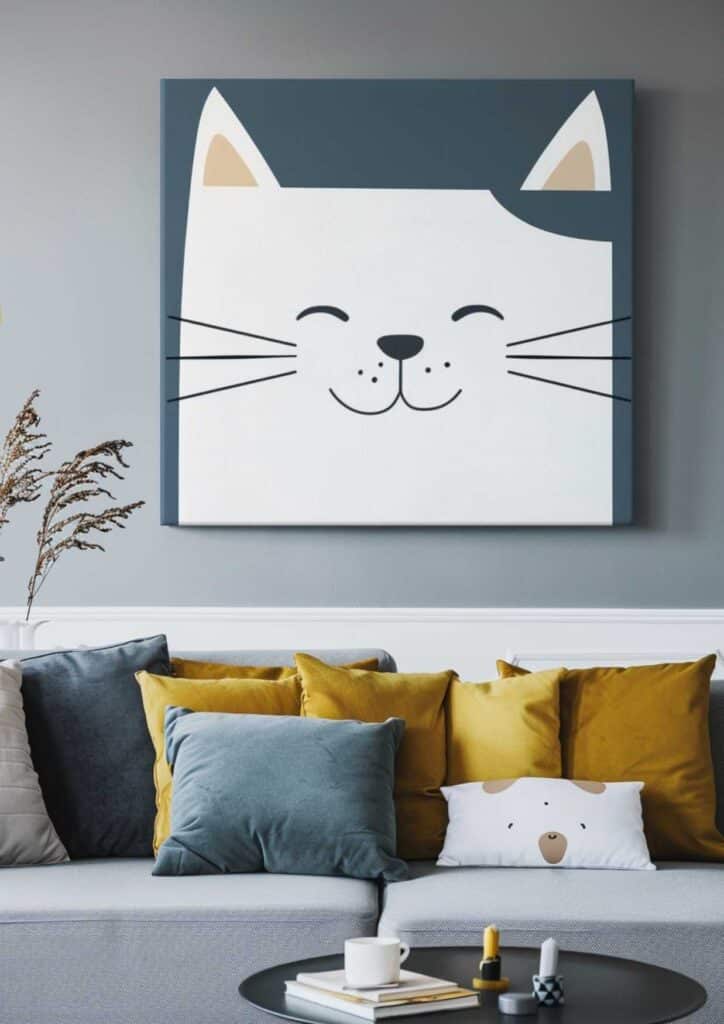
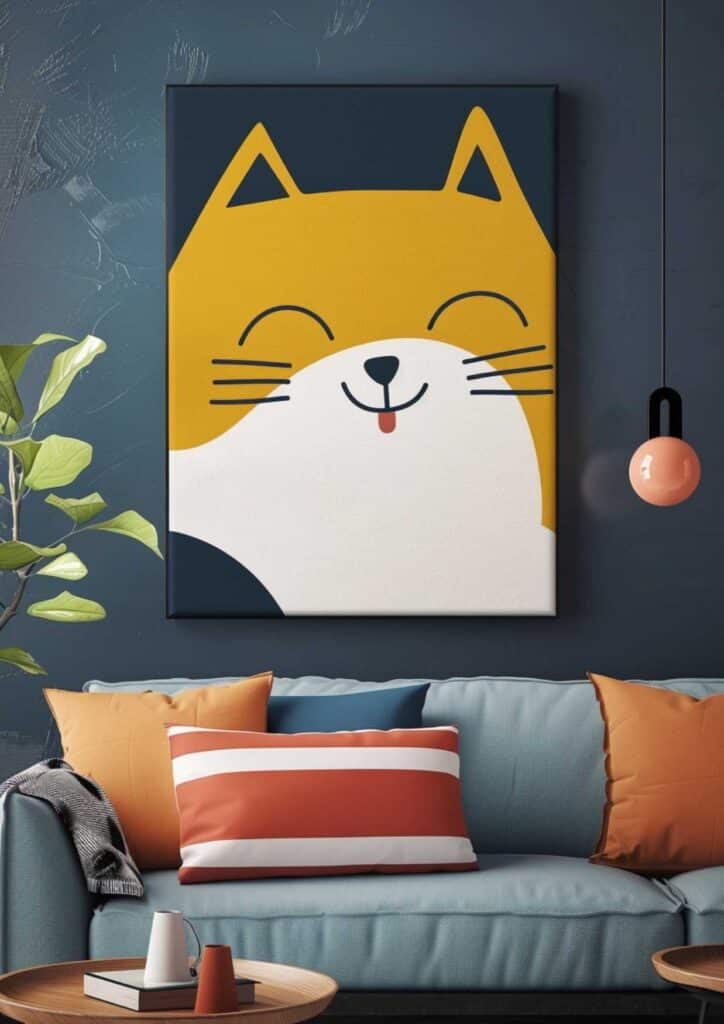
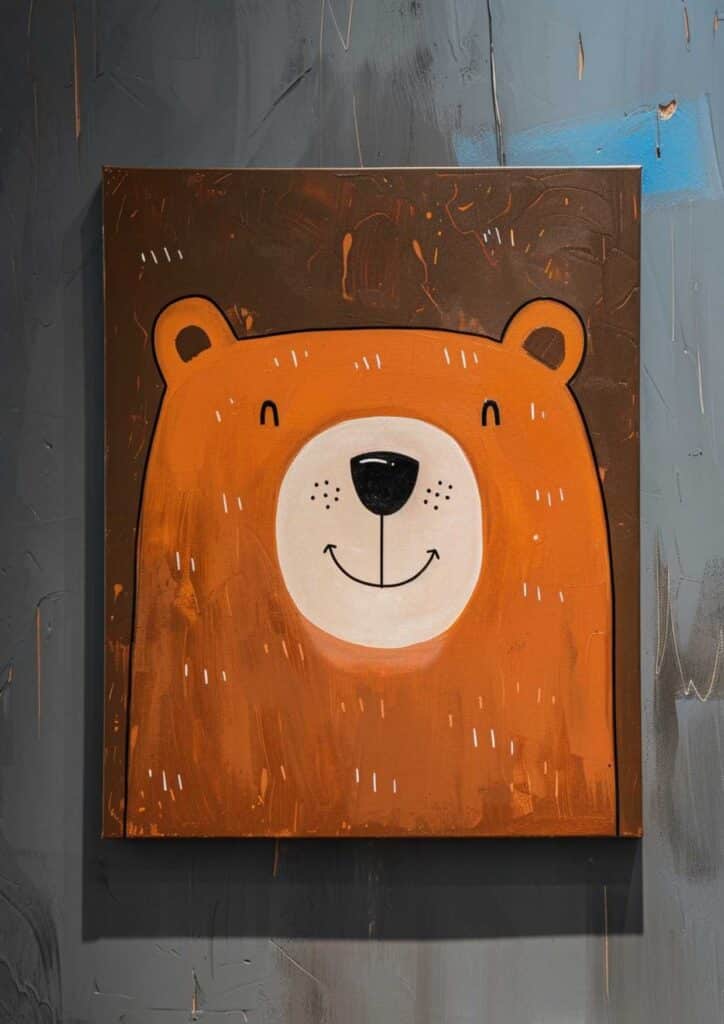
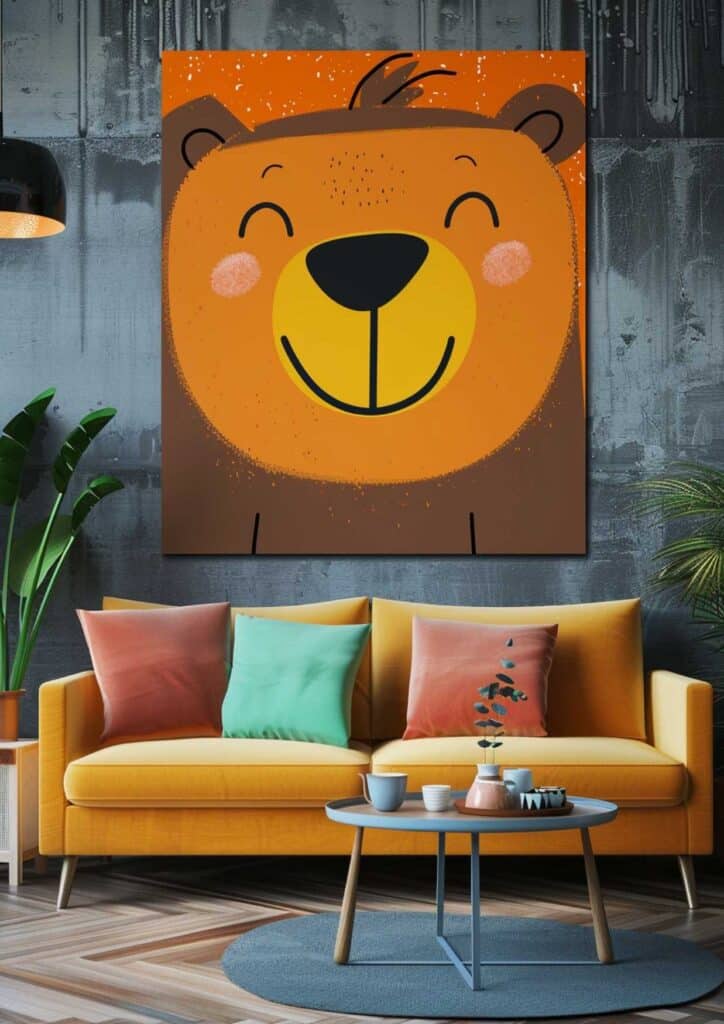
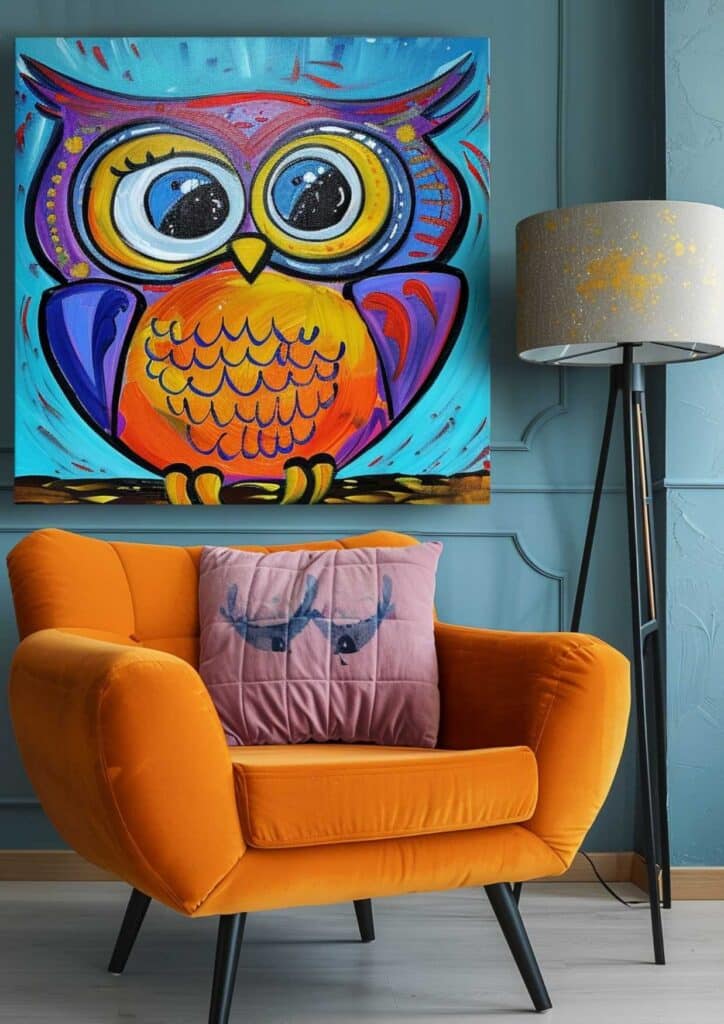
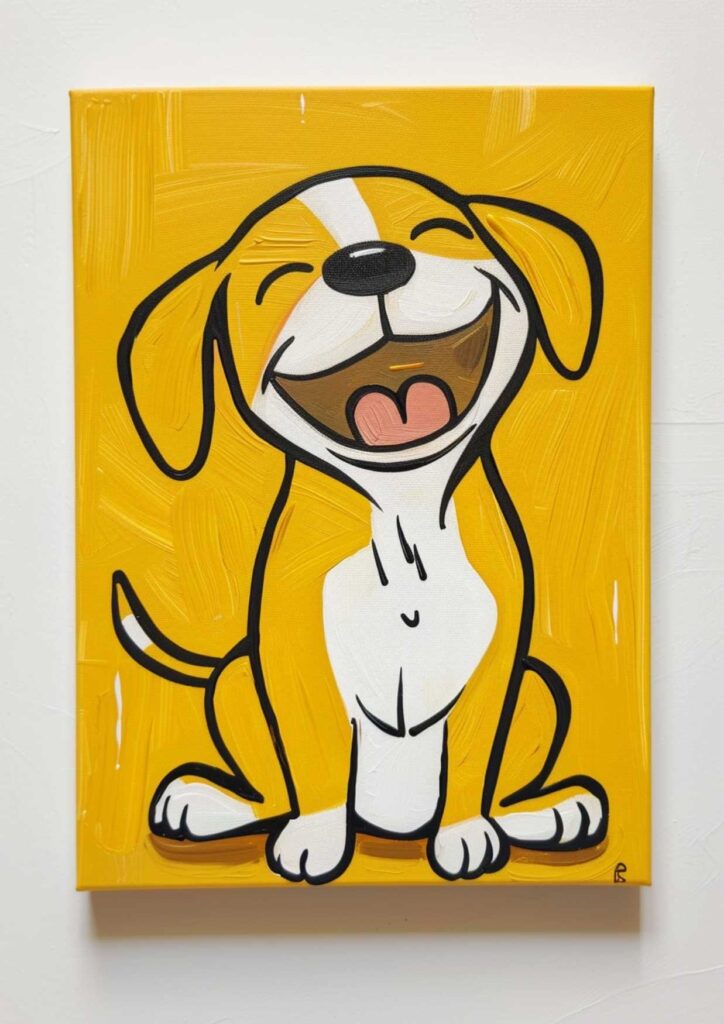
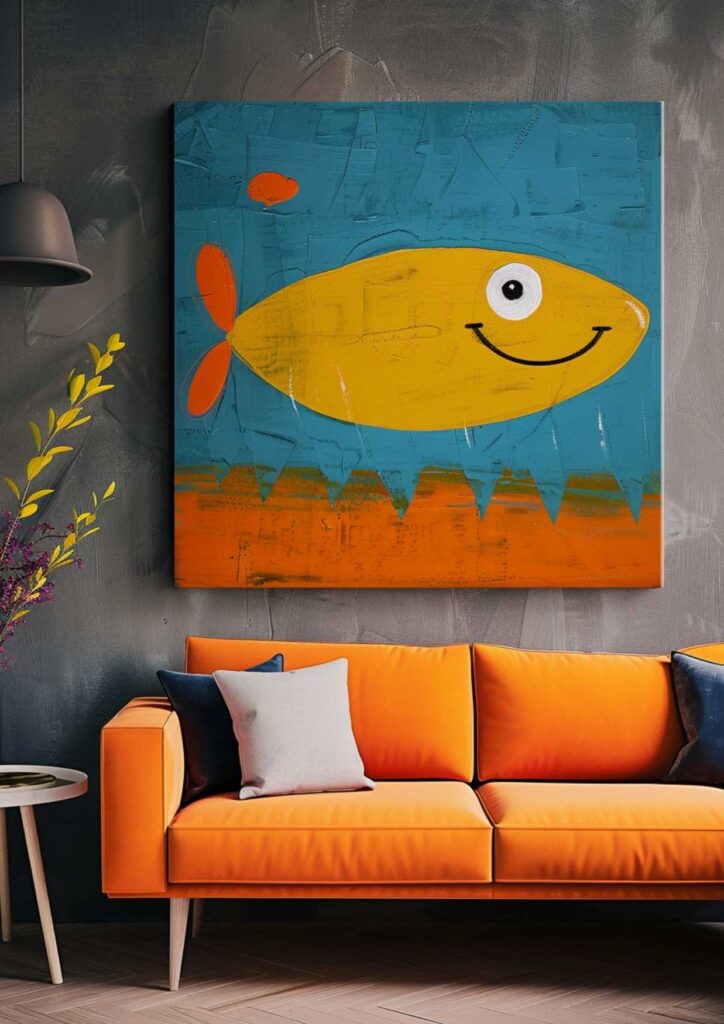
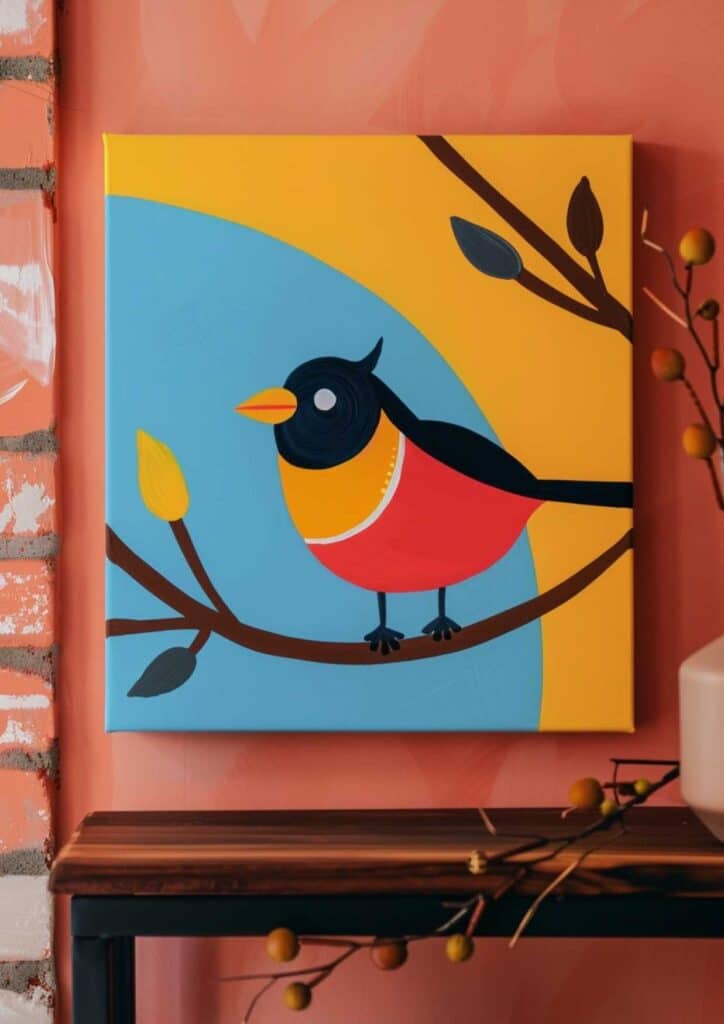
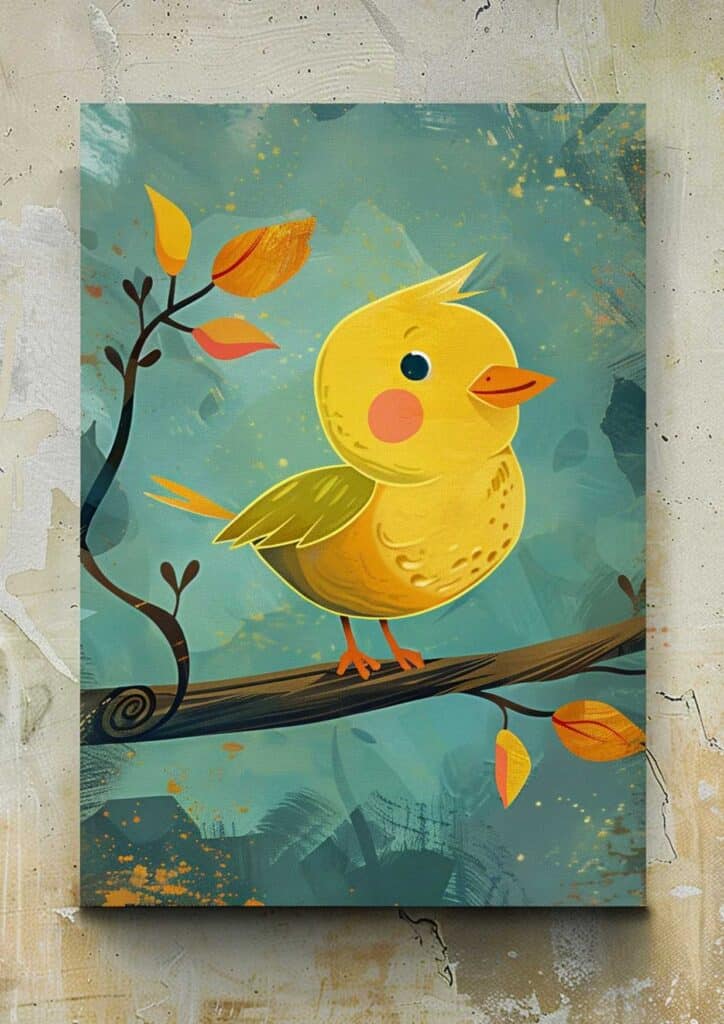
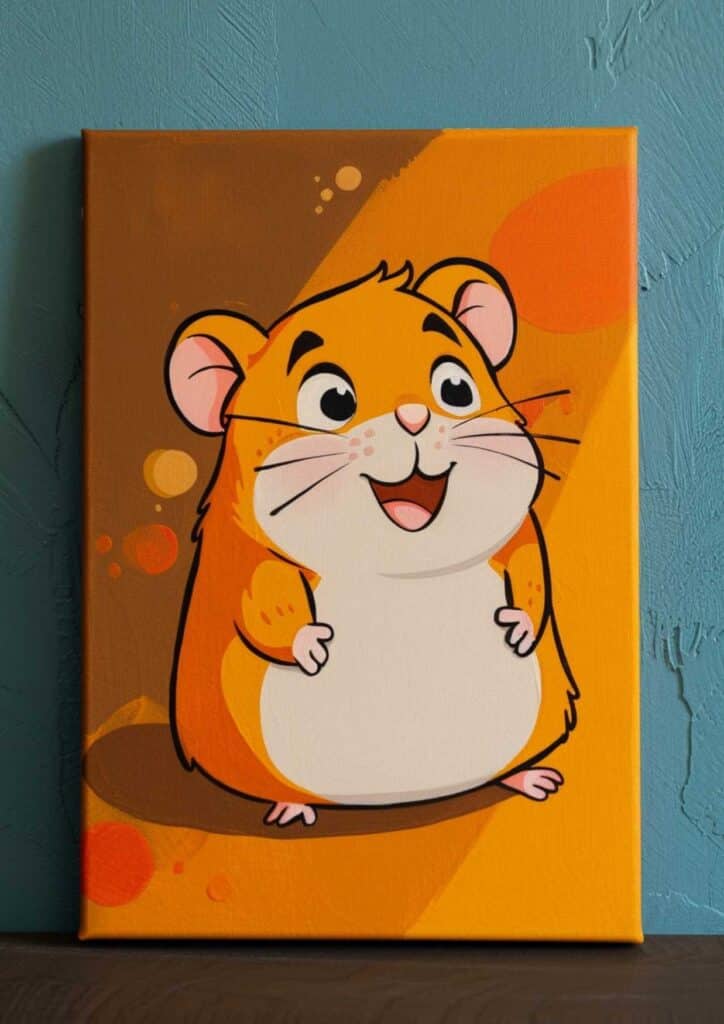
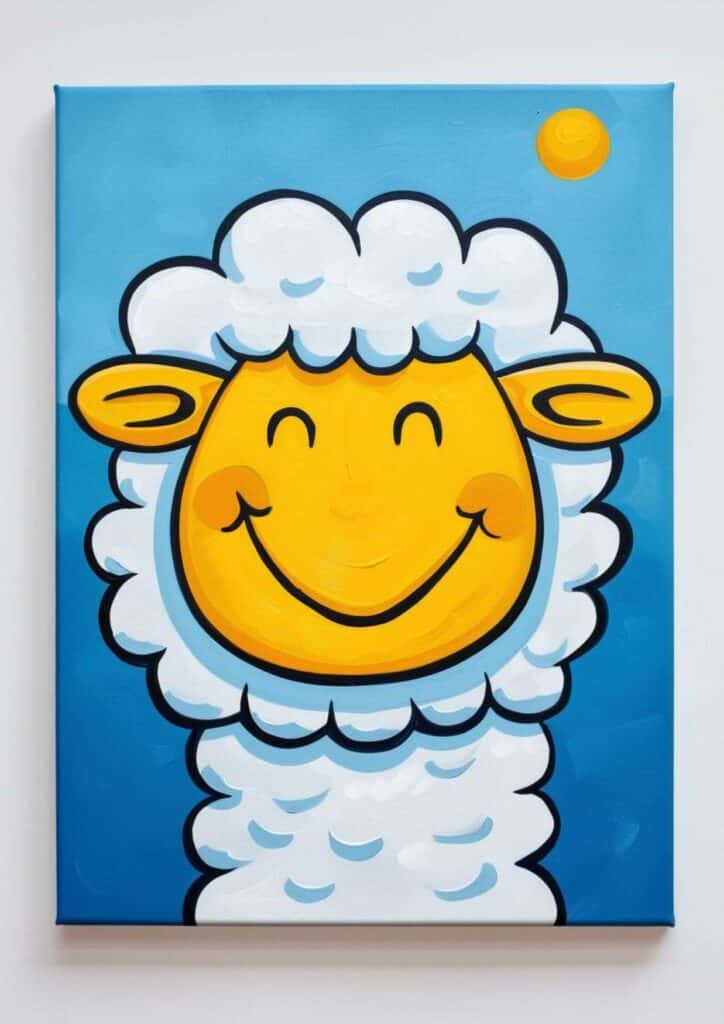
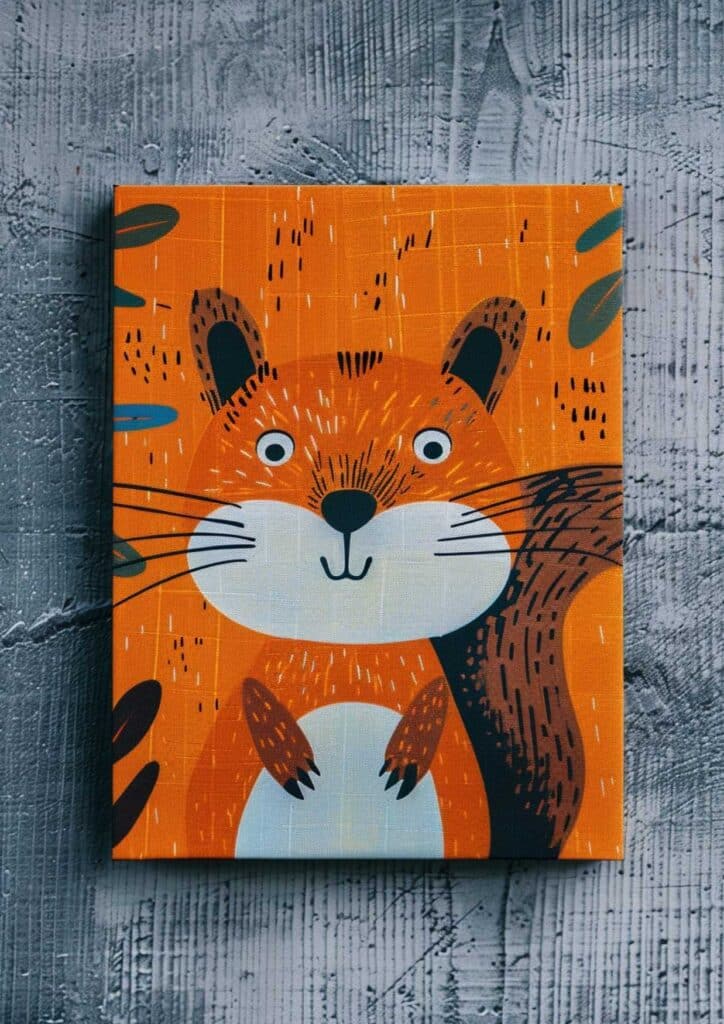
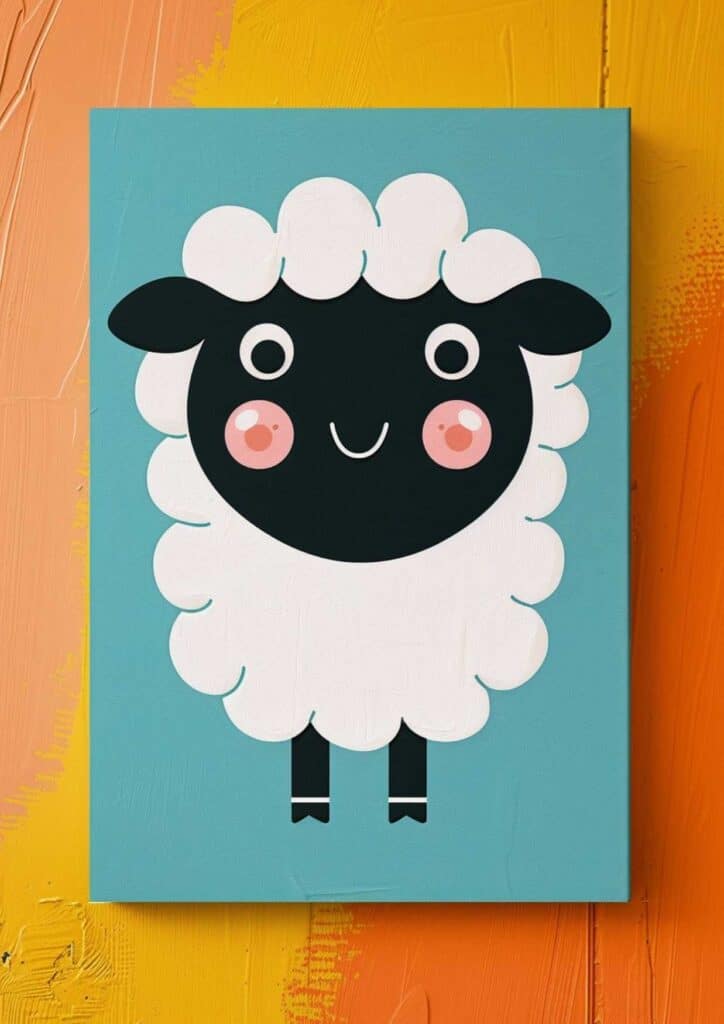
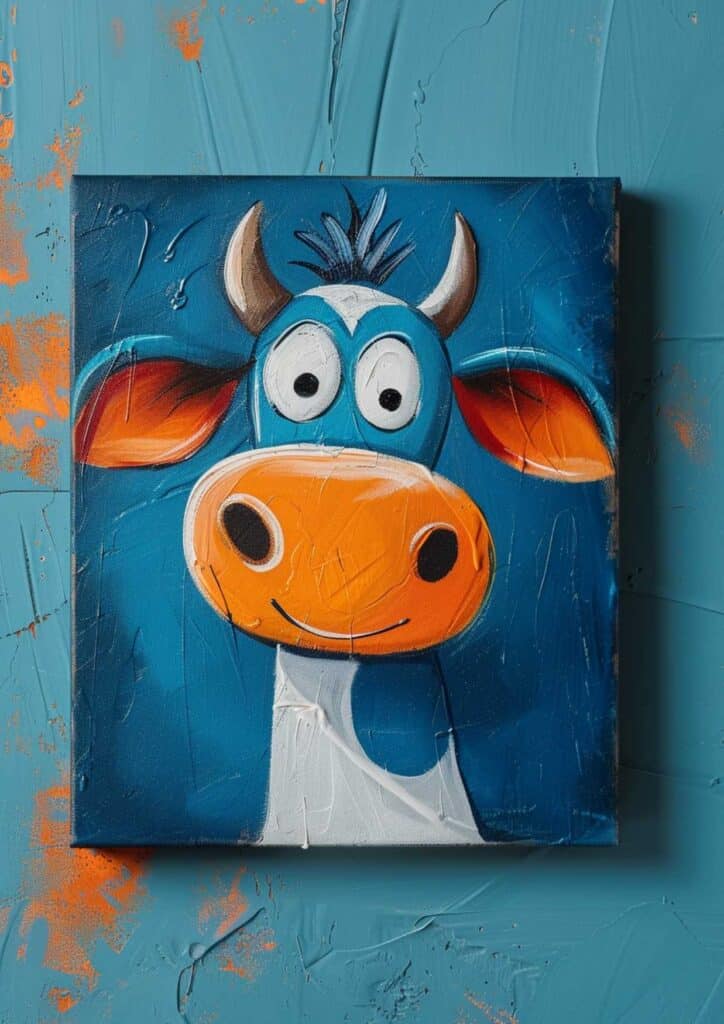
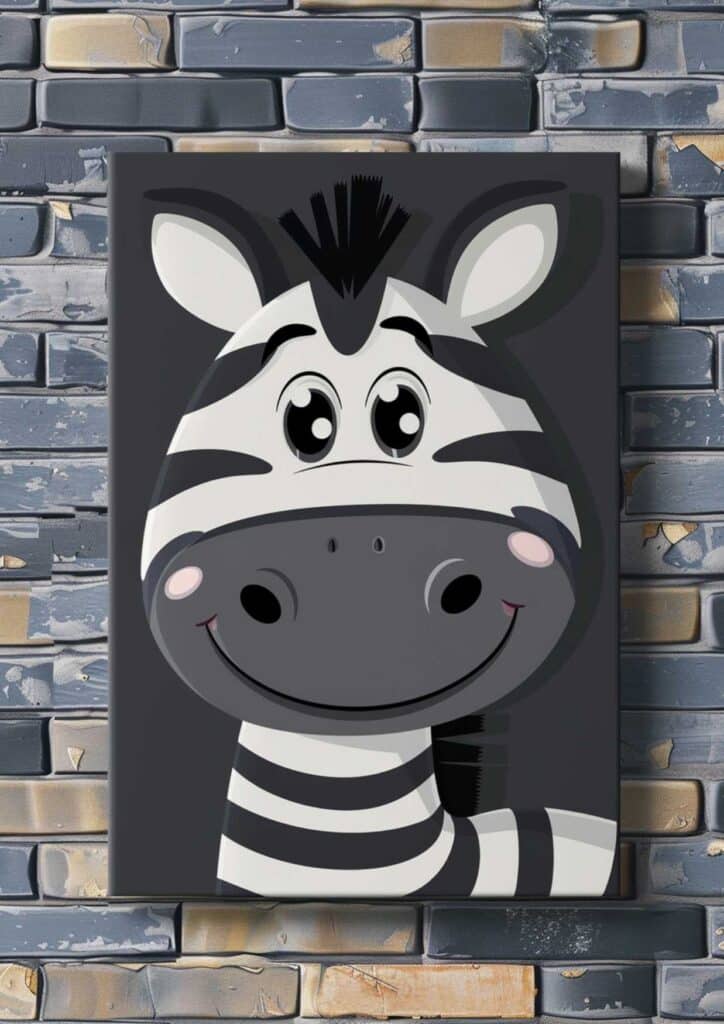
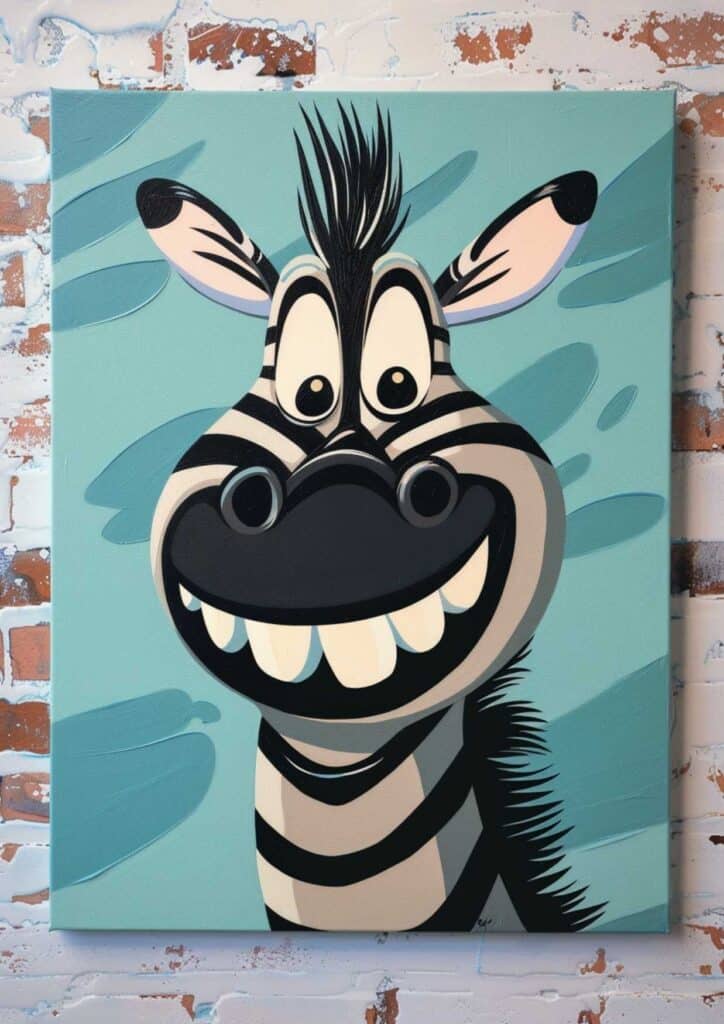
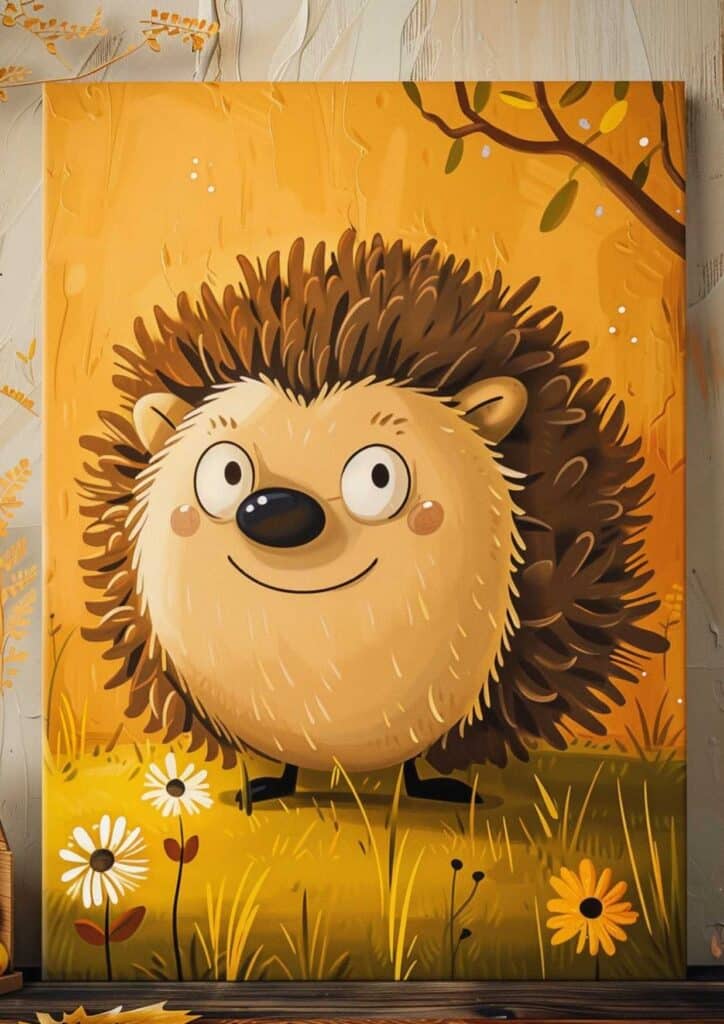
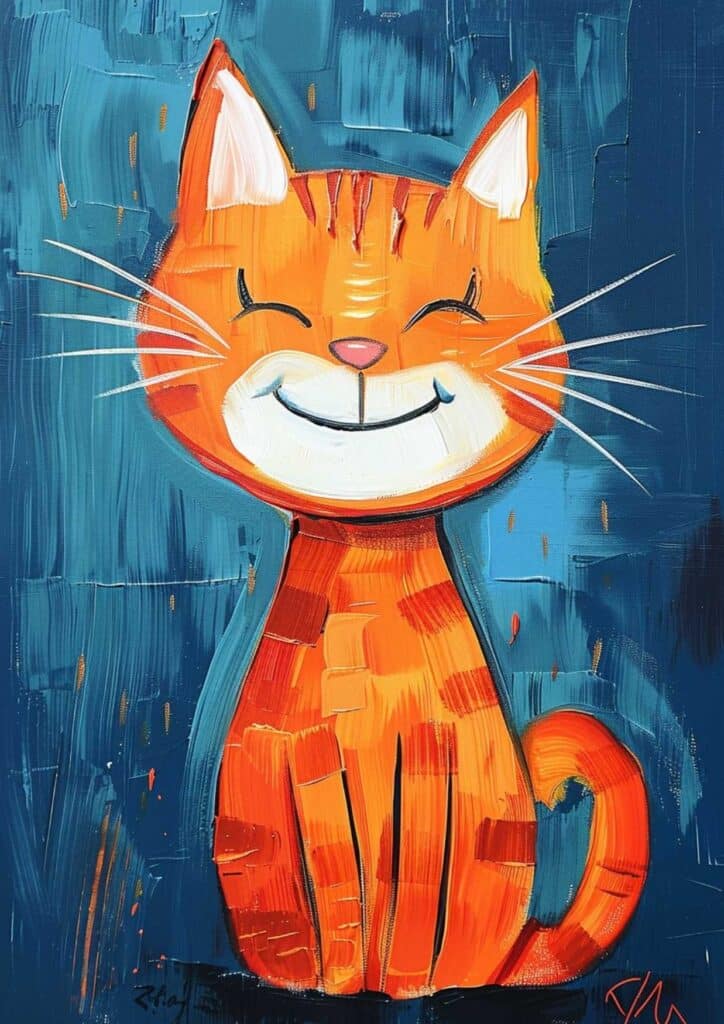
Cute Animals
Who can resist the adorable faces of fluffy puppies, playful kittens, or curious bunnies? Capture their cuteness on canvas with simple shapes, playful colors, and heartwarming expressions. Whether you’re painting a realistic portrait or a whimsical cartoon, these furry friends will surely bring a smile to your face. For more animal-themed inspiration, check out my posts on Cow Coloring Pages and Llama Coloring Page.


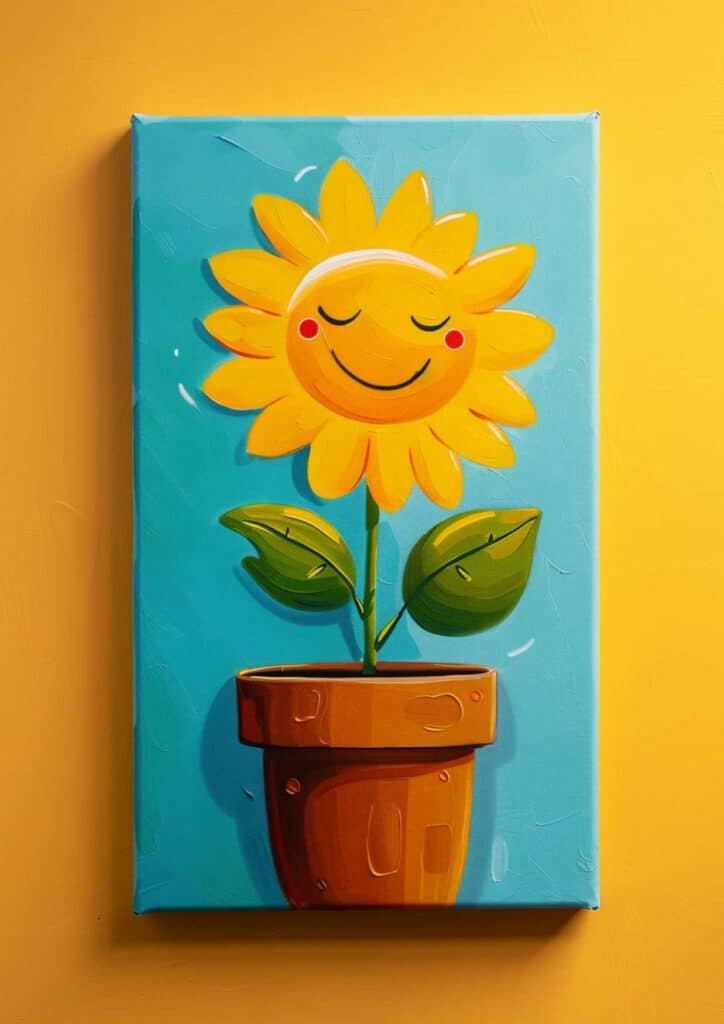
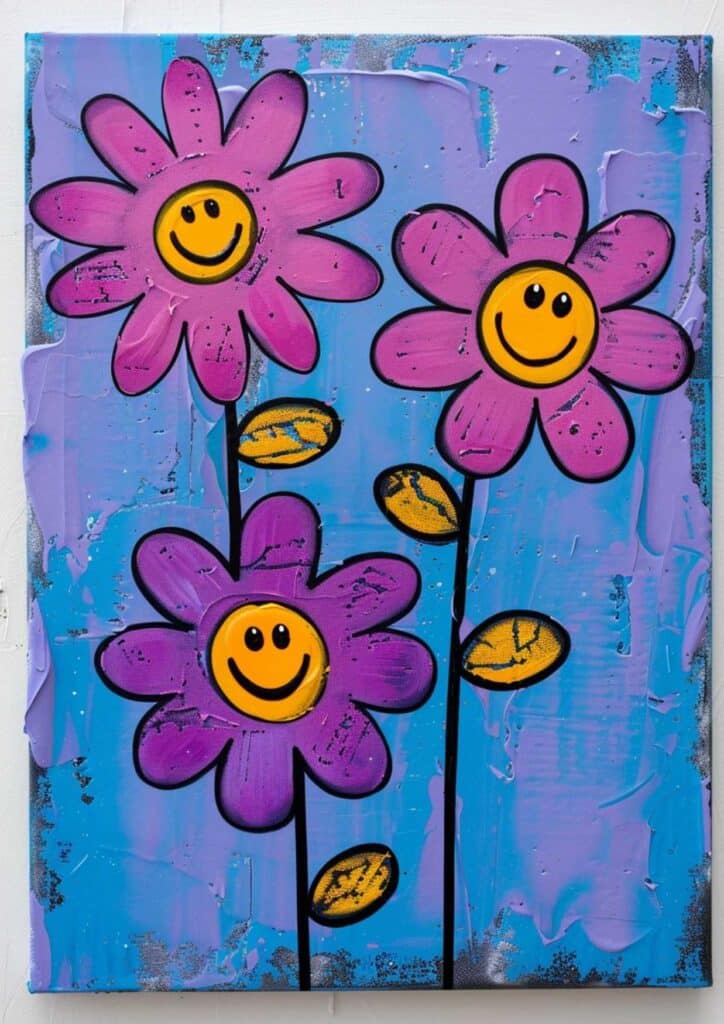
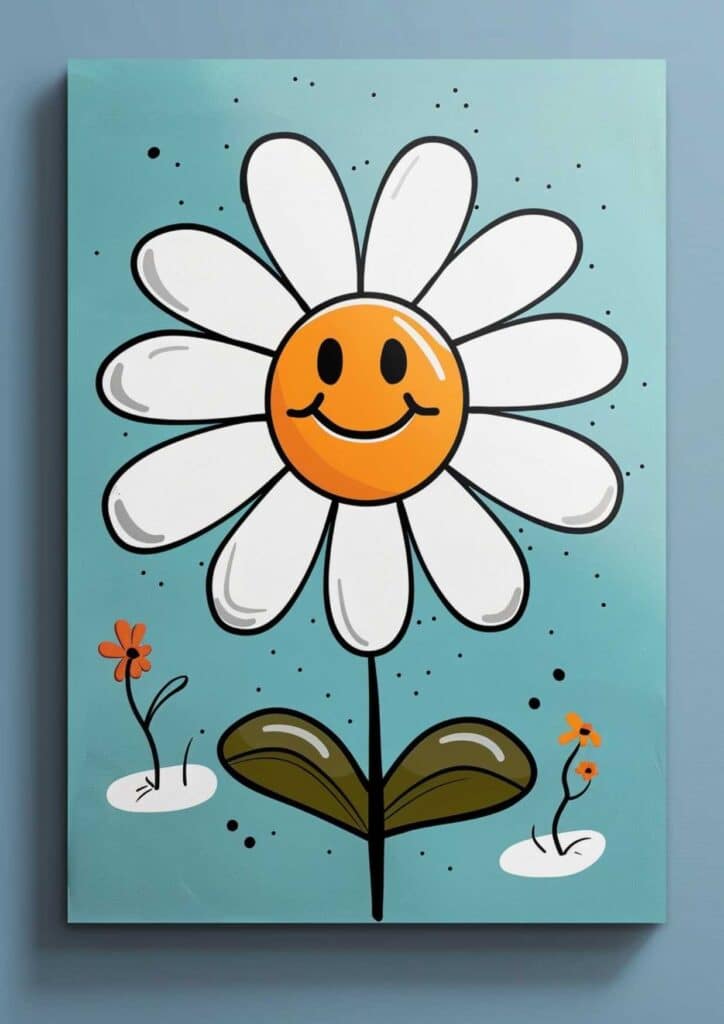
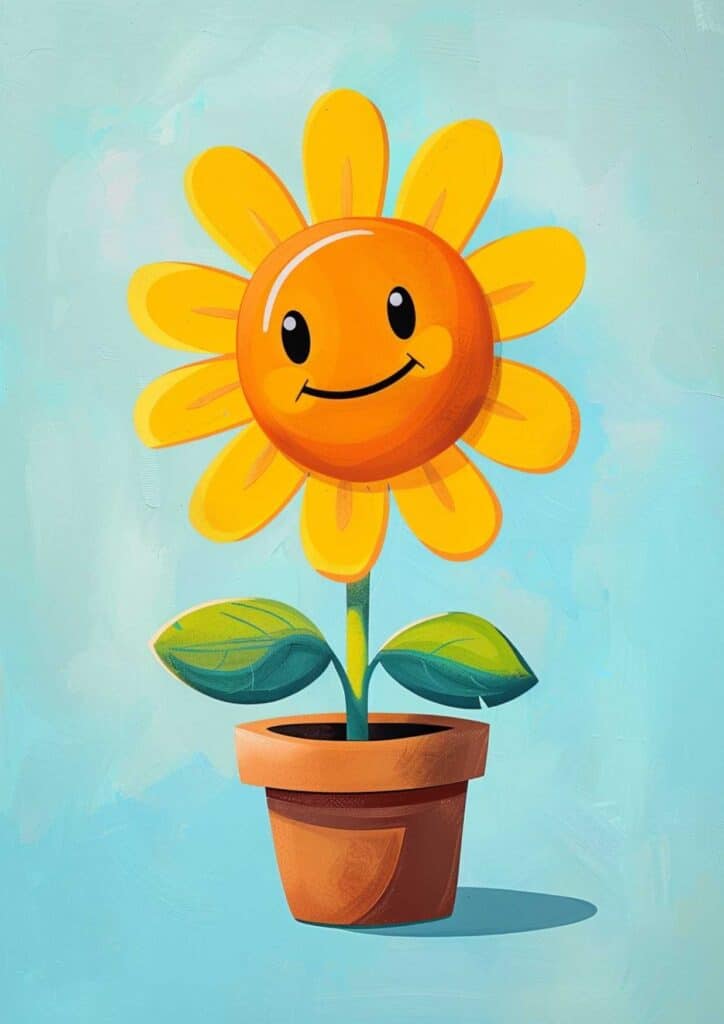
Cute Plants
Bring the beauty of nature indoors with cute canvas paintings of succulents, cacti, flowers, and other greenery. Play with different shapes and textures to create a whimsical garden on your canvas. Use bright colors and bold patterns to add a touch of personality to your plant pals. And if you’re looking for more creative inspiration, be sure to check out my my video on Cute Doodle Drawing Ideas.

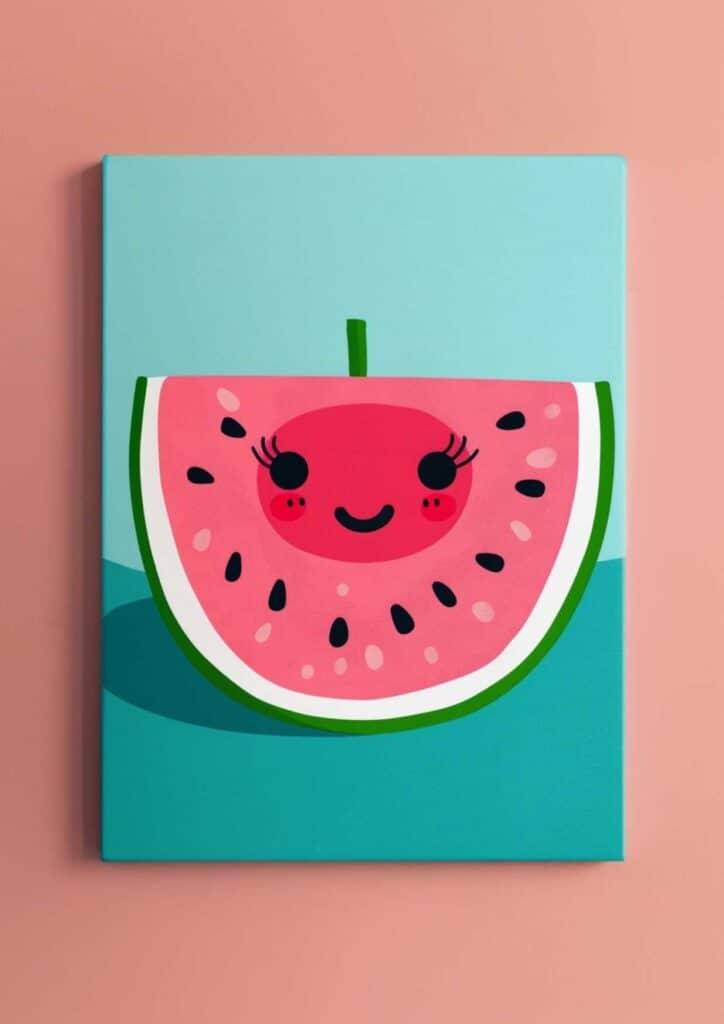
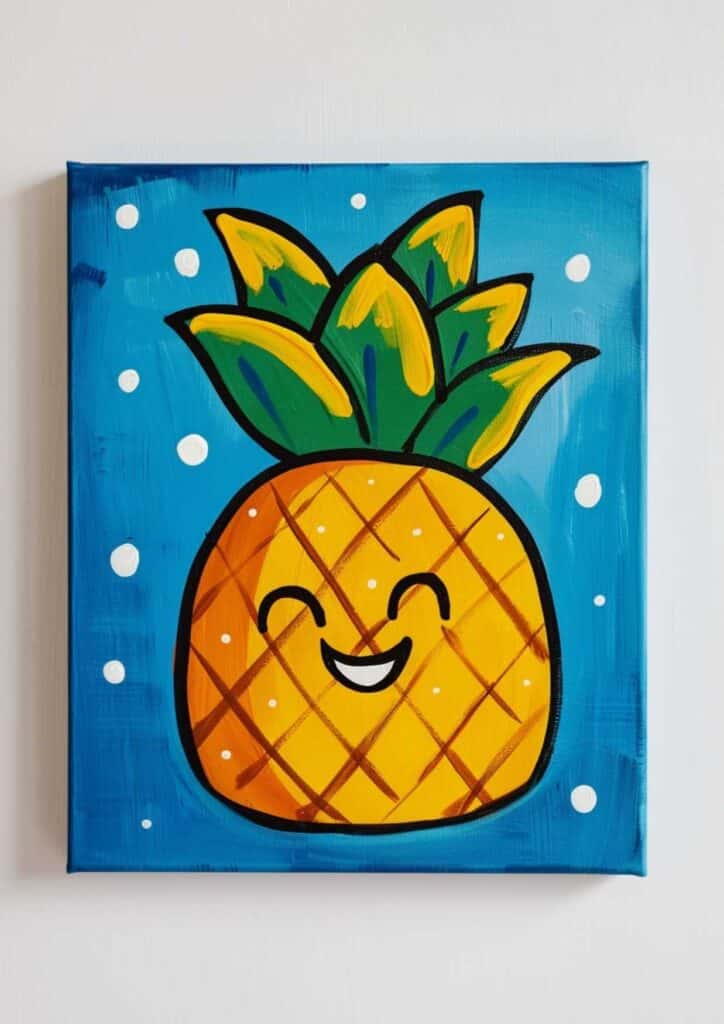
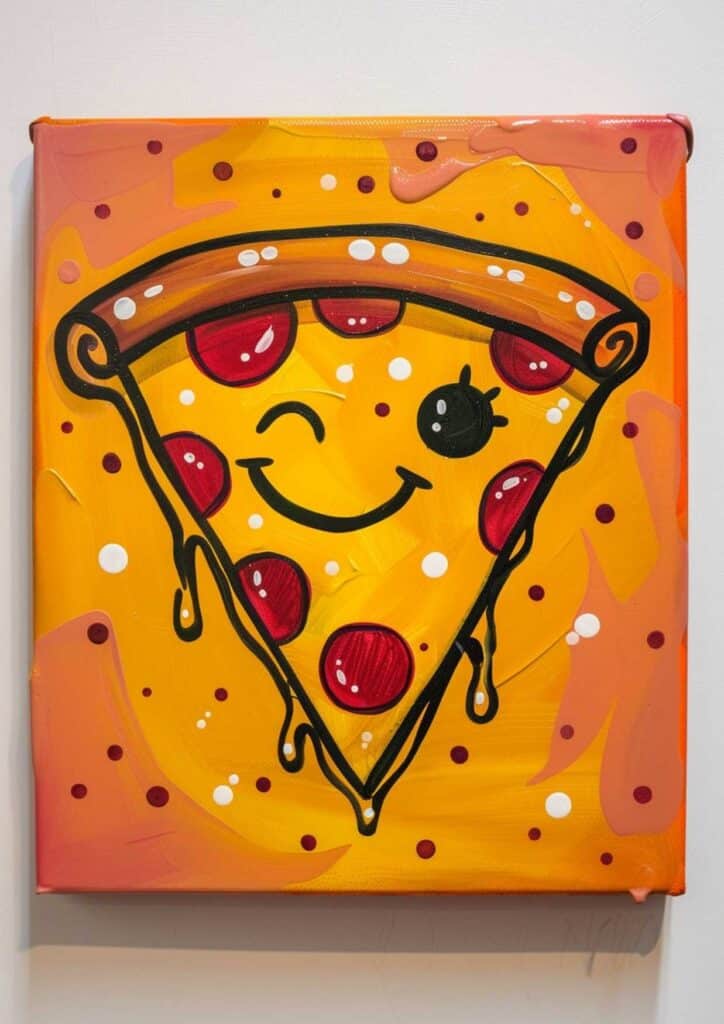
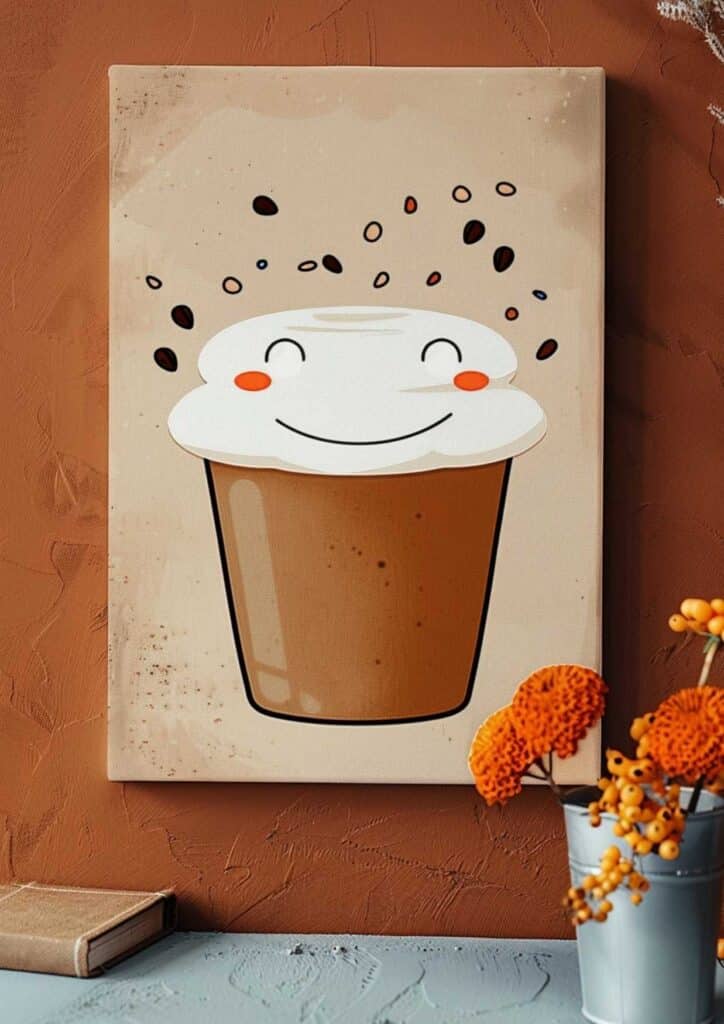
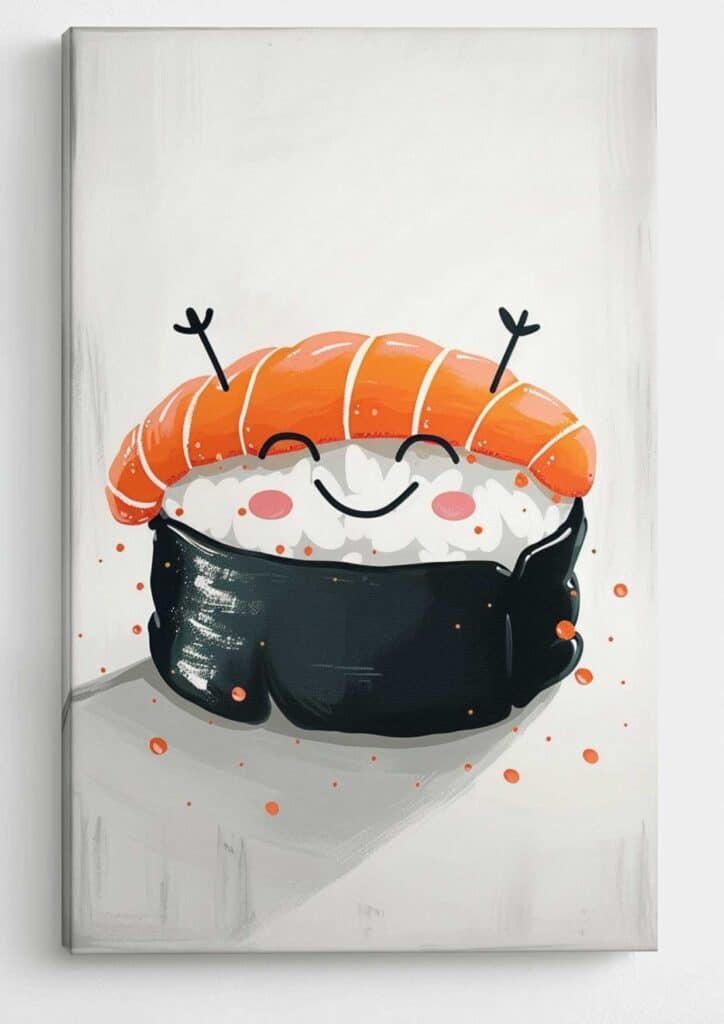
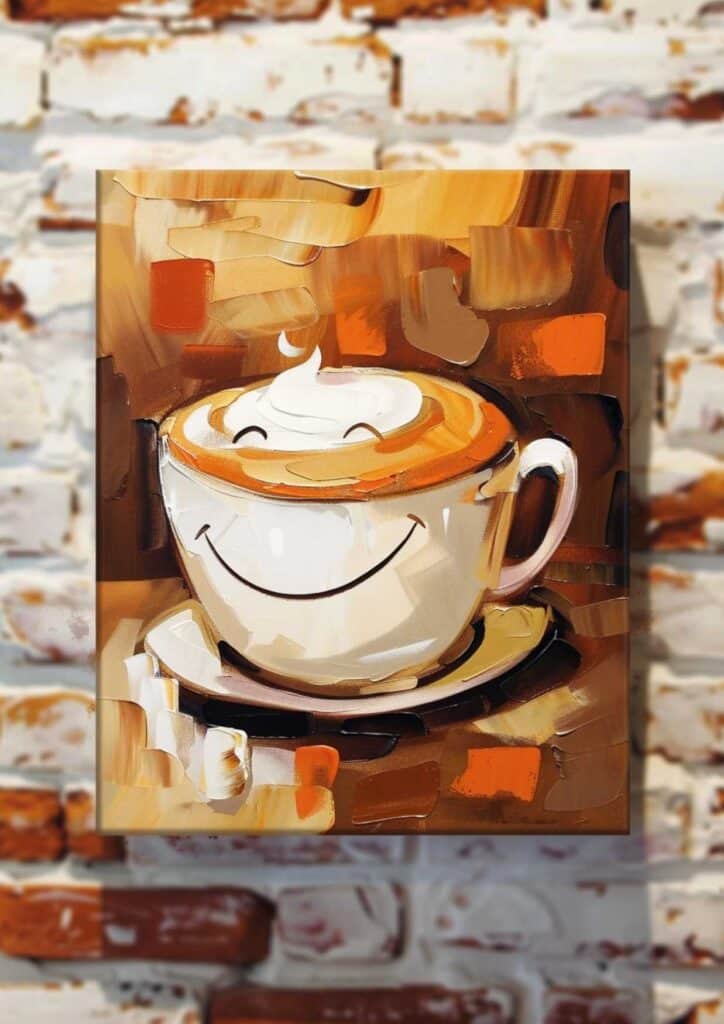
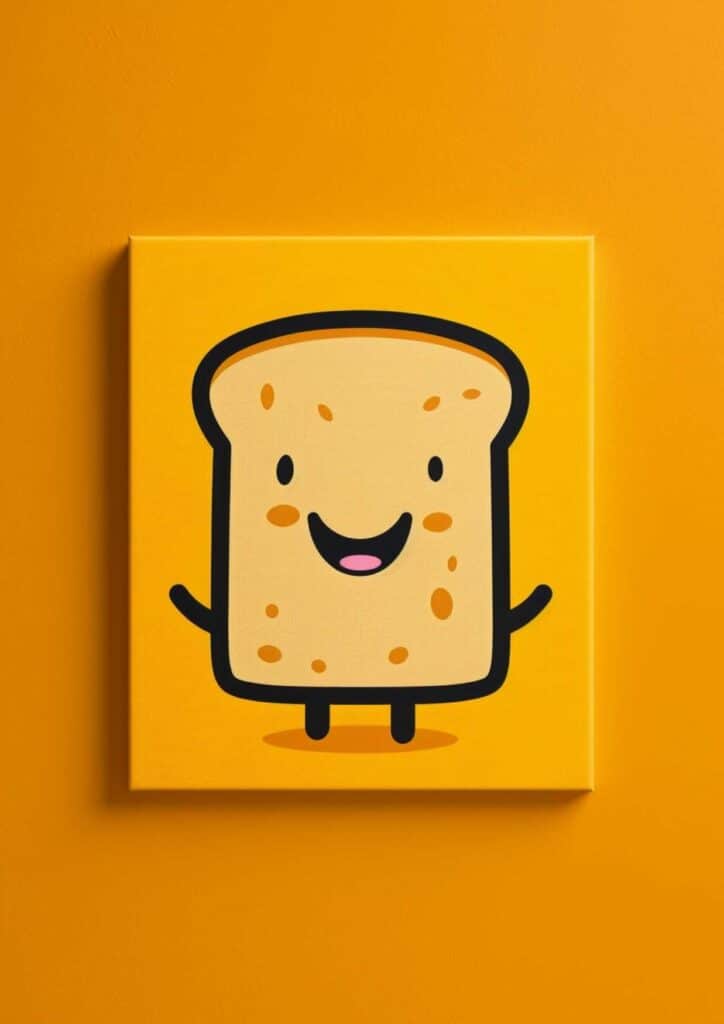
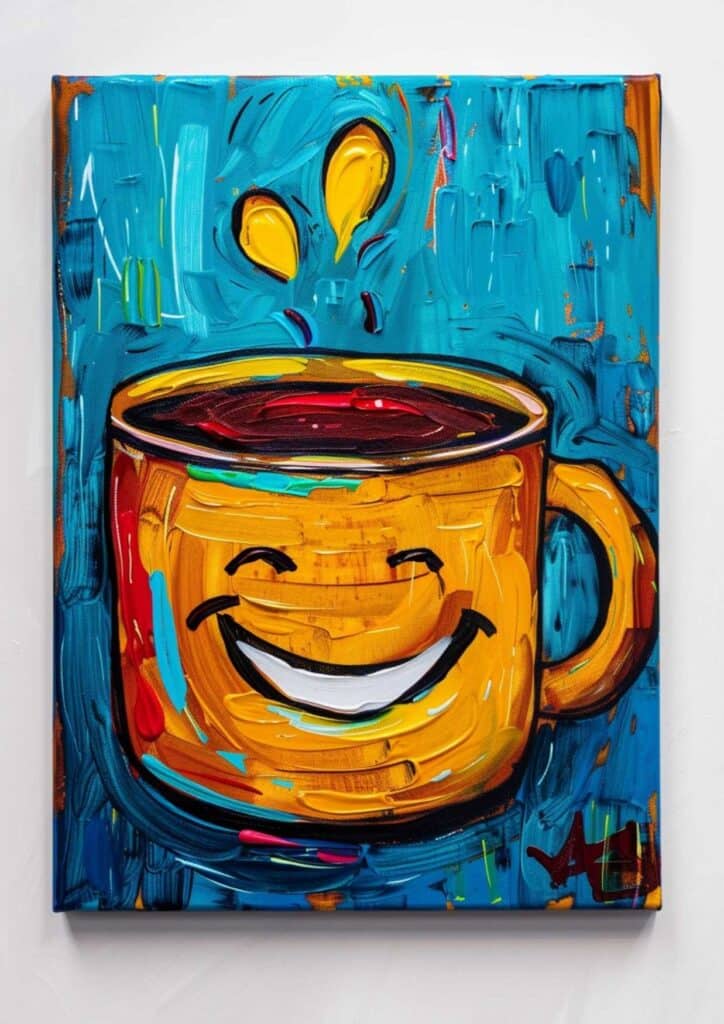
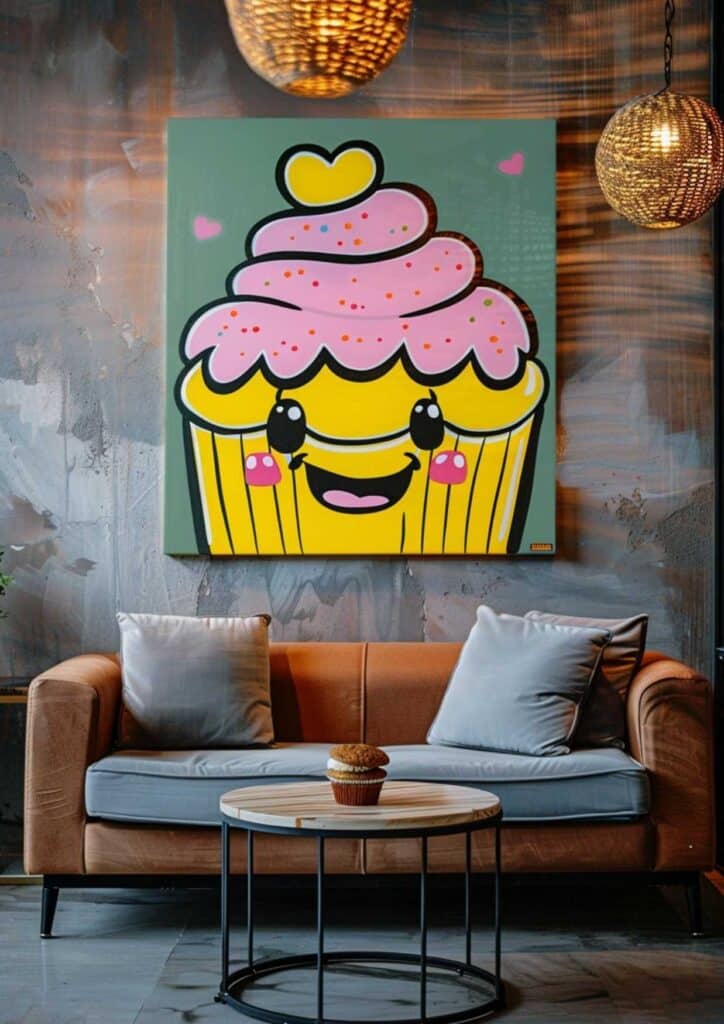
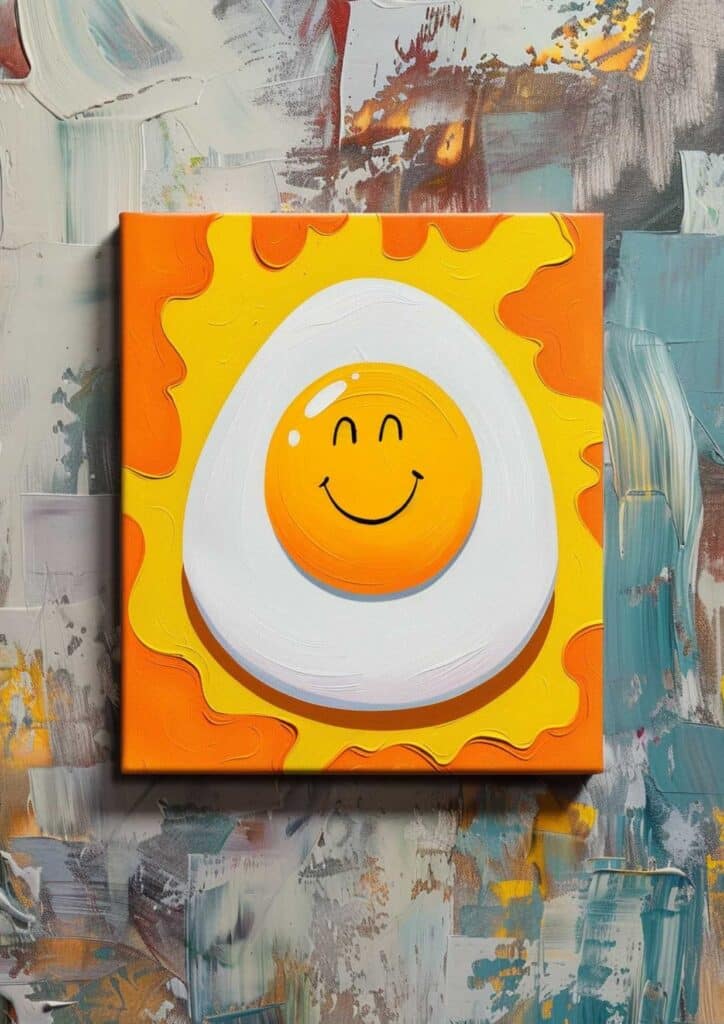
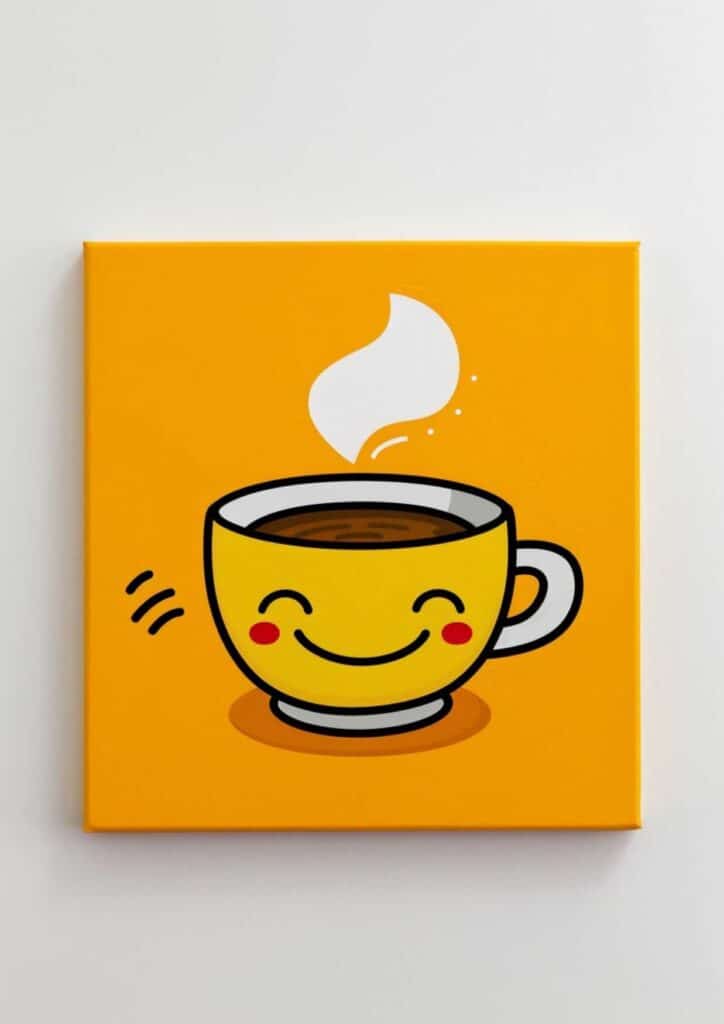
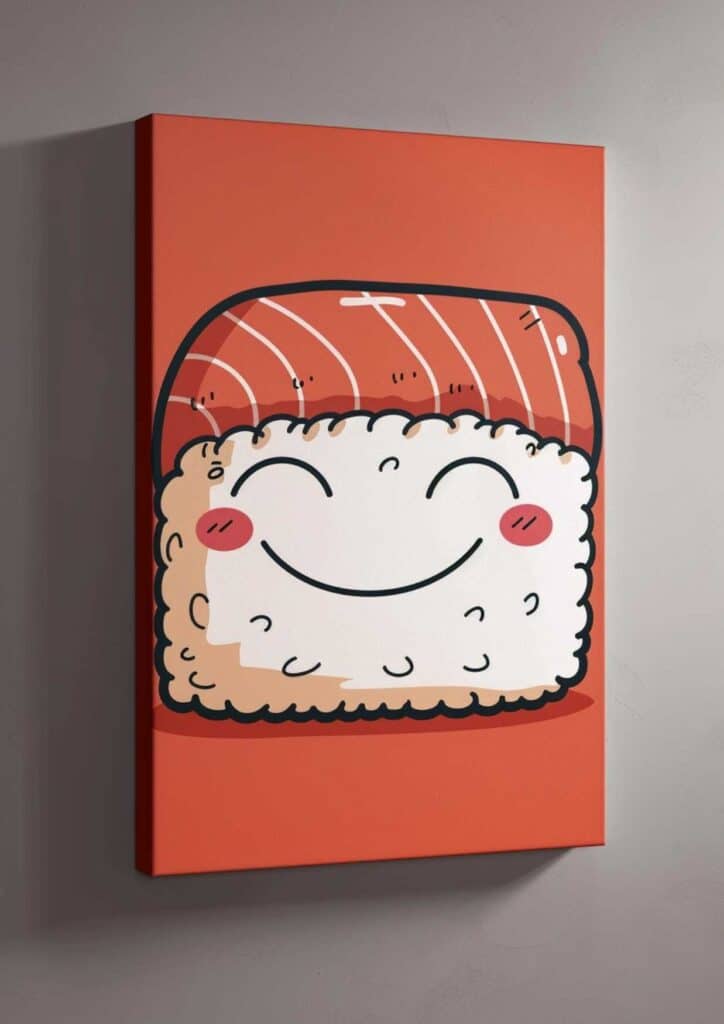
Cute Food
Indulge your sweet tooth and satisfy your artistic cravings with cute canvas paintings of cupcakes, donuts, ice cream cones, and other delectable treats. Use soft pastels or vibrant hues to make your food creations look irresistible. Don’t be afraid to experiment with different textures and patterns to add depth and dimension. And if you’re a fan of sweet treats, you might also enjoy my Ice Cream Cone Template and Cupcake Coloring Pages.
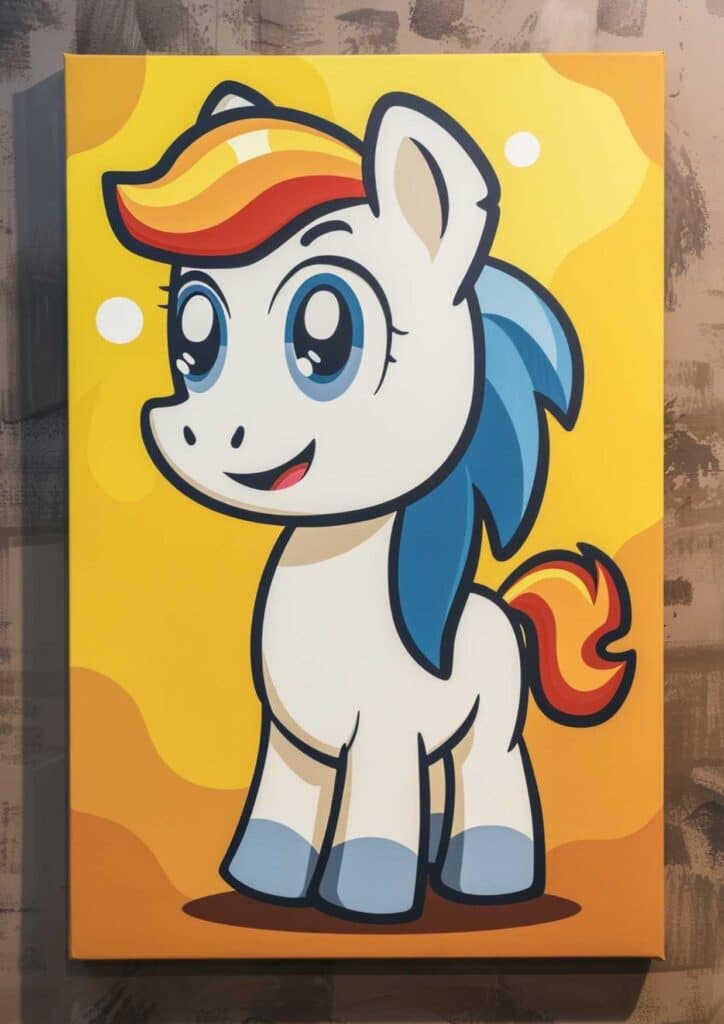
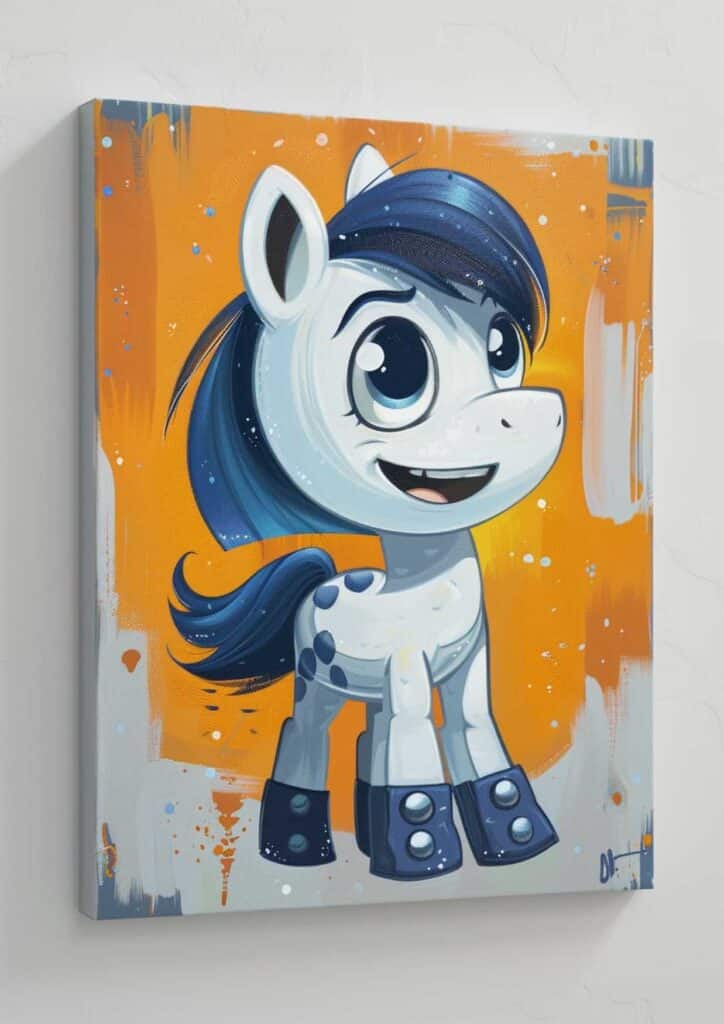
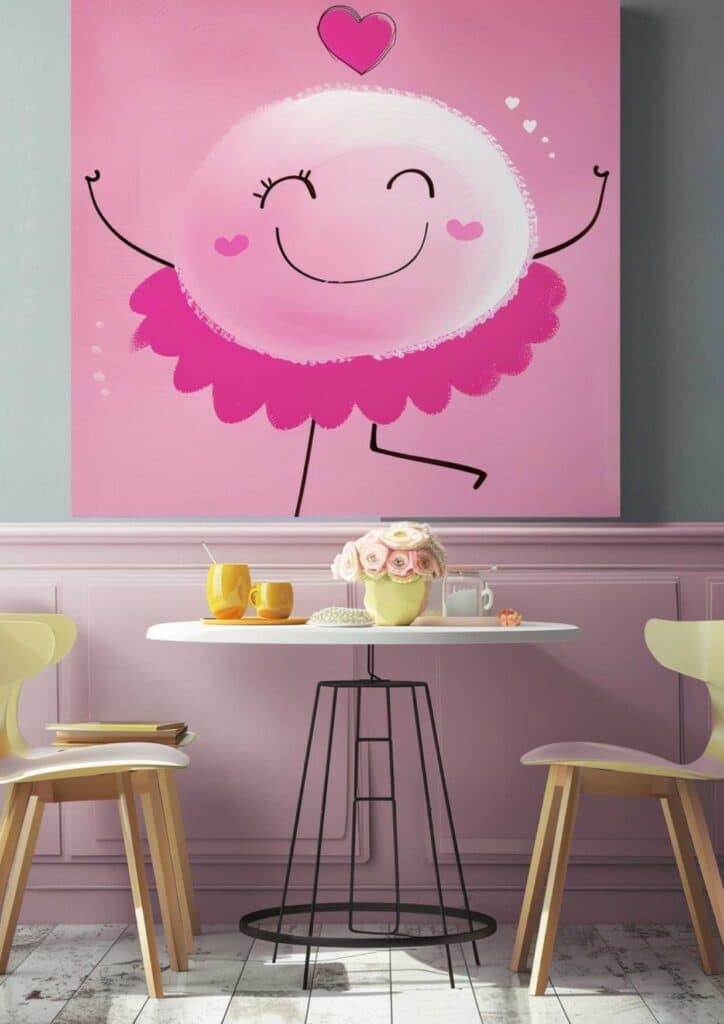
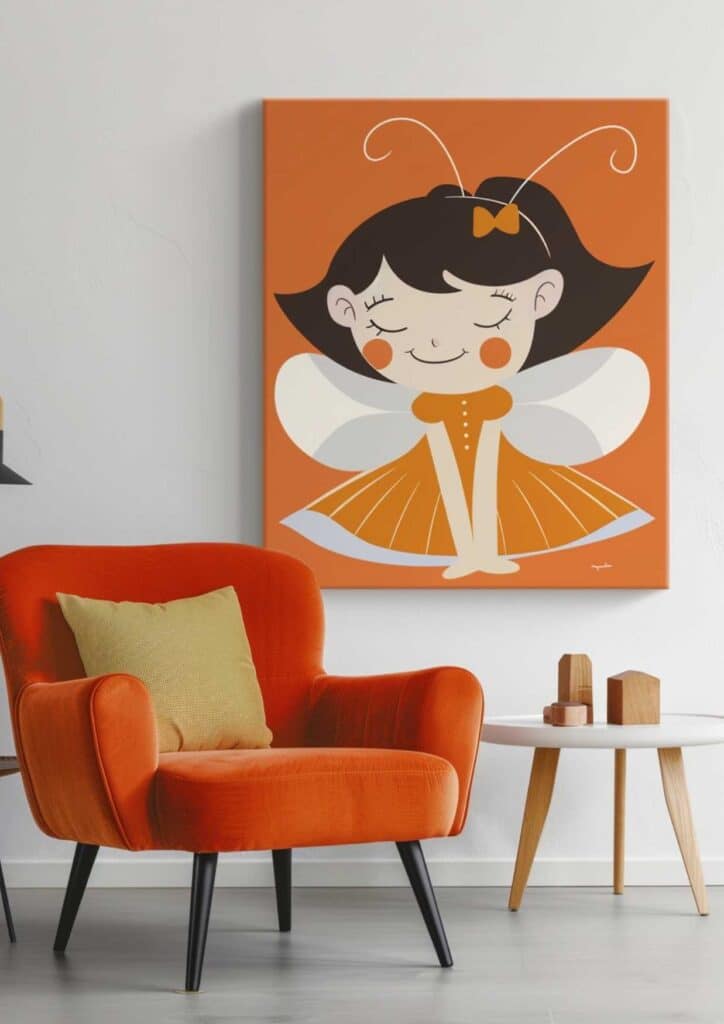
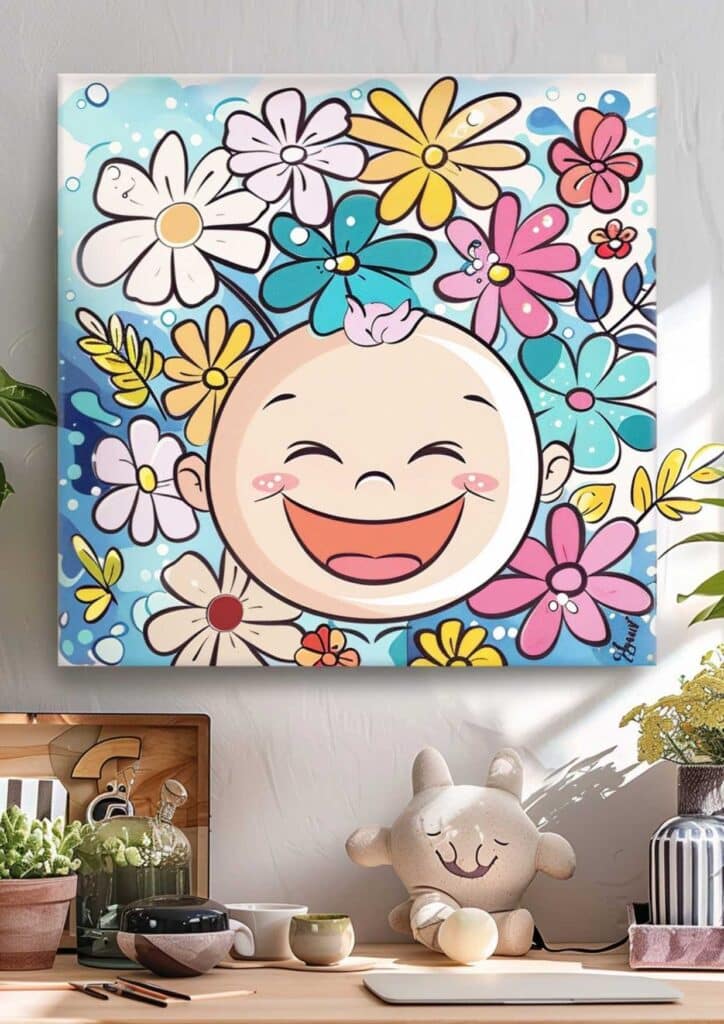
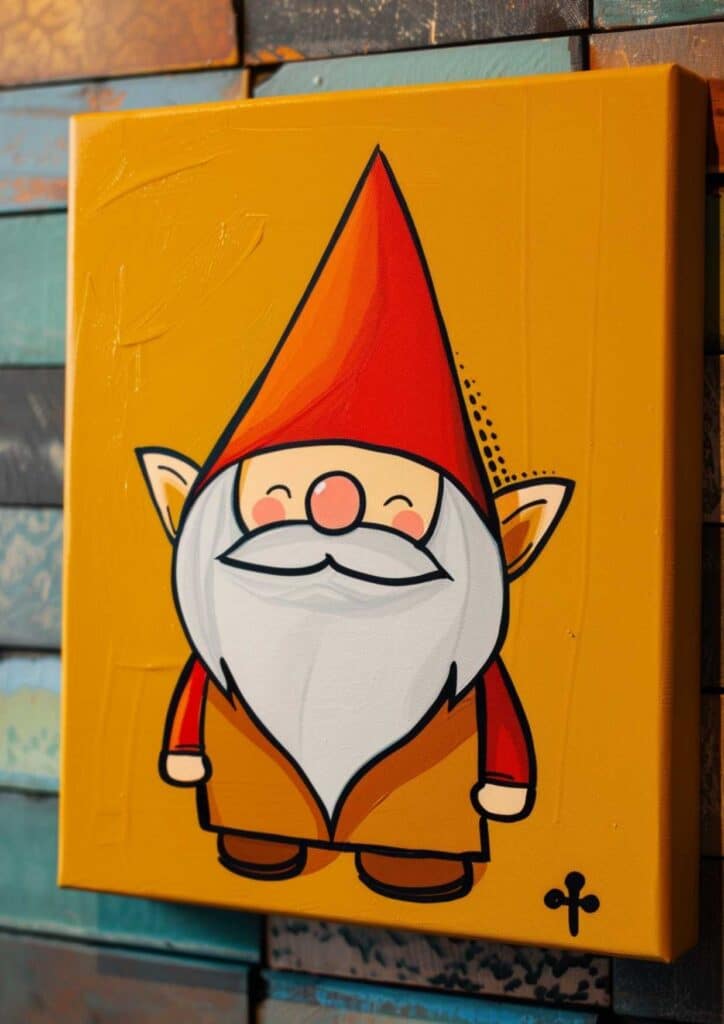
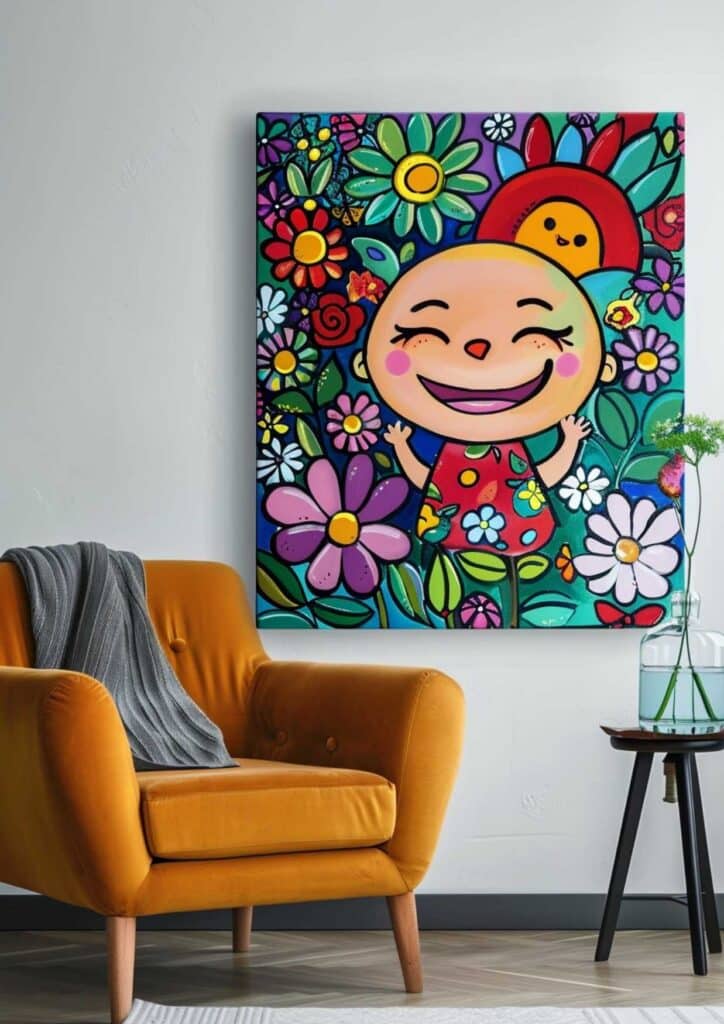
Cute Characters
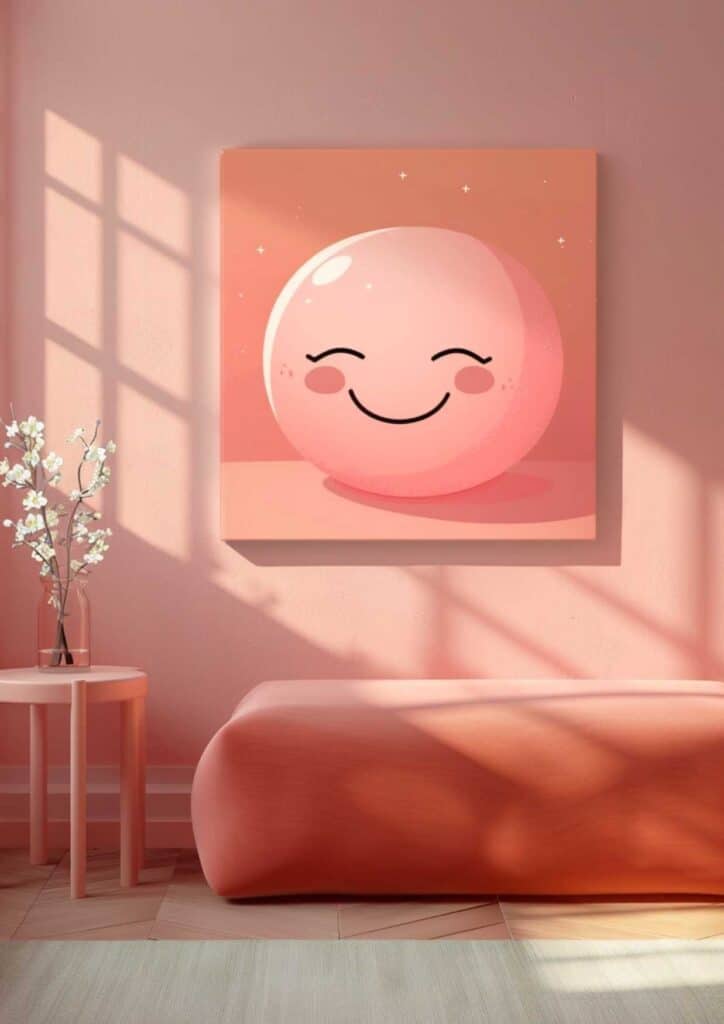
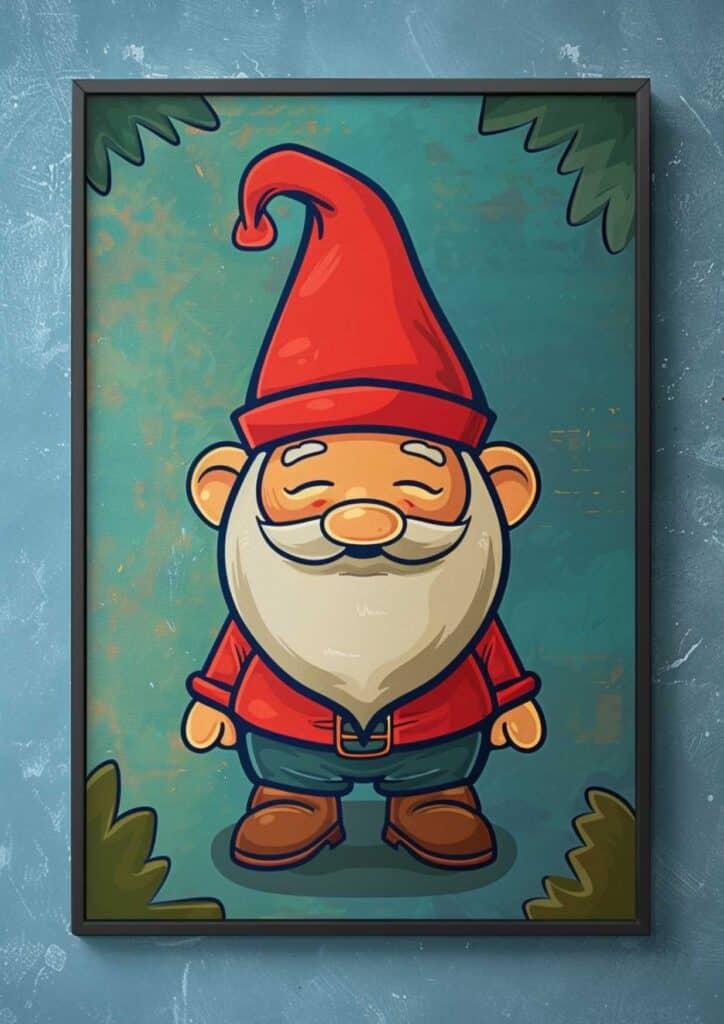
Let your imagination run wild with cute canvas paintings of your favorite characters from books, movies, or video games. From cuddly monsters and friendly robots to whimsical fairies and adorable superheroes, the possibilities are endless. Use bold lines, bright colors, and playful expressions to bring your characters to life. And if you’re looking for more character inspiration, check out my posts on Minions Coloring Pages and Gnome Coloring Pages.


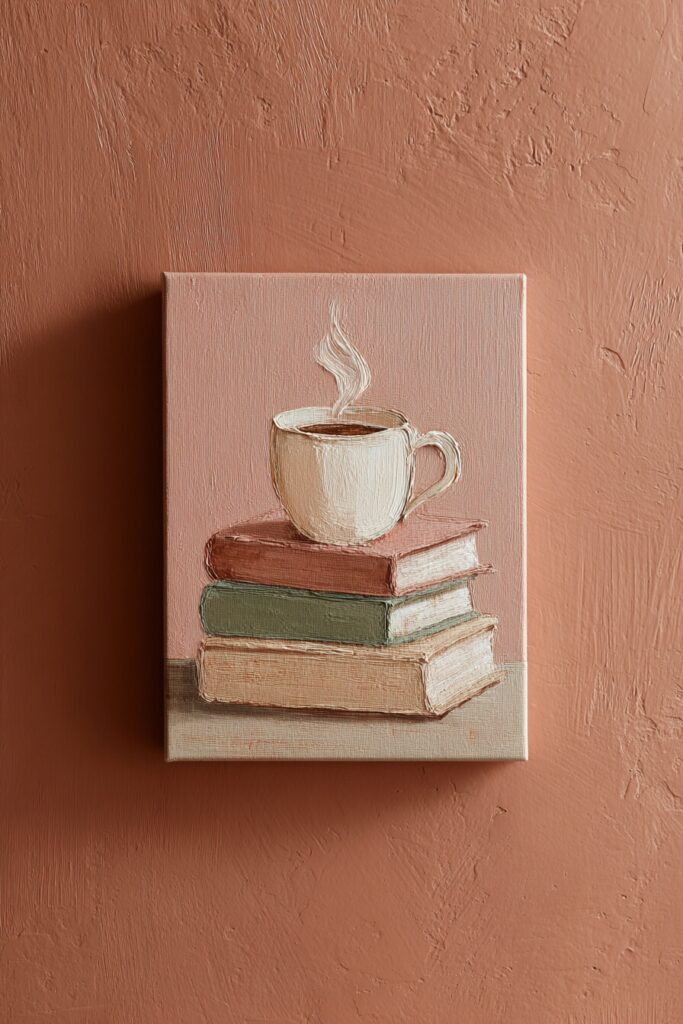
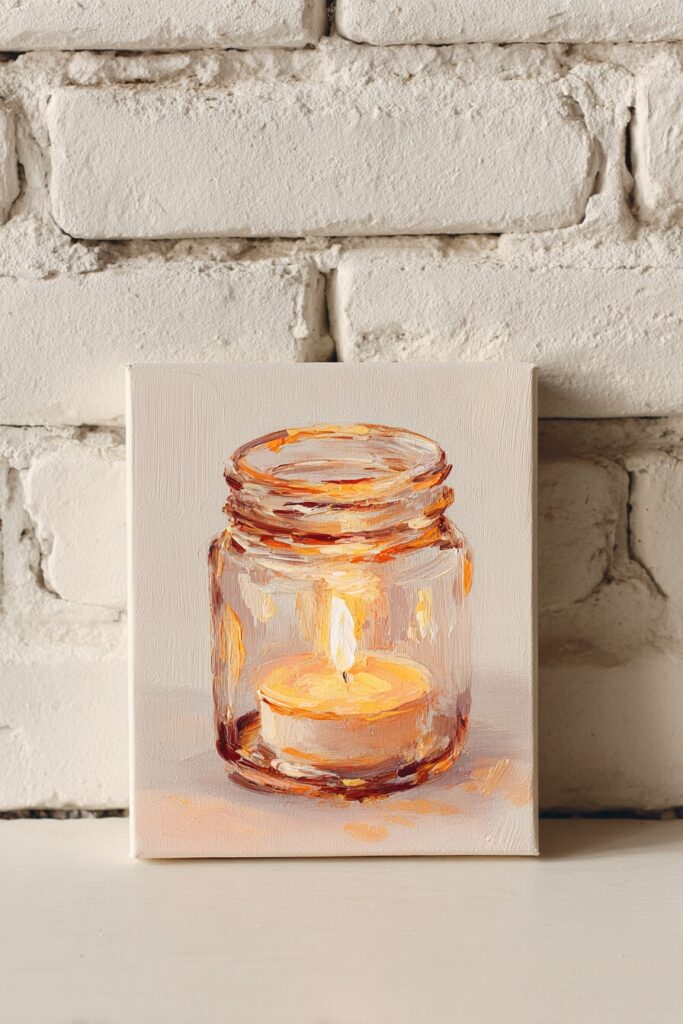
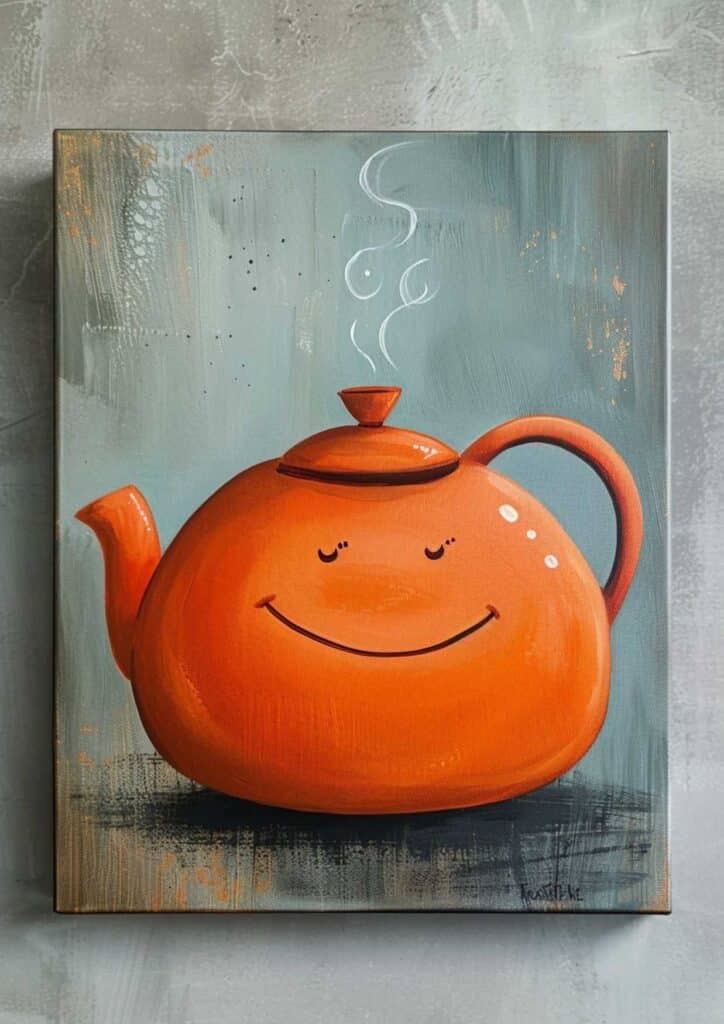
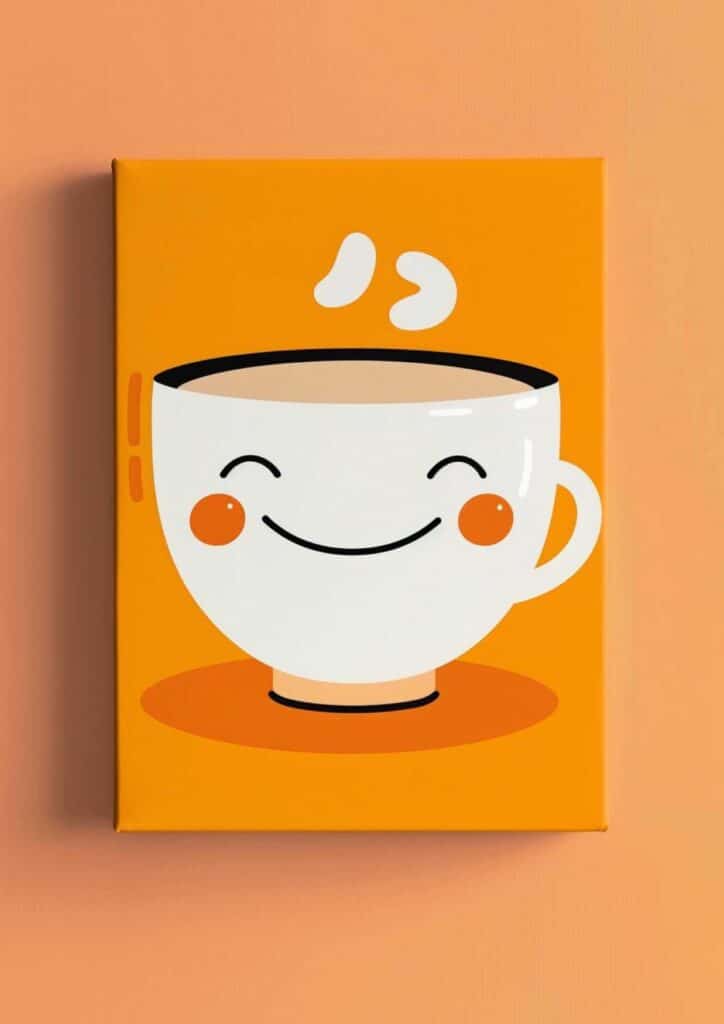
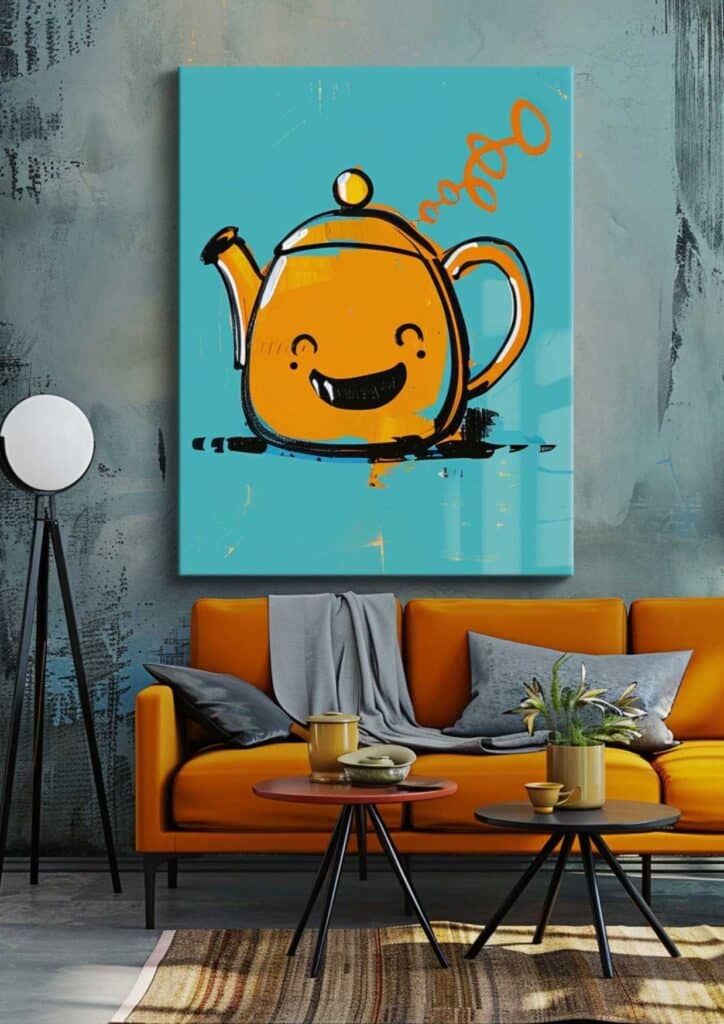
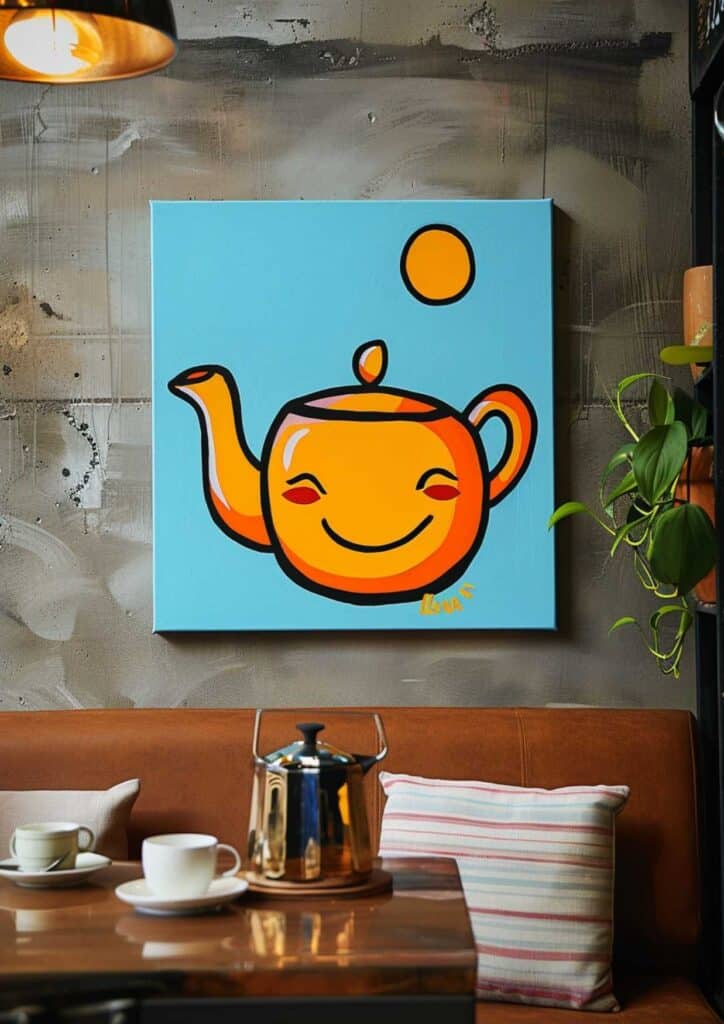
Cosy & Hygge Paintings
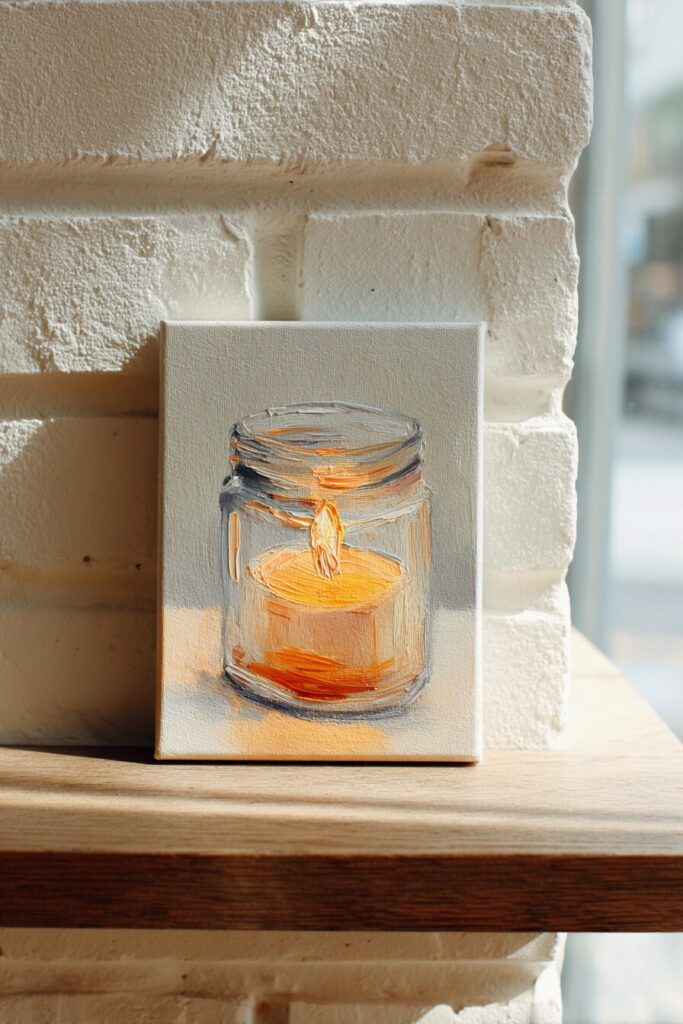
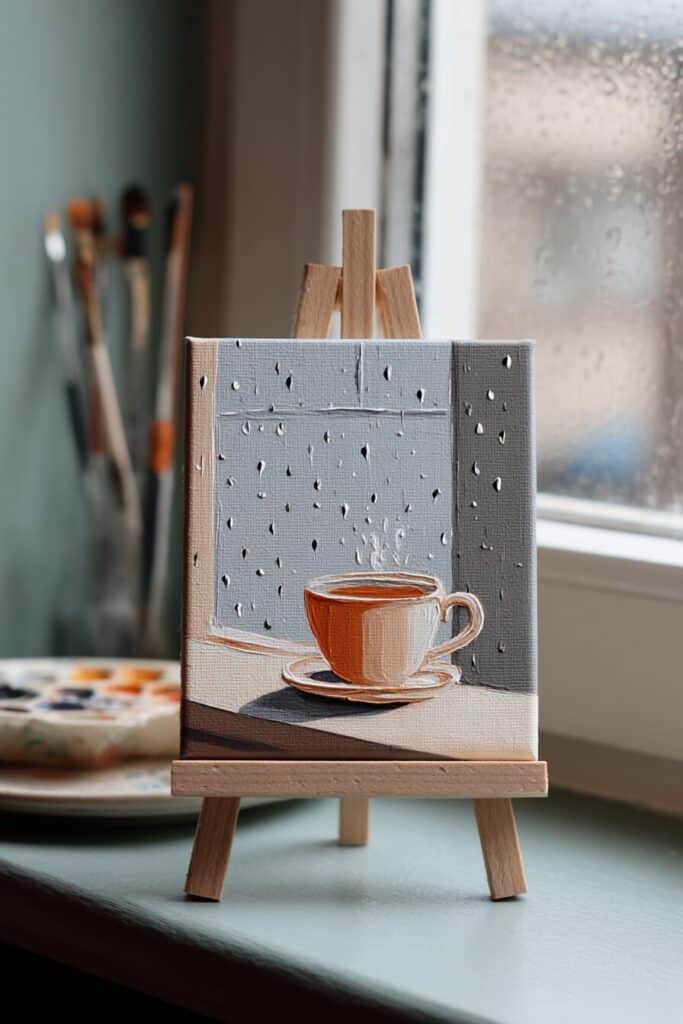
There’s something so satisfying about painting cosy, comforting scenes that make you want to curl up with a cup of tea. These hygge-inspired canvas ideas are perfect for beginners because they use simple shapes and warm, muted colour palettes. Try painting a glowing candle in a glass jar, a stack of books with a steaming mug on top, or a sweet little cottage with smoke curling from the chimney. A rainy window with a cup of tea on the sill is another lovely option that’s easier than it looks — just soft greys, creams, and a few simple raindrops. These paintings look beautiful in bedrooms, reading nooks, or anywhere you want to add a touch of warmth.
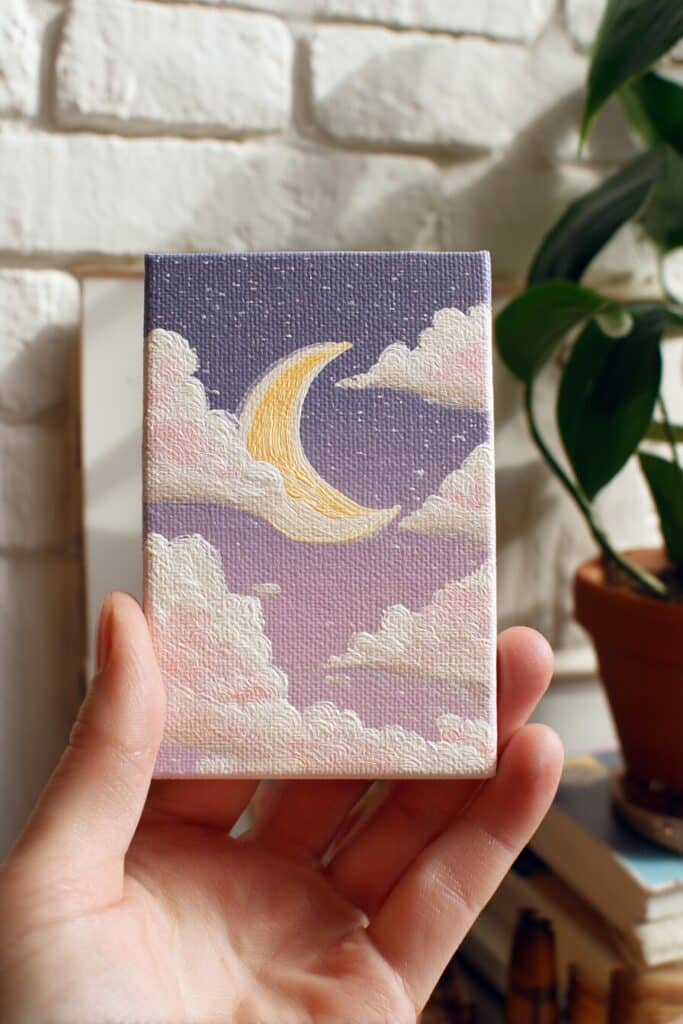
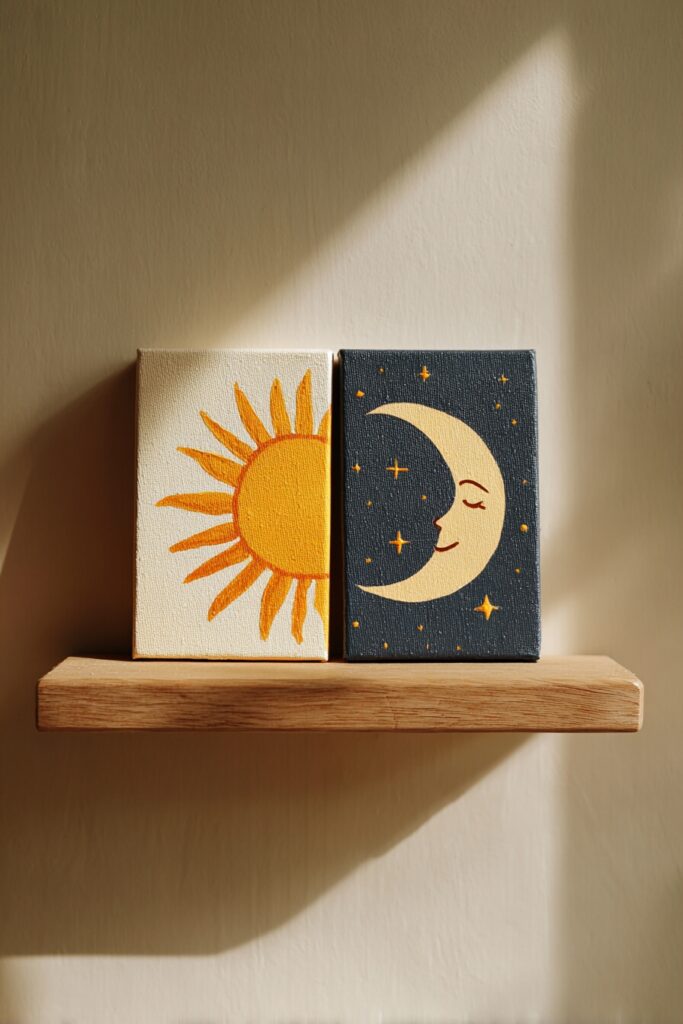
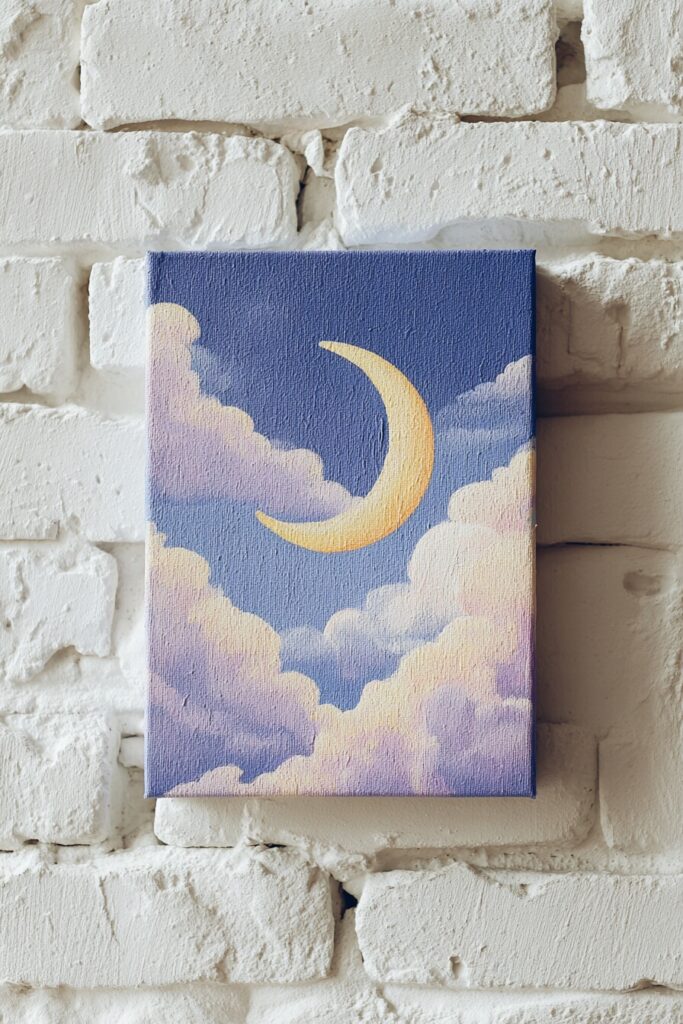
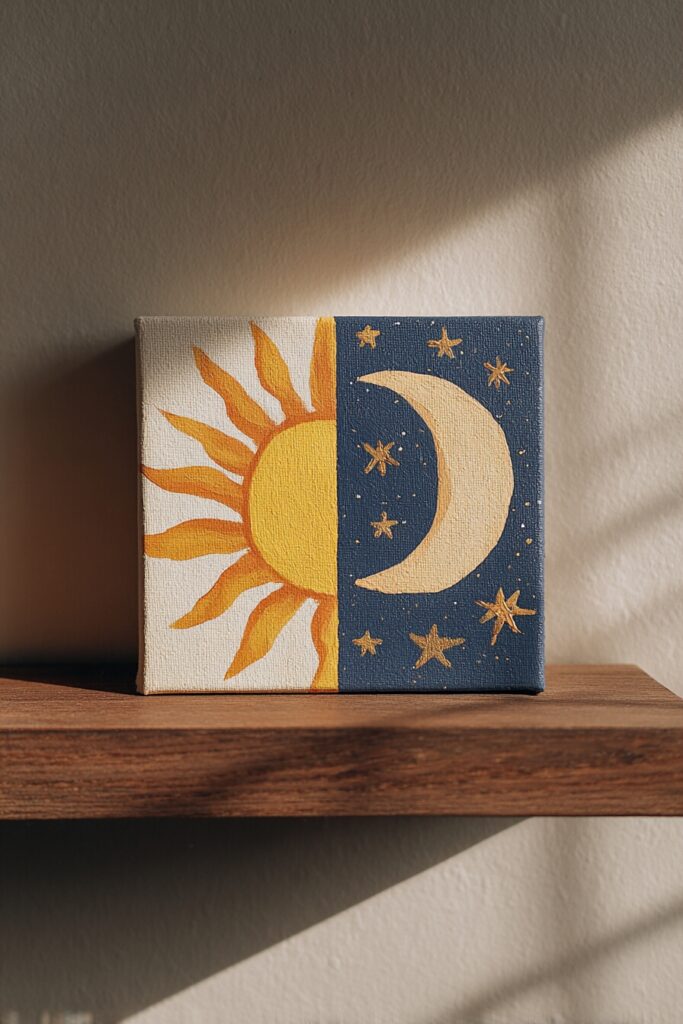
Celestial & Dreamy Paintings
If you love all things moon, stars, and sky, you’ll adore these celestial canvas ideas. They’re wonderfully beginner-friendly because you’re mostly working with simple shapes and soft gradient backgrounds. A crescent moon surrounded by fluffy clouds is a gorgeous place to start, or try a sun and moon split design — half warm sunshine, half cool moonlight. Moon phases painted in a row on a rectangular canvas look modern and striking, especially on a dark wall. For something really easy, paint a sunset gradient in pinks and oranges with simple black silhouette hills at the bottom. No drawing skills needed — just blending and simple shapes.
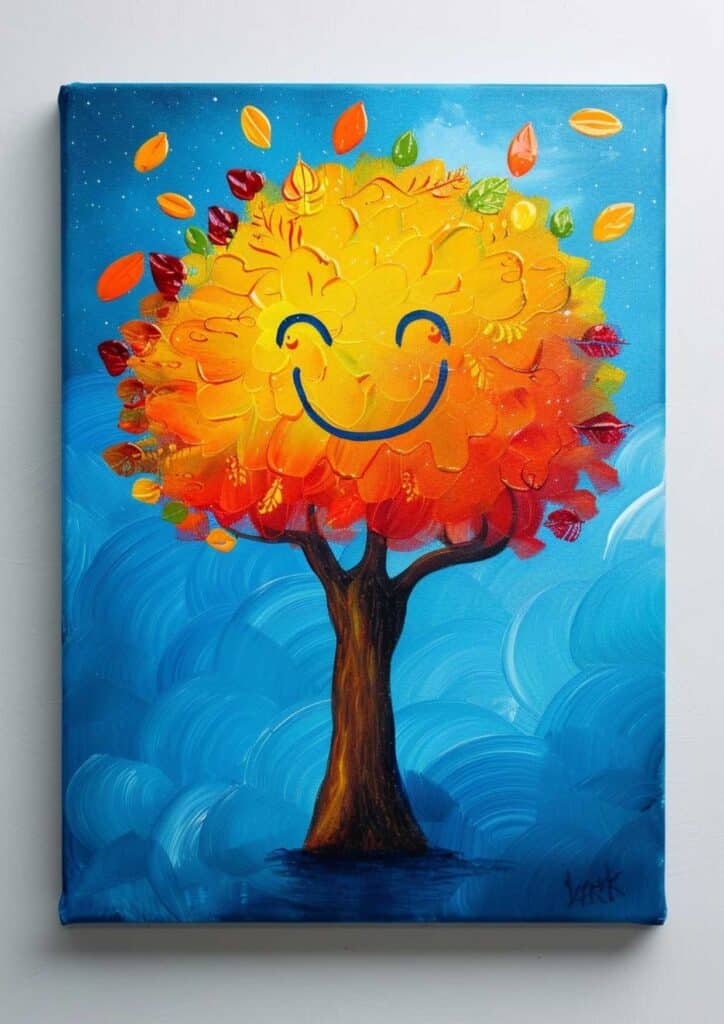
Simple Nature & Landscapes
You don’t need to be a landscape painter to capture the beauty of nature on canvas. These simplified scenes strip away the complicated details and focus on what makes nature so peaceful. A single tree on a gentle hill is timeless and surprisingly easy. A simple ocean wave with white foam is perfect for beach lovers. Layered mountain silhouettes against a sunset sky look impressive but only require basic shapes and colour blending. And if you want something joyful, try a loose field of wildflowers — just dabs and dots of colour for the petals. These paintings bring a sense of calm to any room.
Aesthetic Objects
These trendy, aesthetic paintings are all over Pinterest for good reason — they’re cute, they’re fun, and they’re surprisingly easy to paint. A vintage bicycle with a basket full of flowers has that charming, whimsical feel. A striped hot air balloon floating through a pale blue sky is cheerful and simple. For something more magical, try a mason jar filled with glowing fairy lights — it’s just a simple jar shape with little dots of warm yellow. And if you love retro vibes, a pastel VW camper van makes an adorable canvas painting. These are perfect for bedrooms, dorm rooms, or gifts.
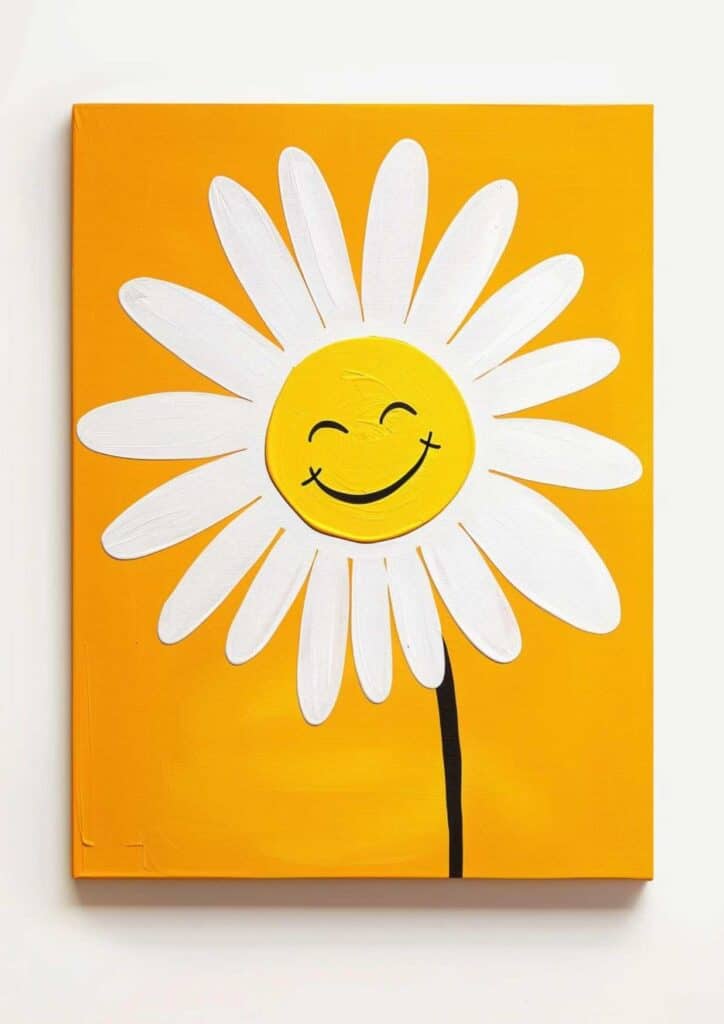
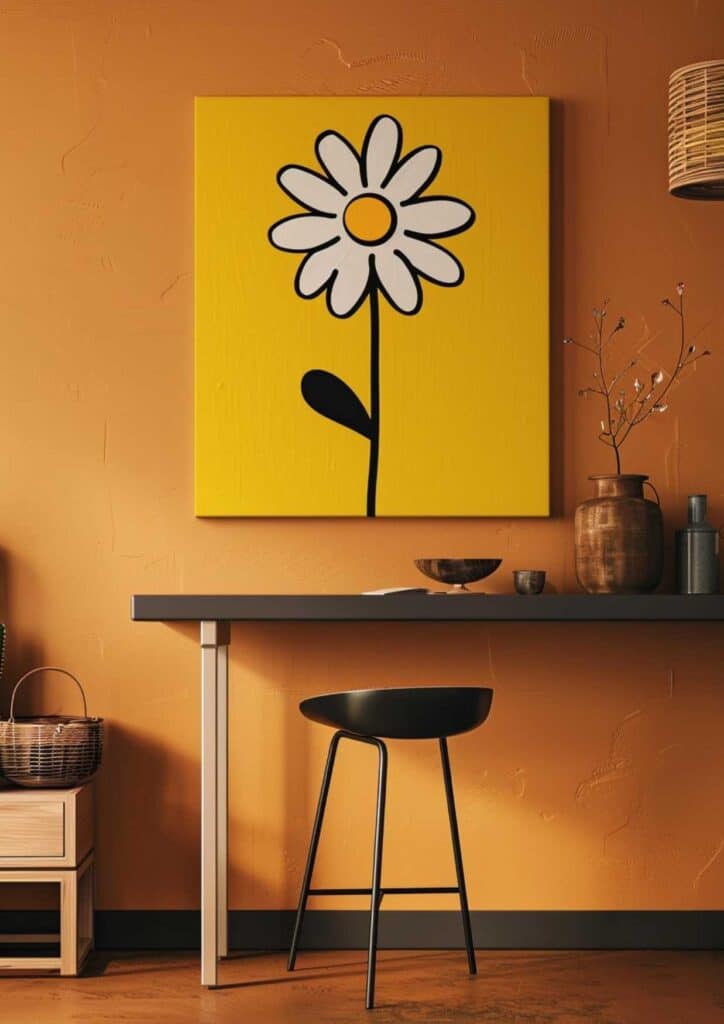
Simple Botanicals & Florals
Floral paintings don’t have to be complicated. These simplified botanical ideas focus on single blooms and simple arrangements that beginners can tackle with confidence. A single peony with soft pink petals is elegant but forgiving — loose brushstrokes actually make it look better. Lavender stems in a glass jar is minimal and calming. A bold sunflower brings instant cheer to any space and is just circles and petals. And a simple eucalyptus branch with round silvery-green leaves is perfect if you love that modern, minimal look. These botanicals work beautifully as a single statement piece or as a set of two or three.
What you’ll need: Essential Supplies for Canvas Painting
Before you start painting, let’s make sure you have everything you need. Here’s my recommended supply list with clear explanations of why each item matters, plus some optional extras if you want to level up.
The Essentials
Canvas
You’ll need a surface to paint on! Stretched canvases come ready to use — no framing required. For beginners, I recommend starting with smaller sizes like 8×10 or 11×14 inches. They’re less intimidating and use less paint. Canvas packs are great value when you’re practising.
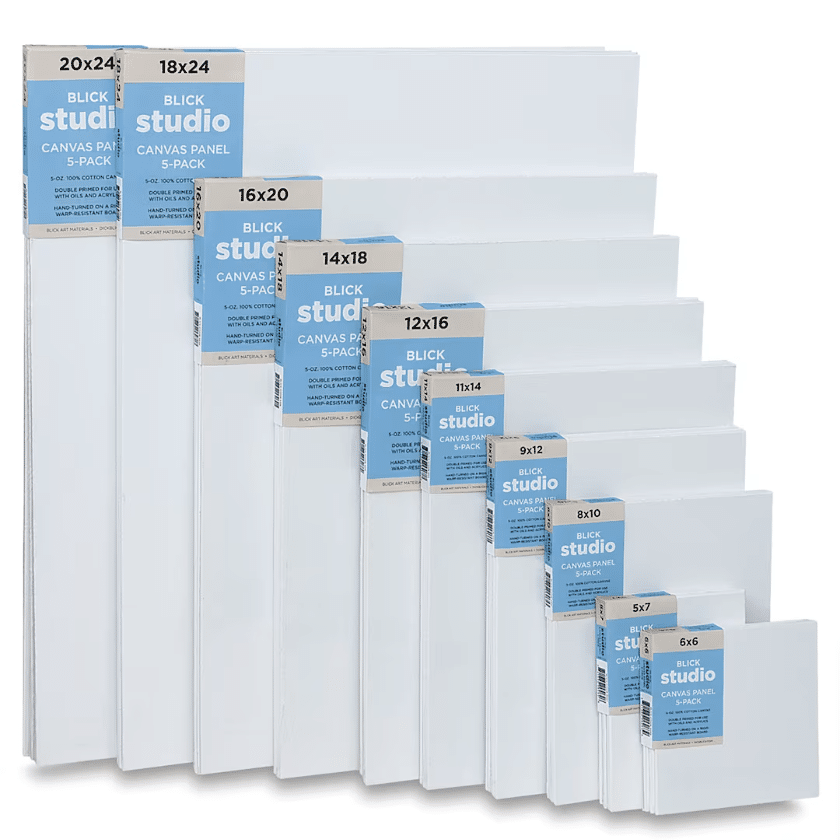
Blick Studio Cotton Canvas, 8×10 Inch
Acrylic Paints
Acrylics are perfect for beginners — they dry quickly, clean up with water, and are very forgiving. You can blend them, layer them, and fix mistakes easily. A basic set with primary colours plus white, black, and a few extras will cover most paintings. Student-grade paints are absolutely fine when you’re starting out.

Liquitex BASICS Acrylic Paint Set,48 Colours
Paintbrushes
You’ll need a variety of brush shapes and sizes. Flat brushes are great for backgrounds and filling large areas. Round brushes work well for details and outlines. A set with multiple sizes will give you flexibility. Synthetic brushes work beautifully with acrylics and are easier to clean than natural hair.
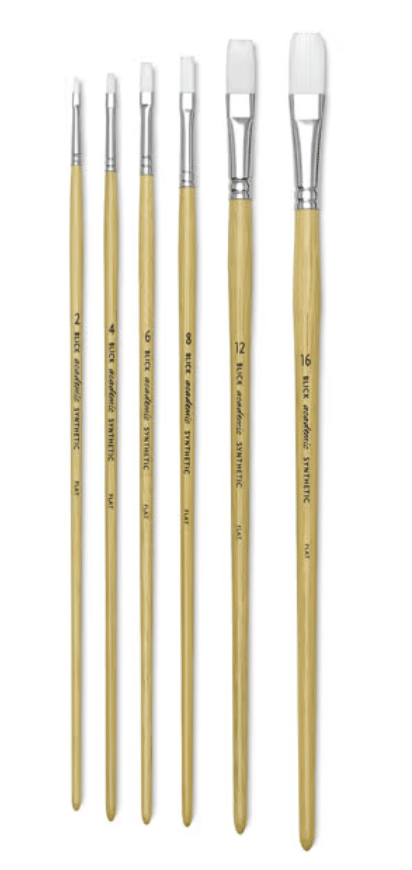
Blick Academic Synthetic Brushes, Set of 6
Palette
You need somewhere to squeeze out and mix your paints. A stay-wet palette keeps acrylics workable for longer, which is brilliant for beginners who paint slowly. If you prefer something simpler, a disposable paper palette pad works fine and means zero cleanup.
Masterson Sta-Wet Premier Palette
Water Container
You’ll need water to rinse your brushes between colours. A proper brush washing container with ridges at the bottom helps clean bristles thoroughly. You can also just use an old jar or cup — it doesn’t need to be fancy.

MyLifeUNIT Paint Brush Cleaner and Holder
Paper Towels or Rags
Keep paper towels or old rags nearby to dry your brushes after rinsing, wipe up mistakes, and clean your palette. You’ll go through more than you expect!
Optional Extras
Easel
An easel holds your canvas upright at a comfortable angle, which is easier on your back and gives you a better view of your work. A tabletop easel is perfect for small canvases and doesn’t take up much space. If you prefer, you can also just prop your canvas against some books or paint flat on a table.
U.S. Art Supply Tabletop Easel
Pencil and Eraser
A regular pencil is useful for lightly sketching your design onto the canvas before painting. Keep an eraser handy for fixing sketch mistakes. The pencil lines will be covered by paint, so don’t worry about them showing through.
Chalk or Transfer Paper
If you’re using templates, transfer paper or chalk makes it easy to trace the design onto your canvas. More on this below!
Graphite Transfer Paper, 18×24 Inch
Palette Knife
A palette knife is useful for mixing paints on your palette and can also create fun textured effects on your canvas. Not essential for beginners, but nice to have.
Varnish
Once your painting is completely dry, a coat of varnish protects it and gives it a professional finish. Gloss varnish adds shine, while matte varnish keeps things soft and subtle. This is optional but recommended if you’re gifting or selling your work.
Liquitex Professional Gloss Varnish — Amazon
This post contains affiliate links. If you purchase through these links, I may earn a small commission at no extra cost to you. I only recommend products I genuinely use and love.
How to Use the Templates to Paint Your Own Canvas
Not confident drawing freehand? No problem! These free printable templates make it easy to transfer designs onto your canvas so you can skip straight to the fun part — painting. Here’s exactly how to do it.
Method 1: The Chalk Transfer Method (Easiest)
This is my favourite method because it’s simple and you probably already have everything you need.
Step 1: Print out your chosen template at the size you want. You may need to adjust the print size to fit your canvas.
Step 2: Flip the template over and rub chalk or a soft pencil (6B works well) all over the back of the printed lines. Cover the whole design area generously.
Step 3: Place the template chalk-side down onto your canvas and tape the corners to hold it in place.
Step 4: Using a pen or sharp pencil, trace firmly over all the lines on the front of the template. Press hard enough to transfer the chalk onto the canvas.
Step 5: Carefully lift the template away. You should see a light chalk outline of your design on the canvas. If any lines are faint, you can go over them lightly with a pencil.
Step 6: Start painting! The chalk lines will be covered by your paint.
Method 2: Using Transfer Paper
Transfer paper (also called graphite paper) works like carbon paper and gives you clean, consistent lines.
Step 1: Print your template at the right size for your canvas.
Step 2: Place the transfer paper graphite-side down on your canvas.
Step 3: Position your printed template on top and tape everything in place so it doesn’t shift.
Step 4: Trace over all the lines with a pen or stylus, pressing firmly. Lift a corner to check the lines are transferring before you finish.
Step 5: Remove the template and transfer paper. You’ll have a clear outline ready to paint.
Method 3: Freehand with a Grid
If you want to practise your drawing skills, try the grid method.
Step 1: Print your template and draw a grid of squares over it (for example, 1-inch squares).
Step 2: Lightly draw the same grid on your canvas with a pencil, scaling up the squares to fit your canvas size.
Step 3: Copy the design square by square, focusing on one small section at a time. This breaks the drawing into manageable chunks.
Step 4: Once your sketch is complete, erase the grid lines as best you can and start painting.
Tips for Success
- Start with light colours. Paint your background and lighter areas first, then layer darker colours on top.
- Let layers dry. Acrylics dry fast, but give each layer a few minutes before adding the next to avoid muddy colours.
- Don’t worry about perfection. The templates give you a guide, but your painting doesn’t need to match exactly. Embrace the handmade look!
- Have fun. Put on some music or a podcast, pour yourself a cuppa, and enjoy the process.
With these essential supplies and a sprinkle of creativity, you’ll be well on your way to creating your own adorable canvas masterpieces!
More Important Tips for Painting Cute Canvases!
- Sketch it out: Lightly sketch your design on the canvas with a pencil before starting to paint. This will help you plan your composition and ensure that your proportions are accurate.
- Start with the background: Painting the background first will give you a solid base to work on and make it easier to layer your other elements.
- Use bold lines: Bold lines will help define your shapes and make your paintings look more polished.
- Choose a limited color palette: A limited color palette will help create a cohesive look and prevent your paintings from looking too busy.
- Add details: Once your base layers are dry, add details like eyes, noses, mouths, and other defining features.
- Don’t be afraid to experiment: Have fun with your paintings and don’t be afraid to try new things! The most important thing is to enjoy the process and let your creativity flow.
🎨 Want more free printables? Browse my Free Printables Library — over 400 free templates, coloring pages, drawing guides, and creative resources all in one place!
You Might Also Enjoy These Articles:
This site is so much fun! Everyday I see pictures I want to paint. Thank you@