Last Updated on July 3, 2026 by Dee
If you have ever sat down to draw and thought “but what do I actually draw?” — still life is your answer. There is something wonderfully calming about setting up a few everyday objects, looking closely at them, and putting them down on paper. No model who will not sit still, no drawing from imagination. Just you, your sketchbook, and whatever happens to be on your kitchen table.
🎨 I made you a free printable pack to get you started — 6 Still Life Drawing Outline Templates, clean outlines you can trace, shade, or colour straight onto your paper. Pop your email below and it will land in your inbox in a minute or two.
Still life drawing is one of the oldest art exercises for a reason: it works. It teaches you to really look at objects — how the light falls across them, how their edges curve, how they sit together in space. And as a beginner, that is exactly what builds solid drawing foundations. The best part? You already have everything you need right at home.
In this post I am sharing 30 still life drawing ideas perfect for beginners, grouped so you can pick whatever fits your mood or whatever is nearby. I will also walk you through how to set up your scene, some simple techniques to get you started, and the supplies that make the practice so much more enjoyable. Grab your free templates above, then read on.
Table of Contents
Free Still Life Drawing Templates
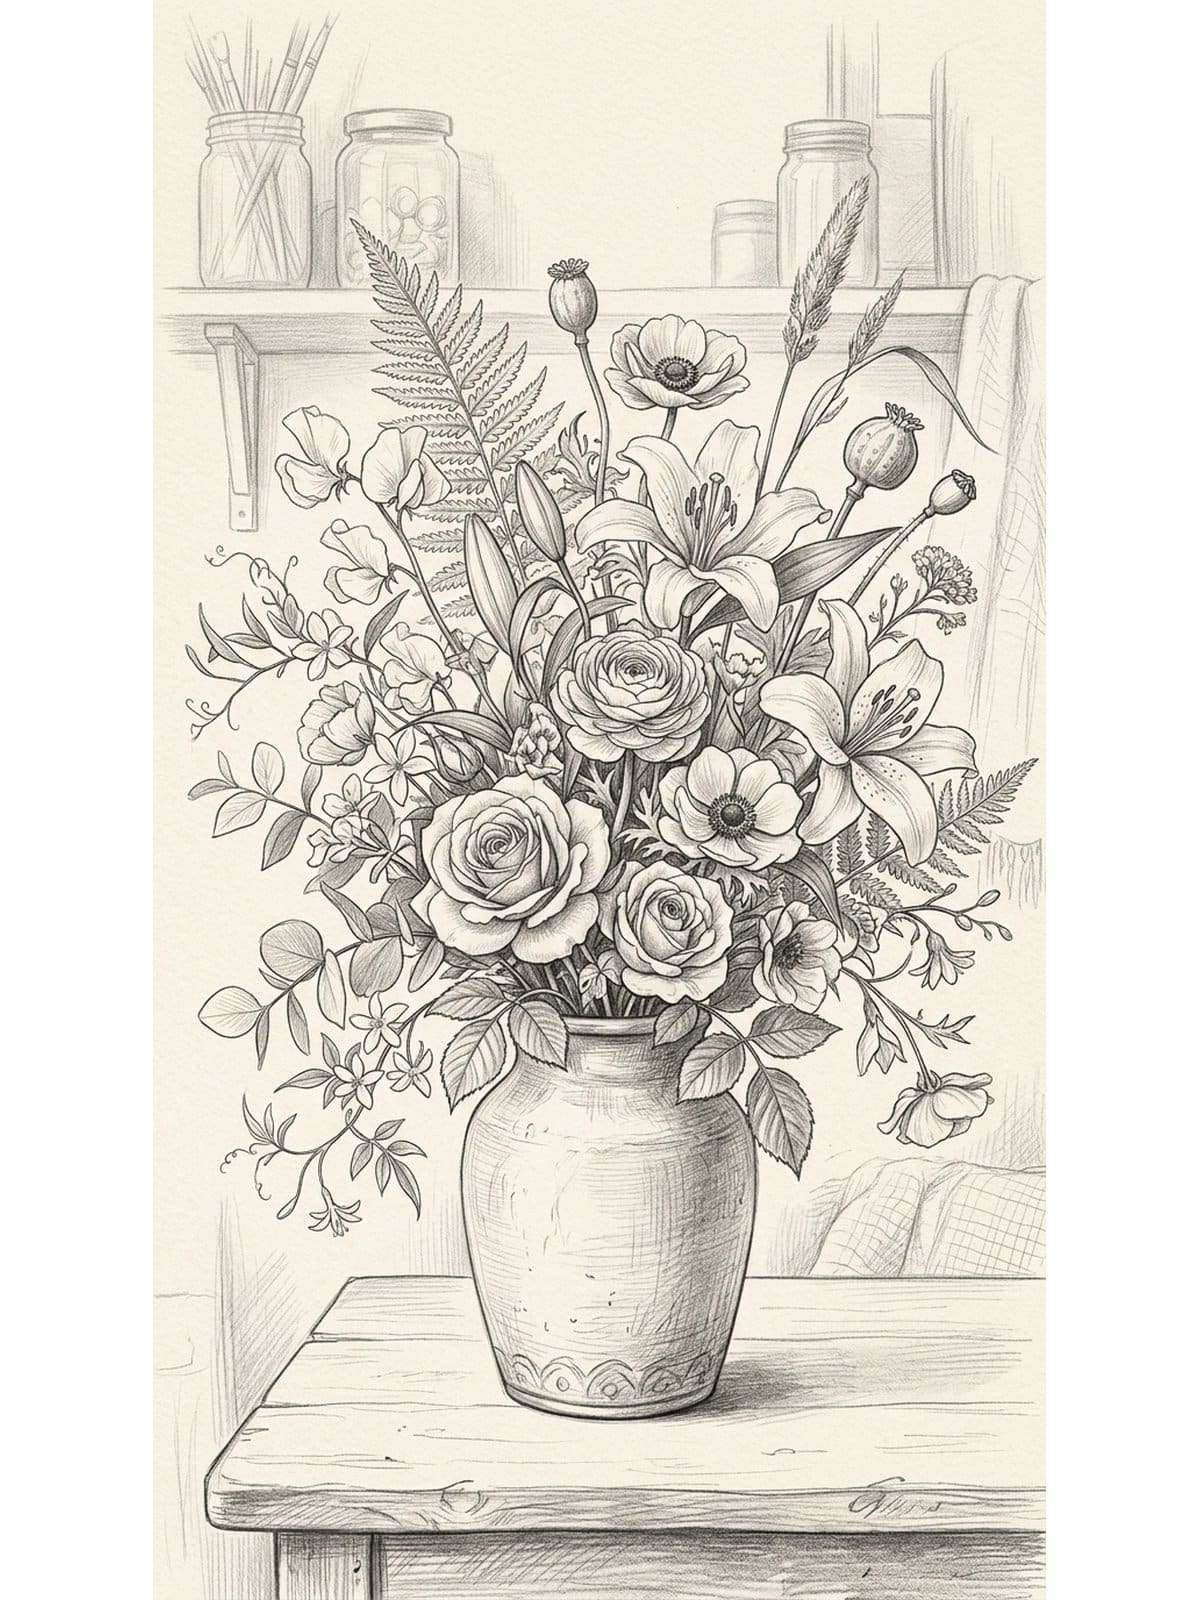
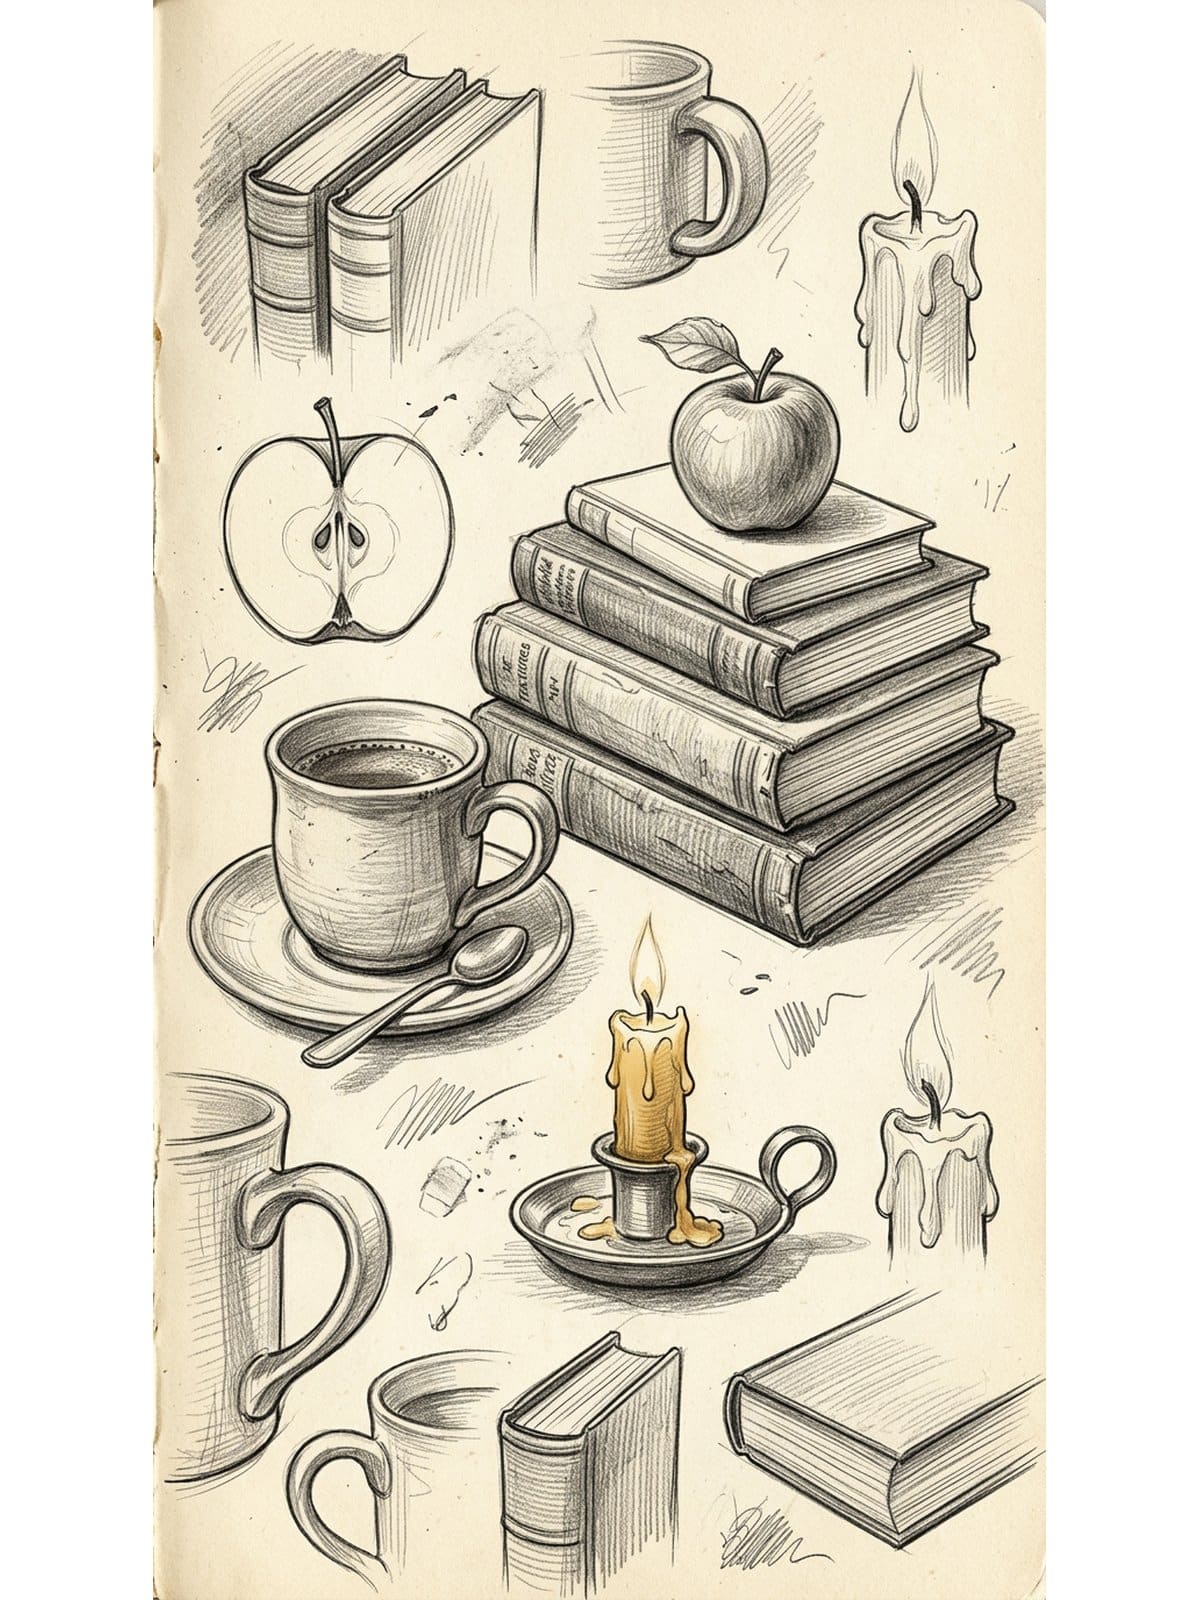
Before we get into the ideas, grab these free printable still life outlines. There are six templates in the set — a fruit bowl, a rose-filled vase, a stack of books, a cluster of glass bottles, a cosy tea scene, and a scatter of seashells — all ready to trace or use as a reference beside you. It is a lovely shortcut if drawing the initial outline feels stressful. Trace lightly, then spend your energy on the shading and detail, which is where the real practice happens.
Want New Creative Resources Every Week?
If you love free printables like these, you would feel right at home in my Patreon membership. Every week I share new drawing templates, coloring pages, watercolor outlines, Procreate goodies and colour palettes with my members — plus you get the whole back catalogue the moment you join.
It is the loveliest corner of my creative world, and members shape what I make next. Come and have a look →
Why Still Life Drawing Is Perfect for Beginners
Quick answer: Still life drawing is perfect for beginners because your subject sits perfectly still, you always have objects on hand, and everyday things are made of simple forms — cylinders, spheres, cubes — so you build real observation and shading skills without any pressure.
You build real observation skills. Still life forces you to slow down and look — really look — at an object. How does the light hit the side of a mug? Where does the shadow fall under a piece of fruit? Drawing from observation is a skill, and still life is the perfect low-pressure way to practise it.
You practise proportion without the pressure. Objects do not move. Unlike drawing from life or portraits, your subject will sit patiently while you measure, compare, and adjust. That patience makes still life ideal for getting proportions right without feeling rushed.
You learn shading and form through simple shapes. Most everyday objects are built from basic forms — a mug is essentially a cylinder, an apple is a sphere. Practising shading on these familiar objects gives you skills you can apply to anything. If you are looking for more ways to fill your sketchbook, these things to draw when bored are full of extra inspiration.
30 Easy Still Life Drawing Ideas
Here are 30 still life drawing ideas grouped by theme, so you can pick whatever is closest to hand or whatever matches your mood today. Do not overthink the setup — even a single object on a plain surface makes a wonderful study.
Kitchen & Food
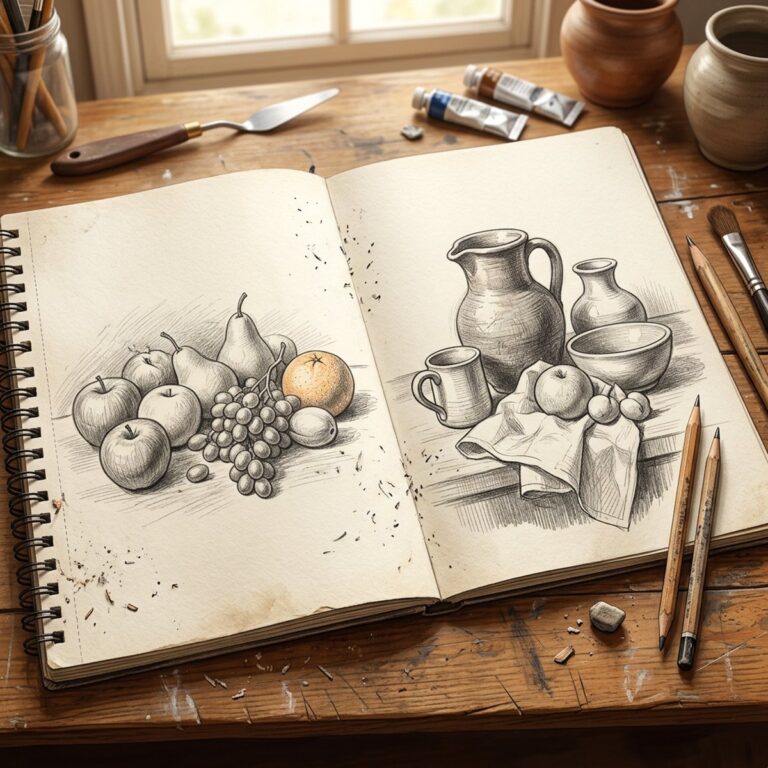
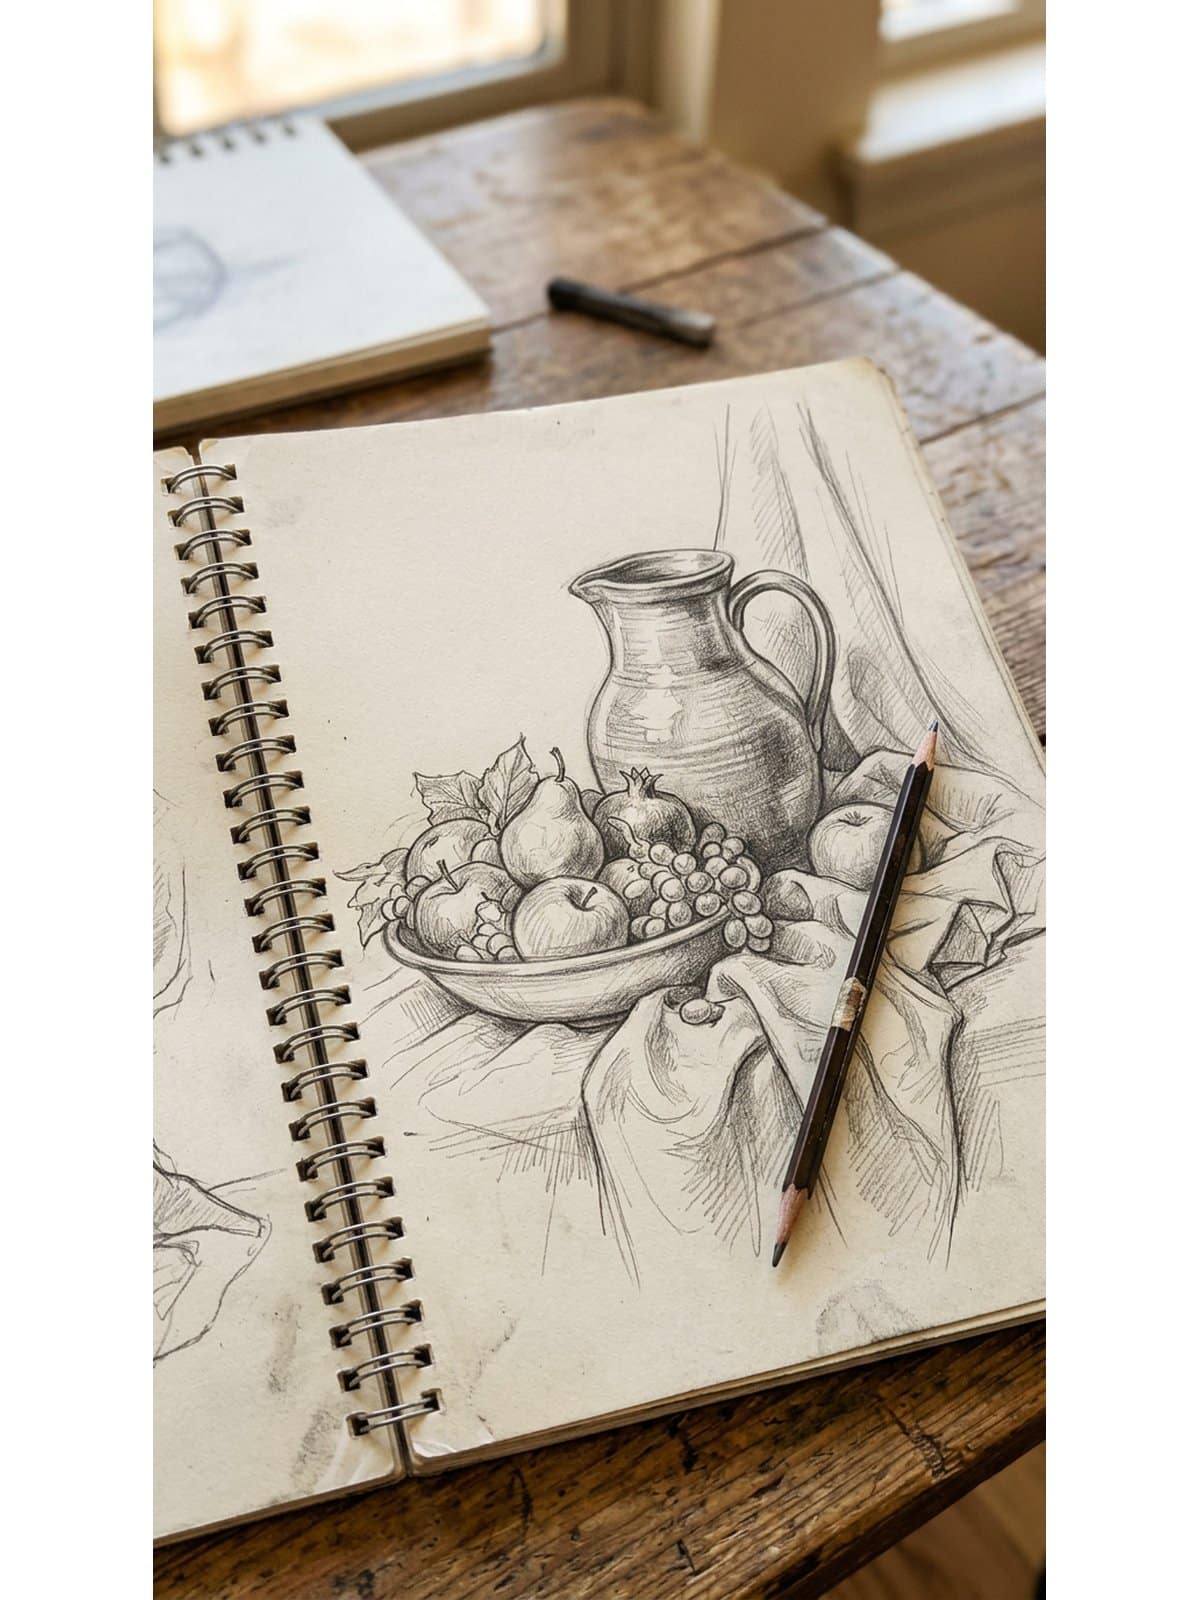
- A fruit bowl — apples, pears and grapes make gorgeous rounded shapes for practising form and shading.
- A coffee mug — a classic cylinder exercise; try it with steam rising for extra drama.
- A teapot — beautiful curves, a spout, a handle: perfect for practising ellipses and reflected light.
- A carton of eggs — the egg is one of art history’s favourite forms; draw a single egg or the whole carton.
- Glass bottles — transparency and reflected light in one beautiful subject.
Books & Stationery
- A stack of books — flat planes, spines and different thicknesses; great for practising perspective.
- Pencils in a jar — repeating cylinders with textural differences; endlessly satisfying.
- A pair of glasses — reflective surfaces and interesting negative spaces.
- An open notebook — ruled pages and a slight curve where the spine opens; simple but lovely.
- A vintage camera — angular shapes and interesting details if you want a challenge.
Nature
- Flowers in a vase — one of the all-time classic still life subjects; even a single flower is beautiful.
- A handful of pebbles — irregular shapes, varied textures, subtle tonal differences.
- Shells — perfect spiral forms, ridged textures and lovely light-catching curves.
- A pinecone — complex texture that looks impressive but is very achievable with patience.
- Succulents in a pot — geometric rosette shapes that are endlessly satisfying to draw.
Cosy Objects
- A candle — the cylindrical body, the wick, the soft wax surface; bonus points for the flame.
- A table lamp — great for practising a light source and how it affects nearby surfaces.
- A folded blanket — fabric folds are challenging and hugely satisfying once you crack them.
- A cushion — softer folds than a blanket; focus on the button or tassel details for interest.
- A mug of tea with a teabag tag — the tiny details make it feel really alive.
Art Supplies
- Tubes of paint — the crinkled metal and coloured caps; artists love drawing their own tools.
- A fan of paintbrushes — varied lengths and bristle types; lovely as a loose gestural study.
- A paint palette — blobs of colour, or draw it in graphite imagining where the colour would be.
- A watercolour pan set — the worn-down pans with their little dishes of colour are gorgeous.
- A jar of water with brushes — murky, light-refracting and full of character.
Seasonal
- Autumn leaves — varied shapes, warm tones and interesting vein patterns.
- A small pumpkin or gourd — a ridged surface and a chunky, satisfying shape.
- Spring blossoms in a jar — delicate petals, branching structure and beautiful negative space.
- A bauble — a perfect sphere with a shiny reflective surface; a real skill-builder.
- A snowglobe — curved glass and a miniature scene inside; a perfect all-season challenge.
Not sure what to try first? Start with something you genuinely like looking at — that enthusiasm comes through in your drawing. And if you want even more sketchbook inspo ideas, I have a whole post full of prompts to keep you going.
How to Set Up Your Still Life Drawing
The way you set up your scene makes a huge difference. A few simple choices before you pick up your pencil make the whole process easier and more enjoyable.
Lighting is everything. A single light source — like a lamp positioned to one side — creates clear shadows and highlights that make your objects look three-dimensional. Avoid flat overhead light. Natural window light works beautifully, especially in the morning or late afternoon when it comes in at an angle.
Keep your composition simple. For beginners, one to three objects is ideal. More than that and it becomes hard to manage. An odd number of objects tends to create a more natural, balanced arrangement than an even one.
Think about your background. A plain piece of card or fabric behind your objects simplifies the scene enormously. White, grey, or a soft neutral colour works well and stops background clutter from competing with your subject.
Vary heights and overlaps. Place objects at slightly different heights using books or small boxes underneath, and let them overlap a little. It immediately makes your arrangement look more composed rather than lined up in a row.
Step-by-Step Still Life Drawing Techniques
Once your scene is set up, here are the techniques that will help you get it onto the page successfully.
Start with contour drawing. Before worrying about shading, just draw the outlines of your objects using slow, careful contour lines. Try not to look at your paper too much — let your eye lead your pencil around the edges of what you are seeing. This builds the observation habit faster than anything else.
Use negative space. Instead of drawing the object, draw the shapes of the space around it. It is a brilliant trick for getting proportions right without getting caught up in detail. The gaps between flower stems, or between a mug and a book, tell you a huge amount about the positive shapes.
Build shading in layers. Start very lightly — a barely-there base tone — and build up gradually. It is much easier to add darkness than to remove it. Identify your lightest light (often the white of the paper), your midtones, and your darkest darks, and keep comparing as you go.
Try hatching and cross-hatching. Parallel lines (hatching) and crossed lines (cross-hatching) give your drawings texture and tone. The closer together the lines, the darker the area appears. This works especially well for fabric, rough textures, and cast shadows. For more guided practice, these outline drawings for painting and colouring are a great way to build confidence before a full still life from observation.
Best Supplies for Still Life Drawing
You do not need much to get started with still life drawing — a pencil and some paper will do. But if you want to build out your kit thoughtfully, here is what I would suggest for beginners.
Pencils: A small graphite set with a range of grades (something like 2H through to 6B) gives you everything from crisp light lines to deep shadows. A tin like the Faber-Castell Pitt graphite pencil set is a lovely place to start — the harder grades hold a point for detail, the softer ones lay down rich darks for shading.
Paper: A decent pad makes a real difference. Look for a smooth-to-medium tooth paper that takes graphite well without smudging everywhere. A spiral pad like the Canson XL pad lies flat, is sturdy enough for repeated erasing, and is perfect for everyday still life practice.
An eraser and a fineliner: A precision eraser like the Tombow Mono Zero eraser lets you lift out tiny highlights and soften edges — a genuine game-changer for still life shading. And if you like to finish with crisp ink lines, a Sakura Pigma Micron fineliner set is perfect for outlining once your shading is done.
This post contains affiliate links. If you purchase through these links, I may earn a small commission at no extra cost to you. I only recommend supplies I genuinely use and love — thank you for supporting Artsydee!
Looking for more drawing resources? Head over to the Artsydee shop on Payhip — you will find coloring pages, watercolor templates, Procreate brushes and digital art packs to keep your creative practice going all year long.
How to Use Your Sketchbook for Still Life Practice
The real magic of still life happens when you make it a regular habit rather than a special occasion. Your sketchbook is the perfect low-pressure place to practise, and still life fits beautifully into an everyday drawing routine.
Use it as a warm-up. Before any bigger project, spend five minutes on a quick still life sketch of whatever is on your desk — a pencil sharpener, a coffee cup, a crumpled piece of paper. These tiny, unprecious sketches build your observation muscle faster than you would expect.
Do timed studies. Set a timer for 10 or 15 minutes and try to capture your subject within that time. The limit stops you over-thinking and forces you to commit to your marks. You will be surprised how much you can get down — and how much your line confidence grows.
Fill a whole spread with one subject. Draw the same object from five different angles across a double-page spread — from above, from the side, from below, in different lighting. It is one of my favourite exercises for really understanding how a form works in three dimensions. If you want more prompts, this post on sketchbook inspo ideas is full of ways to keep going week after week.
Frequently Asked Questions
What is the easiest still life to draw for a beginner?
The easiest still life to start with is a single simple object — a coffee mug, a single piece of fruit, or a candle. One object lets you focus entirely on observation, proportion and shading without worrying about how things relate to each other. As your confidence grows, add a second and then a third object to build more interesting compositions.
How do you start a still life drawing step by step?
Start by lightly sketching the overall shapes and placement of your objects — use very light lines and do not worry about detail yet. Then refine your outlines, checking proportions as you go. Once you are happy with the shapes, add shading by identifying where the light is coming from and building up tone in layers, working from light to dark. Add details and texture last.
What objects are commonly used in still life drawing?
Traditionally, artists have used fruit, flowers, jugs, bottles, books and fabric in still life compositions. These objects were chosen because they showcase different skills — rounded forms, reflective surfaces, organic shapes and fabric folds. Today you can use anything that interests you: art supplies, kitchen objects, plants, seasonal items — whatever is nearby and catches your eye.
How long does a still life drawing take?
It depends entirely on how detailed you want to go. A quick 10-minute gestural sketch of a mug is a perfectly valid still life study, while a fully shaded, detailed drawing of a complex arrangement might take several hours across a few sessions. As a beginner, I would suggest starting with 20 to 30 minute sessions — long enough to really engage with the subject, short enough that it never feels daunting.
Final Thoughts
Still life drawing is one of those creative habits that seems simple on the surface but gives back so much the more you put in. Every object you draw teaches you something — about light, about form, about how to really look at the world around you. And the best part is that you can start right now, with whatever is on your desk.
Pick one object. Place it near a window. Spend twenty minutes just drawing it. That is your still life practice started — and I promise you will want to keep going. Grab the free templates above to take the pressure off the outline, then let yourself enjoy the shading.
Happy sketching, friend. ✏️
Dee xx
I would love to see what you create — come and follow me on Pinterest for daily art inspiration, and if you love tutorials, subscribe on YouTube. Sharing this with a creative friend would mean the world. 💙
You Might Also Like
- Things to Draw When Bored (100+ Fun Ideas!)
- Sketchbook Inspo Ideas to Fill Every Page
- Easy Cute Doodles for Beginners
- Outline Drawings for Painting and Colouring
Pin This for Later!
Love these still life drawing ideas? Save this post to your Pinterest boards so you can come back whenever you need fresh sketchbook inspiration!