Last Updated on February 28, 2024 by Dee
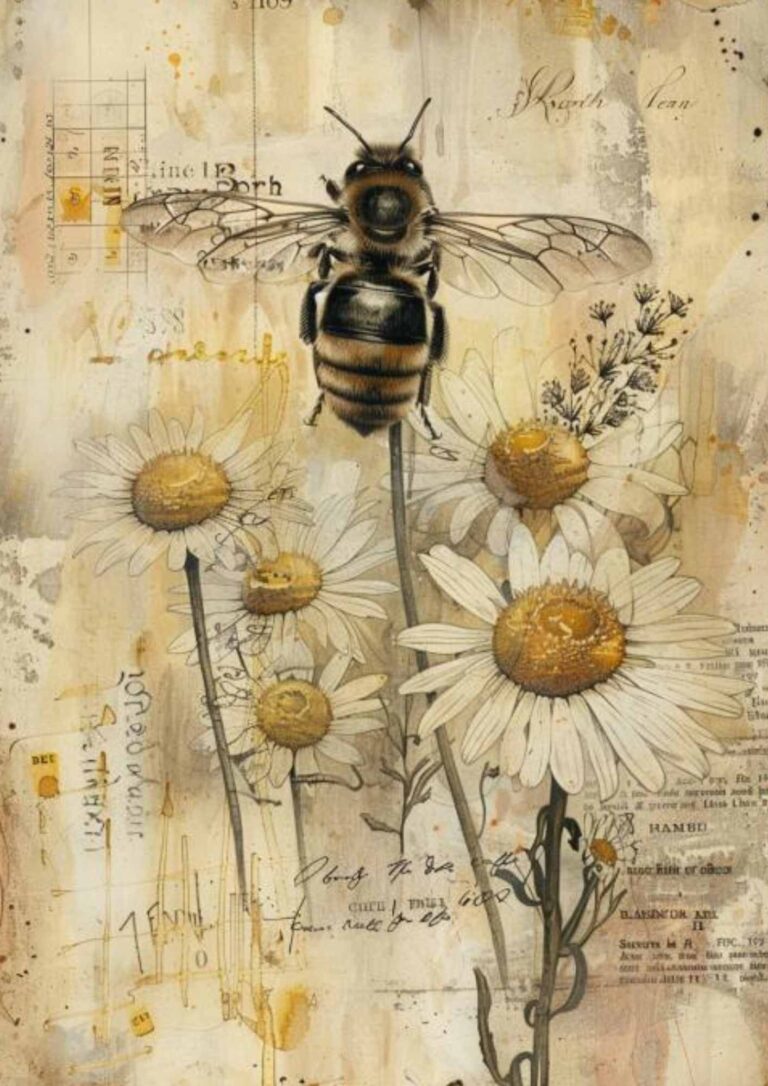
Embark on a journey through the enchanting world of bees with our collection of 50+ Bee Junk Journal Pages, available as a Free Printable PDF at the end of this article. These vintage printables are a treasure trove for crafters and journal enthusiasts alike, offering a delightful glimpse into the industrious life of bees set against a backdrop of bygone charm.
Whether you’re looking to add a touch of whimsy to your scrapbooking projects or seeking inspiration for your next mixed media masterpiece, these beautifully designed pages are abuzz with possibilities.
So grab your scissors and glue, and prepare to be swept away by the rustic allure of these vintage bee-themed printables.
50+ Bee Junk Journal Printables
Bees epitomize industriousness, community, and growth, themes that buzz with life within the pages of a junk journal. From collaging and sketching to writing and scrapbooking, these bee-inspired pages are your hive of creativity, inviting you to capture the dynamic essence of these tireless pollinators. Delve into this collection and let the intricate dance of bees inspire your next creative adventure.
Essential Art Supplies for Bee Junk Journal Crafting
These tools and materials are key to infusing each page with texture, color, and a personal touch, turning your journal into a unique masterpiece that radiates the magic of bees. With the right supplies, you can transform your journal pages into a beautiful reflection of your connection to nature and your love for the simple miracle of bees, creating a treasure trove of memories and inspiration.
*This page may contain affiliate links to products I have used or recommend. If you purchase something from this page, I may receive a small percentage of the sale at no extra cost to you.**
1. Adhesives: A reliable glue stick or double-sided tape is a must-have to add elements to your pages seamlessly without mess.
2. Scissors or a Paper Trimmer: Precision cutting tools are vital for shaping your printables and ephemera to fit your journal’s layout.
3. Colored Pens and Pencils: Add your own doodles, notes, or outlines with a set of colored pens and colored pencils, making each page pop with your personal touch.
4. Stamps and Ink Pads: Incorporate patterns and textures with stamps and ink pads. Spring-themed or floral designs can add a charming effect to your pages.
5. Washi Tape: This decorative tape comes in countless designs and is perfect for adding borders or dividing pages. Check out this washi tape set.
6. Stickers and Ephemera: Stickers
7. Ohuhu Markers: Known for their vivid colors and smooth application, Ohuhu markers are perfect for coloring and blending on your journal pages.
8. Metallic Gel Pens: To add some sparkle and shine, consider using metallic gel pens in shades of gold, silver, and bronze. These are great for highlighting and embellishing details on your pages.
9. Stencils: Use large wall stencils for adding decorative backgrounds or smaller craft stencils for detailed accents. They can be used with ink, paint, or markers to create consistent and professional-looking stencilled designs.

How to Create Your Bee Junk Journal
Creating your own sunflower junk journal with printed pages is a delightful project that allows for personal expression and creativity. Follow these easy-to-follow step-by-step instructions to assemble your very own bee-themed junk journal. For a more in-depth explanation, you can read this article on How to Make a Junk Journal for Beginners.
Step 1: Gather Your Materials
Before you begin, make sure you have all the necessary supplies:
- Printed Bee junk journal pages
- Art supplies (as listed above)
- Cardstock for covers
- Binding materials (thread, ribbon, or book rings)
- A hole punch or awl
Step 2: Print Your Pages
Print your bee junk journal pages on high-quality paper. If you prefer a more vintage feel, you can print on tea-stained paper.
Step 3: Cut and Fold
Cut the printed pages to the desired size if necessary and fold them in half. You can also lay out two pages on a single A4 sheet when printing, so that you can fold it in half and have two of the same designs side-by-side. Use a bone folder for a crisp fold line.
Step 4: Create Signatures
Group several folded pages together to create ‘signatures.’ A signature is a set of pages bound together within the journal. Typically, 4 to 5 folded pages per signature work well.
Step 5: Prepare the Cover
Cut your cardstock to size, ensuring it’s slightly larger than your folded pages. Decorate your cover using the art supplies mentioned earlier.
Step 6: Punch Holes for Binding
Align your signatures and cover, then punch holes along the fold line using your hole punch or awl. Make sure the holes are evenly spaced and match up in each signature and the cover.
Step 7: Bind Your Journal
Thread a needle with strong thread or ribbon, or use book rings to bind your journal. If you’re using thread or ribbon, start from the cover outside, leaving a tail for tying off later. Sew through the holes of your first signature, loop around the spine, and continue through the second signature, repeating this process until all signatures are securely attached. Finish by tying off the thread outside the spine with the initial tail.
Step 8: Decorate Your Pages
Now that your journal is assembled, it’s time to decorate. Use your stencils, Ohuhu markers, metallic gel pens, and other art supplies to embellish the pages. Add pockets, tuck spots, and tags for interactive elements.
Step 9: Add Ephemera and Personal Touches
Incorporate personal items such as photos, ticket stubs, pressed flowers, or any other memorabilia that fits the spring theme. Use adhesives to secure these in place.
Step 10: Use Your Journal
Your spring junk journal is now ready for use. Write down your thoughts, sketch, paste in new finds, and continue to decorate as you go along. This journal is a living document that will grow with you throughout the season.
Enjoy the process of creating and using your spring junk journal, and remember that there are no rules. It’s a personal and creative expression that is uniquely yours. Happy journaling!
Grab the Free Junk Journal Pages HERE (below)!
To access the free in-post printables for this post, you’ll just need to create a free account or log in with the Grow.me tool. Then, confirm by email and refresh the page, and ALL my free printables will automatically unlock in every post!
More Junk Journal Printables You May Enjoy…
80+ Sunflower Junk Journal Pages
35 Spring Junk Journal Printables!
Essential Junk Journal Supplies
Unleash Your Creativity: Explore 55+ Free Junk Journal Printables for Every Crafter!
7 FREE Shamrock Template Printables
21+ FREE Christmas Junk Journal Printables
38 FREE Butterfly Stencil Templates: Flutter Into Creativity!
14 Free Sunflower Printables: Gorgeous Templates for your Next Artwork!


Than you so much
Dee, Thank you so much for the free junk journal pages.😊
I have been looking for this style of vintage background!!
The free color pages are great too!!
I love them!!❤️