Last Updated on April 28, 2023 by Dee
In this blog post, I’m going to show you how to draw a straight line in Procreate. This is a really great function in Procreate that will help you improve your digital drawings.
If you’re an artist or art student, then learning how to use Procreate is essential. It’s a great drawing app that allows you to be creative and experiment with cutting-edge art-making.
So, let’s get started!
Table of Contents
- The Quickest Way to Draw a Straight Line in Procreate
- How to Draw Straight Lines in Procreate?
- Making a perfectly straight line in Procreate with QuickLine
- How to Draw a Straight Line at an Angle with Procreate?
- Why does Procreate only draw straight lines?
- How to Draw a Perfectly Horizontal or Vertical Line in Procreate?
- Use the Streamline feature to draw smoother lines
- Making straight lines and shapes with QuickShape
- How to Draw a Perfect Circle in Procreate?
- Disabling Quickline and Quick shape
- Alpha Lock to Recolor
- Color drop (Fill)
- Color palette
- Symmetry
- Liquify
- Frequently Asked Questions about Drawing a Straight line in Procreate…
- Conclusion
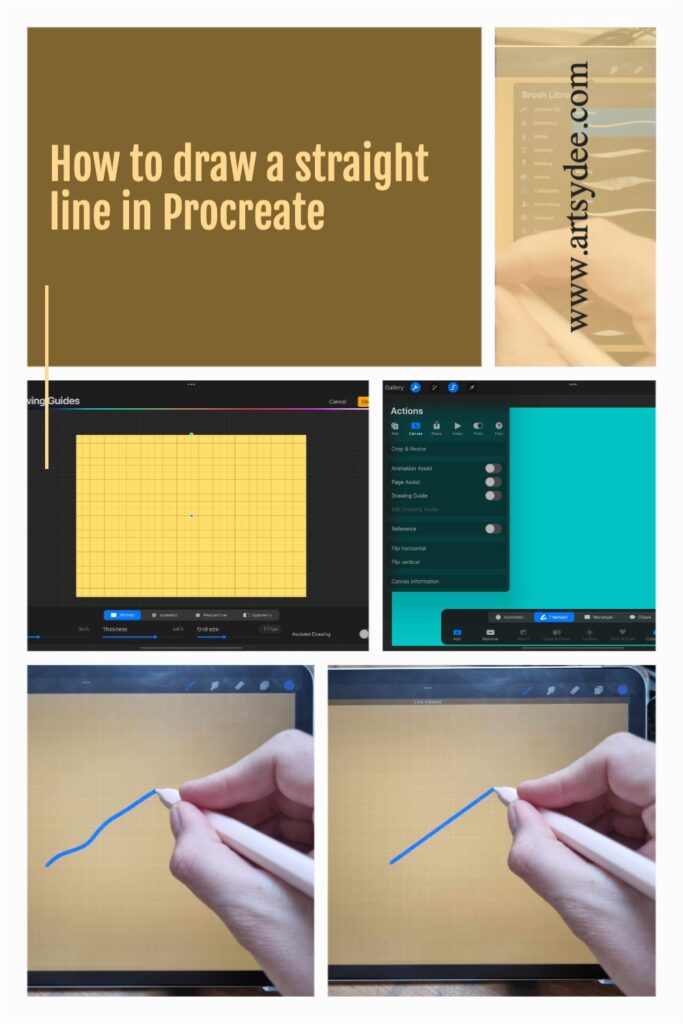
The Quickest Way to Draw a Straight Line in Procreate
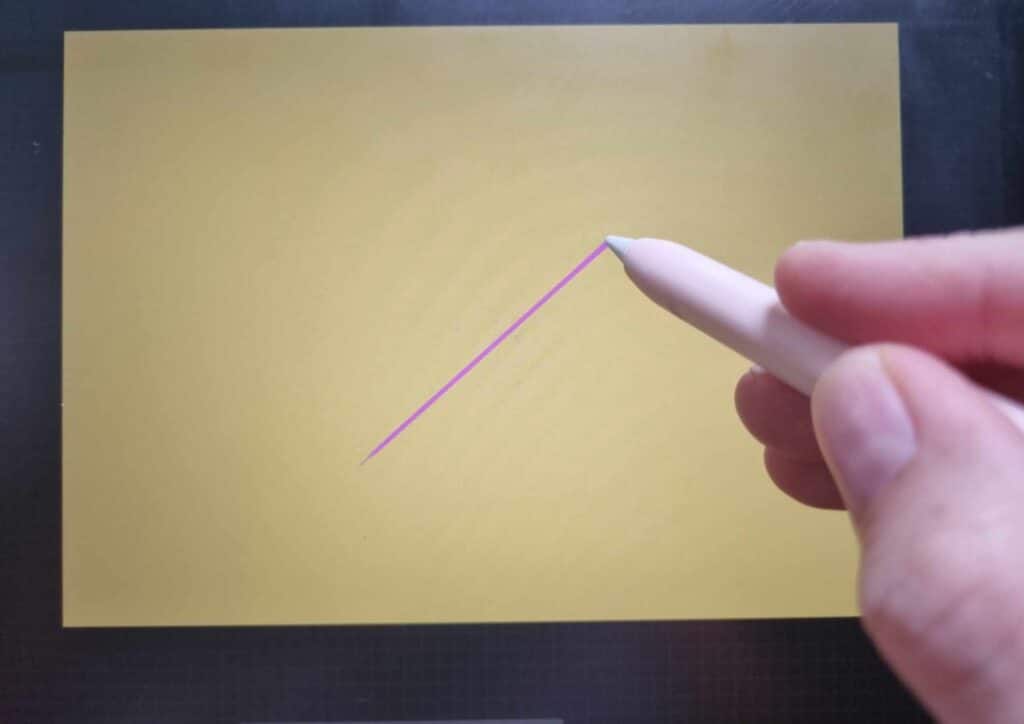
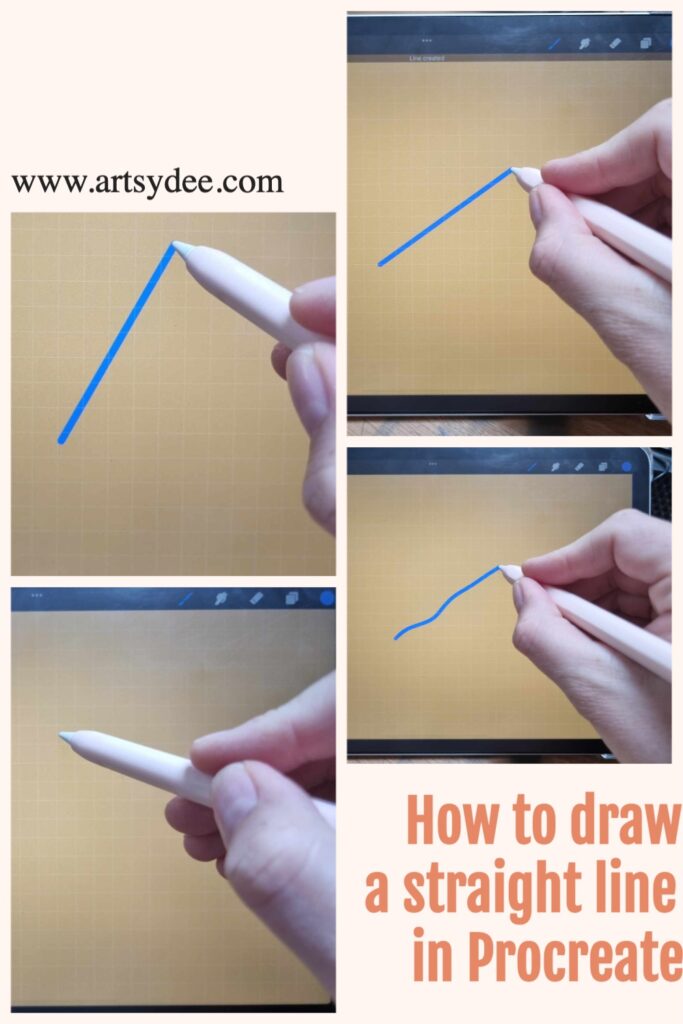
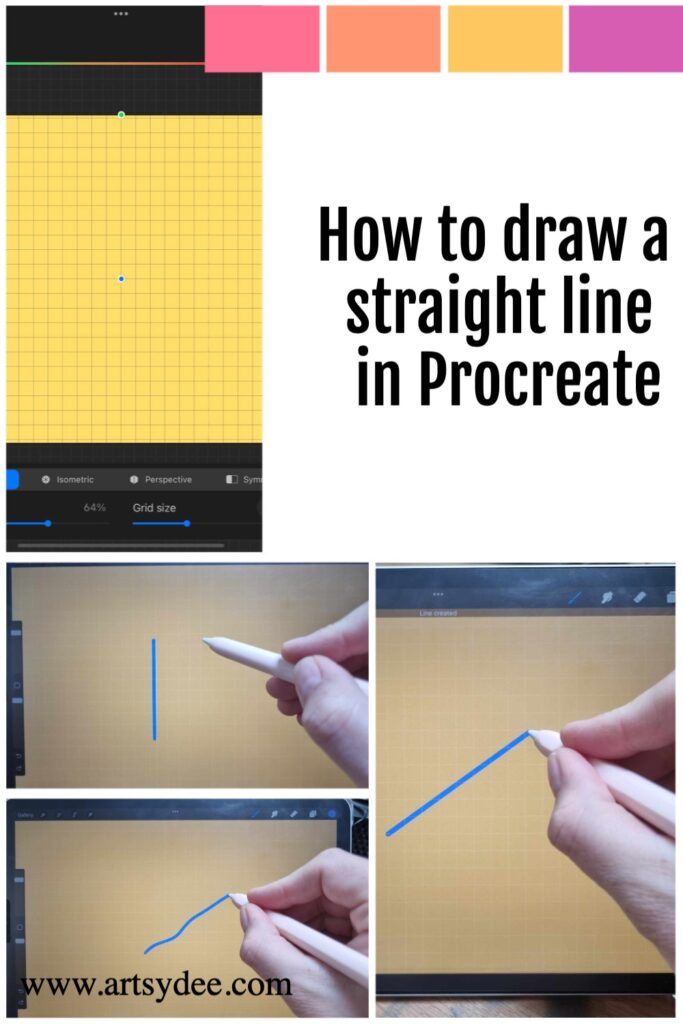
The fastest way to draw a perfectly straight line in Procreate is to draw a natural line on your canvas and hold the nib of your Apple Pencil (or stylus) on the screen. The curved, imperfect line you drew will then snap to a perfectly straight line.
How to Draw Straight Lines in Procreate?
There are a few ways to draw straight lines in Procreate. The quickest way is to simply draw a curved or wavy line and let Procreate snap it into a perfectly straight line.
Once you have drawn your line and allowed it to snap to a perfectly straight line, you can then move your pencil around to get the angle you need or adjust the length of the line.
The whole page is moved by releasing the line and changing the lines with the Transformation Tool.
[Related article: Digital Painting Tips]
Making a perfectly straight line in Procreate with QuickLine
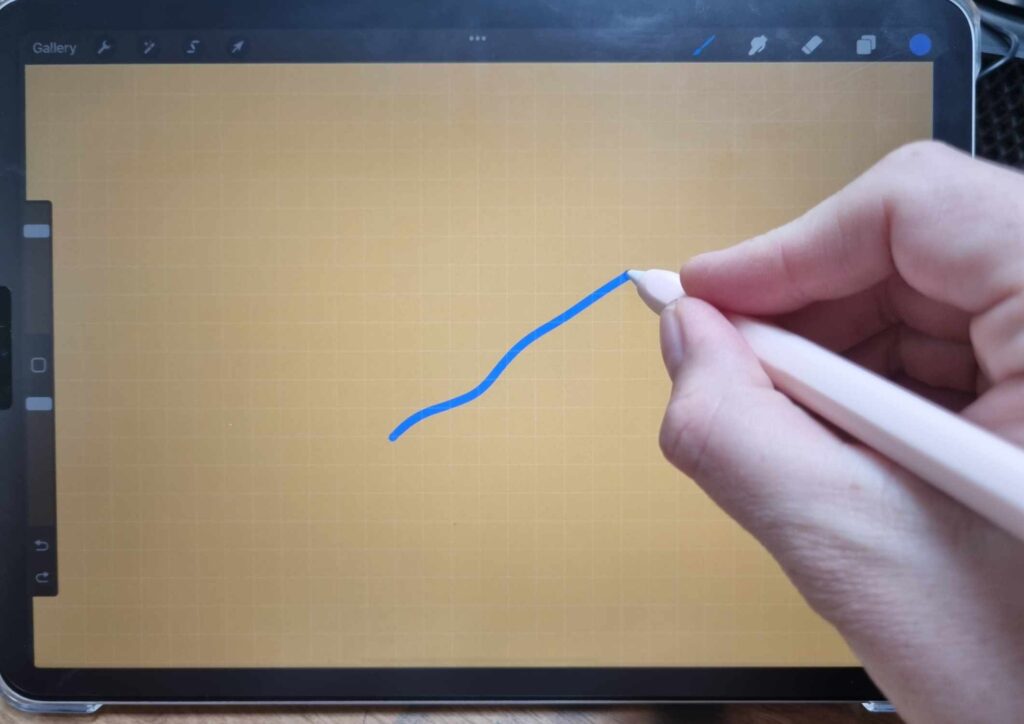
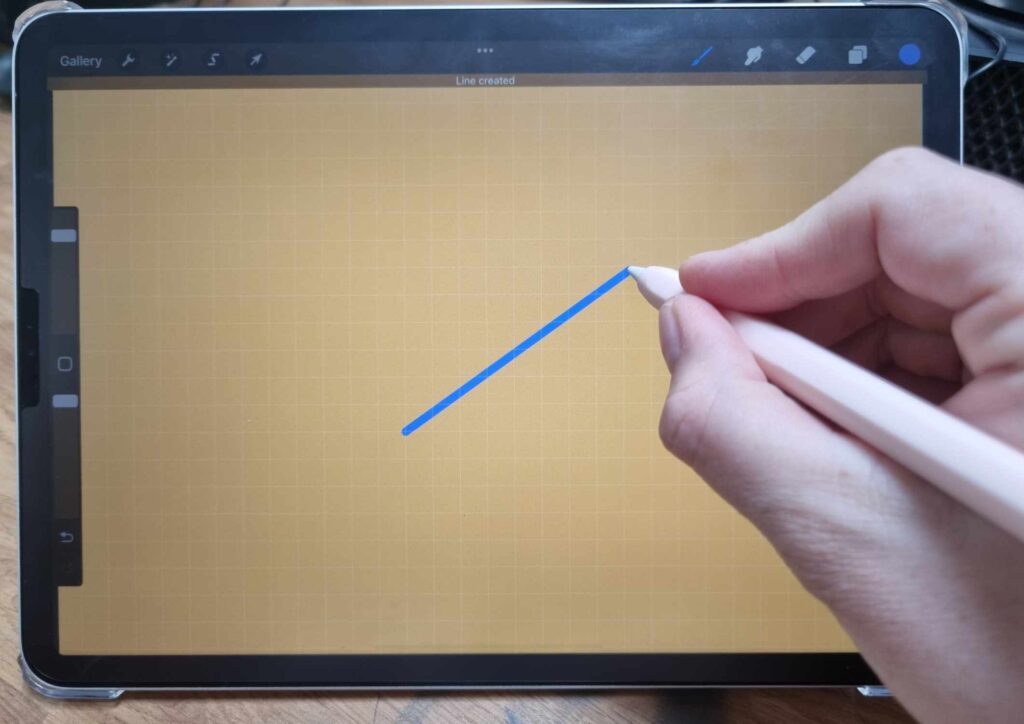
You can make a perfectly straight outline without lifting the Apple Pencil off the screen. If you put another finger on a screen you will see that the line snaps 15 degrees. It is also possible to change the angle by moving your stylus in a curved motion on the digital canvas. This can help you to create perfect horizons and verticals.
[What is the Right Digital Art Canvas Size? Important things to Consider to Make the Best Choice.]
How to Draw a Straight Line at an Angle with Procreate?
When you need to give your artwork a sense of perspective it is important to draw a series of lines at a particular angle on your canvas.
To draw a straight line at an angle, follow these simple steps:
1. Open the Transformations tool from the toolkit.
2. Select the “Line” transformation type.
3. Choose the angle you would like your line to be drawn at by dragging the slider or tapping on the + and – buttons.
4. Draw your line on the canvas by holding down your stylus on the screen.
5. Release your stylus to complete the line.
You can also use the “Rotate” transformation type in combination with the “Line” type to create angled lines.
If you want to create a digital drawing with excellent perspective then follow the steps below:
1. Click on the wrench tool in the menu bar
2. Select Drawing Guide and choose Edit Drawing Guide
3. Choose the perspective option
4. Touch the area on the canvas where you want your vanishing point to be.
5. If you are creating 2 point or 3 point perspective drawings, you can choose multiple vanishing points.
6. Click done to finish off your selection and you will see you have many different lines at various angles that you can use to create an accurate perspective drawing.
Why does Procreate only draw straight lines?
Procreate can only draw straight lines because that is how the software is designed. The app is made for digital drawing and painting, and the lines you draw are meant to be used as guidelines or construction lines.
If you’re looking for an app that can do more than just draw straight lines, then I recommend checking out Adobe Photoshop or Sketch.
How to Draw a Perfectly Horizontal or Vertical Line in Procreate?
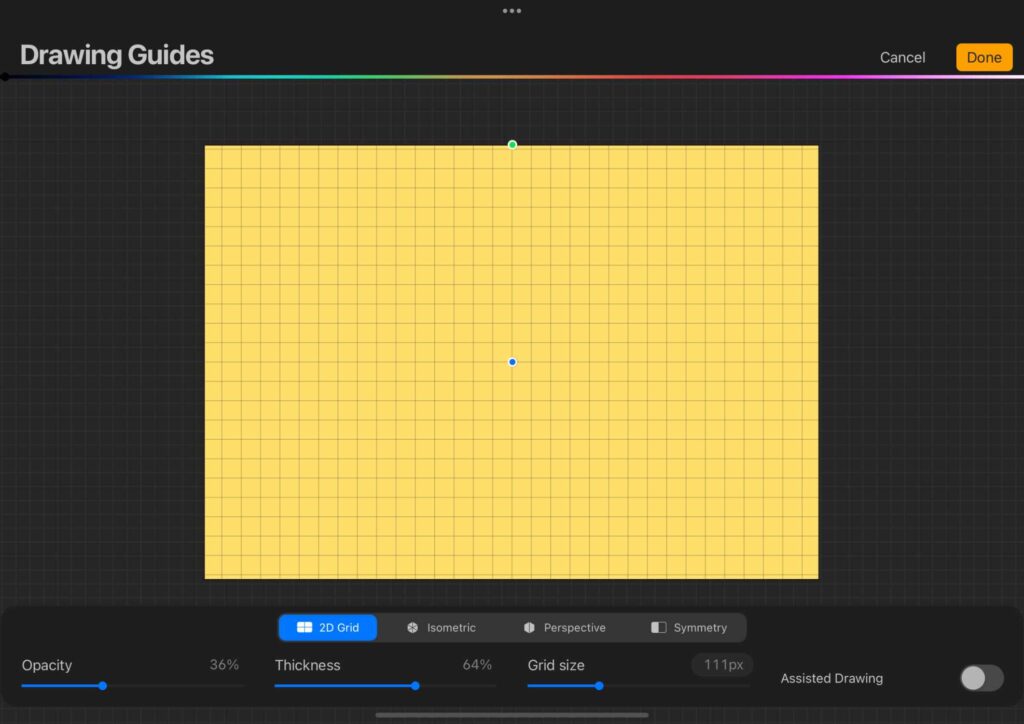
When you need to create a horizontal or vertical line in your artwork, you can use the quick line tool or the transformations tool.
The quick line tool is perfect for quickly drawing a horizontal or vertical line without having to adjust any settings or options.
To use the quick line tool:
1. Open the Transformations tool from the toolkit.
2. Select the “Line” transformation type.
3. Choose the angle you would like your line to be drawn at by dragging the slider or tapping on the + and – buttons.
4. Draw your line on the canvas by holding down your stylus on the screen.
5. Release your stylus to complete the line.
Use the Streamline feature to draw smoother lines
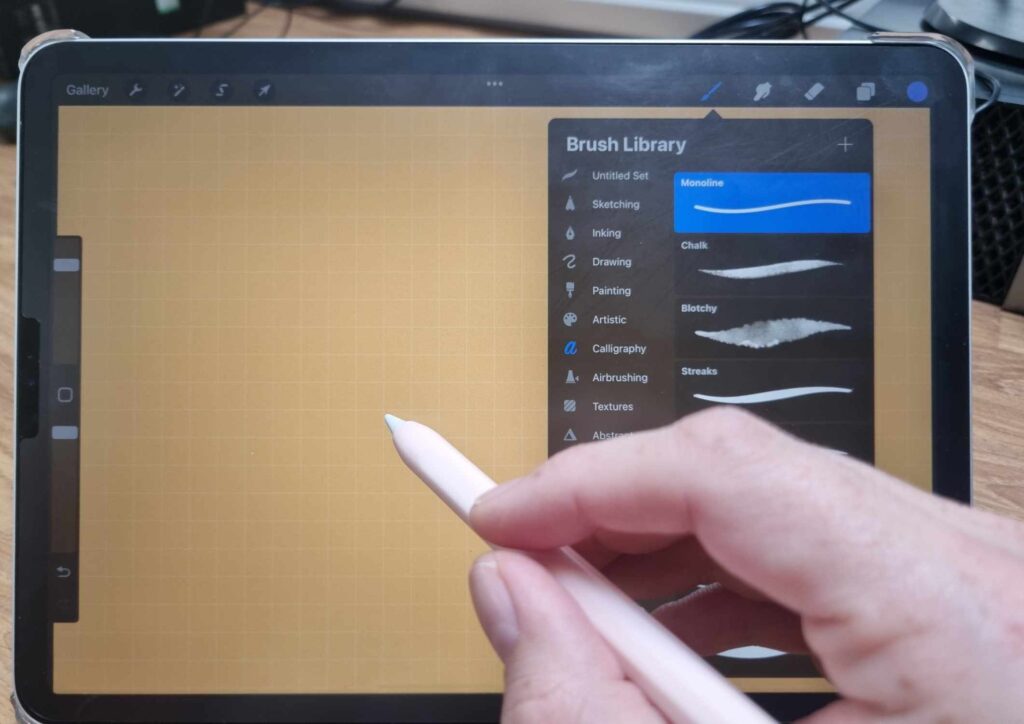
The streamline feature is another approach to creating smooth lines. You can access more features by tapping on the name of the brush in each of Procreate’s brushes.
To select the Monoline brush type, first, open the Brushes panel by clicking on the Brush Tool icon in the toolbox. Choose Streamline from the drop-down menu, and you’ll find it under that option.
If you don’t add the streamline, the line will appear wobbly and uneven. If you enable the streamline option while drawing a squiggly line, the Apple pencil will seem to be dragging behind it and producing a smooth finish.
The streamline option is a fantastic technique to create a smooth line if you’re drawing something curved or extremely detailed. The streamline effect is ideal for sketching hair or hand lettering.
Once you’ve gotten the hang of it, it becomes a highly useful tool.
Making straight lines and shapes with QuickShape
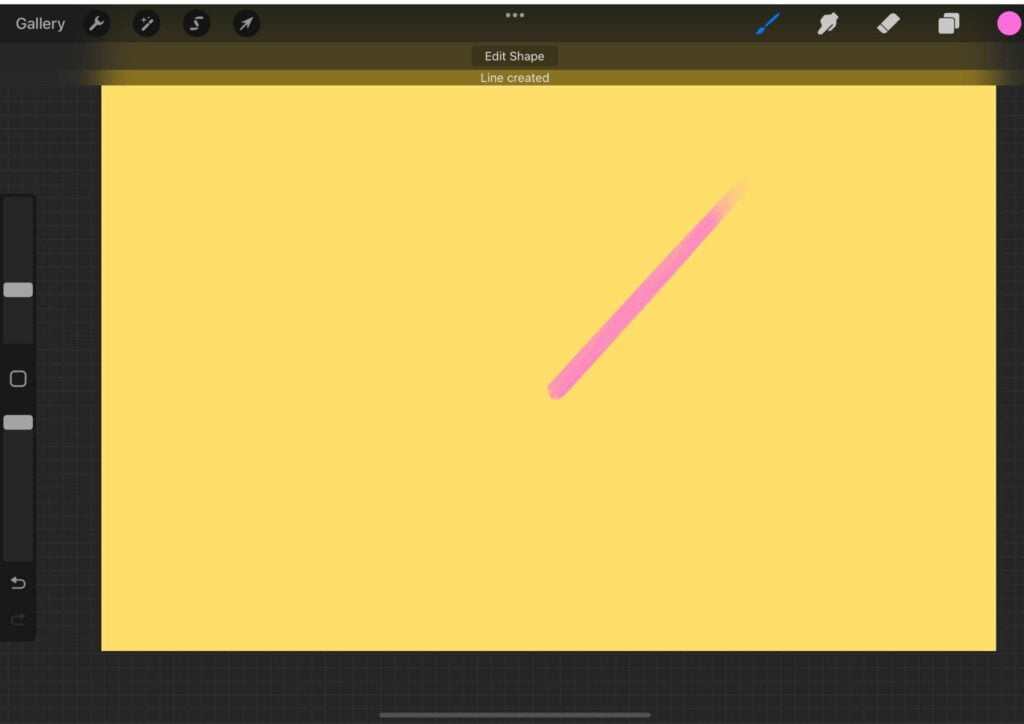
QuickShape allows for easy and fast drawing of straight lines, triangles, circles, or squares. It helps to make your shapes a little more precise.
You can use Quick shape by roughly drawing the shape you want, and then keeping the nib of your stylus held against the canvas. Your shape will snap to the geometric version of the shape you want. You can also touch the screen and the shape will snap to a perfect geometric version of the shape.
How to Draw a Perfect Circle in Procreate?

The easiest way to draw a perfect circle in Procreate is by loosely drawing a rough circle on your digital canvas.
Keep your pencil nib held against the canvas and you will see the rough circle snap to a more geometric ellipse of sorts.
Whilst still holding the stylus against the screen, touch another part of your canvas with a finger on your other hand. You will see that this will make your circle snap to a perfect circle shape.
[How to Create a Perfect Circle in Procreate]
Disabling Quickline and Quick shape
If you don’t want the Quickline or Quickshape features to be enabled, you can disable them by going into your Settings.
Go to the Action menu (wrench icon) > Preferences > Motion Controls. You may turn off or change the delay here.
Alpha Lock to Recolor
Often we need to alter the color palette halfway through a design. Alpha Lock is useful for those situations and allows for the recoloring of individual layers.
Tap on a layer thumbnail then choose ‘Alpha Lock’. Immediately tap on a layer and select the Fill layer option. This function can be used to paint texture on a layer.
Color drop (Fill)
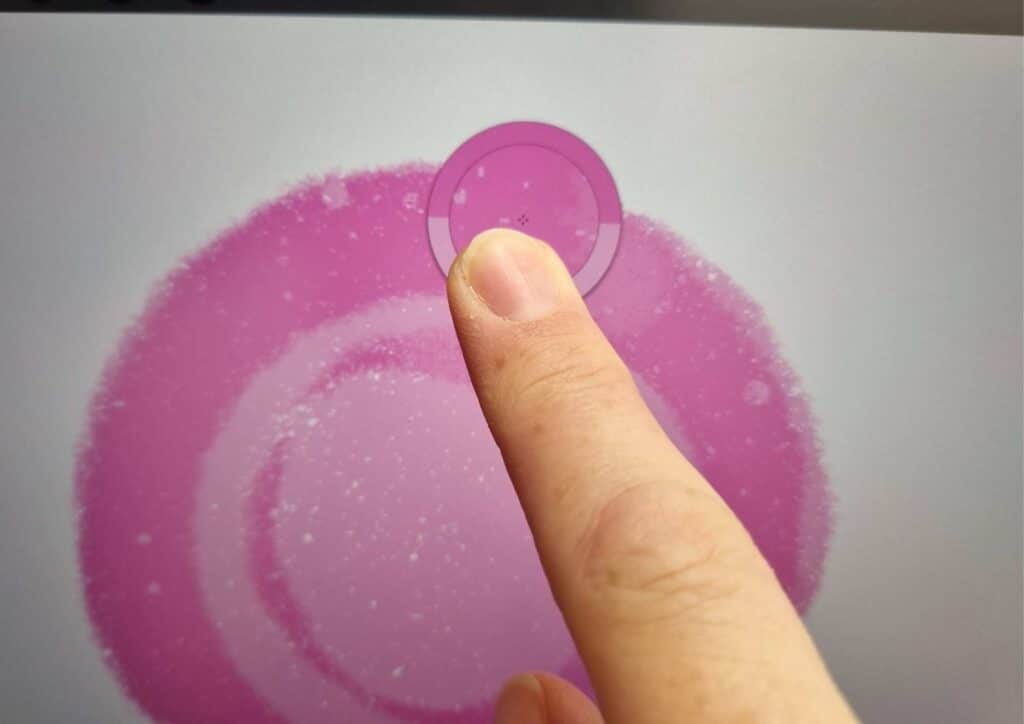
How do you color drop in Procreate?
Open the Colors panel and select the color you’d like to use.
Tap and hold on to the color chip, then drag your finger to the area you’d like to color.
Lift your finger when you’re done.
Color palette
Open the Colors panel.
Tap on the palette icon in the bottom left corner of the Colors panel.
Choose from one of Procreate’s many default color palettes or create a new one.
You can also tap on the ‘+’ sign to add a new color to your palette.
[Check out these Free Color Palettes for Procreate]
Symmetry
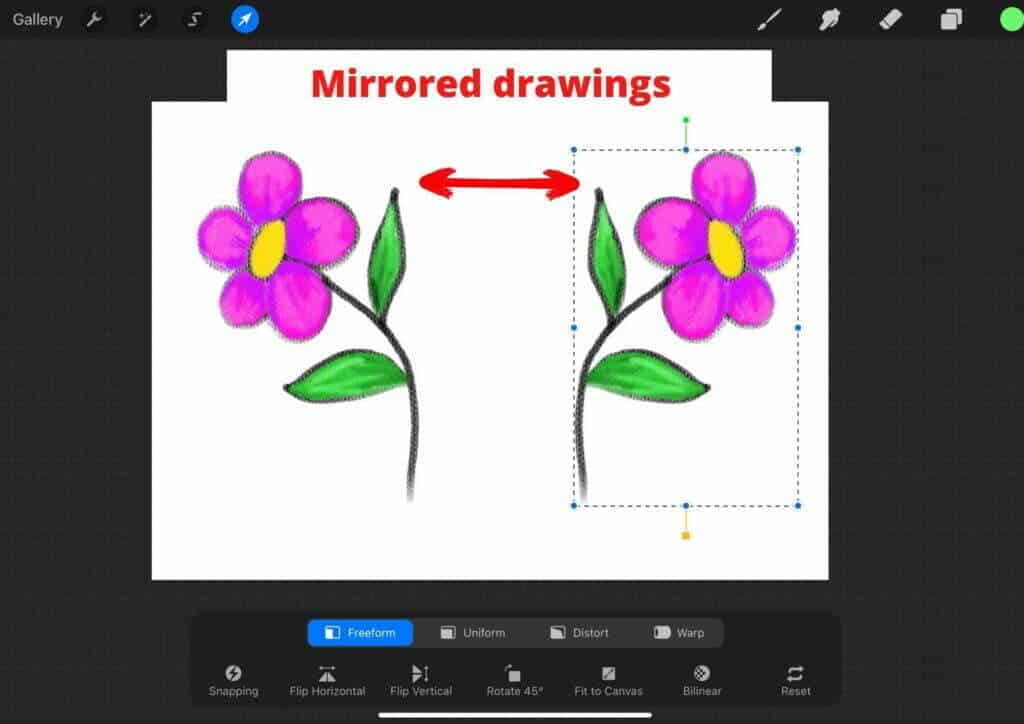
Symmetry is a great way to produce even designs and balanced compositions. The feature has been requested for a long time by Procreate users, and the new update does not disappoint. With it, you can easily create symmetrical drawings and paintings with just a few taps.
To access the symmetry tool, turn on the drawing guide and select the tab to edit it in Procreate to utilize symmetry. Select vertical, horizontal, quadrant, or radial symmetry using the blue dot. Rotate the symmetry line using the green dot.
[Check out more details on How to mirror in Procreate]
Liquify
To liquify your digital artwork, Tap Modify > Adjustments > Retouch > Liquify to enter the Liquify interface.
Instead of dragging an effect across the screen, as was previously done in Photoshop and other programs, Liquify works like a brush. You may ‘paint’ your effects onto the canvas with your finger using Liquify.
Check out this great video on how to use quick shape in Procreate…
Frequently Asked Questions about Drawing a Straight line in Procreate…
Is there a line tool on Procreate?
Yes, there is a line tool on Procreate. To use it, select your brush and draw a straight line on your digital canvas by moving your stylus across the surface.
What does snapping mean in Procreate?
Snapping allows for a smooth transition while transferring a piece to the next place. It helps maintain a proportional object when the sizes are resized. If you change content using Snapping, blue directions will pop up.
How do you align objects in Procreate?
To position your objects in Procreate, select the Transform tool and choose Snapping from the drop-down menu. Make sure the Snapping setting is checked and that the Distance and Velocity sliders are used. Drag your item about to make it align with the other items in your artwork.
Is there a circle tool in Procreate?
The Quick Shape tool is available on Procreate for creating circles. Draw a circle and keep your pencil held onto the surface of the screen. The rough circle will snap to a perfect circle and will appear smooth.
What is assisted drawing on Procreate?
Assisted Drawing in Procreate automatically illustrates what you are doing in another section to provide perfect symmetry. This is magical!
How do I turn off assisted drawing in Procreate?
To turn off assisted drawing in Procreate open the Make sure you turn off Touch and Apple Pencil’s gesture controls in the Prefs tab of the Actions menu, go to the Assisted Drawing page, and ensure that the switches for Touch and Apple Pencil are disabled.
What is drawing with lines called?
Line drawings also known as contour drawings use lines for indicating changes in a plane.
What is straight line art?
A line is an art element used to define shape, form, and space. Lines can be horizontal, vertical, or diagonal; straight or curved; thick or thin.
Many people will say Cubism or minimalism is considered a form of straight-line art.
Conclusion
If you have been wondering how to draw a straight line in Procreate then follow the easy tips above and you will be getting it right in no time!
With a little practice, you’ll be able to draw straight lines in Procreate like a pro. These tips should help get you started on the right path. Once you have the basics down, experiment with different ways of drawing lines to create interesting perspective drawings and artwork.
Happy drawing!
Other articles you may enjoy…
[How to Color Match in Procreate]
[18 Awesome Color Palettes for Procreate]
[How to Mirror in Procreate| 2 Easy Methods]
[5 Free Skin Tone Collections | Skin Color Palette Procreate]
[How to Unstack in Procreate | Tips & Tricks]
[How to curve text in Procreate | The Ultimate Guide]
[Wondering how to make a perfect circle in Procreate?]
[How to add text in Procreate]
[How to Change the Opacity of a Layer in Procreate]
