Last Updated on July 3, 2026 by Dee
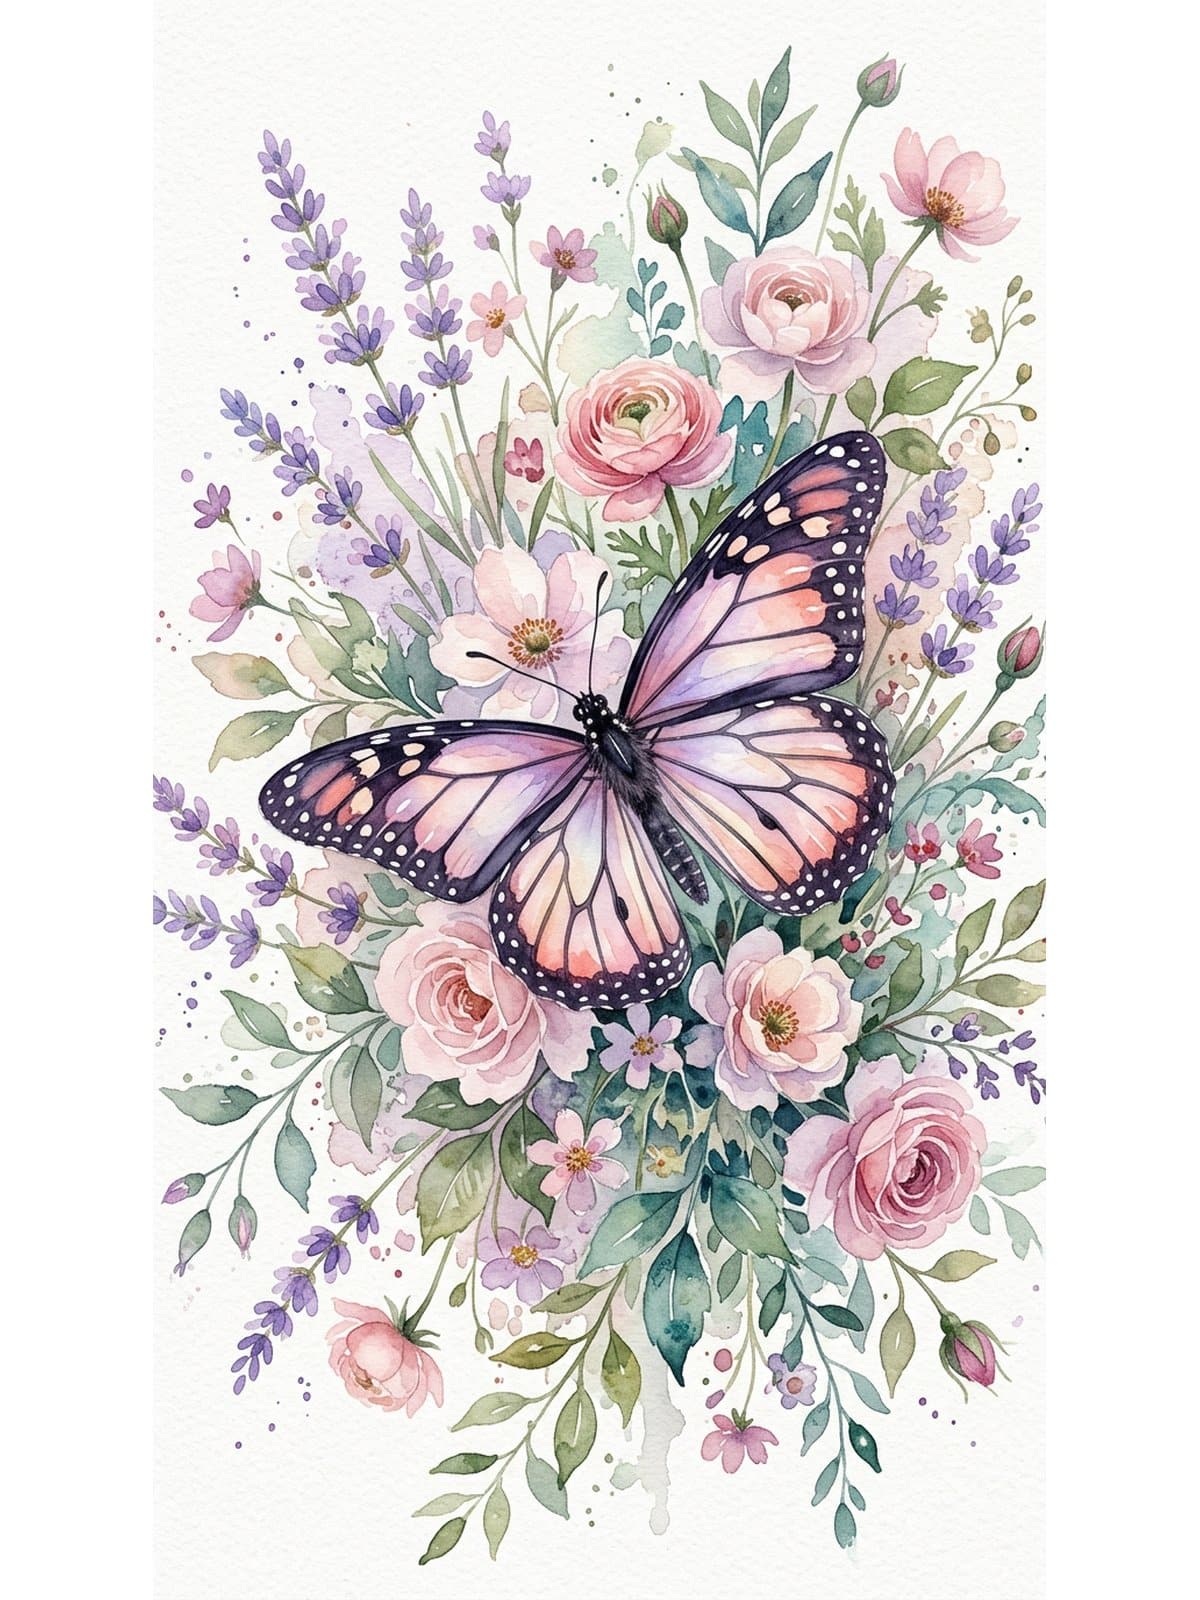
Butterflies might be one of the most-painted subjects in watercolor — and honestly, there is a really good reason for that. They are beautiful, they are recognisable, and (this is the part beginners do not always realise) they are genuinely forgiving to paint. The symmetry does a lot of the heavy lifting for you, and watercolor’s natural softness suits them perfectly.
🎨 I made you a free printable pack to get you started — 12 Butterfly Painting Templates, clean outlines you can trace or print and paint straight onto your watercolor paper. Pop your email below and it will land in your inbox in a minute or two.
If you have been wanting to try watercolor but have not known where to start, a butterfly is one of the best first subjects you can pick. The wings are naturally slightly different from each other — so any wobbles in your brushwork just look intentional. Loose edges? Gorgeous. Colours bleeding together? That is literally the goal.
In this tutorial I will walk you through exactly how to paint a watercolor butterfly step by step, share some colour palette ideas, and show you a few different styles to try depending on your mood. Grab your free templates above, then read on.
Table of Contents
Free Butterfly Painting Templates
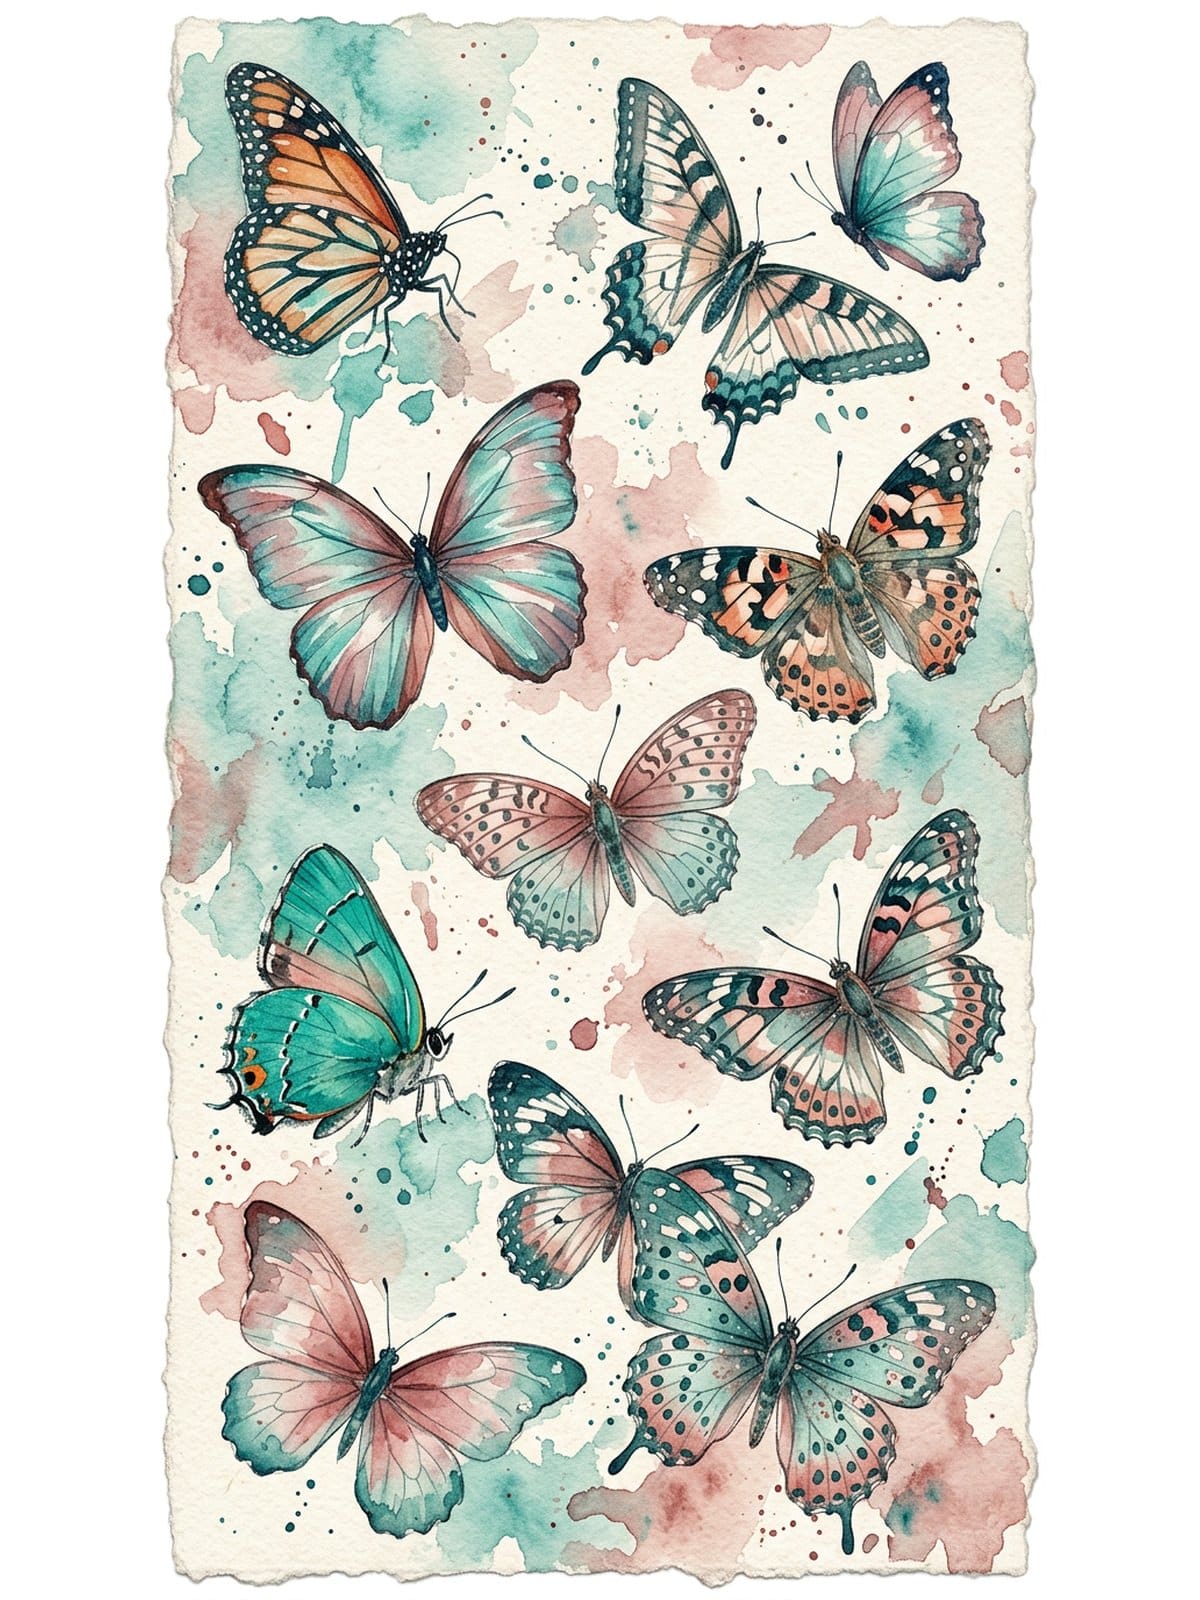
Before we get into the tutorial, grab these free printable butterfly outlines. There are twelve templates in the set — different species and wing shapes, from a classic monarch and swallowtail to a delicate luna moth — all ready to trace or print directly onto your watercolor paper. It is a brilliant shortcut if you find drawing the initial sketch stressful. Just trace lightly in pencil, and you are straight into the fun part.
Want New Creative Resources Every Week?
If you love free printables like these, you would feel right at home in my Patreon membership. Every week I share new watercolor templates, coloring pages, Procreate goodies and colour palettes with my members — plus you get the whole back catalogue the moment you join.
It is the loveliest corner of my creative world, and members shape what I make next. Come and have a look →
What Makes Watercolor Butterflies So Beginner-Friendly?
Quick answer: Watercolor butterflies are beginner-friendly because the wings are roughly symmetrical (so small mistakes read as natural variation), and the soft, blooming quality of wet-on-wet watercolor suits butterfly wings perfectly — you are working with the medium instead of fighting it.
The big secret is symmetry. A butterfly’s wings are (roughly) mirrored, which means your eye naturally reads the overall shape as correct even when the two sides are not perfectly identical. That takes a huge amount of pressure off. You do not need to be precise — you just need to be close enough.
The other thing working in your favour is that the loose, unpredictable quality of watercolor genuinely suits butterfly wings. Real butterfly wings have gradients, iridescence, and soft transitions between colours — all things that wet-on-wet watercolor does naturally. You are not fighting the medium. You are letting it do the work for you.

Watercolor Supplies You Will Need
You do not need a lot to get started — honestly, the basics are more than enough for butterfly paintings. Here is what I would suggest.
Watercolor paints: A student-grade set works perfectly well for learning. A set like the Winsor & Newton Cotman watercolour set gives you a warm yellow, a red, blue and black to start — more than enough for butterfly palettes. Pan sets are great for beginners: easy to control, and they do not dry out between sessions.
Paper: This one genuinely matters. Regular printer paper buckles and bleeds in ways that make wet-on-wet impossible. Get at least 140lb (300gsm) cold-press watercolor paper — a student pad like the Canson XL watercolour pad holds the water properly and gives you time to work wet colour into wet colour without everything immediately drying.
Brushes: A medium round brush (size 6 or 8) for the wing washes and a small round (size 2 or 3) for detail work and antennae is genuinely all you need. A Princeton Heritage round size 6 is a lovely do-everything brush, and a budget Silver Black round brush set covers you for the finer detail sizes too.
How to Paint a Watercolor Butterfly Step by Step
Once you have your supplies together, here is the process I use. It is the same whether you are painting a delicate pale blue butterfly or a dramatic dark-winged species — the steps work across styles.
Step 1: Sketch lightly (or trace). Use a light pencil to sketch the basic wing shapes — two upper wings and two lower wings. If you have printed the free templates, trace directly onto your watercolor paper and skip this step entirely.
Step 2: Wet the wings. Before adding any colour, brush clean water over the wing area using your medium round brush. Work one pair of wings at a time if you find it easier. You want the paper to look shiny-wet but not pooling.
Step 3: Drop in colour. While the paper is still wet, load your brush with your first colour and touch it to the wet area. Watch it bloom and spread — that is the good stuff. For a purple morpho, try ultramarine blue with a little crimson at the edges. For a monarch, yellow ochre with burnt sienna pushed in from the wing edges.
Step 4: Build depth while it is still damp. Once the first wash is down but still slightly damp (not wet), add a second, deeper colour. This gives you softer edges than painting fully dry. Drop darker tones near the wing roots and along the edges, and let it bleed naturally.
Step 5: Let it dry completely. This is genuinely the hardest step for beginners. Do not touch it. Walk away. Make a cup of tea. If you add detail too early, the colour will bleed and you will lose the crisp lines.
Step 6: Add detail and markings. Once fully dry, use your small round brush to add the wing markings — spots, veining, and edge details. A slightly darker version of your base colour works well, or switch to a fineliner pen for really crisp lines. Keep it minimal.
Step 7: Paint the body and antennae. The body is a simple elongated oval — paint it with a darker, less diluted version of one of your wing colours. For antennae, use the very tip of your small brush in a single confident stroke, with a tiny dot at the tip of each one.
5 Easy Watercolor Butterfly Styles for Beginners
One of the lovely things about butterflies as a subject is that they look good in almost every style. Here are five approaches to try — pick the one that matches your mood today.
1. Realistic (with some wiggle room). Follow the step-by-step above, using reference photos for colour inspiration. The wet-on-wet technique gives you a naturally soft realism that looks beautiful even without fine detail.
2. Loose impressionistic. Embrace the blooms and bleeds. Wet the whole butterfly shape at once and drop in several colours simultaneously. It looks abstract up close but clearly reads as a butterfly from arm’s length — my favourite for quick art journal pages.
3. Single-colour silhouette. Paint the whole butterfly in one colour — a deep indigo, rich burgundy, or warm amber. No detail, just the silhouette. It looks incredibly elegant and takes about five minutes.
4. Watercolor and ink outline. Paint loosely, let it dry completely, then go over the outline and key details with a black fineliner or dip pen. The ink hides any wobbly edges, and soft wash colour with precise ink lines looks genuinely lovely.
5. Galaxy or abstract. Fill the wings with deep purples, teals and midnight blues, then flick white paint (or a white gel pen when dry) for stars. The butterfly shape becomes a frame for an abstract cosmic wash.
Colour Palette Ideas for Watercolor Butterflies
The colours you choose completely change the feeling of a butterfly painting. Here are some of my favourite seasonal palettes to experiment with.
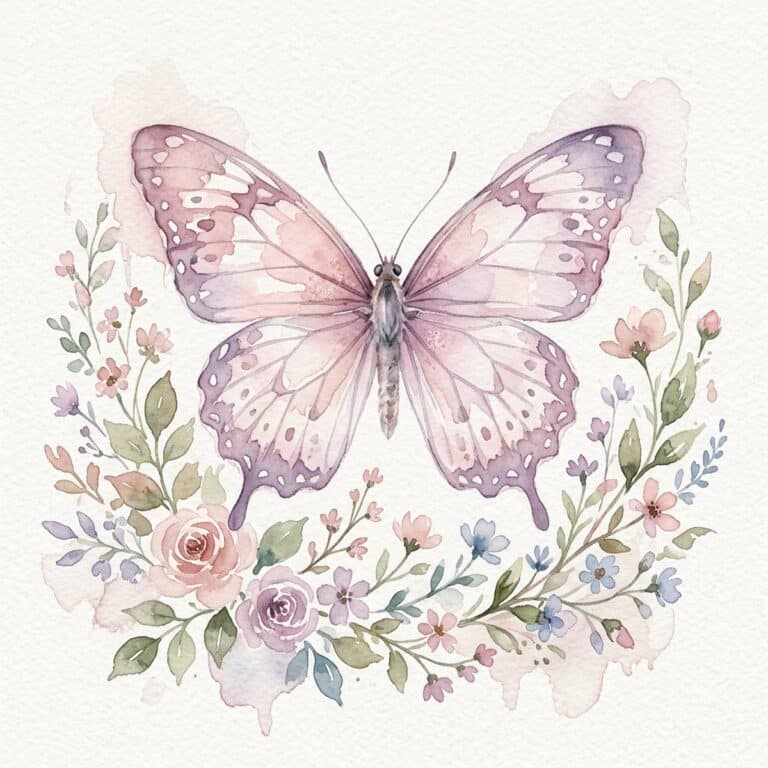
Spring pastels: Soft lilac, pale mint, blush pink and warm cream. Airy and delicate — add a single small touch of yellow-green for the body to ground it. Think faded vintage botanical prints.
Summer brights: Cobalt blue, cadmium yellow and coral make a vibrant trio. Two bright colours with a neutral is often more satisfying than the full combination. Tropical morpho blues look stunning with just teal and ultramarine.
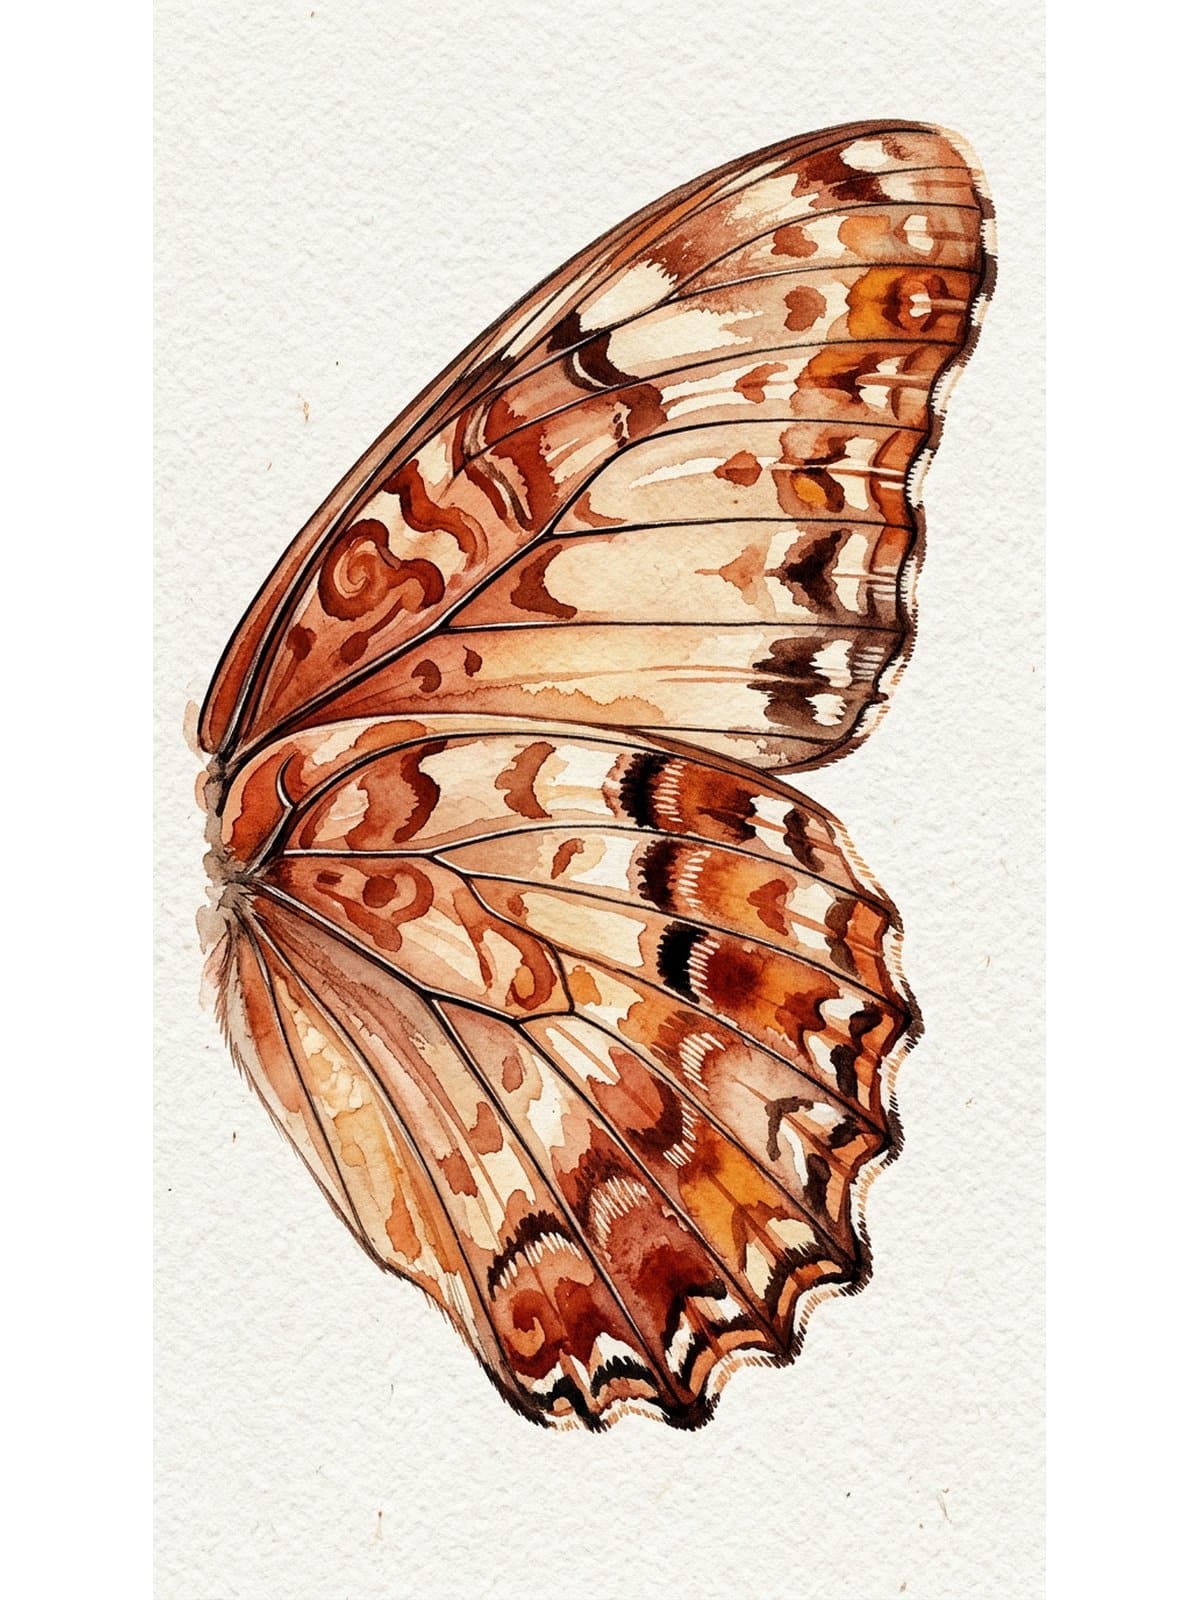
Autumn warmth: Burnt sienna, raw umber, ochre and a deep rusty orange. Monarchs are the obvious inspiration, but a deep tawny wing with dark brown markings looks rich and atmospheric on any species.
Winter and night: Prussian blue, deep violet, silver and a very dark navy. Moody, dramatic, and very satisfying to paint by lamplight on a grey afternoon.
If you enjoy painting florals alongside your butterflies, easy watercolor flowers use a lot of the same techniques — worth pairing the two for a full nature scene. And for more general painting inspiration, my post on watercolor painting ideas for beginners is a good next stop.
Creative Ways to Use Your Butterfly Paintings
Once you have got a few butterfly paintings done, there is so much you can do with them beyond hanging them on the wall.
Greeting cards: Cut a small butterfly painting into a card-sized piece and mount it on folded card stock. Even a simple silhouette makes a heartfelt hand-painted card.
Art journal pages: A loose impressionistic butterfly is perfect as a background or focal point — paint it large and light as a wash behind your journaling, or make it the star of the page.
Prints and gift wrap: Scan or photograph your paintings and print them onto card, gift wrap, or fabric. A series of butterfly studies in different palettes makes a beautiful repeating pattern.
Collage and mixed media: Cut individual butterflies out of watercolor paper and layer them into mixed media pieces — against book pages, kraft paper, or stamped and inked surfaces.
This post contains affiliate links. If you purchase through these links, I may earn a small commission at no extra cost to you. I only recommend products I genuinely use and love — thank you for supporting Artsydee!
Looking for more watercolor resources? My Artsydee watercolor template shop has a growing collection of template sets and painting guides — printable outlines, reference sheets, and seasonal packs designed for beginner and intermediate painters.
Frequently Asked Questions
What is the easiest type of butterfly to paint in watercolor?
The simplest butterfly to start with is a basic swallowtail or generic rounded-wing butterfly — the kind you might doodle without a reference. Large, simple wing shapes give you more room to work and are forgiving of wobbly outlines. Once you are comfortable, a monarch is a great next step: its distinctive orange and black pattern is satisfying to recreate and very recognisable.
Do I need to sketch a butterfly before painting it in watercolor?
A light pencil sketch helps a lot, especially when you are starting out. Keep it very light — heavy pencil lines show through watercolor washes. Alternatively, use one of the printable templates from the free download above and trace the outline onto your watercolor paper. That completely removes the drawing step and lets you focus entirely on colour and technique.
How do I stop my watercolor butterfly from looking muddy?
Muddy colours usually come from overworking wet paint or mixing too many colours together. For butterflies, try limiting yourself to two main colours per wing with a small amount of a third for depth. Let each layer dry properly before adding the next, and clean your brush and change your water more often than you think you need to.
Can I add pen details to a watercolor butterfly?
Yes — and it is one of the most popular techniques for beginners. The key is to let the watercolor dry completely before picking up the pen; even slightly damp paper will make your fineliner bleed. Once fully dry, a 0.3mm or 0.5mm waterproof fineliner works beautifully for vein lines, spots, and a crisp outline.
Final Thoughts
Butterflies really are one of those subjects that reward you quickly. Even a very loose, imperfect butterfly painting tends to look lovely — the subject carries itself. Do not overthink the symmetry, do not stress the edges, and trust the paint to do what it does naturally.
Start with one of the free templates above, pick a colour palette from the seasonal ideas, and just see what happens. The best way to learn watercolor is to paint things you actually want to paint — and butterflies are always worth the time.
Happy painting, friend. 🦋
Dee xx
I would love to see what you create — come and follow me on Pinterest for daily art inspiration, and if you love tutorials, subscribe on YouTube. Sharing this with a creative friend would mean the world. 💛
You Might Also Like
- Butterfly Watercolor Painting Tutorial
- Easy Watercolor Flowers for Beginners
- Watercolor Painting Ideas for Beginners
- Cherry Blossom Watercolor Tutorial
- Free Butterfly Coloring Pages
Pin This for Later!
Save this tutorial to your Pinterest boards so you can find it again next time you fancy a butterfly painting session!