Last Updated on July 3, 2026 by Dee
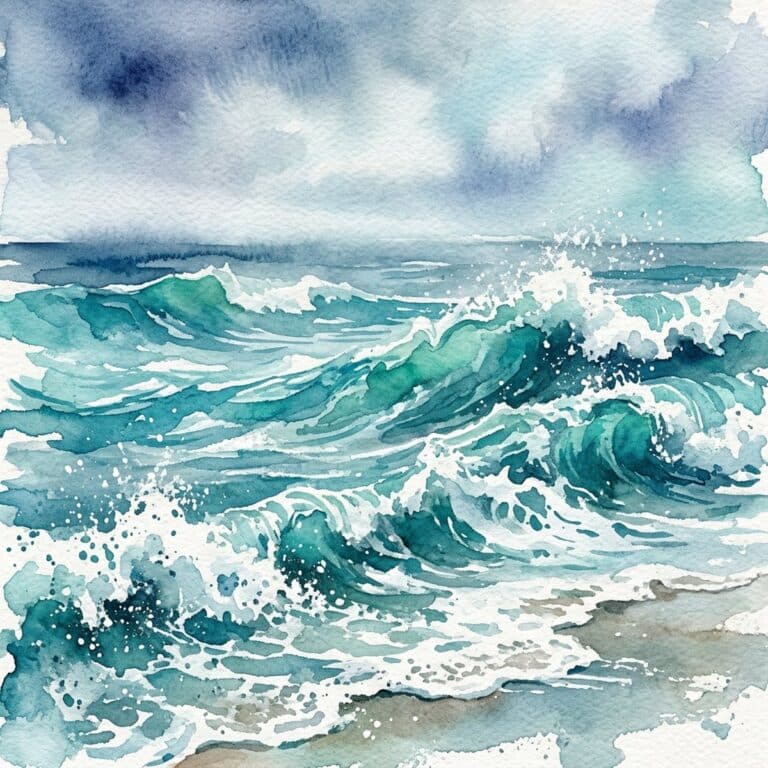
There is something genuinely magical about painting water — the way light shifts across the surface, the movement, the depth. It feels like the kind of thing only experienced artists can capture. But here is what I want you to know: a watercolor ocean is actually one of the friendliest subjects a beginner can pick. Watercolor naturally wants to bloom and blend, and that is exactly what water looks like.
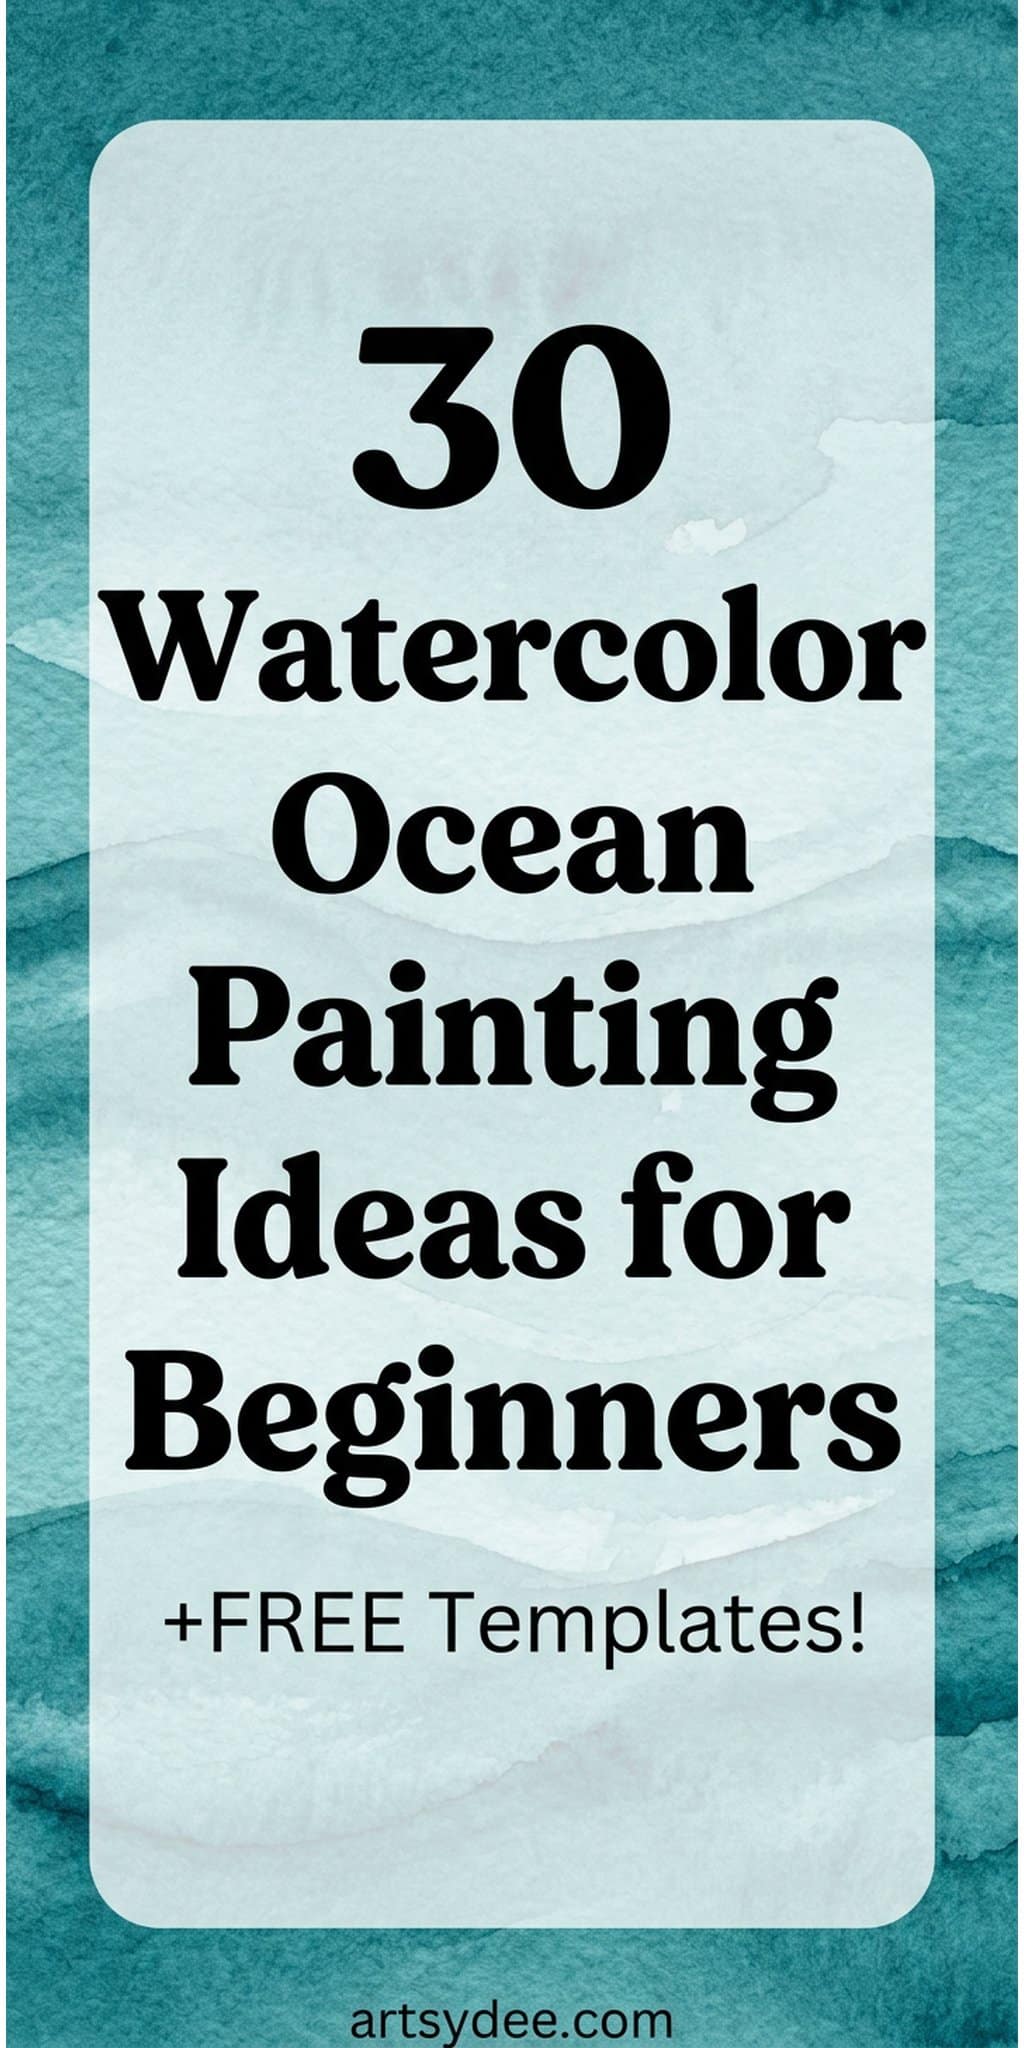
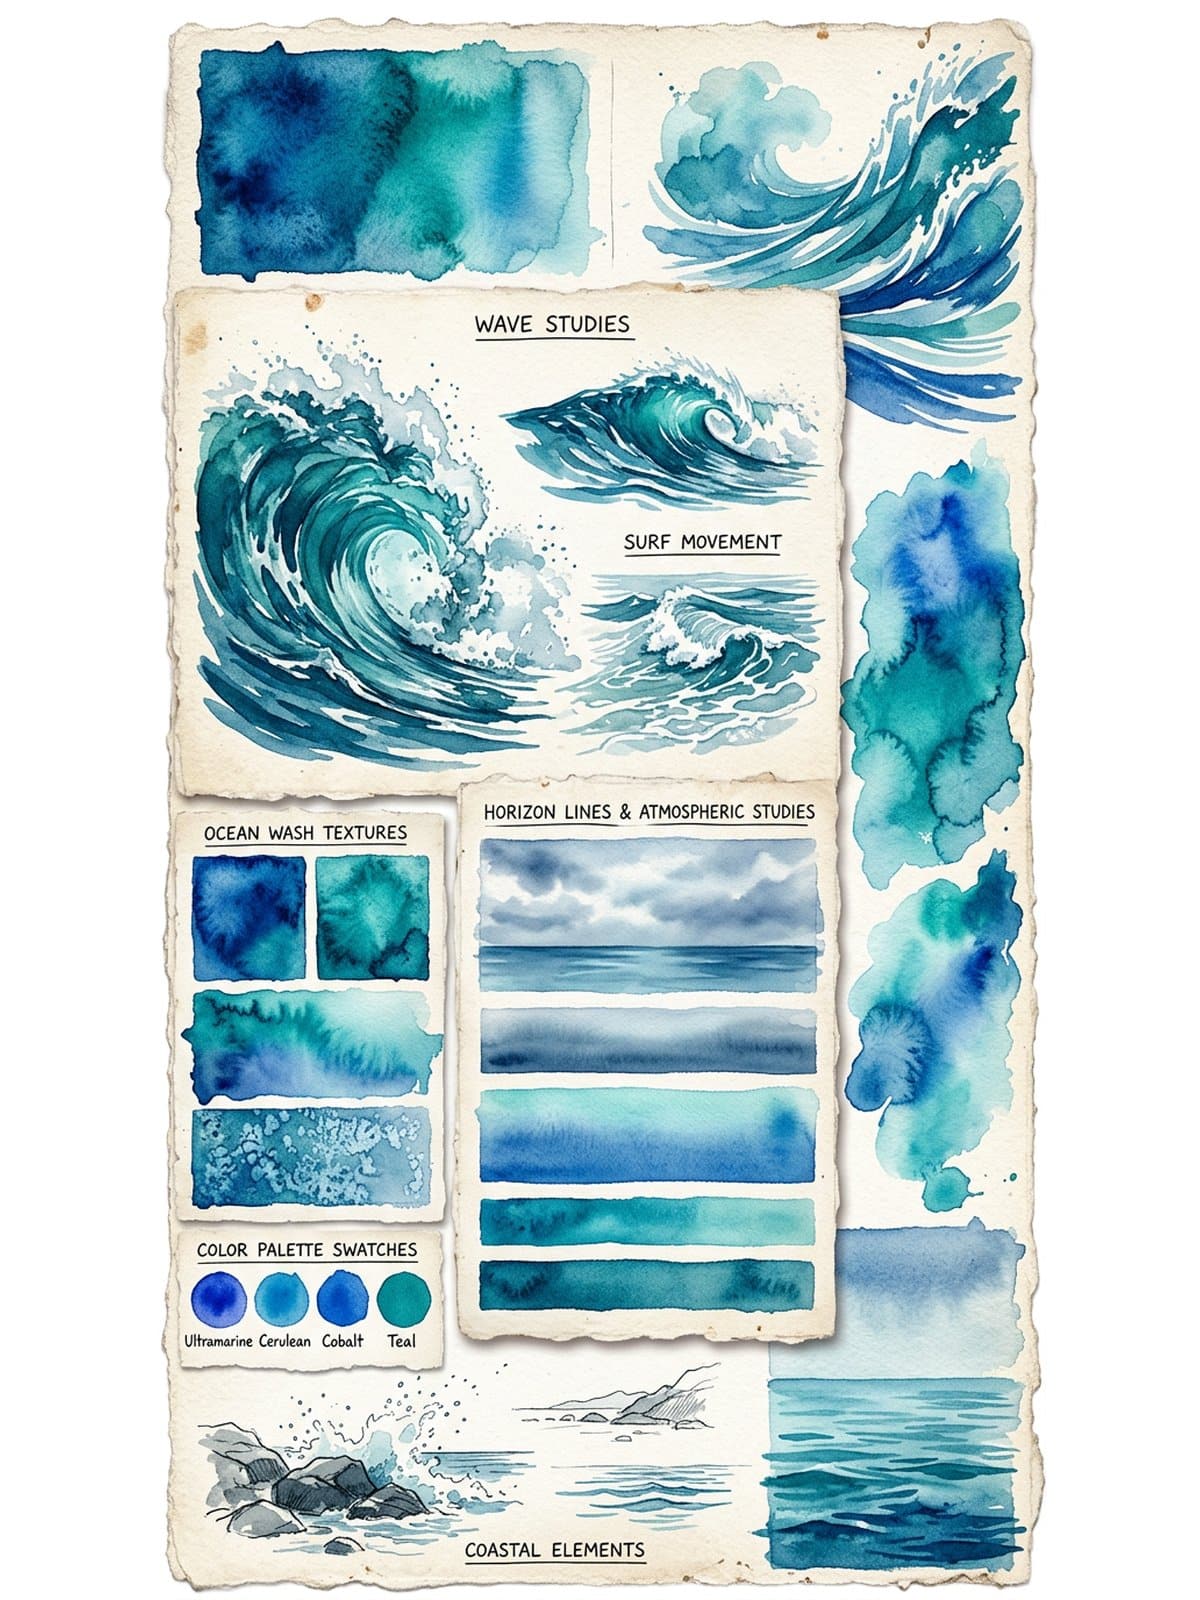
🎨 I made you a free printable pack to get you started — 12 Ocean Painting Templates, clean outlines (waves, shells, a lighthouse, a sea turtle and more) you can trace or print and paint straight onto your watercolor paper. Pop your email below and it will land in your inbox in a minute or two.
The wet-on-wet technique that beginners often struggle to control? For the ocean, it works in your favour — it creates natural wave movement almost on its own. Loose, flowing edges read as gentle water rather than mistakes. Imperfection is practically built into the process, which takes so much pressure off.
In this guide I will walk you through everything: supplies, a simple step-by-step, five easy ocean styles to try, colour palette ideas, and some creative ways to use your paintings afterwards. Grab your free templates above, then read on.
Table of Contents
Free Ocean Painting Templates
Before we get into the tutorial, grab these free printable ocean outlines. There are twelve templates in the set — a simple seascape, a breaking wave, seashells, a sea turtle, a dolphin, a lighthouse, a sailboat and more — all ready to trace or print directly onto your watercolor paper. It is a brilliant shortcut if drawing the initial sketch feels stressful. Just trace lightly in pencil, and you are straight into the fun part: the colour.
Want New Creative Resources Every Week?
If you love free printables like these, you would feel right at home in my Patreon membership. Every week I share new watercolor templates, coloring pages, Procreate goodies and colour palettes with my members — plus you get the whole back catalogue the moment you join.
It is the loveliest corner of my creative world, and members shape what I make next. Come and have a look →
Why Watercolor Is Perfect for Painting the Ocean
Quick answer: Watercolor suits the ocean because its transparency lets light glow through the layers the way it does on real water, and its natural tendency to bloom and bleed when wet mimics how water actually moves — so the wet-on-wet technique that feels unpredictable on other subjects works in your favour here.
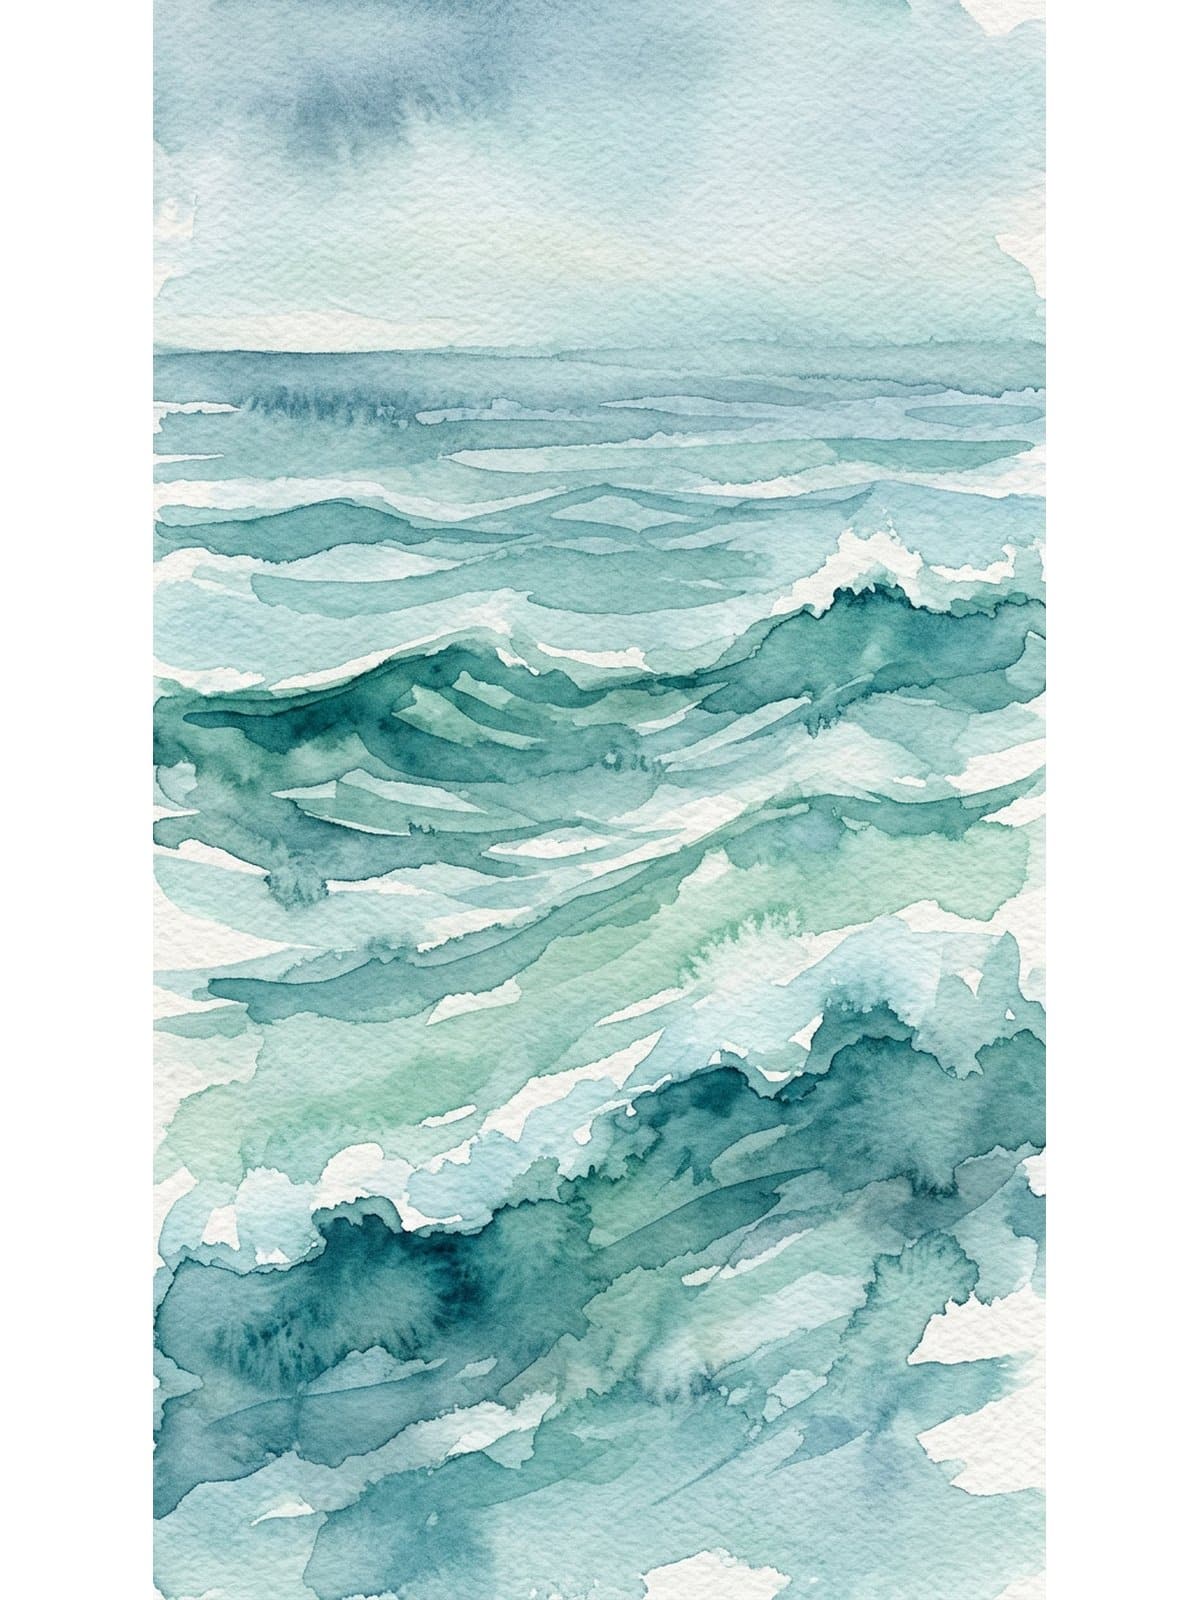
Watercolor has qualities that feel almost designed for painting water. Its transparency lets light show through in a way that mimics how the ocean glows — you can build up layers of cerulean and ultramarine and the luminosity stays. No other medium does this quite so naturally.
The wet-on-wet technique — where you drop paint onto already-wet paper — creates soft, fluid edges that look exactly like gentle waves and shifting water. The paint literally moves the way water moves. For a beginner that is incredibly freeing: you do not need tight control, because the water does a lot of the work for you.
Gradients are the other area where watercolor shines. Blending from a deep navy at the horizon to a pale cerulean near the shore is naturally achievable and genuinely satisfying, even for first-timers. The ocean is essentially a gradient study — which makes it brilliant practice for building your core watercolor skills.
Watercolor Supplies You Will Need
You do not need a lot to get started — honestly, a few basics will take you a long way. Here is what I would suggest for ocean painting specifically.
Watercolor paints: Student grade is absolutely fine for learning. For ocean colours look for cerulean blue, ultramarine, viridian (or sap green), and a deep blue like Prussian blue. A pan set such as the Winsor & Newton Cotman watercolour set gives you a lovely, controllable starting palette that does not dry out between sessions.
Paper: This one genuinely matters for the ocean. Cold-pressed watercolor paper has a slight texture that makes the wet-on-wet technique bloom beautifully, and it holds water without buckling the way printer paper does. Aim for at least 300gsm — a student pad like the Canson XL watercolour pad is perfect for practising.
Brushes: A medium round (size 8 or 10) for the big sky and ocean washes, plus a fine round (size 2 or 4) for wave detail, is genuinely all you need. A Princeton Heritage round size 6 is a lovely do-everything brush, and a budget Silver Black round brush set covers you for the finer sizes too. A flat brush is a nice extra for sweeping horizon washes, and white gouache or a white gel pen is worth having for wave crests and sea foam.
How to Paint a Watercolor Ocean Step by Step
Ready to paint? Here is a simple beginner approach that uses wet-on-wet for the ocean and builds from the sky down to the shore. Take your time with each stage and let each layer dry fully before adding the next.
Step 1: Sketch your composition lightly (or trace). Use a pencil to lightly mark your horizon line about one-third from the top — this simple rule of thirds instantly makes the composition feel more dynamic. Keep the marks very light, or trace one of the free templates directly onto your paper and skip the drawing entirely.
Step 2: Paint the sky (wet-on-wet). Wet the sky area above the horizon with clean water. While it is still shiny-wet, drop in a pale wash of cerulean at the top and let it fade toward the horizon. A tiny touch of warm peach or yellow near the horizon gives a soft golden glow. Let it bloom — do not overwork it.
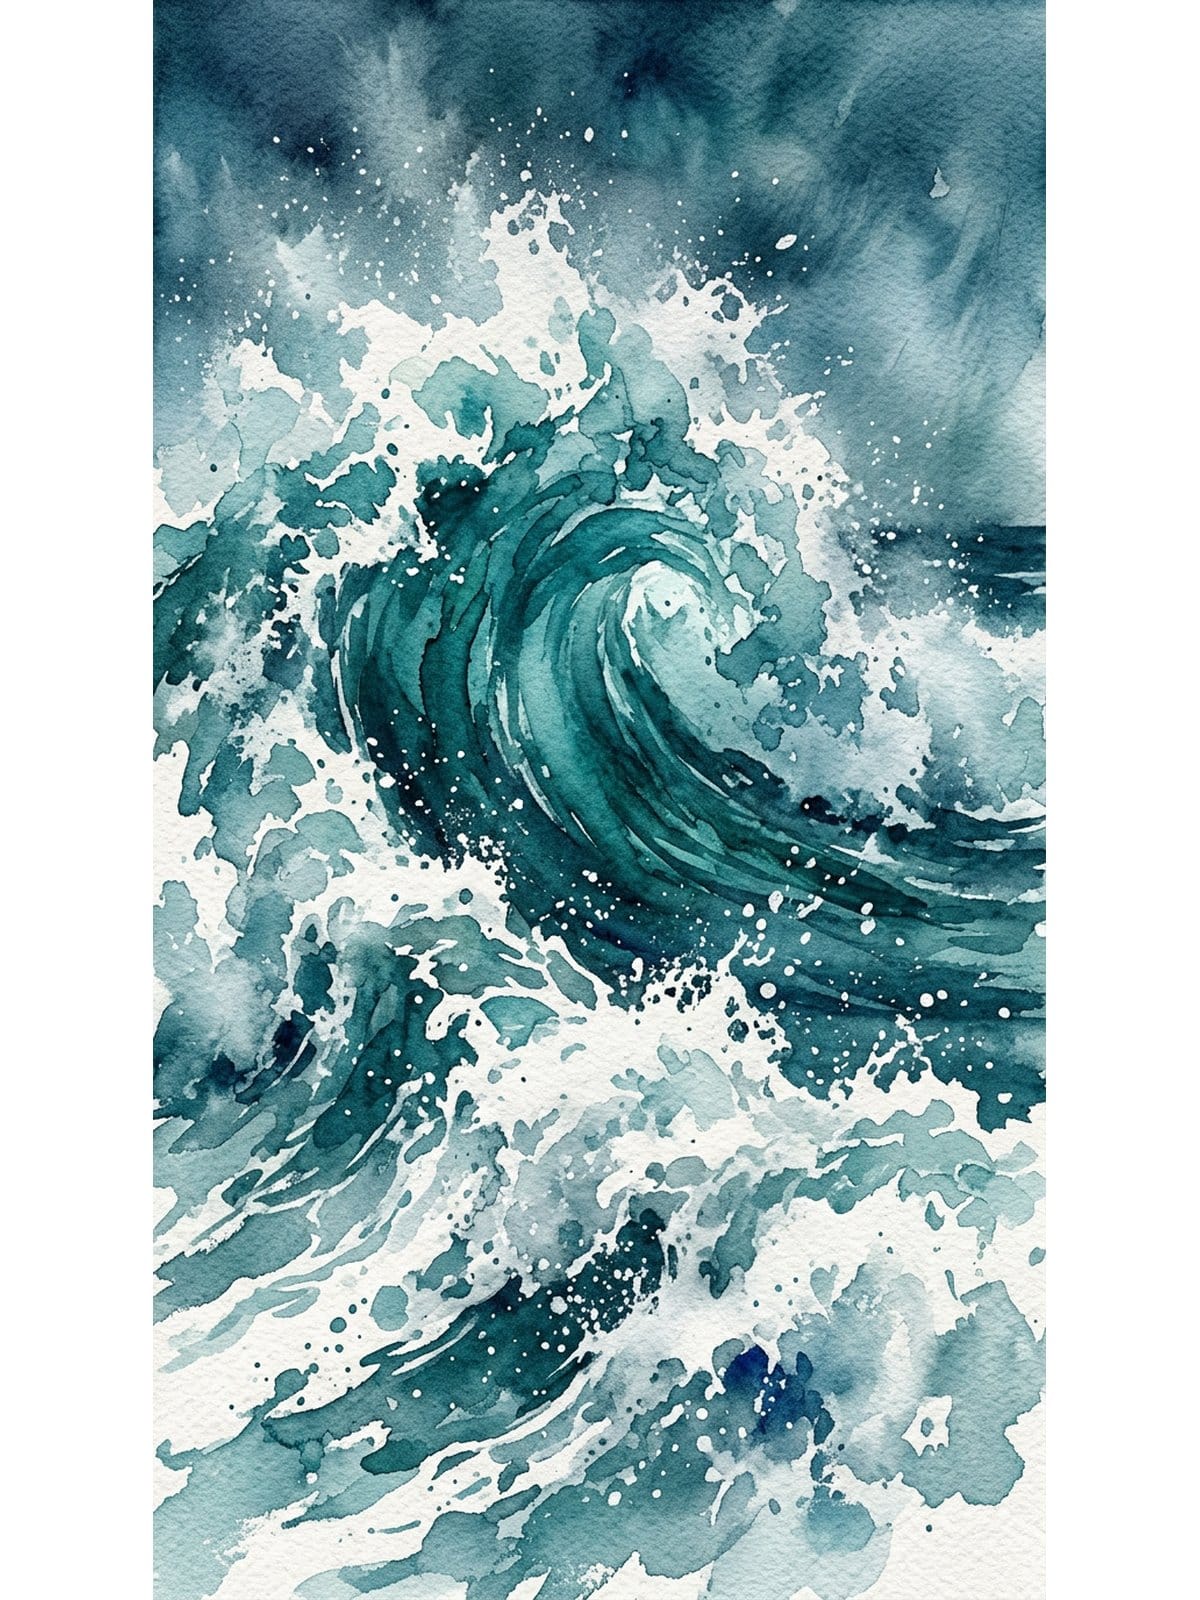
Step 3: Paint the ocean (wet-on-wet). Once the sky is dry, wet the ocean area below the horizon. Working quickly, drop cerulean near the horizon, ultramarine through the mid-ocean, and a touch of viridian toward the foreground for shallow water. Let the colours flow together, then add a few horizontal strokes of a deeper blue (Prussian blue is lovely) to suggest wave movement.
Step 4: Add wave highlights. Once everything is fully dry, this is where the magic happens. Use white gouache or a white gel pen for small horizontal lines and curved shapes suggesting wave crests and sea foam. Keep them light and varied in size — they do not need to be perfect. If you used masking fluid earlier, peel it back now to reveal crisp white paper.
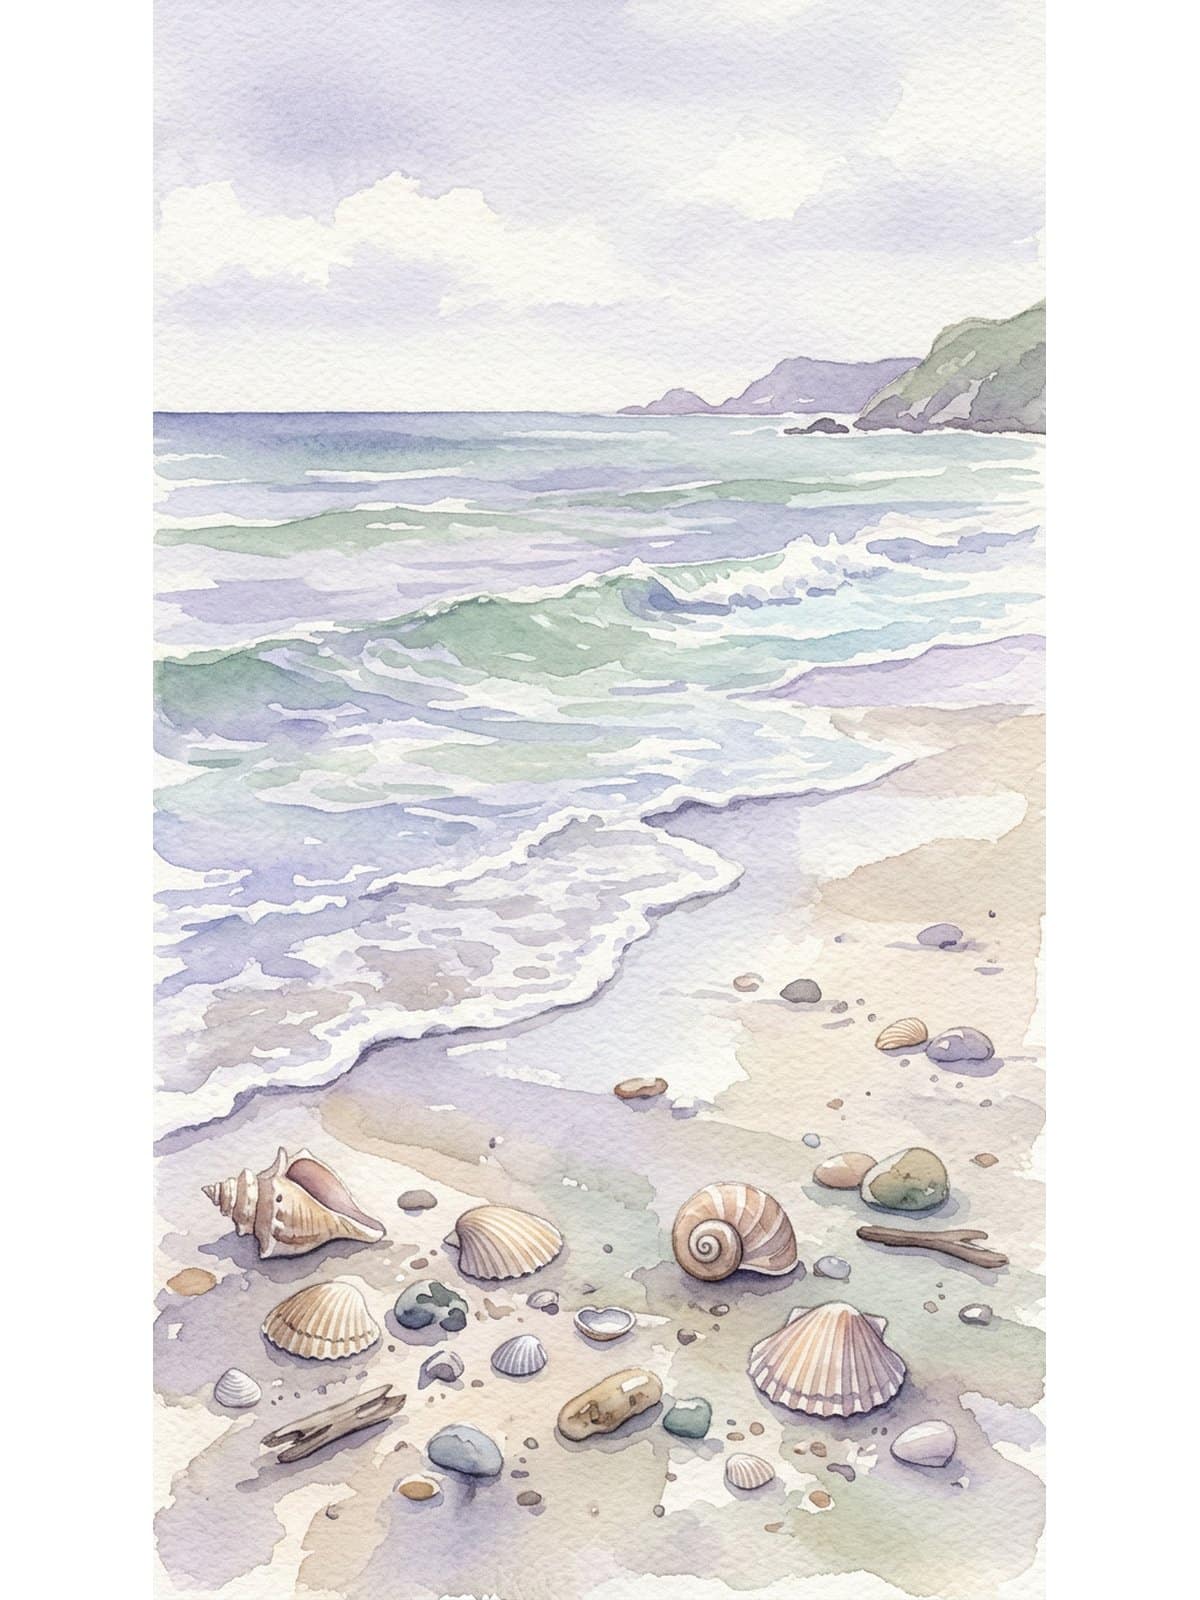
Step 5: Foreground details (wet-on-dry). Switch to wet-on-dry for any foreground — shoreline, sand, rocks or tide pools. Because the paper is dry, your edges will be crisper, which reads as depth. A warm sandy colour (raw sienna or yellow ochre) works beautifully for a beach. Keep it simple: a few loose strokes are all you need.
5 Easy Watercolor Ocean Styles for Beginners
Once you have the basic technique, there are so many directions you can take it. Here are five styles that are all very achievable as a beginner — pick whichever matches your mood today.
1. Abstract wash ocean. No horizon, no defined shapes — just layers of blue and teal washes overlapping and blending. Wonderfully meditative and a great warm-up. Tilt your paper and let the paint run and pool where it wants to.
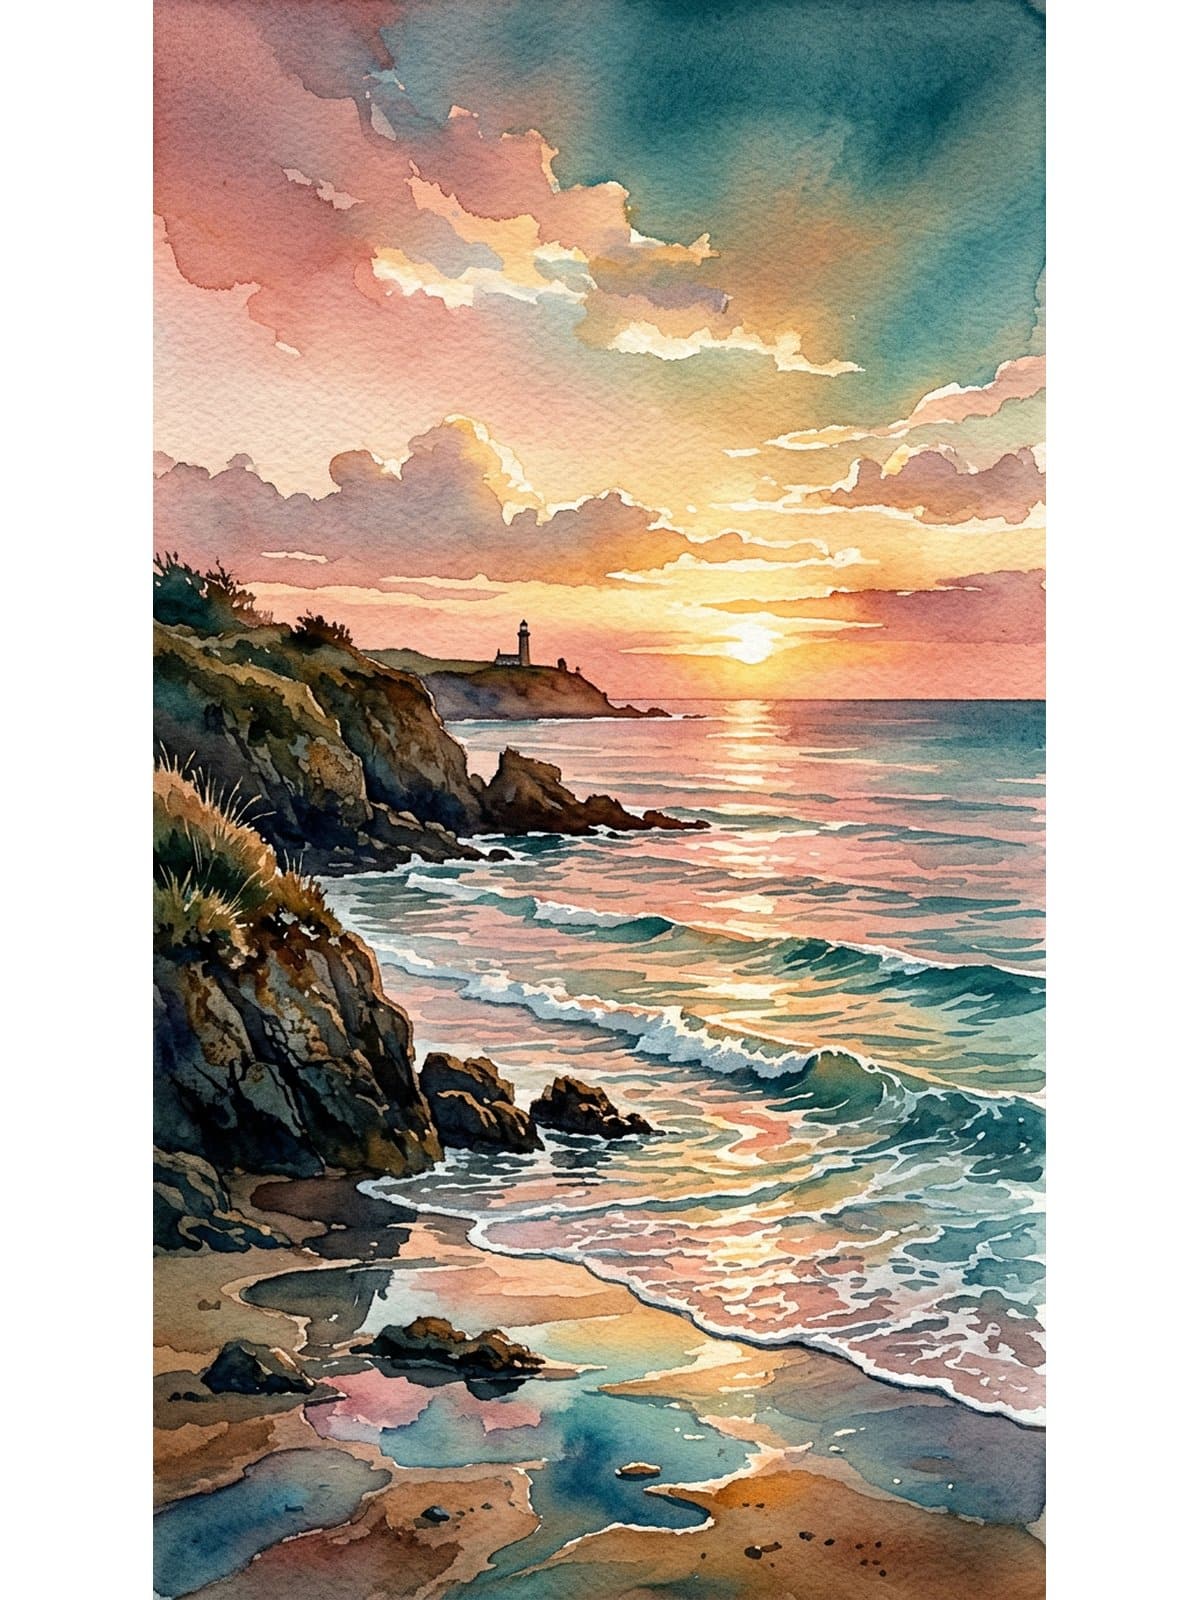
2. Sunset seascape. A warm sky (crimson, orange, yellow) meeting cool ocean water. The warm-cool contrast makes these incredibly striking. Add a touch of the sky colour into your ocean mix near the horizon for a golden reflection.
3. Calm blue ocean. A serene composition: pale blue-grey sky, a flat horizon, and a graduated ocean from deep navy to pale cerulean. Add tiny horizontal lines with a fine brush for a glassy, still surface. One of the most calming things to paint — and to look at.
4. Stormy sea. Dark, dramatic, and surprisingly fun. Use Prussian blue and Payne’s grey for brooding clouds, with white gouache for crashing waves. Wet-on-wet clouds that bleed into the ocean create a wonderfully wild atmosphere. Do not worry about making it pretty — the wilder the better.
5. Beach and shore scene. Add a sandy foreground, some rocks or shells, and a stretch of foamy shoreline. This draws the viewer’s eye into the scene and gives you a chance to practise crisp wet-on-dry details. The beach still-life and shell templates in the free pack are perfect for this one.
If you want even more painting ideas to explore beyond the ocean, these simple watercolor ideas for beginners are a brilliant next step, and my post on watercolor painting ideas for beginners has plenty more inspiration.
Ocean Colour Palette Ideas
One of the best things you can do before painting is plan your palette. Here are three ocean moods and the colours that bring them to life.
Tropical blues: Cerulean blue, viridian, and a touch of white gouache. This captures that vivid, holiday-postcard quality — bright, clear water with green undertones. Perfect for a sunny, shallow-sea feel.
Stormy ocean: Prussian blue, Payne’s grey and ultramarine. Deep, moody, atmospheric. Add a very small amount of raw umber to grey down the sky and you will get beautifully dramatic storm clouds.
Ocean sunset: Crimson, burnt sienna and yellow ochre in the sky, meeting ultramarine and a touch of violet in the water. The warm-cool contrast is what makes sunset seascapes so striking — keep the water cooler so the warm sky pops.
Creative Ways to Use Your Ocean Paintings
Once you have a few ocean paintings done, there is so much you can do with them beyond hanging them on the wall.
Framed art prints: Even a small ocean wash looks beautiful framed. Abstract washes especially work wonderfully as calm, minimal home decor.
Handmade greeting cards: Paint a small ocean scene on watercolor card, cut to size, and you have a completely unique card. These make gorgeous birthday or thinking-of-you cards.
Art journal backgrounds: An ocean wash makes a lovely background page. Let it dry, then layer text, stamps or collage on top.
Gift wrap and tags: Scan or photograph your painting and print it onto card or gift wrap. A series of ocean studies in different palettes makes a beautiful repeating pattern.
If you enjoy nature subjects, you might also love watercolor butterfly painting — the soft, layered wet-on-wet technique is very similar, so the skills carry straight over.
This post contains affiliate links. If you purchase through these links, I may earn a small commission at no extra cost to you. I only recommend products I genuinely use and love — thank you for supporting Artsydee!
Looking for more watercolor resources? My Artsydee watercolor template shop has a growing collection of template sets and painting guides — printable outlines, reference sheets, and seasonal packs designed for beginner and intermediate painters.
Frequently Asked Questions
What colours do I need to paint a watercolor ocean?
The core ocean palette is cerulean blue, ultramarine blue, and viridian (a blue-green). For deeper water add Prussian blue or Payne’s grey, and for wave highlights you will want white gouache or a white gel pen. For sunset scenes, add crimson, burnt sienna and yellow ochre to your sky mix. You genuinely do not need more than that to start.
What paper should I use for ocean watercolor painting?
Cold-pressed watercolor paper is ideal — the slight texture helps wet-on-wet techniques bloom beautifully and it holds water well without buckling excessively. Aim for at least 300gsm. Hot-pressed (smoother) paper can be used for detailed work but is less forgiving for large wet washes, so it is not the best first choice for oceans.
How do I paint realistic waves in watercolor?
For a beginner approach, suggest waves rather than painting them in detail. Use wet-on-wet horizontal strokes of a darker blue to hint at wave movement in the body of the ocean, then once fully dry, add white gouache highlights along curved wave crests. The contrast between the dark water and bright white highlights reads as convincing waves without needing precise technique.
Can beginners really paint a watercolor ocean?
Absolutely — the ocean is one of the most beginner-friendly watercolor subjects there is. The wet-on-wet technique that makes watercolor feel tricky on other subjects works in your favour here, because the natural blooming and blending of paint mimics how water actually looks. Imperfect, flowing edges read as movement rather than mistakes. Trace one of the free templates and jump in.
Final Thoughts
Painting the ocean in watercolor is one of those subjects that feels like it should be difficult, then surprises you with how naturally it comes together. The medium and the subject genuinely suit each other, and the wet-on-wet technique beginners often find unpredictable is practically doing the heavy lifting for you.
Start simple: a two-layer painting with sky and ocean using wet-on-wet, a few white gouache highlights, and a warm sandy foreground. That alone will give you something genuinely beautiful. Then build from there — try different palettes, experiment with the five styles above, and let your ocean paintings evolve over time.
Grab the free templates above, pick a palette, and just see what happens. The best way to learn watercolor is to paint things you actually want to paint — and the ocean is always worth the time.
Happy painting, friend. 🌊
Dee xx
I would love to see what you create — come and follow me on Pinterest for daily art inspiration, and if you love tutorials, subscribe on YouTube. Sharing this with a creative friend would mean the world. 💛
You Might Also Like
- Watercolor Painting Ideas for Beginners
- Simple Watercolor Ideas for Beginners
- How to Paint a Watercolor Butterfly
- Cherry Blossom Watercolor Tutorial
- Easy Watercolor Flowers for Beginners
Pin This for Later!
Save this tutorial to your Pinterest boards so you can find it again next time you fancy an ocean painting session!