Last Updated on July 23, 2026 by Dee
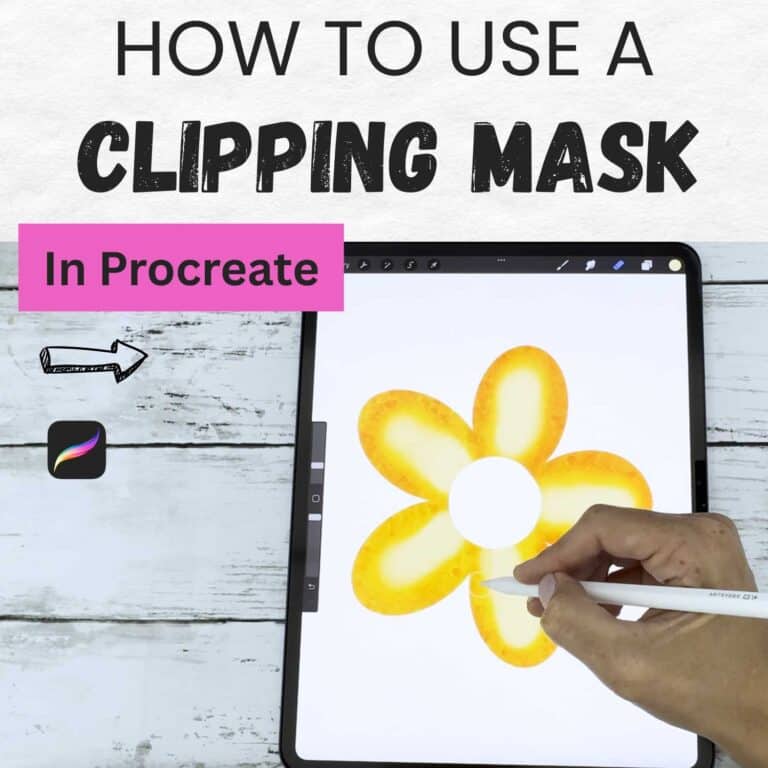
If you’re just getting started with Procreate or looking to streamline your digital art workflow, mastering how to use clipping masks in Procreate is an essential skill. In this step-by-step tutorial, I’ll show you how to use clipping masks to keep your artwork tidy, flexible, and non-destructive — perfect for digital painting, lettering, journaling, and more.
Whether you’re layering textures, shading characters, or adding fine details to your artwork, clipping masks allow you to build depth without affecting your base layer.
✨ What Is a Clipping Mask in Procreate?
A clipping mask in Procreate lets you apply color, texture, or detail to a new layer while keeping everything confined to the shape on the layer below. It’s a great way to add edits that feel integrated but are still totally reversible.
For example:
- Want to add soft shadows to a flower without painting over your original outline?
- Need to texture a dress in your illustration but might change the base later?
That’s where clipping masks shine.
Unlike Alpha Lock (which edits your base layer directly), clipping masks are non-destructive, meaning you can erase or adjust without damaging the original shape.

🖌️ How to Use Clipping Masks in Procreate (Step-by-Step)
Here’s how to get started:
1. Create Your Base Layer
Draw the shape or object you want to work with — for example, a flower petal or a face. This will be your base layer.
2. Add a New Layer
Tap the + icon in the Layers panel to create a new layer directly above your base.
3. Turn It Into a Clipping Mask
Tap the new layer → choose “Clipping Mask” from the menu.
You’ll see an arrow pointing down — this shows it’s clipped to the base layer.
4. Start Painting!
Now, anything you draw or paint on this clipped layer will only appear within the shape below — no messy edges or overlap.
You can:
- Add shading
- Apply textures
- Overlay color gradients
- Experiment with blend modes
And it all stays beautifully contained.
💡 Pro Tips for How to Use Clipping Masks in Procreate
- Stack multiple clipping masks: You can have more than one clipped layer per base — great for organizing shadows, highlights, or textures separately.
- Try blending modes: Multiply is great for shadows, while Overlay can give you glowing effects.
- Use textured brushes: Watercolor brushes, pencil textures, or glitter effects look amazing when clipped to clean shapes.
🎨 Free Resource: 22 Procreate Color Palettes
To help you get started, I’ve created 22 free Procreate color palettes that are perfect for floral art, journaling, and seasonal design work.
👉 Grab your free palettes here:
https://www.artsydee.com/color-palettes-for-procreate/
Each palette comes in .swatches format so you can import them directly into your Procreate library.
🧡 Want More Procreate Resources?
If you enjoyed this tutorial, I’d love to invite you to join my Patreon community where I share:
- Weekly Procreate templates
- Printable resources
- Digital stamps and brushes
- Beginner-friendly tutorials and creative prompts
There’s even a free tier if you’d like to explore some of my resources before diving in!
🖼️ Related Posts You Might Enjoy:
✏️ Final Thoughts
Clipping masks in Procreate are an incredibly useful tool for any digital artist — especially if you’re looking to keep your work flexible and easy to edit.
Give it a try in your next piece, and let me know in the comments how it worked for you! And don’t forget to grab your free palettes to spark some fresh color ideas.
Happy creating,
💛 Dee
Clipping Masks in Procreate: FAQ
What is a clipping mask in Procreate?
A clipping mask lets you add colour, texture, or detail on a brand-new layer while keeping everything neatly confined to the shape on the layer below. So if you paint outside the lines, it simply won’t show — the shape underneath acts like a stencil. It’s perfect for shading a flower or texturing a dress without ever touching your original outline. And because it lives on its own layer, everything stays flexible.
How is a clipping mask different from Alpha Lock?
The big difference is that Alpha Lock edits your base layer directly, while a clipping mask works on a separate layer above it. That makes clipping masks non-destructive — you can erase, tweak, or delete without damaging the original shape underneath. If you think you might change your base later, reach for a clipping mask. If you just want a quick edit locked to what’s already there, Alpha Lock is fine.
How do I turn a layer into a clipping mask?
First draw your shape on a base layer, then tap the + icon to add a new layer right above it. Tap that new layer and choose “Clipping Mask” from the menu — you’ll see a little arrow pointing down, which tells you it’s clipped to the layer below. Now anything you paint on that layer only shows up inside the base shape. That’s it — you’re ready to shade and texture.
Can I use more than one clipping mask on the same layer?
Yes, and I’d encourage it. You can stack several clipped layers over one base, which is brilliant for keeping shadows, highlights, and textures on separate layers. That way you can adjust one element without disturbing the others. It keeps your file organised and your editing stress-free.
Which blend modes work best with clipping masks?
Multiply is my go-to for shadows because it deepens colour naturally, while Overlay gives you those lovely glowing, luminous effects. Try them on a clipped layer and you’ll see how much depth they add. Textured brushes — watercolour, pencil, even glitter — also look gorgeous clipped to a clean shape. Experiment and see what suits your style.
Are there free Procreate resources to practise with?
There are — I’ve made 22 free Procreate colour palettes that are perfect for floral art, journaling, and seasonal work, and you can grab them from the link in the post above. They come in .swatches format so they import straight into your Procreate library. They’re a lovely way to test out clipping masks with some ready-made colour combos.
Where can I find more Procreate tutorials and templates?
If you’d like more, I share weekly Procreate templates, printable resources, digital stamps and brushes, and beginner-friendly tutorials over on my Patreon. There’s even a free tier so you can explore some resources before committing to anything. It’s a friendly place to keep building your skills.
1 thought on “How to Use Clipping Masks in Procreate (Beginner-Friendly Tutorial)”