Last Updated on July 23, 2026 by Dee
If you’ve ever wondered “What do I do after I’ve traced something in Procreate?” — you’re in the right place! 🌸
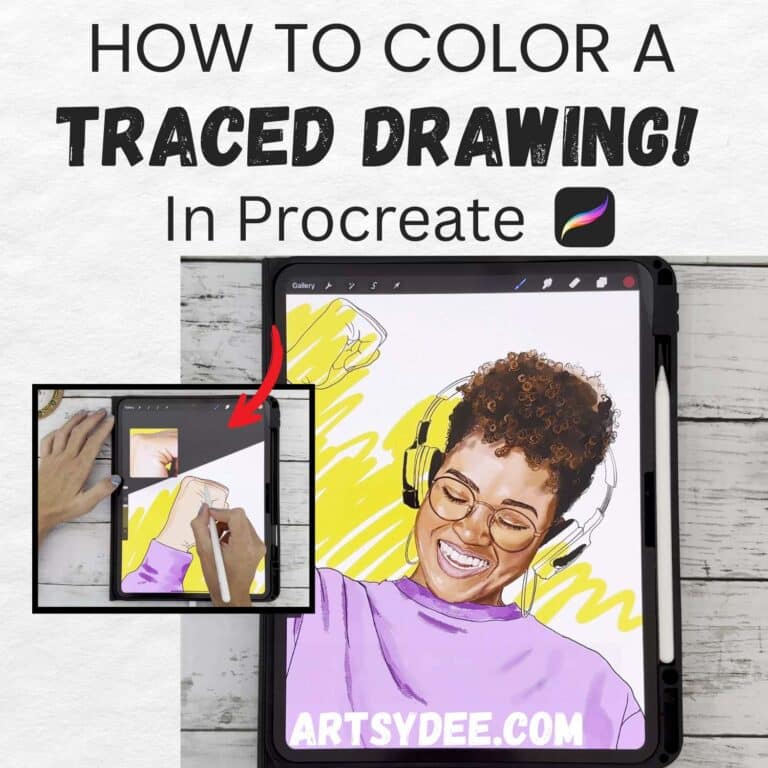
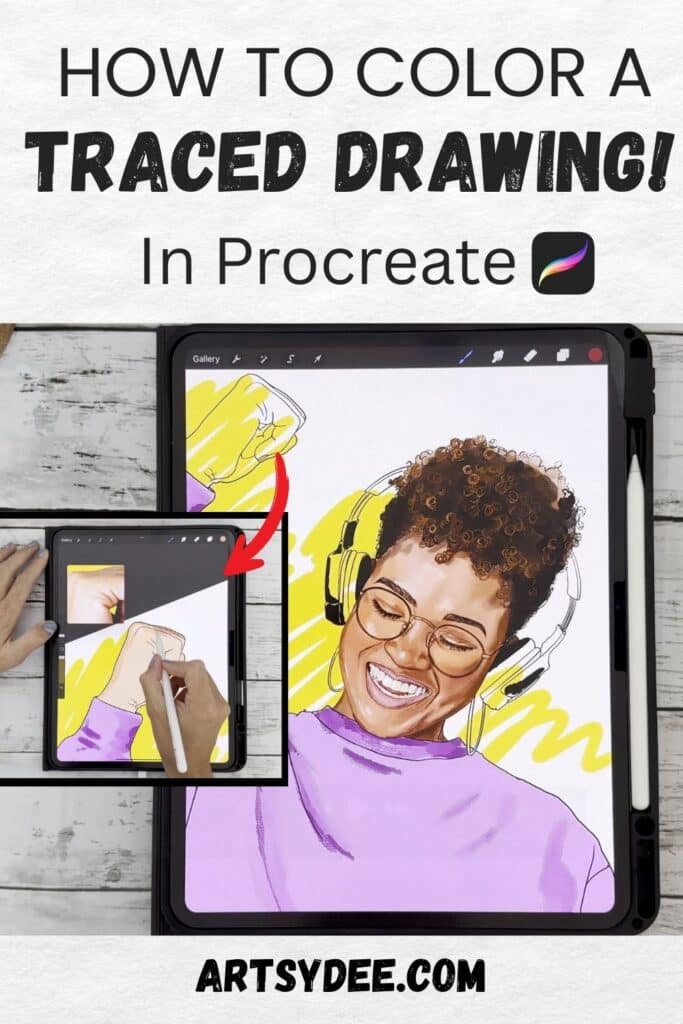
In this tutorial, I’ll show you exactly how I colored a traced outline of a woman with headphones in Procreate. This is a great beginner-friendly guide for “How to color a traced drawing in Procreate” if you’ve just finished tracing your artwork and want to bring it to life with beautiful color, shading, and painterly details.
👉 Watch the full video here:
How to Color a Traced Drawing in Procreate and Why!
Tracing in Procreate is a fantastic way to get clean outlines of your sketches, photos, or reference images. But the magic really happens when you add color! By layering flat tones, shading, and painterly brushwork, you can turn a simple outline into a vibrant illustration.
Whether you’re drawing portraits, stickers, or digital art for your journal, coloring traced drawings is an easy way to practice digital painting and improve your Procreate skills.
Step 1: Block in Your Base Color
I started by creating a new layer underneath the line art and filling in a mid-tone base color for each section of the drawing. Blocking in flat shapes first makes it easier to build up shading later.
💡 Tip: Duplicate your outline layer and move it to the top of your layers stack. That way, you can always see the edges clearly while you paint.
Step 2: Pick Tones from Your Reference Photo
Using the eyedropper tool, I picked colors directly from my reference image. This helped me choose realistic skin tones, rosy cheeks, and the perfect shades for the hair and headphones.
Step 3: Keep Elements on Separate Layers
Each element — like the hair, skin, and clothing — went on its own layer. This makes editing easier, especially if you want to change colors or add effects later.
Step 4: Add Shading and Painterly Effects
I used some of my favorite Procreate brushes to layer in painterly strokes. Starting with darker tones, I added depth and shape. Then I built up lighter highlights to bring dimension and life to the piece.
Step 5: Finishing Details
Finally, I zoomed in to add subtle shading and small details like highlights in the eyes and soft texture in the hair. These finishing touches make the drawing feel polished and complete.
Tools & Resources I Used
- ✨ Free Procreate Color Palettes
- 🖌️ Procreate Brushes & Templates
- 🎥 Tracing Tutorial in Procreate (Video)
Try It Yourself!
Now it’s your turn to take a traced outline and bring it to life with color. Start by blocking in flat tones, experiment with layers, and don’t be afraid to play with painterly brushes for texture.
👉 Watch the full breakdown in my video here: How I Colored My Traced Drawing in Procreate
And if you’re looking for ready-made tools to speed up your workflow, check out my free color palettes and brush collections linked above.
Happy creating,
Dee 🌸
Coloring a Traced Drawing in Procreate: FAQ
What do I do after I’ve traced something in Procreate?
Start by blocking in your base colours. Make a new layer underneath your line art and fill in a mid-tone for each section of the drawing. Getting those flat shapes down first makes it so much easier to build up shading later. From there it’s all about layering tone and detail until that plain outline comes to life.
How do I pick realistic colours?
Use the eyedropper tool and pull colours straight from your reference photo. That’s how I got believable skin tones, rosy cheeks, and just-right shades for the hair and headphones in this piece. It takes the guesswork out completely — the photo already has the perfect palette, you’re just borrowing from it. It’s the fastest way to make colours feel cohesive.
Should I keep each element on its own layer?
Yes, definitely. Put the hair, skin, and clothing each on separate layers so you can edit one without disturbing the rest. If you decide to change a colour or add an effect later, you’ll be so glad you did. A handy tip: duplicate your outline layer and move it to the top of the stack so you can always see the edges clearly while you paint.
How do I add shading that looks painterly?
Work from dark to light. Start by layering in your darker tones to add depth and shape, then build up lighter highlights to bring dimension and life to the piece. Finish by zooming in for the little details — highlights in the eyes, soft texture in the hair — because those finishing touches are what make it feel polished. Take your time here; it’s where a flat drawing becomes an illustration.
Do I need special brushes to colour a traced drawing?
You don’t need anything fancy to get started, but a few good painterly brushes make the shading and texture stages much more fun. I reach for some of my favourite Procreate brushes to layer in those soft, painterly strokes. Play around with what you already have first, then add a brush or two as you find your style.
Is colouring traced drawings good practice for beginners?
It’s one of the best ways to practise, honestly. Tracing gives you clean outlines to start from, so you can focus purely on colour, shading, and painterly brushwork without worrying about drawing accuracy. Whether you’re doing portraits, stickers, or art for your journal, it builds your Procreate skills quickly and confidently. Give yourself permission to experiment — that’s how it clicks.
Where can I get colour palettes and brushes to speed things up?
I’ve got free Procreate colour palettes linked in the post above that are lovely for exactly this kind of work, and they import straight into your library. If you’d like more ready-made brushes and templates to build on, my Patreon is full of resources to speed up your workflow. Grab the free palettes first and take it from there.