
Last Updated on October 8, 2026 by Dee
Want to add a clean white outline around your artwork in Procreate without the fuss of manual tracing? Whether you’re making digital stickers, prepping elements for print, or just want to give your designs a bit more pop—this tutorial will show you a quick method for How to do a white outline in Procreate!
Quick Answer: To add a white outline in Procreate, duplicate the layer, turn the copy pure white and drag it below the original. Apply a 12% Gaussian Blur, then tap-drag the Selection tool to thicken the outline.
🎥 Watch the video tutorial below to follow along step-by-step:
Why Add a White Outline in Procreate?
White outlines are super popular—especially in the world of digital stickers and printable journaling elements. They help your artwork stand out, add a polished sticker-like effect, and make it easier to use your designs across different platforms like Procreate, GoodNotes, Cricut Design Space, or even printable PDFs.
Most people default to manually tracing their shape with a brush like the hard airbrush, tweaking stabilization settings to try and get a smooth outline. While this works, it’s time-consuming and inconsistent—especially if you’re working quickly or creating a series of stickers.
That’s why I’m sharing my favorite quick method to create a perfect white outline in under three minutes!
PIN THIS FOR LATER!
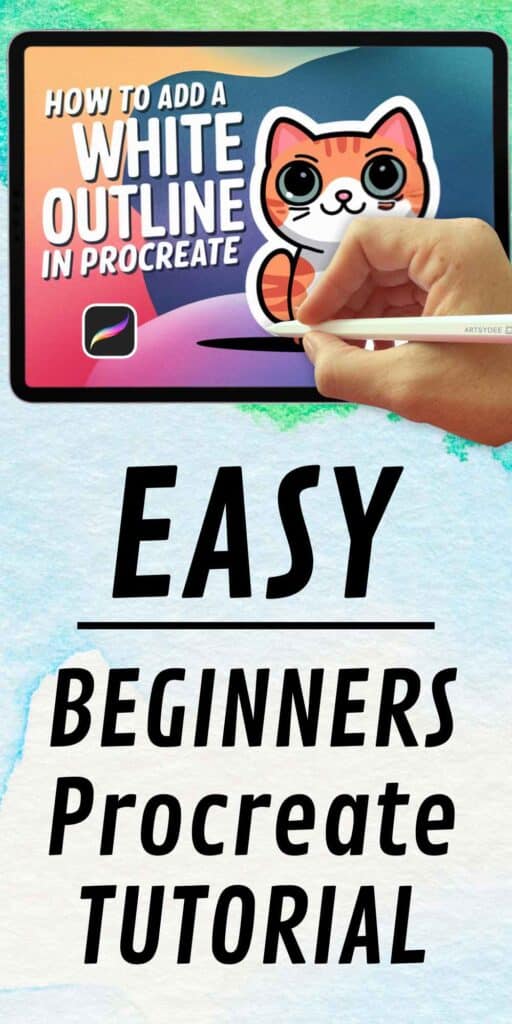
✏️ Step-by-Step: How to Create a White Outline Around Your Shape or Sticker
- Duplicate your element layer.
This could be a drawing, sticker, or shape you want to outline. - Select the top duplicated layer, and go to the magic wand icon (Adjustments).
- Choose Hue, Saturation, Brightness
- Increase Brightness to 100%
- Decrease Saturation to 0%
- Drag the white version underneath your original image layer in the Layers panel.
- With the white layer selected, go back to the magic wand, choose Gaussian Blur, and set it to around 12%.
- Tap the Selection Tool (ribbon icon)
- Set it to Automatic, with Add and Color Fill enabled
- Choose pure white as your color
- Tap on the screen and drag to the right to adjust the thickness of your white outline
And that’s it! You now have a crisp, clean outline that looks super professional—perfect for stickers, printables, or layered art pieces.
🛠️ Troubleshooting: When Procreate Won’t Play Along
These are the three snags readers hit most often with this method — each one has a ten-second fix.
Why won’t my image get bigger when I try to resize it?
It’s almost always one of these three, in this order:
- A selection is still active. If the Selection tool (ribbon icon) is still live, Transform will only grab what’s inside that selection — which can be nothing at all. Tap the ribbon icon to switch it off, then tap the Transform arrow and resize again.
- You’re in the wrong Transform mode, or Snapping is fighting you. At the bottom of the Transform toolbar, choose Uniform (scales proportionally from the corner nodes) or Freeform if you want to stretch. If the image jumps or feels stuck while you drag, tap Snapping and turn off Magnetics and Snapping — they lock your drag to fixed increments.
- Alpha Lock is on. If the layer thumbnail shows a checkerboard background, Alpha Lock is trapping every new mark inside the pixels you’ve already painted — so a fill or outline can’t grow past the edge of your shape. Swipe right on the layer with two fingers (or tap the layer and choose Alpha Lock) to switch it off, then redo the step.
Why is my outline patchy or broken?
Nudge the Gaussian Blur up a little (12–15%) so the white silhouette spreads slightly past your artwork’s edge, and when you tap-and-drag with the Selection tool, drag further to the right to raise the selection threshold. Make sure Color Fill is switched on before you tap, or the selection won’t fill at all.
Why did the fill flood my whole canvas?
Your selection threshold went too far — undo (two-finger tap), then tap and drag again, stopping a little sooner. If it keeps happening, there’s probably a small gap in your artwork’s edge that the automatic selection is leaking through; close the gap on the original layer and try again.
🌸 Want These Floral Stickers?
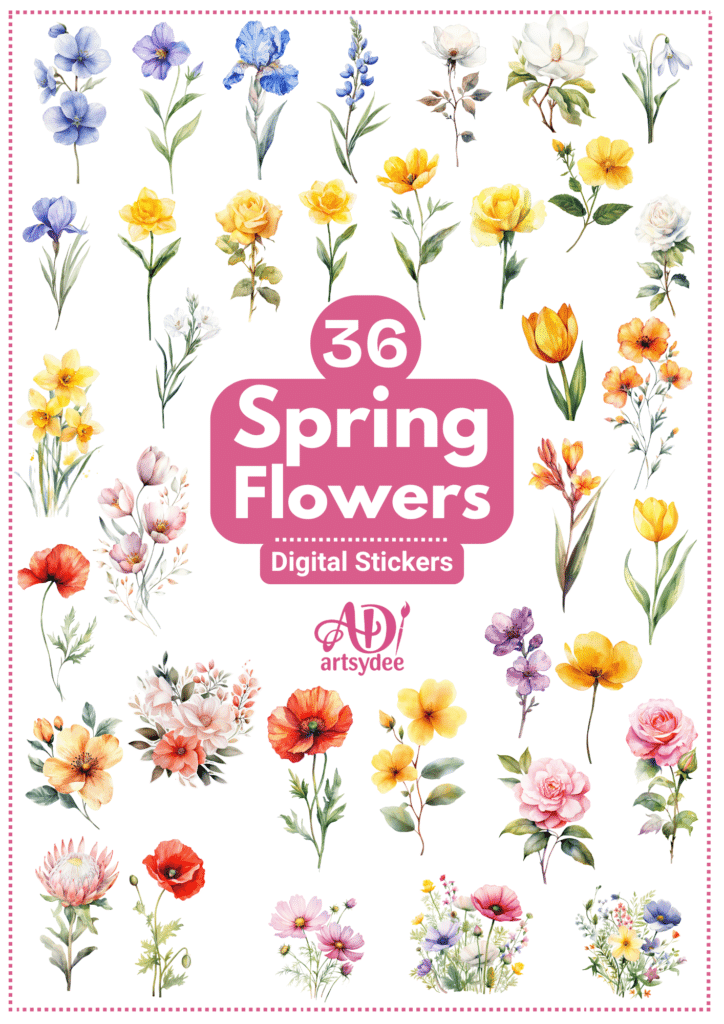
The floral stickers used in this tutorial are available exclusively to my Patreon members. You can grab them here:
👉 Spring Blossom Sticker Pack – Patreon
🎨 Related: How to Make Digital Stickers in Procreate
If you’re new to digital sticker making, check out my full tutorial here:
👉 Watch on YouTube
Thanks for stopping by! If you found this post helpful, feel free to share it with your fellow creatives or pin it for later. Don’t forget to subscribe to my YouTube channel for more quick Procreate tutorials and creative resources.
Happy creating! 💕
– Dee
White Outline in Procreate: FAQ
What’s the quickest way to add a white outline in Procreate?
Duplicate your element layer, then on the top copy open Adjustments (the magic wand) and choose Hue, Saturation, Brightness. Push Brightness to 100% and Saturation down to 0% so it turns white. Drag that white layer underneath your original, and you’re most of the way there in under three minutes.
Why would I add a white outline to my artwork?
White outlines give your art that polished, sticker-like pop, which is why they’re so popular for digital stickers and printable journaling elements. They help your designs stand out and make them easier to use across platforms like GoodNotes, Cricut Design Space, and printable PDFs. It’s a small touch that makes things look much more finished.
What blur and thickness settings should I use?
With the white layer selected, go back to Adjustments and choose Gaussian Blur, setting it to around 12%. Then tap the Selection tool, set it to Automatic with Add and Color Fill on, pick pure white, and tap the screen. Drag to the right to fatten up the outline until it looks just how you want.
Do I have to trace the outline by hand?
You don’t, and that’s the whole point of this method. Most people default to manually tracing with something like the hard airbrush and fiddling with stabilization, which is slow and inconsistent — especially across a whole series of stickers. This layer-and-selection trick gives you a clean, even outline every time without the tedious tracing.
What can I actually use white outlines for?
They’re perfect for digital stickers, printables, and layered art pieces where you want each element to feel crisp and separate. Because the outline makes shapes read clearly against any background, it’s also handy when you’re prepping elements for print or Cricut. Once you’ve got the technique down, you’ll reach for it constantly.
Where can I get the floral stickers used in this tutorial?
The floral stickers in the walkthrough are the Spring Blossom Sticker Pack, and they’re available exclusively to my Patreon members. If you’d rather make your own from scratch, the same outline method works on any drawing, shape, or sticker you create.
Do I need advanced Procreate skills for this?
Not at all — it’s genuinely beginner-friendly. Everything happens with tools you already have: layers, the Adjustments panel, and the Selection tool. If you can duplicate a layer and tap a couple of sliders, you can pull off a professional-looking outline.