Last Updated on May 11, 2023 by Dee
Wondering how to draw a background? When it comes to drawing backgrounds whether you’re using a traditional medium (like pencil), or you’re digitally sketching in Procreate on your iPad, there are a few things that you need to know in order to get started.
In this blog post, I’ll give you 12 Easy tips on how to create beautiful backgrounds for your artwork!
We will also discuss the different methods that you can use to create a blurry background effect. So whether you are a beginner or an experienced artist, this blog post has something for everyone!
Why do you need to draw backgrounds in your art?
Just as a good foundation is important to the stability of a house, a background is essential to the success of a work of art.
The background sets the tone and mood of the piece and can help to create a visual balance. It can also be used to add depth and interest or to provide a contrasting backdrop for the main subject.
In short, a background is an important tool that should not be overlooked when planning a painting, drawing, or sculpture.
When used effectively, it can make all the difference in the finished product.
[Related Article: How to Start Drawing]
The Different Types of Backgrounds You Can Create
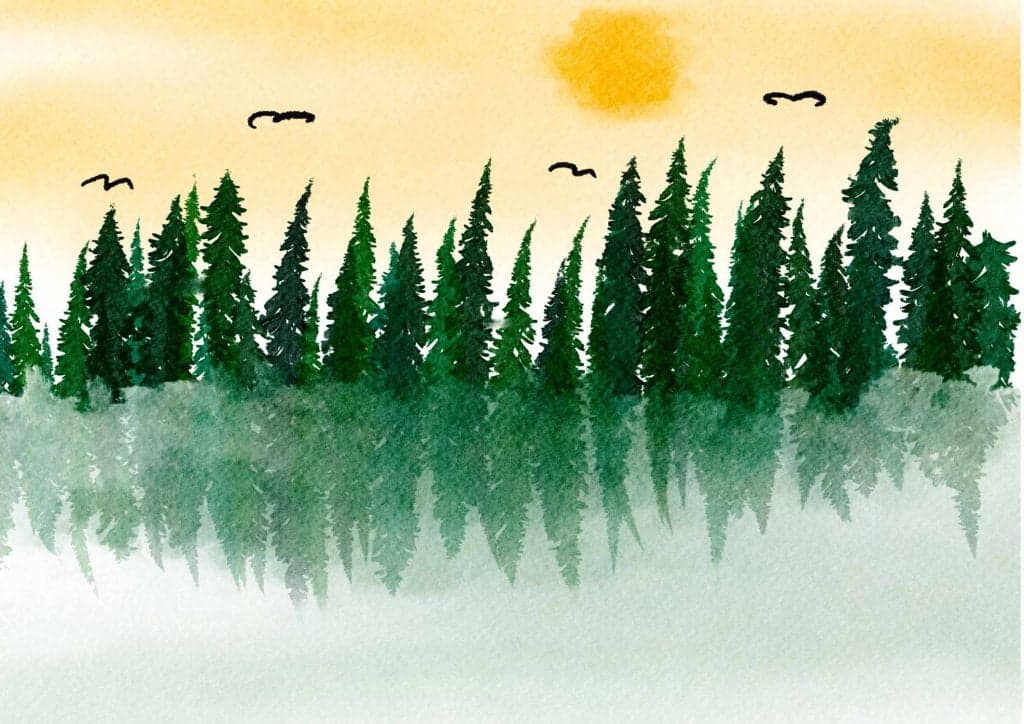
When it comes to creating a background in a drawing, the sky is the limit. Literally. A sky background is one option and can be done by simply drawing a horizon line and blue sky above it.
For a more interesting sky, try adding some clouds.
You can also create a background that features land, such as rolling hills or mountains. If you want to include trees, you can either draw them as silhouettes against the sky or in more detail if they’re closer to the viewer.
[Related: 18 Standing Poses Reference for Drawing & Painting]
Another option is to create an underwater scene, with fish swimming amidst coral and plants.
Or, you could even go for an otherworldly background with stars or planets.
[Related article: 101 Cool Designs to Draw | Easy Ideas for Drawing Fun!]
The possibilities are endless! So experiment and have fun finding the perfect background for your drawing.
11 Easy Tips to Draw a Realistic Background
Use a Reference Picture


If you’re painting or drawing a specific location, it’s always best to start with a reference photo.
Drawing or sketching from observation is a skill that takes time and practice to develop.
However, even the most experienced artists will sometimes find it helpful to use reference photos.
Reference photos can provide a wealth of details that may be difficult to remember from memory, and they can be especially useful when drawing complicated subjects.
In addition, reference photos can help to ensure that proportions are accurate.
When using reference photos, it is important to select high-quality images that are clear and well-lit. Otherwise, the details in the photo may be unclear and difficult to copy.
With a little practice, using reference photos can help any artist create more detailed and accurate drawings or sketches.
This will help you to capture all the details, from the color of the sky to the shape of the clouds.
Pay Attention to Perspective
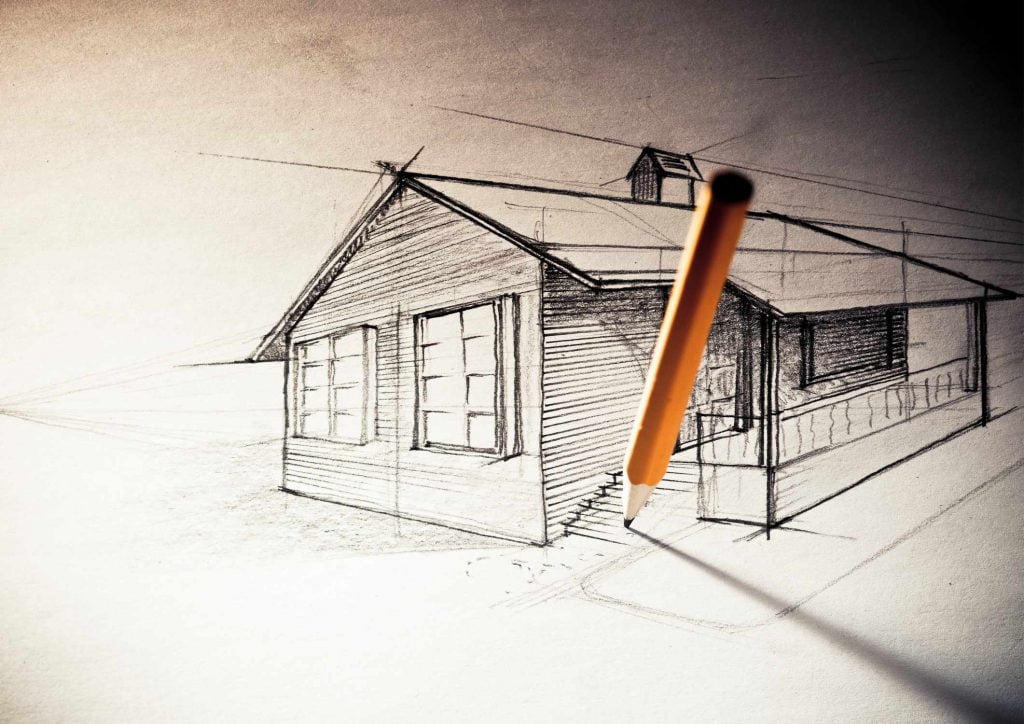
When drawing or painting a background, it’s important to keep perspective in mind.
For example, objects in the distance should appear smaller than objects in the foreground, and lines that run parallel to the horizon should be angled accordingly.
You should also have a vanishing point somewhere on the horizon line, with direction lines leading towards it.
Perspective is an important tool for artists of all genres, but it is especially important for those who work in two dimensions.
By understanding perspective, an artist can create the illusion of depth on a flat surface. This is accomplished by using a system of direction lines to create the appearance of distance.
For example, parallel lines will appear to converge as they recede into the distance. By PAYING ATTENTION TO PERSPECTIVE, artists can create paintings and drawings that are more realistic and lifelike.
In addition, perspective can be used to create a sense of mood or atmosphere in a work of art.
A painting with a low horizon line will give the viewer a sense of spaciousness, while a high horizon line will make the scene feel cramped and constricted.
It’s important to experiment with different perspectives and find the one that works best for your particular subject matter.
[Related article: The Ultimate List of 50 Fun Things to Draw When Bored!]
Explore Different Art Mediums to Create a Background
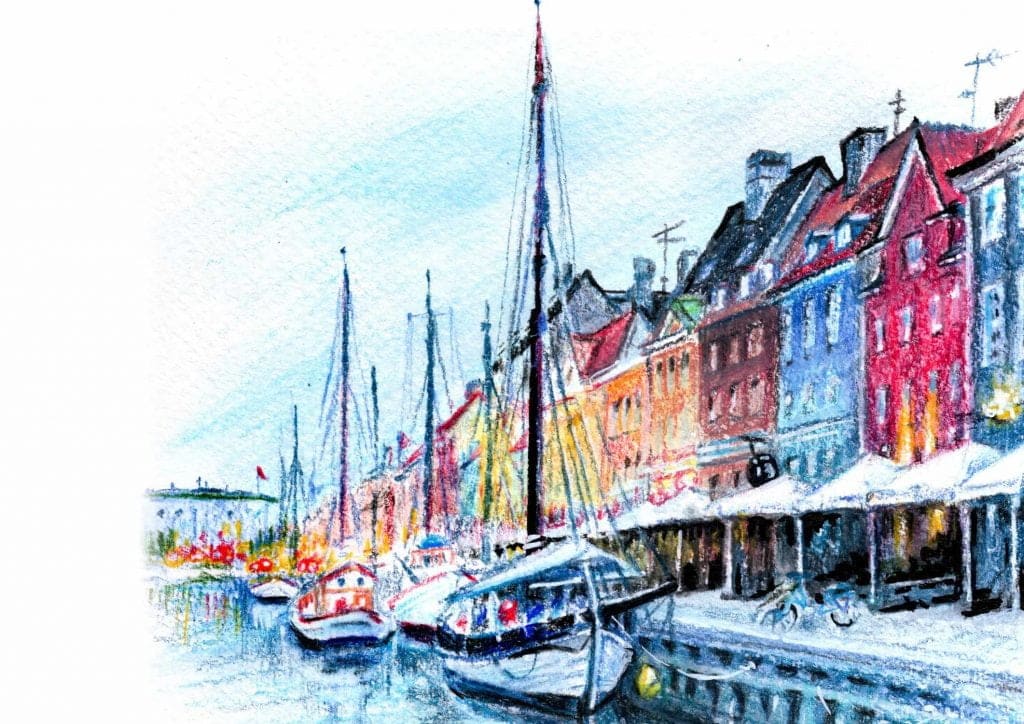
As an artist, one of the most important decisions you will make is choosing the medium you will use to create your work.
There are a wide variety of art mediums available, each with its own unique properties and effects. By experimenting with different mediums, you can discover which ones best suit your creative vision.
Likewise, by using different mediums to create a background in your artwork, you can add depth and interest to your overall composition.
For example, if you are working on a painting that features a landscape, you may want to consider using watercolors to create the background.
The translucent nature of watercolors will add softness and an ethereal quality to the scene.
[Related Article: The Best Watercolor Sketchbook]
Alternatively, if you are working on a more abstract picture, you may want to try using acrylics or oils to create a textured background.
The bottom line is that it’s important to experiment with different mediums and techniques in order to find the ones that work best for you.
Be Mindful of Shadows
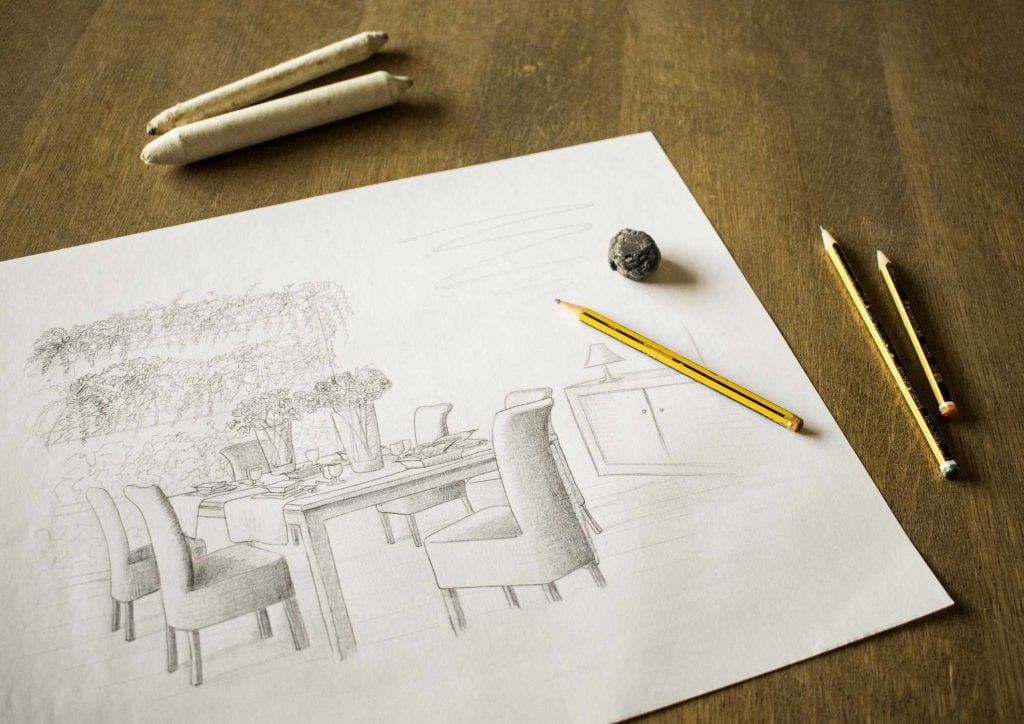
It’s also important to be mindful of shadows.
When casting a shadow, the object that casts the shadow will always be in front of the object that is being shadowed.
Shadows can help to create a sense of depth and dimension, and they can also provide an opportunity to add interest and contrast to a drawing.
However, shadows can also be deceiving, and it is easy to make mistakes when capturing their complex shapes and values. By taking the time to observe shadows carefully, artists can avoid these mistakes and create more accurate and realistic drawings.
In addition, by paying attention to the way that light falls on objects, artists can capture the unique atmosphere of a scene.
So the next time you pick up a pencil, take a moment to look at the world around you with fresh eyes and see how shadows can help to bring your drawings to life.
[Related article: Anime Pose Reference]
Use Mixed Media
Texture is an important element in any work of art, and the background is a great place to add it. Mixed media can be a great way to create interesting textures, and it can also help to add visual interest.
[Related article: The Best Mixed Media Sketchbook]
In particular, using different colors and patterns can help to create depth and dimension. For example, you might start with a layer of paint, then add some sponging for texture, and finally finish with a layer of collage elements.
By using a variety of mediums, you can create a background that is full of interest and dimension.
Use Subdued Colors to Create Depth
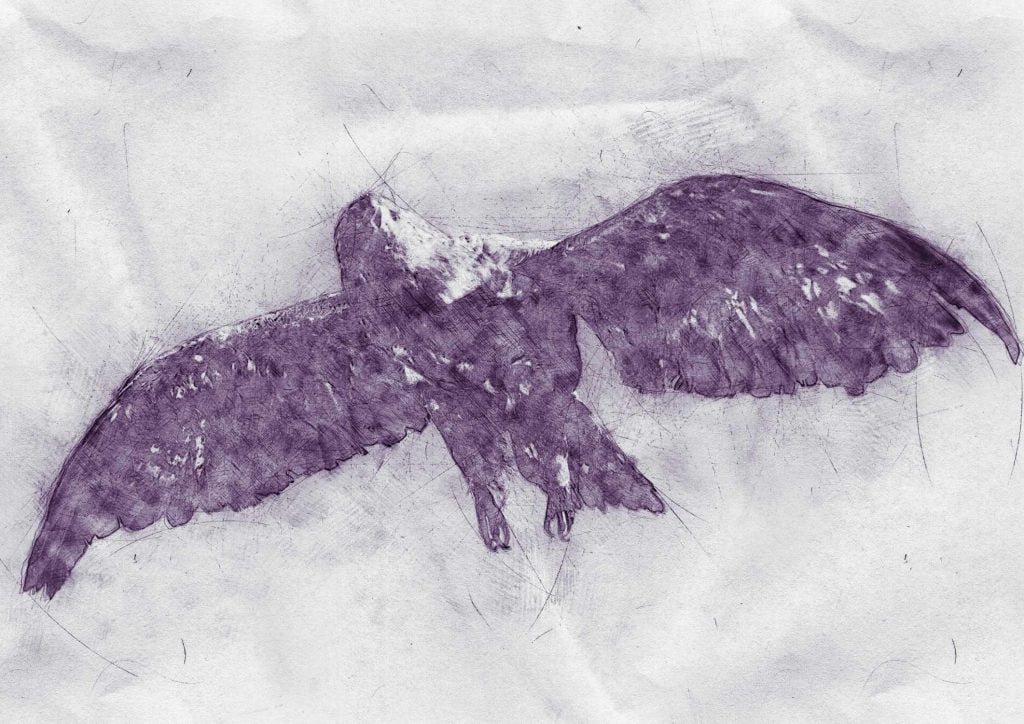
How you use color in the background of your artwork can have a big impact on the overall look and feel of the piece.
Cool, subdued colors tend to make objects appear to recede into the background, while warm, bright colors make them advance and the eye perceives them to be closer to the foreground.
By carefully choosing the colors you use in the background, you can create an illusion of depth and add interest to your artwork. For example, if you want to make a small object appear larger, you can use warm, bright colors in the background to make it stand out.
Alternatively, if you want to make a large object appear smaller or further away, you can use cool, subdued colors in the background to create a sense of distance.
Give your background a blurred effect
How to Create a Blurry Background Effect
A zoom burst, or zoom blur, is an excellent photographic effect that’s simple to do and enjoyable. It entails zooming in or out while capturing a photo, causing the image to fuzz from the middle outwards like it’s “bursting” towards you.
You can achieve a zoom blur effect in your pencil drawing by working in light grey tones and following the steps below:
The first step is to avoid creating sharp edges between colors or values. This can be done by overlapping the light and dark areas in the background, and fading one color into another.
Another way to create a blurry background is to use a soft pencil or blender to lightly sketch in the background area. This will help to create a more diffuse look.
Finally, remember that the more you soften the edges of shapes, the blurrier those shapes appear. So when drawing a blurry background, be sure to use soft, blurred lines.
[Related article: How to Draw Tree Roots]
By following these tips, you can easily create a beautiful, blurry background with pencil.
Smudging is another way to create a blurry background effect in drawings.
This is a simple yet effective way to soften the lines of your drawing and make the background seem less distinct.
To smudge, take a soft pencil or cotton swab and lightly rub it over the area you want to blur. Be careful not to overdo it, or you’ll end up with a muddy mess!
If you press too hard with your pencil, the lines will be more defined and the background will appear sharper by contrast.
So, go light on the pressure and let your foreground objects take center stage.
Check out this great video on How to Draw a Blurred Background with Graphite Pencil…
Creating a blurred effect Digitally
There are several ways to create a zoom blur effect in your digital art too.
To create a blur effect in your Procreate art, you can use the gaussian blur effect. There are also other ways to create a background blur.
[Check out my article: How to Blend in Procreate]
Use Textures in Your Digital Art
When used effectively, textures can add a lot of depth and interest to your background images. There are a few things to keep in mind when using textures, however.
First, try to use high-resolution textures so that they don’t appear pixelated when enlarged.
Second, experiment with different blending modes to see how they affect the overall look of the image.
Finally, don’t be afraid to combine multiple textures to create a more complex effect.
[Related Article: The Best iPad for Procreate]
Unify Your Foreground and Background
One way to create a unified and cohesive design is to repeat similar shapes and colors in both the foreground and background.
By using repetition, you can create a sense of visual stability and order. Additionally, repeating shapes and colors can help to create a sense of rhythm and movement.
When used effectively, repetition can be a powerful tool for unifying a design.
However, it is important to use repetition sparingly, as too much repetition can be visually overwhelming.
When used judiciously, repetition can help to create a visually compelling and unified design.
Work on Tinted or Colored Paper
There are a few reasons why colored paper can help to make a drawing look good.
First, colored paper can provide a nice contrast with the pencil or charcoal used to create the drawing. This can help to make the lines and shapes stand out more, making the drawing more visually appealing.
Second, colored paper can also help to create a certain mood or atmosphere in a drawing. For example, using warm-colored paper can make a drawing feel more inviting and intimate while using cool-colored paper can give a drawing a more tranquil feeling.
Ultimately, the type of paper you use is just one of many factors that can affect the overall look of a drawing. But it’s definitely worth considering if you want to take your drawings to the next level.
When drawing a background, it’s important to use colors that will create a sense of depth and distance.
Cool, subdued colors can be used to make large objects appear smaller or further away, while warm, bright colors can be used to make small objects stand out.
Don’t Outline Shapes in the Background
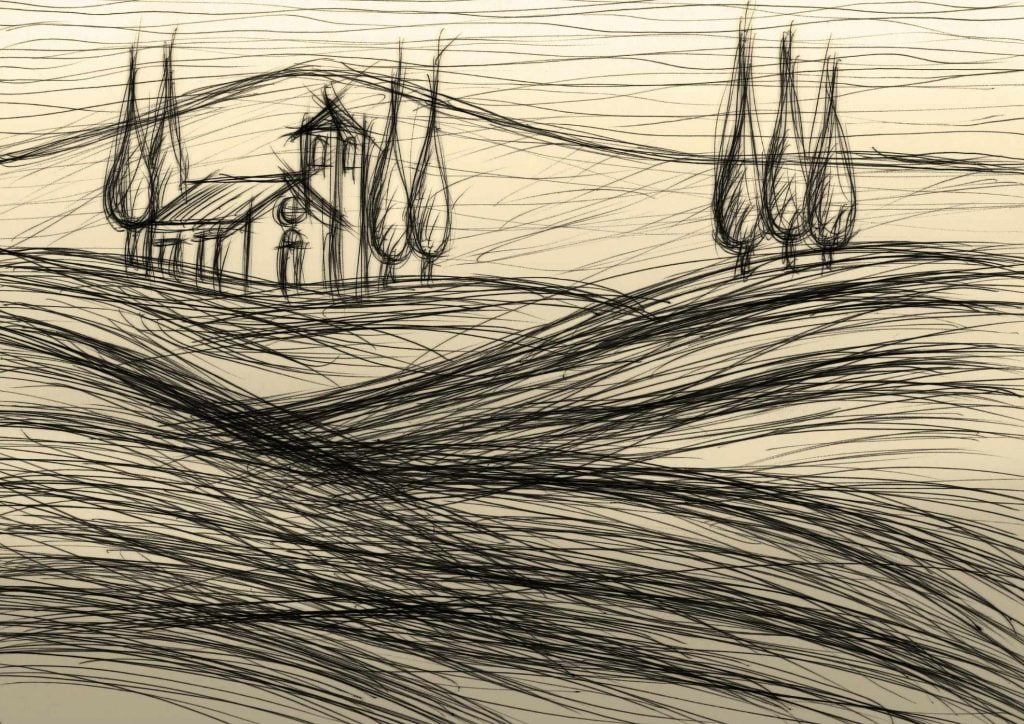
If you’re looking to create a more realistic background in your paintings, it’s important to avoid outlining shapes. This can often make the background look flattened and two-dimensional.
Instead, focus on creating different shades and tones by using different colors. This will give the illusion of depth and make the background more believable.
You can also add details such as textures and patterns to further engage the viewer. By making these small changes, you’ll be able to create a background that looks more realistic and adds interest to your painting.
[Related Article: How to Create an Outline Drawing in 3 Easy Steps]
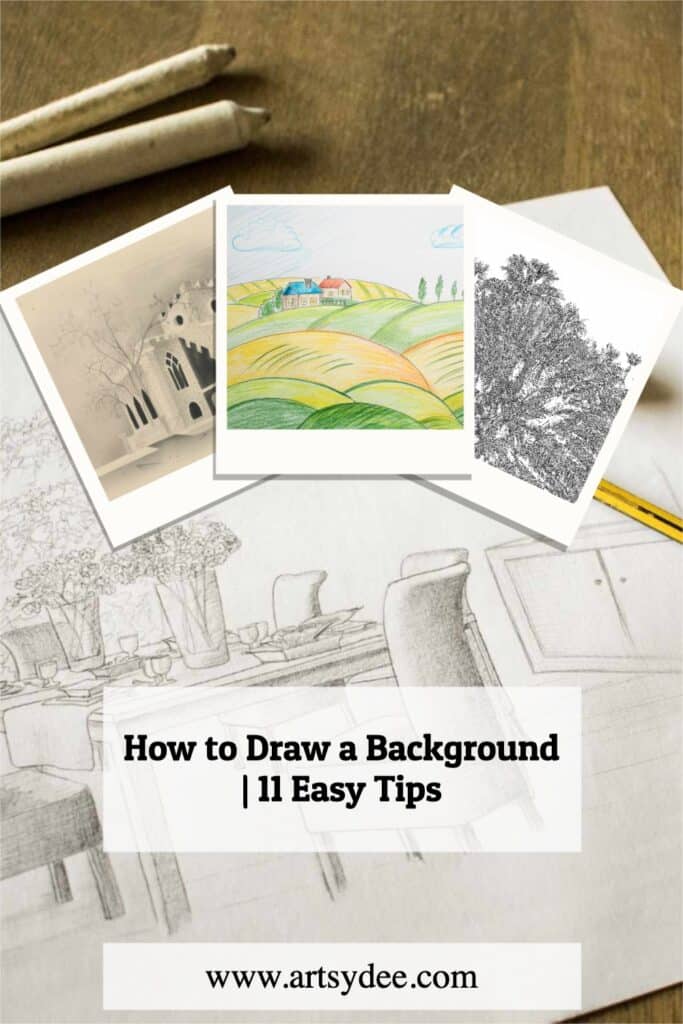
How to Draw a Basic Background
A background can make or break a drawing. A well-rendered background can provide context and create a sense of scale, while a poorly executed one can make the subject of the drawing seem flat and uninteresting.
Fortunately, even novice artists can learn to draw a basic background with just a few simple steps.
Step 1: Decide on the composition
The first step is to decide on the composition of the background. This will depend on the subject of the drawing and the artist’s personal preferences.
For example, if the subject is a person, the background might include a few simple elements such as a chair, a table, and a window.
Step 2: Establish basic shapes
Once the composition is decided, the next step is to establish the basic shapes of the elements in the background. This can be done with simple sketches or with a light wash of color.
Step 3: Work on the details
After the basic shapes are established, the details can be added. This includes things like shading, textures, and highlights.
It’s important to take your time with this step, as adding too many details can quickly make the background look cluttered and busy.
Step 4: Assess your background
Finally, it’s important to make sure the background matches the overall tone and feel of the drawing.
For example, if the drawing is light and airy, the background should be soft and muted. If the drawing is dark and moody, then the background should be similarly toned.
Conclusion
If you have been wondering how to draw a background follow these simple tips to create a believable and interesting scene.
By using different colors and shades, you can create a sense of depth and make your drawings more realistic.
Keep in mind the overall tone of your drawing when adding details to the background, and always take your time to get the results you want. With a little practice, you will be able to create beautiful backgrounds that enhance your drawings.
Happy drawing 🙂
Other articles you may enjoy…
121 Fun & Easy Objects to Draw
How to create the illusion of depth in art (2023)
[How to Improve Your Digital Creations | 22 Digital Painting Tips]
[18 Texture Drawing Examples to Help You Get Inspired: How to Draw Texture]
[Upside Down Drawing: Get better at Drawing now!]
[Related article: How To Trace On Procreate in 11 Easy Steps]
[Looking for things to draw on your hand? 50 Easy Drawing ideas!]