Last Updated on October 13, 2026 by Dee
Here is how to sketch in Procreate for beginners, step by step, plus a free Procreate Sketcher Starter Kit with a brush, a palette and sketch ideas.
If you’ve ever opened Procreate and stared at that blank canvas wondering where to even start, you’re not alone!
Sketching digitally can feel strange at first — but with the right tools, brushes, and a little practice, you’ll soon fall in love with the smooth, forgiving world of iPad sketching.
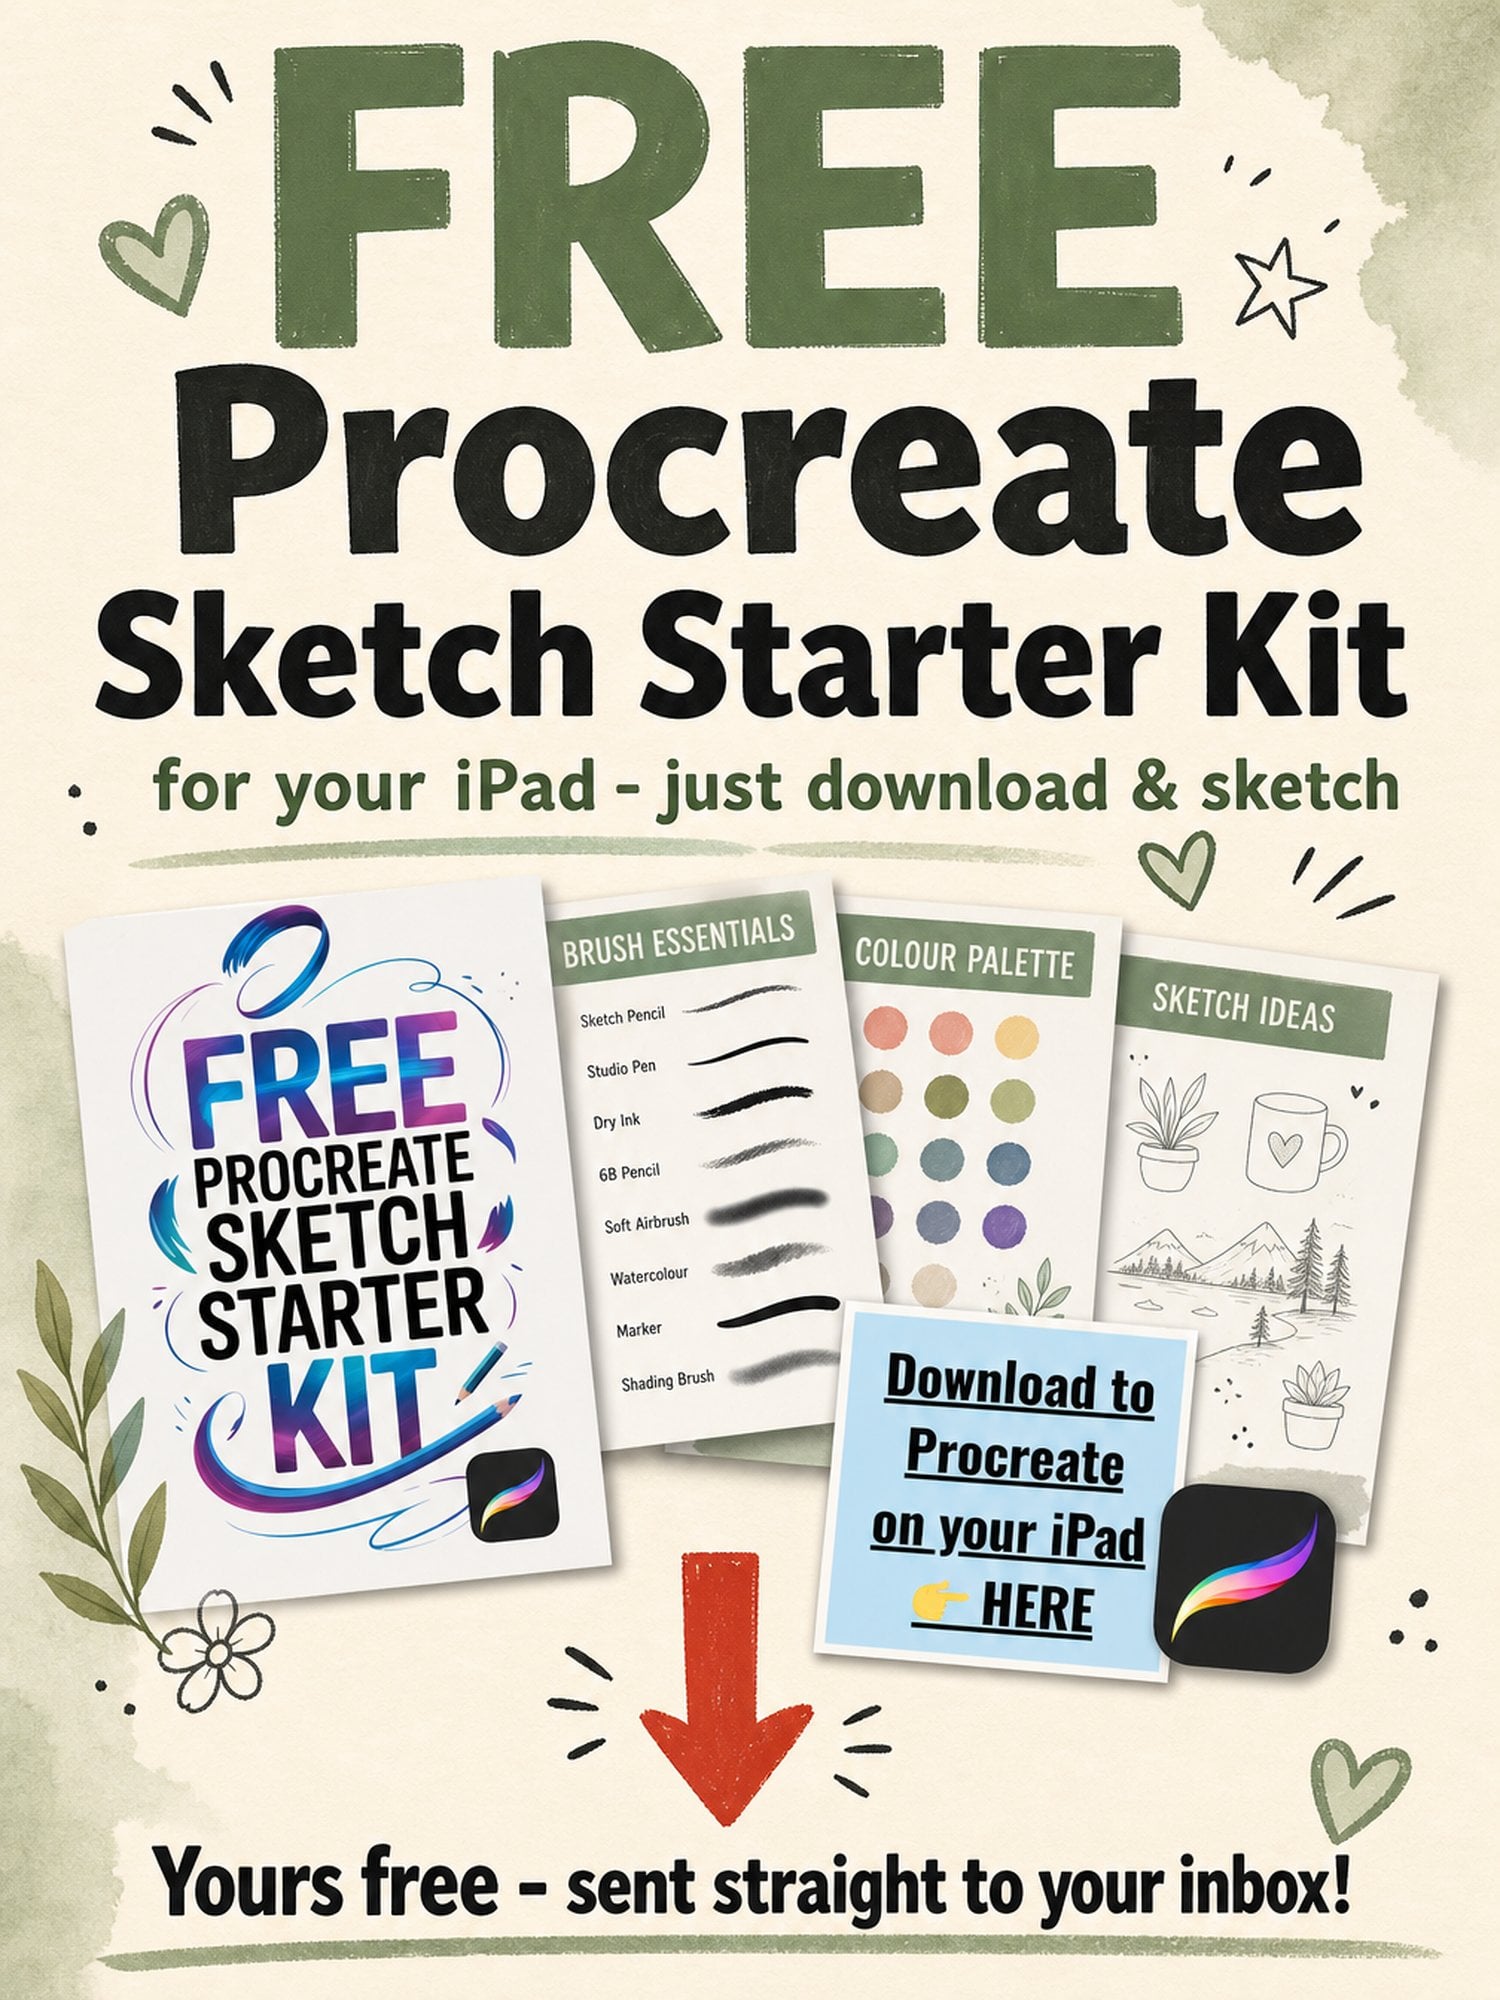
Download the free Procreate Sketcher Starter Kit at the top of this post! 🌼
Whether you’re a traditional artist moving from paper to iPad, or a complete beginner discovering digital art for the first time, this guide will walk you through how to sketch in Procreate step-by-step, with practical tips, tool recommendations, and a free starter pack to help you practice right away.
✏️ What You’ll Need to Start Sketching in Procreate
Before we begin, here are the essentials I use (and truly love):
- 🩵 iPad – I recommend the iPad Air (5th Gen) or iPad Pro for best responsiveness.
- 🖊️ Apple Pencil (Pro) – it’s pressure-sensitive and perfect for line control.
- 🧤 Drawing Glove – prevents sticking and smudges on the screen.
- 🧊 Matte Screen Protector – adds paper-like texture and makes sketching feel natural.
- 📲 Procreate App – available on the App Store (one-time purchase).
(Affiliate disclosure: As an Amazon Associate, I may earn from qualifying purchases — it helps me keep creating free tutorials for you!)
For more setup guidance on How to Sketch in Procreate, check out my post on how to use Procreate — it covers the basics of navigation, brushes, and creating your first canvas.
Enjoying your Sketch Starter Kit? My shop has hand-drawn Procreate stamp sets to take your sketches further.
Browse the shop →🌸 Step 1: Create Your Canvas
Open Procreate and tap the “+” icon to create a new canvas.
For sketching and printing later, I recommend A4 size at 300 DPI.
This ensures your artwork is high-resolution and print-ready.
If you’re brand new to digital art, this tutorial on Procreate iPad tutorials for beginners will help you feel confident navigating Procreate’s workspace.
🤲 Step 2: Warm Up Your Hand
Digital sketching uses slightly different muscles than traditional drawing, so warm-up exercises make a big difference.
Try these five quick drills:
- Light continuous circles – aim for smooth, even loops.
- Lines – short, long, and diagonal.
- Ellipses – vary angles for perspective control.
- Hatching – light and dark pressure for tonal variation.
- Gesture scribbles – loose, flowing movements to build confidence.
If you’re struggling to get smooth lines, check out my post on how to use layers in Procreate — it explains how to work non-destructively so you can erase, edit, and experiment without fear.
🐝 Step 3: Bring in a Reference Image
For this tutorial, I’m sketching from my own photo of a bee on a daisy — a moment I captured last spring in a local park.
You can import your own reference by going to:Wrench Icon → Canvas → Reference → Image → Import Photo.
Place it where it feels comfortable — I prefer the top left corner (I’m right-handed).
Working from a reference image helps train your eye to see shapes and proportions accurately — unless you have a photographic memory (lucky you!), it’s much easier to get all those subtle details right this way.
If you’re curious about colouring your sketch later, I have a full post on how to color a traced drawing in Procreate that walks you through easy blending and layering techniques.
✏️ Step 4: Start Sketching with the Right Brush
Select your Artsy Sketcher Brush (available in my free starter kit at the top of this post) — it’s designed to mimic a real 6B pencil with soft texture and responsive pressure.
Start with simple shapes:
- A small oval for the daisy’s centre.
- Lightly curved lines for the petals.
- A tiny, round body shape for the bee.
Keep your strokes light and loose — this is your under-drawing, not the final piece.
💡 Pro tip: Use two fingers to tap “undo” and three to tap “redo.” It’s faster than reaching for the toolbar.
If you want to explore shading techniques or learn how to clean up sketches, my post on how to use clipping masks in Procreate is a must-read — it’s perfect for adding depth without affecting your base sketch.
🪶 Step 5: Refine and Clean Up Your Lines
Once your general sketch looks balanced, it’s time to refine.
- Lower the opacity of your rough sketch layer.
- Create a new layer above it.
- Trace over your lines using either your Sketcher Brush (for soft results) or one of the Inking Brushes (like Studio Pen) for crisp, clean outlines.
If you plan to turn your artwork into stickers or printable line art, this step will make your piece look professional and tidy.
You can learn more about the power of layering and clean outlines in my tutorial on how to use layers in Procreate.
🎨 Step 6: Optional – Add Colour
Once your line art is complete, it’s time to add some life with colour!
Select your Bee-on-a-Daisy Colour Palette (included in the freebie) and try these quick colouring tips:
- Add soft yellow washes to the petals.
- Deepen the bee’s stripes with warm browns and blacks.
- Use lighter greens for the background to keep the composition airy.
If you’re just starting with digital colouring, check out my guide on how to color a traced drawing in Procreate for step-by-step techniques.
💾 Step 7: Export and Share
When you’re happy with your sketch, go to:Wrench Icon → Share → PNG → Save to Files or Photos.
You can print it, post it on Instagram, or use it as a base for a full painting.
If you’re creating digital gifts or want inspiration for other artists, you’ll love my roundup of creative gifts for digital artists — full of useful, affordable ideas that any Procreate lover would adore.
🌟 Bonus Tips for Beginner Procreate Artists
- Try turning on QuickShape (hold your stroke) to create perfect circles and straight lines.
- Use two fingers to pinch your canvas and zoom in for precision.
- Keep experimenting with line weight — it adds energy to your sketch.
- Don’t forget to save duplicates of your favourite stages — Procreate makes this easy!
- And most importantly, have fun — perfection isn’t the goal; progress is.
Pin this for later! 👇🏻
Download the Free Procreate Sketcher Starter Kit
Every freebie and tutorial on Artsydee is made with love (and plenty of coffee!) ☕ If you’d like to say thanks, you can buy me a coffee here → ko-fi.com/artsydee
👉 Pop your email into the box near the top of this post and I’ll send these straight to your inbox — free!
Want more watercolor goodness?
I share brand new tutorials, templates, and creative resources every single week inside my Patreon community. Think: step-by-step watercolor lessons, Procreate brushes, junk journal kits, and printables you won’t find anywhere else.
Ready to start sketching your own bee on a daisy? 🐝🌼
Sketching away from home? Find out whether Procreate needs wifi.
💌 Final Thoughts
Sketching in Procreate is one of the most rewarding ways to explore creativity — it’s portable, mess-free, and endlessly flexible. Once you get comfortable, you can move into digital painting, pattern design, or printable art creation (hello, junk journal kits!).
If you enjoyed this post, don’t miss:
- How to Use Procreate (Full Beginner’s Guide)
- Procreate iPad Tutorials for Beginners
- How to Color a Traced Drawing in Procreate
Happy sketching, lovely creatives! 💛
— Dee @ Artsydee.com
How to Sketch in Procreate: FAQ
What do I need to start sketching in Procreate?
The essentials are an iPad, an Apple Pencil, the Procreate app, and a couple of nice-to-haves that genuinely help: a drawing glove to stop your hand smudging the screen, and a matte screen protector that adds a paper-like texture so sketching feels natural. That’s the full kit I actually use.
Which iPad and pencil are best for sketching?
I recommend the iPad Air (5th Gen) or an iPad Pro for the best responsiveness, paired with the Apple Pencil (Pro) because it’s pressure-sensitive and gives you proper line control. You don’t need the top-of-the-range model to get started, but a pressure-sensitive pencil makes a real difference to your linework.
Is there a free brush or starter kit with this tutorial?
Yes, there’s a free Procreate Sketcher Starter Kit at the top of the post. It includes the Artsy Sketcher Brush, which mimics a soft 6B pencil, plus the Bee-on-a-Daisy colour palette used in the walkthrough, so you can follow along and practise straight away without buying anything.
How much does Procreate cost?
Procreate is a one-time purchase on the App Store, so there’s no subscription, you pay once and it’s yours. That’s a big part of why it’s such good value for sketching compared to apps that charge monthly. Check the App Store for the current price in your region.
How do I bring a reference image into Procreate?
Go to the Wrench Icon → Canvas → Reference → Image → Import Photo, then place the floating window wherever feels comfortable, I like the top-left corner since I’m right-handed. Working from a reference trains your eye to see shapes and proportions accurately, so you catch the subtle details you’d otherwise miss.
What warm-up should I do before sketching?
Digital sketching uses slightly different muscles than paper, so a quick warm-up helps. Try light continuous circles, straight and diagonal lines, ellipses at varied angles, some hatching for tonal control, and a few loose gesture scribbles to build confidence. Two minutes of this and your hand feels far steadier.
How do I clean up my rough sketch lines?
Once your sketch looks balanced, lower the opacity of the rough layer, create a new layer above it, and trace over your lines. Use the Sketcher Brush for soft results or an inking brush like the Studio Pen for crisp, clean outlines. That extra step is what makes a piece look tidy and print-ready.
Once you’ve warmed up with the free Procreate Sketch Starter Kit, my Payhip shop is a lovely next step for your iPad drawing. Have a browse and pick the set that sparks your next sketch.
Visit the Artsydee shop →