
Last Updated on July 19, 2026 by Dee
Watercolor painting is a beautiful and expressive medium, and when combined with ink, it creates a striking effect known as the line and wash technique. In this tutorial, you’ll learn how to paint an easy watercolor hummingbird, perfect for beginners who want to experiment with ink and watercolor.
Follow this step-by-step guide to create a hummingbird illustration using ink and watercolor. Grab your free hummingbird drawing template below and let’s get started!
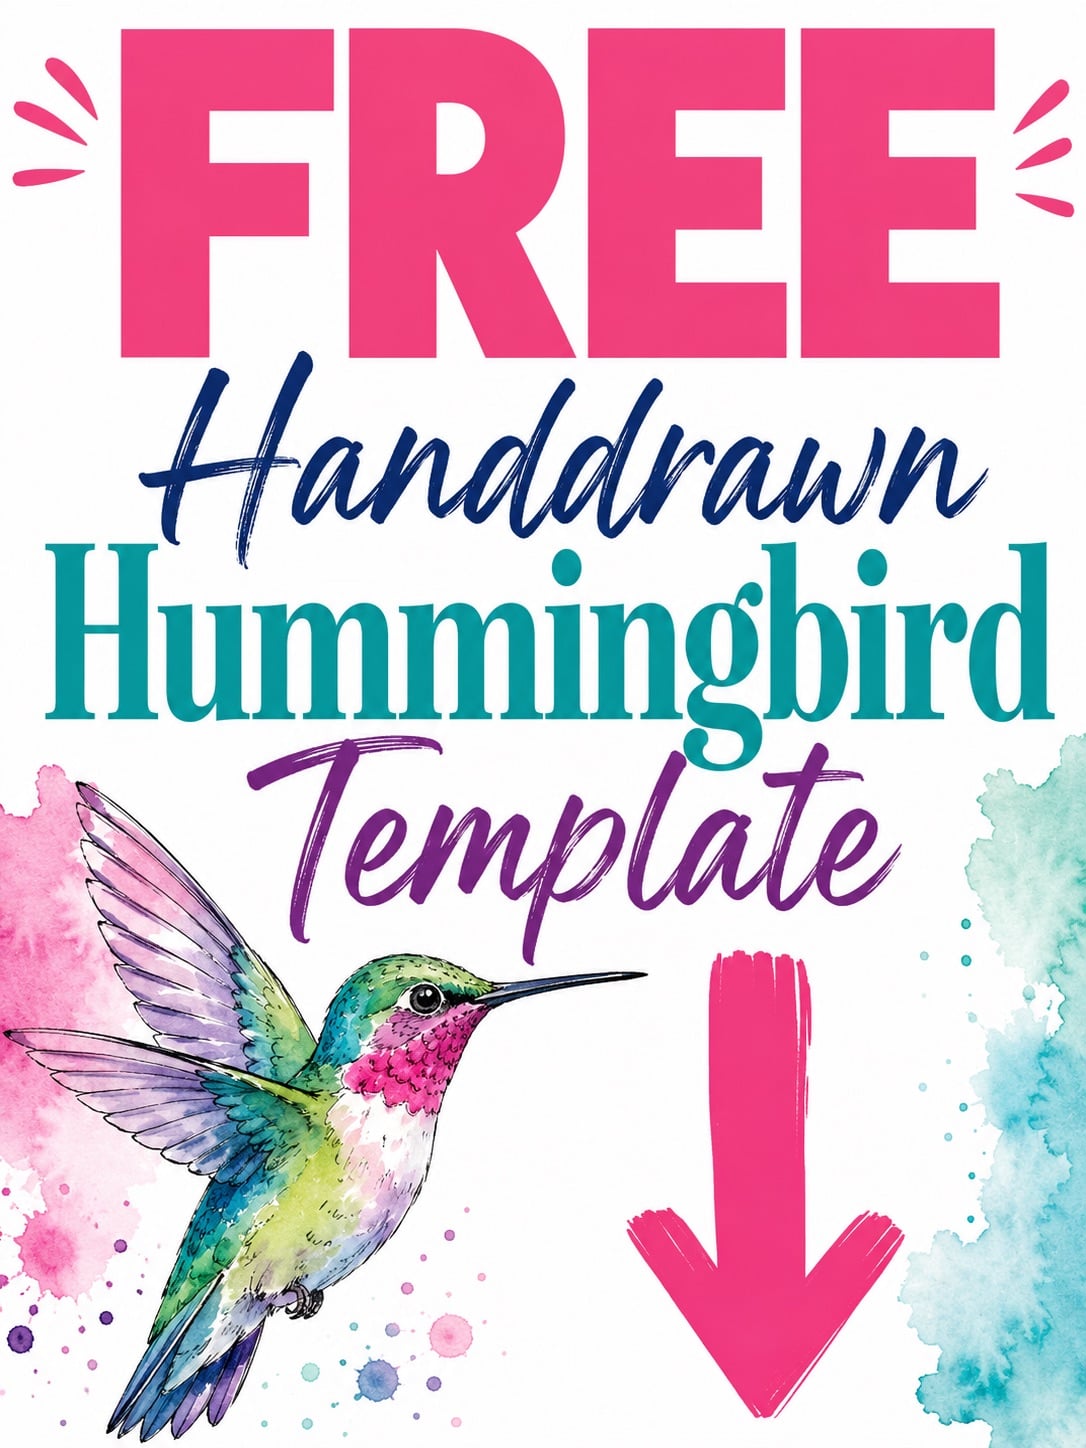
This easy hummingbird watercolor painting is a fun and accessible project that will help you improve your skills in bird watercolor paintings.
A hummingbird painting captures the beauty and movement of these fascinating birds, making it an excellent subject for watercolor birds.
Table of Contents
Watch the full easy watercolor hummingbird tutorial here 👇🏻
What You’ll Need: Watercolor Painting Supplies
This is my go-to list of recommended watercolor painting supplies that we use for all our watercolor art, junk journaling, and art journaling!
**This page may contain affiliate links to products I have used or recommend. If you purchase something from this page, I may receive a small percentage of the sale at no extra cost to you.**
- Watercolors: Windsor & Newton is a reputable brand that offers high-quality watercolor paints. You can choose from their range of professional-grade watercolor tubes or pans, depending on your preference.
- Watercolor Paper: Look for cold-pressed, 140lb (300gsm) watercolor paper for the best results. This type of paper is durable and has a nice texture that’s ideal for watercolor painting.
- Brushes: A selection of round and flat brushes in various sizes will give you the versatility you need for different strokes and details. Sable or synthetic brushes designed for watercolor will give you the best performance.
- Micron Pens Or Faber-Castell Pitt Pens
- White Gel Pen
- Palette: A mixing palette with wells for both mixing and holding your paints is essential. It can be a simple plastic one or a porcelain palette for a more luxurious feel.
- Water Container: Any clean jar or container will do, but having two for clean and dirty water can help keep your colors pure.
- Masking Fluid: (optional extra for keeping areas clean and white, but great to have in general!)This is used to cover areas of your painting that you want to keep white. Make sure to apply it with an old brush or a dedicated masking fluid brush, as it can ruin fine bristles.
- Pencils: A soft pencil, like a 2B, is great for sketching your design before painting.
- Eraser: A kneaded eraser is gentle on watercolor paper and can lift pencil lines without damaging the surface.
- Paper Towels or a Rag: These are useful for blotting your brush to control the amount of water and paint.
Pin This For Later!

Step 1: Sketch the Hummingbird

Start by lightly sketching the hummingbird on your watercolor paper using a 2B pencil. Keep the lines soft so they don’t show through the final painting. If drawing freehand feels tricky, simply trace the free template to make things easier!
🎨 Tip: Use a kneadable eraser to lighten any areas before inking.
Step 2: Ink the Drawing (Line & Wash Technique)
Using a waterproof pen (Pitt Pen or Micron 01), carefully trace over your pencil sketch to define the hummingbird’s features. Focus on key details like the eye, beak, and feather outlines.
💡 Helpful Tip: Allow the ink to dry completely before adding watercolor to prevent smudging.
Step 3: Apply the First Wash (Base Colors)
- Lightly wet the hummingbird’s body with clean water.
- Drop in soft, diluted watercolor washes in green, blue, or purple.
- Let the colors blend naturally to create a soft, luminous effect.
🎨 Tip: Avoid overworking the paint—let the water do the blending for you!
Step 4: Add Depth & Shadows
- Once the first wash is dry, layer darker tones to define the wings and tail.
- Use a smaller brush to add shading around the beak, eyes, and body contours.
- Blend gently with a damp brush to soften any harsh edges.
💡 Helpful Tip: If a section looks too dark, blot with a tissue while still wet to lift excess pigment.
Step 5: Add Final Details & Highlights
- Add a splatter effect for movement and a natural background feel.
- Use a Jelly Roll white gel pen to highlight the eye and add fine details.
- Adjust colors if needed and let the painting dry completely.
🎨 Tip: Less is more! Subtle details can make a big impact without overcomplicating the piece.
Grab the Watercolor HummingTemplate HERE (below)!
Love This Watercolor Template? Get Even More Exclusive Creative Goodies on My Patreon! 🎨
If you’re enjoying these free printables, why not join my Artsydee Patreon community? As a member, you’ll gain access to exclusive Procreate tutorials, watercolor lessons, and tons of printables like this one—delivered to you monthly (and sometimes even twice a month!). Plus, you’ll get sneak peeks at upcoming projects and have a say in what content I create next. ✨
Join today and unlock premium resources to take your creativity to the next level!
Other Posts You May Enjoy
If you loved this tutorial, check out these other watercolor and illustration guides:
Other articles you might enjoy…
Grab our FREE watercolor stencils here!
Looking for the best colored pencils?
How to use watercolor on canvas
Looking for the best watercolor sketchbook?
The best tape for watercolor paper
21 Gorgeous Gifts for Watercolor Artists
7 Mesmerizing Watercolor Galaxy Ideas
13 Awesome Watercolor Backgrounds
🎬 Love video tutorials? Subscribe to my YouTube channel for weekly art tutorials and creative inspiration!
Frequently Asked Questions
Traced the free hummingbird template? My Patreon reference sets come with colour-recipe cards so those iridescent greens and blues are never a guess.
See the reference sets →What is the line and wash technique?
It's simply ink lines paired with loose watercolour washes. You draw and ink your subject first — here, the hummingbird — then float soft, watery colour over the top. The waterproof ink holds all the detail while the watercolour stays relaxed and blooming underneath, which is exactly why it's such a forgiving way in for beginners.
Do I need to be good at drawing to paint the hummingbird?
Not at all. If freehand sketching feels tricky, just trace the free template onto your watercolour paper instead — that takes the pressure right off. From there it's all about the inking and the washes, so you can focus on the fun watercolour part rather than worrying about getting the drawing perfect.
What supplies do I need to get started?
Nothing fancy. A basic watercolour set (student grade is honestly fine), cold-pressed 140lb/300gsm paper, and a couple of round brushes will get you there. For the ink lines you'll want a waterproof pen like a Micron 01 or a Pitt pen, a soft 2B pencil for sketching, and a white gel pen for the final highlights in the eye.
How do I stop the ink from smudging into my watercolour?
Let the ink dry completely before you touch it with any water — this is the one step worth being patient about. Once it's properly dry the waterproof pen won't budge, so you can wet the body and drop in your washes freely without pulling any grey smudge through your lovely colours.
How do I download the free hummingbird template?
Pop your email address into the box in this post and the printable template will be sent straight to your inbox. Give it up to an hour to arrive, and check your promotions or spam folder if it's being shy.
Line and wash is all about confident colour underneath the ink. My premium watercolour reference sets on Patreon include colour-recipe cards for exactly that, plus new painting templates every month — premium sets from £14 (~$18).
Browse the premium sets →
I enjoy your videos