Last Updated on October 8, 2026 by Dee
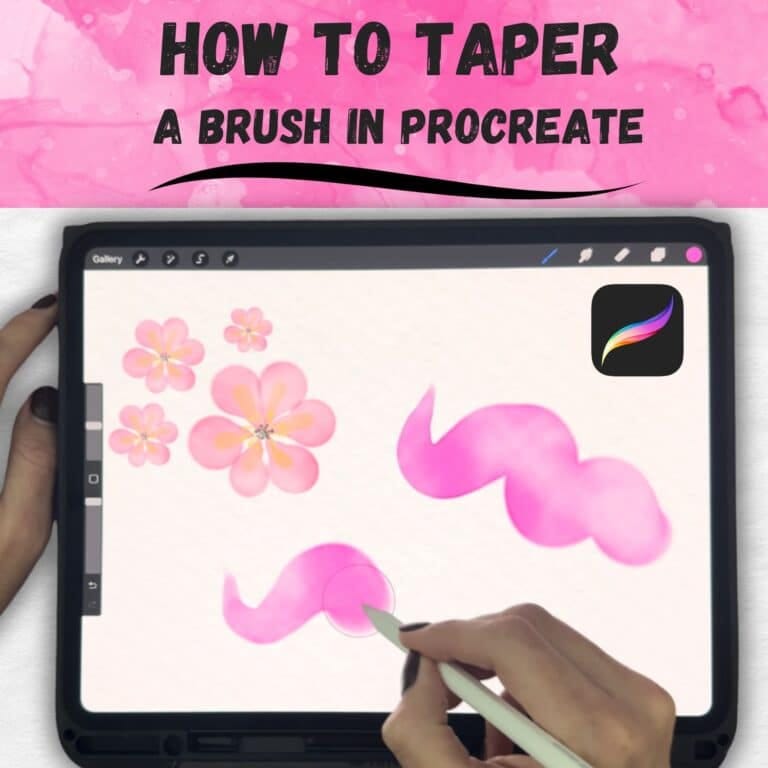
This is how to taper a brush in Procreate, an easy watercolor brush tutorial, plus a free Watercolor Brush and Paper Texture for Procreate.
Want to create smoother, more natural-looking brush strokes in Procreate? Whether you’re painting florals, creating digital calligraphy, or working on detailed illustrations, tapering your brush can make all the difference!
Grab the Free Watercolor Brush & Paper Texture for Procreate at the top of this post!
In this tutorial, I’ll show you how to taper a brush in Procreate to create beautiful effects—perfect for adding realistic, flowing strokes to your artwork.
Table of Contents
📌 Watch the full tutorial here:
👉 [How to Taper a Brush in Procreate]
🌿 Why Use a Tapered Brush in Procreate?
Tapering a brush adjusts how the stroke fades out, making it look more like a real paintbrush. It’s especially useful for:
✔ Florals & petals – Smooth, delicate strokes for a natural look
✔ Lettering & calligraphy – Controlled strokes that start thick and fade out
✔ Linework & illustrations – Creating dynamic, expressive lines
✔ Realistic watercolor effects – More organic, flowing strokes
If you’ve ever felt like your brush edges look too blunt or unnatural, tapering will instantly improve the way your strokes behave!
🖌 Step 1: Adjusting a Custom Watercolor Brush
If you’ve already created a custom watercolor brush in Procreate, follow these steps to add a natural taper:
1️⃣ Open your Brush Library and select your custom brush.
2️⃣ Tap “Edit” to open Brush Studio.
3️⃣ Navigate to the Shape tab and tap “Edit” > “Import” > “Source Library”.
4️⃣ Choose the “Medium Hard” shape for a more balanced brush tip.
5️⃣ Tap “Done” to save your selection.
Now, let’s refine the taper settings:
1️⃣ Go to the Stroke Path tab and select “Classic Taper” for a natural effect.
2️⃣ Enable “Link Tip Sizes” so both ends of the stroke taper evenly.
3️⃣ Adjust the Size Taper and Opacity Taper to control how the brush fades.
Now, test the brush! You should see a smoother, more tapered stroke that works beautifully for petals, lettering, and delicate details.
🖌 Step 2: Fixing Procreate’s Default Watercolor Brush
If you want to improve the default Procreate watercolor brush, here’s how:
1️⃣ Go to Brush Library > Painting Set > Watercolor Brush.
2️⃣ Tap “Edit” to open Brush Studio.
3️⃣ Navigate to the Shape tab and tap “Edit” > “Import” > “Source Library”.
4️⃣ Choose “Medium Hard” for a softer stroke.
5️⃣ Tap “Done” to save.
Now, let’s adjust the taper settings:
1️⃣ Go to Taper > Classic Taper.
2️⃣ Enable “Link Tip Sizes” to balance the stroke.
3️⃣ Adjust the Pressure Taper to control the fade.
4️⃣ Increase the Size Taper to 100% for a smoother transition.
Test the brush—you should notice a much softer and more natural taper compared to the default setting.
🌸 Step 3: Testing the Brush with a Simple Flower
Now that your brush is tapered, let’s try it out with a simple flower illustration.
1️⃣ Start with a light pressure stroke for the first petal.
2️⃣ Gently lift off at the end to create a soft, tapered edge.
3️⃣ Repeat for each petal, varying the pressure slightly to create depth.
🌿 Want to see this in action? Watch the video tutorial above!
🎁 Bonus Tips: Enhancing Your Tapered Brush
💡 Tip 1: Adjust the Pressure Curve in Brush Studio for even more control over tapering.
💡 Tip 2: Duplicate your brush to create different variations for finer details or larger washes.
💡 Tip 3: Use lower opacity & the Smudge Tool to blend watercolor strokes more naturally.
Pin this for future creative inspiration!

Grab the Free Watercolor Brush & Paper Texture for Procreate
👉 Pop your email into the box near the top of this post and I’ll send these straight to your inbox — free!
Love Procreate Resources? Get Even More Exclusive Creative Goodies on My Patreon! 🎨
If you’re enjoying these free printables, why not join my Artsydee Patreon community? As a member, you’ll gain access to exclusive Procreate tutorials, brushes, templates, color palettes and tons more resources like this one—delivered to you monthly (and sometimes even twice a month!). Plus, you’ll get sneak peeks at upcoming projects and have a say in what content I create next. ✨
Join today and unlock premium resources to take your creativity to the next level!
✅ Final Thoughts
By following this tutorial, you’ve now created a realistic watercolor brush in Procreate that mimics real paint beautifully! 🎨
If you found this guide helpful: ✅ Hit LIKE & SUBSCRIBE on YouTube for more tutorials!
✅ Comment below with your thoughts or questions!
✅ Check out my next video on Procreate Blending Techniques—perfect for this brush!
🎬 Love video tutorials? Subscribe to my YouTube channel for weekly art tutorials and creative inspiration!
Frequently Asked Questions
Enjoying this tapered brush? Over on my Patreon I share exclusive Procreate brushes, tutorials and colour palettes every month.
See what’s on Patreon →What does tapering a brush actually do in Procreate?
Tapering controls how the stroke fades out at each end, so it behaves more like a real paintbrush instead of a blunt, uniform line. It's what gives you those smooth, delicate petals, thick-to-thin calligraphy strokes and expressive linework. If your brush edges have ever looked too hard or unnatural, adding a taper fixes that instantly.
How do I add a taper to a custom watercolour brush?
Open your brush in Brush Studio and tap Edit, then in the Shape tab import the “Medium Hard” shape for a balanced tip. Head to the Stroke Path tab, choose “Classic Taper”, and turn on “Link Tip Sizes” so both ends fade evenly. From there you just nudge the Size Taper and Opacity Taper until the fade looks right to you.
Can I fix Procreate's default watercolour brush instead of building my own?
Absolutely — you don't need a custom brush to start. Go to Brush Library > Painting Set > Watercolor Brush, open Brush Studio, and swap the Shape to “Medium Hard”. Then under Taper pick Classic Taper, enable Link Tip Sizes, adjust the Pressure Taper, and push the Size Taper up to 100% for a much softer, more natural stroke than the default.
How do I test whether the taper is working?
The quickest test is a simple flower. Start each petal with light pressure, then gently lift off at the end to leave a soft, tapered edge, varying the pressure slightly petal to petal to build depth. If the strokes fade off cleanly rather than stopping dead, your taper is doing its job.
How do I download the free Procreate brush and paper texture?
Pop your email into the free download box at the top of this post and I'll send the Watercolour Procreate Brush and Paper Texture straight to your inbox.
Once you’ve got your tapered watercolour brush behaving, the fun part is building a proper brush library. My Patreon members get exclusive Procreate tutorials, brushes and printables delivered monthly, plus a say in what I make next.
Join the Patreon community →