Last Updated on October 1, 2026 by Dee
Pumpkins are the friendliest thing you can put in a sketchbook. They’re basically a circle that got squashed, a few curved lines and a stubby stem — and yet they look properly autumnal the second you’re done. If drawing has felt intimidating lately, this is the subject that gives you a win on the first try.
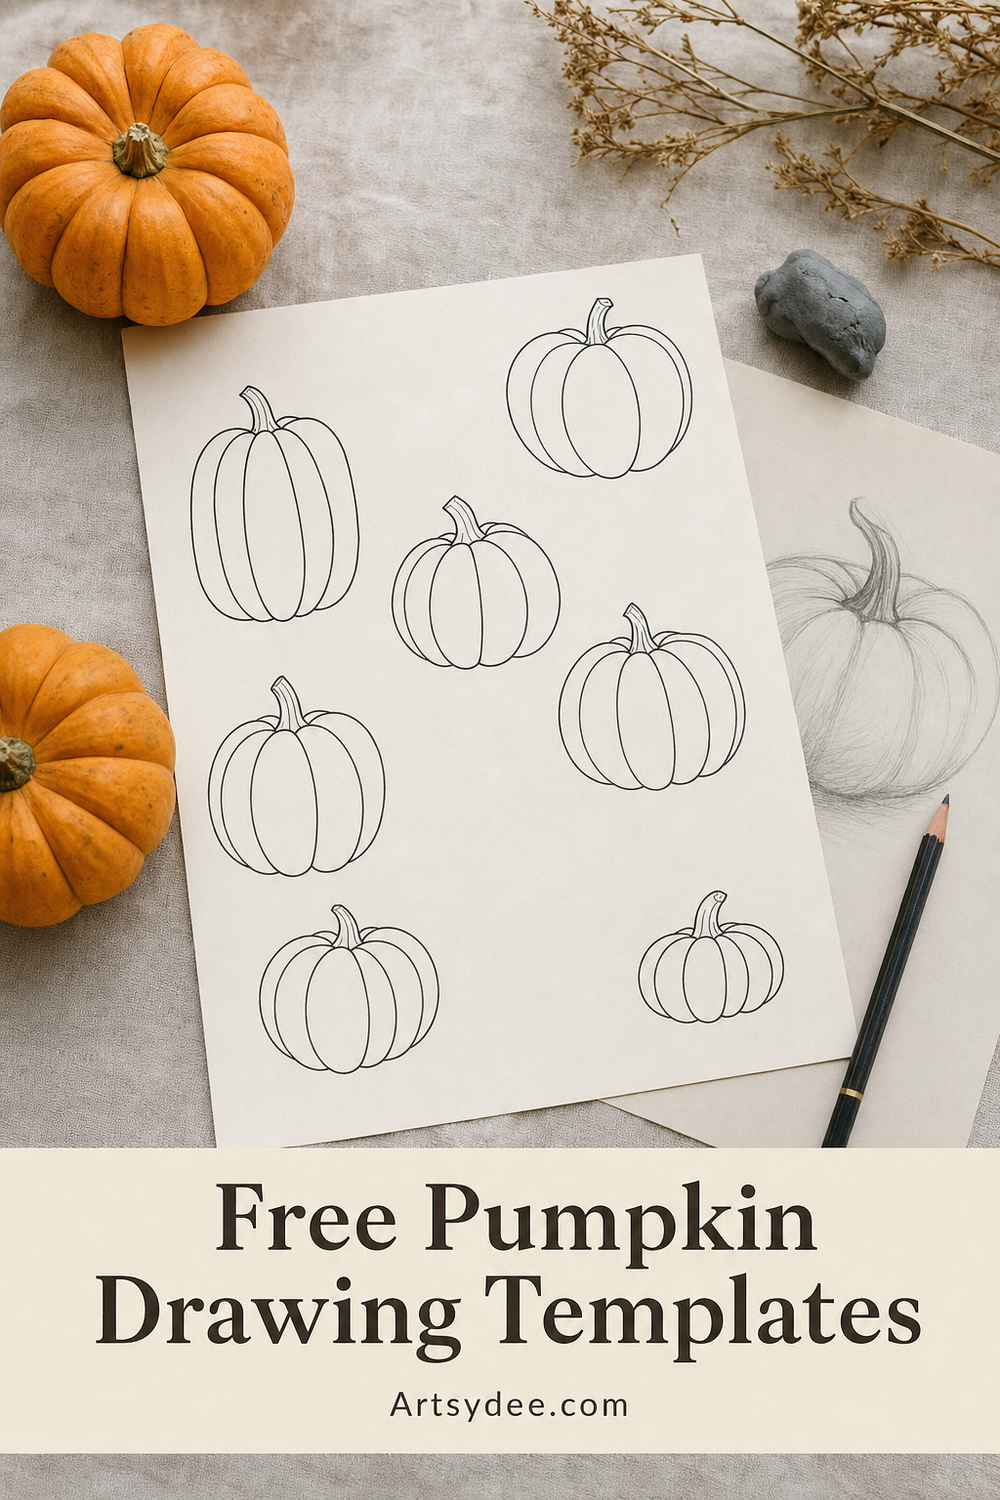
Below you’ll find 12 easy pumpkin drawing ideas, a simple four-step method that works for every single one of them, and a set of free printable pumpkin drawing templates you can trace straight over while you get the shape into your hands. Pop your email in below and I’ll send the templates over.
Everything here works with whatever you already own — a pencil, a black pen, and a scrap of paper. No fancy supplies, no drawing background, no pressure to make it perfect.
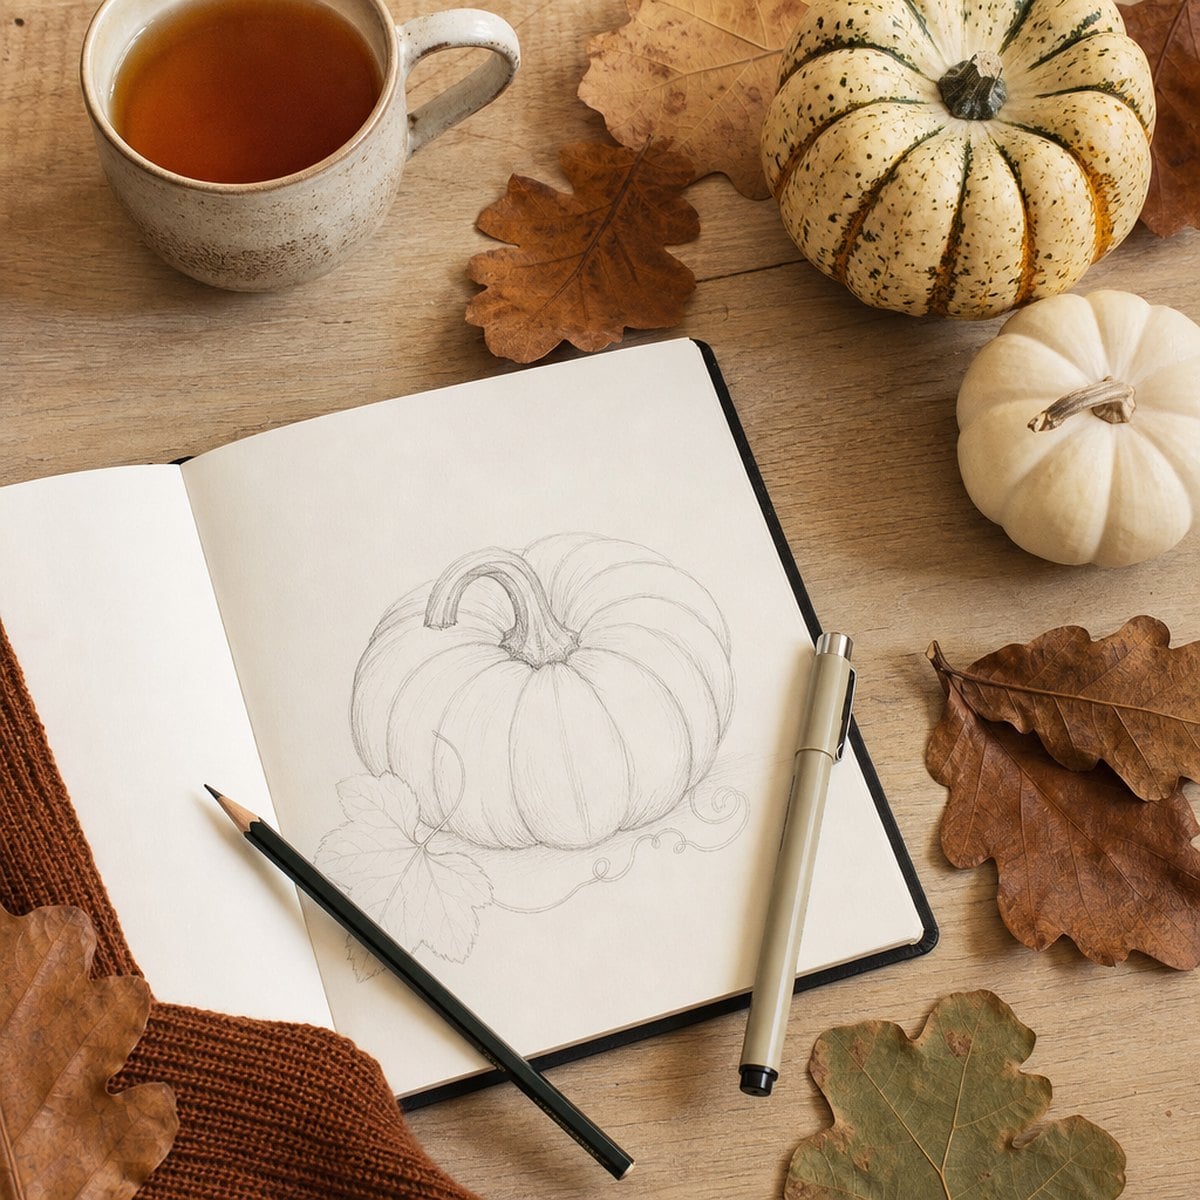
Table of Contents
How do you draw a pumpkin?
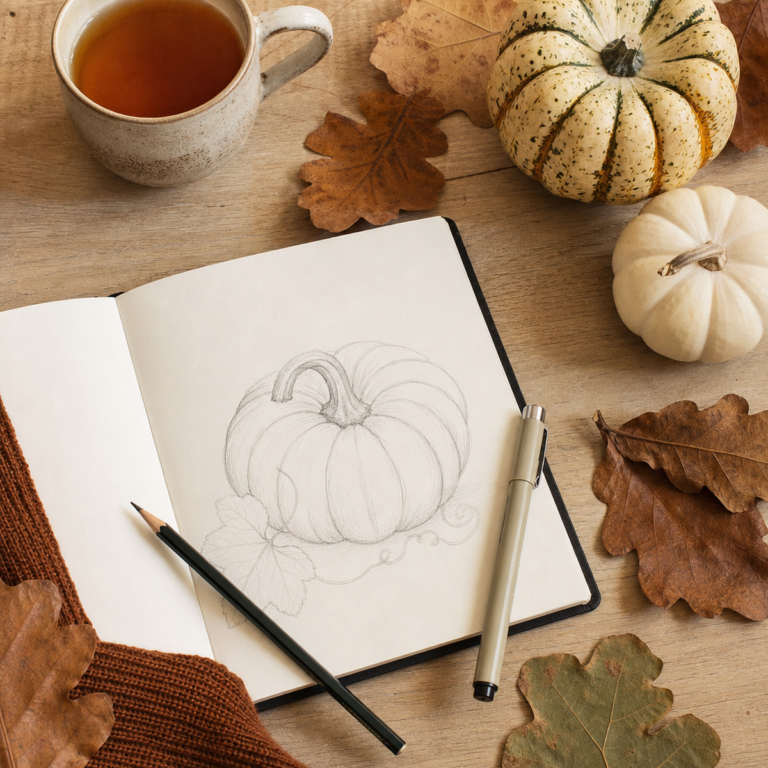
Quick Answer: Draw a wide oval for the body, add a short curved stem on top, then draw two or three curved lines inside the oval that follow its shape to make the ribs. That’s a recognizable pumpkin in under a minute — everything else is decoration.
The reason pumpkins trip people up is that we try to draw the whole thing at once. Break it into four moves instead and it falls apart nicely:
- The body. One oval, wider than it is tall. Draw it lightly. Wonky is fine — real pumpkins are wonky.
- The stem. A short, thick, slightly bent shape sitting on top like a little chimney. Thicker than you think.
- The ribs. Two or three curved lines inside the body, each one bowing outward the same way the outer edge does. This is the bit that makes it read as a pumpkin and not a tomato.
- The extras. A curling tendril off the stem, one broad leaf, a shadow under the base. Thirty seconds, and it stops looking like a diagram.
The one rule worth remembering: the ribs must curve in the same direction as the outer edge nearest them. Straight lines down the middle flatten the whole thing instantly. Curved lines make it swell.
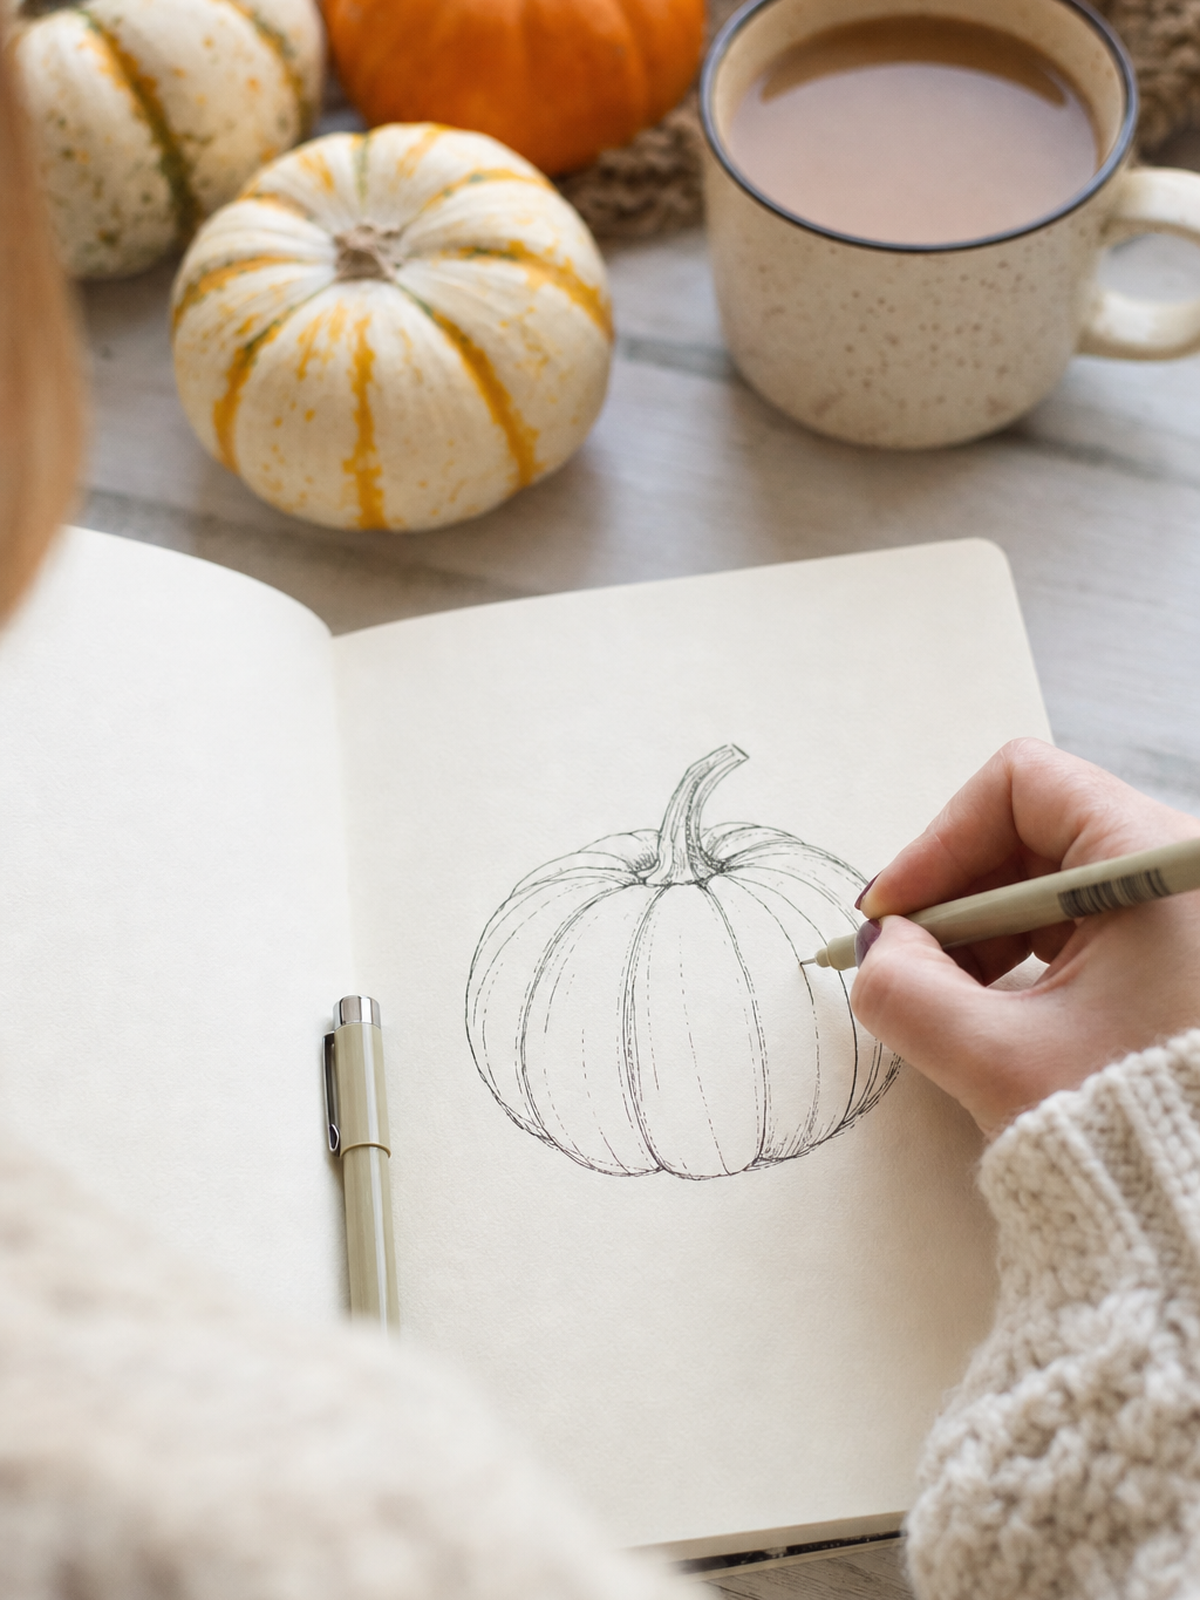
🎬 Prefer to watch someone do it first? Subscribe to my YouTube channel — I share drawing and watercolor tutorials every week, and there’s a cosy autumn one going up shortly.
12 easy pumpkin drawing ideas for beginners
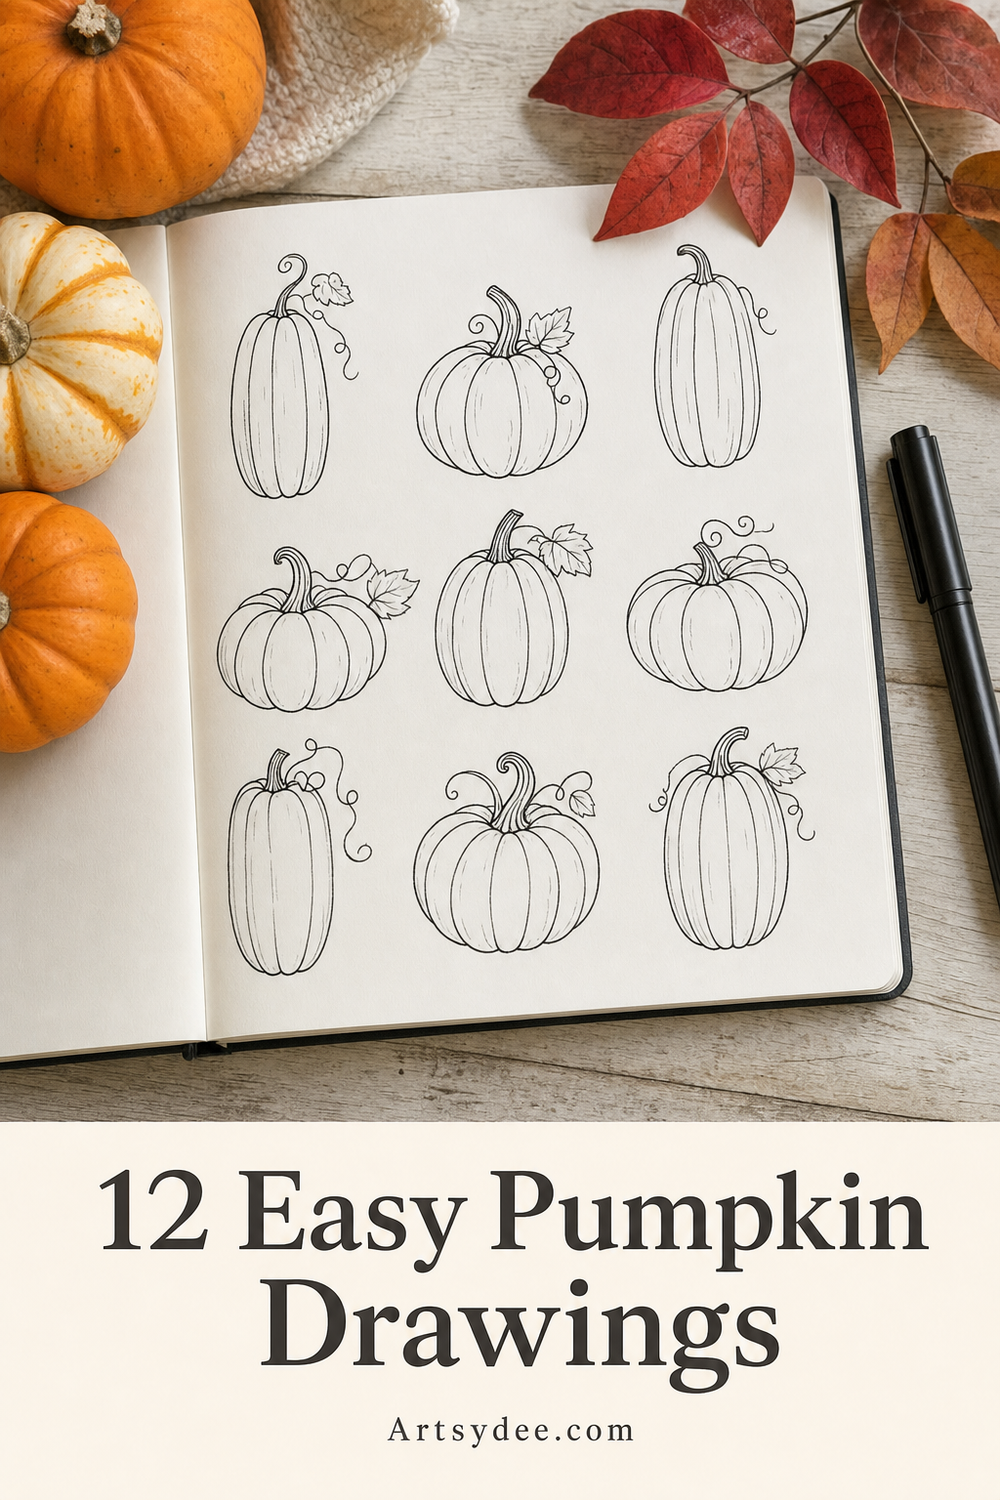
Every one of these uses the same oval-stem-ribs method above, just dressed differently. Work through them in order and you’ll have a full sketchbook spread by the end of an afternoon. None of them need drawing skill you don’t already have.
- The classic ribbed pumpkin. Wide oval, three ribs, chunky stem. Draw this one five times before you move on — repetition is what makes the shape automatic.
- Tall and skinny. Same method, but stretch the oval upright. Fewer ribs, closer together. Instantly a different pumpkin.
- Squat and wide. Flatten the oval until it’s nearly a pillow shape and let the ribs bow out hard. This is the Cinderella pumpkin and it’s the most satisfying one to draw.
- The lumpy heirloom. Draw the outline with a deliberately bumpy, uneven edge. Warts and dents make it look observed rather than invented.
- A curling vine and one leaf. Add a spiral tendril coming off the stem and a single broad leaf. One leaf reads better than three.
- A little stack of three. Big pumpkin, medium on top, small on top of that. Overlap them slightly so the front edges hide the back ones.
- A jack-o’-lantern face. Two triangle eyes, a triangle nose, a wobbly grin. Keep the features small and high — beginners tend to draw them far too big.
- A pumpkin cut in half. Draw the oval, then a second curved line just inside the top edge for the flesh, and a cluster of little teardrop seeds in the middle.
- Tiny margin doodles. Thumbnail-sized pumpkins tucked down the side of a page. Just an oval, a stem and one rib. Perfect for filling awkward white space.
- A whole pumpkin patch. A row of small pumpkins on a wavy ground line, some overlapping, a couple turned sideways. Vary the sizes and it reads as a field.
- A pumpkin in a crate. Draw a simple open box in front of the pumpkin so the bottom is hidden. Hiding part of an object is the fastest way to suggest depth.
- A pumpkin with a ribbon bow. Tie a loose bow around the stem. It turns a plain sketch into something that works as a gift tag or a card front.
If you want more autumn subjects once the pumpkins are out of your system, the autumn doodles and drawing ideas post has acorns, mushrooms, mugs and jumpers in the same easy style.
What you need to draw a pumpkin
Honestly? A pencil and the back of an envelope. Pumpkins don’t need special kit. But a few things do make the practice more pleasant, and these are the ones that live permanently on my desk:
- A fine-liner you trust. I ink almost everything with a Sakura Pigma Micron set — the 05 for outlines, the 01 for ribs and tendrils. Waterproof, so you can wash color over the top without the lines bleeding.
- A couple of graphite pencils. A soft one for the first loose oval, a harder one for the ribs. A Faber-Castell graphite tin covers every grade you’d want and lasts years.
- A kneadable eraser. This is the one that actually matters. A kneadable eraser lifts your guide lines out without scuffing the paper, which means you can draw the first oval really lightly and confidently.
- Somewhere nice to put it. A lay-flat sketchbook like the Beechmore A5 mixed media book takes light washes without buckling, so pencil, ink and a bit of watercolor all live on the same page.
- A printer. For the templates below. Plain copy paper is completely fine for tracing practice — save the good paper for the version you keep.
This post contains affiliate links, which means I may earn a small commission at no extra cost to you if you make a purchase. I only recommend products I genuinely love and use myself!
What’s inside the free pumpkin drawing templates
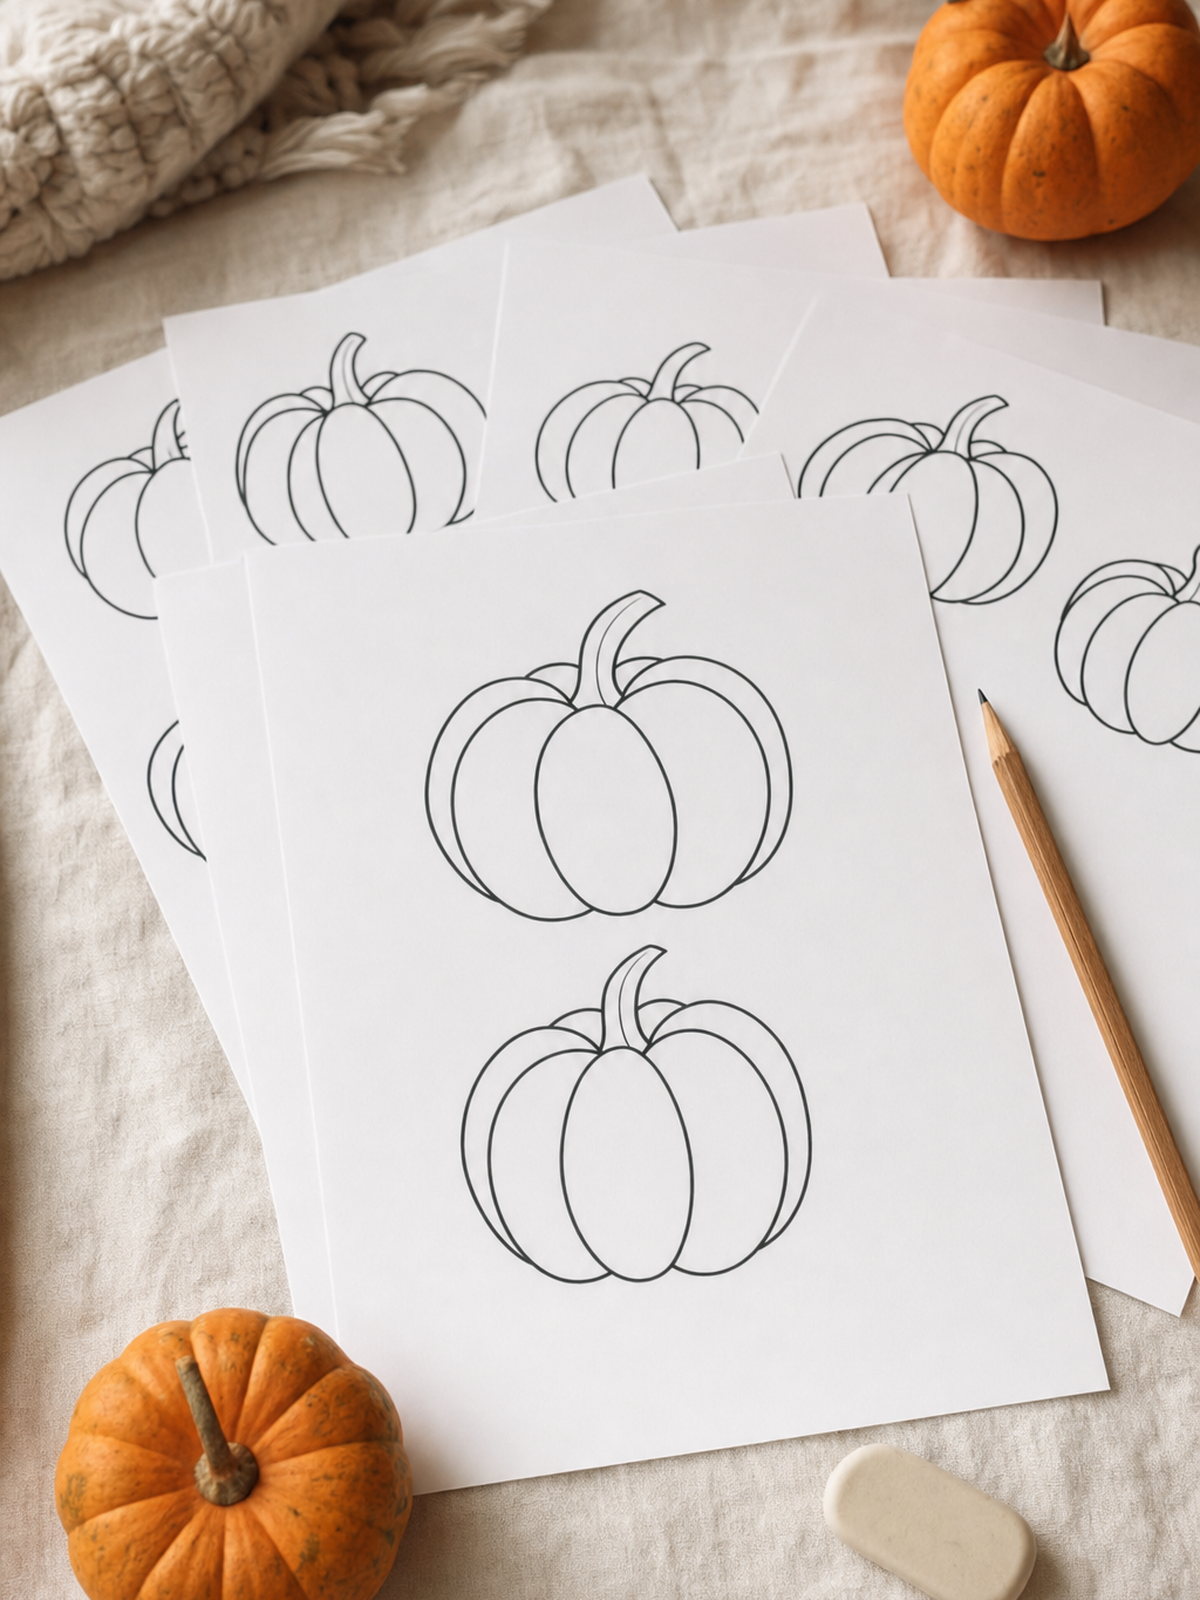
Quick Answer: The free pack is a printable A4 PDF with four pumpkin template pages — small outlines to trace, four large decorated pumpkins, one giant pumpkin to fill, and a pumpkin-parts practice sheet for stems, vines and leaves.
Tracing gets a bad reputation and it doesn’t deserve it. When you trace a shape, your hand learns the movement without your brain arguing about proportion at the same time. Do a page of tracing, then draw one freehand next to it, and the freehand one is noticeably better. That’s the whole idea behind this pack.
- Page one — small pumpkin outlines. A grid of simple pumpkins in different shapes, sized for quick repetition. This is your warm-up page.
- Page two — big decorated pumpkins. Four large outlines with stems, curling tendrils and leaves already attached, so you can practice the extras without redrawing the body every time.
- Page three — one giant pumpkin. A single outline filling the page. Use it for shading practice, pattern-filling, or hand it to a child with a box of pencils.
- Page four — pumpkin parts. Rows of stems, vine tendrils, leaves and rib patterns on their own. The bits people find fiddliest, isolated so you can drill them.
Print it on A4, or choose “fit to page” if you’re on US Letter and it’ll size down neatly. The pack lands in your inbox the moment you sign up above.
Three ways to make a simple pumpkin drawing look finished
A plain outline pumpkin is fine. A plain outline pumpkin with one finishing move looks like art. These are the three that give you the most for the least effort, and you can do all of them with a single pencil.
1. Shade one side only
Pick a side — left or right, doesn’t matter, just be consistent — and darken the ribs nearest that edge. Leave the opposite side almost white. Your eye reads that contrast as roundness immediately, and it takes about fifteen seconds.
2. Fill the sections with pattern instead of color
Treat each rib section as its own little panel and fill them with different marks — dots in one, stripes in the next, tiny leaves in another. It’s meditative, it hides wobbly lines beautifully, and it turns a five-minute sketch into something worth keeping.
3. Add one loose wash of color
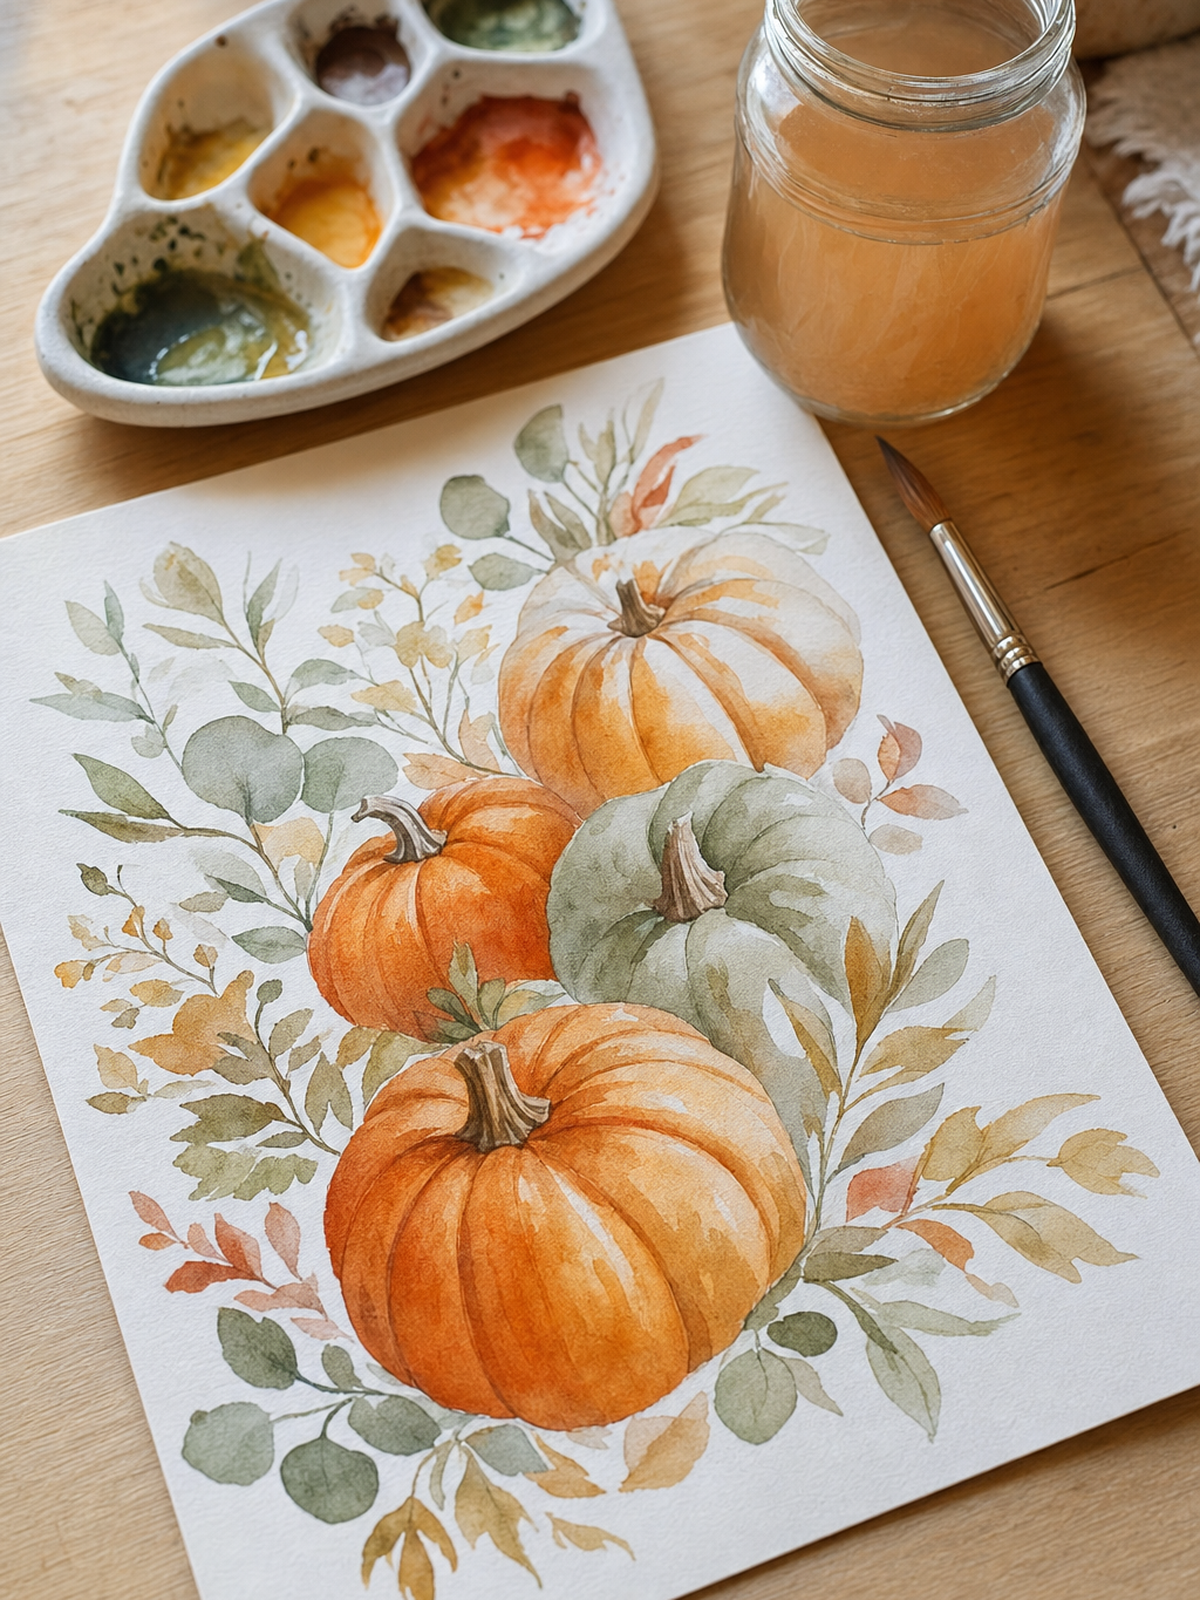
One flat orange wash, left to dry, then a second wash only along the shaded side. Don’t outline in paint and don’t try to blend — the white paper showing through the middle does the work. If watercolor is where you want to take this, the fall watercolor painting ideas post walks through the autumn palette in more detail.
Want more printables like this?
If this pack is your kind of thing, you’d feel right at home in the Artsydee Creations Club. Every week I add something new — drawing templates, watercolor practice pages, junk journal kits, coloring pages and Procreate brushes — and members get the whole back catalog the moment they join. If you’d rather pick up just one thing, everything is in the Artsydee printables shop too.
It’s the tidiest way I’ve found to keep a creative habit stocked without hunting for something to make every week. Have a look at the Creations Club here →
Frequently asked questions
How do you draw an easy pumpkin step by step?
Draw a wide oval, add a short thick stem on top, then add two or three curved lines inside the oval that bow the same way as the nearest outer edge. Finish with a curling tendril and a leaf. Four steps, about a minute, and it works at any size.
Why does my pumpkin drawing look flat?
Almost always because the rib lines are too straight. Ribs need to curve outward, following the swell of the body — straight vertical lines make the shape read as a barrel. The second most common cause is shading both sides evenly instead of committing to one light side and one dark side.
Are the pumpkin drawing templates really free?
Yes. Add your email in the form near the top of this post and the printable PDF arrives in your inbox. It’s yours to print as many times as you like for personal use, at home or in a classroom.
What’s the best pen for drawing pumpkins?
A waterproof fine-liner in two widths — a 05 for the outer shape and a 01 for the ribs and tendrils. The variation in line weight is what stops a pumpkin looking like a coloring book outline. Any archival fine-liner does the job; you don’t need an expensive one.
Can children use these pumpkin templates?
They’re ideal for it. The giant single-pumpkin page works as a coloring sheet for younger children, and the small outline grid suits older ones who want to trace and then try freehand. I taught art for years and this exact trace-then-draw sequence is what I used in class.
Final thoughts
Draw the same pumpkin ten times and the tenth one will surprise you. That’s the entire secret, and it’s why this pack is built around repetition rather than one perfect showpiece. Trace a page, draw one freehand, notice the difference, keep going.
Grab the free templates above, put the kettle on, and give yourself twenty minutes with a pencil. It’s a genuinely lovely way to spend an autumn afternoon.
Come and say hello
I’d properly love to see your pumpkins. Save the templates on Pinterest for when the mood strikes, subscribe on YouTube for weekly drawing and watercolor tutorials, and come and paint along with me over on Patreon.
You might also like
- Autumn Doodles & Drawing Ideas: 25 Easy Cosy Doodles for Beginners
- Fall Watercolor Painting Ideas: 12 Cosy Autumn Subjects for Beginners
- Cozy Fall Coloring Pages + Free Printable Pack
- 30 Still Life Drawing Ideas for Beginners
- 10 Easy Mushroom Drawings + Free Printable Templates
Pin this for later!