Last Updated on September 16, 2026 by Dee
If you have bought a printable junk journal kit and it is still sitting in your downloads folder, this is the post that gets it off the screen. Nobody tells you how to make a junk journal once the PDFs are printed — the kits give you beautiful pages and then quietly assume you already know what a signature is.
You don’t need to. It is four things: print, fold, punch, sew. I’ve made you a free signature fold and pocket template with the measurements already worked out — pop your email into the box below and I’ll send it straight over.
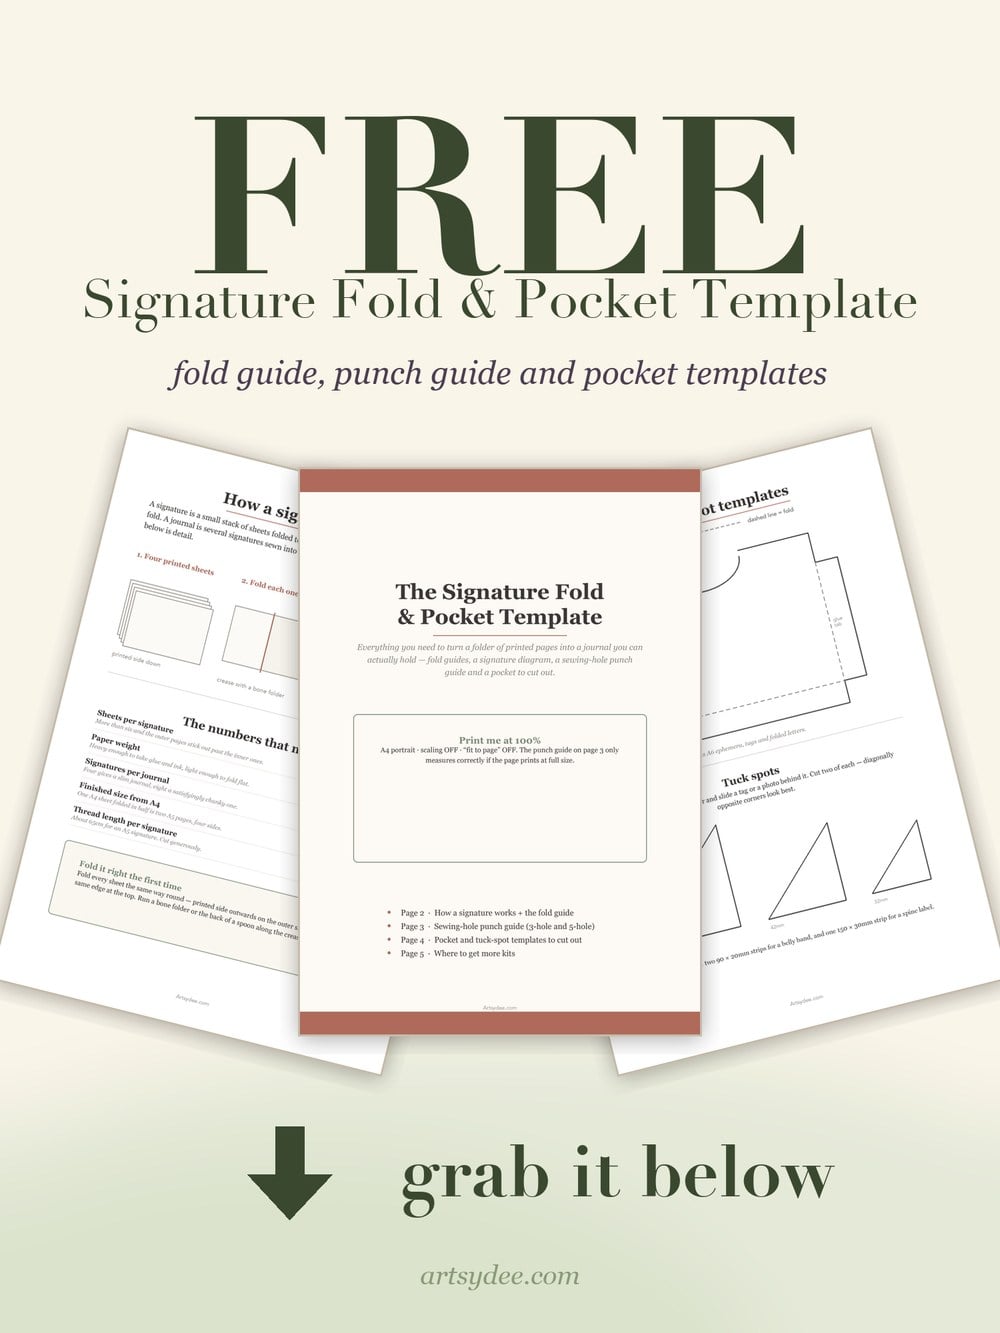
Table of Contents
Why does a printable kit so often stay in the folder?
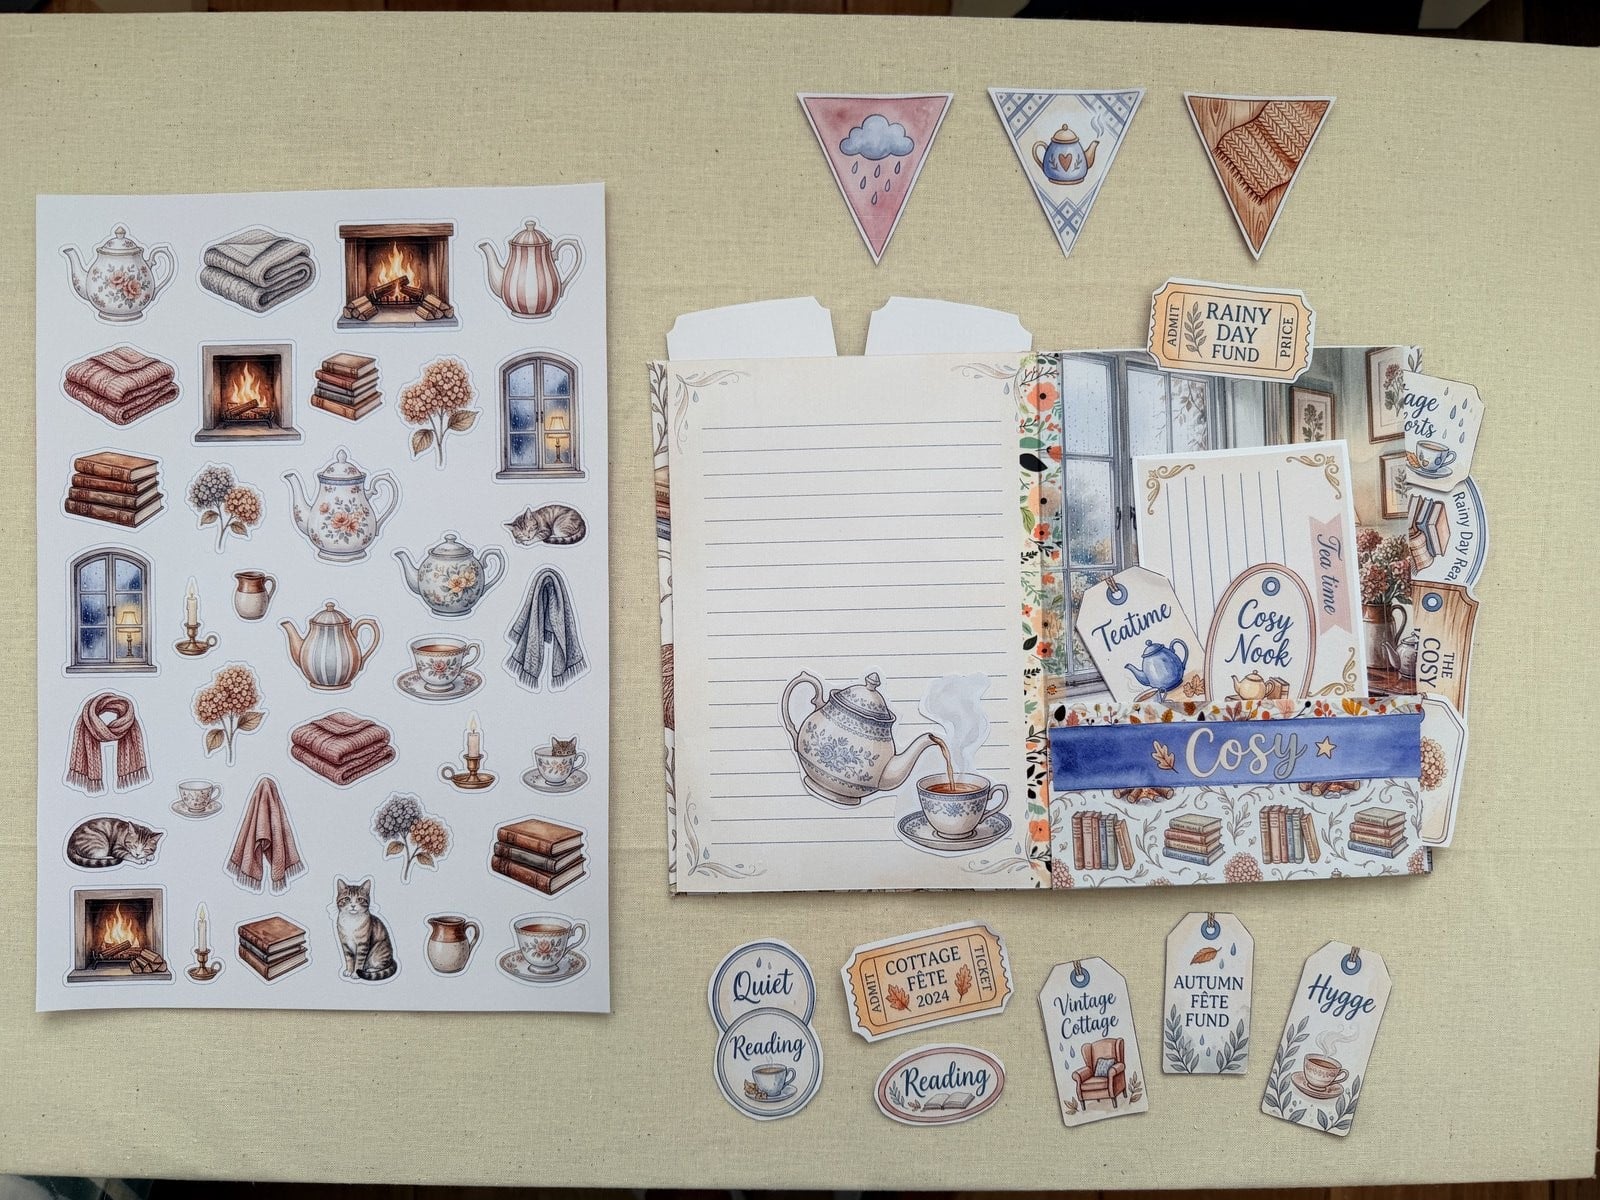
Because a printable kit sells you the paper, not the structure. It is a folder of gorgeous pages — ephemera sheets, patterned backgrounds, tags, a cover — and not one line about what to do with them once the printer stops.
A member of my Creations Club wrote to me about exactly this. She had bought several kits, printed them all, and had a stack of beautiful paper on her desk and no idea how to make it into a book. That is not a her problem. That is a gap in how printable kits are sold, and it is the reason this post exists.
So here is the thing nobody says out loud: a junk journal is not a craft you need to be taught, it is a stack of folded paper with thread through the fold. Everything else — the ephemera, the pockets, the layering, the ribbons hanging off the spine — is decoration on top of that one simple idea. Learn the fold and the stitch once and every kit you ever buy becomes usable.
What do you actually need to make a junk journal from a kit?
Less than you think. A needle, some thread, something to punch holes with, and glue. Everything else on this list makes the job nicer rather than possible.
The honest minimum is: your printed pages, a large blunt needle, about a metre of strong thread, something sharp to make holes with, and a glue stick. You can crease the folds with the back of a spoon and punch the holes with a pushpin. I have made journals with exactly that and they held together fine.
If you want to upgrade three things, make them these. A bone folder set gives you a crease that lies flat instead of springing open, and it is the single biggest difference between a homemade-looking journal and a proper one. A vintage-style cardstock pack gives you covers and divider pages with enough body to take glue without buckling. And an acid-free glue stick stops your pockets browning and lifting at the edges in a year’s time, which ordinary school glue absolutely will do. If you are printing and trimming a lot of kits, a paper trimmer will save you more time than any other purchase on this page.
For thread, waxed linen bookbinding thread is the traditional choice and it grips itself so knots stay put. Embroidery floss works too if you run it across a candle stub or a block of beeswax first. Plain sewing thread is the one thing I would avoid — it is too thin, it cuts into the paper at the holes, and it snaps halfway through a stitch. For the holes themselves, a bookbinding awl is ideal, but a large tapestry needle pushed through a cork or a bradawl from the toolbox does the same job.
This post contains affiliate links, which means I may earn a small commission at no extra cost to you if you make a purchase. I only recommend products I genuinely love and use myself!
If you want the fuller version of this list — the embellishments, the stamps, the bits that make a spread feel collected rather than bought — I keep it all in my junk journal supplies guide.
How should you print the pages?
A4 portrait, 100% scale, scaling and “fit to page” both off, on paper somewhere between 120 and 160gsm. That one line solves most of the printing problems people write to me about.
Scaling is the usual culprit. If your printer is set to “fit to page” it shrinks everything by a few percent to protect its own margins, which crops the edge of a full-bleed ephemera sheet and throws every measurement out. Turn it off, accept a thin white border, and trim it later if it bothers you.
Paper weight matters more than printer quality. Ordinary 80gsm copy paper is too floppy — it goes translucent under glue, it curls when you add a wet embellishment, and a signature made of it feels like a leaflet. Somewhere around 120gsm is the sweet spot for inner pages: heavy enough to take glue and ink, light enough that four or five sheets still fold cleanly through the middle. Save the 200gsm-plus card for covers and tags only, because thick card fights the fold and forces the outer pages of a signature to splay.
- Set the paper size to A4 and the orientation to portrait.
- Turn off “fit to page”, “shrink to fit” and any borderless option. Scale must read 100%.
- Choose the heaviest paper setting your printer offers, so it lays down enough ink and pulls the sheet slowly.
- Print one test page first and measure something on it with a ruler before you commit the whole kit.
- Let the pages sit for ten minutes before you fold them. Fresh ink smudges along a crease.
One more thing worth doing: print the pages you love twice. Junk journaling eats paper, and there is nothing more annoying than cutting up the only copy of the sheet you liked best.
How do you fold a printed sheet into a signature?
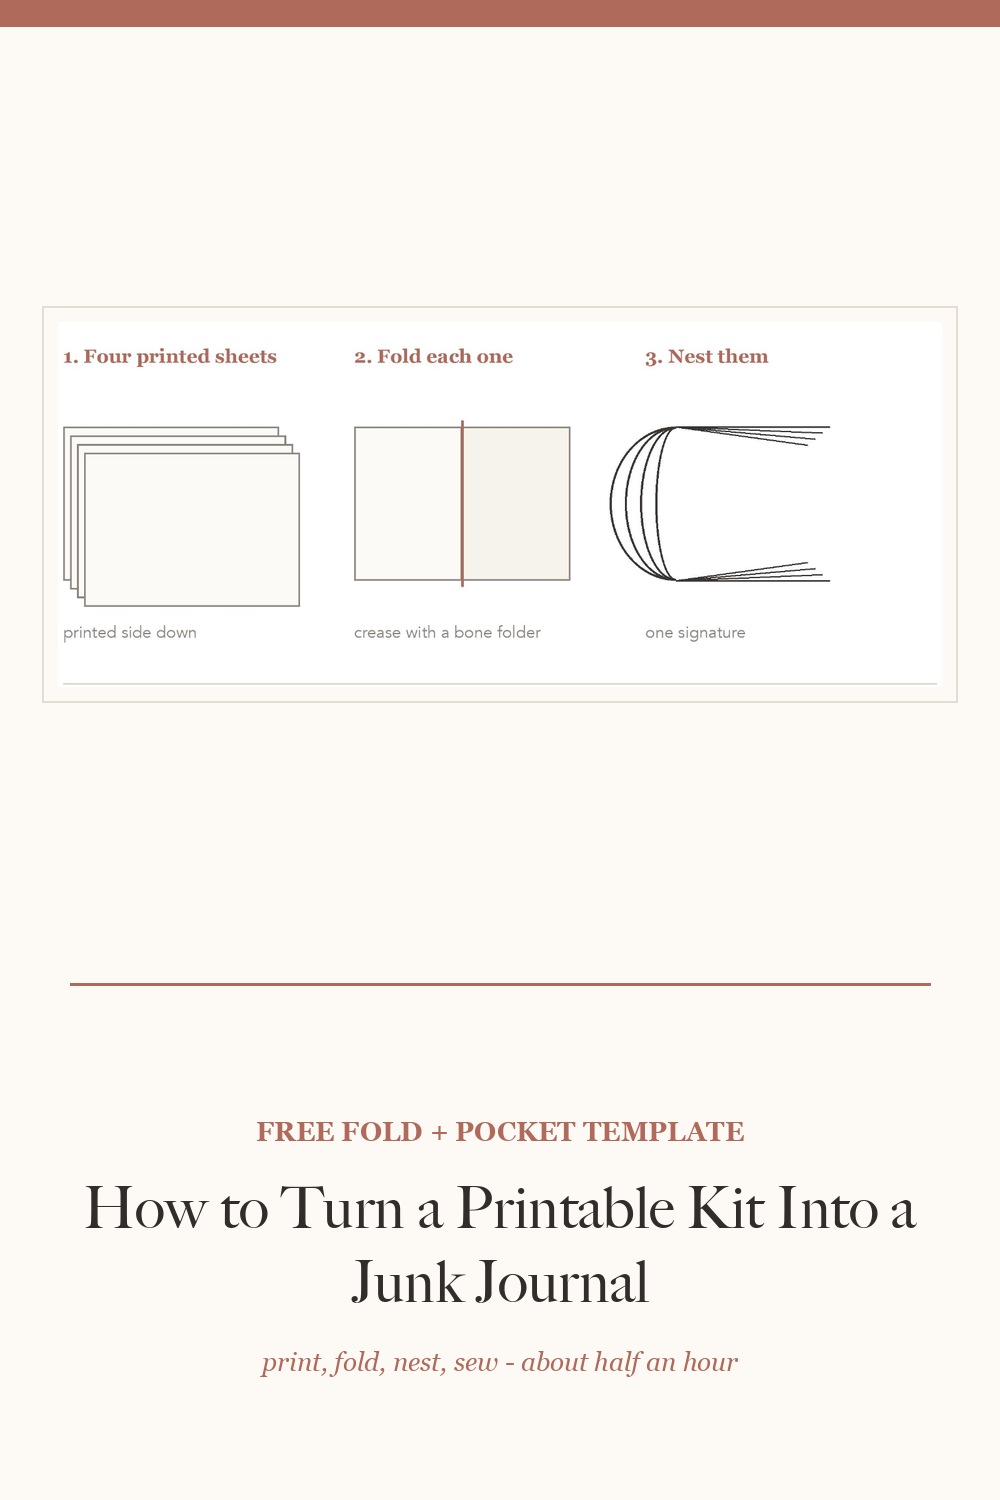
Fold each sheet individually, printed side outwards, then nest the folded sheets inside one another. That nested stack is a signature. Do not fold the whole pile at once — the inner sheets slide and the edges come out stepped.
Line the sheet up corner to corner and hold the two corners together with one hand before you press anything down. Most crooked journals are made in this half-second. Press the fold flat from the middle outwards with your other hand, then run a bone folder along the crease twice, firmly, from one end to the other.
Two passes with a bone folder is not fussiness. The first pass sets the crease and the second one compresses the paper fibres so the fold stays shut instead of springing back open. A signature made of sharply creased sheets sits half as thick as one made of soft folds, and the finished journal closes flat.
Keep the same edge at the top of every sheet as you go. If a couple of pages end up upside down inside the journal it is not the end of the world — plenty of people do it deliberately — but it should be a choice rather than a surprise you find at the sewing stage.
How many sheets should go in one signature?
Four to six. Four is the number that behaves for a first attempt, six is the most you can nest before the outer sheet starts sticking out past the inner ones badly enough to need trimming.
The reason is geometry rather than preference. Every sheet you nest inside another has to travel a slightly longer way around the fold, so the innermost page creeps outwards at the fore edge. With four sheets that creep is a couple of millimetres and nobody notices. With ten it is a centimetre and the journal looks like it is fanning open even when it is shut.
- Four sheets — 16 sides to work on, folds beautifully, ideal for your first signature.
- Five sheets — 20 sides, still tidy, the size I use most often.
- Six sheets — 24 sides, the practical maximum before the creep shows.
- More than six — make two signatures instead. It is always the better answer.
A finished journal is usually four to eight signatures. Four gives you a slim one you will actually finish; eight gives you the chunky, stuffed-looking book that junk journaling is famous for. Start with four and add more later — with the binding method further down, adding a signature to a finished journal is genuinely easy.
How do you mark and punch the sewing holes?
Open the signature flat, lay a ruler down the inside of the fold, and mark three dots: one at the centre, and one 55mm above and below it. Then push a sharp point through all the sheets at once from the inside.
For an A4 sheet folded in half, the spine is 210mm long. Measured from the top of the fold, your three holes go at 50mm, 105mm and 160mm. Those numbers are on the free template so you never have to measure them again — you cut out the strip, drop it into the fold and punch through the marks.
Punch from the inside outwards, with the signature opened flat over something soft. A folded towel, a cork mat or a chunk of eraser under the fold all work. Punching from the inside means any small tear in the fibres happens on the outside of the fold where the thread will cover it, and punching into something soft stops the point skidding sideways across the paper.
Go slowly and keep the awl vertical. If it leans, the hole exits the outer sheets a millimetre off line, and when you sew it the spine pulls into a slight curve that you cannot undo afterwards. Make the holes only just big enough for the needle — a hole that is too generous lets the thread slide around and the stitch never sits tight.
How do you sew a three-hole pamphlet stitch?
Start on the inside at the middle hole, go out to one end hole, back through the middle to the other end hole, then back out to the middle and tie off around the long stitch. It takes about two minutes once you have done it once.
Cut your thread about three times the length of the spine — roughly 65cm for an A5 signature. Thread the needle but do not knot the end; the knot goes in at the very end, inside the fold, where nobody sees it.
- From inside the signature, push the needle out through the middle hole. Leave a 10cm tail hanging on the inside.
- Go back in through the top hole, so you are inside again.
- Run the needle down the inside and out through the bottom hole, skipping past the middle.
- Come back in through the middle hole, so you finish inside where you started.
- You now have two loose ends inside, with the long stitch running between the top and bottom holes along the fold. Tie the two ends in a double knot over that long stitch and pull it snug.
- Trim the tails to about 2cm, or leave them long and let them hang out as part of the look.
Tension is the only thing that goes wrong here. Pull firmly enough that the thread sits flat in the fold, but stop the moment the paper starts to pucker around a hole. If you can slide a fingernail under the long stitch and it barely moves, that is right.
The knot has to be tied around the long stitch, not just to itself. That is what stops the whole thing unravelling if the thread ever wears through at one hole. Tie it, tug it sideways to check it has caught, then tug it again.
When should you use the five-hole stitch instead?
Use five holes when the signature is fat, the paper is heavy, or you know the journal is going to be stuffed full and opened a hundred times. It spreads the pull along the spine instead of concentrating it at three points.
The five-hole positions on a 210mm spine are 35mm, 70mm, 105mm, 140mm and 175mm from the top — also on the free template. The sewing path is the same idea, just longer: out at the middle, up to the top hole weaving in and out, back down through every hole to the bottom, then back up to the middle to tie off. Every hole gets thread through it twice except the two ends.
Do not mix three-hole and five-hole signatures in the same journal. The two stitches sit at slightly different thicknesses along the spine, so the book develops a wedge shape and the covers stop sitting flat when it is closed.
How do you add pockets and tuck spots?
A pocket is a shape with three glued edges. Cut the template, fold the tabs in, glue the tabs to the page and leave the top open. That is all a junk journal pocket has ever been.
The free template has a 120 by 80mm pocket with the glue tabs already drawn on, plus corner triangles for tuck spots. Cut it out, trace round it onto whatever paper you actually want the pocket made from, and you have a reusable pattern rather than a one-off.
The template is in the box at the top of this post ↑ — pop your email in and it lands in your inbox in a minute or two.
- Glue only the tabs, never the back of the pocket — a pocket glued flat all over has nowhere for anything to go.
- Press the tabs down with the bone folder and put the page under a heavy book for ten minutes while it dries, or the edges lift.
- A pocket near the fore edge is easier to use than one near the spine.
- Tuck spots are just triangles glued at two edges to a page corner — cut two and put them on diagonally opposite corners so a tag sits square.
- Leave a little slack. A pocket cut exactly the size of the tag you want to put in it will never take that tag once there is glue in the seams.
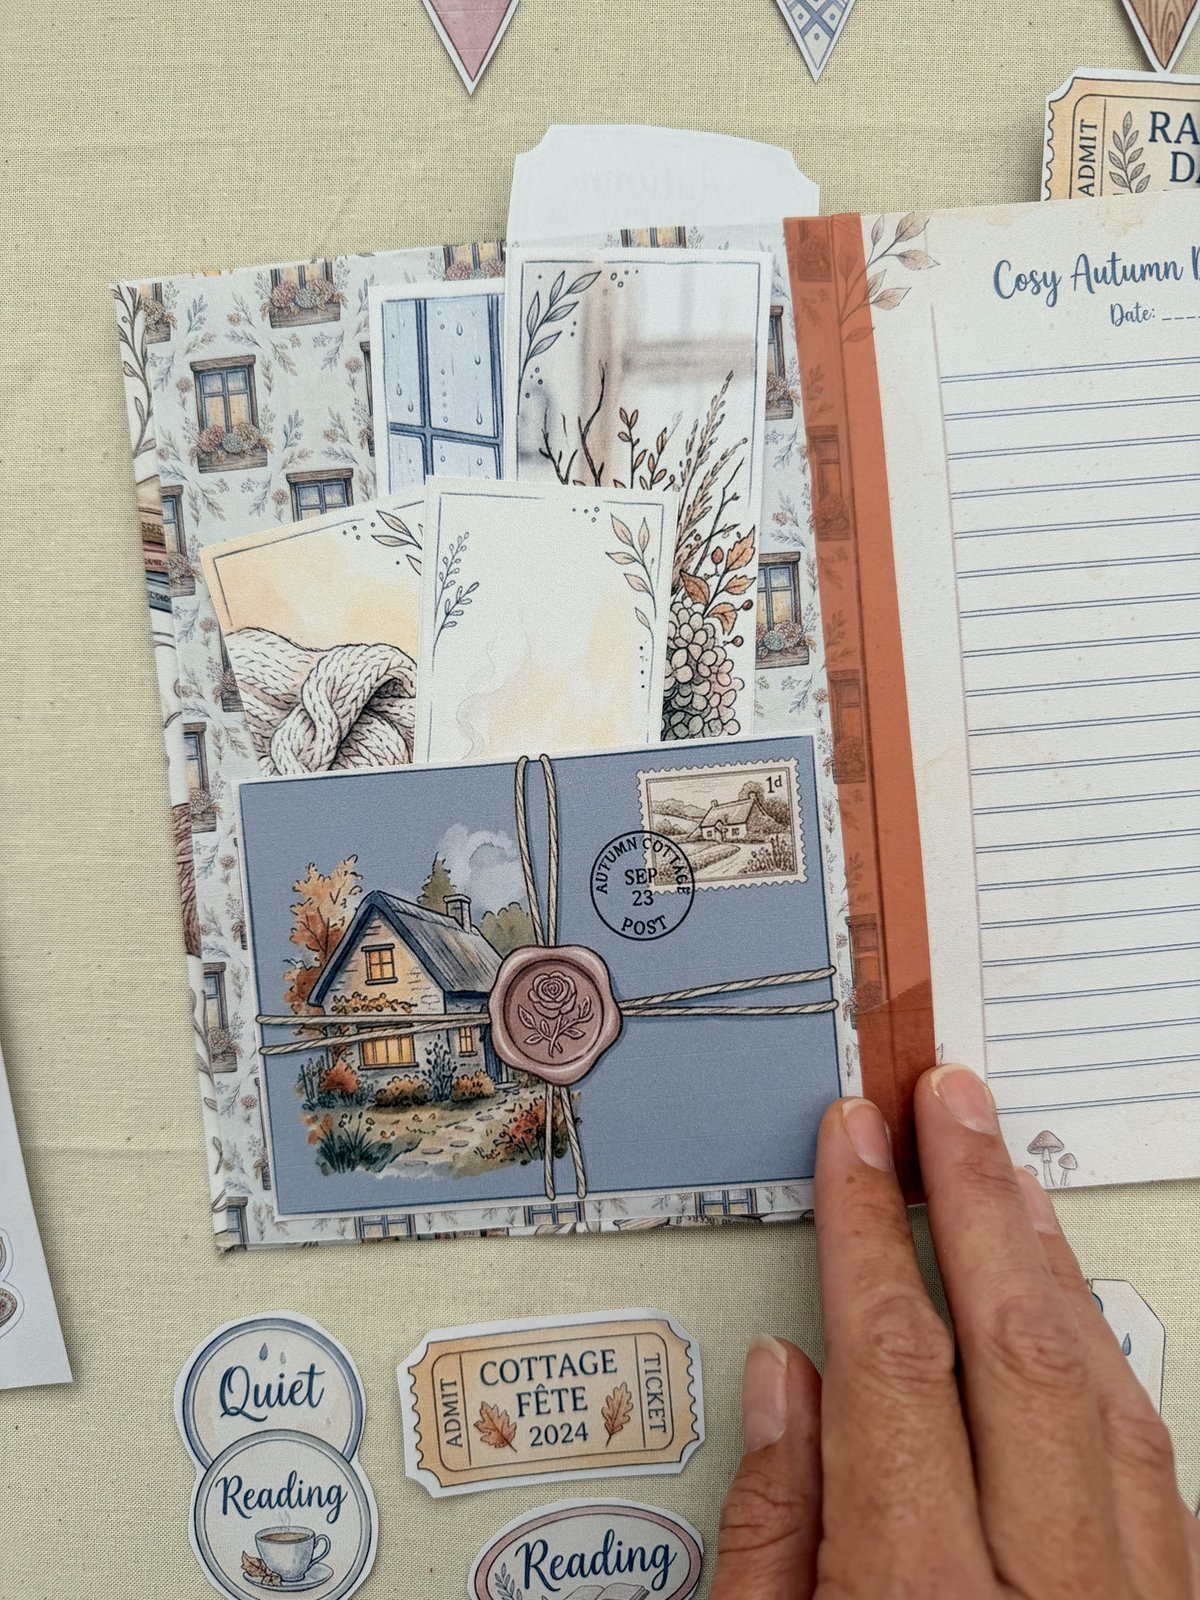
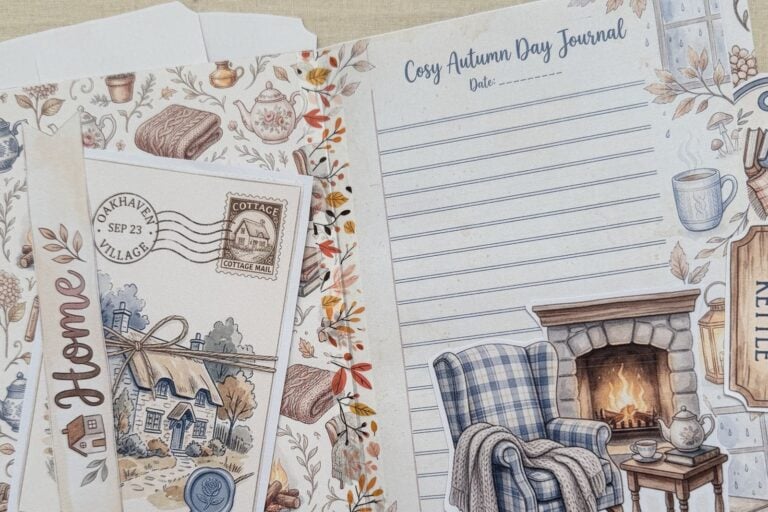
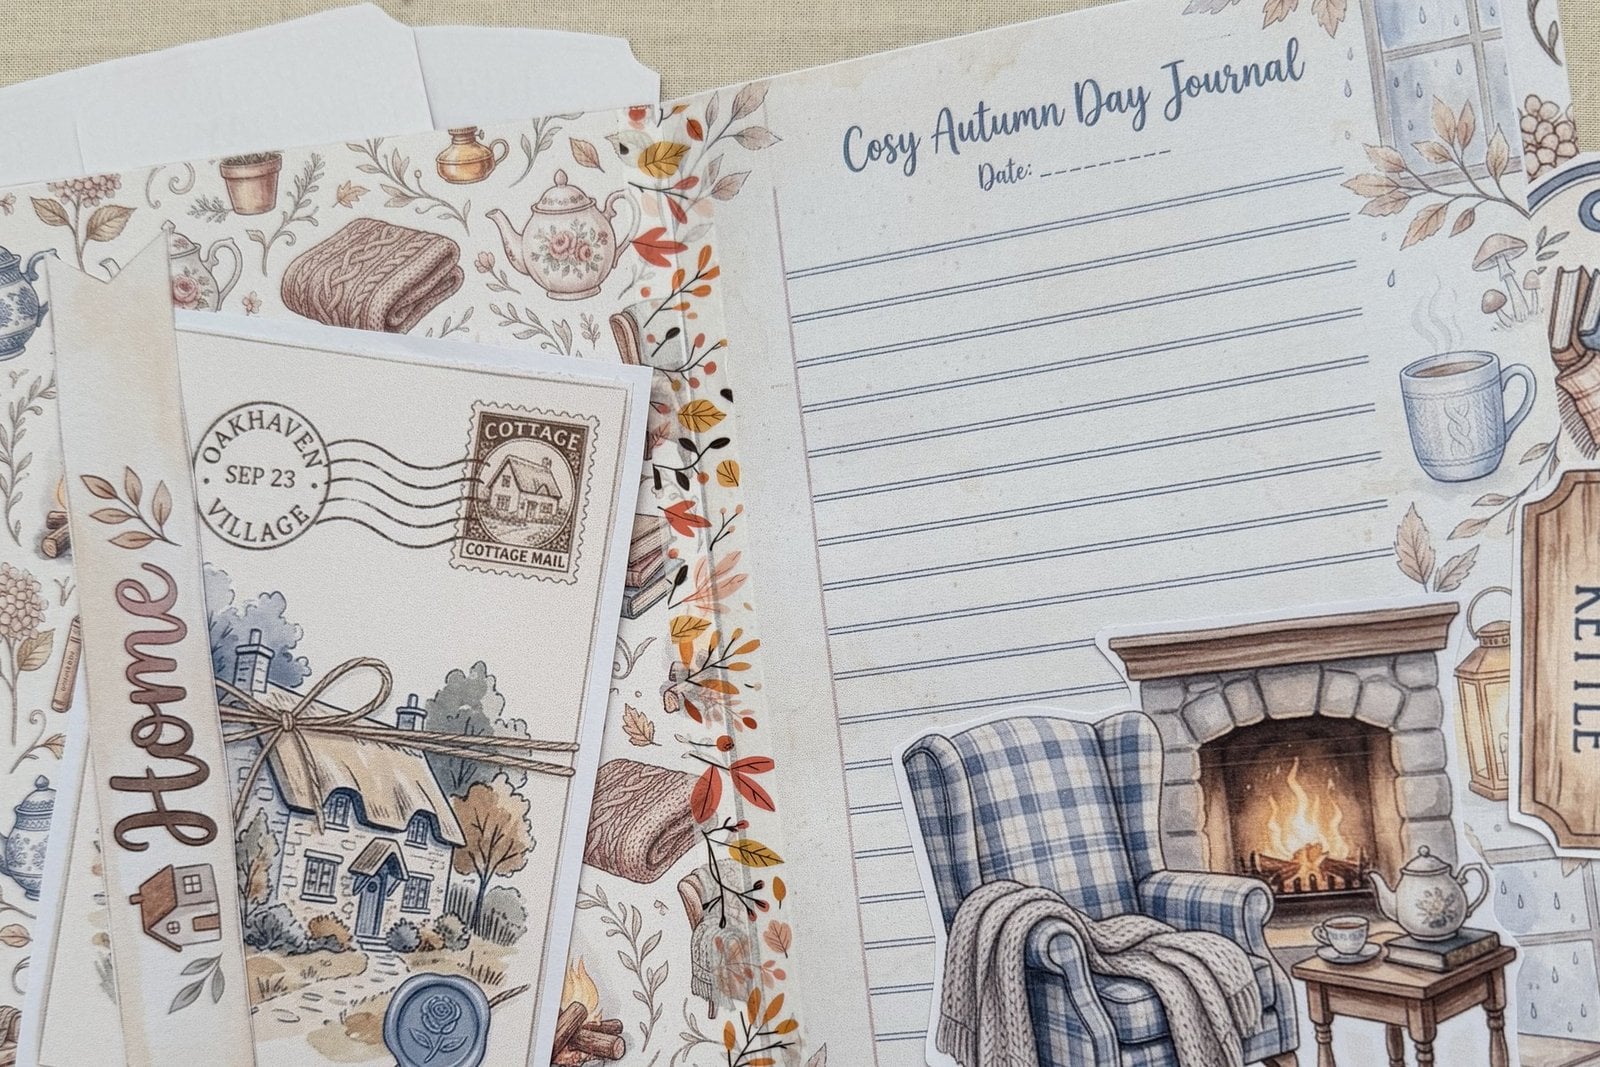
Once you have pockets working, everything else in a kit finds a home: tags slide into them, folded letters live in them, and the little printed offcuts you could not bear to bin become the contents. If you want to see where this goes next, my mixed media junk journal post covers the layering on top of it.
How do you bind several signatures into a cover?
Fold a piece of cardstock into a cover, punch it with the same hole spacing, and sew each signature into the cover one at a time. For several signatures, glue narrow strips of paper between them at the spine, or simply sew each one to its own fold in a concertina.
The simplest version, and the one I would start with: take a sheet of card a few millimetres taller and wider than your folded pages, crease it down the middle, and sew a single signature into it with the same three-hole stitch, going through both the signature and the cover at once. That is a finished journal in about ten minutes and it will hold together for years.
For four or more signatures, the easiest route is a concertina spine. Cut a strip of cardstock the height of your pages and fold it into a fan with one valley per signature. Sew each signature into its own valley, then glue the outer faces of the fan to the inside of your covers. It looks intimidating written down and takes about twenty minutes in practice, and it has the enormous advantage that you can add a signature later by adding a fold.
- Cut and crease your cover card, slightly larger than the pages on all three open edges.
- Punch the cover using a signature you have already punched as the guide, so the holes line up.
- Sew signature one into the cover with the pamphlet stitch, going through cover and fold together.
- Repeat for the rest, either into a concertina spine or into their own fold in a wraparound cover.
- Glue a strip of fabric or paper over the outside of the spine to hide the stitching, if you want to.
- Add a ribbon or elastic closure last, once you know how fat the finished journal actually is.
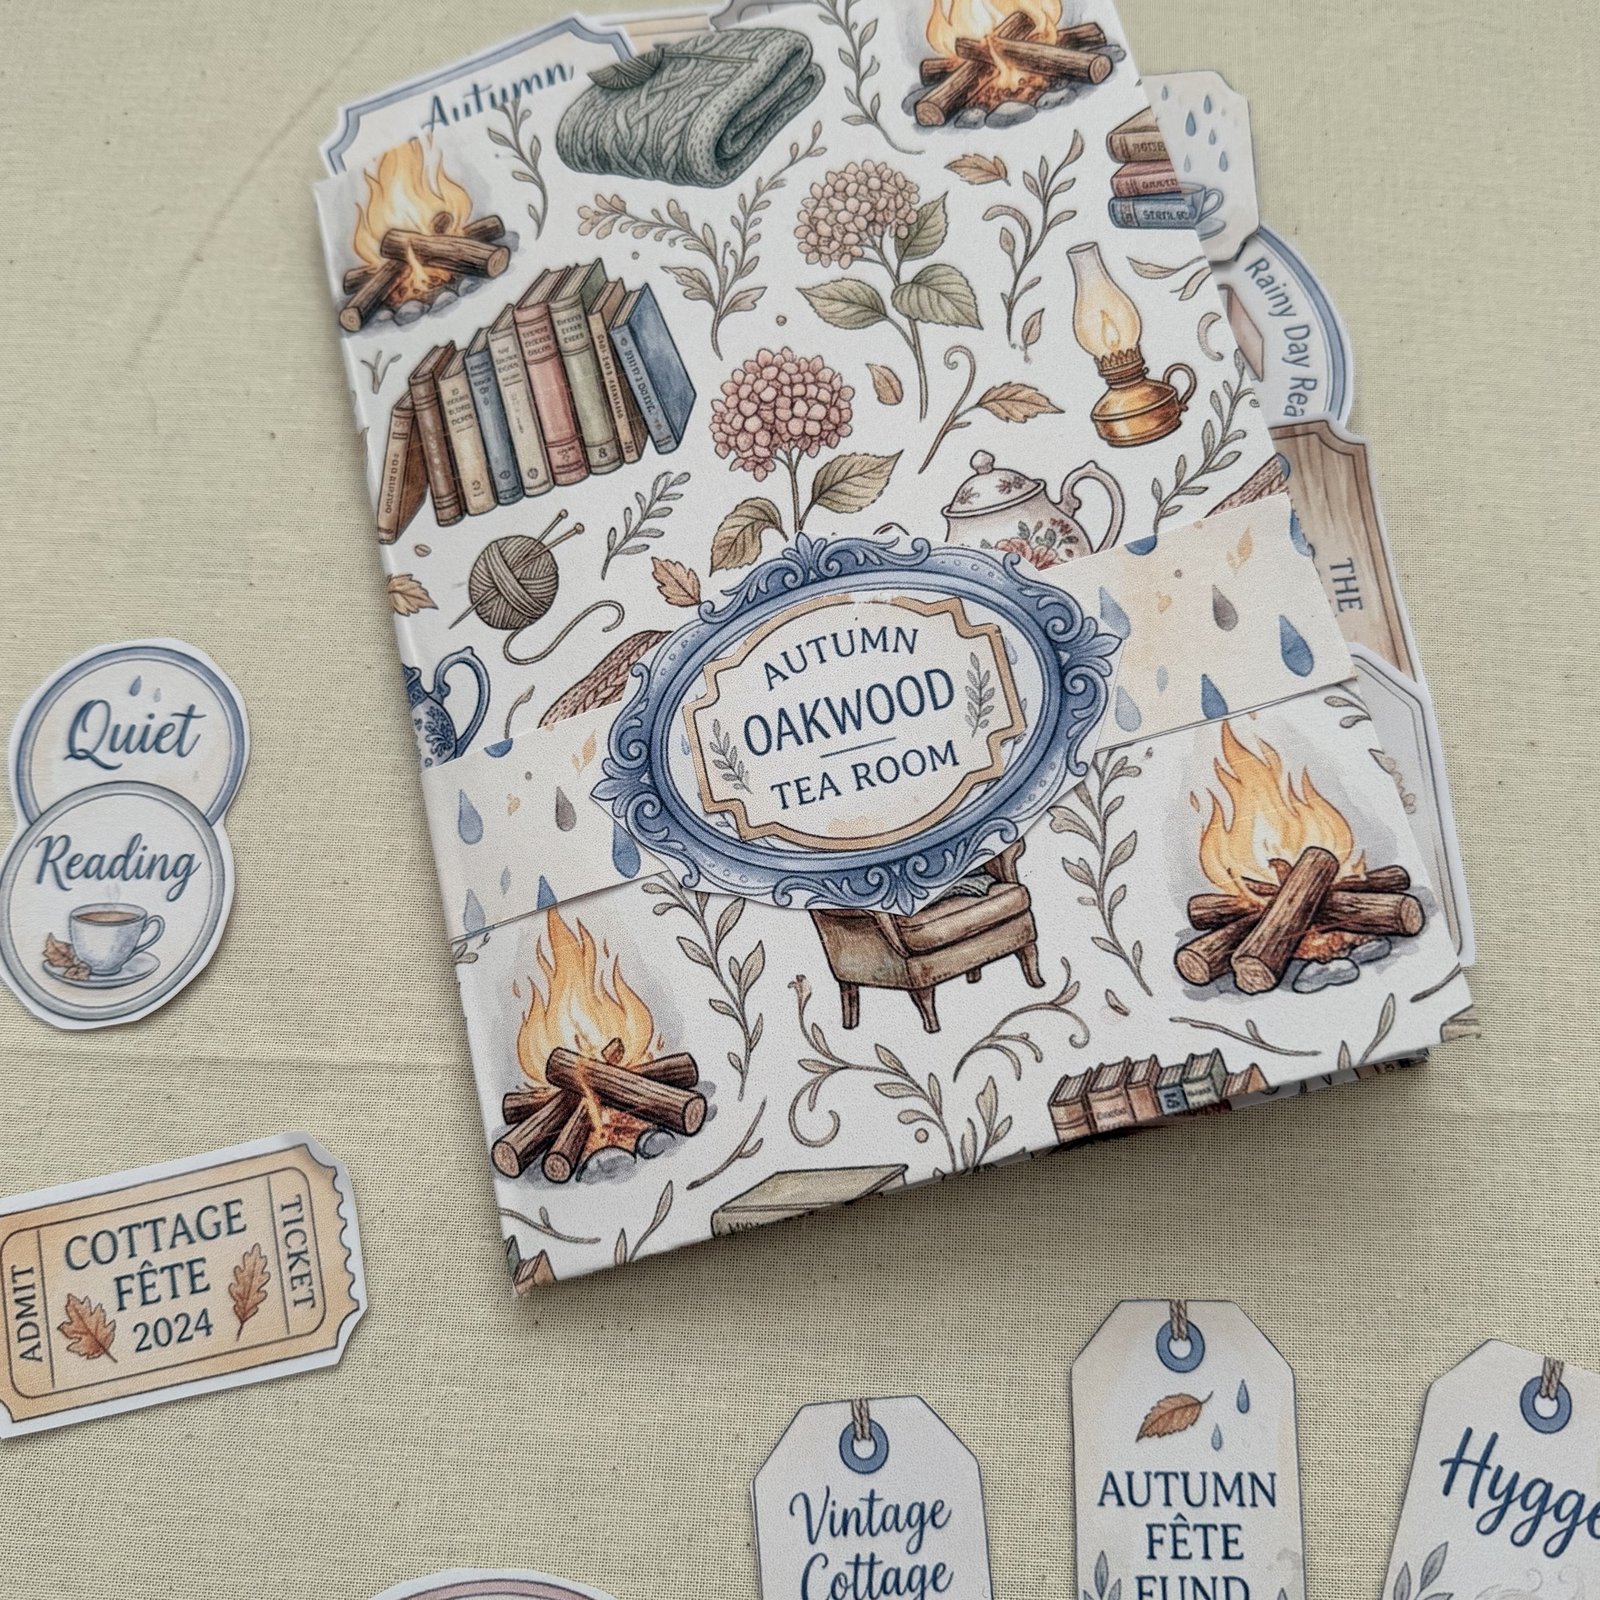
Do not size the closure until the end. A junk journal grows by a centimetre or more as you fill it, and a ribbon measured on an empty book will not go round a full one.
What should you do when something goes wrong?
Almost nothing that goes wrong here is fatal. Crooked folds get trimmed, torn holes get patched with a scrap of washi tape on the inside, and a stitch pulled too tight gets unpicked and redone.
- The pages fan out at the front edge. Too many sheets in the signature. Trim the fore edge flat with a trimmer, or take a sheet out and start the next signature with it.
- The spine curves instead of sitting straight. The holes were punched at an angle. Unpick, punch a fresh set of holes 5mm along, and sew again.
- The paper puckers around a hole. Too much tension. Loosen the whole line of stitching and re-tie.
- A hole has torn through to the edge of the fold. Reinforce the inside of the fold with a strip of washi tape or a strip of the same paper, then re-punch through it.
- The cover will not close flat. Usually mixed stitch types or wildly different signature thicknesses. Even the signatures out, or accept it — a junk journal that will not close flat is halfway to being the good kind of stuffed.
And if it comes out wonky, keep it. The first journal is a practice piece and the second one is noticeably better, because you will have learned the fold and the tension in your hands rather than from a post.
Where do you get more kits to fill it?
Right here, mostly free. Now that you can turn paper into a book, the only thing standing between you and a full journal is the printables to fill it.
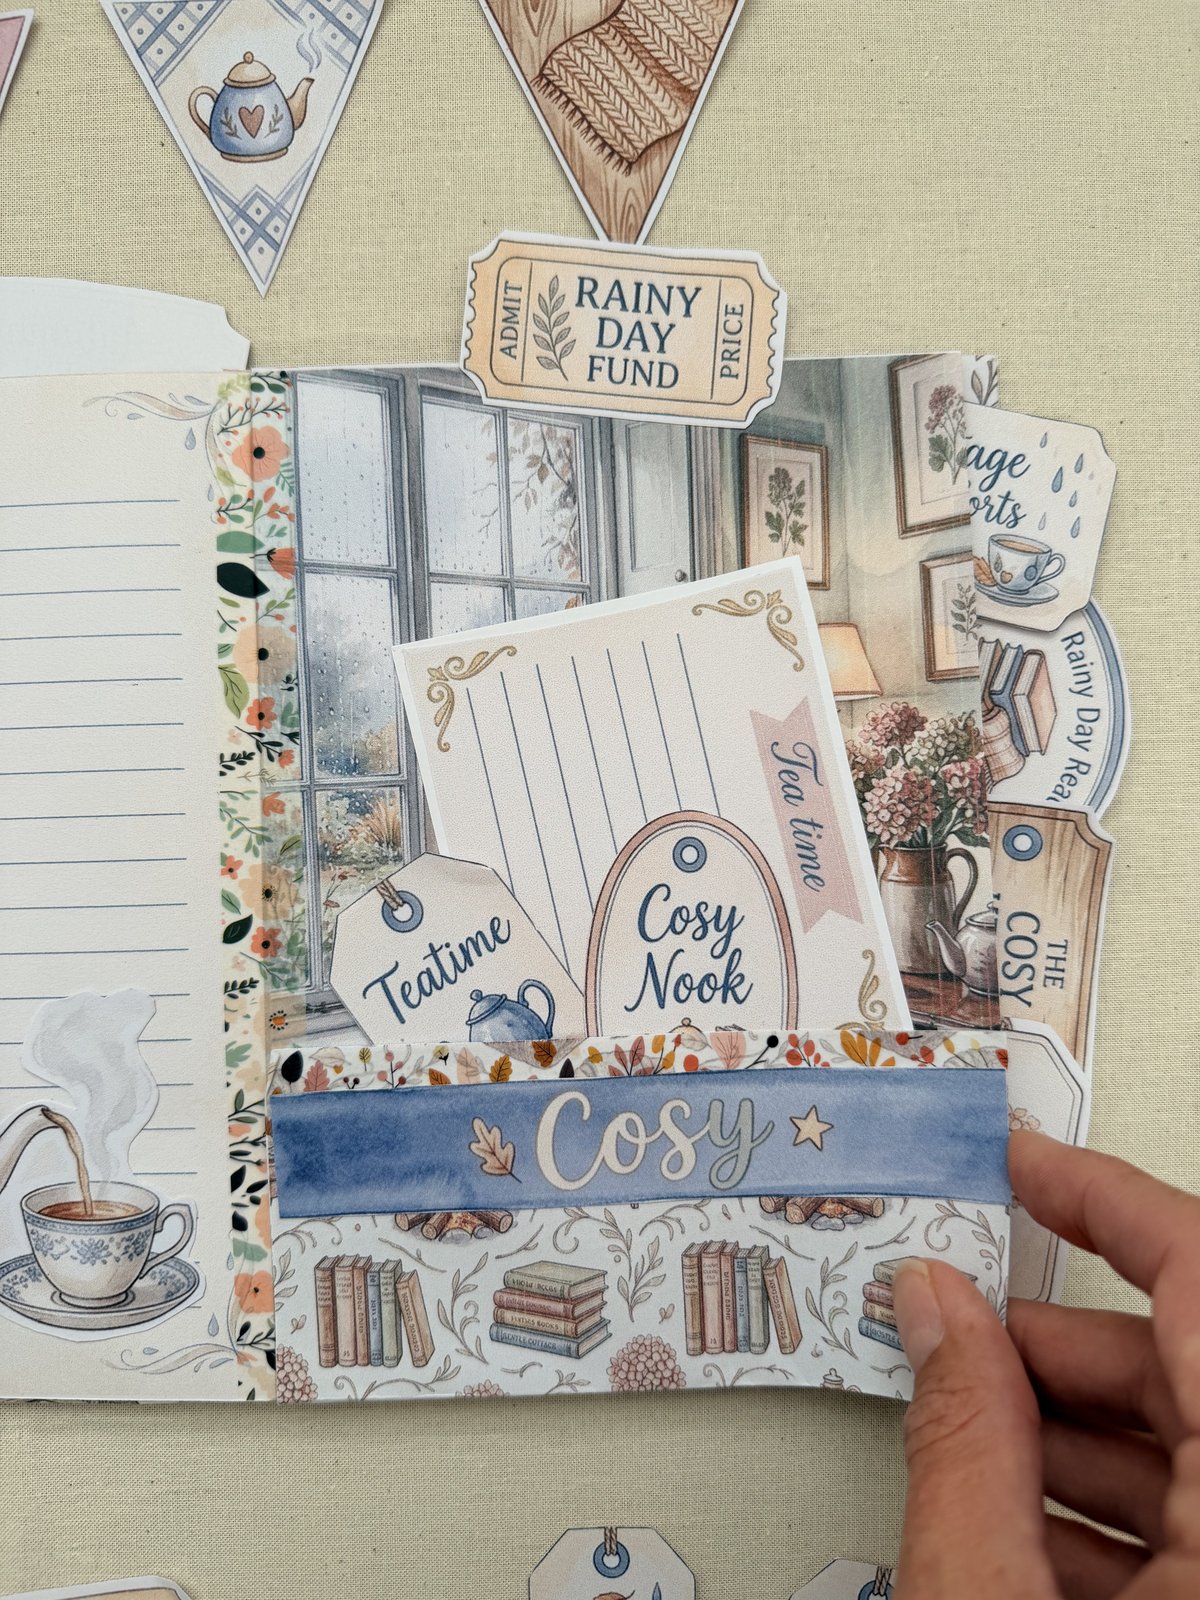
- Back to school junk journal kit — a free sample kit to practise this whole process on
- Summer junk journal — brighter papers and ephemera for a lighter book
- Booklovers junk journal kit — ledger papers, book plates and library pockets
- Junk journal supplies — the full list of what is worth buying and what is not
And if you want a brand new printable kit landing every month without having to hunt for it — ephemera sheets, patterned papers, tags, covers, plus watercolour templates and colouring pages — that is exactly what my Creations Club members get, and they print everything as many times as they like.
Come and join the Artsydee Creations Club →
Frequently asked questions
What is a signature in a junk journal?
A signature is a small stack of sheets folded together down the middle and sewn through the fold. Four or five folded sheets nested inside one another make one signature, and a journal is several signatures bound into a cover.
What paper weight should I print a junk journal kit on?
Around 120gsm for inner pages and 200gsm or heavier for covers and tags. Ordinary 80gsm copy paper works but goes translucent under glue and curls, and card over 200gsm fights the fold.
Do I need special bookbinding tools?
No. A large blunt needle, strong thread, something sharp to punch holes with and a glue stick will get you a finished journal. A bone folder and a proper awl make it neater and faster, but they are upgrades rather than requirements.
How long does it take to make one?
A single-signature journal is about half an hour from printing to finished, and most of that is waiting for ink to dry. A four-signature journal with a concertina spine is an afternoon.
Can I sell junk journals made from printable kits?
That depends entirely on the licence attached to the kit you bought, so check it. My own kits are for personal use, which means you can make journals for yourself and give them as gifts, but not sell them or pass the files on.
Final thoughts
Print four sheets. Fold them. Punch three holes. Sew them. You will have a small book in your hands in under half an hour, and every kit sitting in that folder suddenly becomes something you can make instead of something you own.
Grab the free fold and pocket template from the box near the top of this post so you never have to measure the holes yourself, and if you make something you love, come and show me over on Pinterest or YouTube.
Pin this for later!