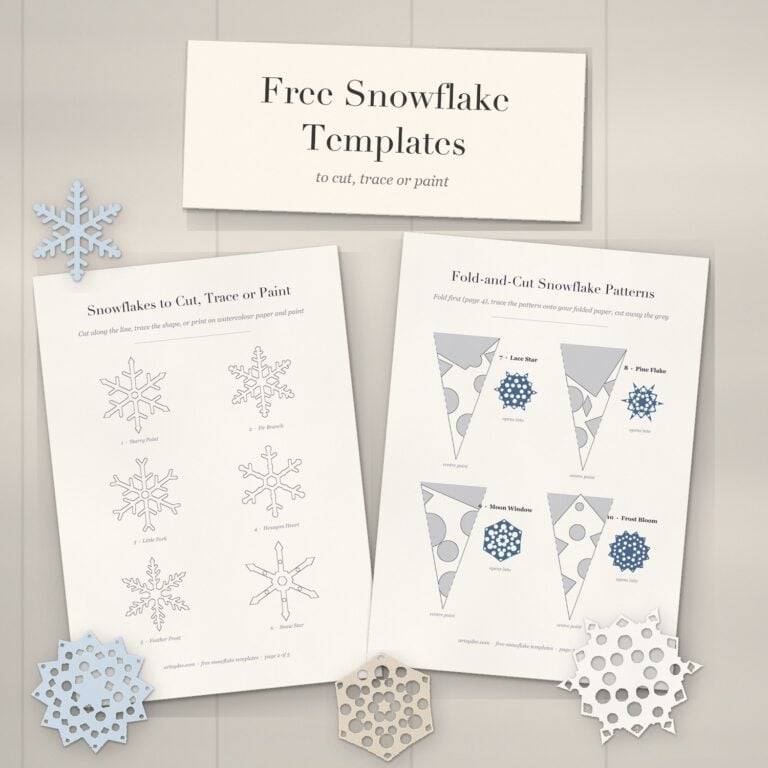
Here are ten free printable snowflake templates: six outline snowflakes to cut, trace or paint, and four fold-and-cut paper snowflake patterns.
Get the free snowflake templates
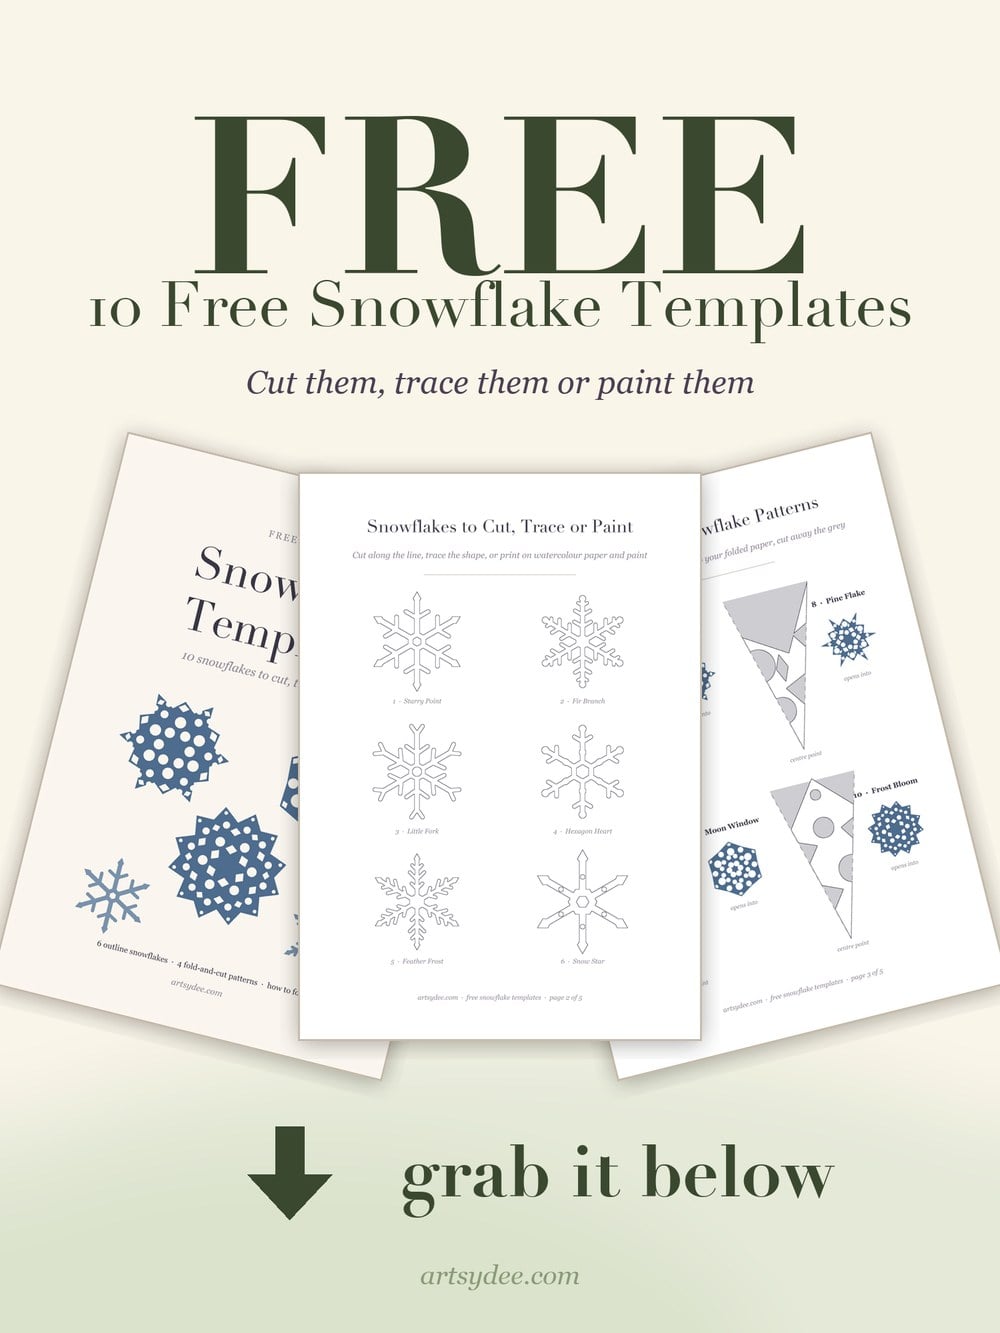
Pop your email in above and the PDF comes straight to your inbox. Print it at 100% on A4 or letter paper, then scroll down for the folding and cutting steps.
There’s something about cutting paper snowflakes that makes everyone go quiet for a minute. You fold, you snip, you hold your breath, and then you open it up and it’s a little six-pointed surprise every single time.
These snowflake templates take the guesswork out of it. There are ten of them, and they’re free: six outline snowflakes you can cut, trace or paint, and four fold-and-cut patterns that turn a square of printer paper into a proper lacy paper snowflake.
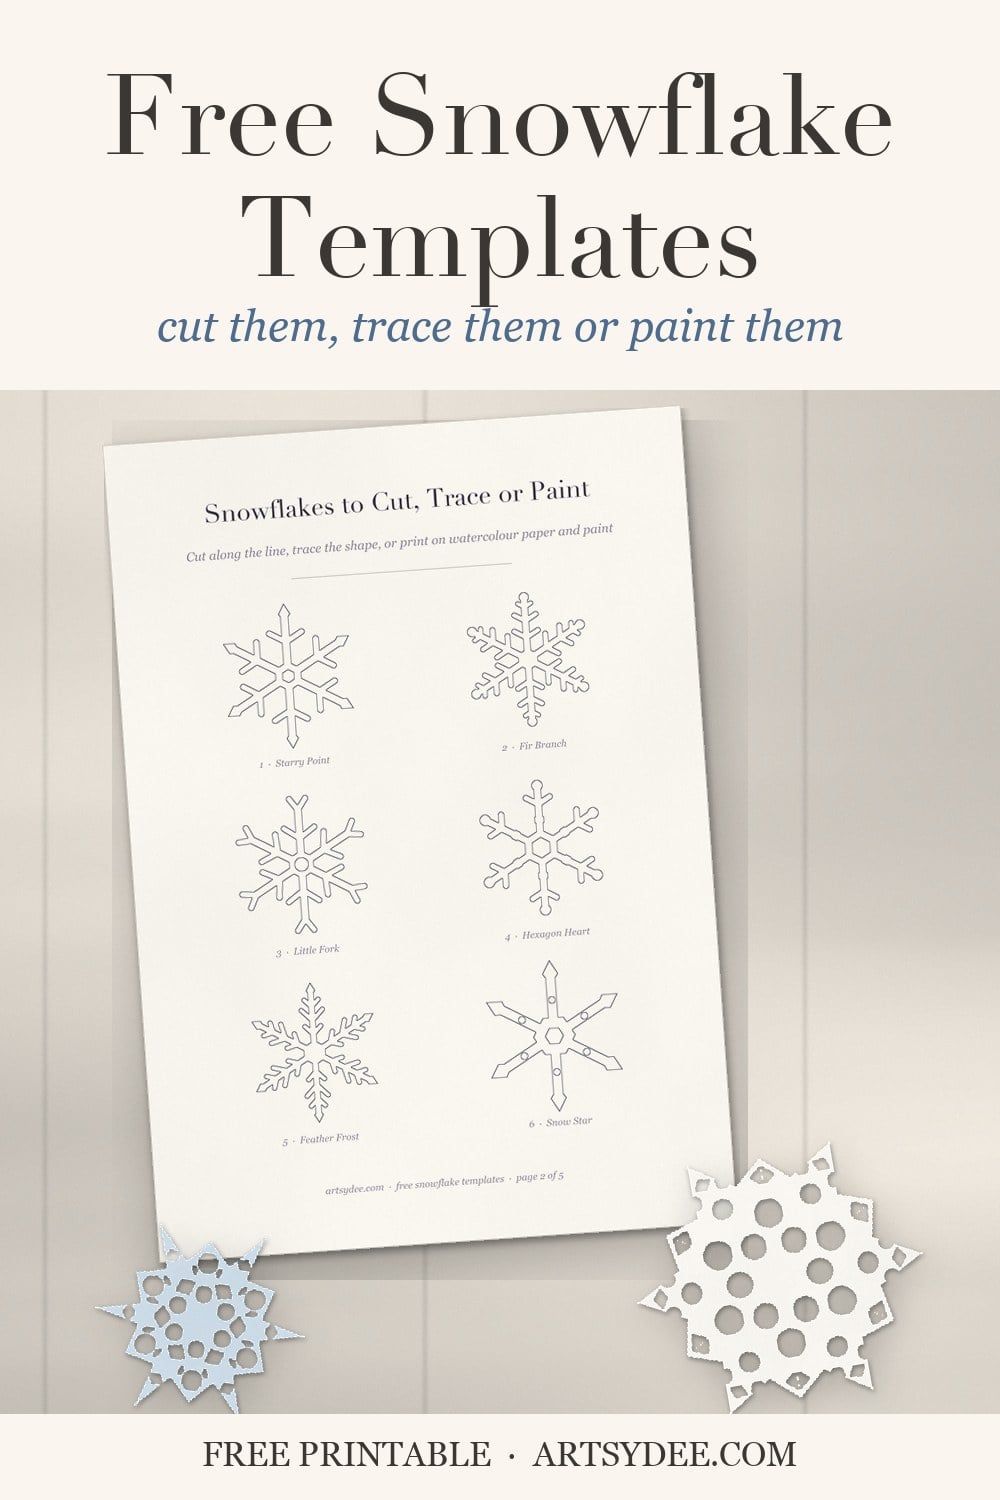
Table of Contents
What’s in the Free Snowflake Templates
Quick answer: a five-page printable PDF with ten snowflake templates. Six are outline snowflakes, and four are fold-and-cut patterns with a little preview of the snowflake each one opens into.
Here’s exactly what you get, page by page:
- Page 1: the cover, so you can find it again in your printables folder.
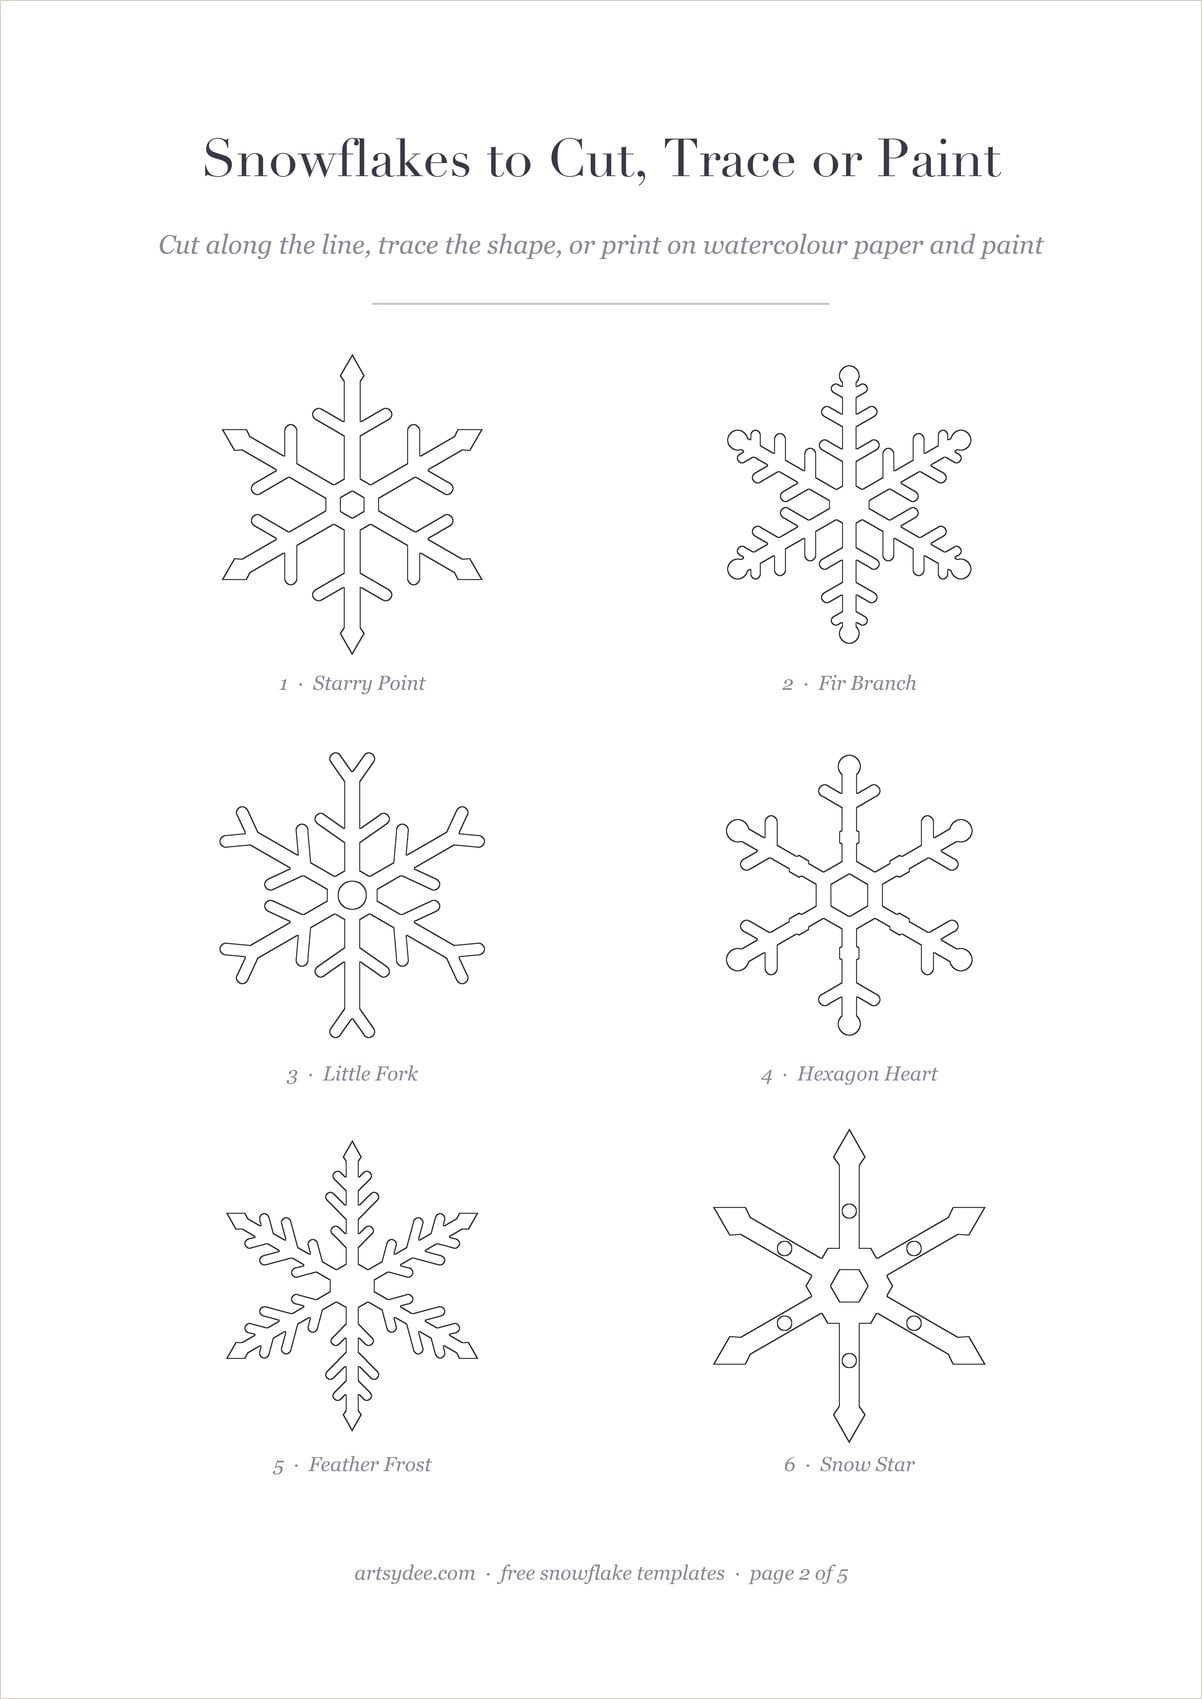
- Page 2: six outline snowflakes called Starry Point, Fir Branch, Little Fork, Hexagon Heart, Feather Frost and Snow Star. Each one is about 5 cm (2 in) across, a lovely size for journal pages, tags and cards.
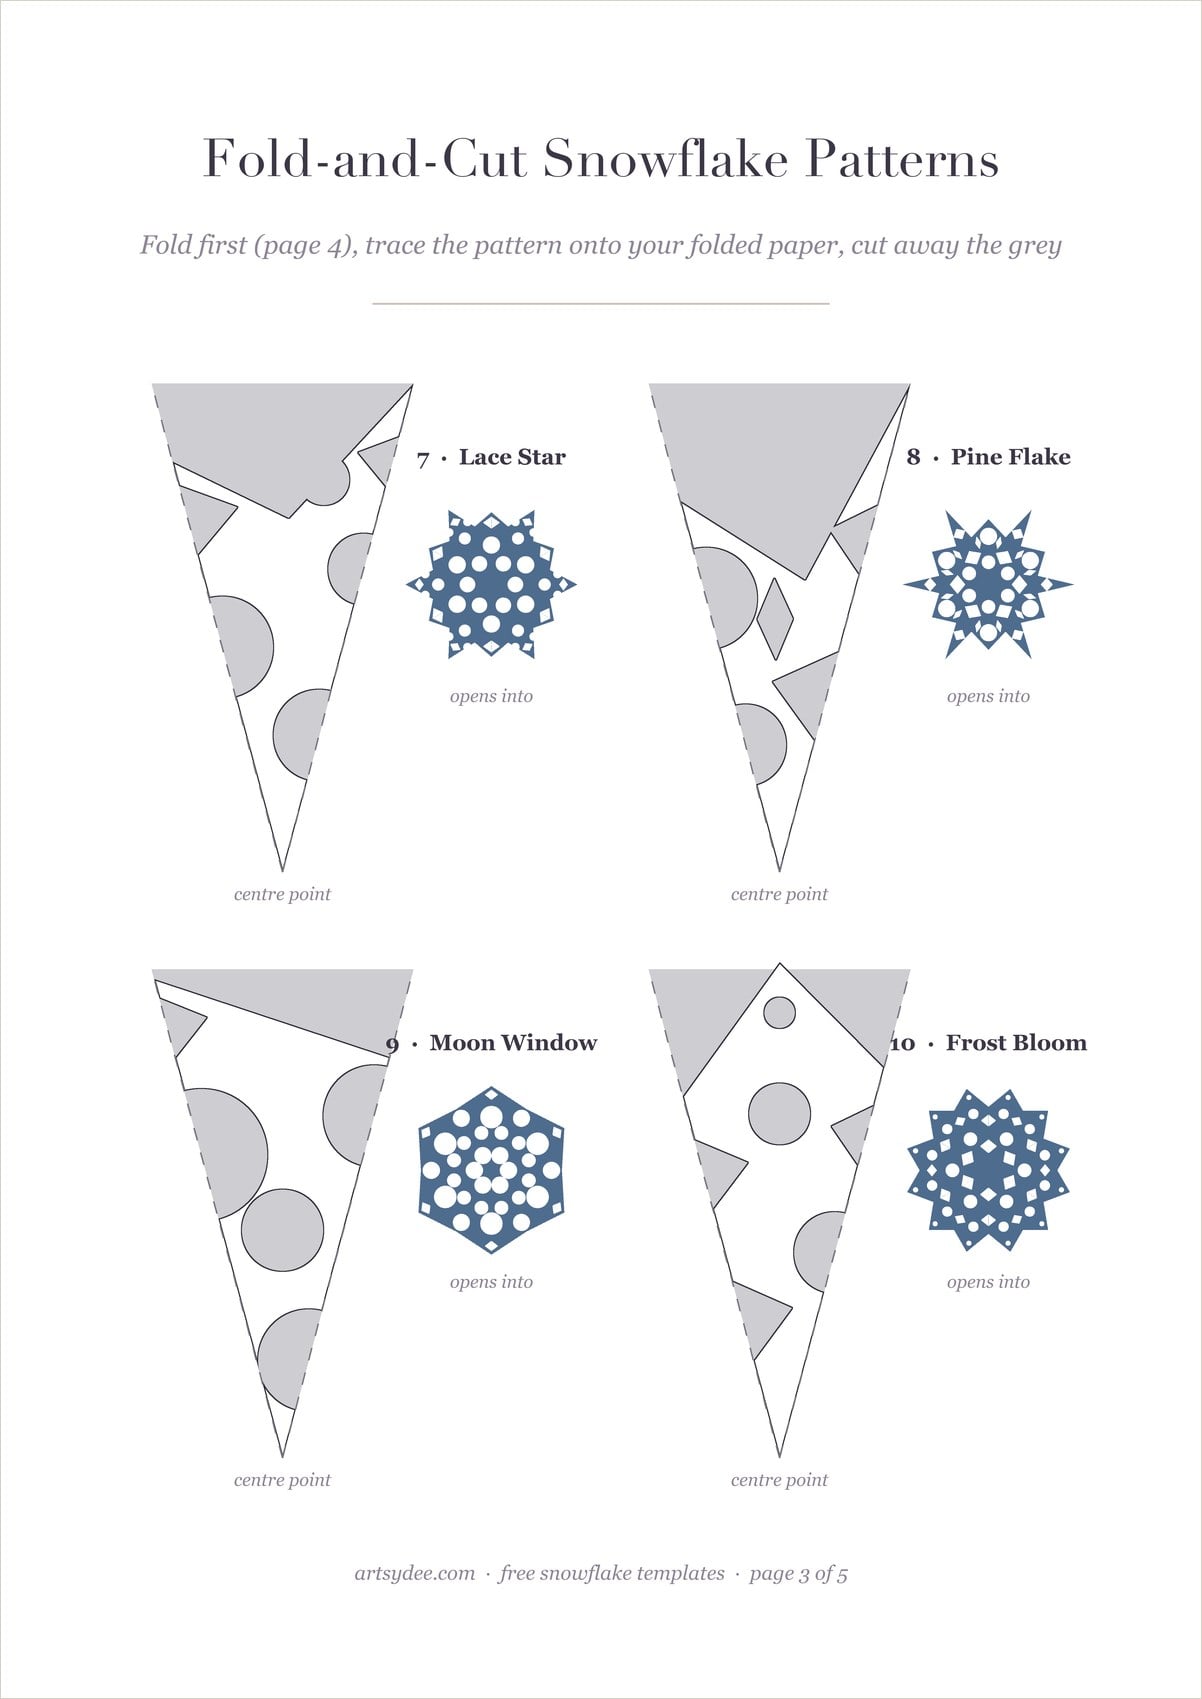
- Page 3: four fold-and-cut patterns: Lace Star, Pine Flake, Moon Window and Frost Bloom. The grey parts are the bits you cut away.
- Page 4: a five-step guide to folding a square of paper into a six-point wedge.
- Page 5: a few words about my Creation Club, if you’d like more printables to cut and play with.
Every snowflake was built with true six-fold symmetry, the same way real snow crystals grow. That’s why they look right when you cut them out. A four-point or eight-point paper snowflake is pretty, but it never quite reads as a real snowflake.
What You Need
You probably have everything already. The only thing I’d say is worth having is a small pair of sharp scissors with pointy tips, because the little notches are much easier with a fine point.
- The printed templates. Plain printer paper is perfect for the fold-and-cut patterns.
- Paper to cut. Printer paper, thin origami paper, tracing paper, coffee filters or old book pages for the folded snowflakes. A thin card works better for the outline snowflakes if you want them to stand up or hang.
- Small sharp scissors and, if you like, a craft knife and cutting mat for the tiny inside holes.
- A pencil for tracing.
- Glue or tape to stick them down. A tape runner like the Tombow Mono permanent adhesive is tidy on delicate paper, and a roll or two from a washi tape set is lovely for sticking snowflakes to windows without marking the glass.
- Optional: a light pad for tracing, which makes tracing the outlines onto thicker paper much easier.
Some links in this post are affiliate links. If you buy through them I may earn a small commission, at no extra cost to you. I only link to things I actually use.
How to Cut a Paper Snowflake from a Template
Quick answer: fold a square of paper corner to corner, fold it into thirds from the centre point, fold it in half again, then trace a pattern onto the wedge, cut away the grey parts and unfold slowly.
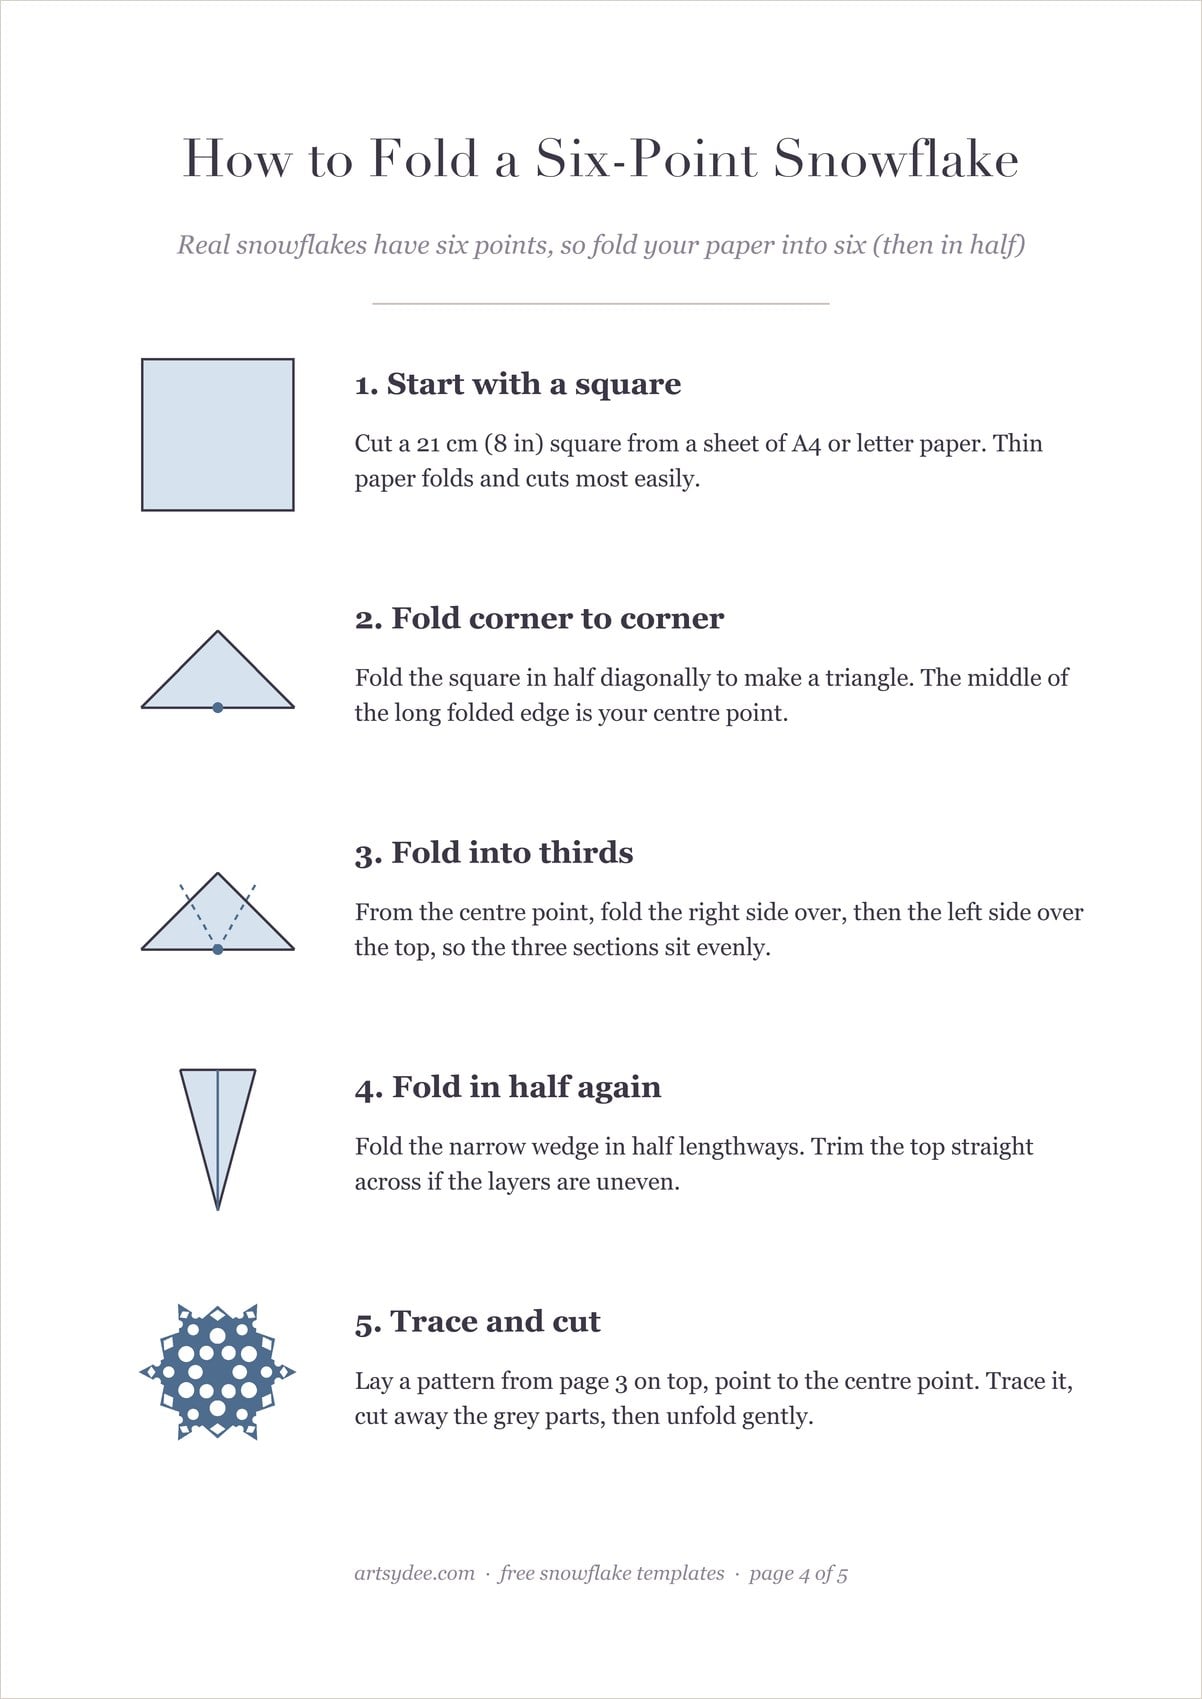
Step 1: start with a square
Cut a 21 cm (8 in) square from a sheet of A4 or letter paper. That’s just the short edge of the sheet, so fold the corner across and trim off the strip at the bottom. Thinner paper folds more neatly and is much kinder on your hands.
Step 2: fold corner to corner
Fold the square in half diagonally to make a triangle and crease it well. Find the middle of that long folded edge. That point is the centre of your snowflake, so I put a little pencil dot on it.
Step 3: fold into thirds
This is the step that gives you six points instead of four. Working from the centre dot, fold the right side over so it covers about a third, then fold the left side over the top. Wiggle the layers until the edges line up and the three sections look even, then press it flat.
Step 4: fold in half again
Fold the narrow wedge in half lengthways. You’re now holding twelve layers of paper. If the top is uneven, trim it straight across. Don’t worry about wasting a bit of paper here, it makes for a tidier snowflake.
Step 5: trace, cut and unfold
Cut out one of the patterns from page 3, or slip it underneath if your paper is thin enough to see through. Line the point of the pattern up with your centre point, trace round it in pencil, and cut away everything that’s grey on the template. Then unfold it slowly, one layer at a time, so the thin bits don’t tear.
If your first one comes out a bit wonky, that’s completely normal. Paper slips when it’s folded twelve times. The second one is always better, and by the third you’ll be cutting freehand notches of your own.
Using the Outline Snowflake Templates
Quick answer: cut them out straight from the sheet, trace them onto thicker card or patterned paper, or print them and fill them in with paint.
Cut them out
The six outline snowflakes are kept simple on purpose, so they’re easy to cut with small, sharp scissors. Go slowly round the branches. Print them on thin card if you want them to hang, or on plain paper if they’re going into a journal. Cut round the outside first, then do the little hole in the middle with the tip of your scissors or a craft knife.
Trace them
Cut out one snowflake as a stencil, then trace round it as many times as you like onto patterned paper, kraft card, old sheet music or a page from a book that’s past reading. It’s the quickest way to make a whole flurry that all match. If you’d like to learn to sketch your own snowflakes freehand, my how to draw a snowflake tutorial walks you through it step by step.
Paint them
Print the page onto a heavier paper, then fill each snowflake with soft blues and greys. Let the colour pool a little darker at the tips. Once it’s dry, cut them out and they look like little frosty ornaments.
12 Things to Make with Paper Snowflakes
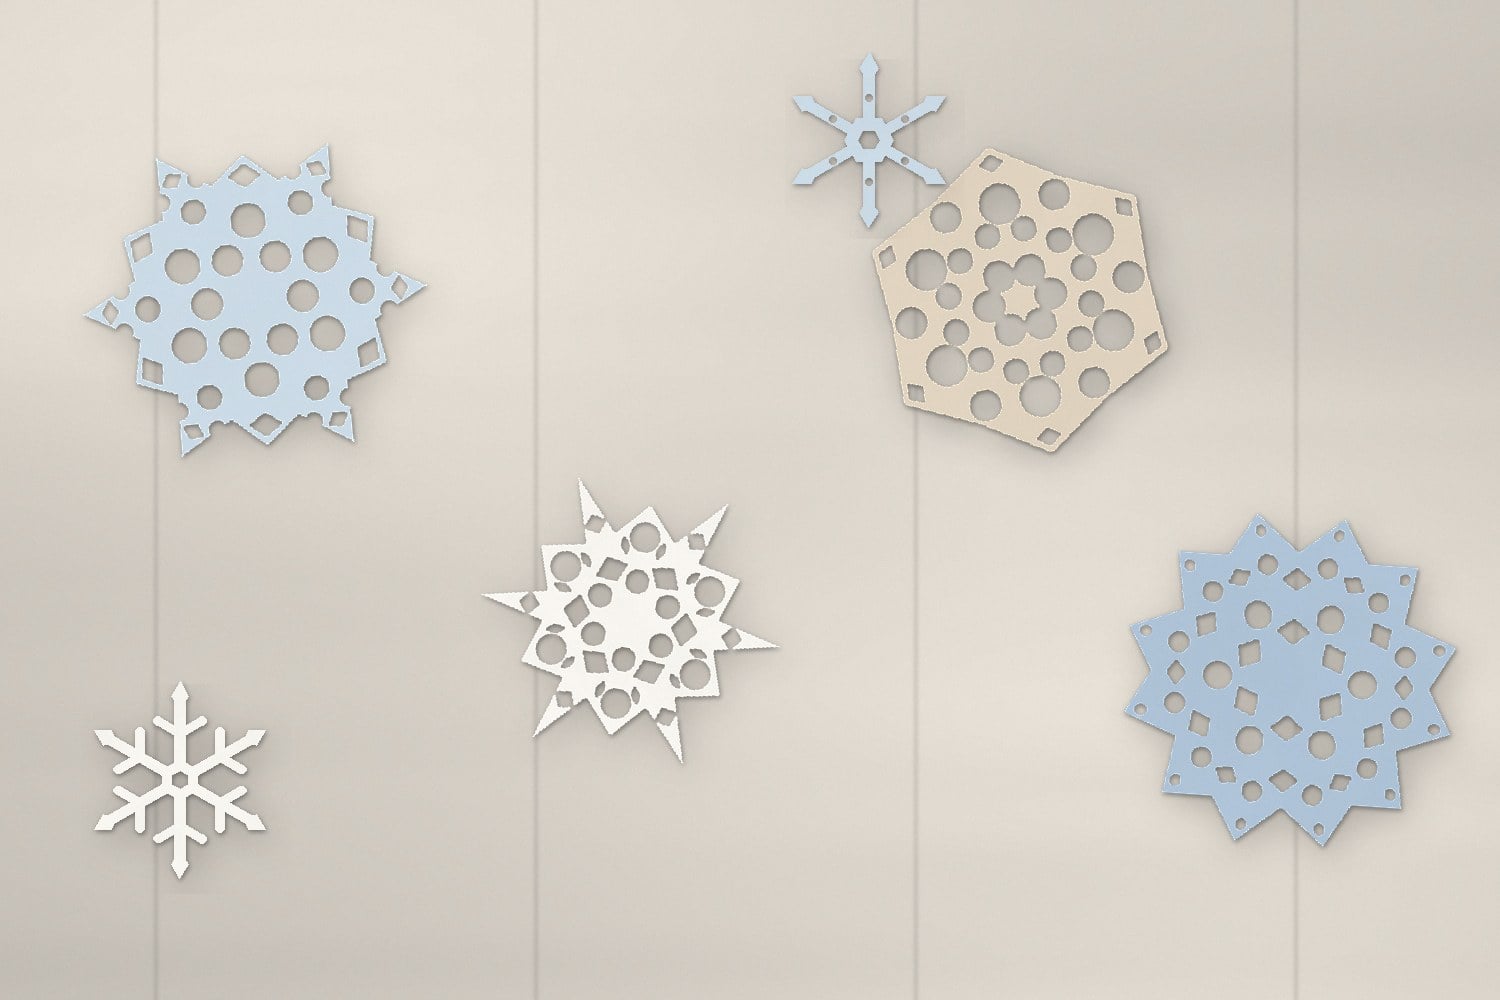
Once you’ve got a little pile of snowflakes, here are some lovely ways to use them.
- Junk journal pages. Glue a paper snowflake over a winter page as a focal point, or tuck one into a pocket as a bit of handmade ephemera.
- Scrapbook layouts. A row of three small snowflakes along the top of a photo mat looks instantly wintry.
- Fussy cut layers. Trace an outline snowflake onto patterned printable paper, fussy cut it and layer it over a plain one in a different colour.
- Gift tags. Glue a snowflake to a plain tag and thread some string through the top. My free printable Christmas gift tags pair really well with them.
- Window snowflakes. Stick them to the glass with a little washi tape. They look magical with the light coming through.
- A snowflake garland. Thread a row of them onto baker’s twine and hang it across a mantelpiece or a bookshelf.
- Christmas cards. One white snowflake on a dark blue card. Done.
- Table scatter. Cut tiny ones from old book pages and scatter them down the middle of the table.
- Envelope seals. A small snowflake glued over the flap of an envelope makes any card feel special.
- Mixed media journal backgrounds. Use a fold-and-cut snowflake as a stencil and sponge paint through the holes.
- Advent calendar numbers. Write a number on twenty-four little snowflakes and peg them to a string.
- A quiet winter evening. Honestly, sometimes the best thing to make is just the snowflake itself, with a cup of tea.
For more winter page ideas, have a look at my Christmas junk journal spreads and my 25 Christmas junk journal ideas. A paper snowflake slots into almost all of them.
Tips for Crisp, Even Snowflakes
- Crease every fold hard. Run your thumbnail along each fold. Soft folds let the layers slip, and slipped layers give you lopsided points.
- Use thinner paper than you think. Twelve layers of printer paper is thick. If it’s a struggle to cut, try thin copy paper or tissue-weight paper.
- Cut the inside holes first. Do the little holes and notches before you cut the outer edge, while there’s still plenty of paper to hold on to.
- Turn the paper, not the scissors. Keep your scissors still and feed the paper into them. Curves come out smoother.
- Never cut across the whole wedge. If a cut goes all the way from one fold to the other, the snowflake falls apart when you open it.
- Press them flat. Pop finished snowflakes inside a heavy book overnight and they’ll lie beautifully flat on a page.
If you love having printables like these to cut and play with, my Artsydee Creation Club is where my new printable junk journal kits land every month, with papers, ephemera, tags and pockets ready to print. You can also browse my printables shop for kits you can buy on their own.
Frequently Asked Questions
Are the snowflake templates really free?
Yes. Pop your email in the box at the top of the post and the PDF comes straight to your inbox. There’s also a download link on the thank-you message, so you can print it right away.
What size are the snowflakes?
The outline snowflakes are about 5 cm (2 in) across when you print at 100%. The fold-and-cut patterns are made for a 21 cm (8 in) square of paper, which gives you a snowflake about 15 to 17 cm (6 to 7 in) wide. Print smaller or larger in your printer settings if you want a different size.
Why do my paper snowflakes come out with four or eight points?
Most of us were taught to fold paper into quarters, which gives four or eight points. Real snowflakes have six. Folding into thirds from the centre point, as on page 4, is what gives you six.
What paper is best for cutting snowflakes?
Thin paper. Plain printer paper works, but thin copy paper, origami paper or old book pages are easier to cut through twelve layers. Use thin card for the outline snowflakes if you want them to hang.
Can I use the templates with kids or in a classroom?
Of course. The fold-and-cut patterns are a lovely one for older children. For little ones, enlarge the outline snowflakes in your printer settings so they’re easier to cut with safety scissors. Please share the link to this post rather than the PDF itself.
Final Thoughts
Paper snowflakes are one of those small, slow makes that make the whole season feel a bit cosier. Print the templates, put the kettle on and cut a few. You’ll end up with a little drift of them on the table before you know it.
Pin this for later so you can find the templates again when it starts to feel wintry. You’ll find more free printables on my Pinterest, and if you’d like to make things with me, subscribe to my YouTube channel for new creative videos every week. You can find all of them on the Artsydee YouTube channel.
Happy snipping!
Dee x