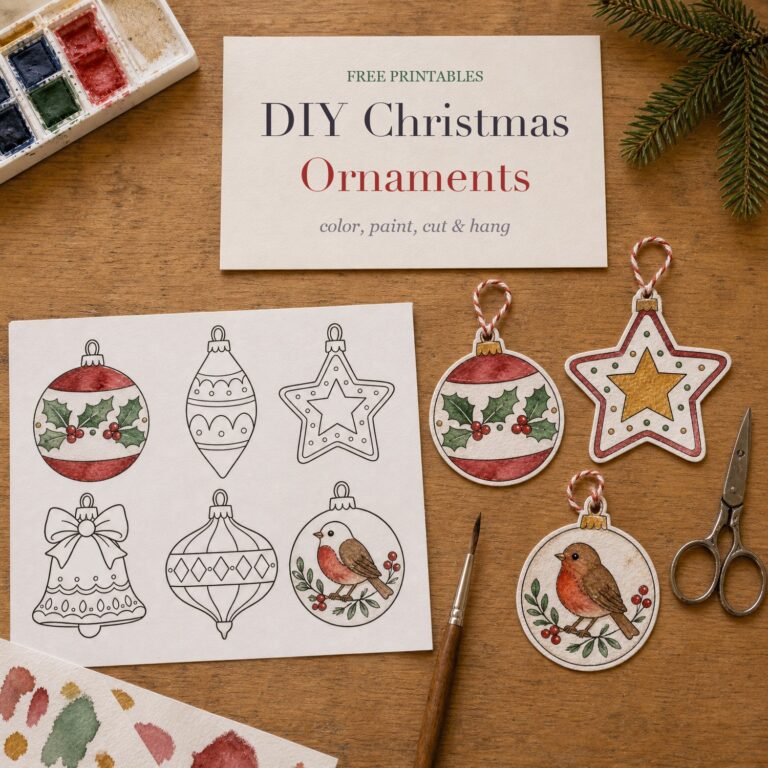
Here are six free printable DIY Christmas ornaments to color, paint, cut out and hang, plus a 3D slot-together bauble.
Get the free printable ornaments
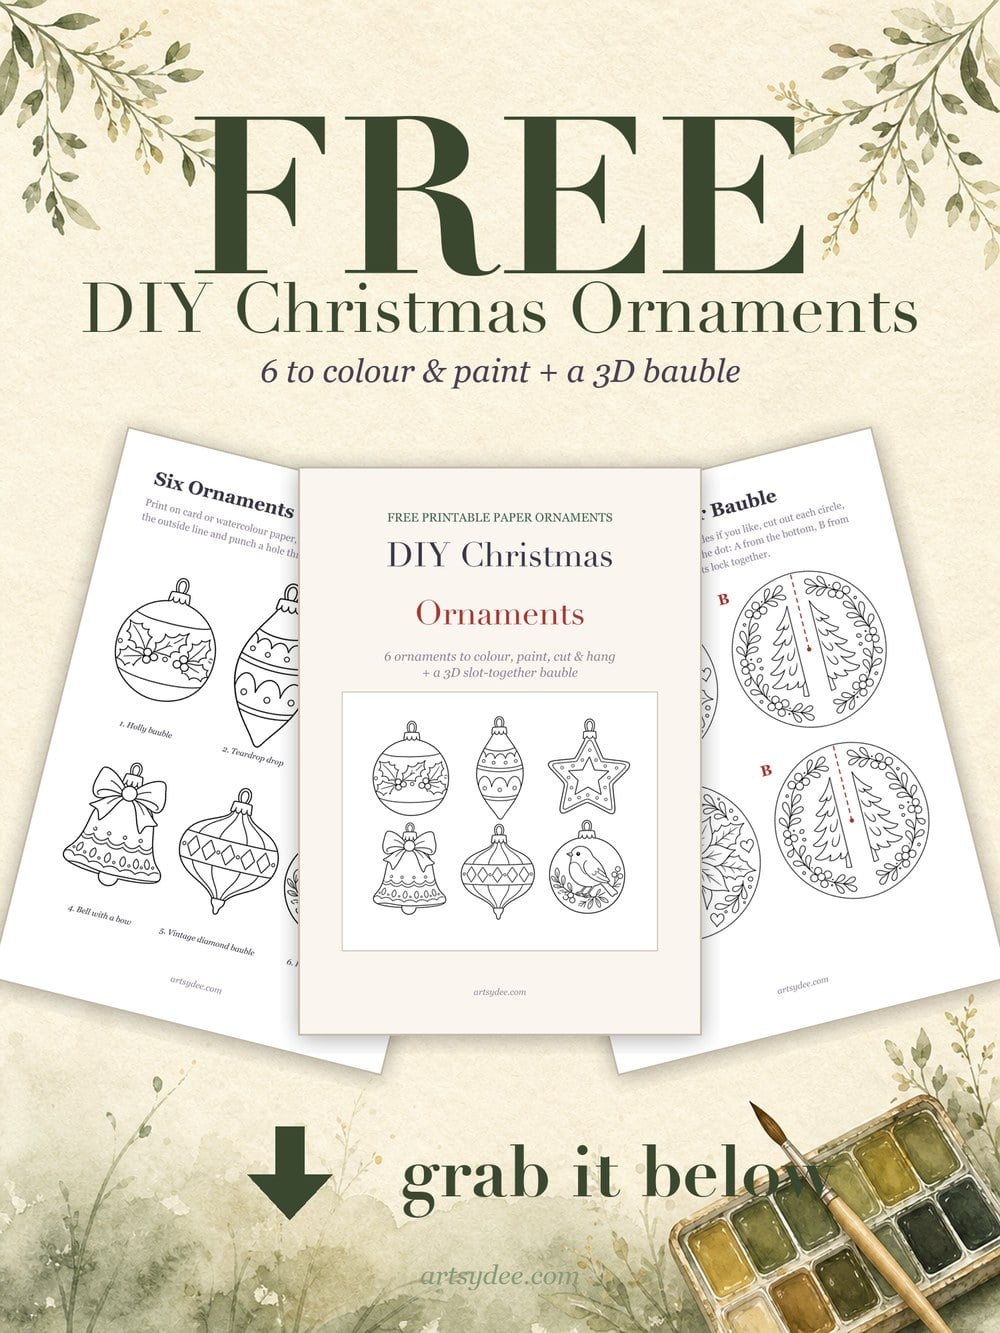
The free pack is five pages: the six ornaments, two sets of discs for the 3D bauble, a page of how-to notes and a cover. Pop your email in above and it’ll come straight to your inbox.
Paper ornaments are my favorite kind of Christmas craft. You print them, color or paint them at the kitchen table with a cup of tea, cut them out, and by the evening there’s something you made hanging on the tree.
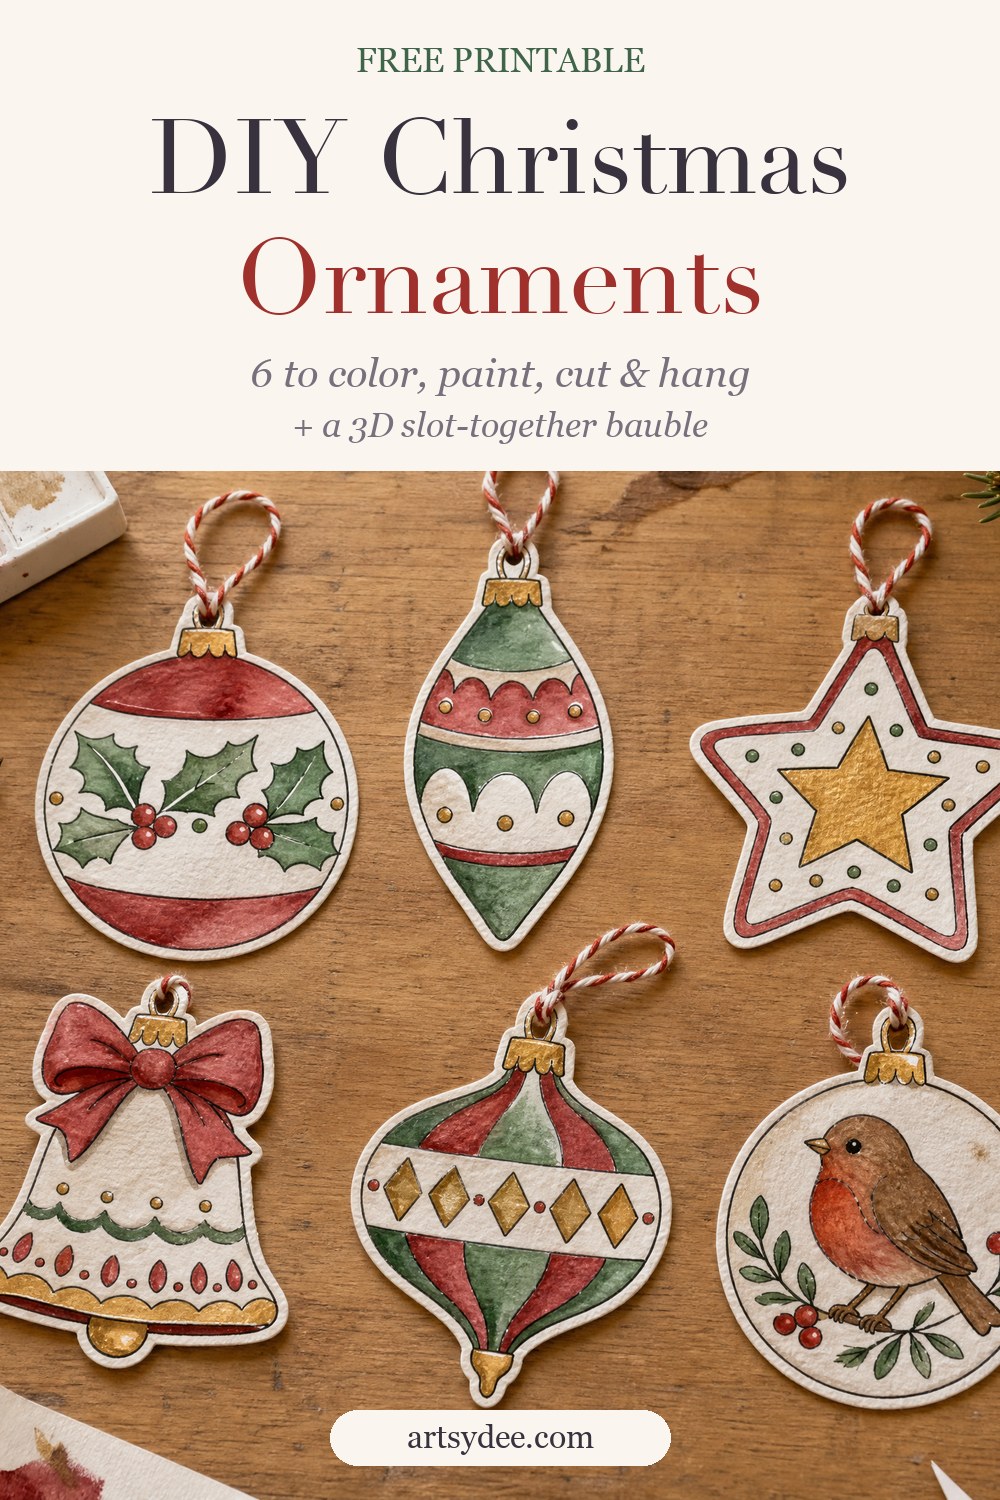
I’ve put together six flat ornaments for you to print, from a holly bauble to a little robin, plus a 3D bauble that slots together from two circles. Below you’ll find how to paint them, how to make them sturdy enough to last for years, and a few ways to hang and gift them.
Table of Contents
Why Make Paper Christmas Ornaments?
Quick answer: paper ornaments are cheap, quick, safe for little hands, and you can make a whole set in an afternoon. They also flatten down for storage and post easily in a Christmas card.
There’s something else, though. A shop-bought bauble is lovely, but a paper ornament you colored yourself has your choices in it: the shade of red you picked, the wobbly bit where the brush ran over the line. Those are the ones people look for on the tree year after year.
They’re also brilliant for using up the bits of art time you actually have. You don’t need to set aside a whole day. Color one ornament while the kettle boils, paint another after dinner, and cut them all out at the weekend.
What You Need
You can make these with a printer, a pair of scissors and whatever pens are in the drawer. These are the things that make them nicer:
- Card or watercolor paper. Around 200 to 250 gsm (roughly 80 to 90 lb cover) feeds through most home printers and hangs nicely. Cream or off-white card gives them a softer, vintage feel than bright white copy paper.
- Card for backing. A pack of vintage-style cardstock is lovely for the backs, so each ornament looks finished from both sides.
- Something to color with. Colored pencils, markers and gel pens all work. If you’d like to paint, a small travel set like the Winsor & Newton Cotman pocket set is plenty for a whole tree’s worth.
- Small sharp scissors for the curves. A decorative edge scissors set is fun for a scalloped or zigzag border on the round baubles.
- Glue and sealer. A glue stick for backing, and a decoupage glue kit if you want to seal and stiffen them.
- Something to hang them with. Baker’s twine, thin ribbon or embroidery thread, and a hole punch or a darning needle.
This post contains affiliate links, which means I may earn a small commission if you buy through them, at no extra cost to you. I only link to things I’d happily use myself.
The 6 Printable Ornaments
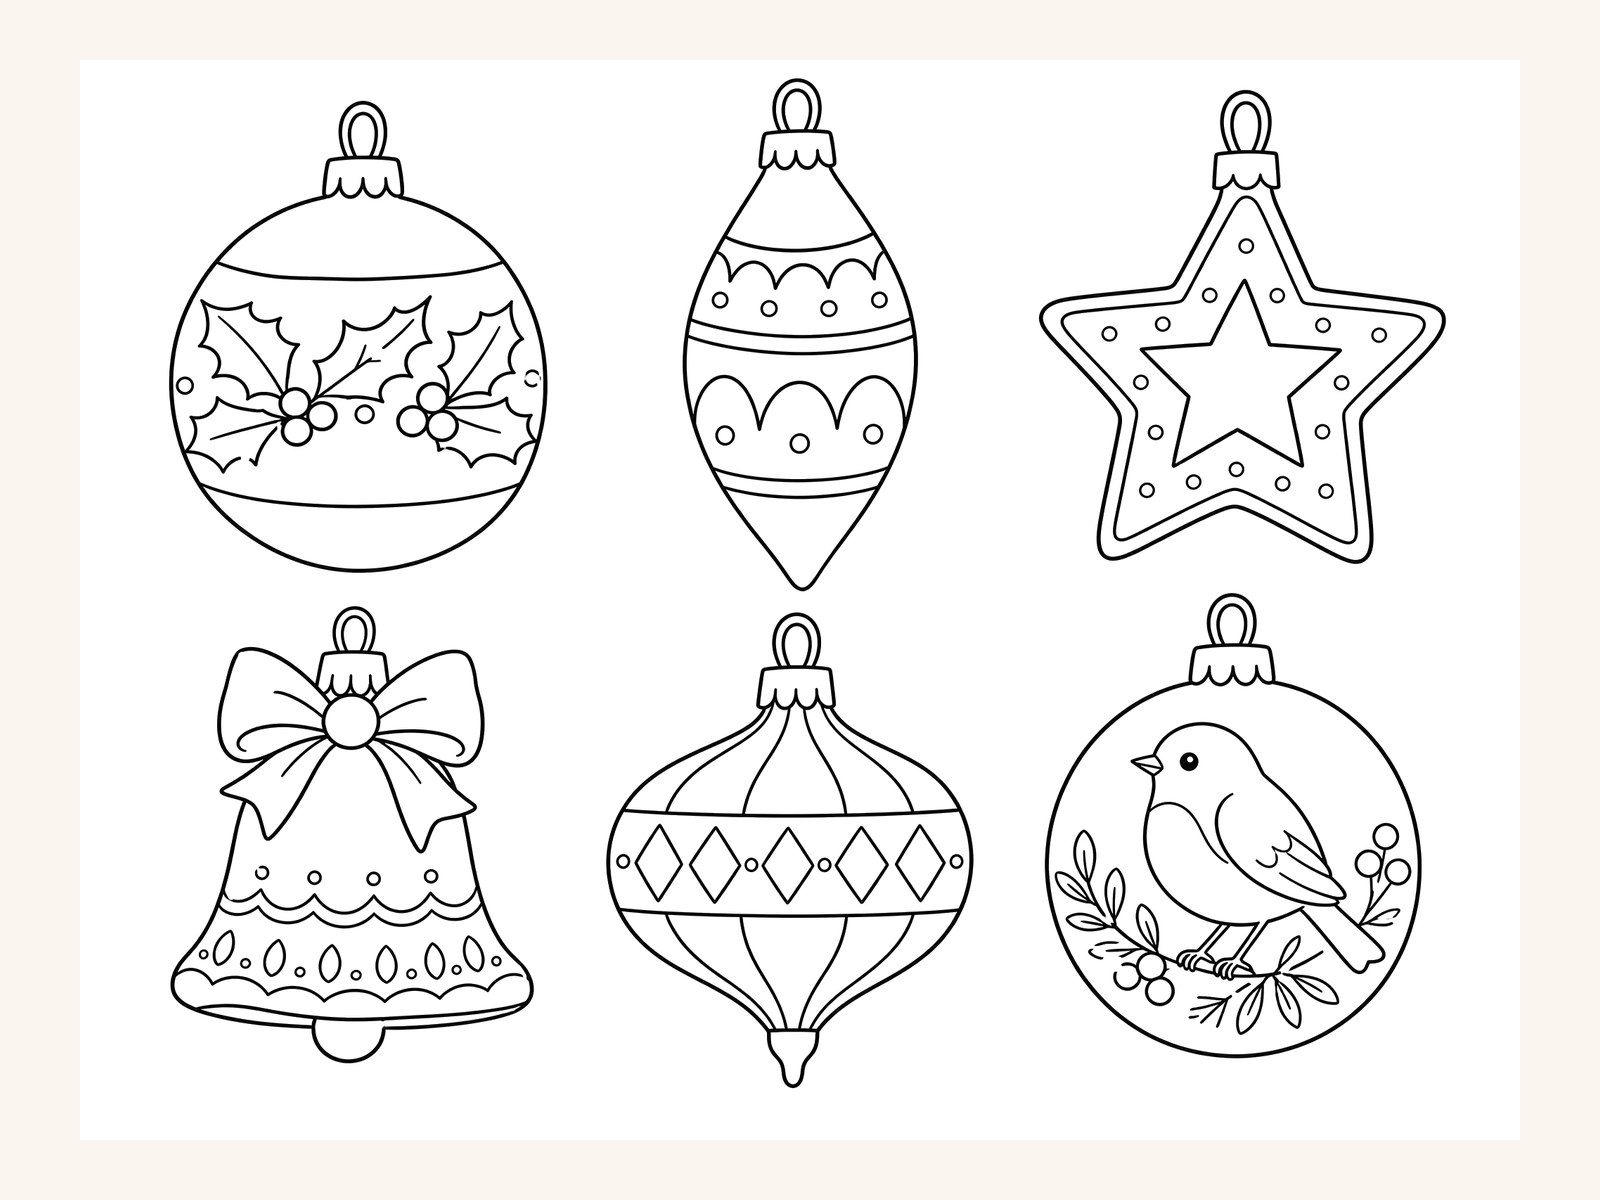
Each ornament has a cap and a loop at the top for the ribbon, and every one has big open shapes so it’s easy to color or paint.
1. Holly bauble
A round bauble with a band of holly leaves and berries across the middle and two stripes above and below. Classic red and green, and the easiest one to start with.
2. Teardrop drop
A long, elegant drop with scallops, dots and stripes. It looks lovely painted in alternating bands and hangs beautifully on the end of a branch.
3. Star
A puffy star with a smaller star in the middle and a ring of little dots. Paint the inner star gold and the border red and it glows on the tree.
4. Bell with a bow
A bell with a big bow on top and a band of lace-style scallops round the rim. The bow is the fun bit: one strong red, then a darker red in the folds.
5. Vintage diamond bauble
A vintage-style glass bauble with a band of diamonds round the middle and curved stripes above and below. It suits old-fashioned colors: red, green and a little gold.
6. Robin bauble
A round bauble with a little robin sitting on a berry sprig inside. If you only paint one ornament this year, make it this one.
How to Color or Paint Your Ornaments
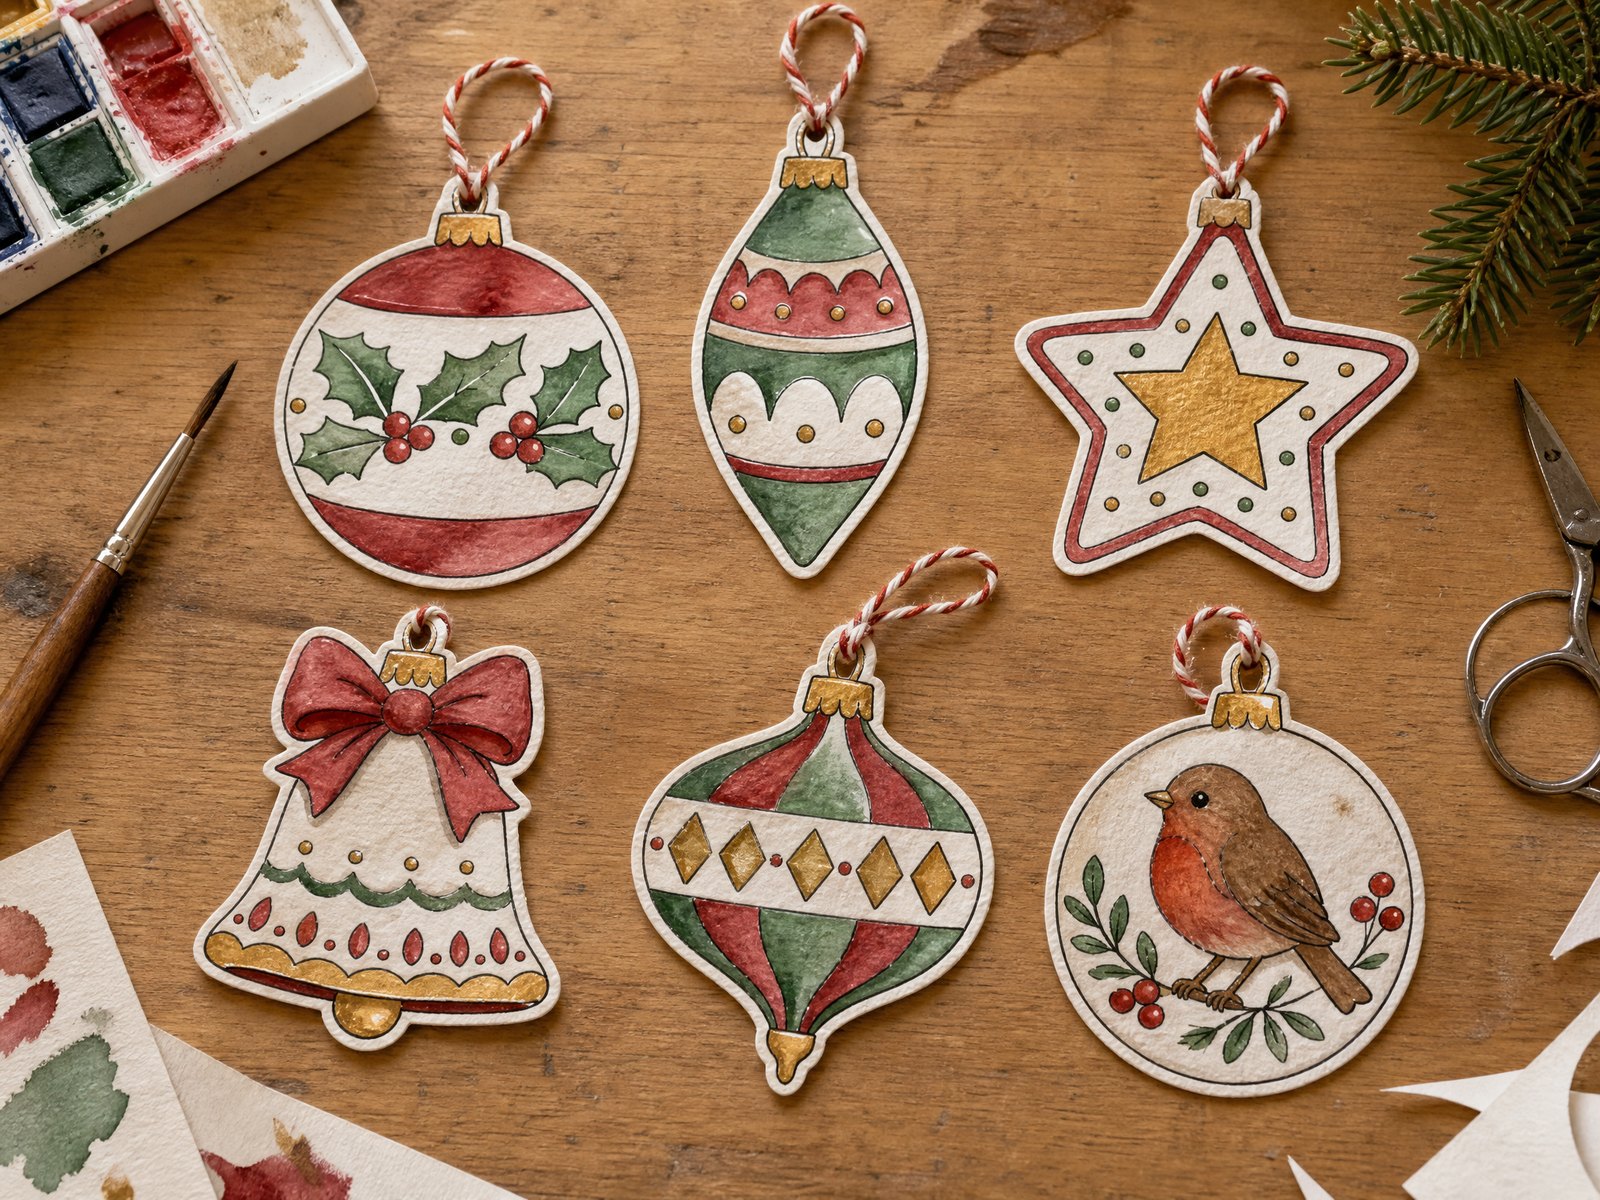
Quick answer: color or paint the ornaments while they’re still on the sheet, let them dry flat, then cut them out. Pick three or four colors and repeat them across all six so the set looks like it belongs together.
With colored pencils, press lightly for the first layer and build up the color in two or three passes. Leave a small white highlight near the top of each round bauble and it’ll look shiny without any effort.
With markers, color in small circles rather than long strokes so you don’t get stripes, and test them on a scrap first because some markers bleed through card.
With watercolor, keep it loose. Wet one section at a time, drop in the color, and let it pool a little at the edges. That bit of granulation is what makes them look hand-painted. Let each section dry before you paint the one next to it, otherwise the reds and greens will run together into brown. If you’ve never printed onto watercolor paper before, my guide to printing templates on watercolor paper walks you through it.
A palette I love: deep red, forest green, mustard gold, and a touch of navy for the robin’s eye and a few dots. Paint every cap gold. It ties all six together.
How to Make the 3D Slot-Together Bauble
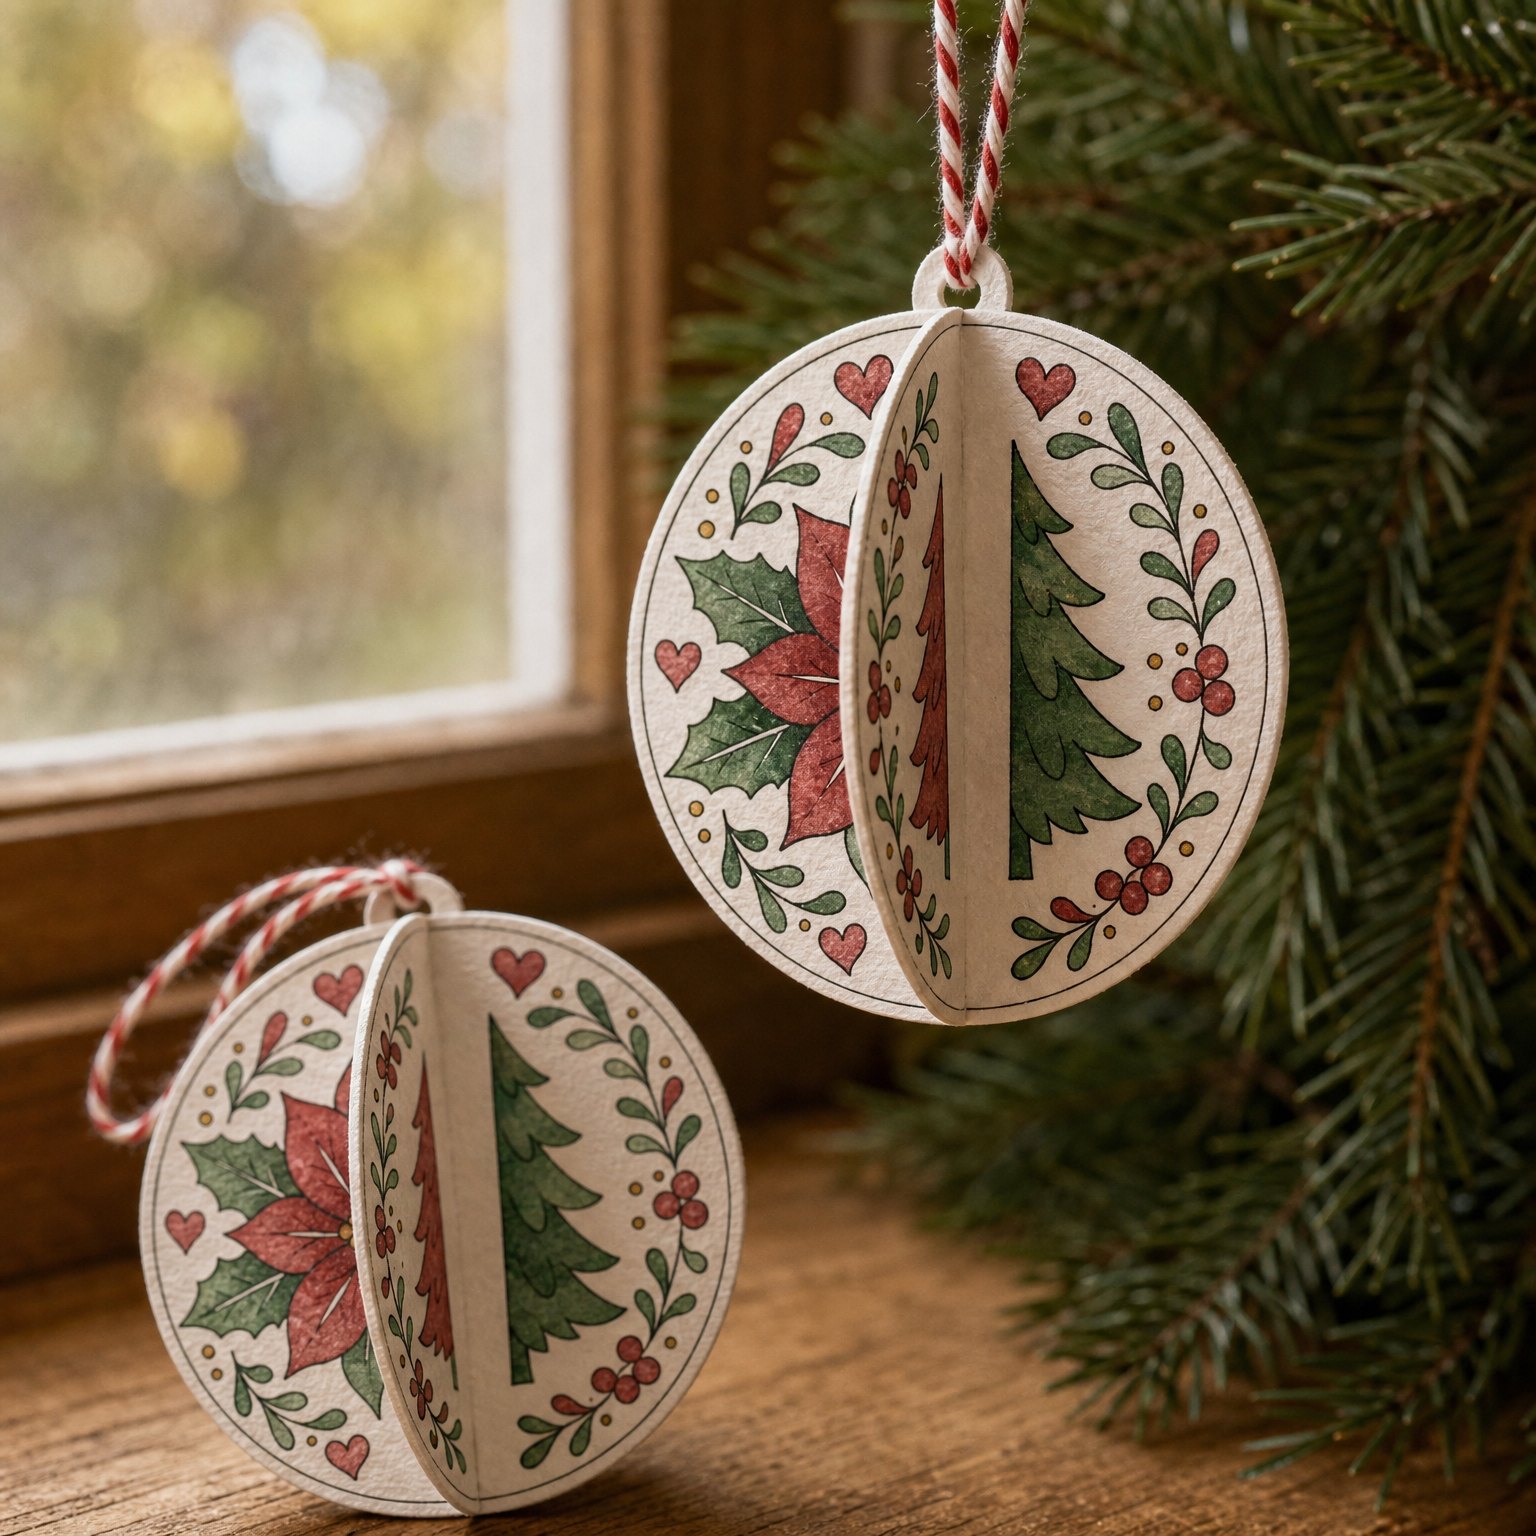
Quick answer: cut out two circles, cut a slit from the bottom of circle A to the center and a slit from the top of circle B to the center, then slide A down onto B so the slits lock together at right angles.
Step 1: color both circles
Circle A has a folk-style poinsettia and circle B has a little fir tree with berries. Color or paint them first. If you’d like the 3D bauble to look finished from every side, glue a second piece of card to the back of each circle before you cut, and decorate that too.
Step 2: cut out the circles
Cut round the outside line of each circle as smoothly as you can. Turn the paper, not the scissors, and it’s much easier to keep a round edge.
Step 3: cut the slits
Cut along the red dashed line on A, from the bottom edge up to the dot in the middle. Then cut along the red dashed line on B, from the top edge down to its dot. On thicker card, snip a hair either side of the line so the slot is as wide as the card.
Step 4: slot them together
Hold B with its slit pointing up and A with its slit pointing down, and slide A down onto B until the centers meet. Punch the little hole marked at the top of A, thread your ribbon through, and hang it. There are two sets of circles on the page, so you can make two.
How to Make Paper Ornaments Sturdy
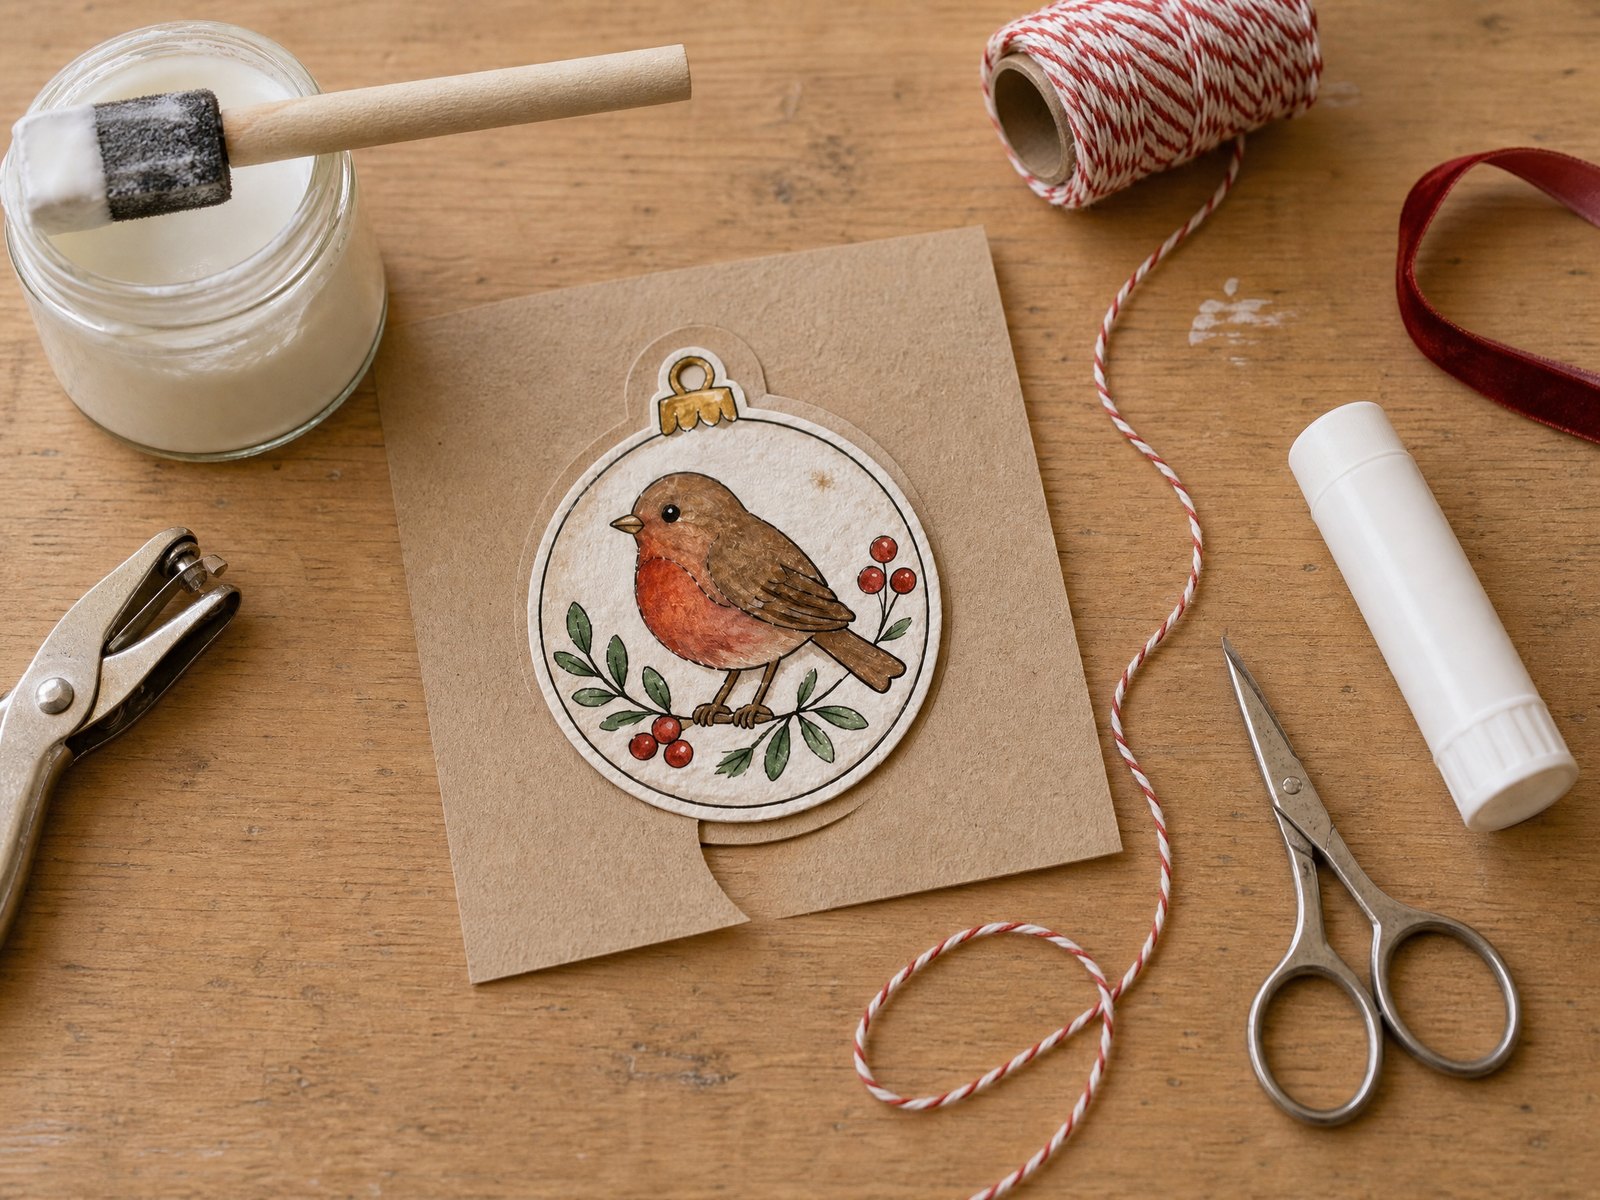
Quick answer: print on card, glue the ornament onto a second layer of card, cut round it again, and seal the front with a thin coat of matte decoupage glue. Punch the hole after sealing and add a ribbon.
Paper ornaments printed on ordinary copy paper are fine for one Christmas, but they curl and tear. A few extra minutes turns them into something you’ll get out of the box for years:
- Use heavier paper. 200 to 250 gsm card is the sweet spot. Much thicker and your printer may refuse it.
- Back them. Glue each cut-out onto kraft card, patterned scrapbook paper or a second painted sheet, then cut round it again. It doubles the thickness and gives you a neat back.
- Seal them. A thin coat of matte decoupage glue protects the color and stiffens the paper. Brush it on in one direction, let it dry, then do the back.
- Reinforce the hole. Punch the hole a few millimeters in from the edge, or stick a small paper reinforcement ring on the back so the ribbon doesn’t pull through.
- Store them flat. In January, slip them between the pages of an old book or a folder and they’ll come out next year looking new.
One warning: watercolor can lift a little when you seal it. Dab the glue on lightly over painted areas rather than scrubbing, or use a spray sealer instead.
Hanging and Display Ideas
Once they’re made, there are lots of places for paper ornaments besides the tree:
- A garland. String all six on baker’s twine and drape them across a mantelpiece or a bookcase.
- A window. Hang them at different heights from a curtain pole with fine thread. They catch the light beautifully.
- A branch. Stand a few bare twigs in a jar and hang the ornaments from them for a little tabletop tree.
- A wreath. Tie two or three onto a plain greenery wreath for a pop of color.
- A place setting. Write a name on the back and lay one on each plate on Christmas Day.
Turning Ornaments Into Gifts

Paper ornaments make the loveliest gift tags. Tie one onto a present with the name written on the back, and once the paper’s been torn off, it goes straight on the tree. It’s a little present inside the present.
They also slip into a Christmas card flat, which makes them a sweet thing to post to family who live far away. A painted robin bauble with the year on the back is the kind of thing people keep.
If you need more tags for the rest of the pile, my free printable Christmas gift tags are ready to print and cut, and the printable Advent calendar makes a lovely companion make for December.
Six Tips for Neater Paper Ornaments
- Color before you cut. A flat sheet is easier to paint and dries without curling.
- Cut a hair outside the line. A thin white border looks neater than cutting into the outline.
- Turn the paper, not the scissors, on the curves of the round baubles.
- Use the same twine for the whole set. It makes six different ornaments look like a collection.
- Add a little sparkle at the end. A few dots of white or gold gel pen on top of the paint look like catching light.
- Make a spare. Someone always asks for one.
Want More Things to Color and Paint?
If you love having new things to color and paint, come and find me on Patreon. That’s where I share my new watercolor template sets and printables, with painted references so you can see where the color goes.
You can also browse everything in my Payhip shop, from watercolor templates to drawing references.
Want more Christmas painting? My Christmas watercolor templates and easy Christmas watercolor paintings use the same loose, quick approach as these ornaments, and if you’d rather sit and color, try my Christmas coloring pages for adults.
Frequently Asked Questions
What paper is best for DIY paper Christmas ornaments?
Card or watercolor paper around 200 to 250 gsm (about 80 to 90 lb cover) is best. It goes through most home printers, takes paint without buckling too much, and hangs without curling. Copy paper works for practice, but back it with card if you want it to last.
How do you make paper ornaments last for years?
Print on card, glue each ornament onto a second layer of card, seal the front with a thin coat of matte decoupage glue, and store them flat between the pages of a book after Christmas.
Can kids make these paper ornaments?
Yes. The flat ornaments are lovely for children to color with pencils or markers. An adult may need to help with cutting the curves and the slits on the 3D bauble.
Can I paint the ornaments with watercolor if I print them on a home printer?
Yes, as long as you print on watercolor paper or thick card. Use a laser printer if you have one, or let inkjet lines dry for an hour before painting, and test a corner first because some inks smudge when wet.
Can I use the printables in a classroom or at a craft group?
Yes, please do. Print as many as your group needs. Just don’t share or sell the file itself, and send other people here to grab their own copy.
Final Thoughts
Start with the holly bauble, then the robin, and see where the color takes you. By the time all six are cut out and threaded, you’ll have a little set of DIY Christmas ornaments that nobody else has, and the 3D bauble makes a lovely finishing touch.
I share more painting and printables over on my YouTube channel, so subscribe on YouTube if you’d like to paint along, and you’ll find all my Christmas ideas saved on Pinterest.
Pin this for later so you can find the free ornaments when you sit down to make them.
Happy making!
Dee x
You Might Also Like
- Free Printable Christmas Gift Tags: 36 tags on four sheets to print and cut
- Christmas Watercolor Templates: more festive shapes to paint
- Easy Christmas Watercolor Paintings: a loose holly painting for beginners
- Christmas Coloring Pages for Adults: eight free pages to color
- Christmas Tree Printables: free tree templates for cards and crafts