Last Updated on July 26, 2026 by Dee
There is something so nostalgic about the way old photographs, scraps of paper, and faded textures come together. If you’ve ever looked at a physical mood board or a junk journal and wondered how to get that same “tangible” feel digitally, you are in the right place.
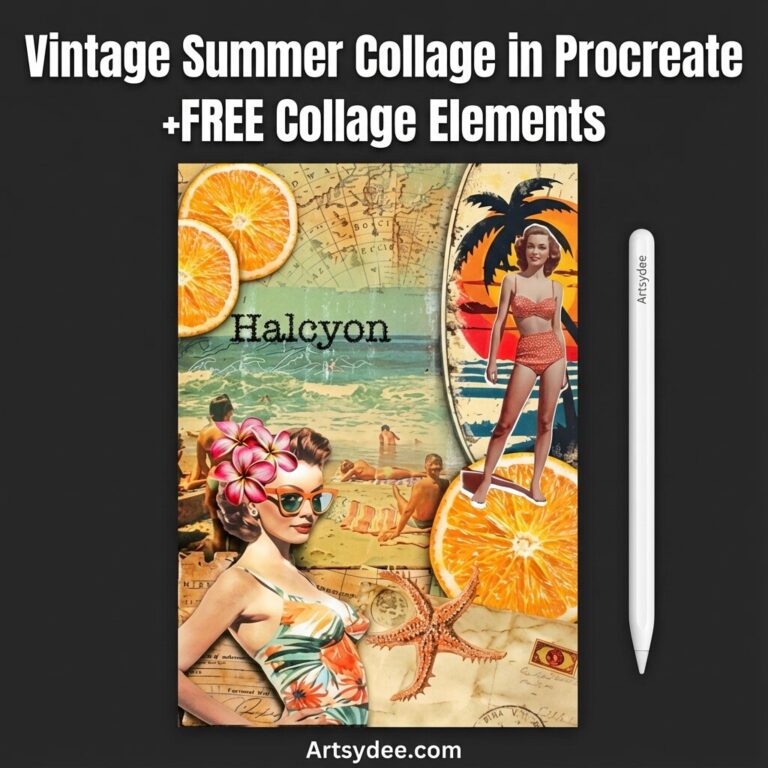
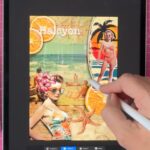
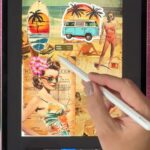
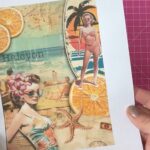
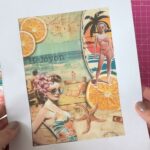
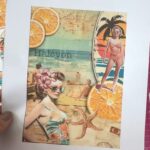
Today, I’m showing you my process for creating a vintage-inspired summer collage right on your iPad. We’ll be playing with layers, shadows, and some of my favorite Procreate “cheats” to make digital art look like a physical piece of mixed media.
Download the free Vintage Procreate Collage Elements at the end of this blog post 👇🏻
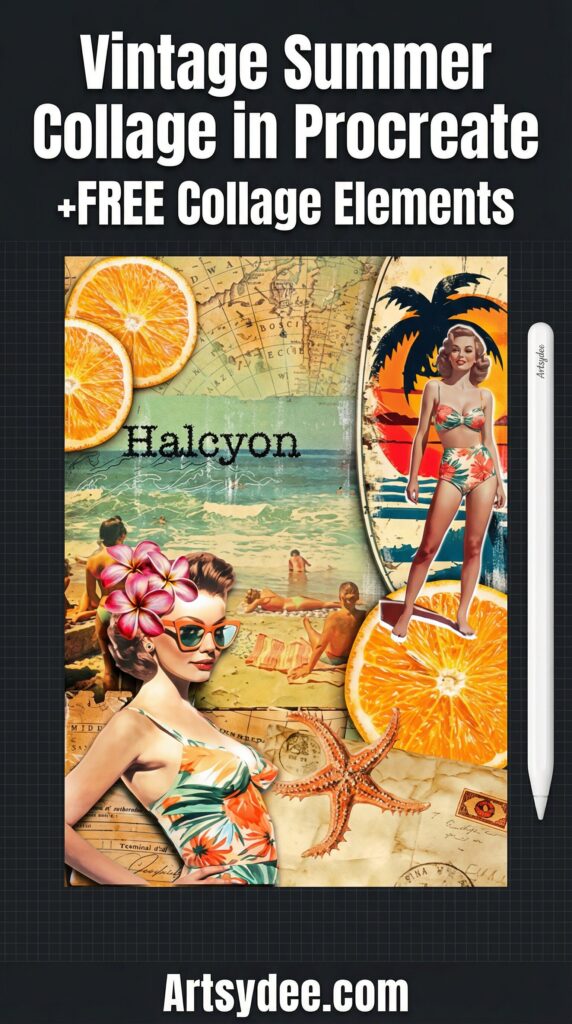
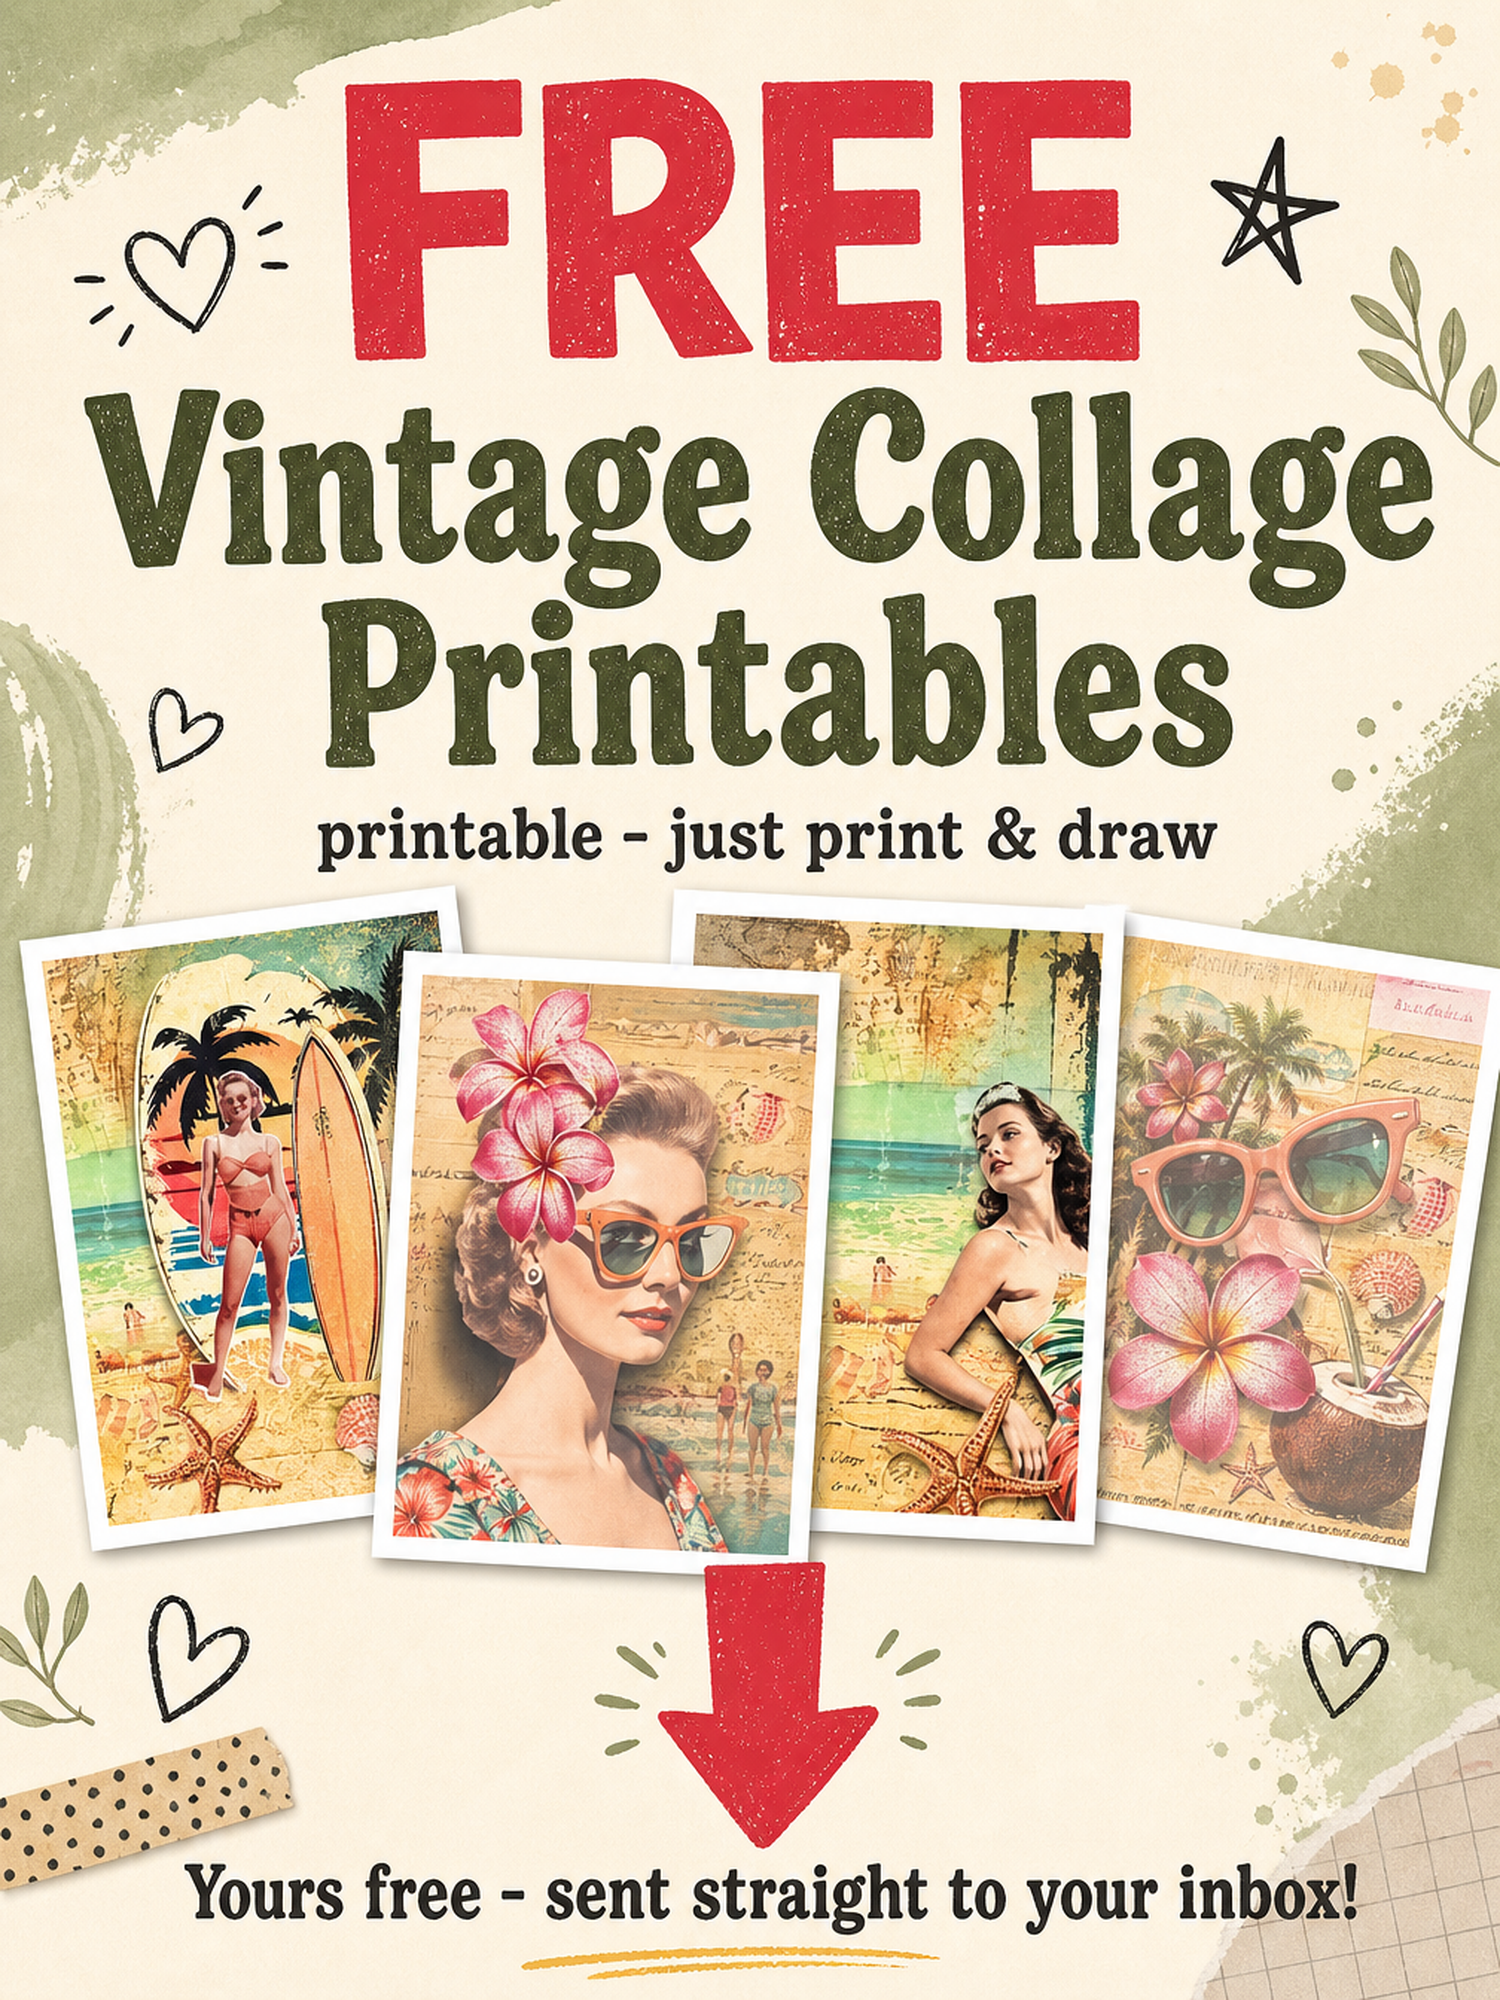
Table of Contents
Setting the Scene: Your Canvas and Assets
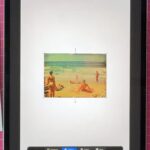
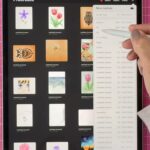
Before we dive into the fun stuff, we need to get organized. For this project, I’m using a set of images I created in Midjourney with a “Retro Summer” theme—think sun-drenched models, old surfboards, and weathered maps.
I always recommend starting with an A4 canvas at 300 DPI. If you’re still getting the hang of the basics, you might want to check out my post on how to use Procreate to make sure your settings are perfect for printing later.
1. Building the Layers
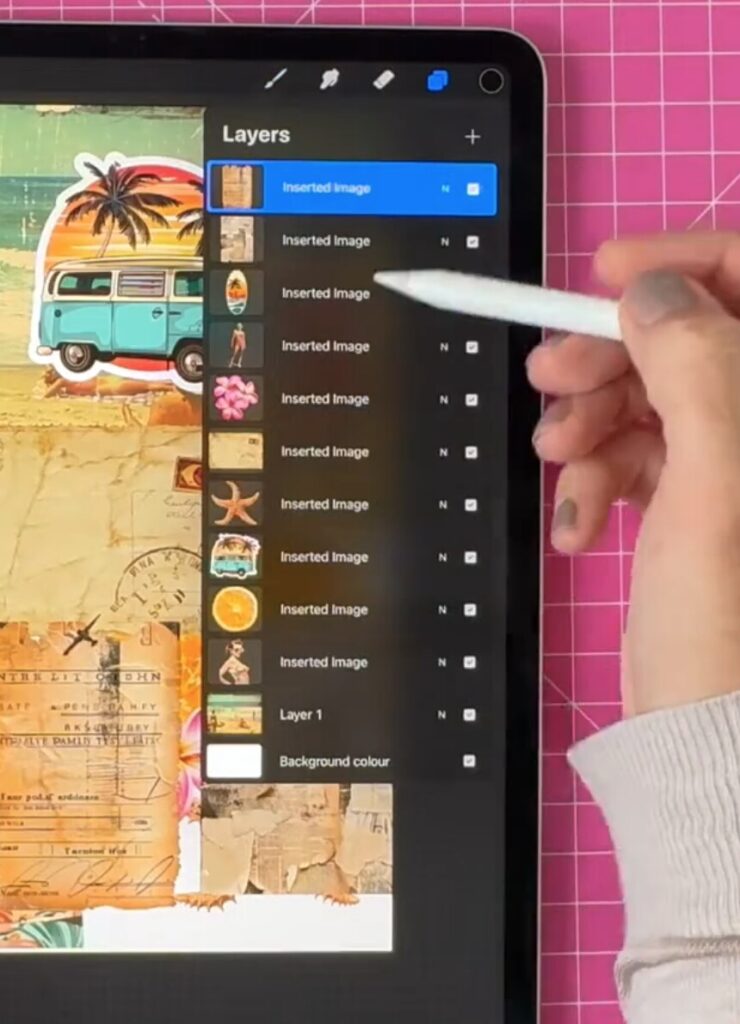
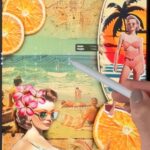
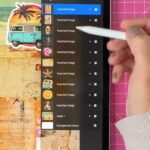
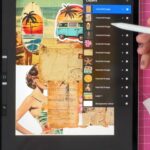
The secret to a good collage is depth. When you import your images, Procreate automatically puts them on their own layers. This is where you get to play “Interior Designer.” Move your elements around, resize them, and tuck them behind one another.
If you find yourself struggling to keep your colors consistent while you layer, learning how to use a coloring page on Procreate can actually help you understand how to separate line work from background textures.
2. Adding the “Retro” Grit
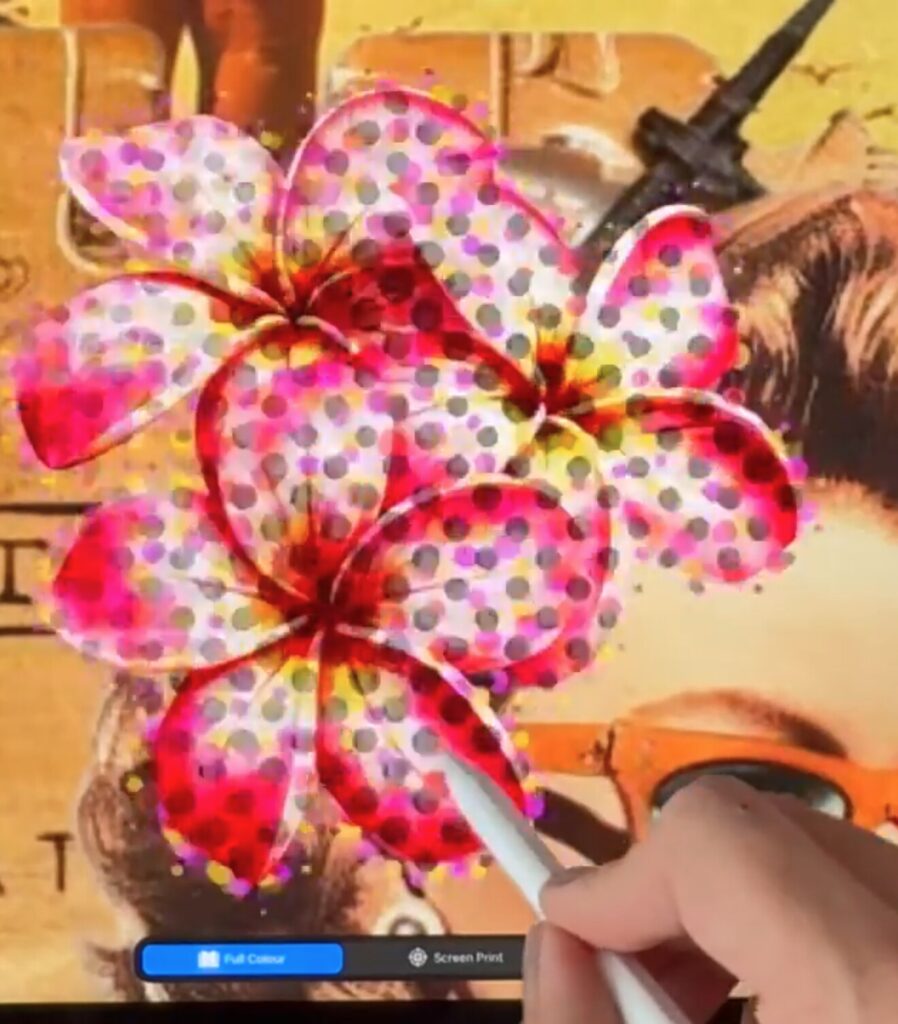
To make a digital image look like it’s been sitting in a drawer since 1964, we need texture. Two of my favorite tricks are:
- Hue/Saturation: Pull the saturation down or shift the hue to give everything a warm, sepia, or “aged” tint.
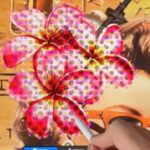
- The Halftone Filter: This is a game-changer. It adds those tiny dots you see in old newspaper prints. It instantly makes a flat image feel like “ephemera.”
3. Creating Realistic Shadows
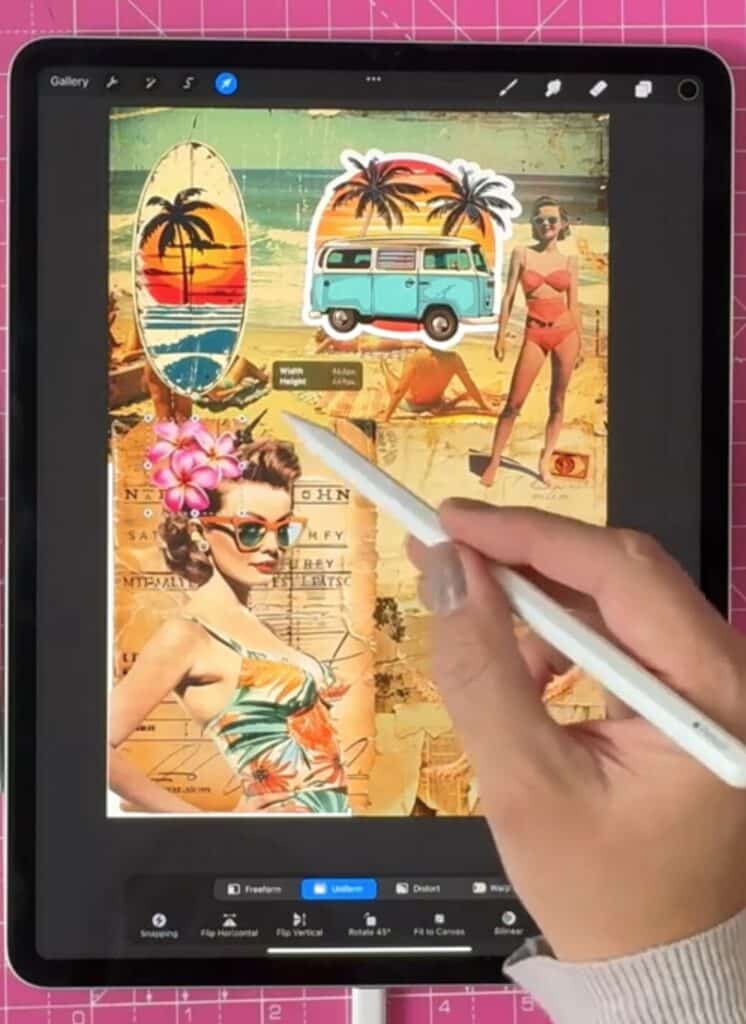
A collage looks “flat” if everything is stuck perfectly to the page. To give it that “stuck-on” look, I duplicate my element (like a piece of scrap paper), turn it completely black, and apply a Gaussian Blur. This creates a soft drop shadow that makes the paper look like it’s lifting off the canvas.
4. Using Clipping Masks for Extra Texture
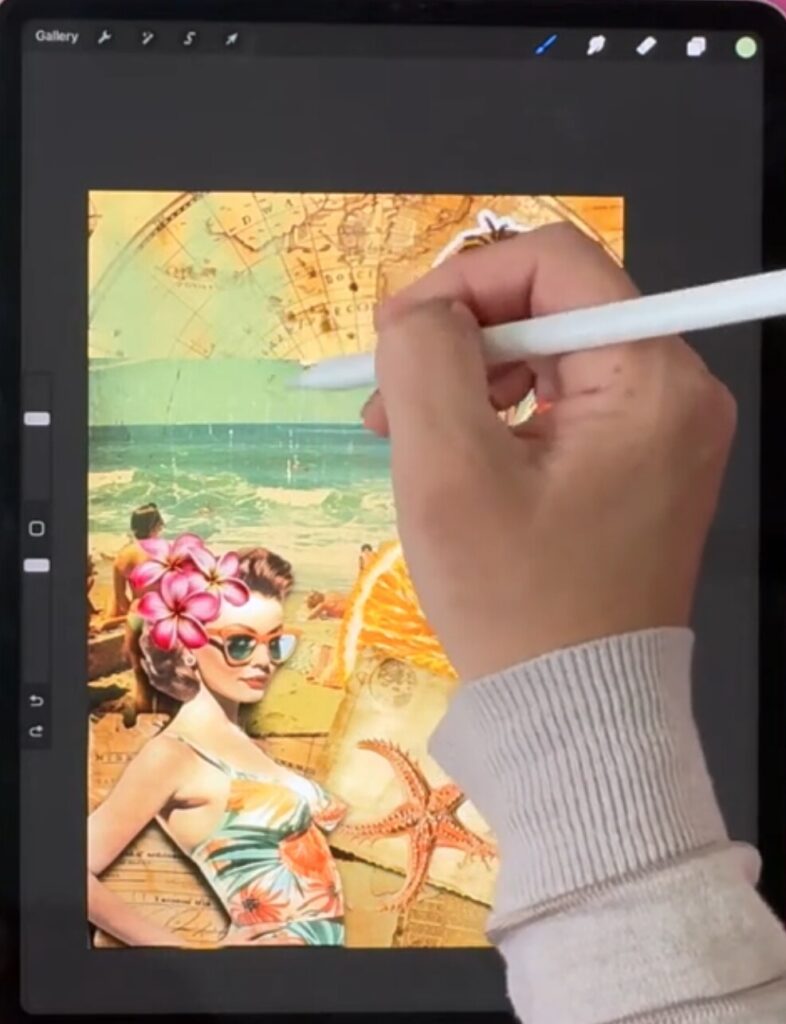
I love adding grunge textures over my background maps to break up the “digital” perfection. The easiest way to do this without ruining your original image is by using how to use clipping masks in Procreate. By clipping a texture layer to your shape, you can paint in grit and grime exactly where you want it to stay.
5. Final Mixed Media Touches
To finish off the vintage look:
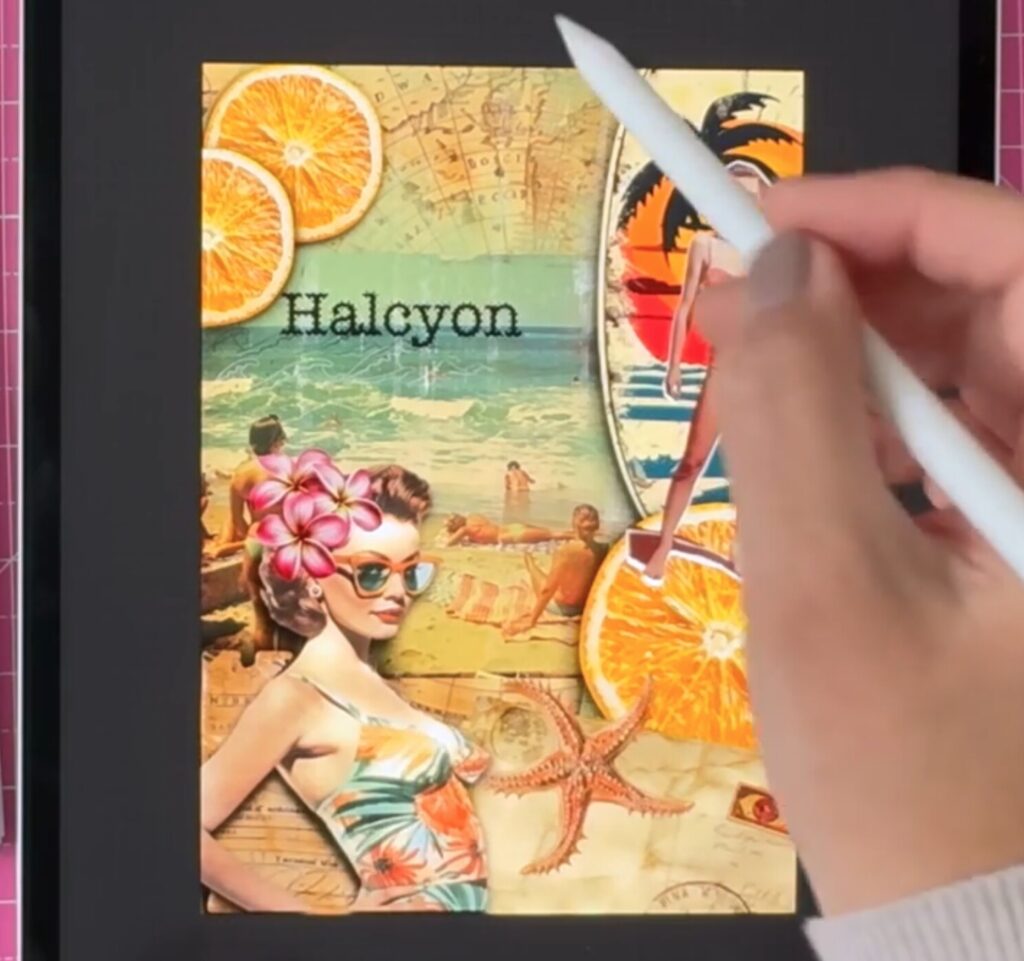
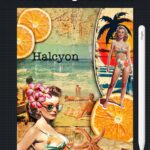
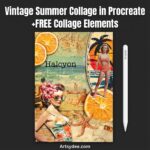
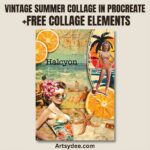
- Add a White Outline: Duplicate your main figure (like my swimsuit model) and turn her completely white. Offset it slightly to give it that “hand-cut” sticker vibe.
- Add Typewriter Text: Use a typewriter font, lower the opacity, and maybe add a little Halftone to the text so it blends into the paper.
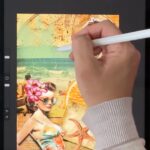
- Hand-Drawn Marks: Grab an “Artist Crayon” or “6B Pencil” brush and draw some quick vertical lines or waves. It breaks the digital barrier and adds your personal “artist’s hand” to the piece.
Watch the Tutorial
If you’d rather watch me move the layers around in real-time, you can follow the full video tutorial here 👉 How to Create a Vintage Procreate Collage
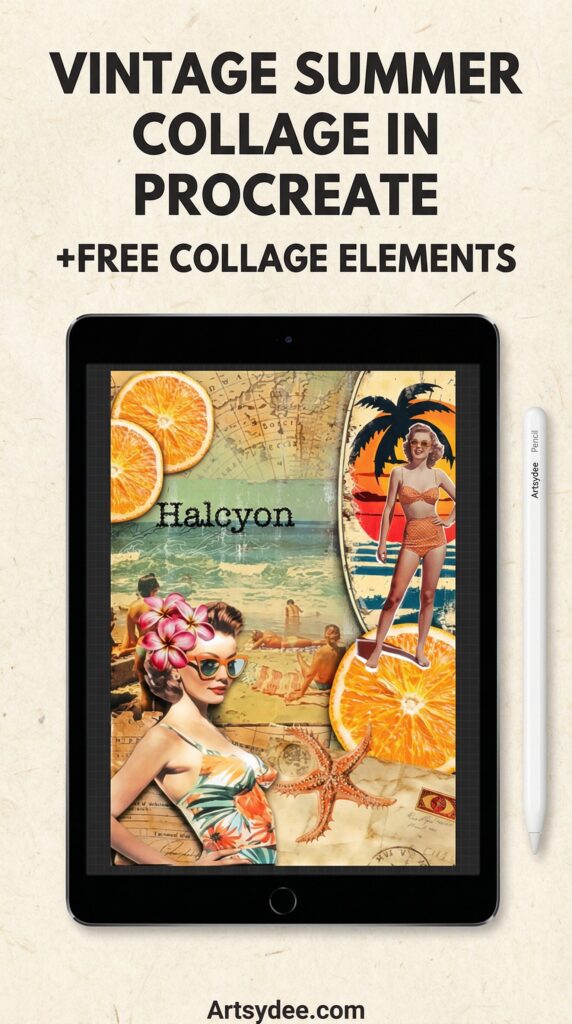
Download the Free Procreate Collage Elements
👉 Pop your email into the box near the top of this post and I’ll send these straight to your inbox — free!
Vintage Procreate Collage: FAQ
How do I make a digital collage look like physical mixed media?
The trick is depth and imperfection: build up layers, add grit and texture, create soft realistic shadows, and finish with a few hand-drawn marks so it doesn’t feel too digitally clean.
What canvas size should I use?
Dee recommends starting with an A4 canvas at 300 DPI, which keeps it print-ready for later.
How do I give the images an aged, vintage look?
Pull the saturation down or shift the hue toward a warm sepia tint, then apply the Halftone filter — those tiny newspaper-style dots instantly make a flat image feel like old ephemera.
How do I create realistic shadows?
Duplicate the element you want to lift off the page, fill the copy completely black, apply a Gaussian Blur, and offset it slightly. That soft drop shadow makes the piece look layered rather than flat.
What are clipping masks used for here?
Clip a grunge texture layer to a shape so you can paint grit and grime exactly where you want it, without ever damaging the original image underneath.
Is there a free download with this tutorial?
Yes — there are free Vintage Procreate Collage Elements at the end of the post. Just pop your email into the box and they’ll be sent to your inbox.
Do I need to be good at drawing to do this?
Not really. It’s mostly about arranging and layering the supplied elements. Adding a few simple hand-drawn lines with a pencil or crayon brush is enough to bring your own touch to it.