Last Updated on September 28, 2026 by Dee
Bought a printable junk journal kit, printed a few pages, and then wondered, “Right… now what?” You’re not alone! A kit gives you beautiful papers, but nobody tells you what to actually make with them.
So here are 17 easy beginner projects, from a simple tag to a little book tucked inside your journal, each with what you need, how to make it and one little tip. And to get you started, I’ve made you a free set of beginner junk journal pages with tags, a pocket envelope, washi strips and more. Pop your email in below and I’ll send them straight to your inbox.
Table of Contents
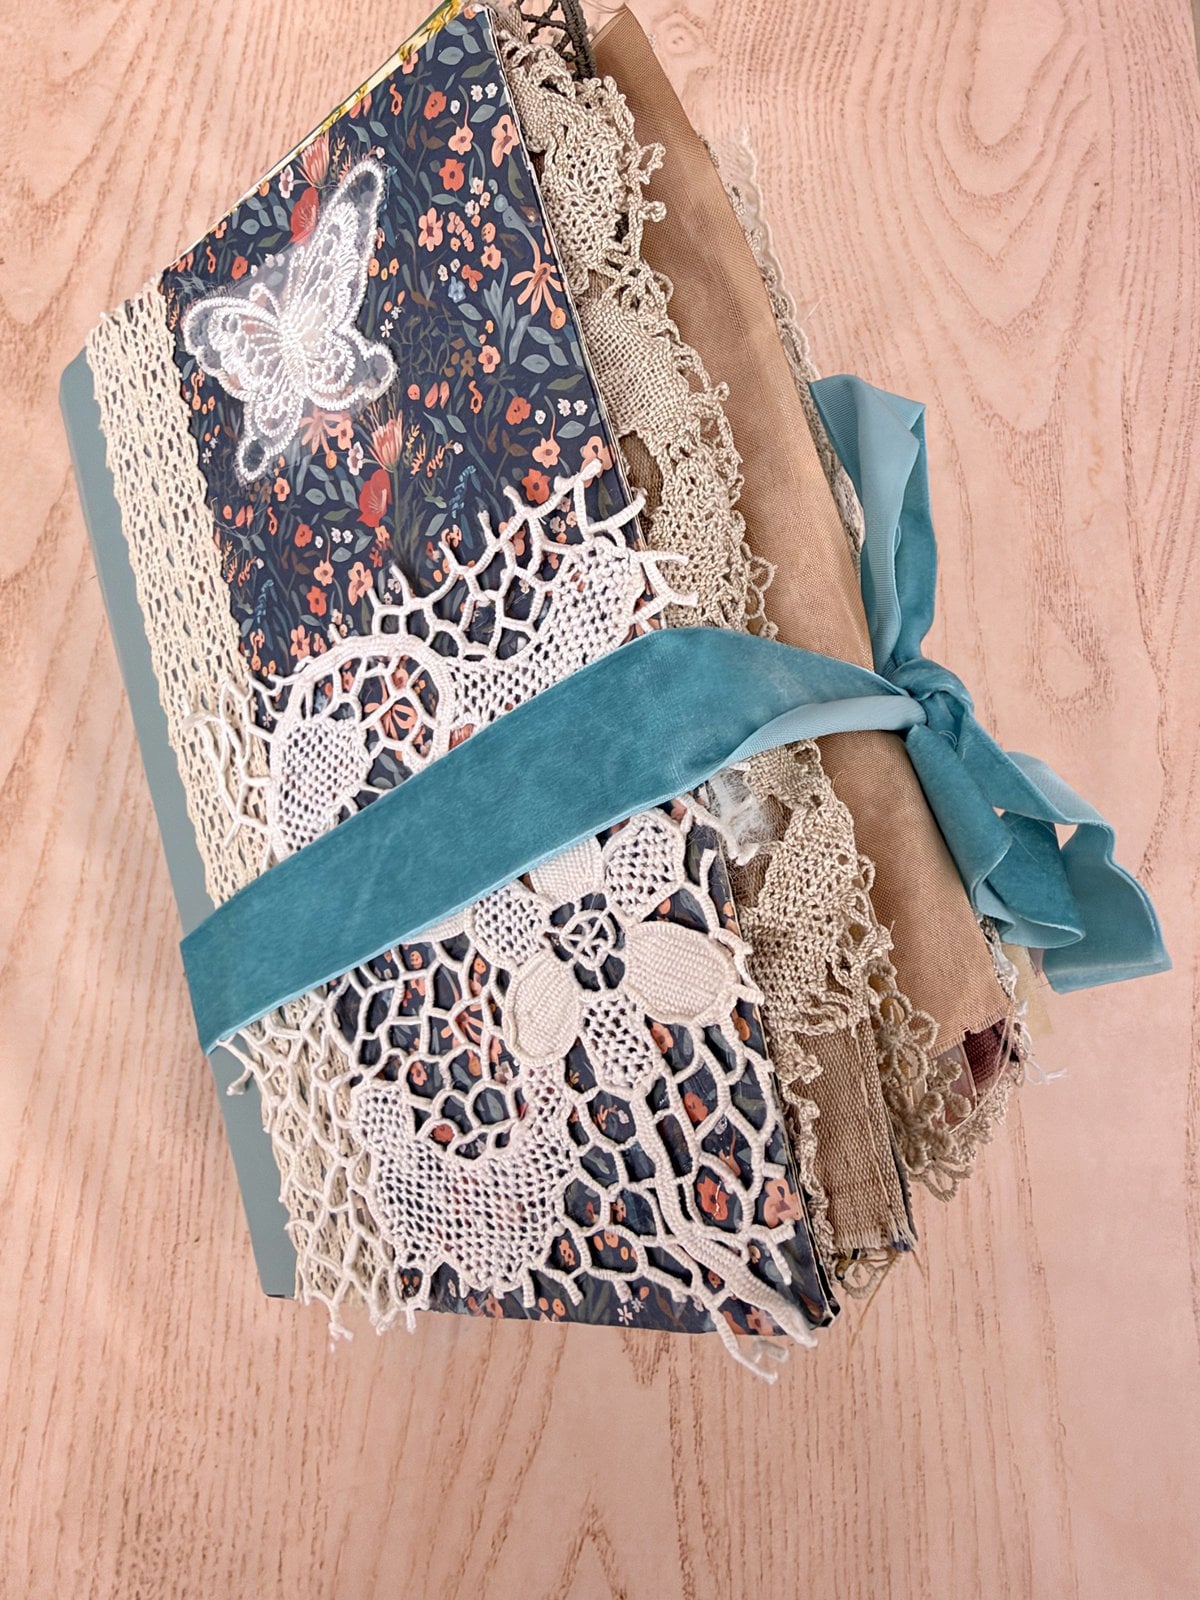
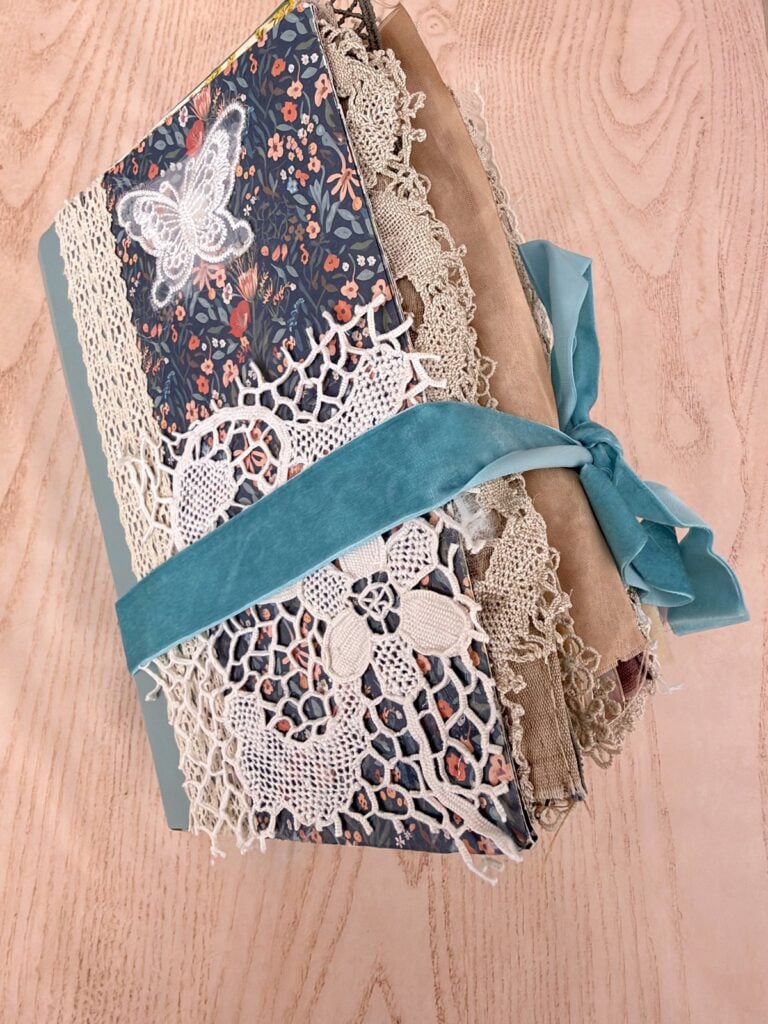
Most of the makes in this post were made by my mum, Jen, who has been happily turning my printable kits into chunky journals. I photographed them so you can see exactly how each idea looks in real life. Where something is mine, or comes from one of my videos, I’ve said so in the caption.
Before you start: what you need
Honestly, not much. For almost every project below you’ll only need:
- your printed kit pages (ordinary printer paper is fine to start with)
- a good pair of scissors
- a glue stick
- a hole punch and a bit of ribbon or string
- a ruler and a pencil
If you haven’t printed or folded your kit yet, start with How to Turn a Printable Kit Into a Real Junk Journal. It walks you through printing, folding signatures, binding and pockets, step by step. Then come back here and start making!
Little things to tuck into your pages
These are the quickest wins. Each one takes ten minutes or less, and they’re what make a journal feel full of treasures.
1. Tags
A tag is the classic junk journal make: a little card with a hole at the top that you tuck into a pocket or tie to a page. It’s the perfect first project.
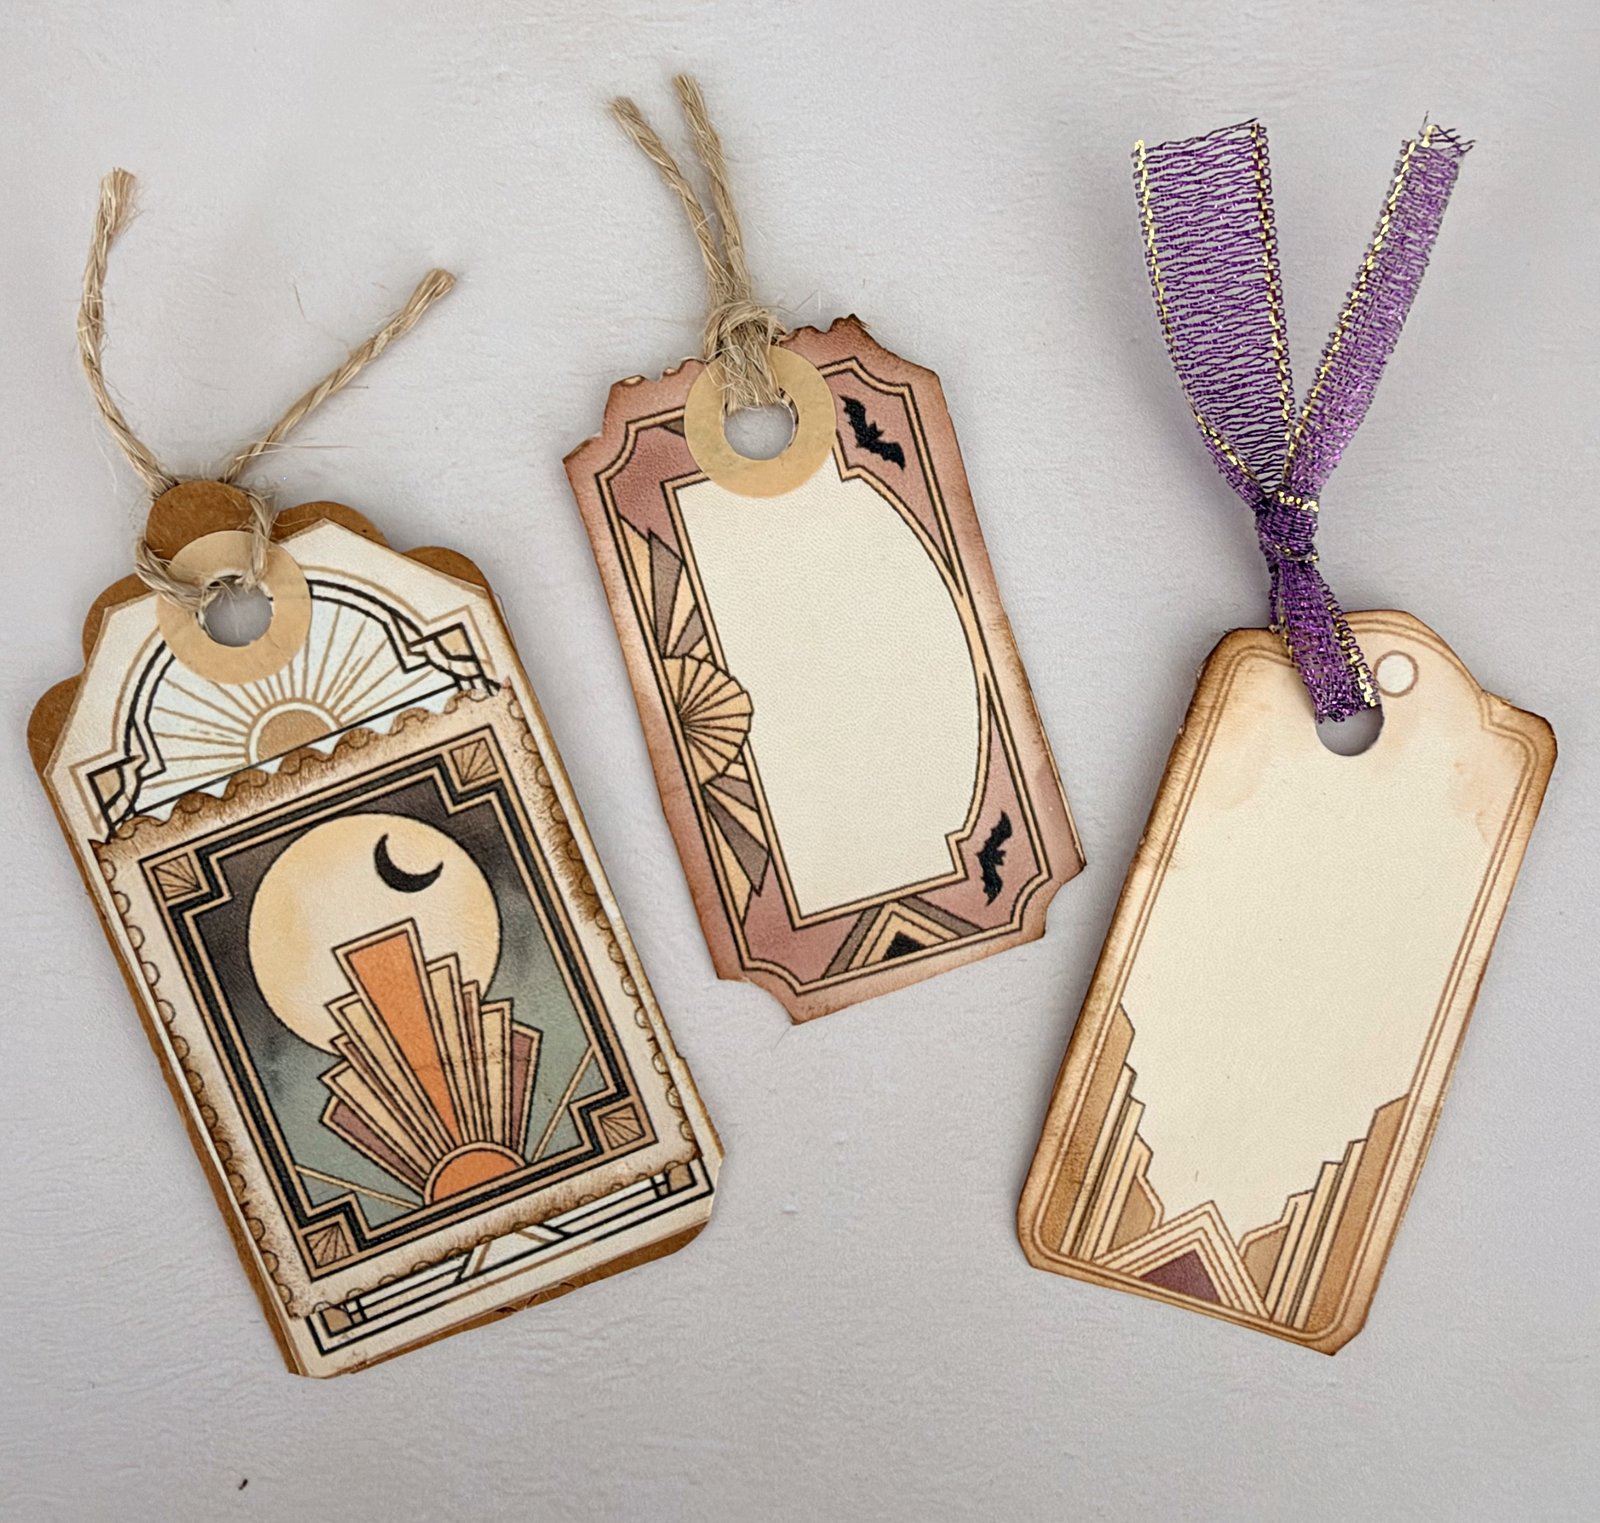
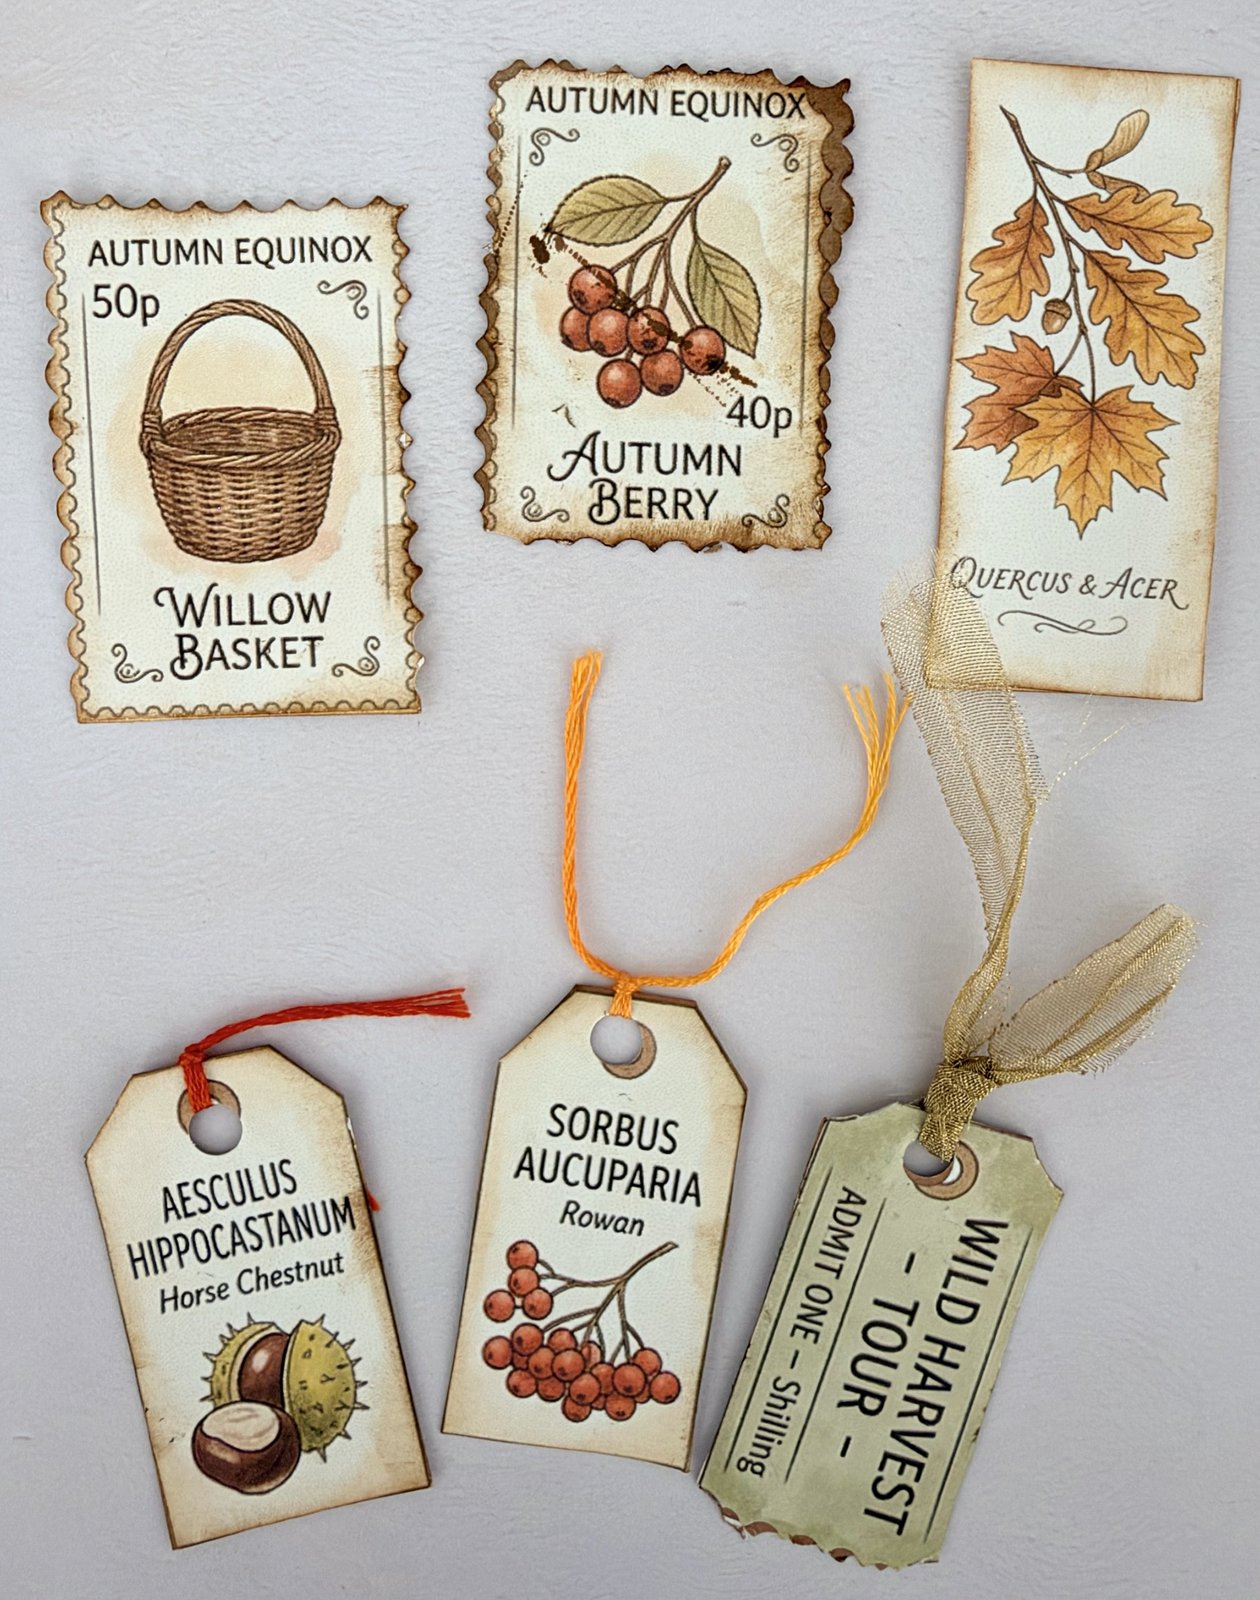
You need: a kit page with a pattern or a pretty picture, scissors, a hole punch, and a scrap of ribbon, twine or lace.
How to make it:
- Cut a rectangle roughly 7 x 12 cm.
- Snip the two top corners off at an angle.
- Punch a hole near the top.
- Thread your ribbon or twine through and knot it. That’s a tag!
💡 Tip: Many kits already have printed tags, so check before you cut. Tiny tags, tickets and stamp cut-outs make lovely tuck-ins too.
2. Artist trading cards (ATCs)
ATCs are tiny pieces of art, always 2.5 x 3.5 inches (6.4 x 8.9 cm), the size of a playing card. They’re traditionally swapped with other crafters rather than sold, and they’re a lovely way to use up the best little images in a kit.
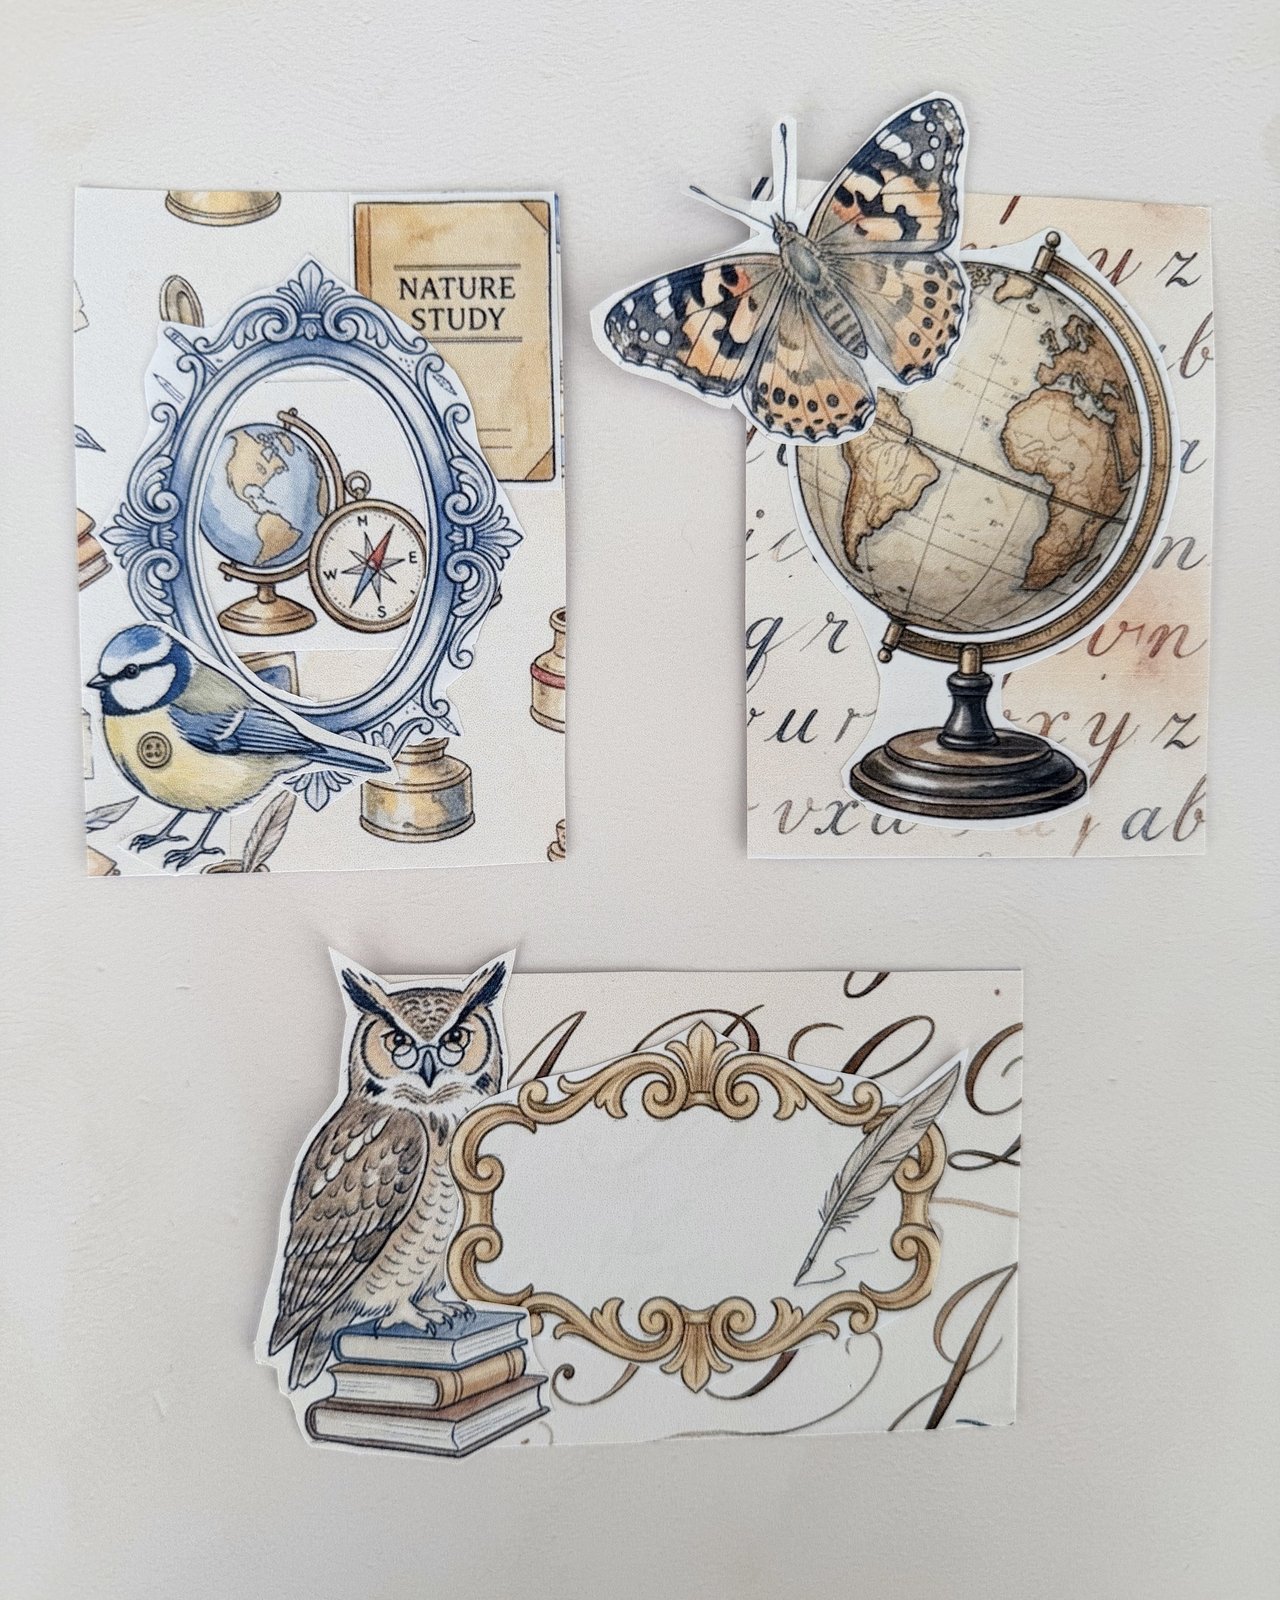
You need: thin card (a cereal box works brilliantly), one or two kit pages and a glue stick.
How to make it:
- Cut your card to 6.4 x 8.9 cm.
- Glue on a background paper from your kit and trim the edges.
- Add one focal image, a frame or a label on top.
- Finish with a single word or a tiny stamp cut-out.
💡 Tip: Make three at once from the same page so they match. One to keep, one for a friend, one to tuck in your journal.
3. Paper-clip toppers
A paper-clip topper is a small image glued onto a paper clip so it peeps over the top of a page. It holds notes in place and doubles as a bookmark.
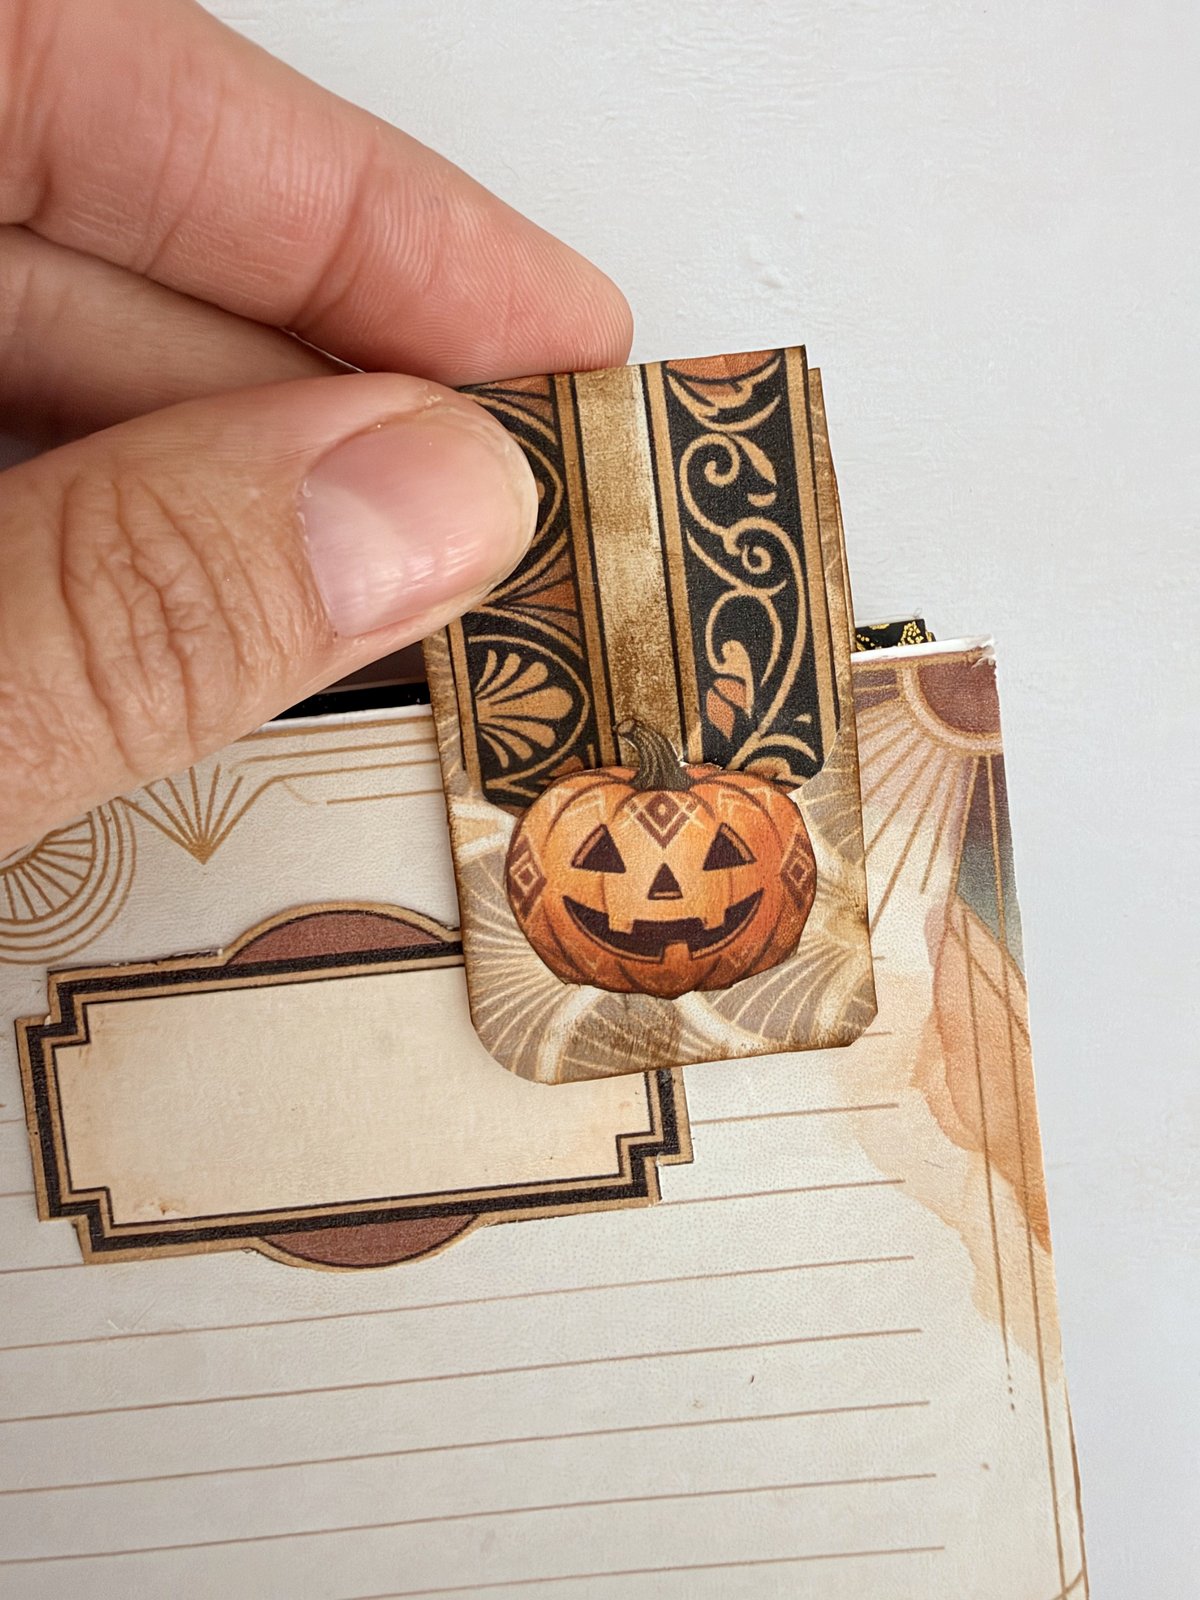
You need: a small image cut from your kit (a pumpkin, a moth, a flower), a paper clip, a scrap of card and strong glue.
How to make it:
- Cut out your image and glue it onto card to stiffen it.
- Cut round it again, leaving a tiny border.
- Glue it to the top of the paper clip, so the clip still slides on underneath.
- Let it dry flat under a book, then clip it onto a page edge.
💡 Tip: Cut two copies and glue them back to back, sandwiching the clip in between. Then it looks pretty from both sides.
4. Bookmarks and tab strips on a hoop
Long, narrow strips from your kit make instant bookmarks. Gather a few on a metal hoop (a binder ring) and they become a little bundle you can hang from your journal’s spine.
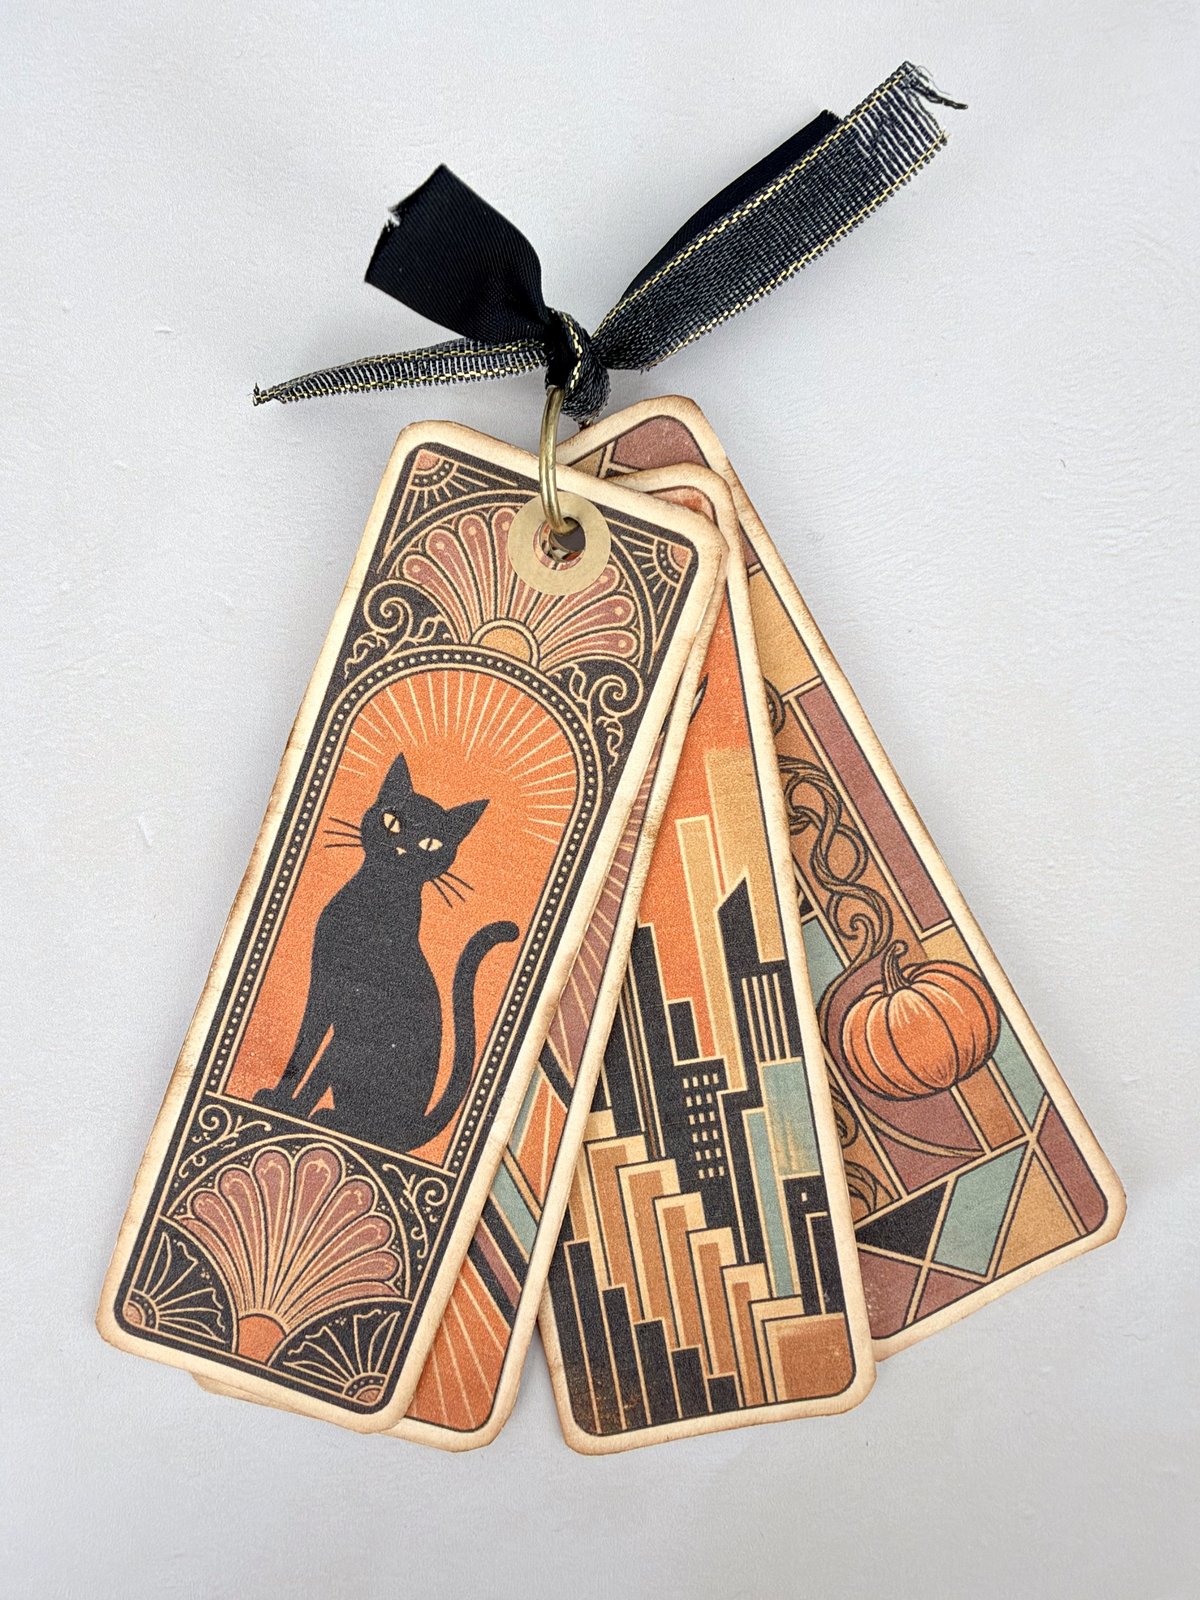
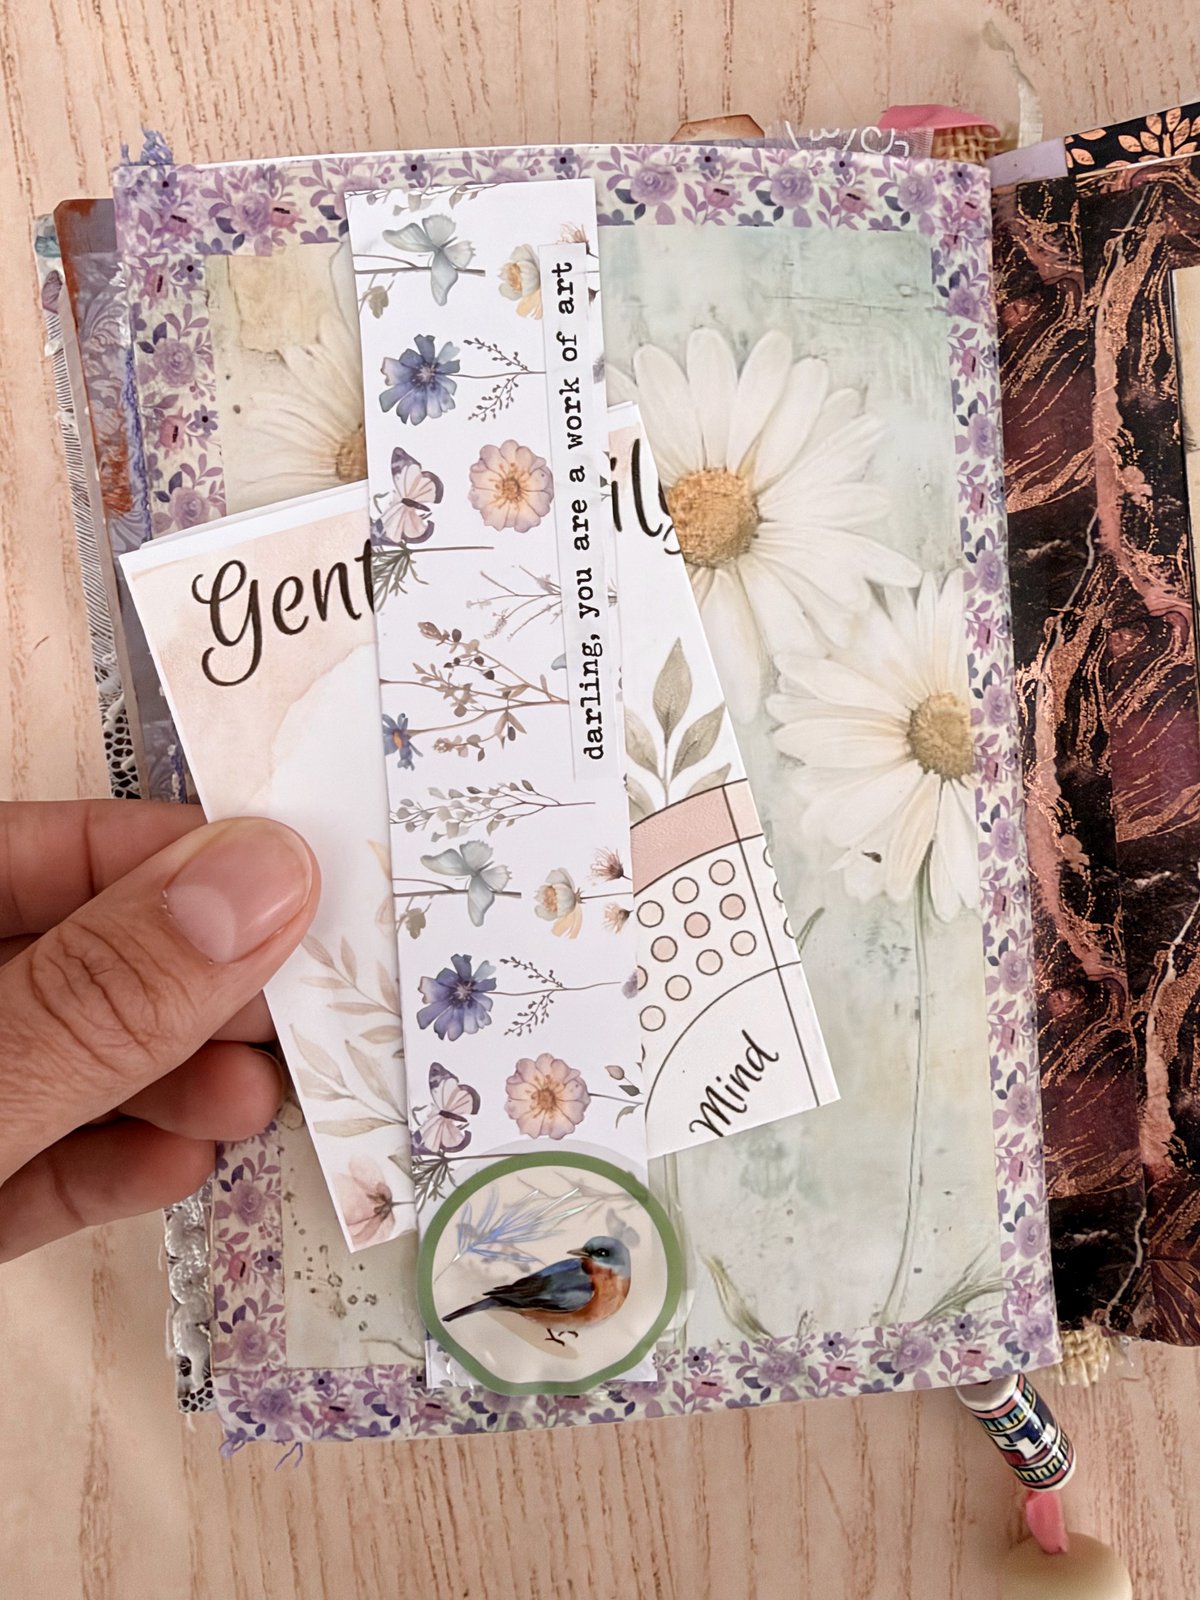
You need: kit pages with long borders or strips, thin card, a hole punch, a binder ring and some ribbon.
How to make it:
- Cut strips about 4 x 15 cm and glue them onto thin card.
- Round the corners with scissors.
- Punch a hole at the top of each strip.
- Thread them onto a binder ring and tie a ribbon round the ring.
💡 Tip: Glue two strips back to back so both sides are pretty. A few of them make a lovely little gift tucked inside a book.
5. Tabs
A tab is a small label that sticks out from the edge of a page, like in an address book. It helps you find a favourite spread and adds a lovely layered look to the edge of your journal.
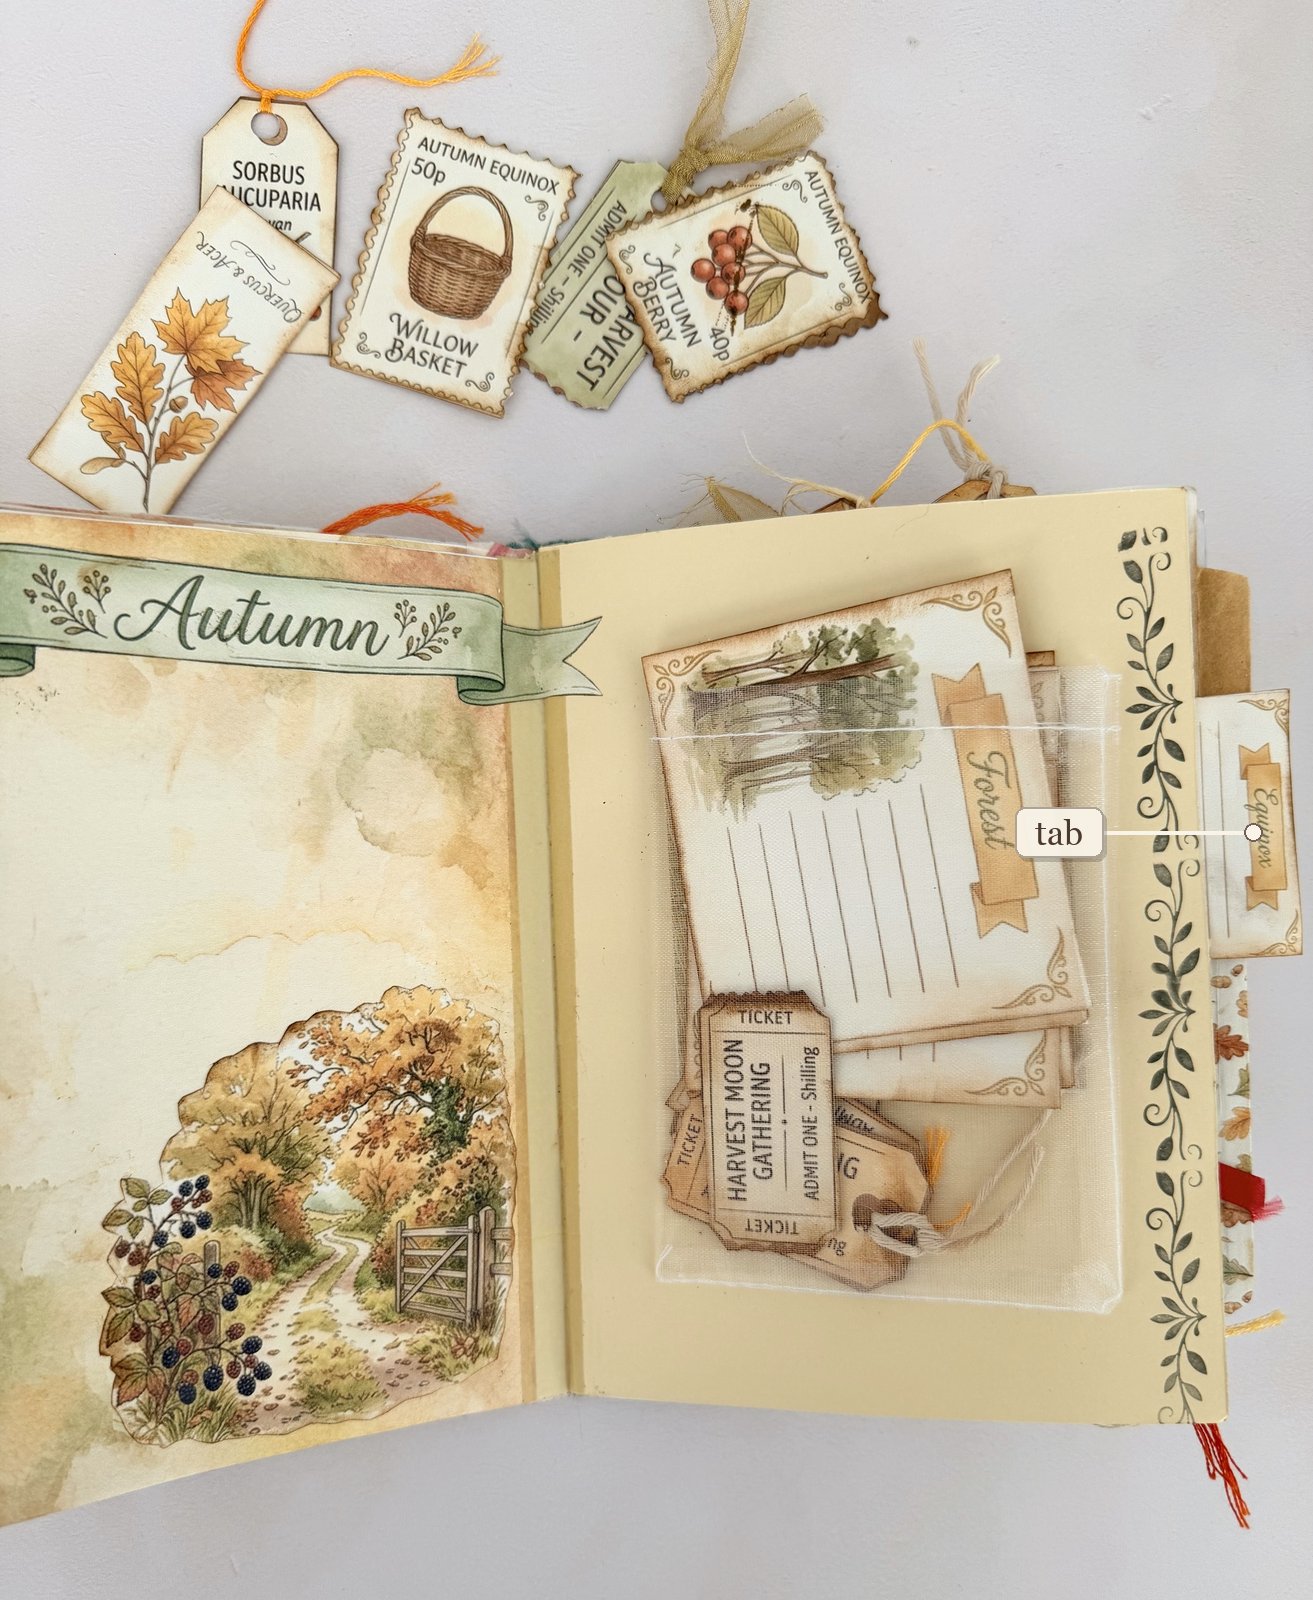
You need: a small label or scrap of patterned paper and a glue stick.
How to make it:
- Cut a small rectangle, about 3 x 5 cm, or use a label from your kit.
- Fold it in half, or glue two pieces back to back.
- Glue half of it to the back edge of a page, so the other half sticks out.
- Write a word on it: a month, a name, or “favourites”.
💡 Tip: Stagger your tabs down the page edge so they don’t hide each other when the journal is closed.
Pockets, envelopes and packets
Pockets are what make a junk journal so fun to flip through. There’s always something to pull out.
6. Simple and layered pockets
A pocket is just a piece of paper glued on three sides, leaving the top open. Layer two or three together and you get that lovely, stuffed-full look.
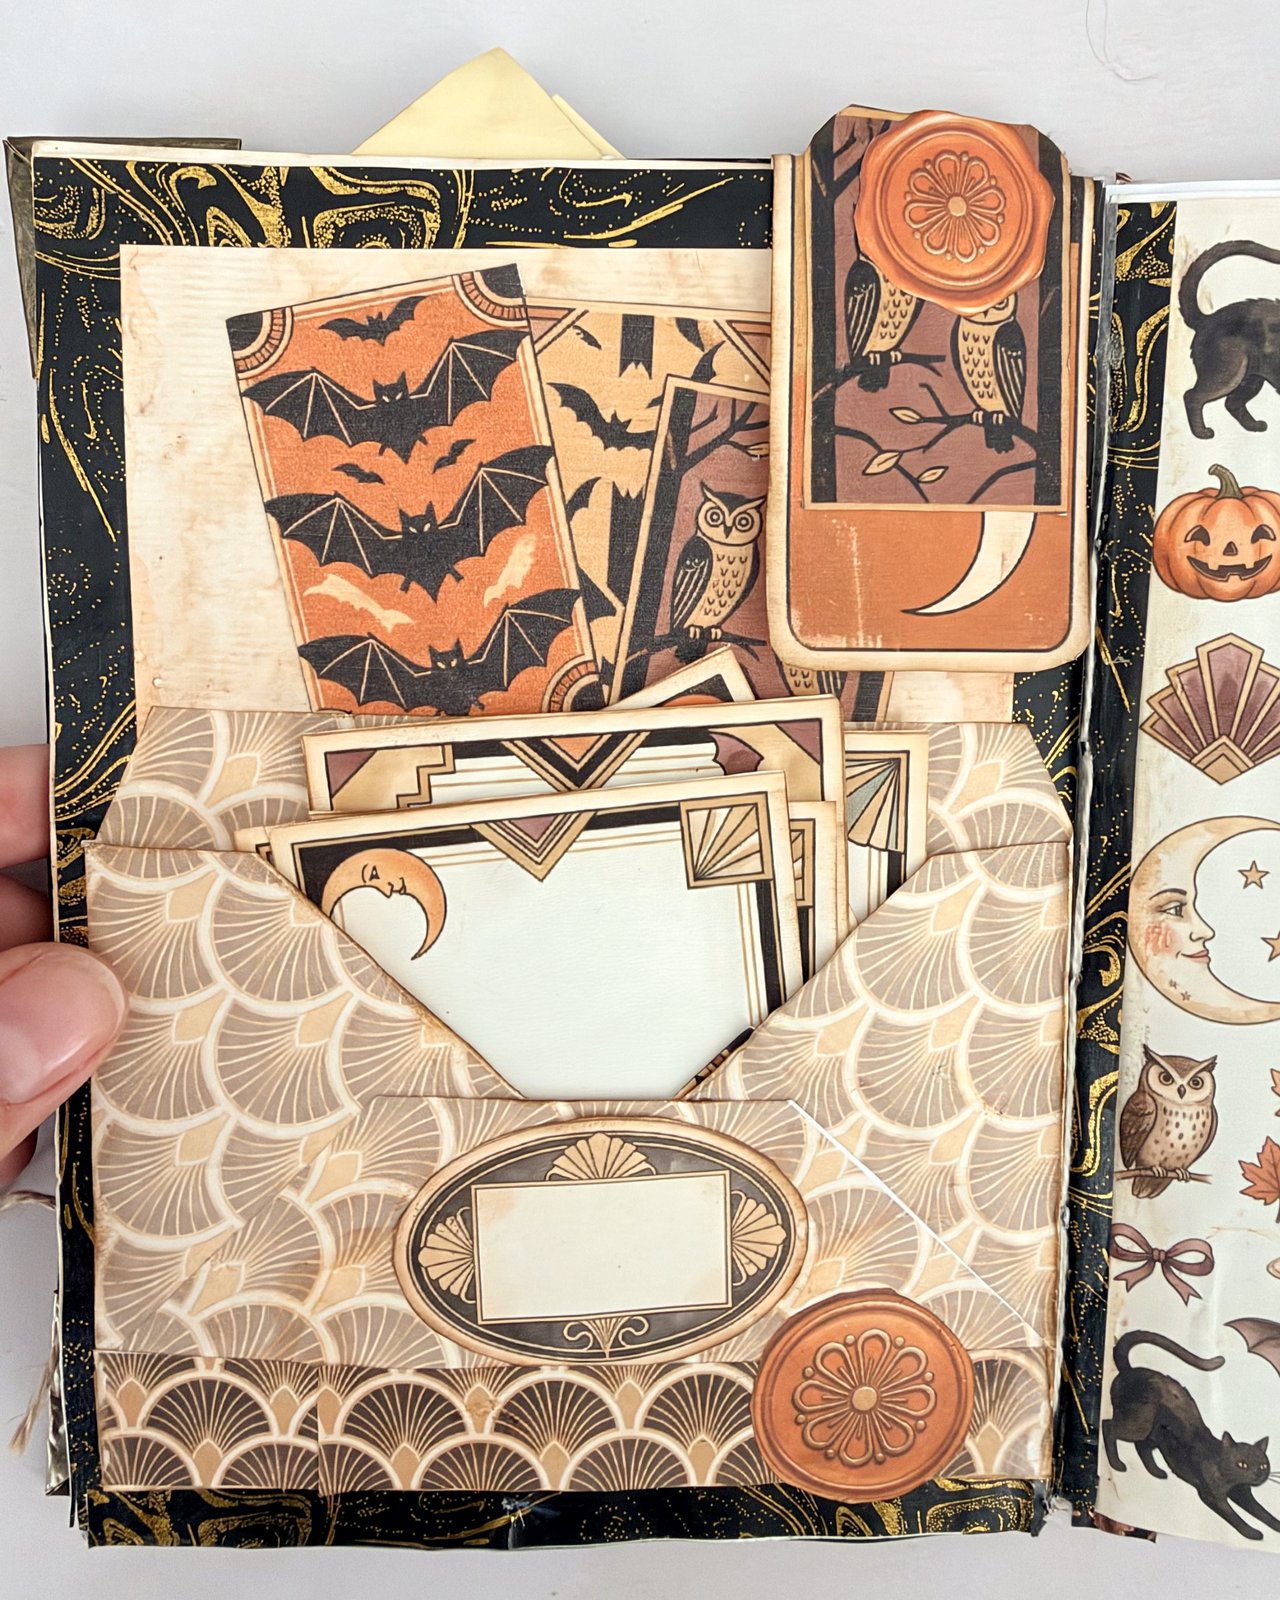
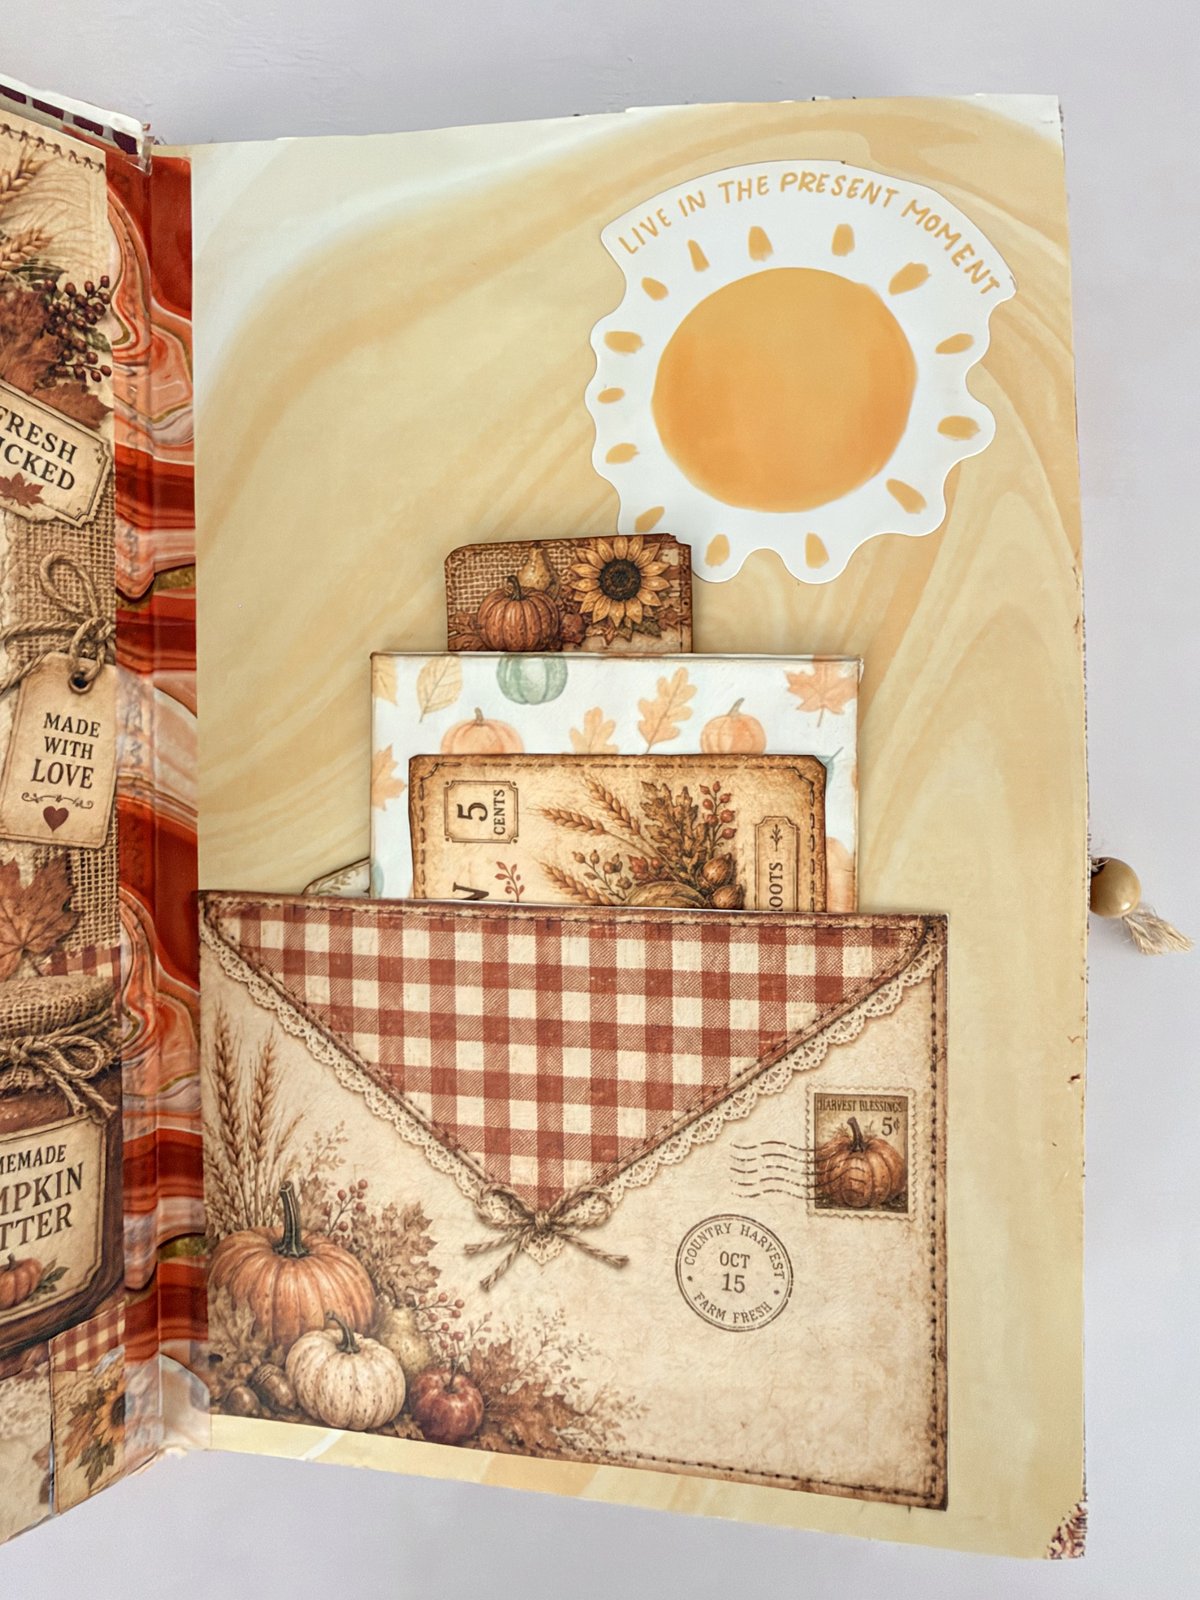
You need: half a kit page, a glue stick and scissors.
How to make it:
- Cut a kit page in half across the middle.
- Run glue along the two sides and the bottom edge only (never the top!).
- Press it onto another page and smooth it down.
- For a layered pocket, glue a slightly smaller pocket on top of the first one.
💡 Tip: Draw round a coin along the top edge and cut out the curves for a pretty scalloped pocket in seconds.
7. Shaped pockets: V, curved and bag-shaped
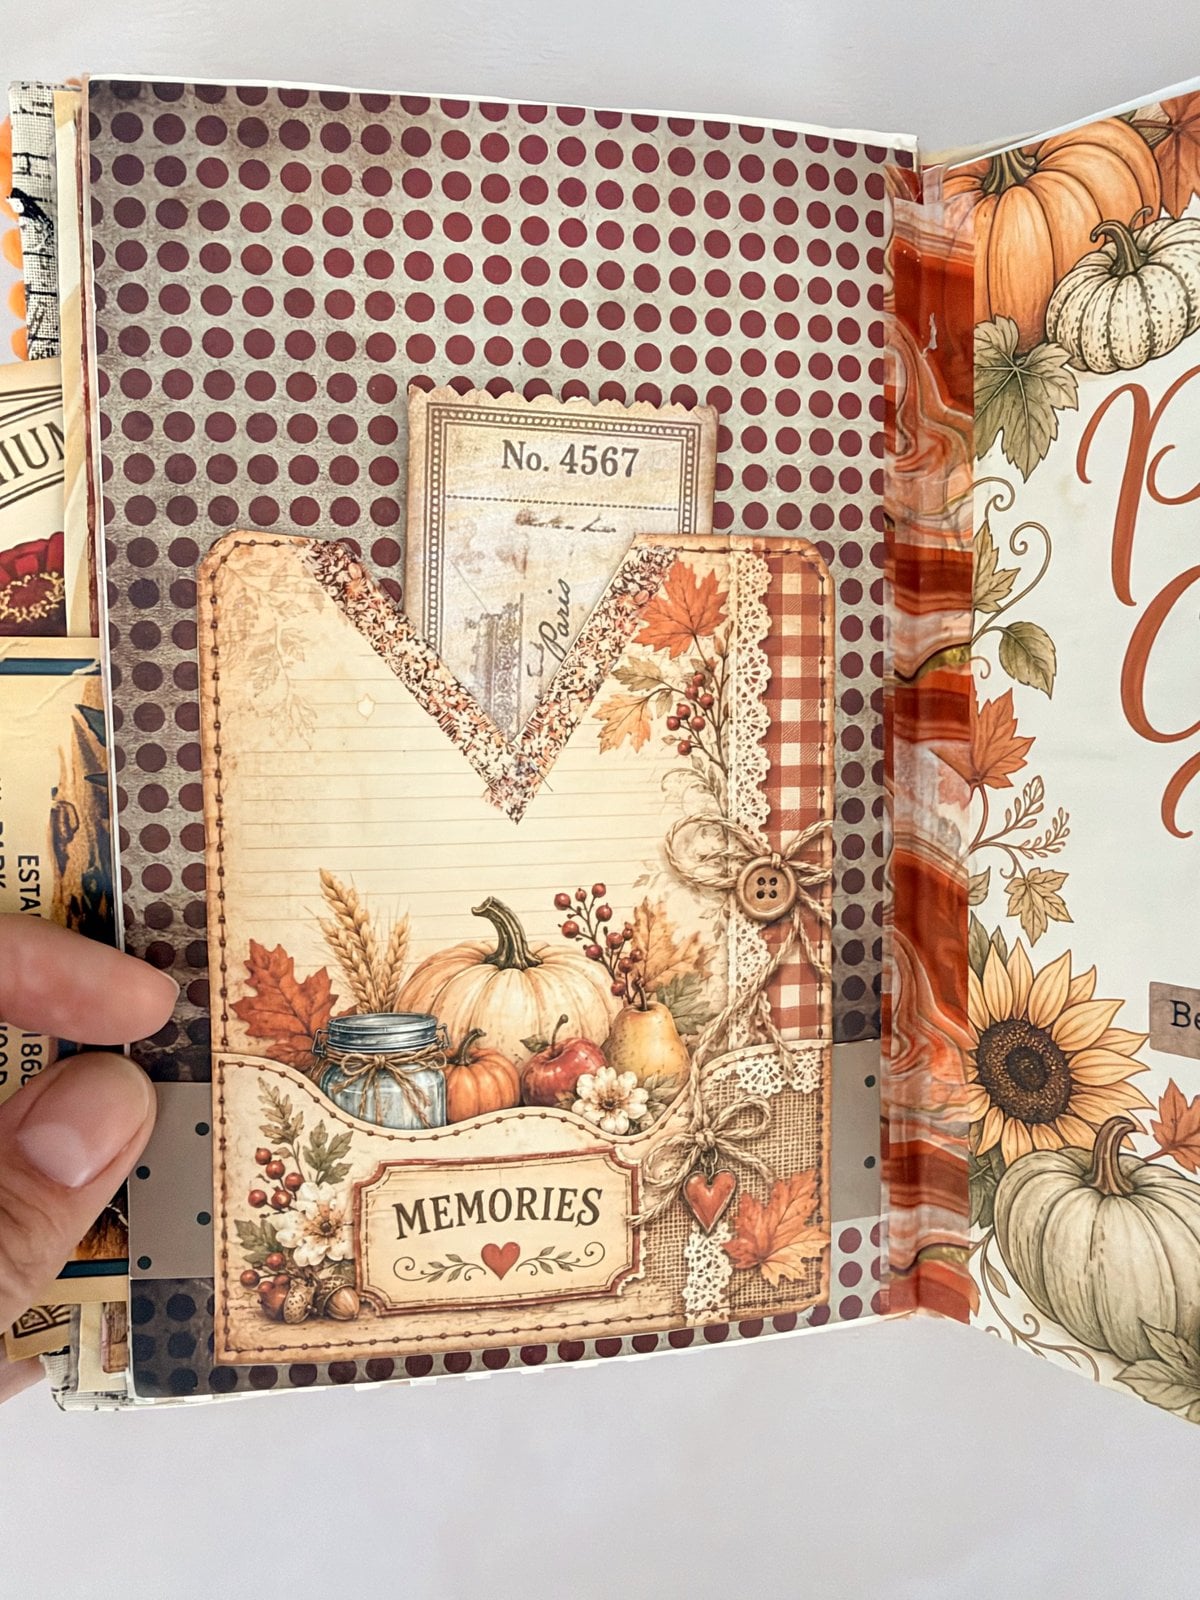
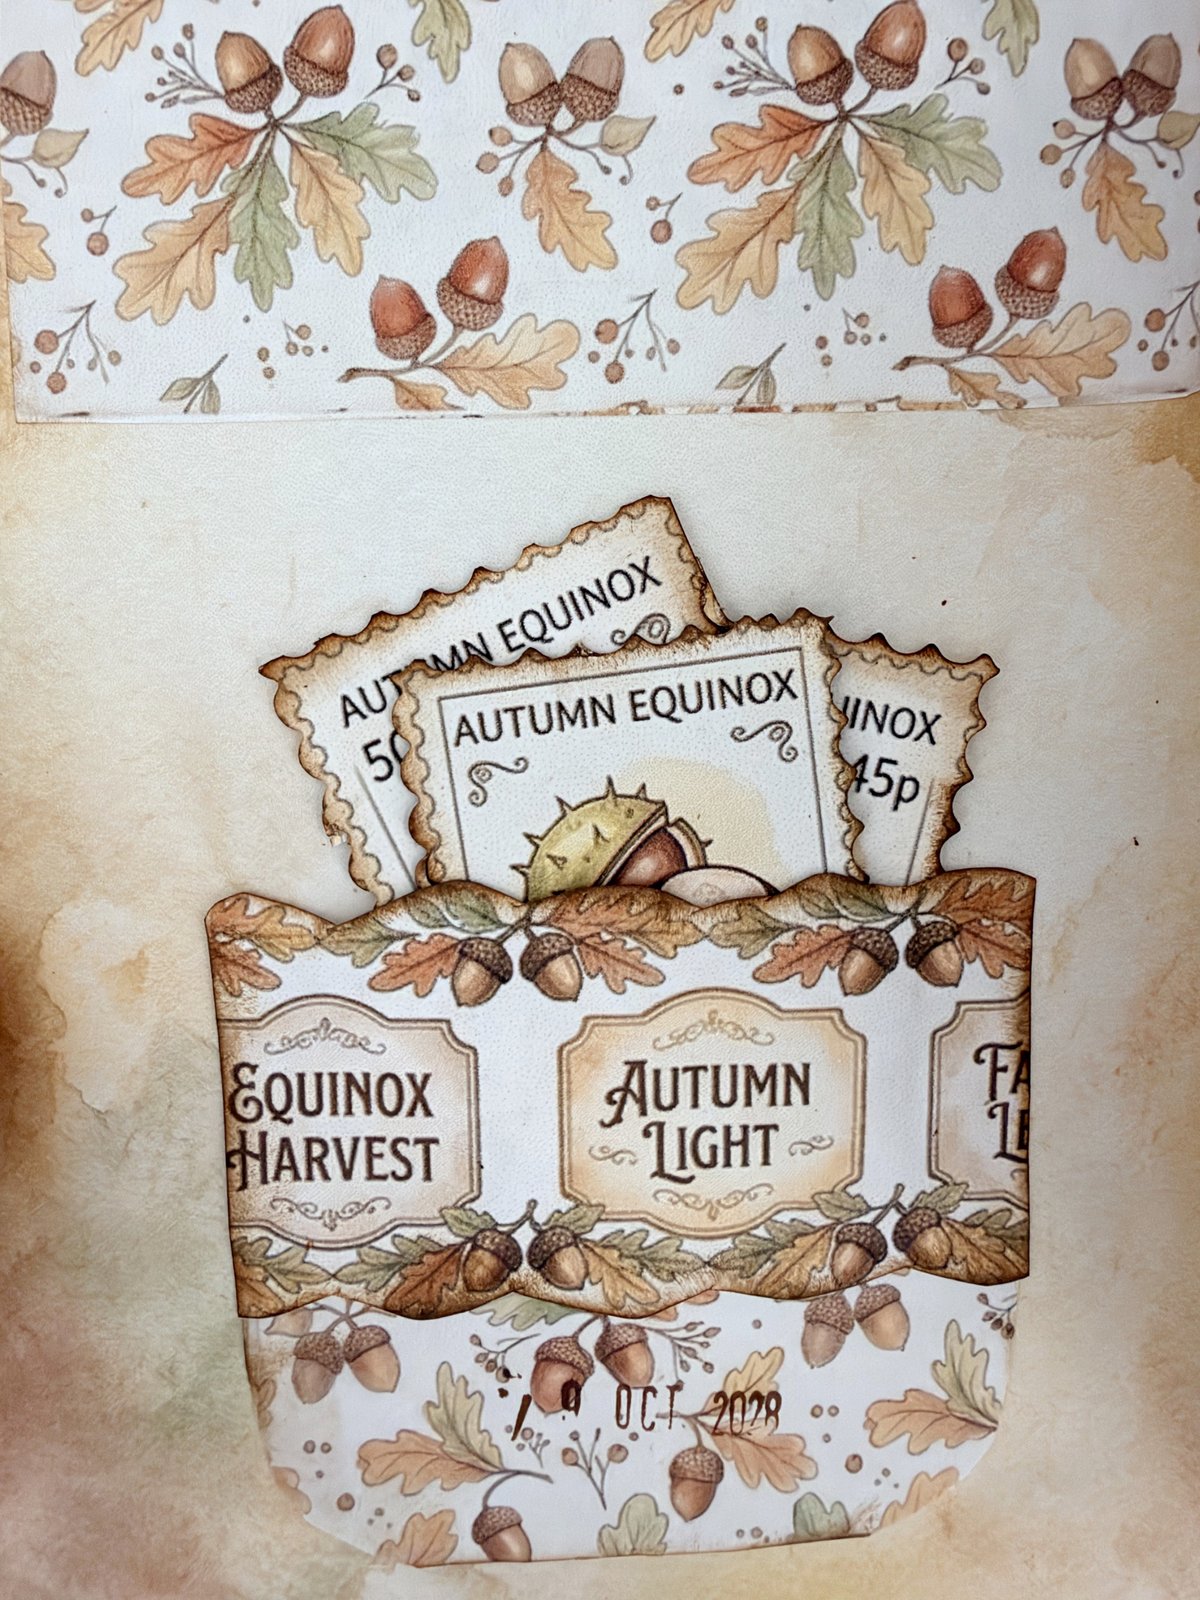
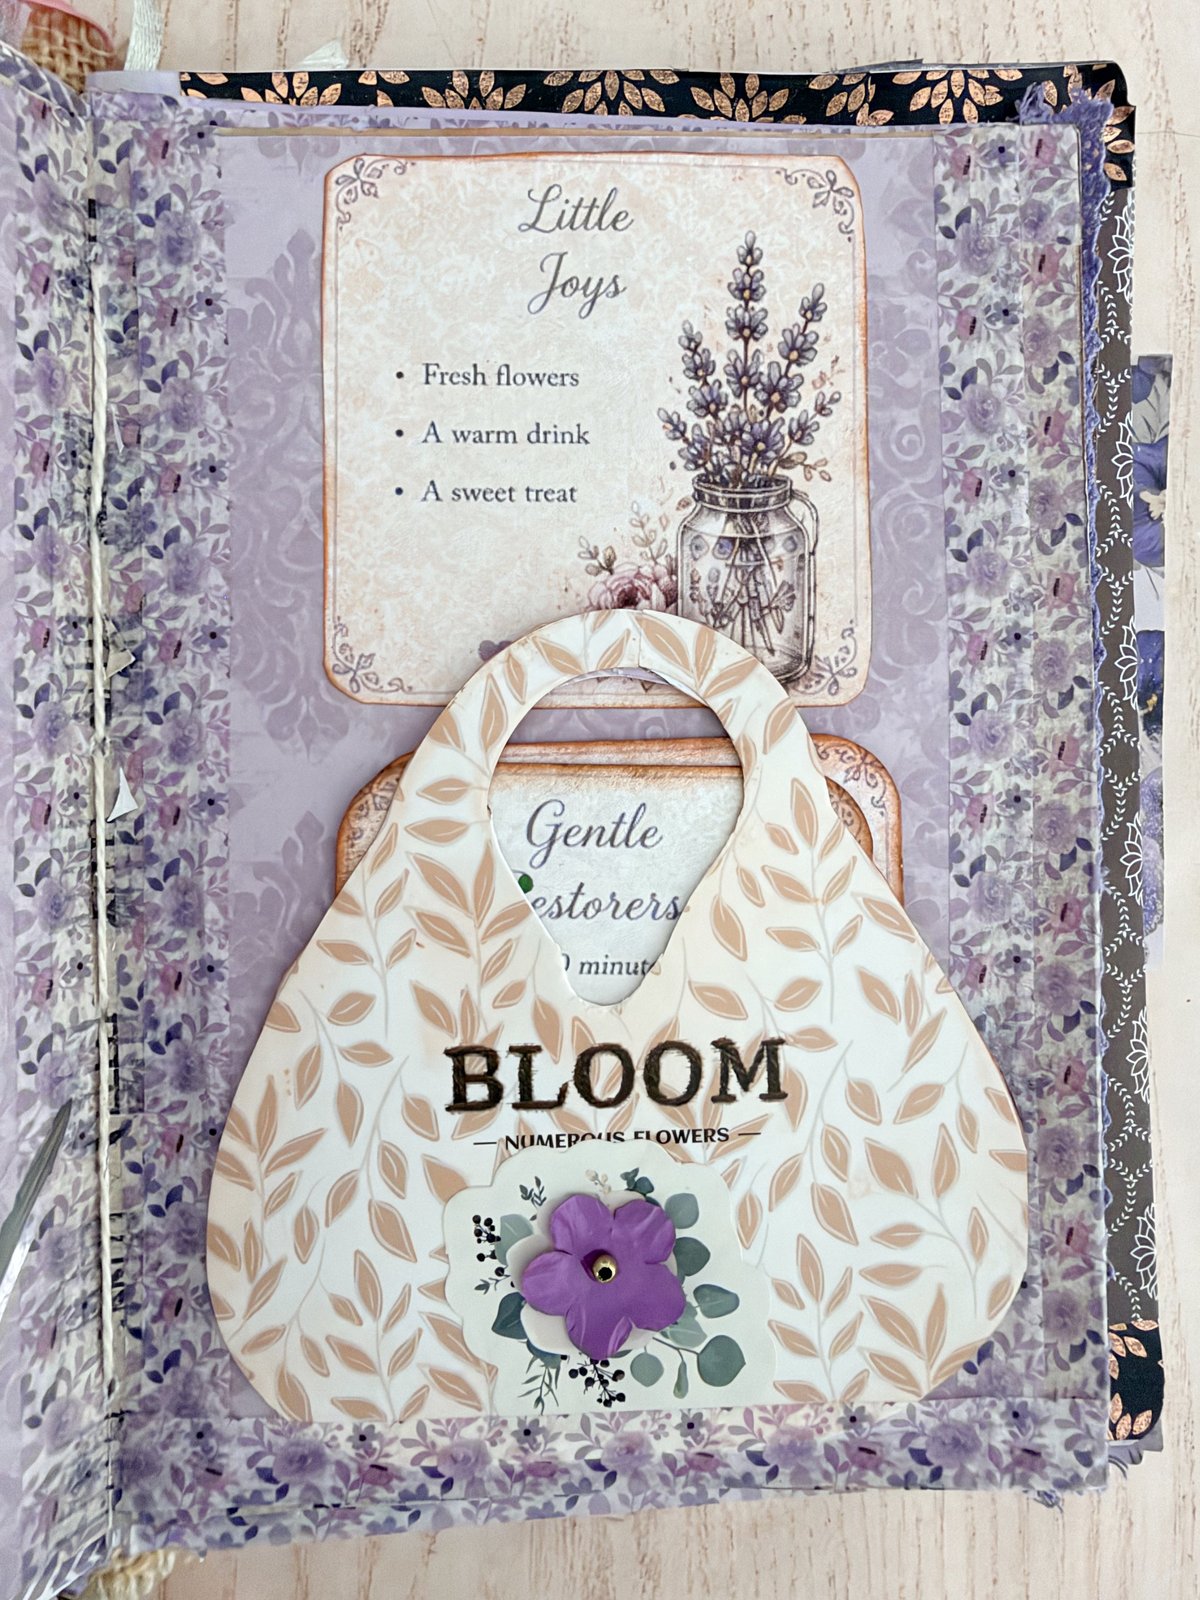
Once you can make a straight pocket, try changing the shape of the top edge. A V-shape, a gentle curve or even a little handbag all work exactly the same way.
You need: a kit page, a pencil, scissors and a glue stick. A mug or a jar lid helps for curves.
How to make it:
- Draw your shape on the back of the paper: a V, a curve round a mug, or a handbag with a handle.
- Cut it out.
- Glue the sides and bottom (not the top!) onto your page.
- Tuck in a tag or a card so the pocket looks lived in.
💡 Tip: For a bag-shaped pocket, cut the handle hole with a craft knife before you glue it down. It’s much easier on a flat piece.
8. Fabric, felt and lace pockets
Swap the paper for a scrap of felt, lace or fabric and a simple pocket suddenly feels very special. This is where your sewing box leftovers come in.
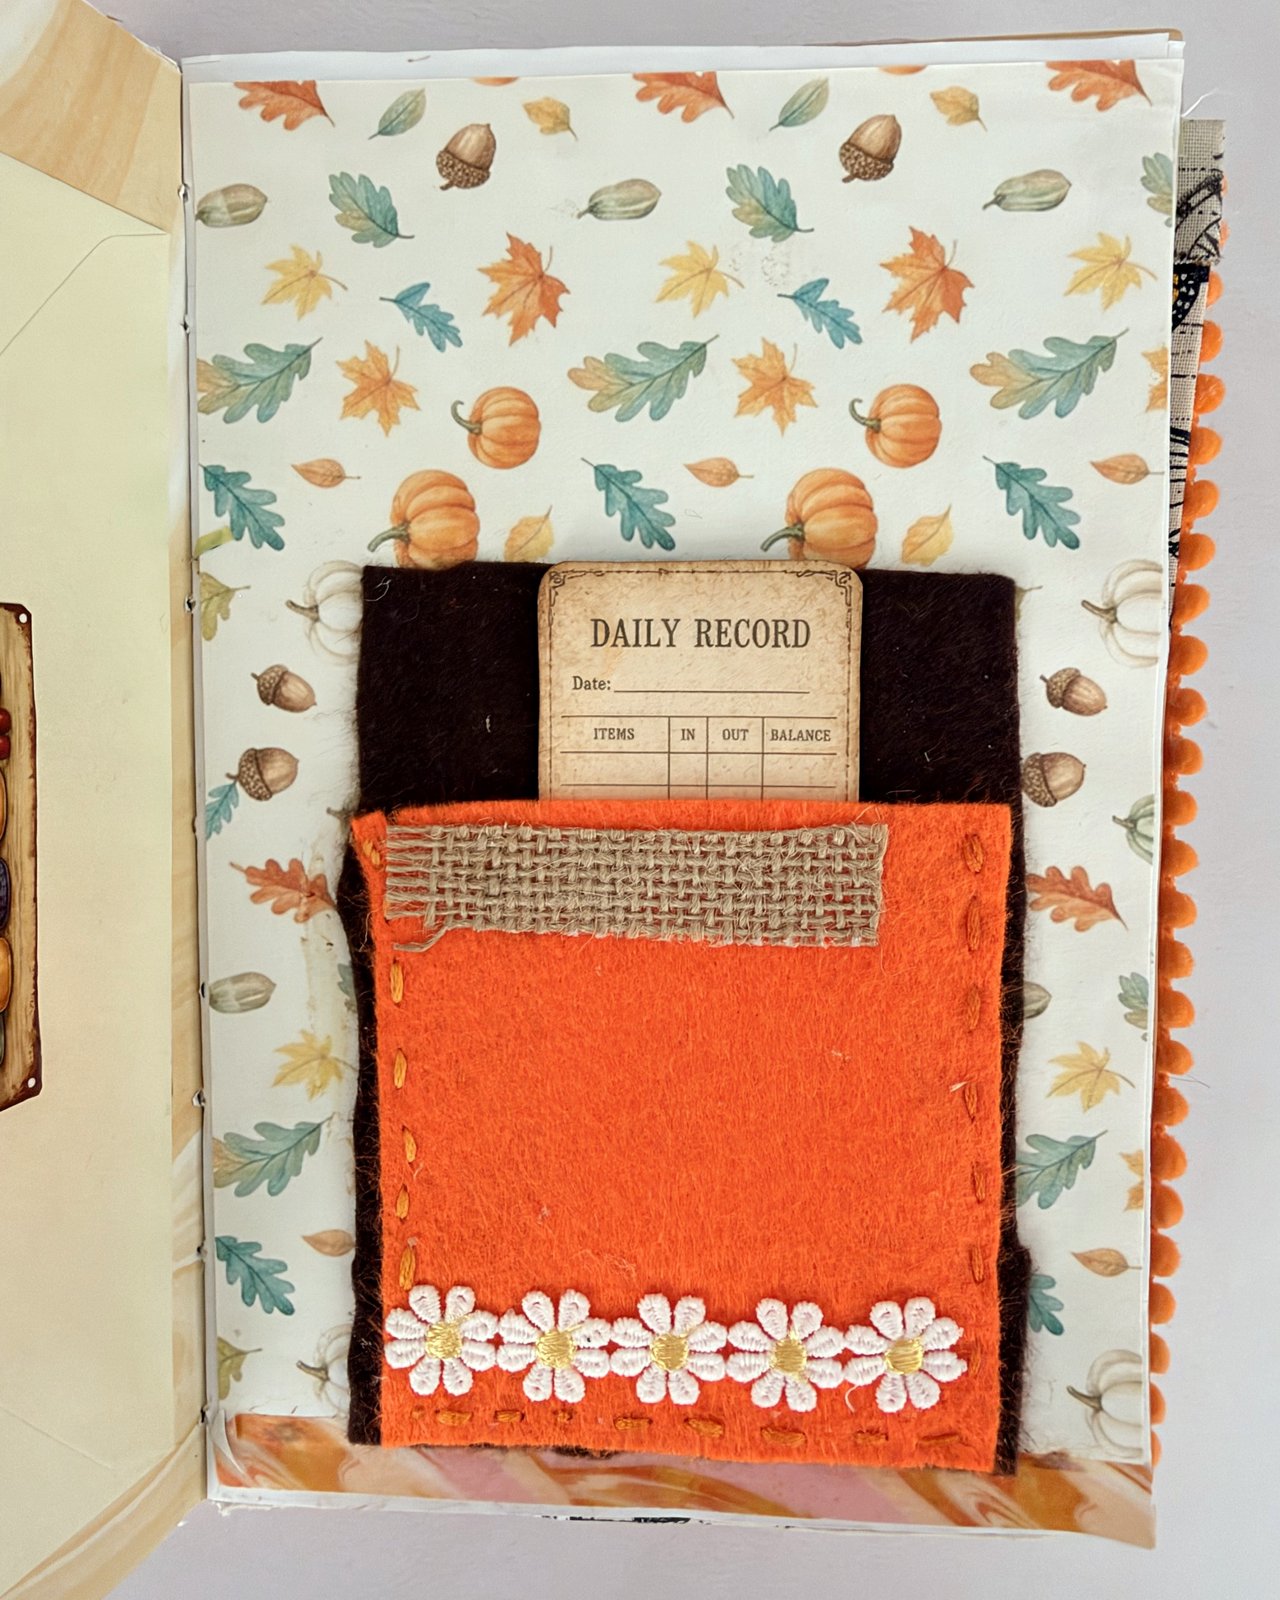
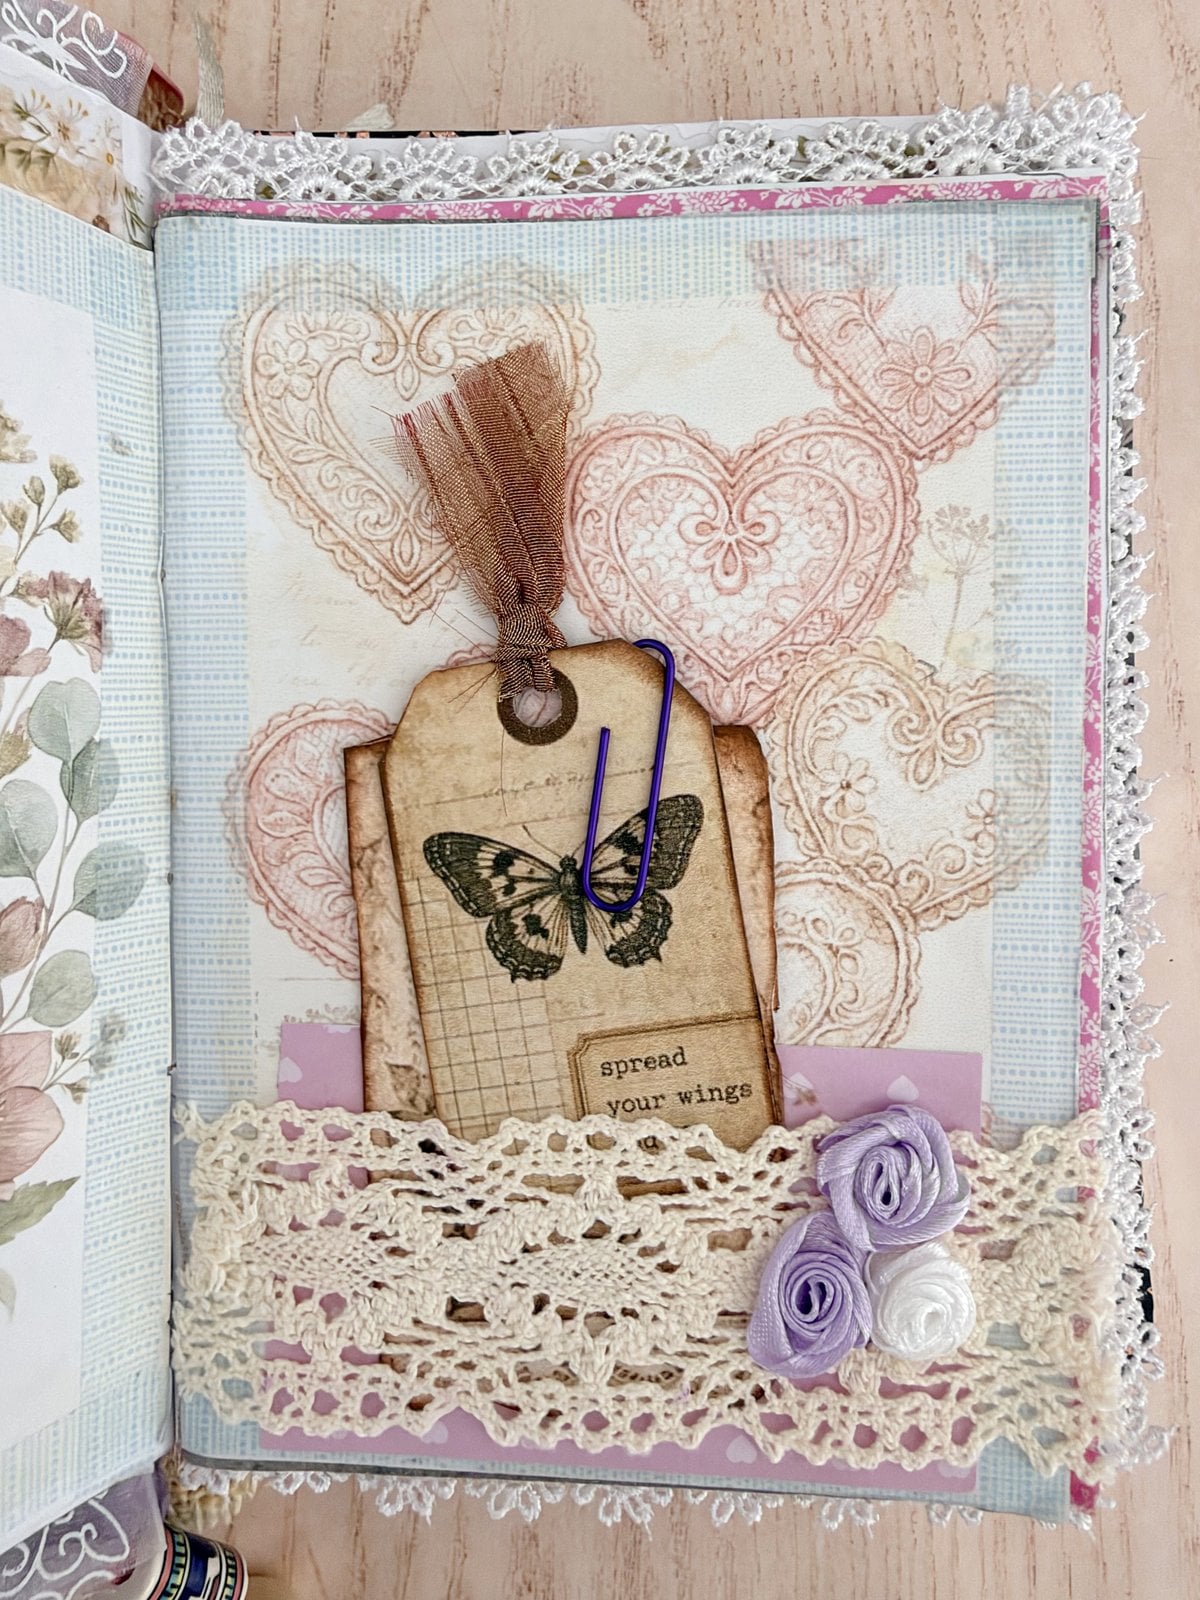
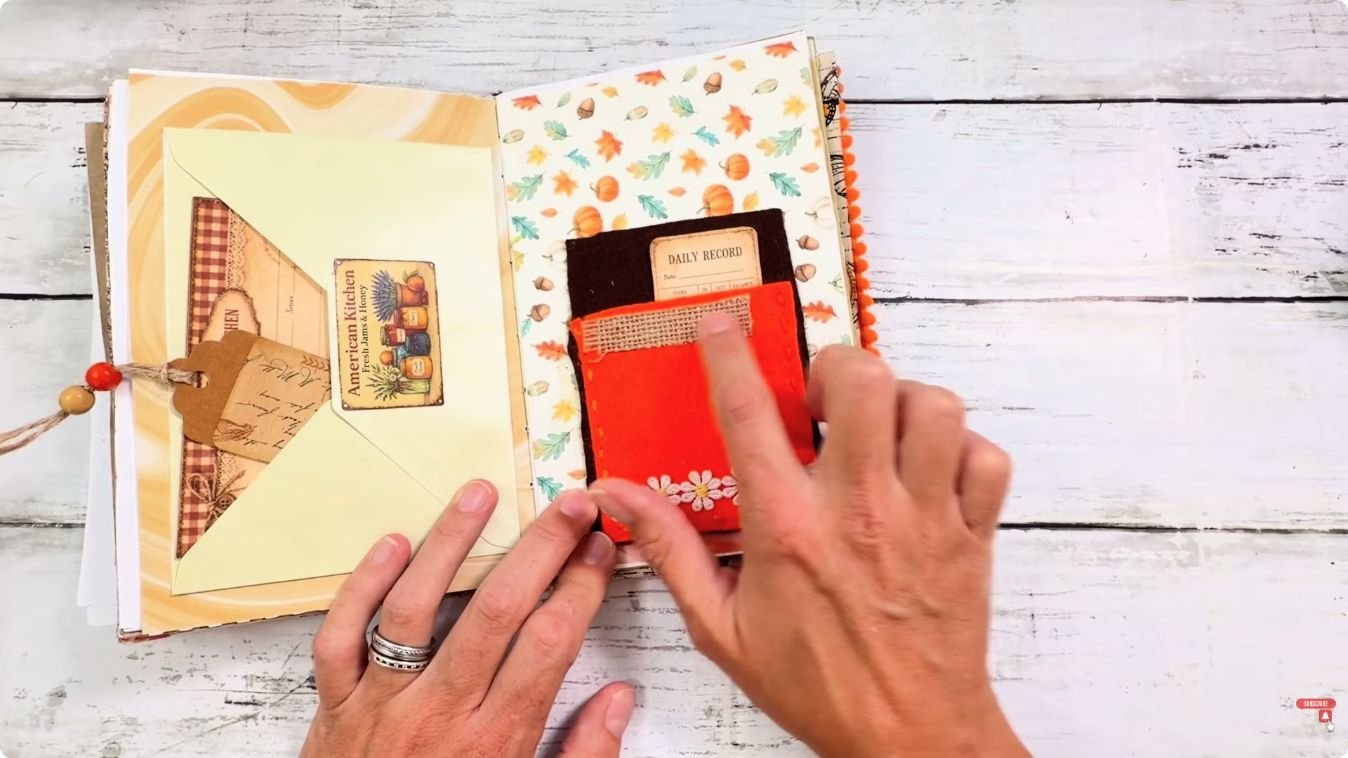
You need: a scrap of felt, lace or fabric, a strip of trim (daisies, ribbon or ric-rac), and PVA or fabric glue. A needle and thread are optional.
How to make it:
- Cut your fabric or felt a little smaller than the page.
- Glue a strip of trim along the top edge.
- Glue or stitch it down on three sides, leaving the top open.
- Pop in a kit card or a tag.
💡 Tip: Felt doesn’t fray, so it’s the easiest fabric to start with. A few big running stitches round the edge look charming even if they’re wonky.
9. Envelopes
Envelopes are pockets with a flap, perfect for hiding letters, photos and little keepsakes. You can fold one from any square of kit paper.
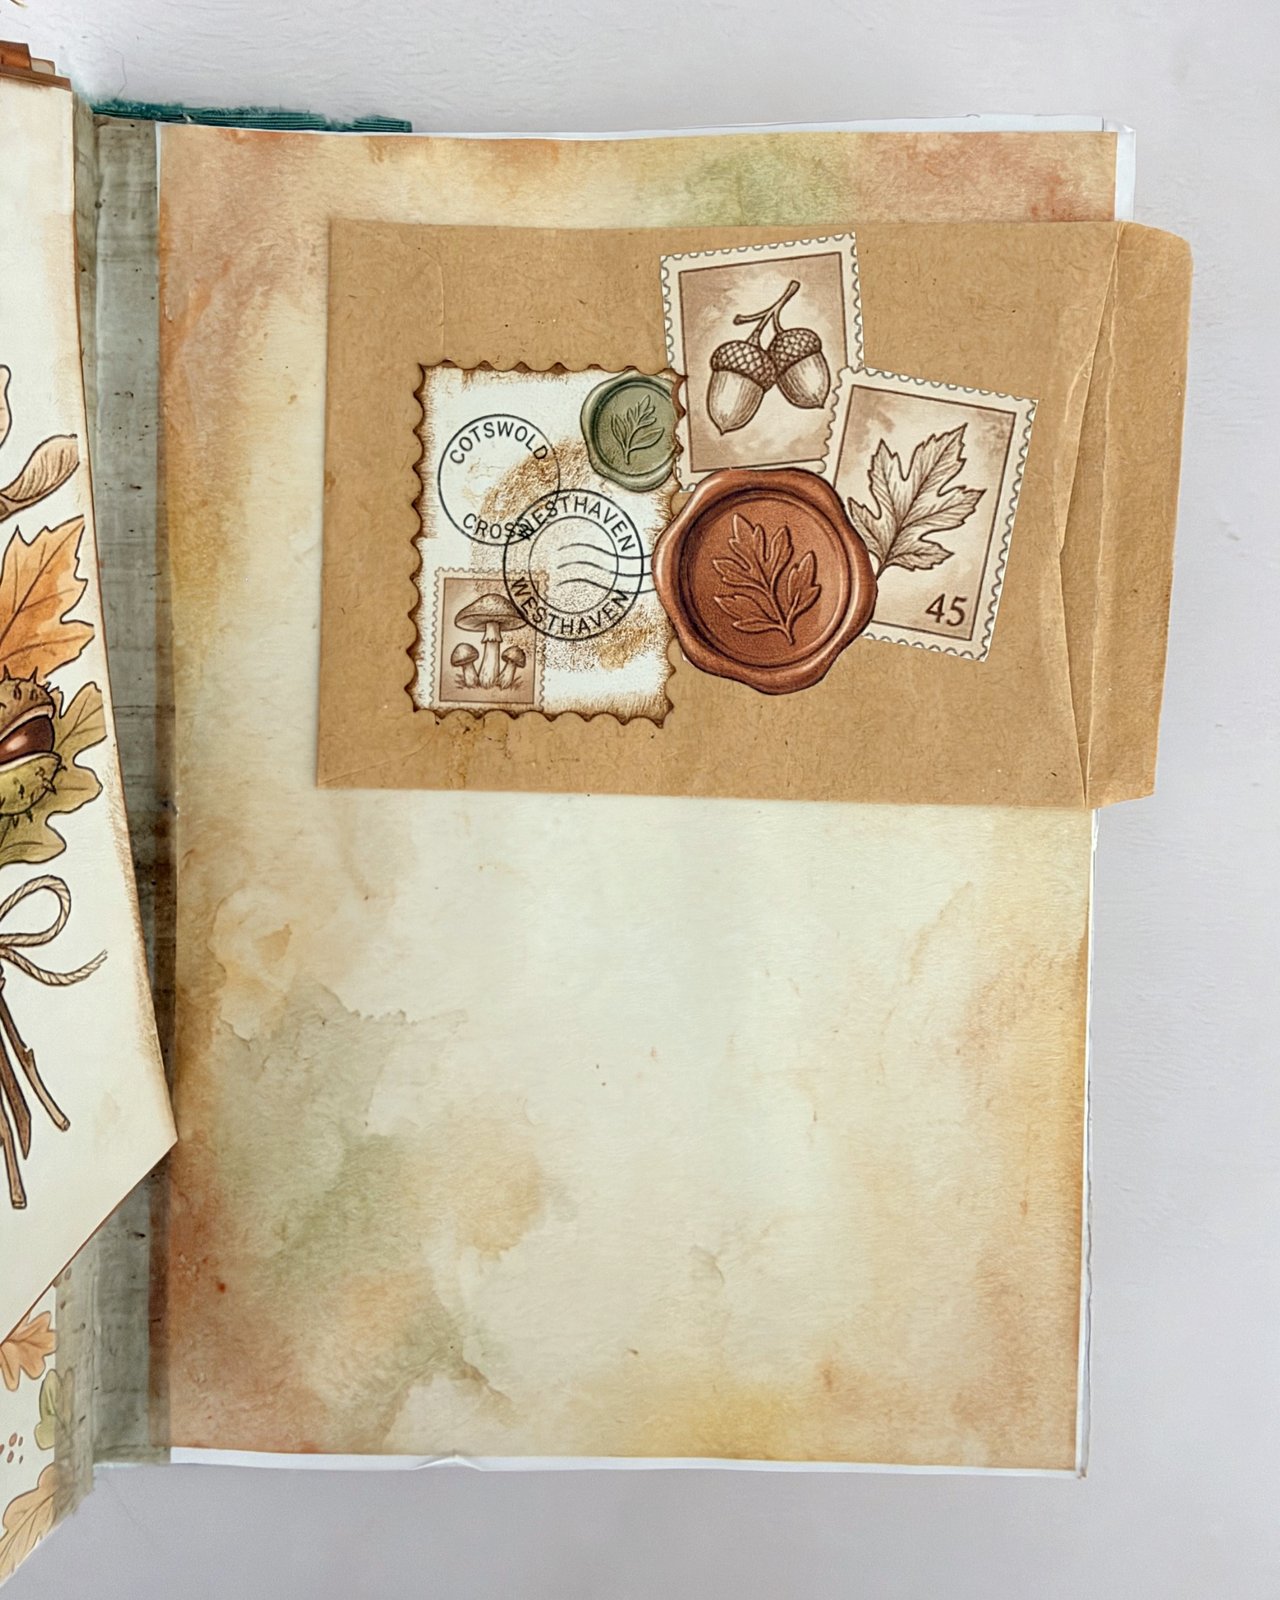
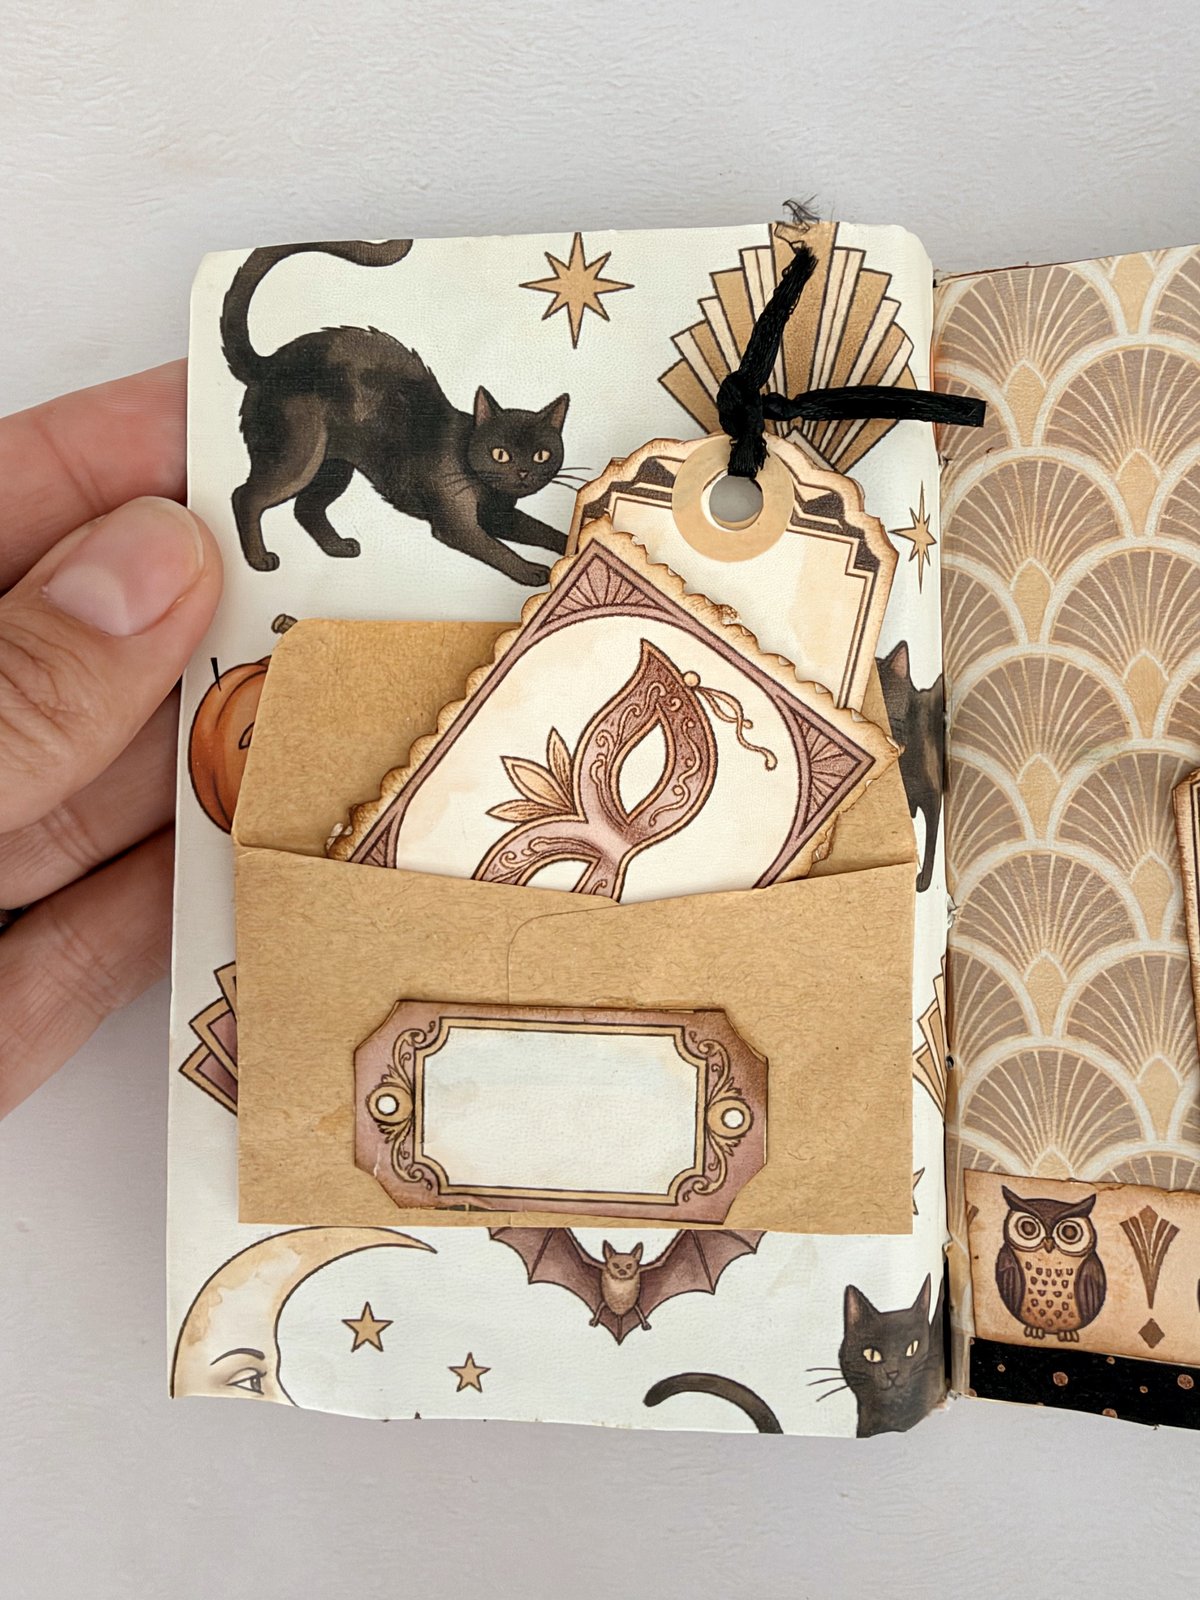
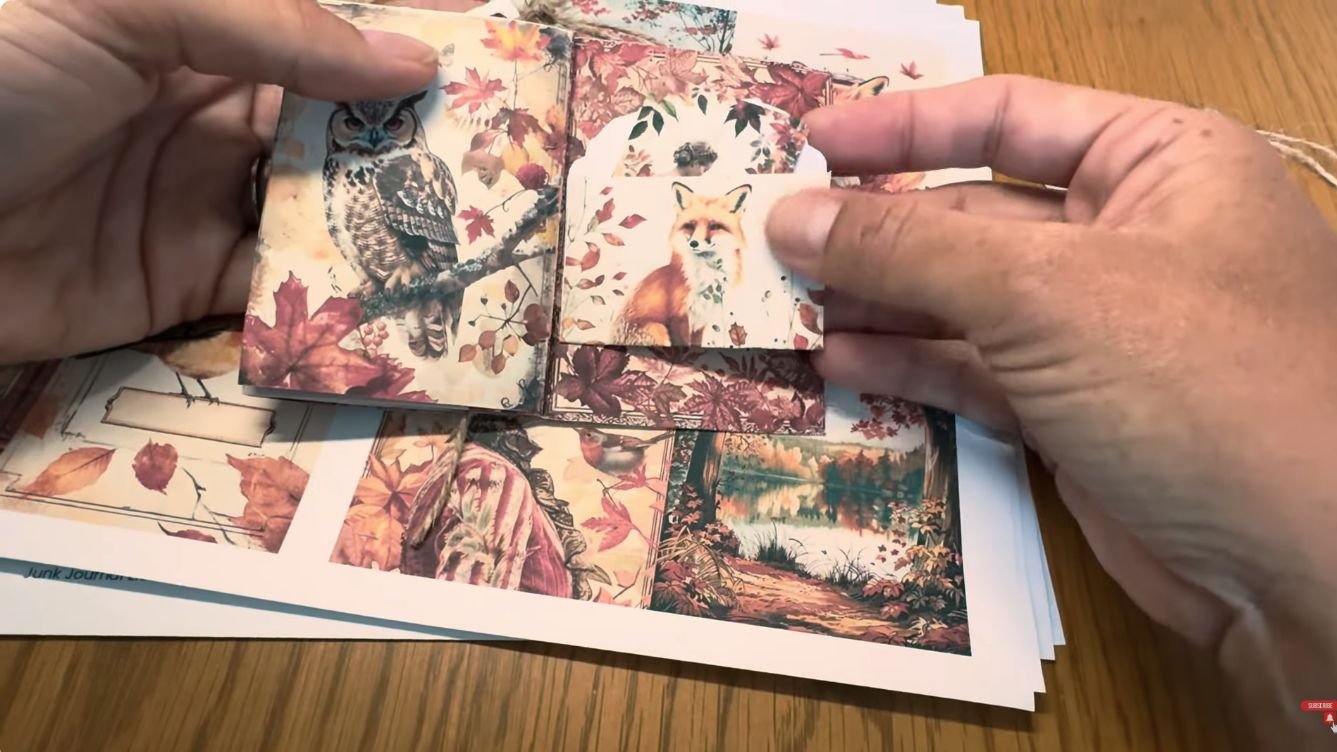
You need: a square of kit paper (15 x 15 cm is a lovely size) and a glue stick.
How to make it:
- Turn your square so it sits like a diamond, pattern side down.
- Fold the left and right points in to meet in the middle.
- Fold the bottom point up and glue its edges down.
- Fold the top point down to make the flap.
💡 Tip: Kraft paper envelopes look wonderful with a couple of stamp cut-outs and a wax seal on the front. Glue the back into your journal and it becomes a hidden spot for notes.
10. Window pockets with a seed packet
A window pocket has a see-through panel so you can peek at what’s inside, like a real seed packet. Slip a vintage seed-packet card from your kit behind it.
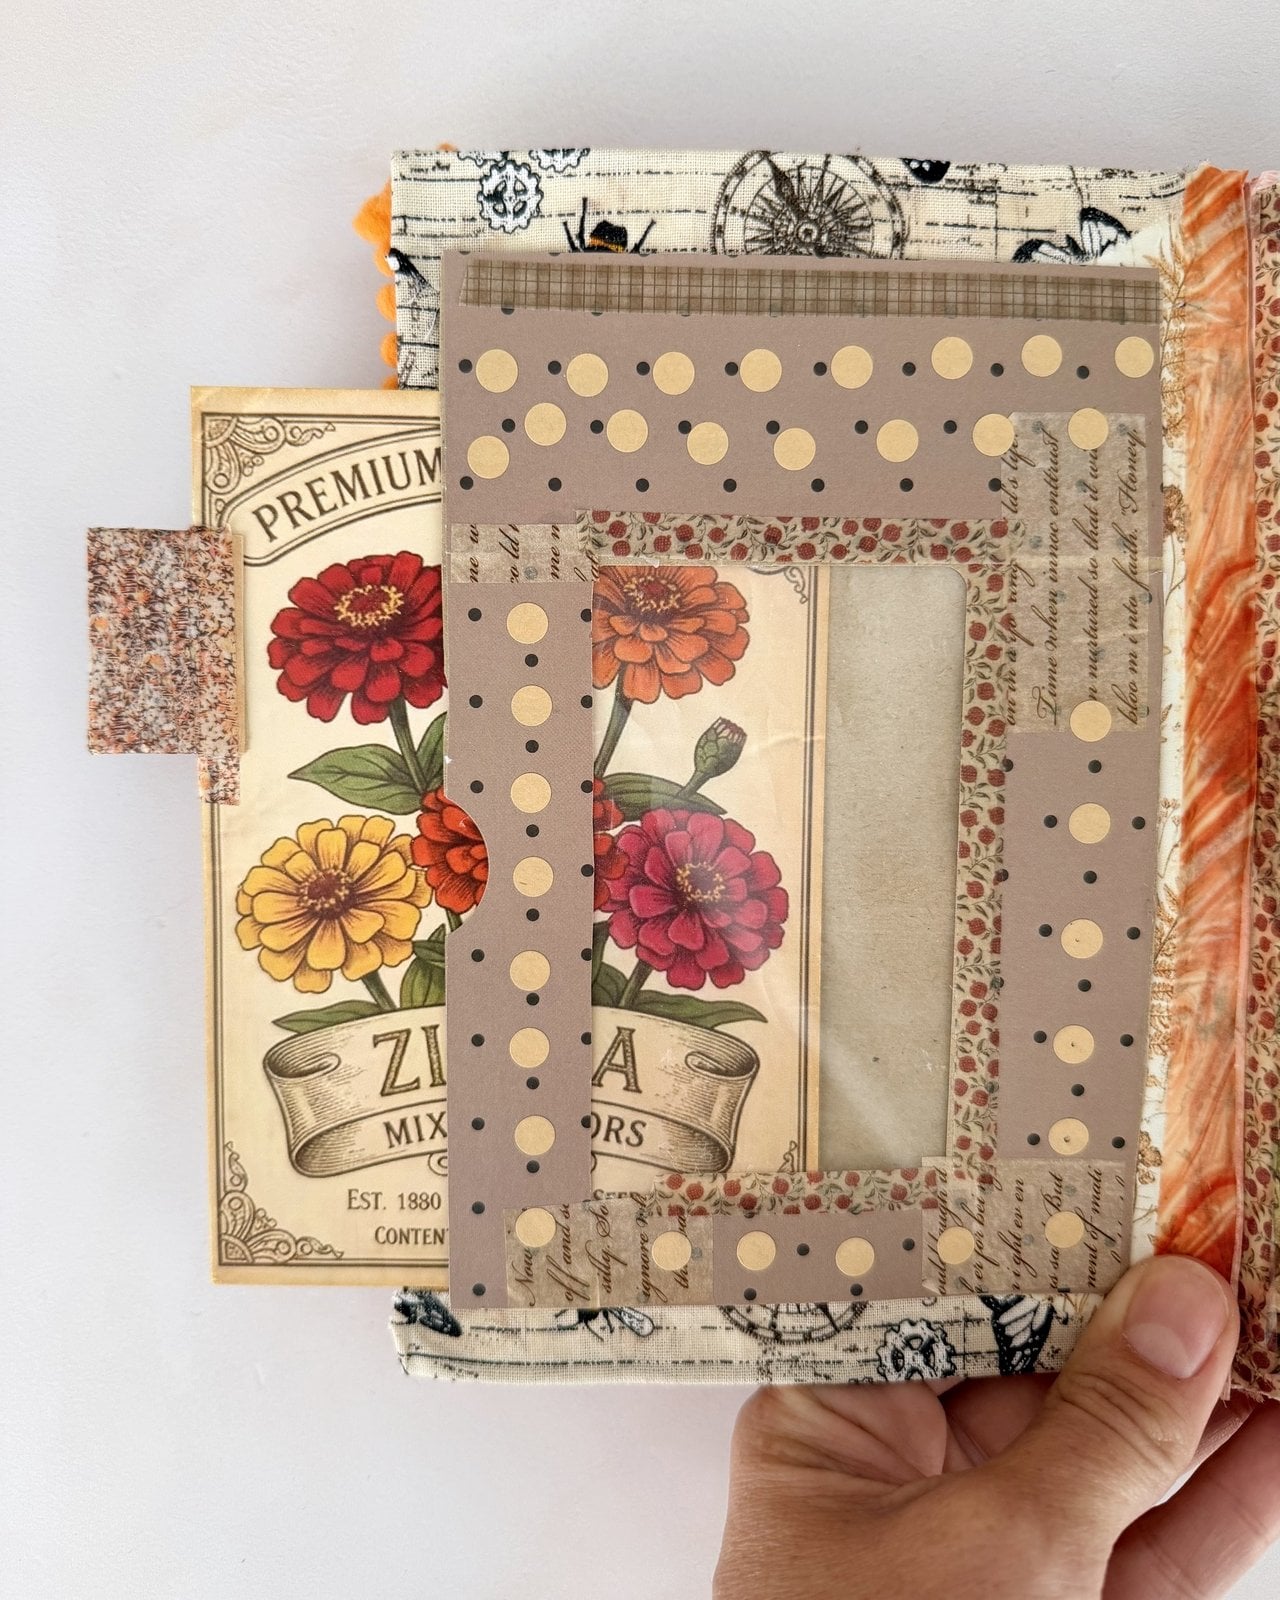
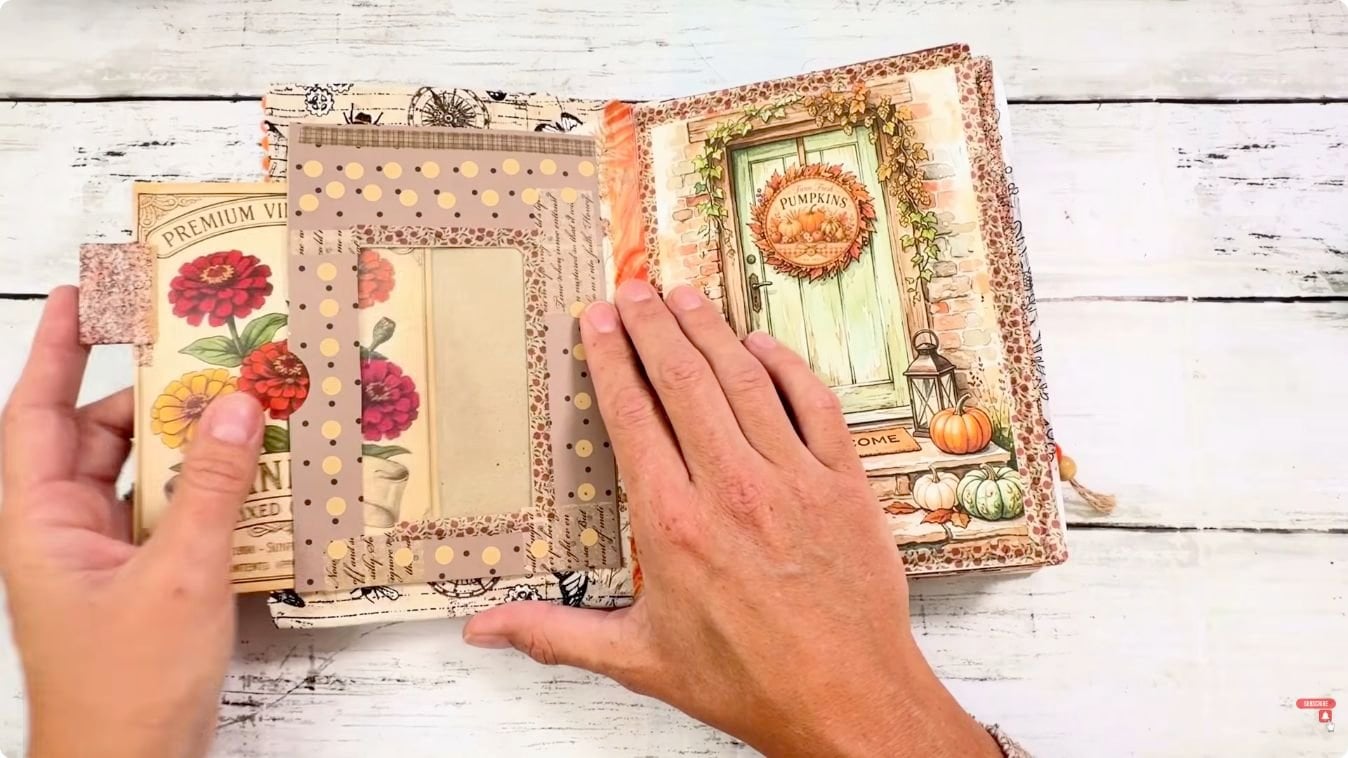
You need: a kit page, a scrap of clear cellophane or acetate (a biscuit or card packet works), a craft knife and a glue stick.
How to make it:
- Cut a rectangle out of the middle of your pocket front to make the window.
- Glue the cellophane behind the window.
- Glue the pocket down on three sides, leaving the top open.
- Slide a seed-packet card inside so it shows through.
💡 Tip: Keep the glue well away from the window, or it’ll smudge the cellophane.
11. Organza and clear packets
A sheer organza bag or a clear cellophane packet makes a floaty little pocket you can see through. It’s the perfect home for tickets, tiny tags and journaling cards.
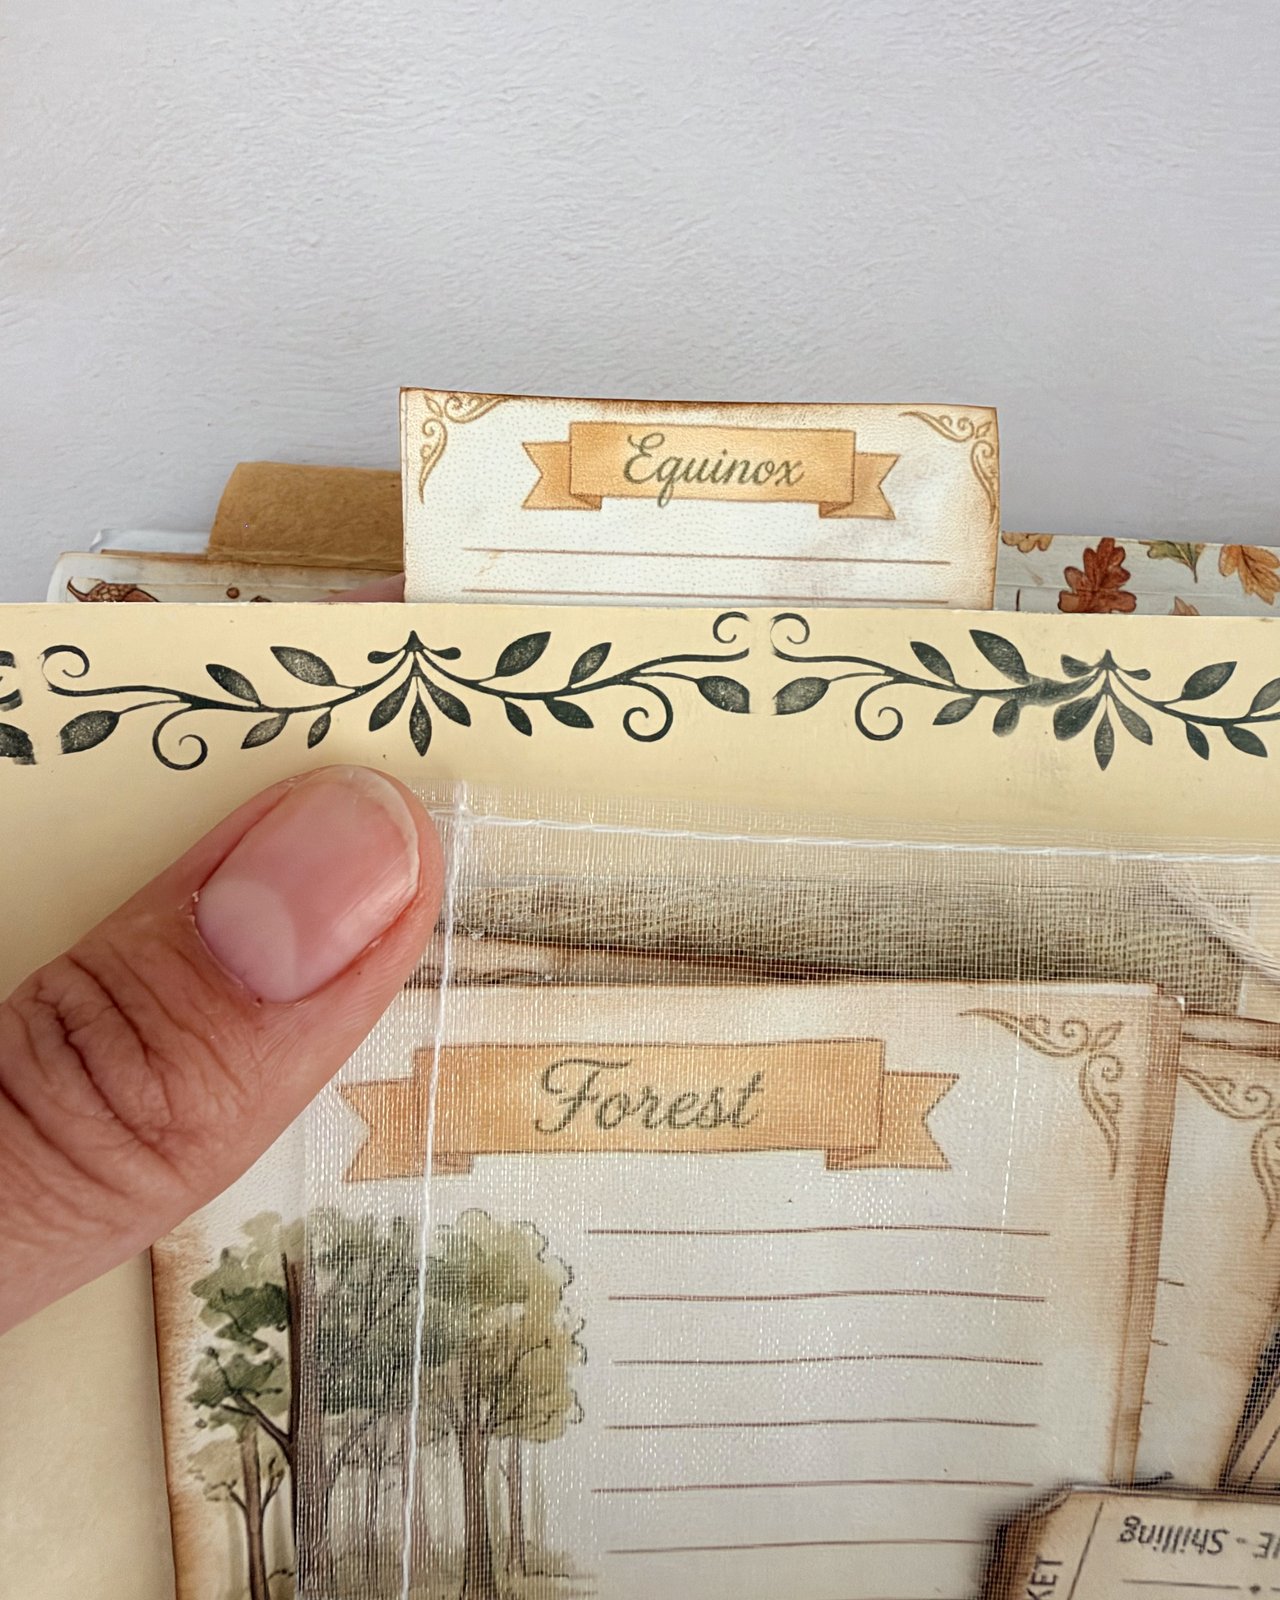
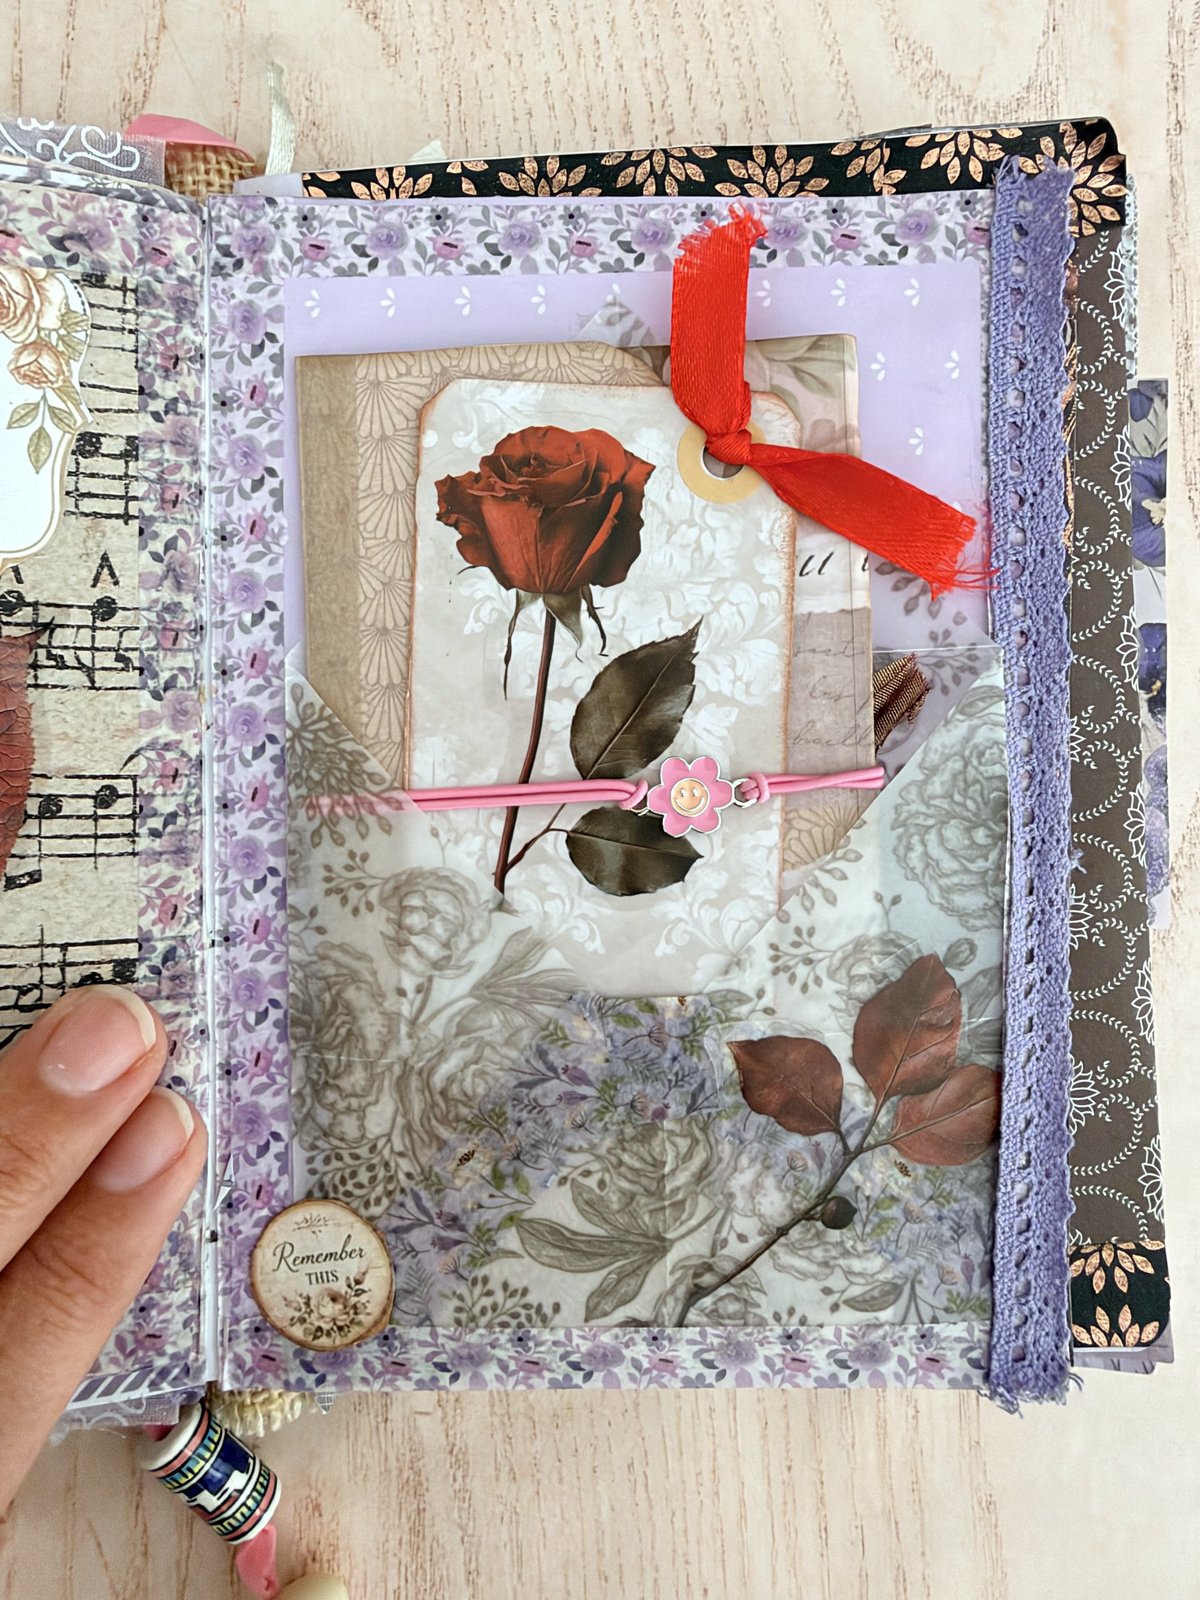
You need: a small organza gift bag or clear cellophane packet, and double-sided tape or glue dots.
How to make it:
- Fill the packet with a card, a ticket and a tag or two.
- Fold the top over, or leave it open so things are easy to pull out.
- Stick the back of the packet to your page with double-sided tape.
- Add a tab or a label to the top edge if you like.
💡 Tip: Glue dots grip organza far better than a glue stick, which just soaks through.
🧵 Want a steady supply of pages to play with? Inside the Artsydee Creations Club I add new printable junk journal kits every week, full of papers, ephemera and tags for all of these projects. Come and have a look →
Holding it all together
12. Belly bands
A belly band is a strip of paper or ribbon that wraps round a page or a signature and holds cards and notes in place. It’s one of the easiest ways to make a page feel full of little secrets.
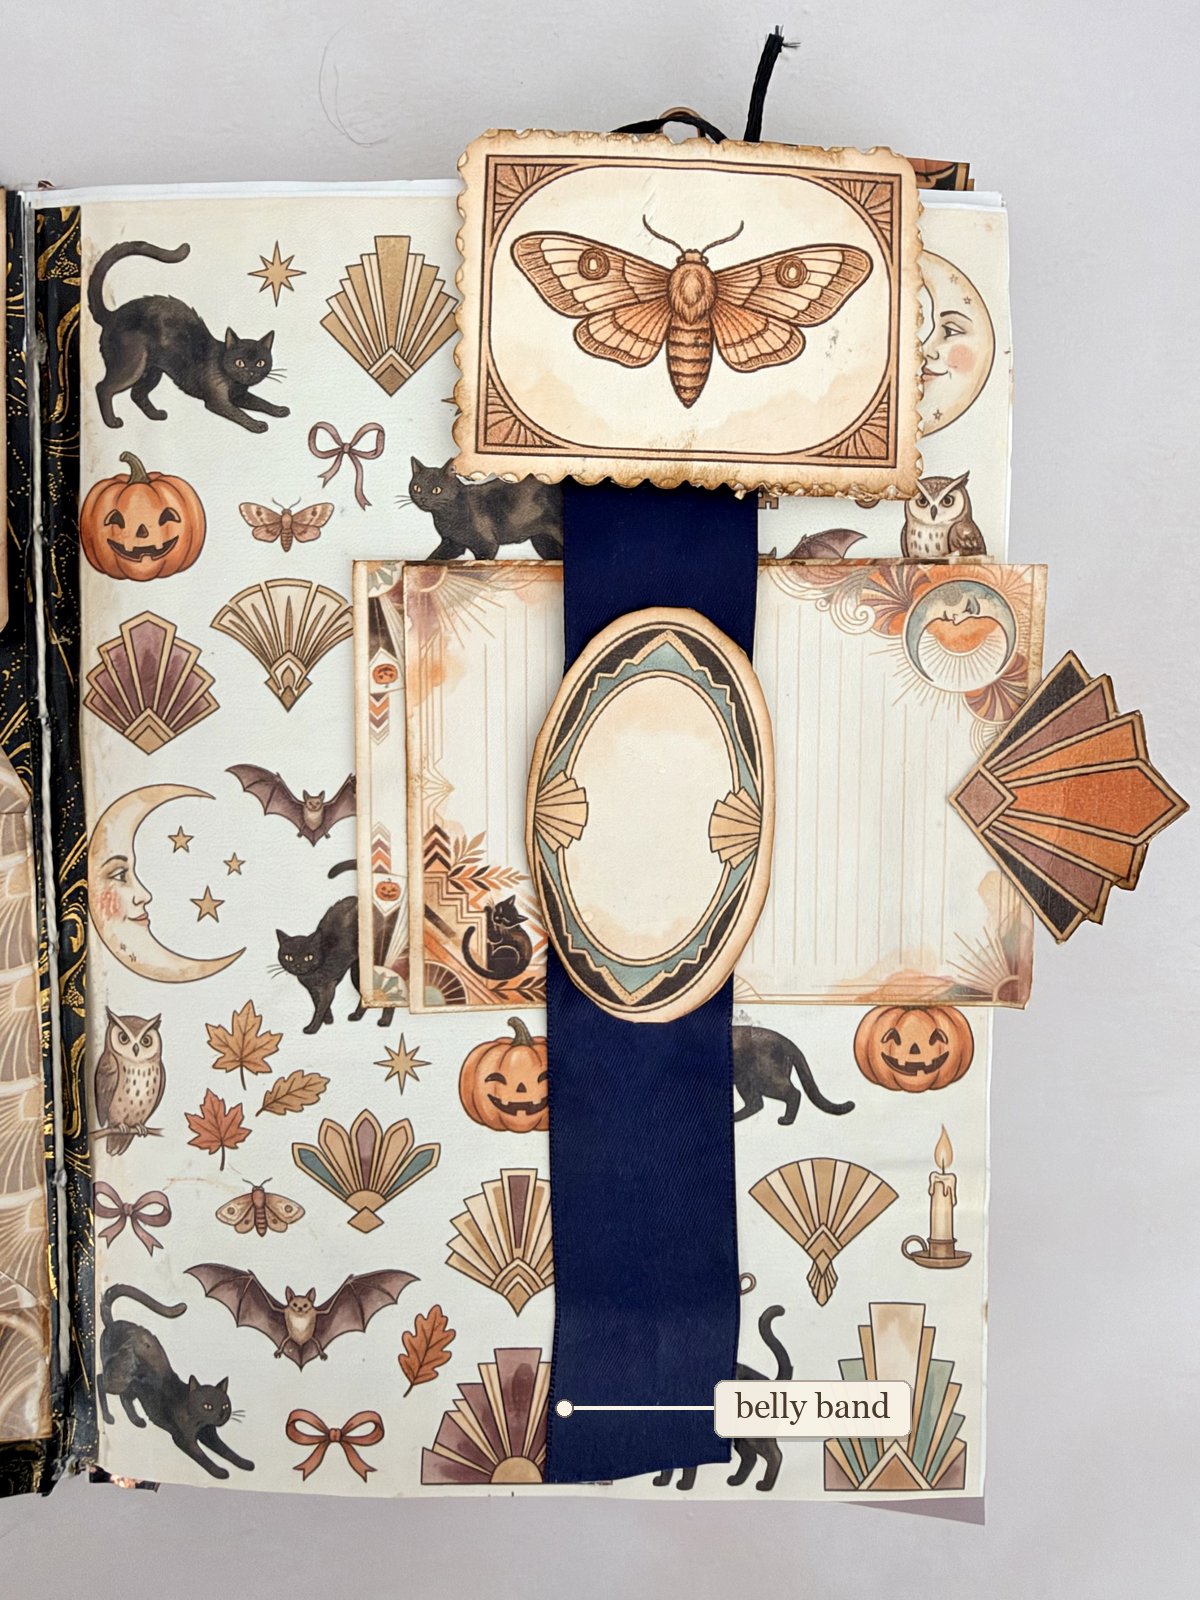
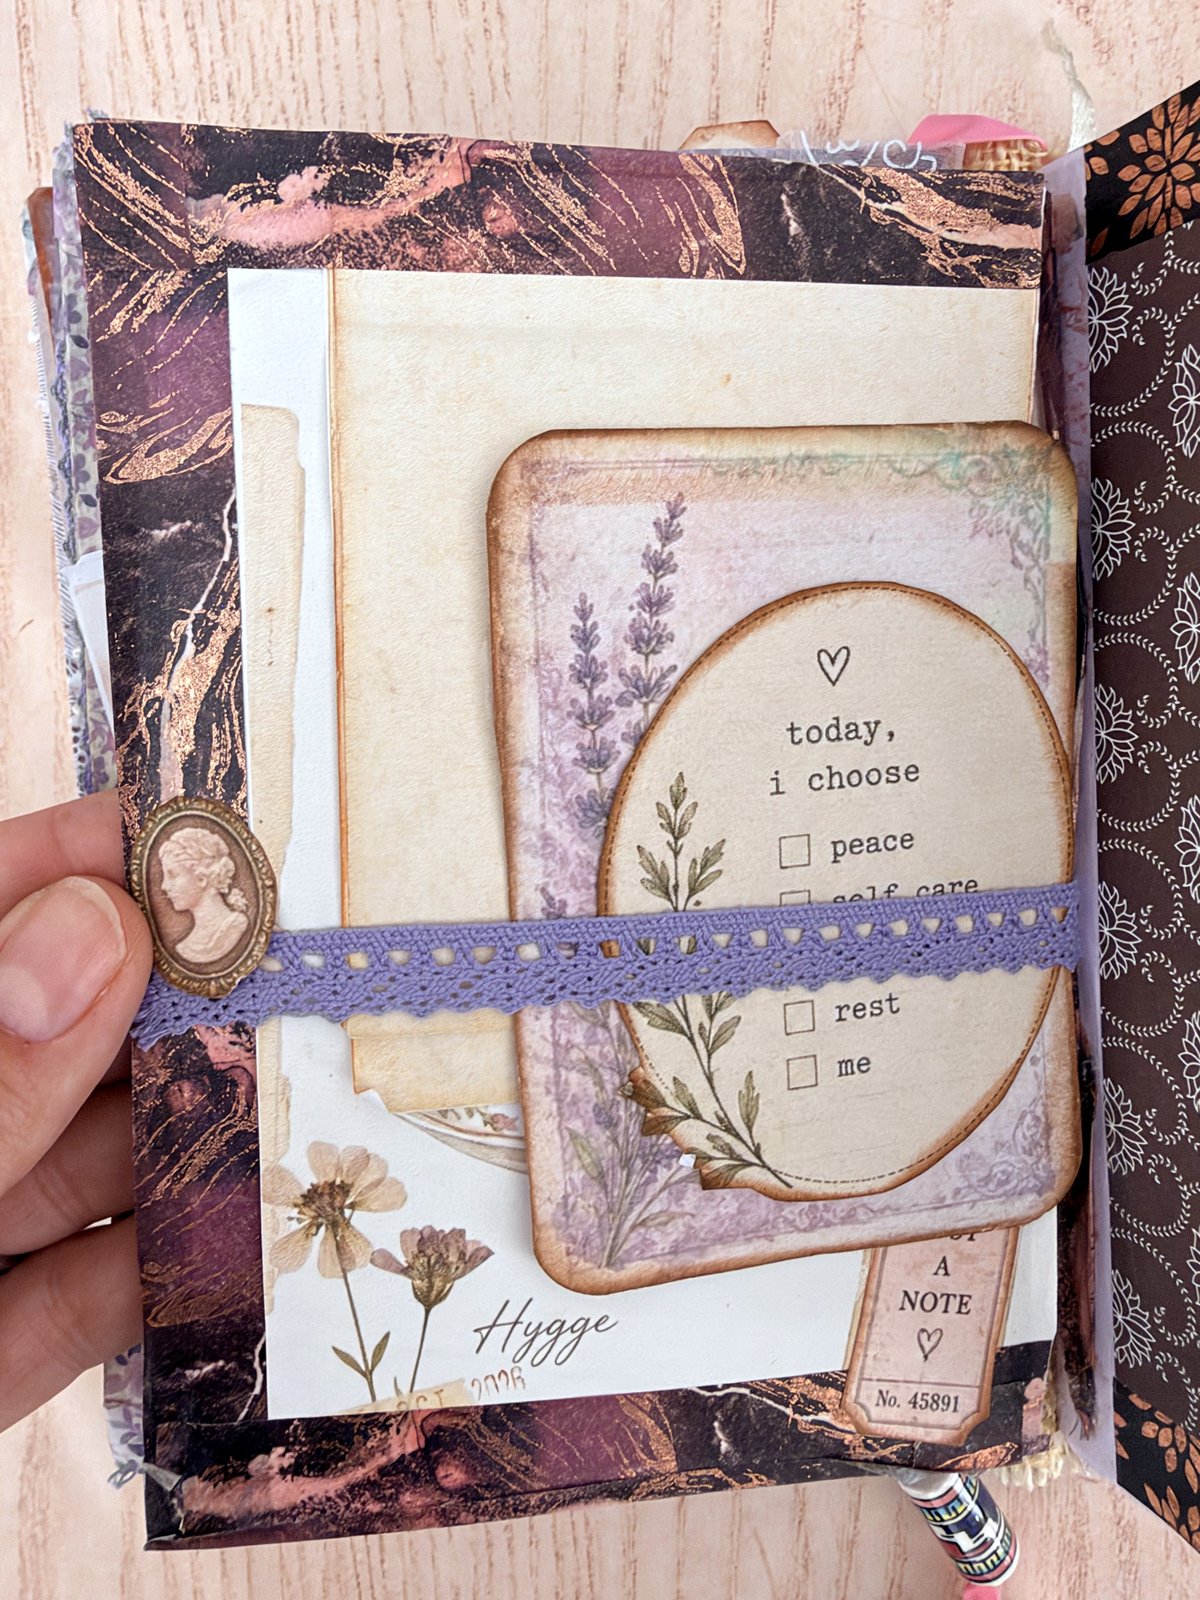
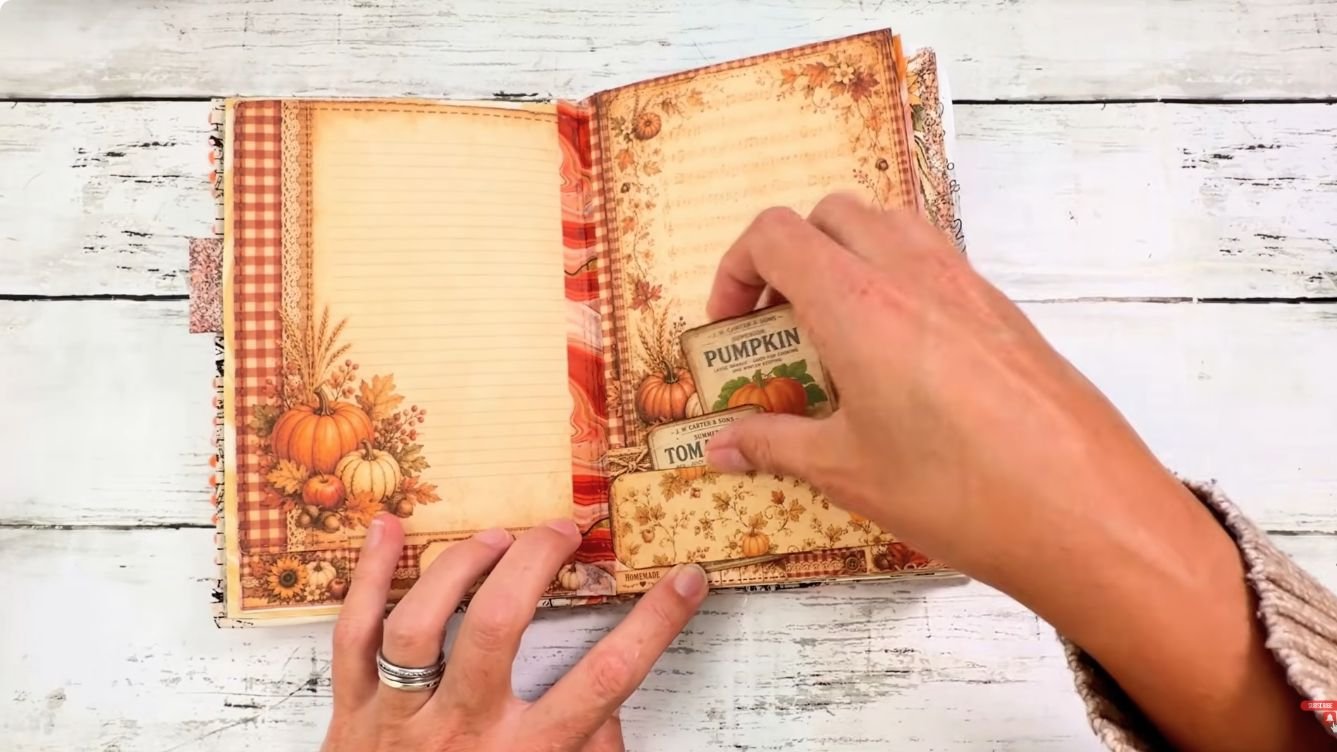
You need: a strip of kit paper 5 to 8 cm wide, or a length of ribbon or lace, and a glue stick or double-sided tape.
How to make it:
- Wrap the strip round a page or a folded signature.
- Mark where it overlaps by about 2 cm.
- Slip it off, glue the overlap, and slide it back on.
- Tuck a journaling card or a few labels underneath.
💡 Tip: Ribbon and lace make brilliant belly bands. They’re soft, they don’t tear, and they slide on and off easily.
13. Clasp and tie closures
A closure keeps your finished journal shut, especially once it’s bulging with pockets. It can be as simple as a ribbon tie or as pretty as a band with a metal clasp.
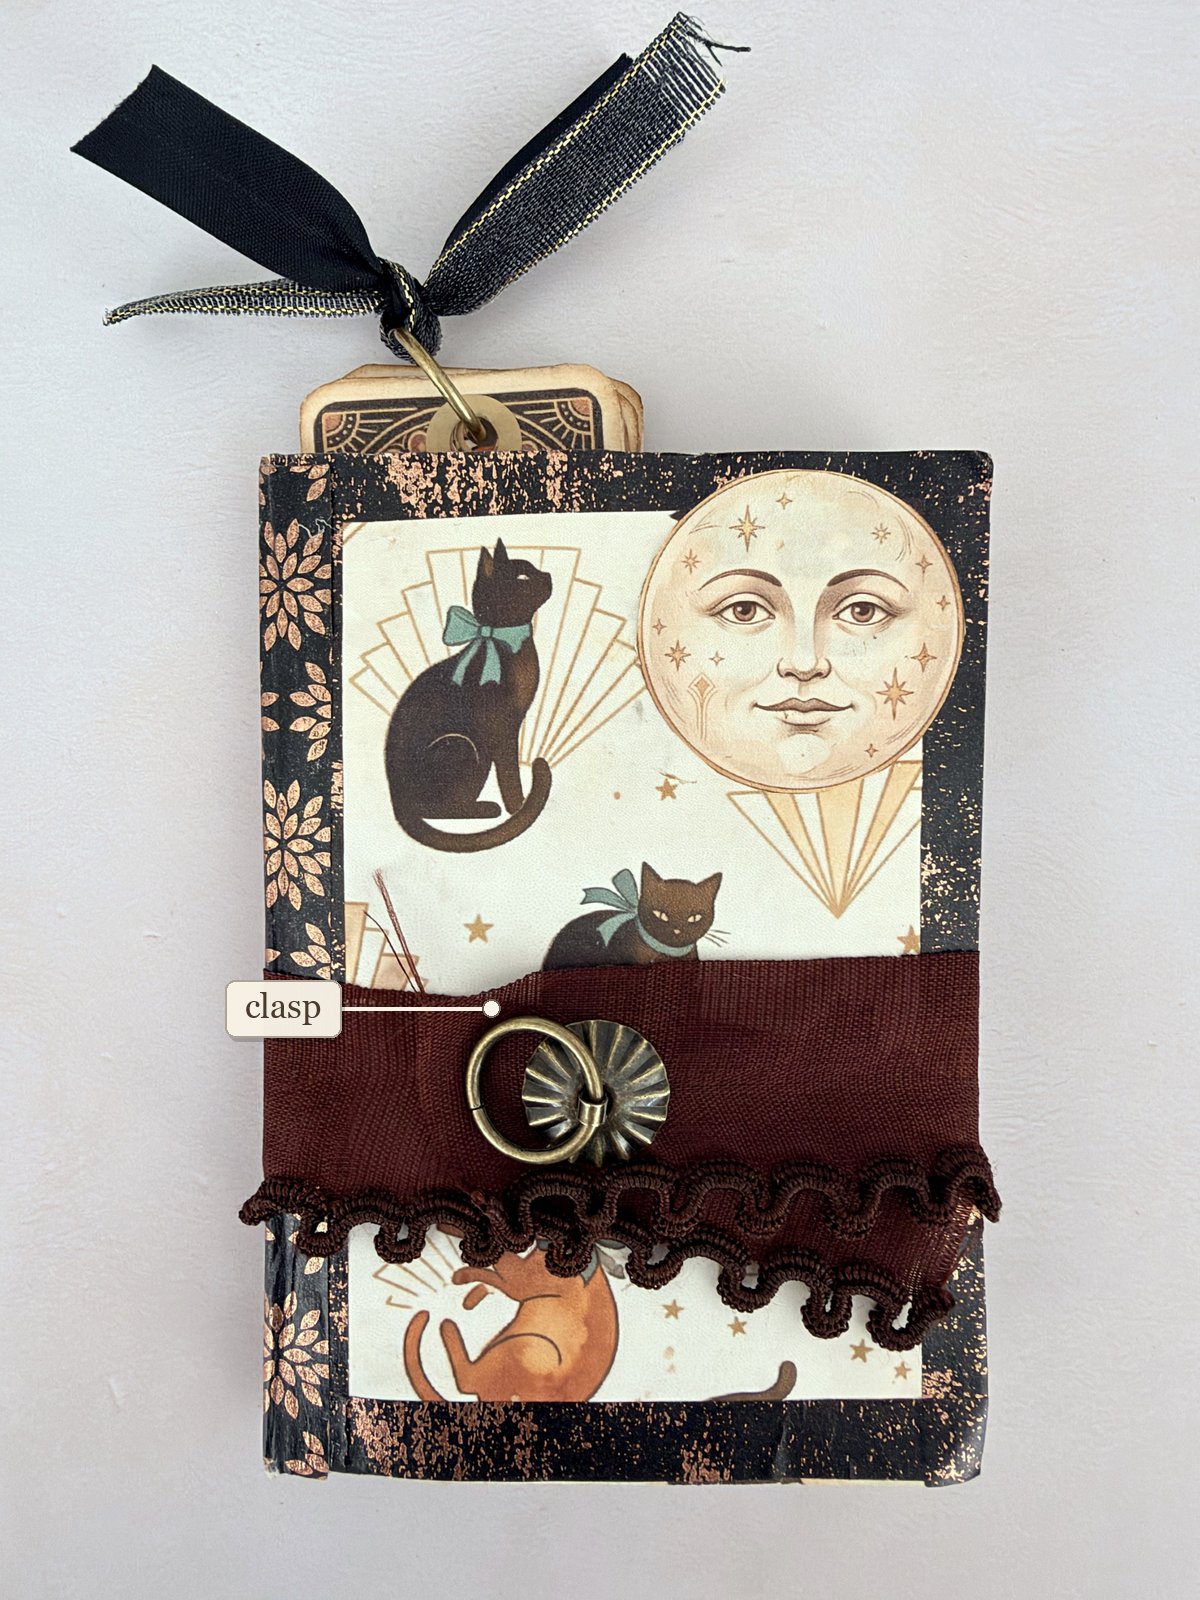
You need: a length of ribbon (velvet is lovely), strong glue, and a metal ring or clasp if you like.
How to make it:
- Glue the middle of the ribbon to the back cover, inside the spine.
- Wrap both ends round to the front.
- Tie a bow, or glue a ring on one end and loop the other end through it.
- Trim the ends at an angle so they don’t fray.
💡 Tip: Measure your ribbon once the journal is full, not before. A chunky journal needs a lot more ribbon than you’d think!
Covers and finishing touches
14. Covers: fabric, lace and a velvet spine
Your kit’s cover page glued onto card makes a perfectly good cover. Add fabric, lace or a velvet ribbon down the spine and it starts to feel like a real treasure.
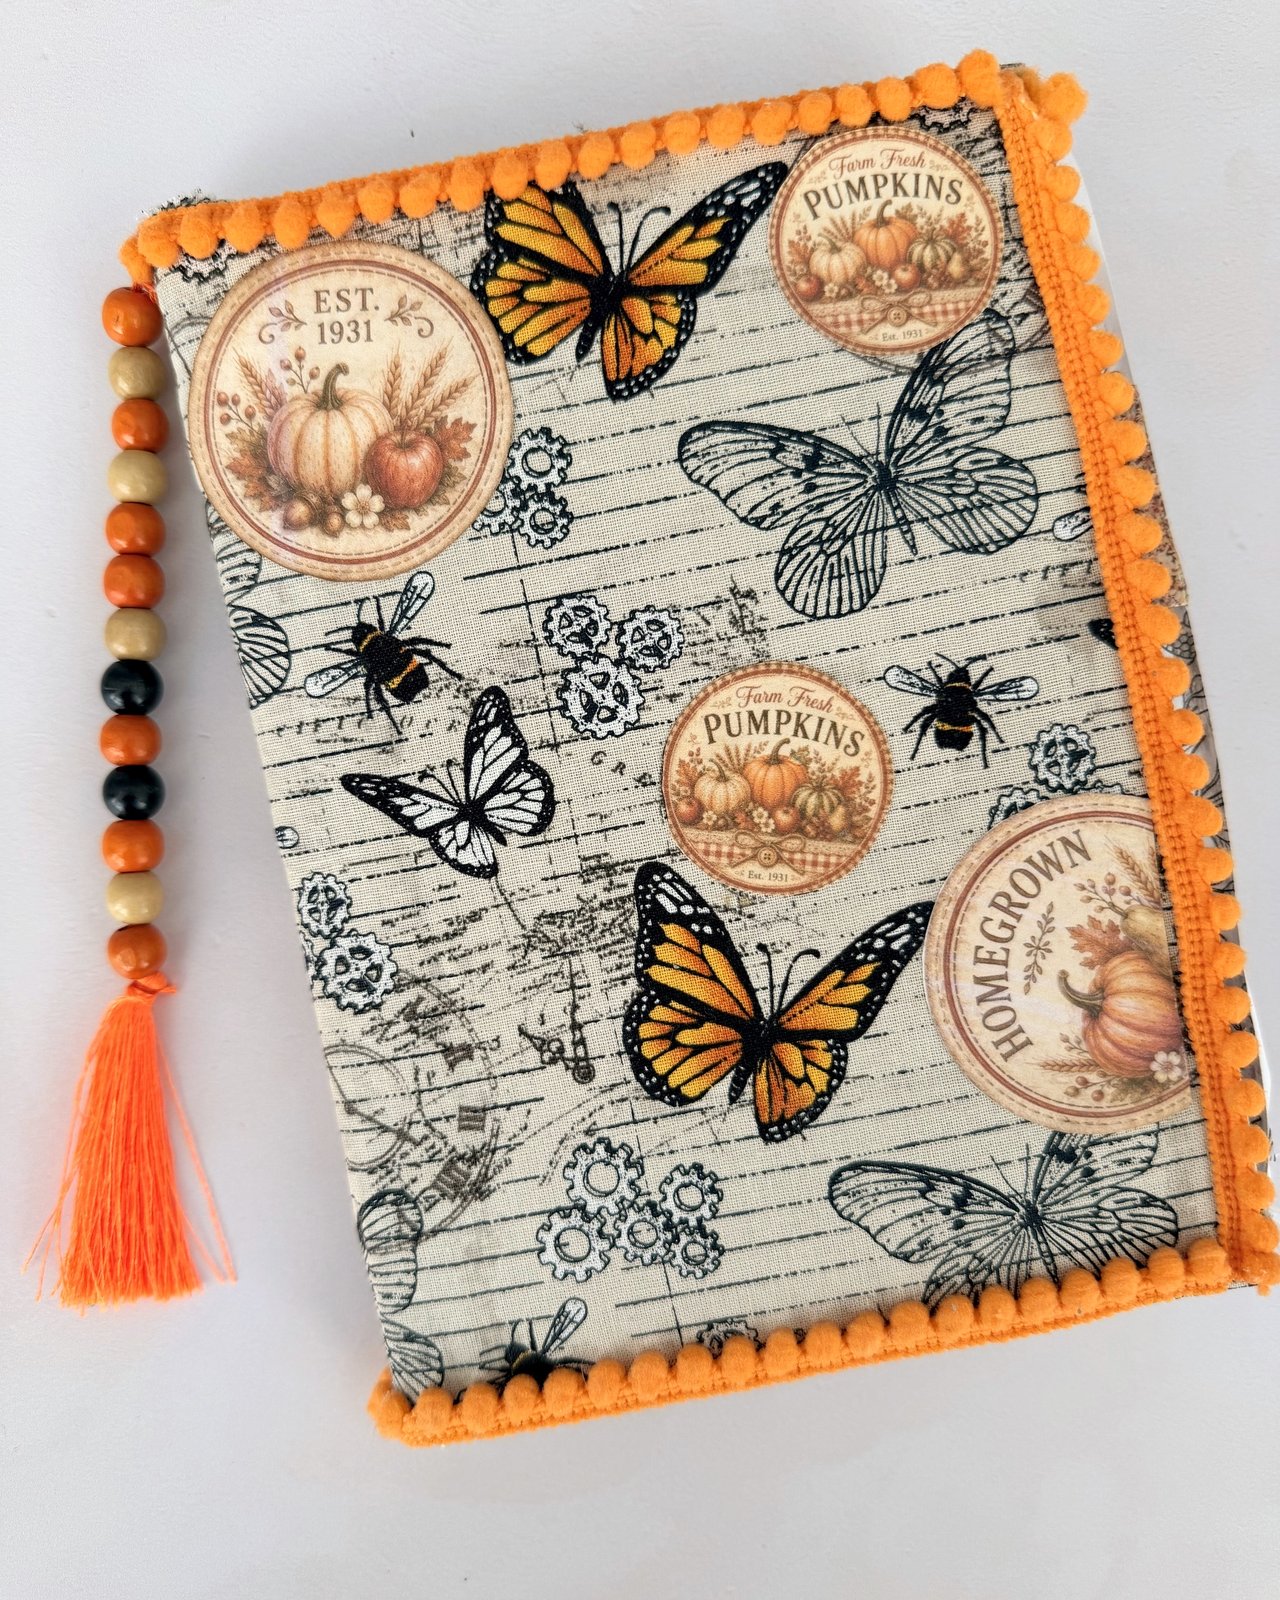
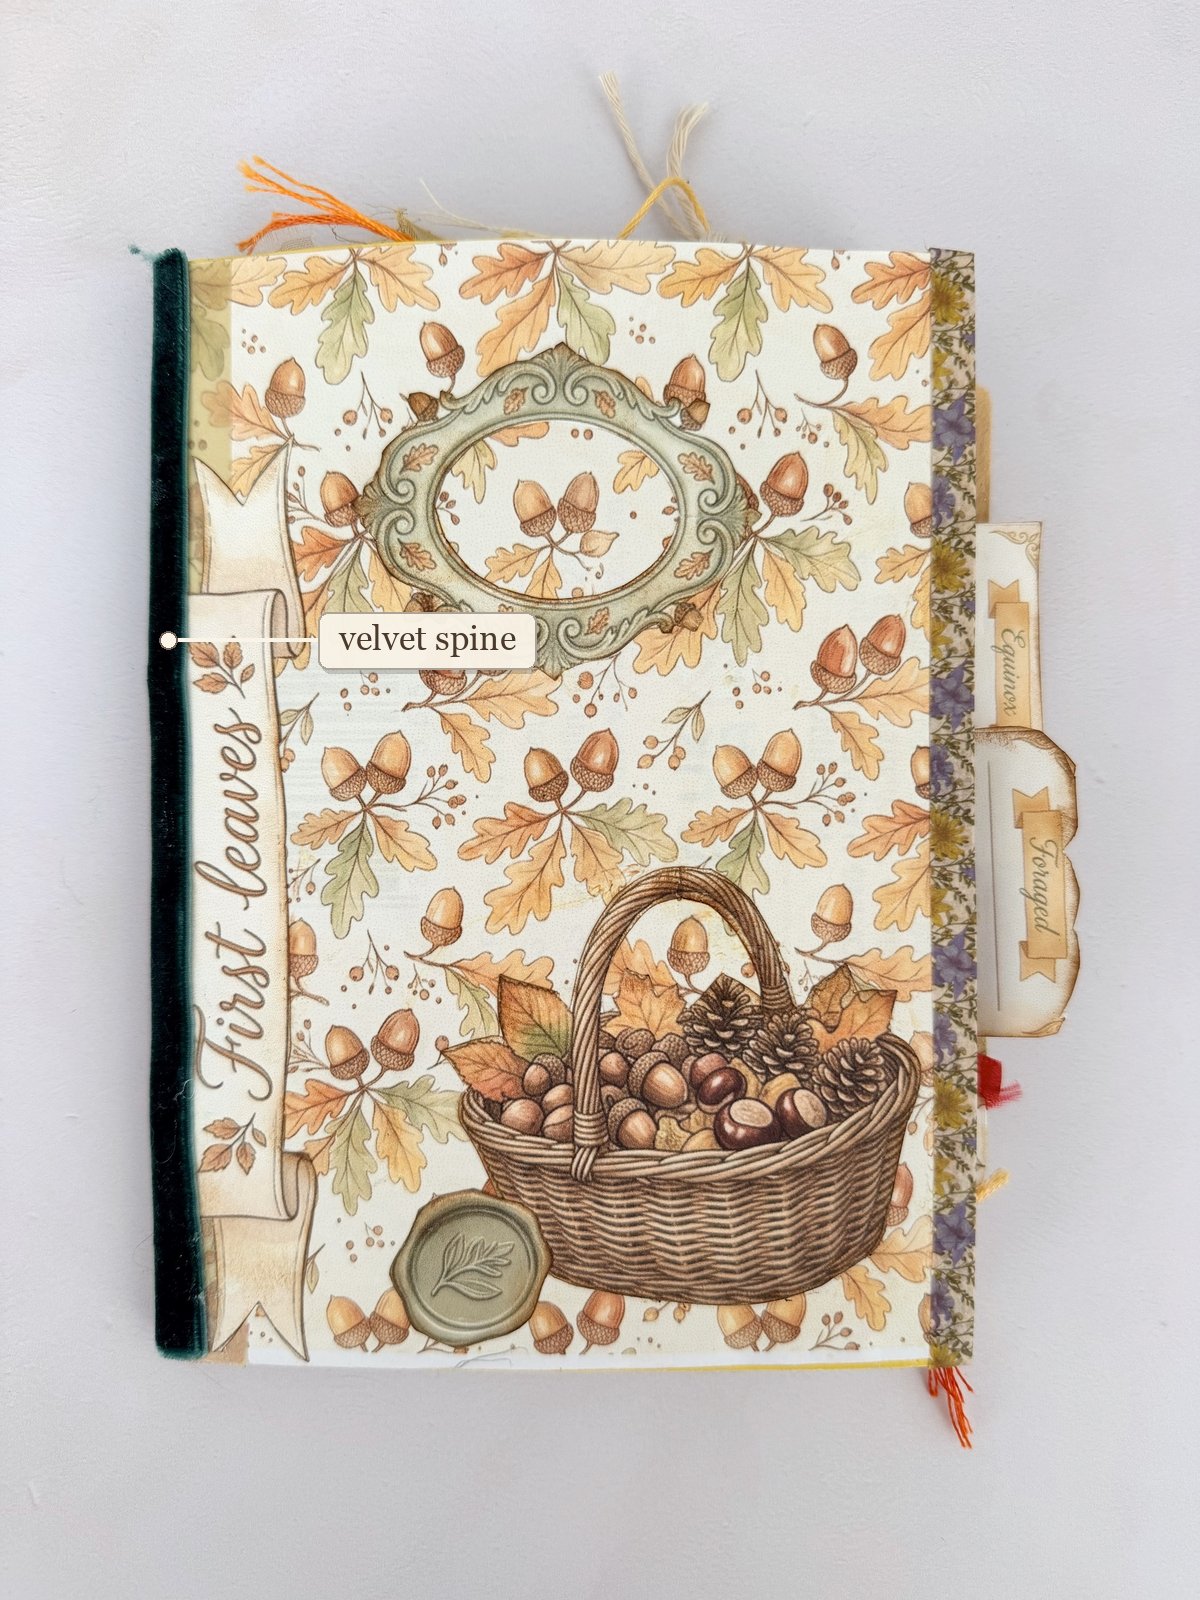
You need: sturdy card (a cereal box or chipboard), the cover page from your kit or a piece of fabric, PVA glue, and ribbon or trim for the spine.
How to make it:
- Cut the card a little bigger than your folded pages, and score the spine fold.
- Glue on the kit cover page, or wrap fabric round the card and glue the edges inside.
- Glue a strip of velvet ribbon or lace down the spine.
- Finish with trim, a tassel or a charm.
💡 Tip: Score the fold line first by running a blunt knife or the back of a spoon along a ruler. It gives you a crisp spine that doesn’t crack. My full step-by-step for binding pages into a cover is in How to Turn a Printable Kit Into a Real Junk Journal.
You can see this fabric cover close up in the flip-through of my mum Jen’s journal.
15. Washi strips, edging and corners
Edging is a narrow strip of paper, washi tape or lace along the edge of a page. Corners frame a page or a photo. Both make a simple page look finished.
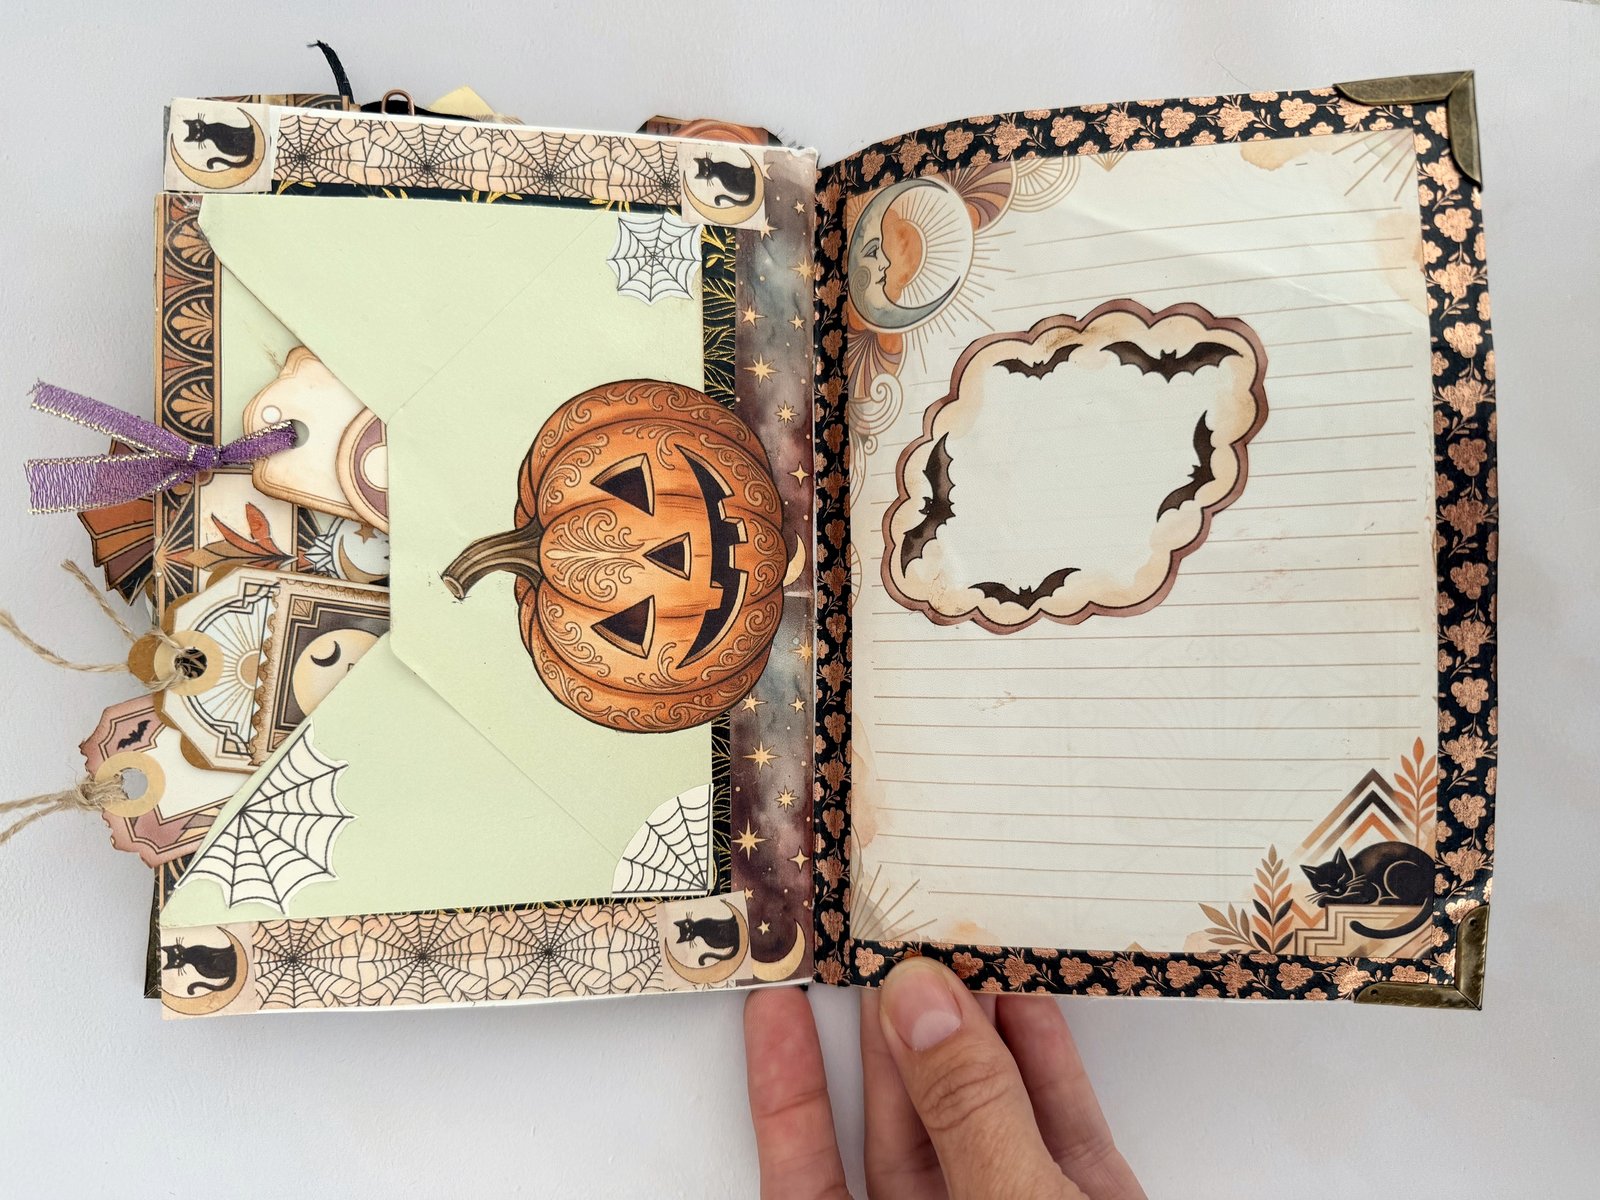
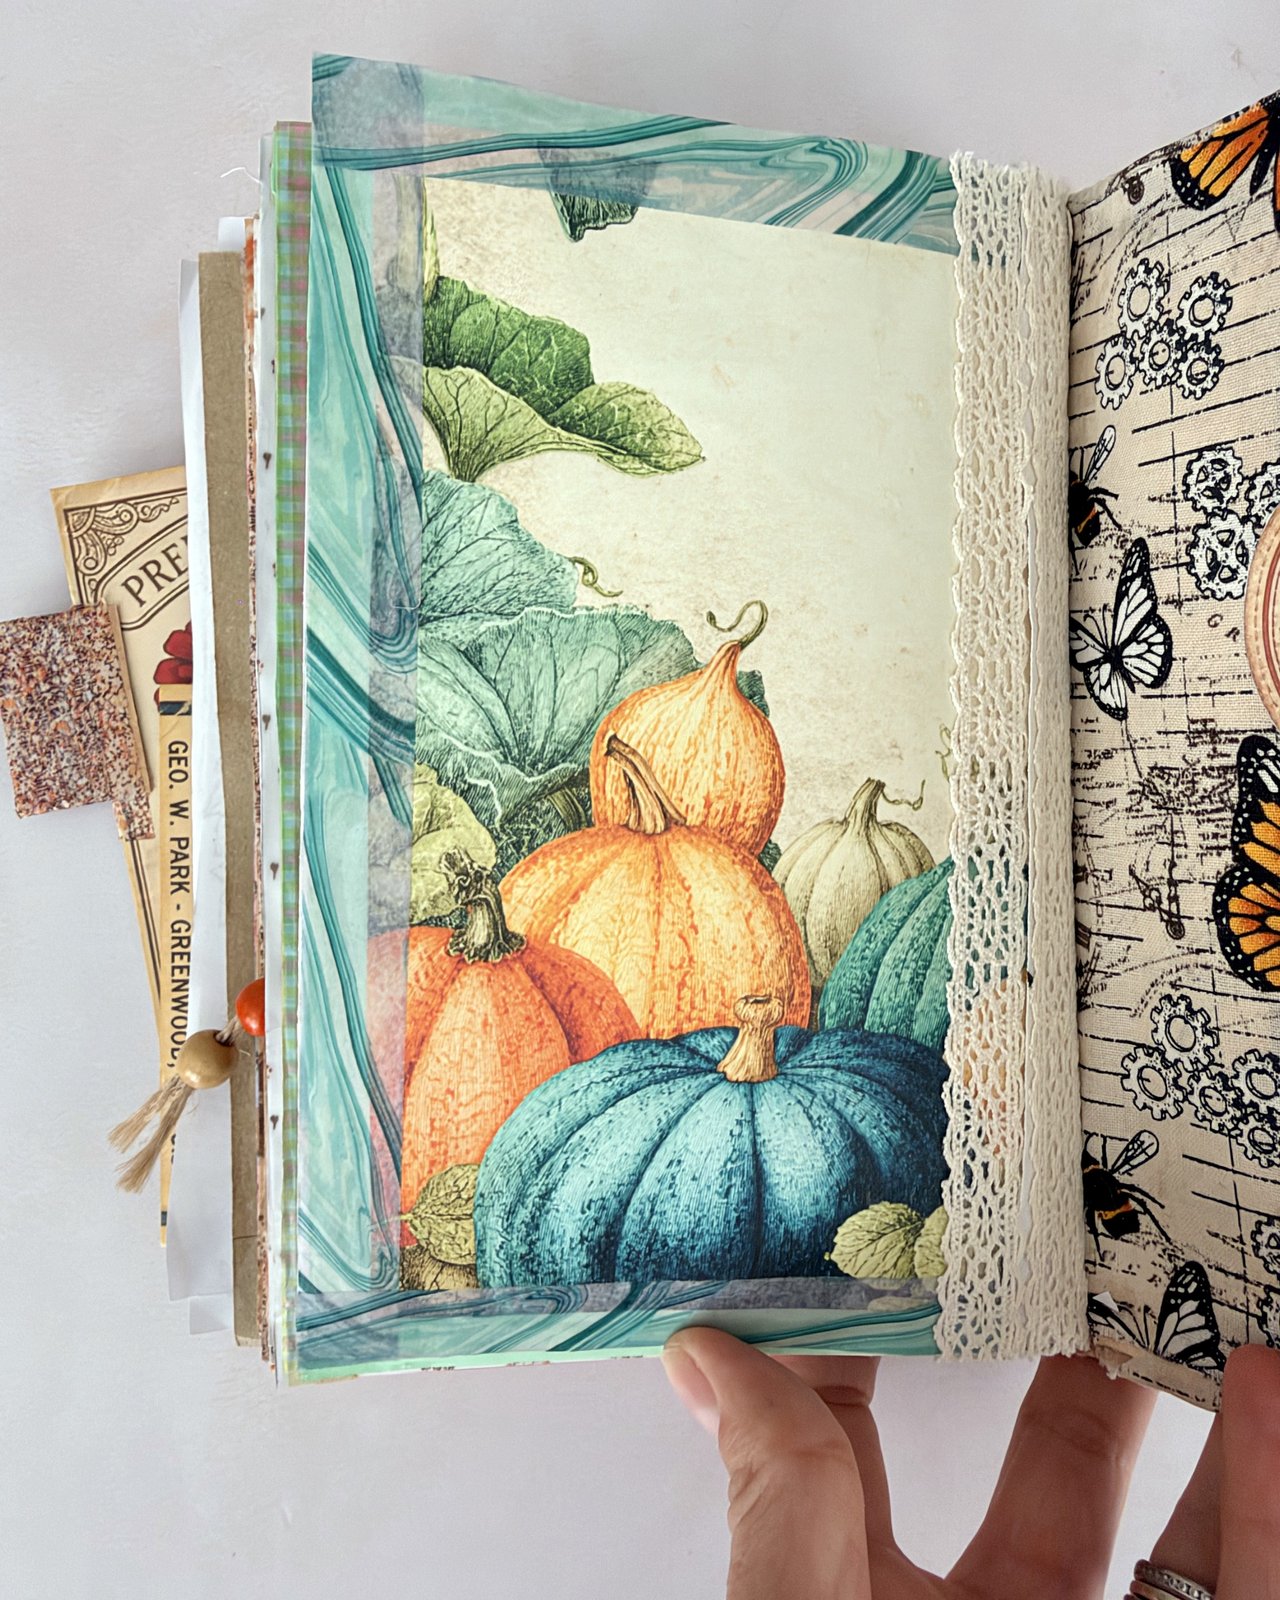
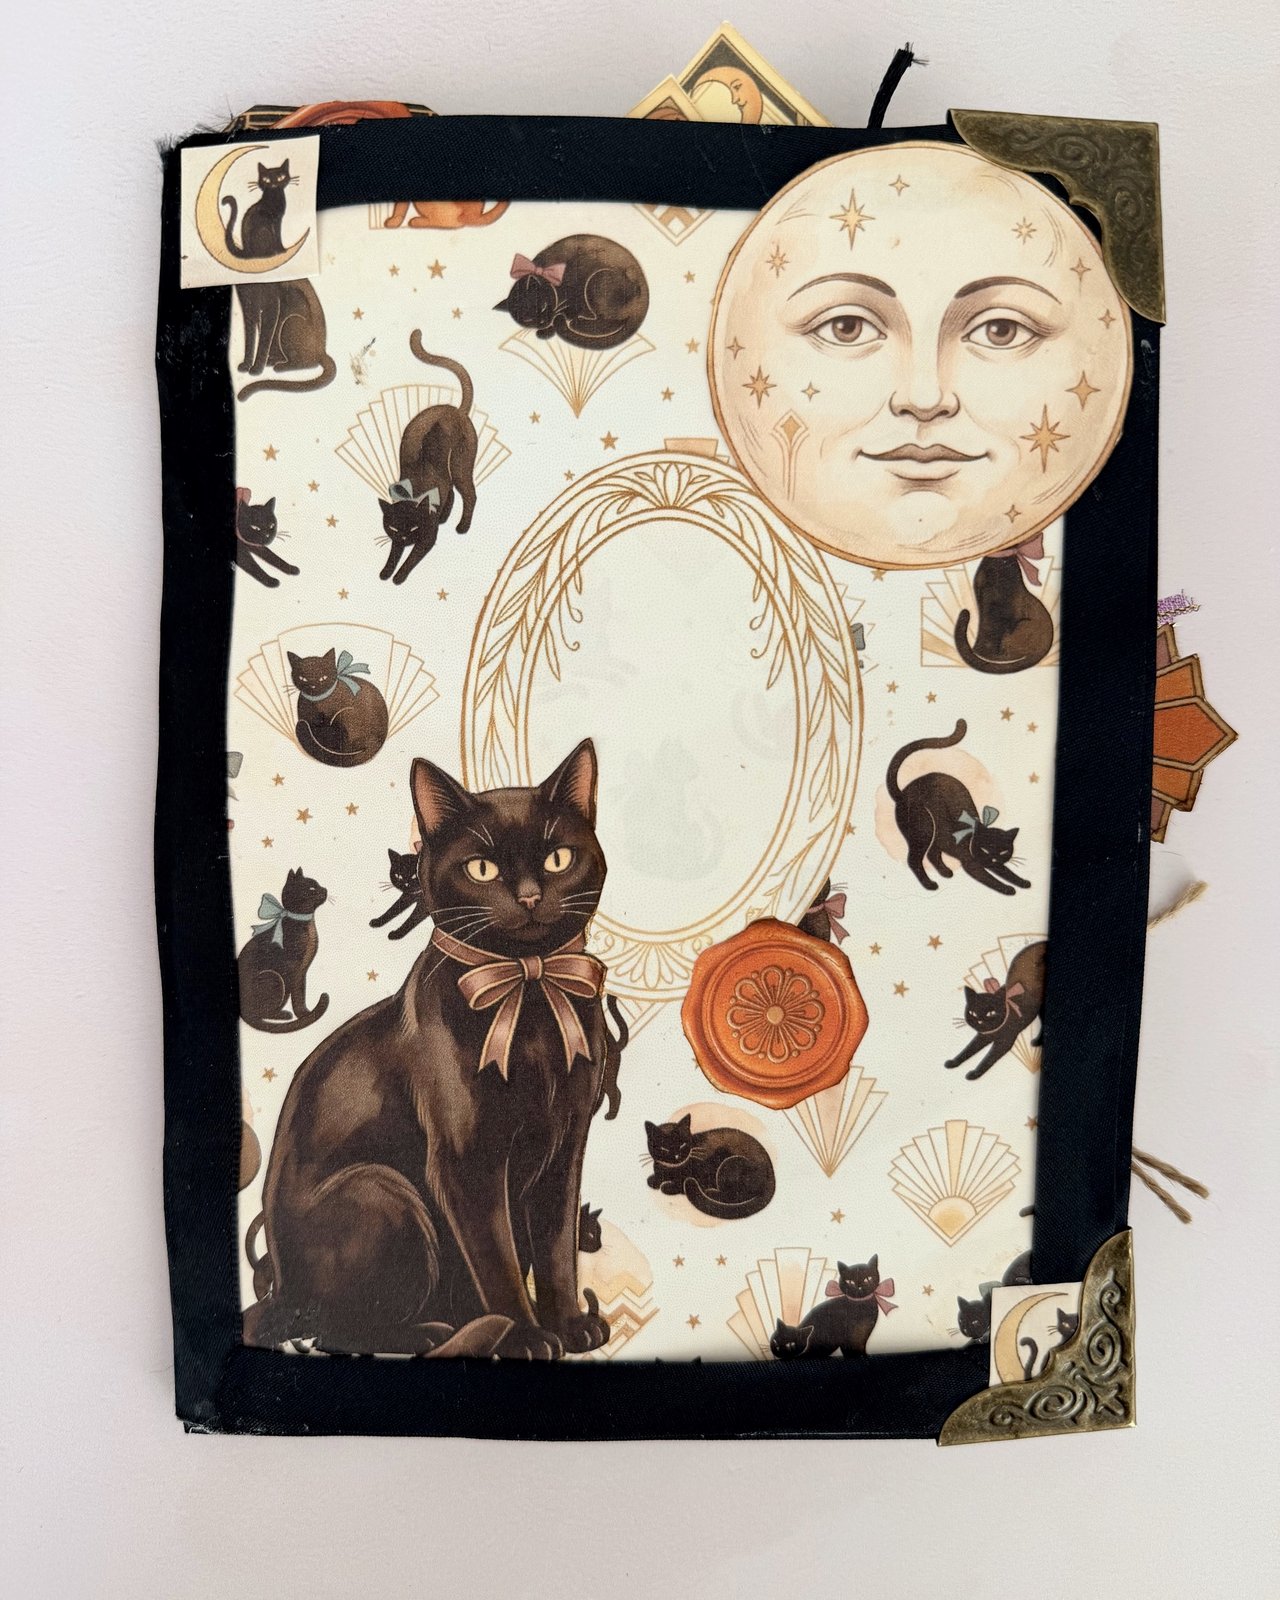
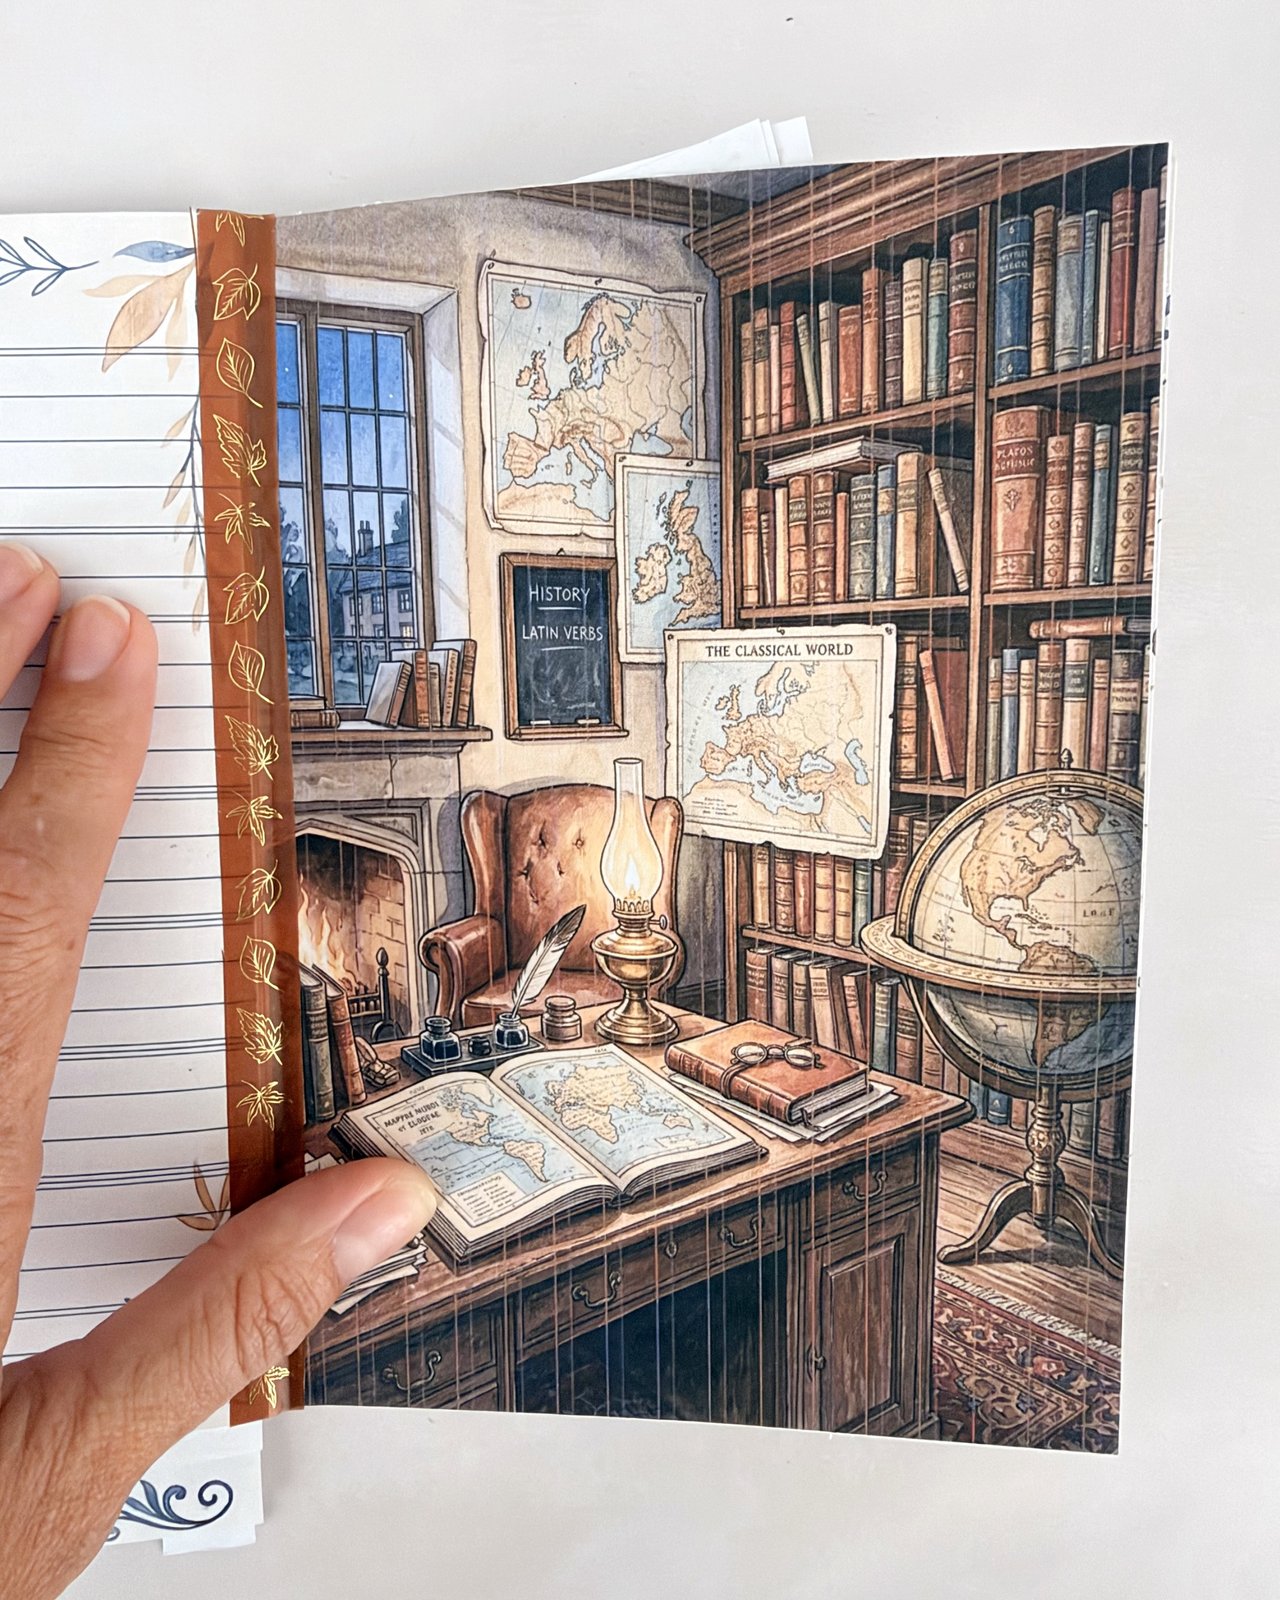
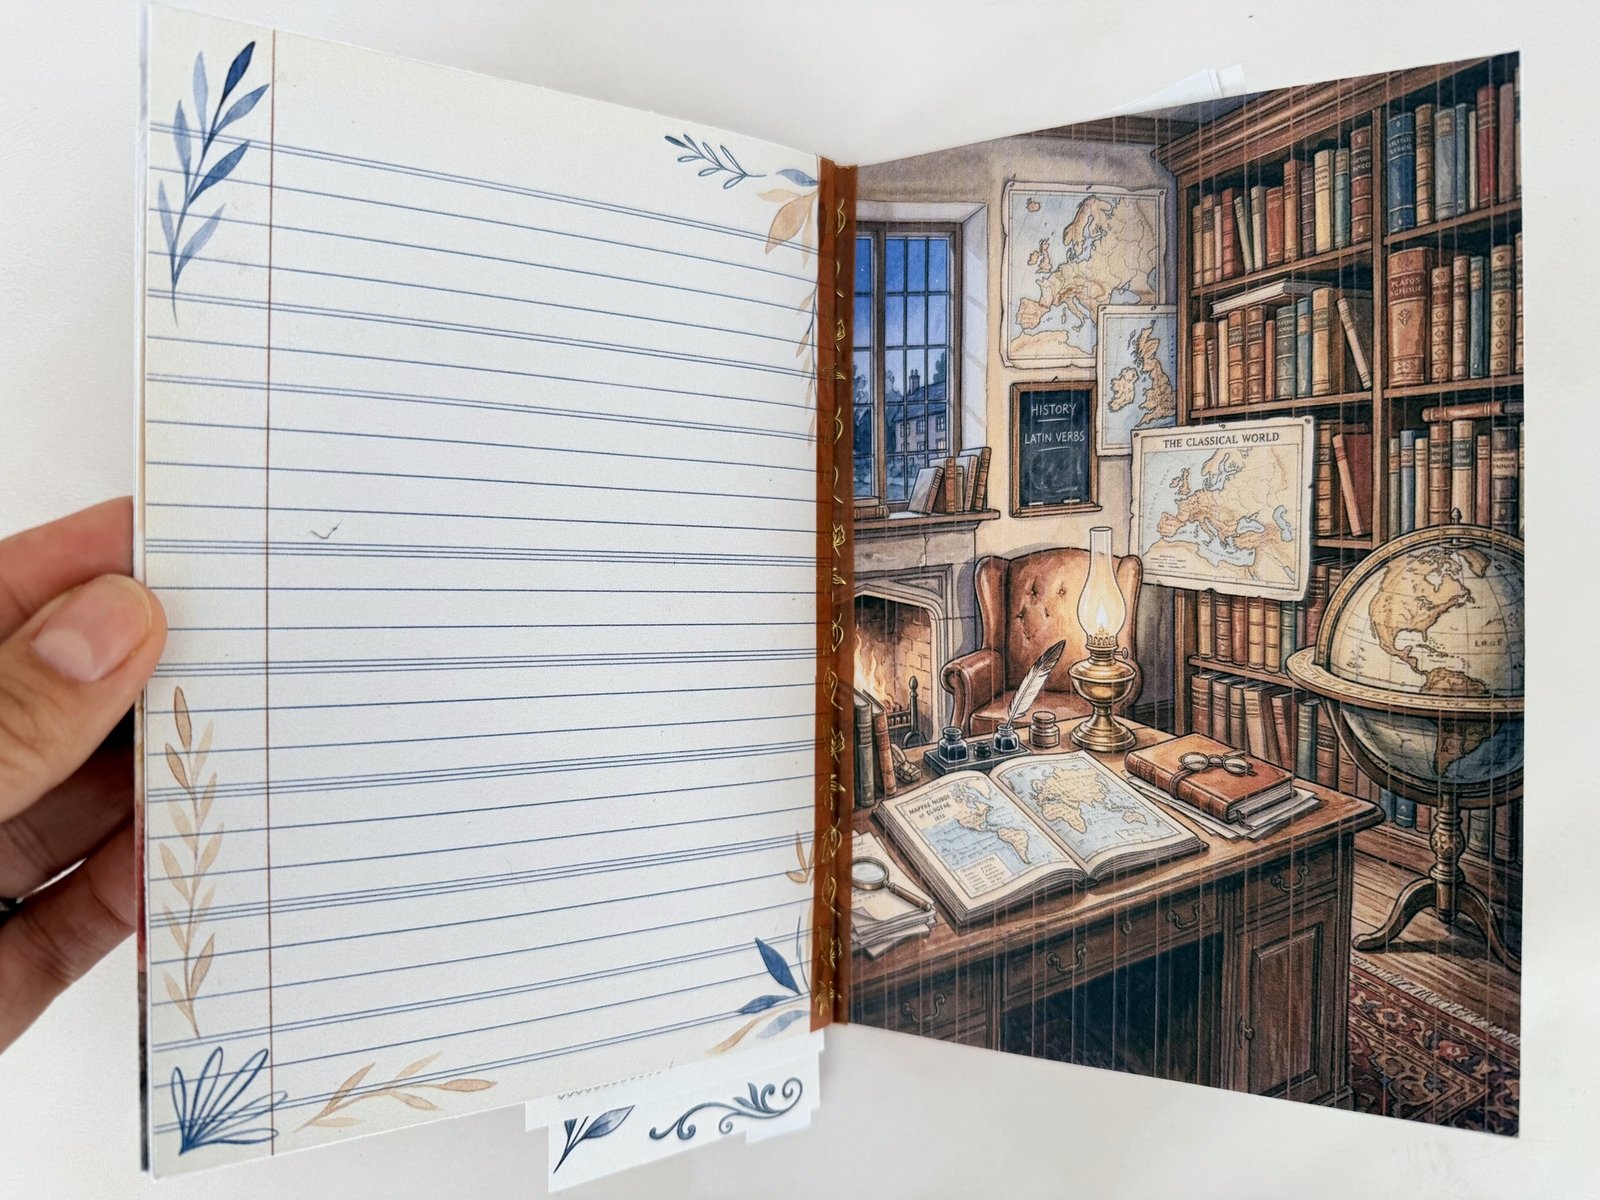
You need: kit pages with borders or small patterns, lace or washi tape, a glue stick, and metal or paper corners if you have them.
How to make it:
- Cut strips about 1.5 to 2 cm wide from a patterned page.
- Glue a strip down the edge of a page, or along the spine side.
- Try a strip of lace instead for a softer look.
- Finish a page with corners on two or all four corners.
💡 Tip: Tear the strips instead of cutting them for a soft, vintage edge.
16. A waterfall notepad
A waterfall is a stack of cards joined so that when you lift the top one, the rest tumble down one after another. It looks clever but it’s only folded strips and glue.
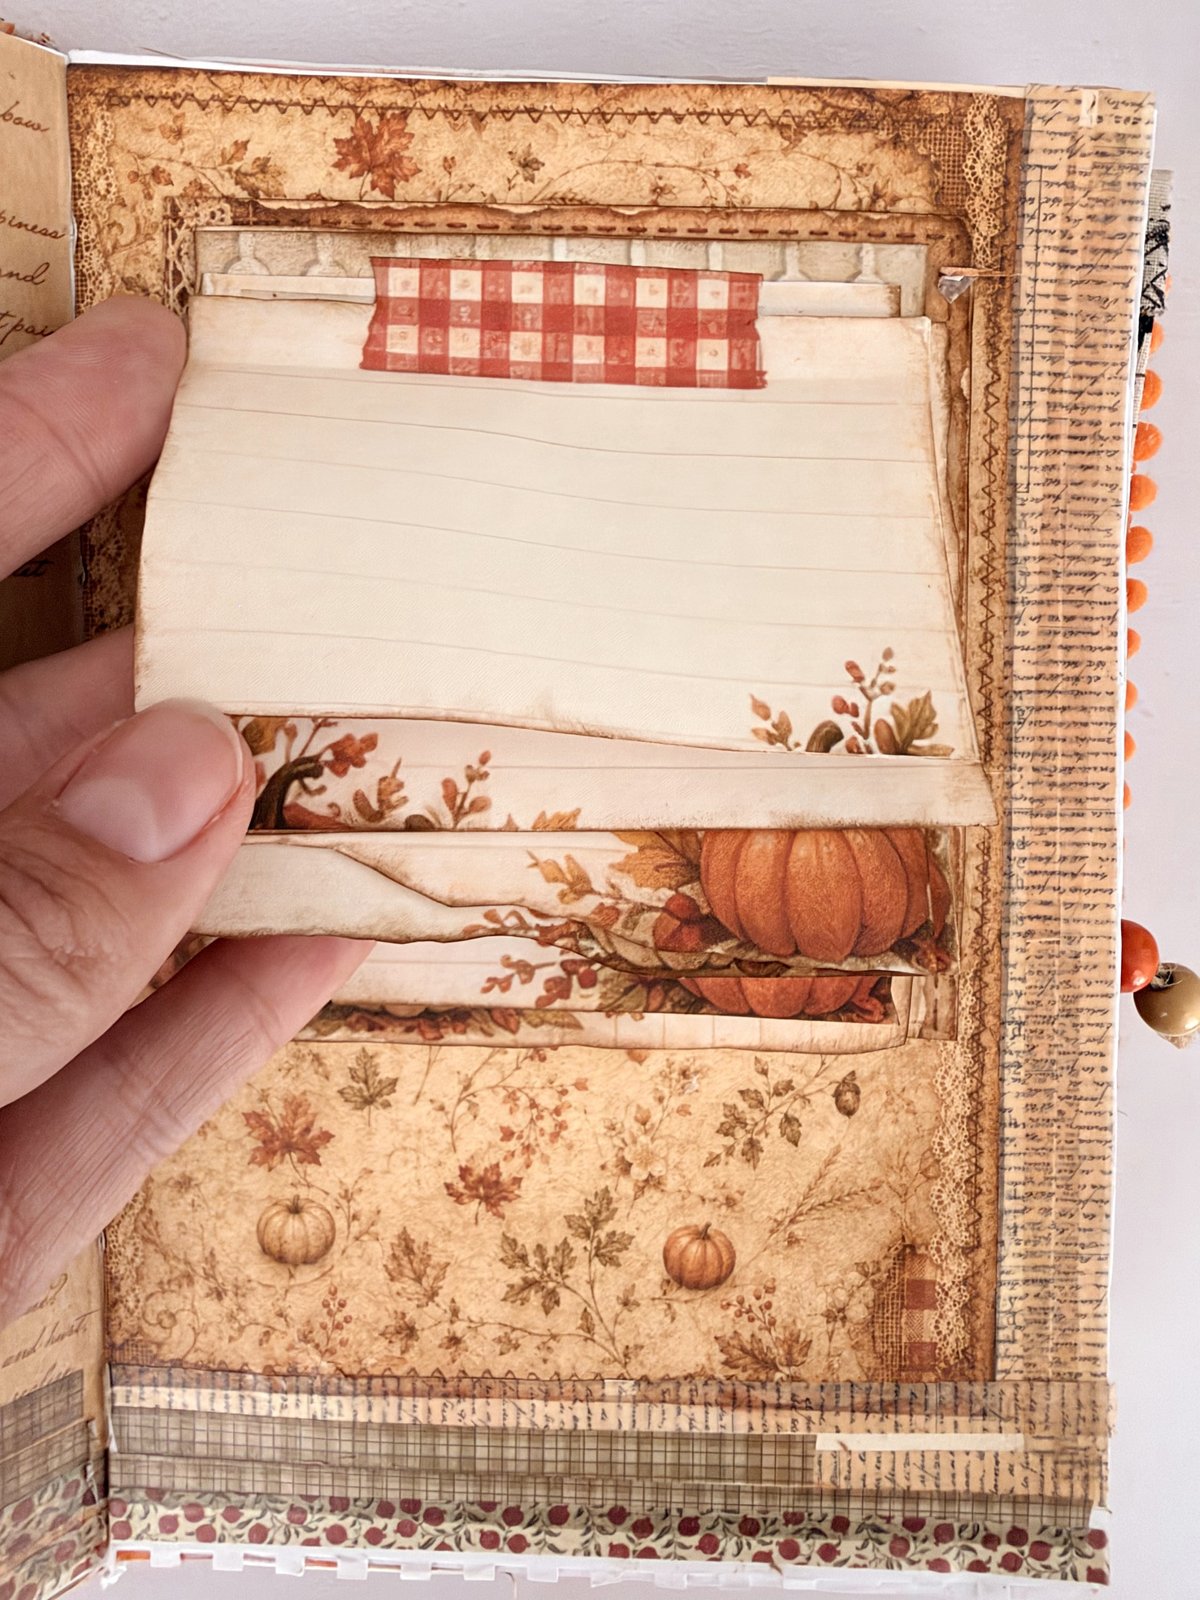
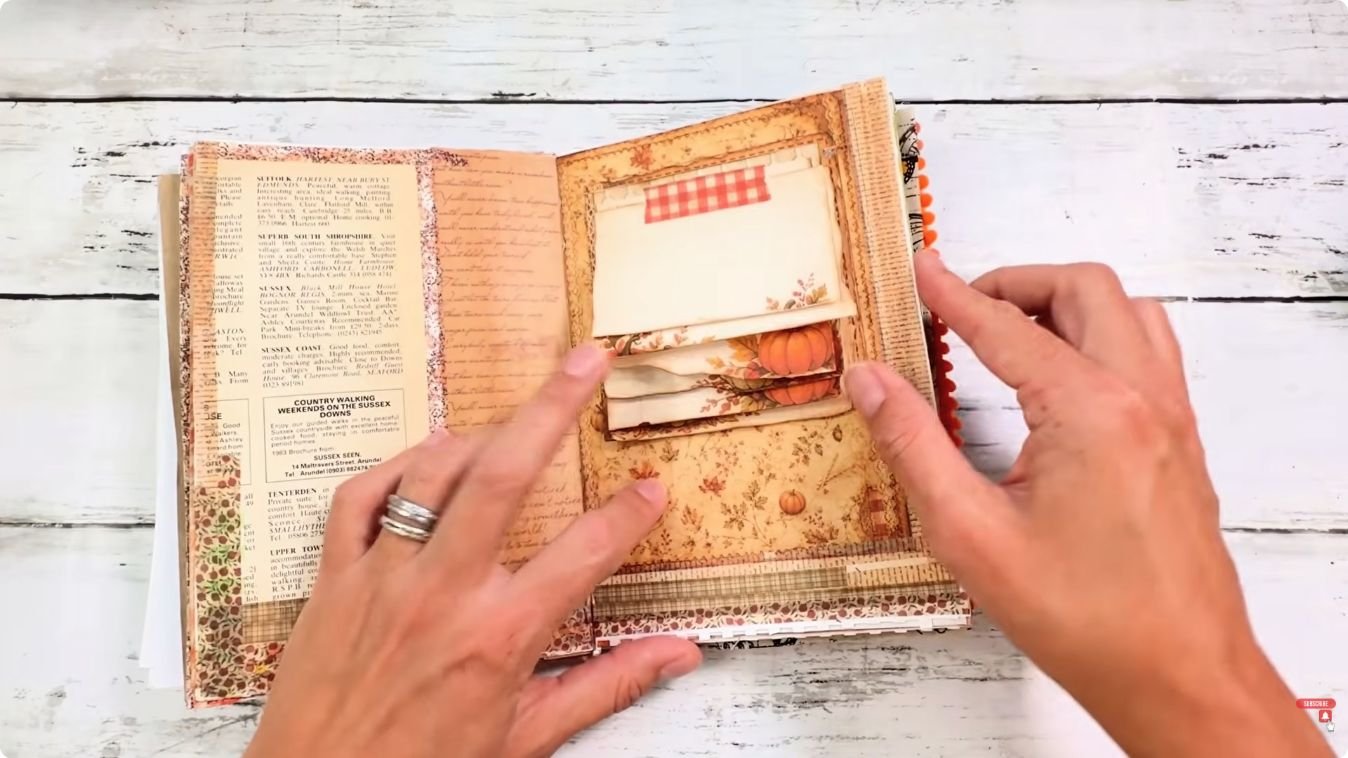
You need: 4 or 5 cards cut from your kit (all the same width), a strip of paper about 2 cm wide, and a glue stick. Washi tape finishes the top nicely.
How to make it:
- Glue the paper strip to the page, then glue the bottom edge of your first card to the strip.
- Glue the next card on, about 1.5 cm higher, so each card overlaps the one below.
- Keep going until all the cards are stacked.
- Cover the top edge with a strip of washi tape.
💡 Tip: Want an even easier version? Tear a few sheets off a mini notepad and stick them in with a strip of gingham washi, just like my mum did.
17. A book within a book
A mini book is a tiny booklet stitched or glued inside your journal. It’s a lovely surprise when you turn the page, and a great spot for lists and notes.
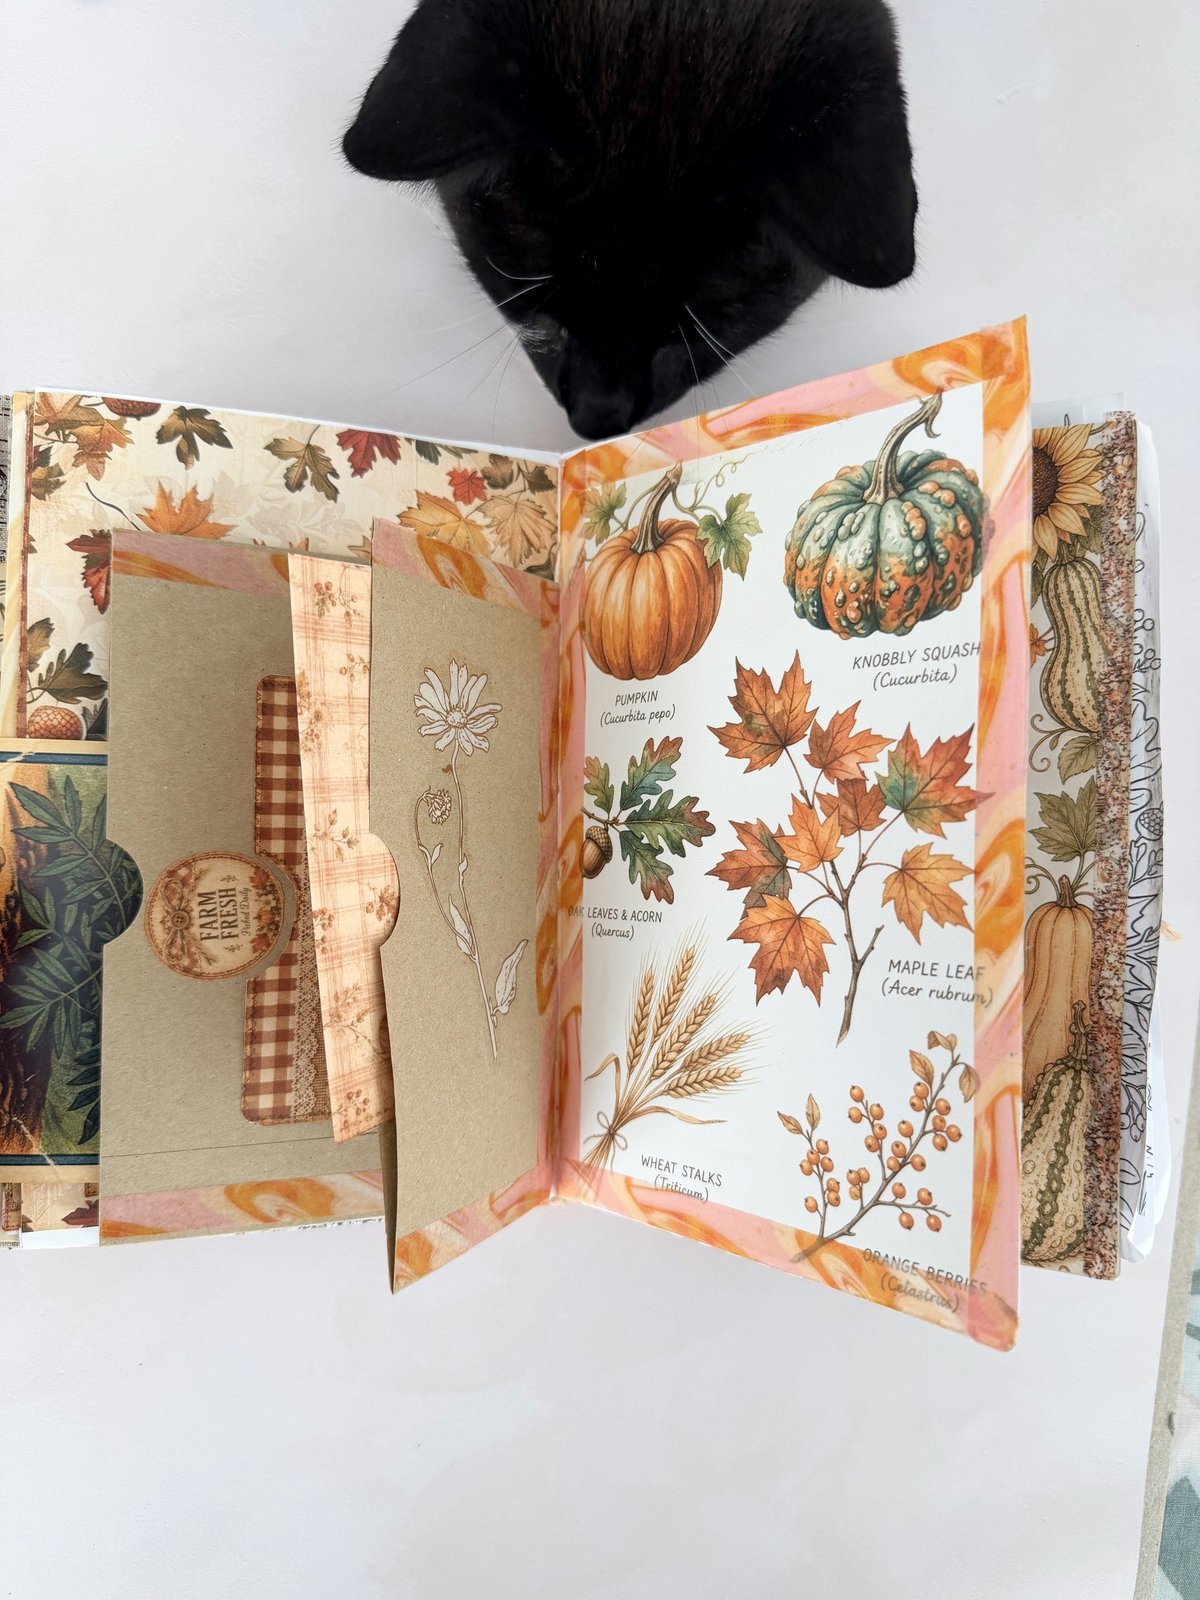
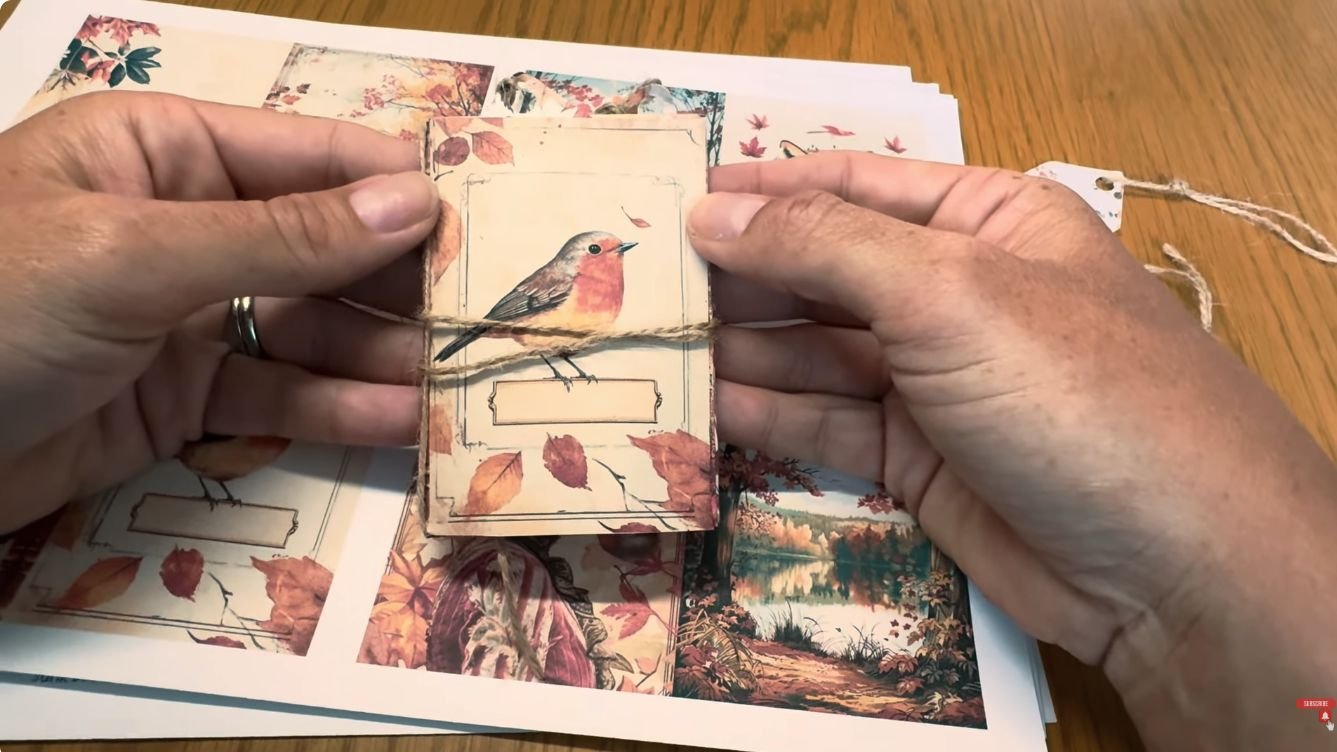
You need: two or three kit pages, some plain paper for writing, and a needle and thread or a long-arm stapler.
How to make it:
- Cut the pages in half and fold each one in half.
- Nest them together into a little booklet.
- Stitch or staple down the fold.
- Glue the back cover of the booklet onto a page, or stitch it into the spine.
💡 Tip: Mix in a few plain sheets so there’s room to write. The three-hole stitch in my kit-to-journal guide is perfect for this.
Keep going
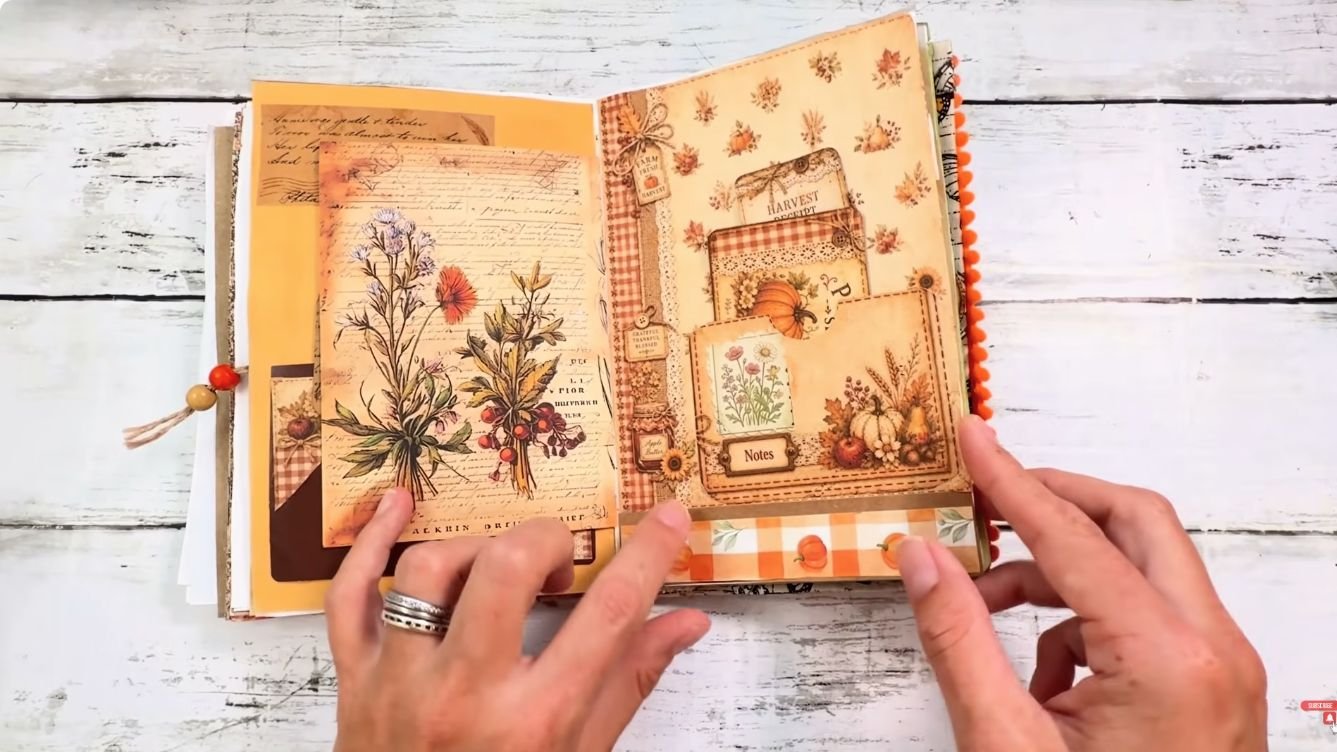
Once you’ve made a few of these, you’ll start seeing ideas in every kit page. Start with a tag, a pocket and a belly band, then try the rest. Here’s the full flip-through of my mum Jen’s autumn journal, where you can see lots of these ideas together:
And these two posts will take you further:
- How to Turn a Printable Kit Into a Real Junk Journal: printing, signatures, binding and pockets.
- Junk Journal Tags, Pockets & Envelopes: 30+ Ideas: lots more little makes for your pages.
Frequently asked questions
What’s the easiest thing to make with a printable junk journal kit?
A tag. Cut a rectangle from a kit page, snip the top corners, punch a hole and add ribbon. It takes about five minutes and you can tuck it into any page.
Do I need special paper to print a junk journal kit?
No. Ordinary printer paper is fine for pages, tags and strips. For covers, ATCs and bookmarks, glue your printed page onto thin card (a cereal box is perfect) so it’s sturdier.
What’s the difference between a pocket and an envelope?
A pocket is open at the top, so things slide straight in. An envelope has a flap that folds over, so it’s better for hiding letters and keepsakes.
What is a belly band in junk journaling?
A belly band is a strip of paper, ribbon or lace wrapped round a page or signature. It holds cards and notes in place and adds a pretty layer.
Can I use one kit page for more than one project?
Yes, and it’s a lovely way to make your kit go further. Cut a tag and a bookmark from one page, and use the offcuts as edging strips.
I’m a complete beginner. Where should I start?
Start with a tag, a simple pocket and a belly band. Once those feel easy, try an envelope, a waterfall notepad and then a book within a book.
💛 Ready for more pages to make with? Join the Artsydee Creations Club for new printable junk journal kits every week, so you’ll never run out of papers for your tags, pockets and mini books. Take a peek inside →