Last Updated on November 1, 2026 by Dee
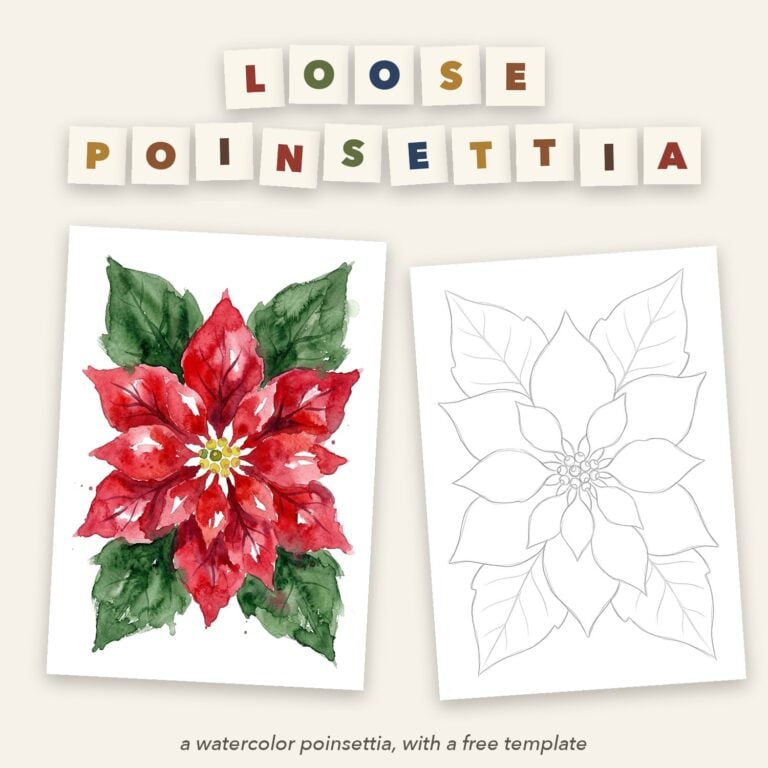
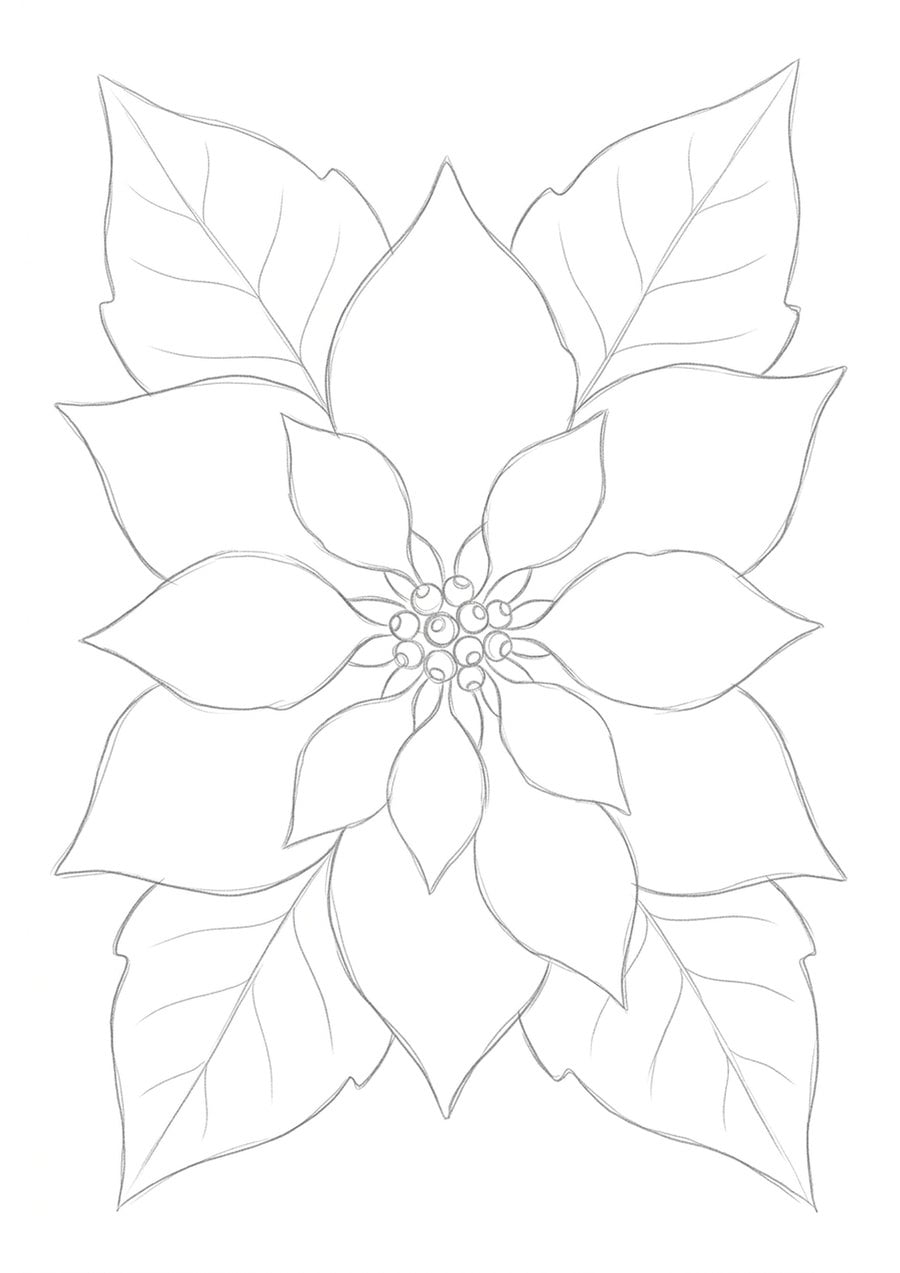
Here’s a loose watercolor poinsettia to paint step by step, plus a free poinsettia template with a painted reference and a page on how to paint it.
Pop your email in just below and I’ll send the poinsettia template straight over, with a painted reference and a page on how to paint it. Pin this for later too, so you can find the steps again when your paints are out.
Get the free poinsettia watercolor template
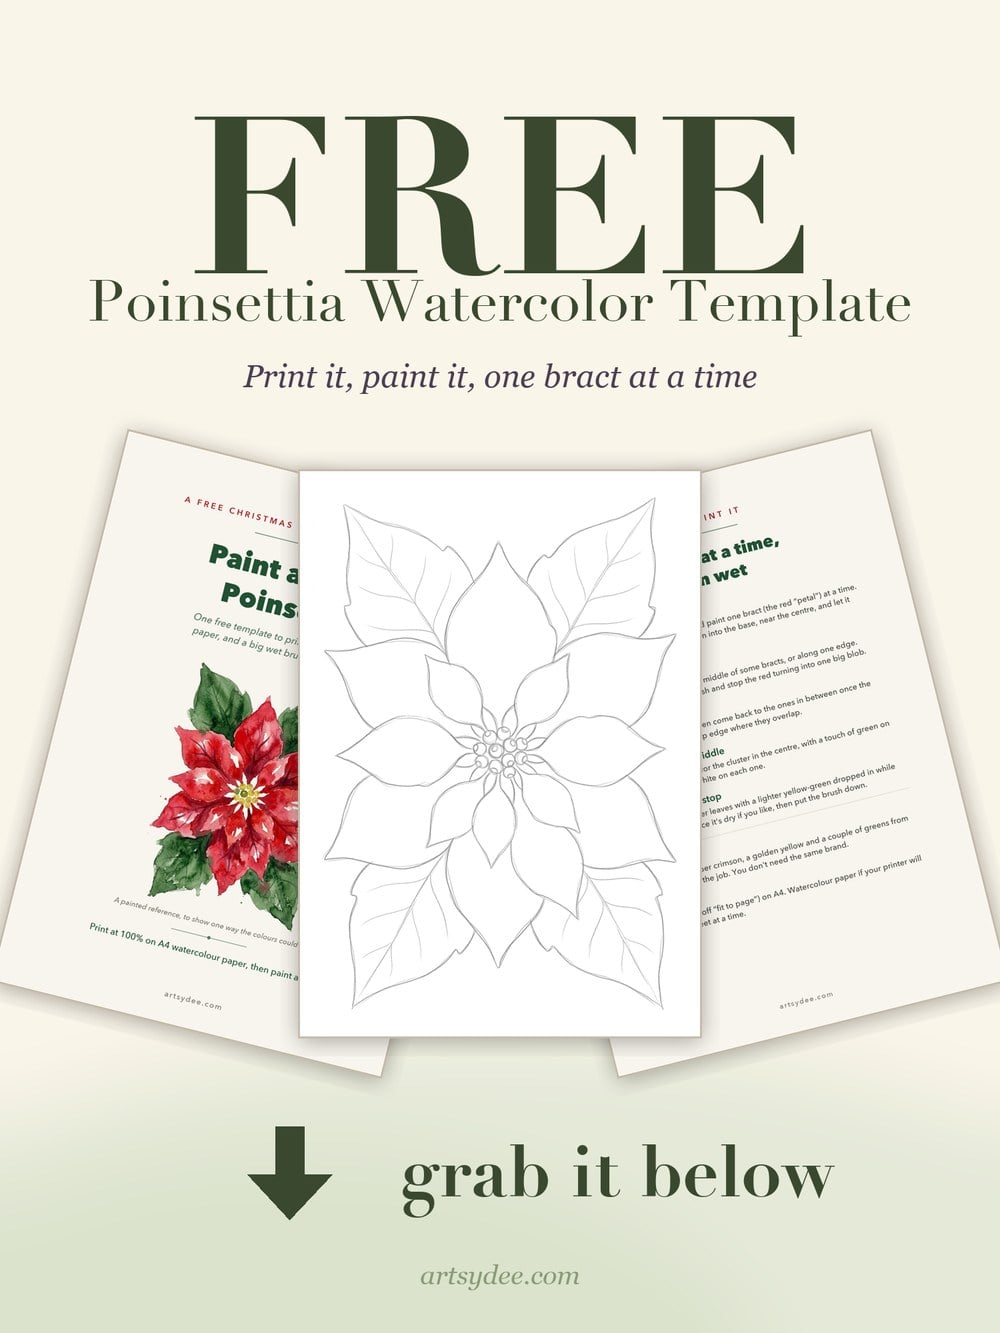
Once it lands in your inbox, print it at 100% on A4 watercolor paper, then scroll down for the step by step.
A watercolor poinsettia looks impressive, but it’s really just a ring of big, simple shapes. Paint each red bract with one or two wet strokes, drop a deeper red in while it’s still wet, and let the water do the shading for you.
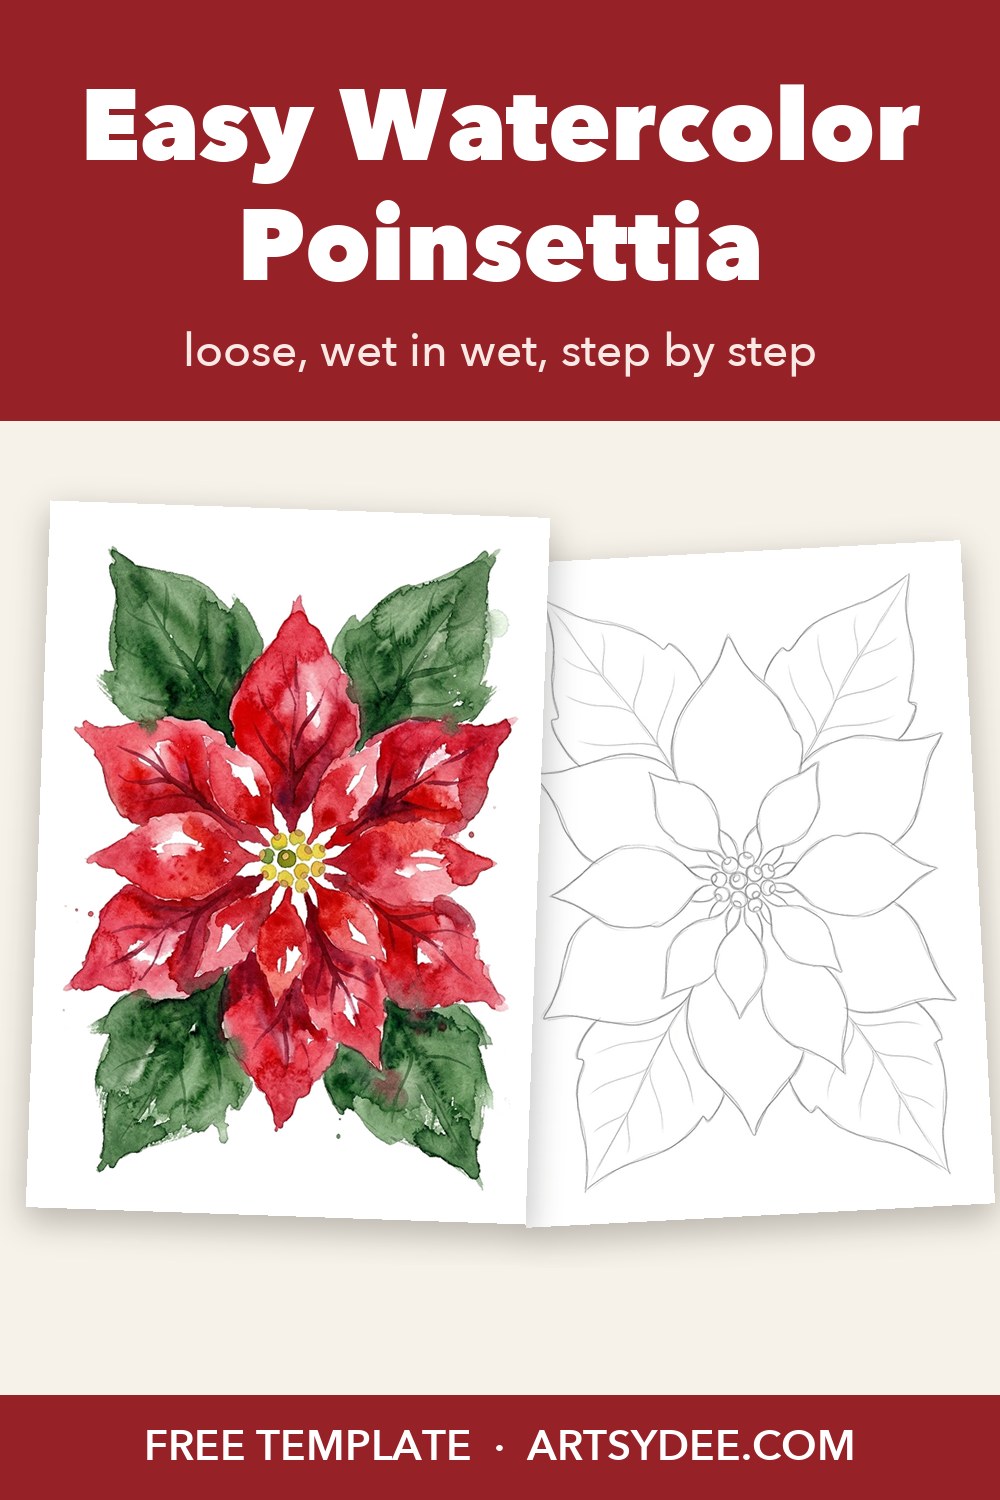
Today we’re painting a loose red poinsettia, and the template is free. The outline is already drawn for you, so you can skip straight to the fun part: the color.
Table of Contents
What We’re Painting
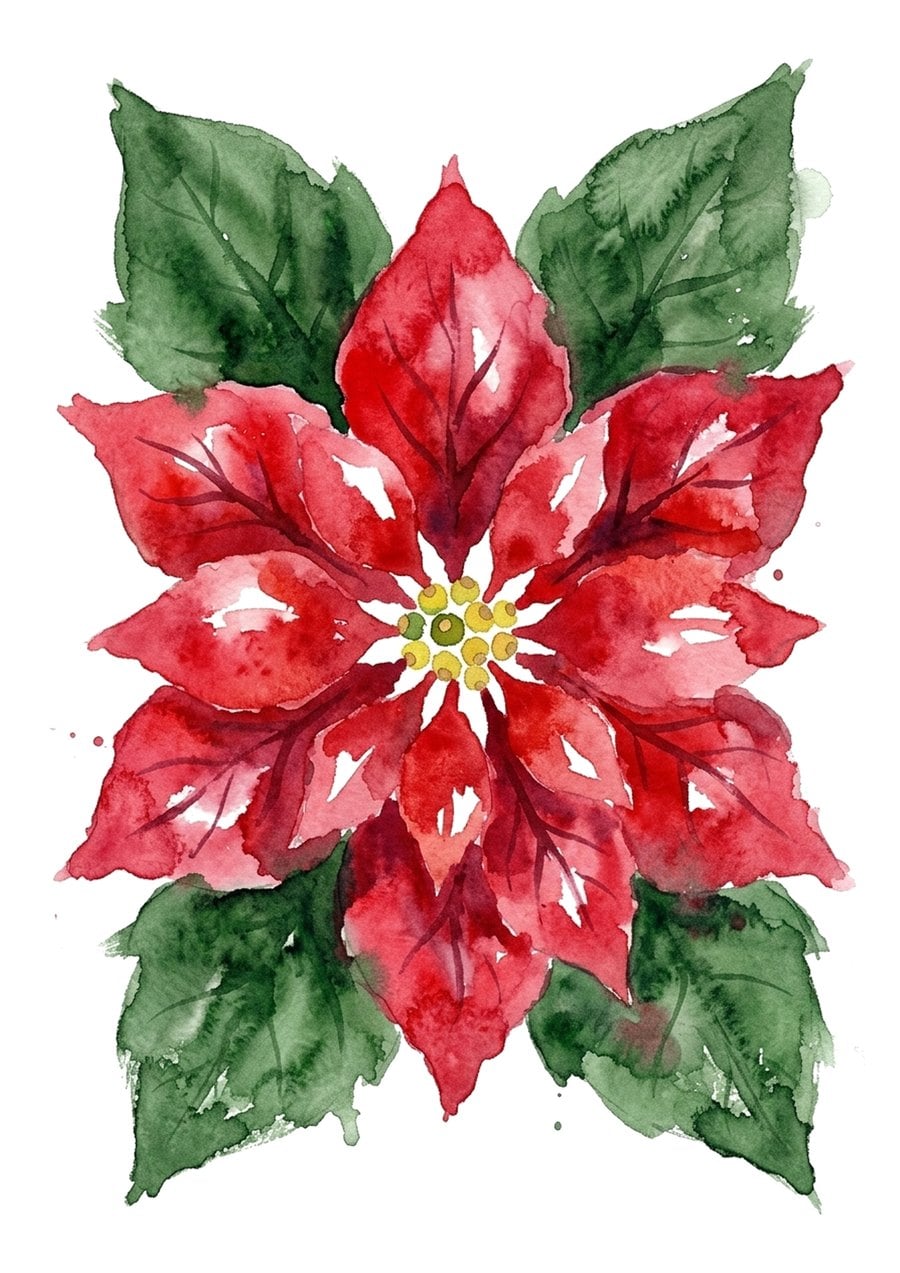
Quick answer: a single poinsettia seen from above: a star of bright red bracts in two layers, a little cluster of golden buds in the middle, and four deep green leaves tucked behind. You paint it wet in wet, one bract at a time.
The “petals” on a poinsettia are actually bracts, colored leaves, and the real flowers are the tiny golden buds in the center. That’s good news for painters. Leaves are big, simple shapes, and big simple shapes are exactly what loose watercolor loves.
It’s a wonderful December painting if you’re a beginner, and it’s quick. Once you’ve done one, you’ll want to paint a stack of them for Christmas cards.
What You Need
Nothing fancy. I’ll tell you what kind of color you need, so you can find something similar in your own box.
- A bright red for the bracts, a warm scarlet if you have one.
- A deeper crimson to drop in at the base of each bract.
- A golden yellow and a touch of green for the little buds in the middle.
- A deep green and a lighter yellow-green for the leaves.
- A size 8 round brush with a good point. Big enough to fill a bract in one or two strokes.
- The free template, printed on watercolor paper, plus a jar of water and some kitchen roll.
If you’re shopping, these are lovely: the Daniel Smith Essentials watercolor set has a glowing red and crimson, a Princeton Heritage round brush in size 6 is a great all-rounder for the smaller bracts, and an Arches cold press watercolor block is a treat for finished Christmas cards. A gold or white Sakura Gelly Roll pen is fun for a few sparkly dots at the end. A cheerful student set will paint this poinsettia just as happily.
Some links in this post are affiliate links. If you buy through them I may earn a small commission, at no extra cost to you. I only link to things I actually use.
How to Paint a Loose Watercolor Poinsettia
Quick answer: paint each red bract wet, drop deeper crimson into the base so it blooms outwards, leave thin slivers of white paper, skip around so neighboring bracts don’t bleed together, then add golden buds and two-tone green leaves.
Step 1: red bracts, one at a time
Load a big brush with bright red and paint one bract. While it’s still wet, touch a little deeper crimson into the base, right where it meets the center, and watch it creep outwards on its own. That soft dark-to-light fade is all the shading a poinsettia needs.
Step 2: leave a sliver of white
As you paint, skip a thin line of paper down the middle of some of the bracts, or along one edge. Those little white gaps read as the vein and the shine, and they stop the red turning into one big blob. You don’t need them on every bract. Four or five is plenty.
Step 3: skip around and let it dry
Here’s the trick that keeps it crisp: paint bracts that don’t touch each other first. Let them dry, then come back and paint the ones in between. Where two bracts overlap you get a clean little edge, and the flower suddenly looks layered.
Step 4: golden buds in the middle
Dot in the tiny buds with golden yellow, and touch a little green into a few of them while they’re wet. Leave a pinprick of white on each one. Keep them small and round. This is the only fiddly bit, and it takes two minutes.
Step 5: green leaves, then stop
Paint the four leaves behind in a deep green, dropping a lighter yellow-green into the middle of each while it’s wet. Once everything is dry, you can add a few darker veins on the red bracts with the tip of the brush. Then put the brush down. Really.
White and Pink Poinsettias
Poinsettias don’t have to be red. The same template paints beautifully in other colors, and a little row of red, white and pink looks lovely on a card or a mantel.
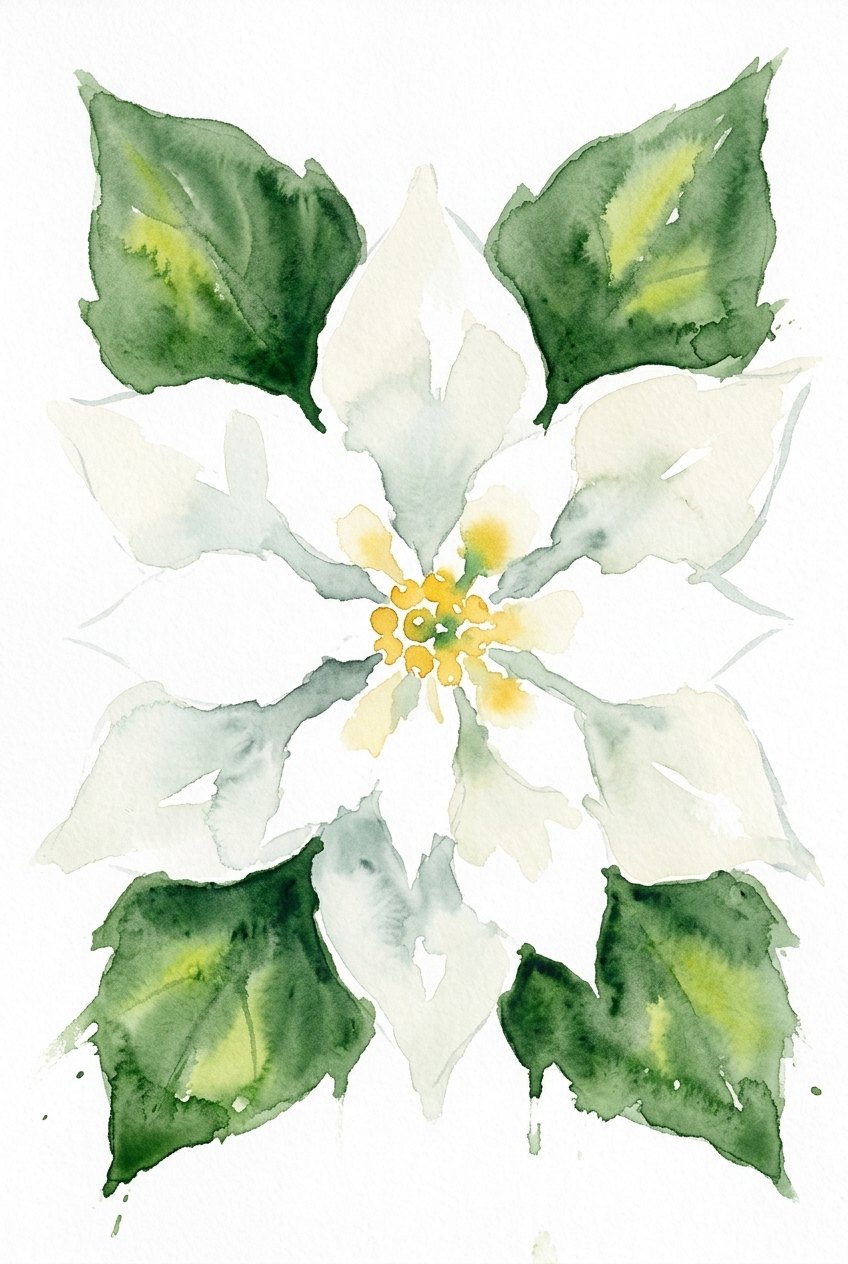
White poinsettia: this one is mostly paper. Paint only the shadows where the bracts overlap, in a very pale gray-green or a soft cream, and leave everything else white. The golden center and the deep green leaves do the rest. It’s a lovely lesson in painting less.
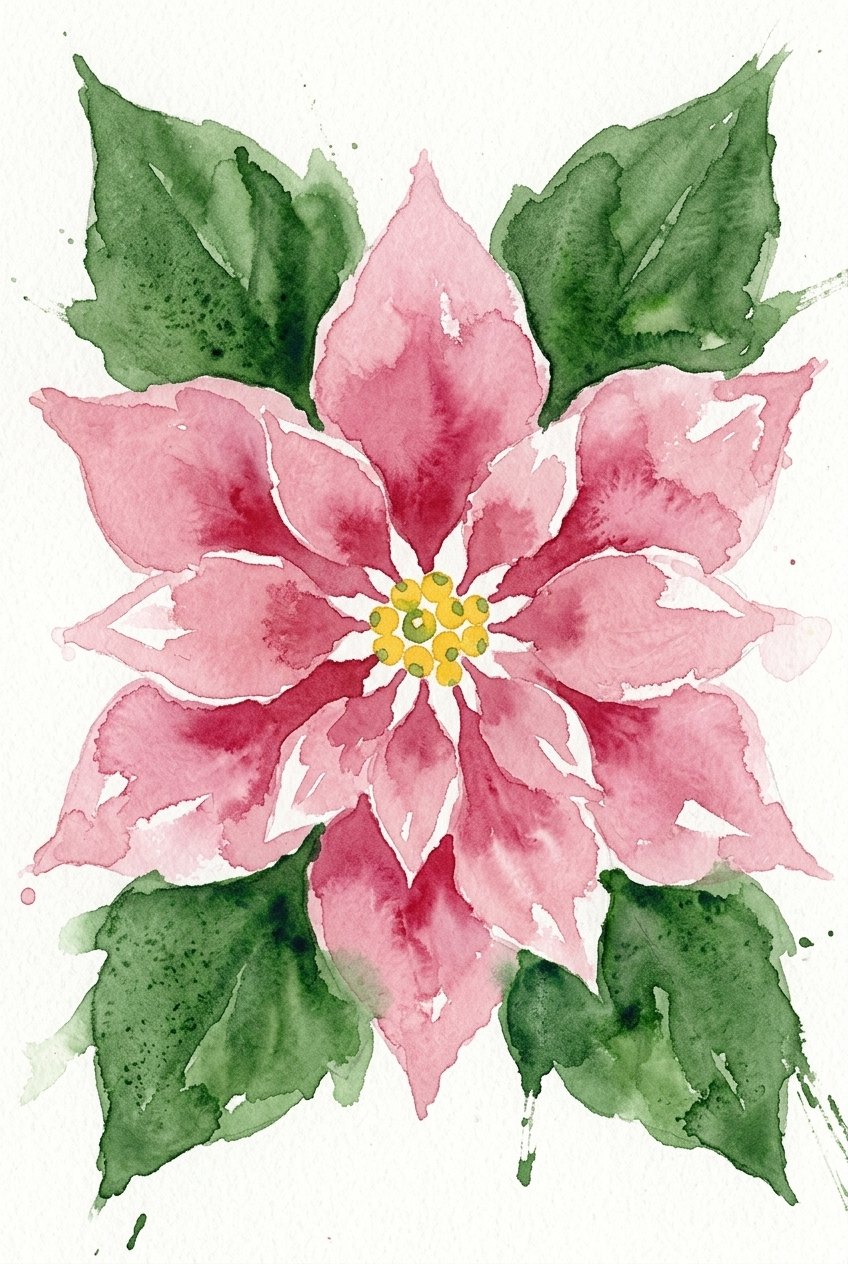
Pink poinsettia: exactly the same method as the red, with a soft rose pink for the bracts and a deeper raspberry dropped in at the base. Leave plenty of white slivers. Pink looks fresh and a little bit vintage, perfect for a softer Christmas card.
Five Tips for a Fresh, Loose Poinsettia
- Use more water than feels sensible. Wet bracts bloom and blend. Dry ones look stiff.
- Drop the dark in, don’t brush it. A touch of crimson into wet red always looks softer than one you paint on.
- Never paint two touching bracts at once. Skip around and let them dry.
- Keep your reds clean. Rinse well before the green, or the red turns brown.
- Stop early. Most poinsettias get overworked in the last two minutes.
What to Make With Your Poinsettia
A single poinsettia is one of the most useful Christmas paintings you can have up your sleeve.
- Christmas cards. Paint it on a quarter of a sheet of watercolor paper and glue it onto a folded card. My watercolor Christmas cards have more easy designs.
- Gift tags. Paint a few small ones, cut them out and punch a hole for ribbon.
- A table runner of paper flowers. Cut out a row of red, white and pink and scatter them down the Christmas table.
- A framed winter print. Paint it on good paper and pop it in a simple white frame for December.
And if you’d rather make paper poinsettias to cut and fold, my free poinsettia templates are a fun craft for a cold afternoon.
Christmas Greenery to Paint Next
Once your poinsettia is dry, these little bits of Christmas greenery use exactly the same loose, wet-in-wet approach, and they look lovely painted alongside it.
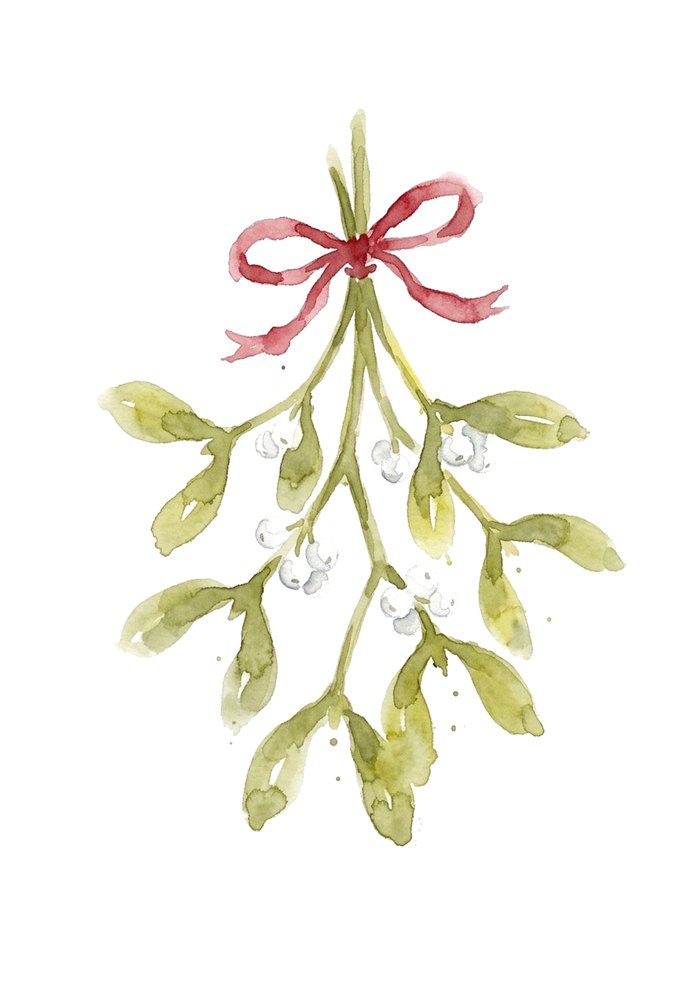
Mistletoe is all soft olive-green leaves in pairs and a cluster of pale, pearly berries. Leave most of each berry as paper, with just a whisper of gray-green on one side.
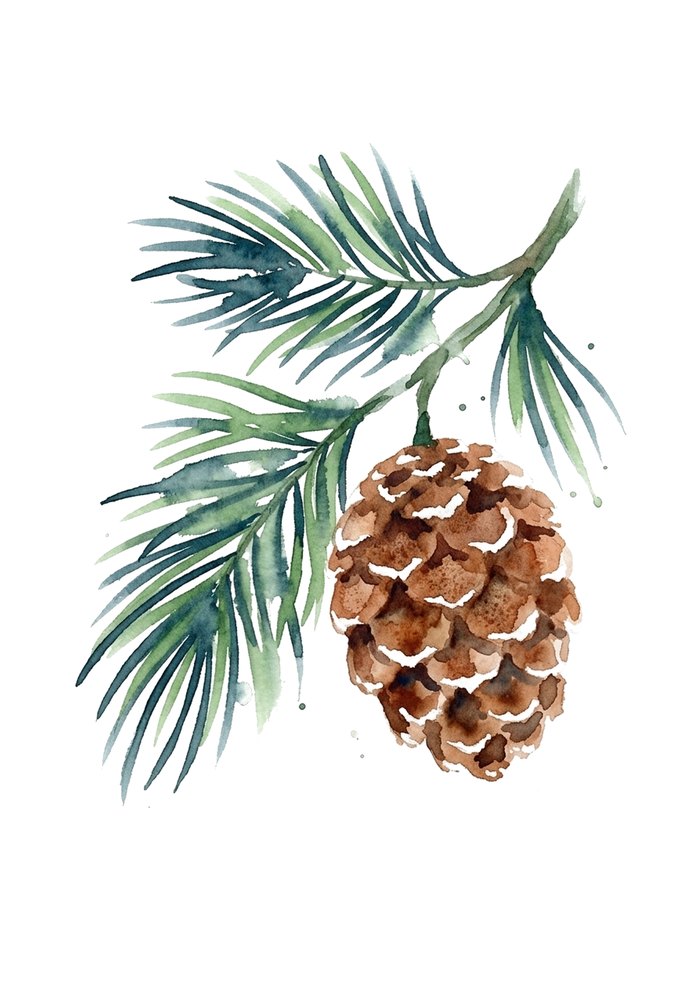
A pine sprig and cone is quick, flicky brushwork: needles in deep blue-green flicked out from the stem, and a warm brown cone with the scales suggested rather than drawn. For a classic red-and-green, my easy Christmas watercolor paintings walk through a loose holly sprig too.
Twenty Easy Christmas Paintings
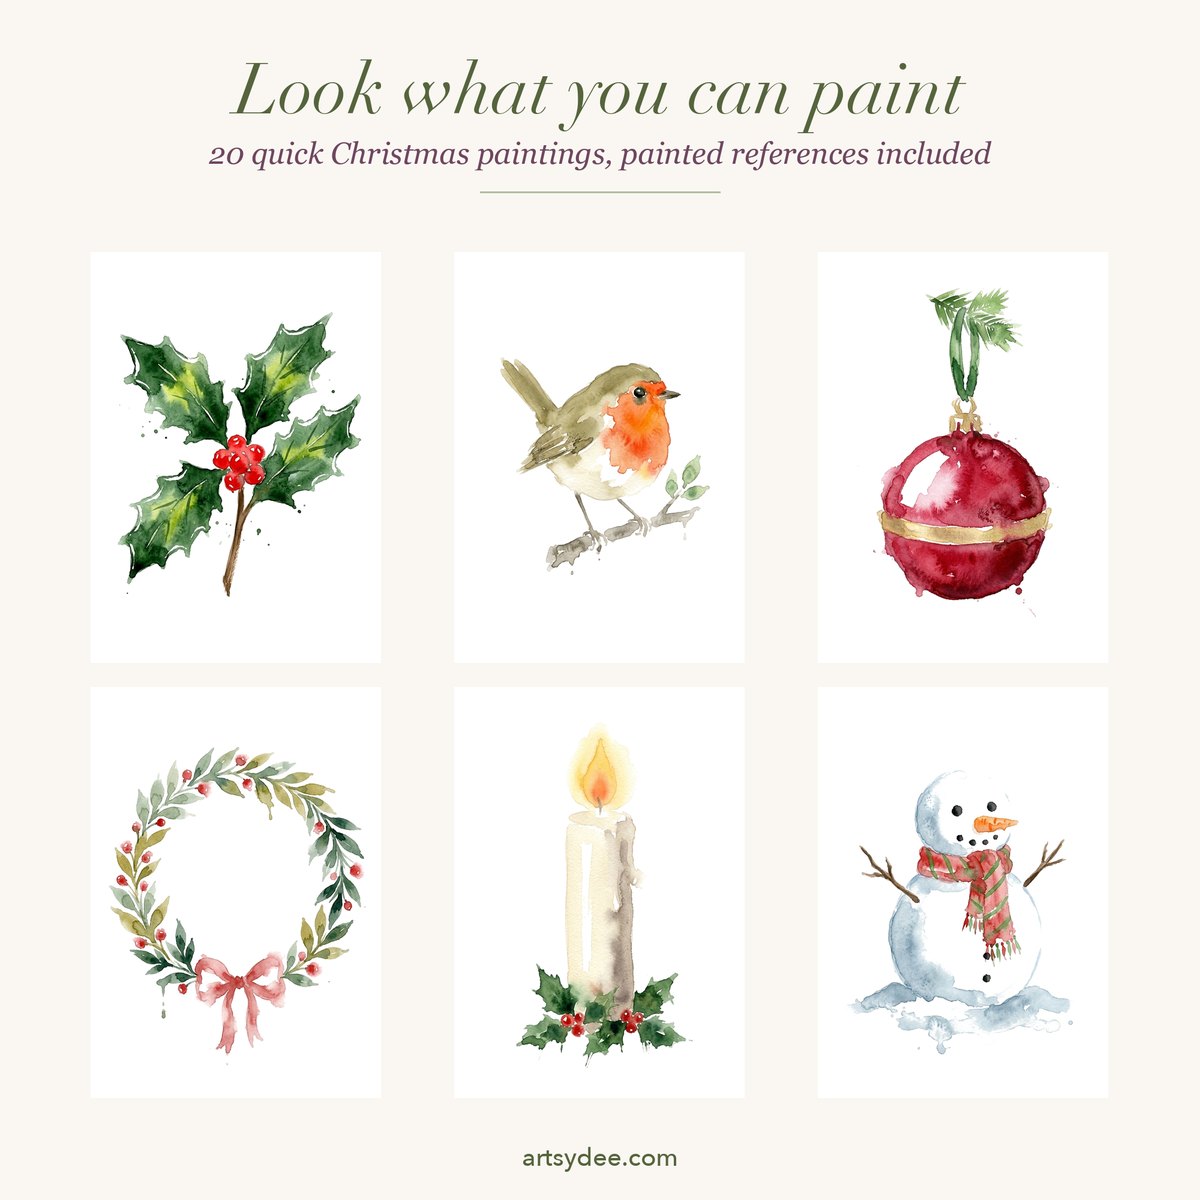
Easy Christmas Watercolour Templates is coming on Monday 9 November.
It’s twenty quick Christmas subjects drawn as soft pencil outlines: the poinsettia you’ve just painted, a holly sprig, a robin, a red bauble, a loose wreath, a candle, mistletoe, a pine sprig, a snowman, a stocking and more. Each one is paintable in a few minutes, and each comes with a painted reference and a colour inspiration card.
Grab the free poinsettia template above and you’ll hear about it in my newsletter the week it’s ready. In the meantime, you can browse my other template sets in my Payhip shop.
Want a new set to paint every month? New watercolor template sets go up on my Patreon all the time: printed outlines, no drawing, just paint, with painted references so you can see where the color goes. Come and paint with me on Patreon →
Frequently Asked Questions
Is the poinsettia template really free?
Yes. Put your email in the box near the top of this post and the PDF comes straight to your inbox: a cover with a painted reference, the poinsettia template itself, a page on how to paint it, and a peek at the full Christmas set.
What colors do you need to paint a watercolor poinsettia?
A bright red, a deeper crimson, a golden yellow and two greens. That’s all. Any student set has them.
How do you stop the red bracts bleeding together?
Don’t paint two touching bracts at the same time. Paint every other one, let them dry, then fill in the gaps. Leaving thin slivers of white paper between them helps too.
Is a poinsettia hard to paint for a beginner?
Not with a template. The outline is already drawn, and each bract is just one simple shape. It’s mostly about letting the water blend the reds for you.
What paper should I print the template on?
Watercolor paper if your printer will take it, fed through one sheet at a time. Print at 100% on A4 with “fit to page” turned off. Ordinary printer paper is fine for a practice run, but it will buckle once it gets wet.
Final Thoughts
A poinsettia is one of those paintings that looks far harder than it is. Big wet bracts, a deeper red dropped in, a few white slivers and a cluster of golden dots, and you’ve got something that looks like Christmas. Print the template tonight, put the kettle on and paint along. Then come back and tell me how it went. I’d genuinely love to see yours.
If this was your speed, subscribe to my YouTube channel for a new paint-along every week (all the videos are at youtube.com/@artsydee), and come and say hello on Pinterest. Pin this for later so you can find the steps again when your paint is out.
Happy painting!
Dee x
You Might Also Like
- 60+ Christmas watercolor templates for more festive subjects to paint
- 50+ Christmas watercolor ideas to try this holiday season
- Watercolor Christmas card art for more card inspiration
- Holiday painting ideas for cosy December afternoons
- Watercolor for beginners if you’re just starting out
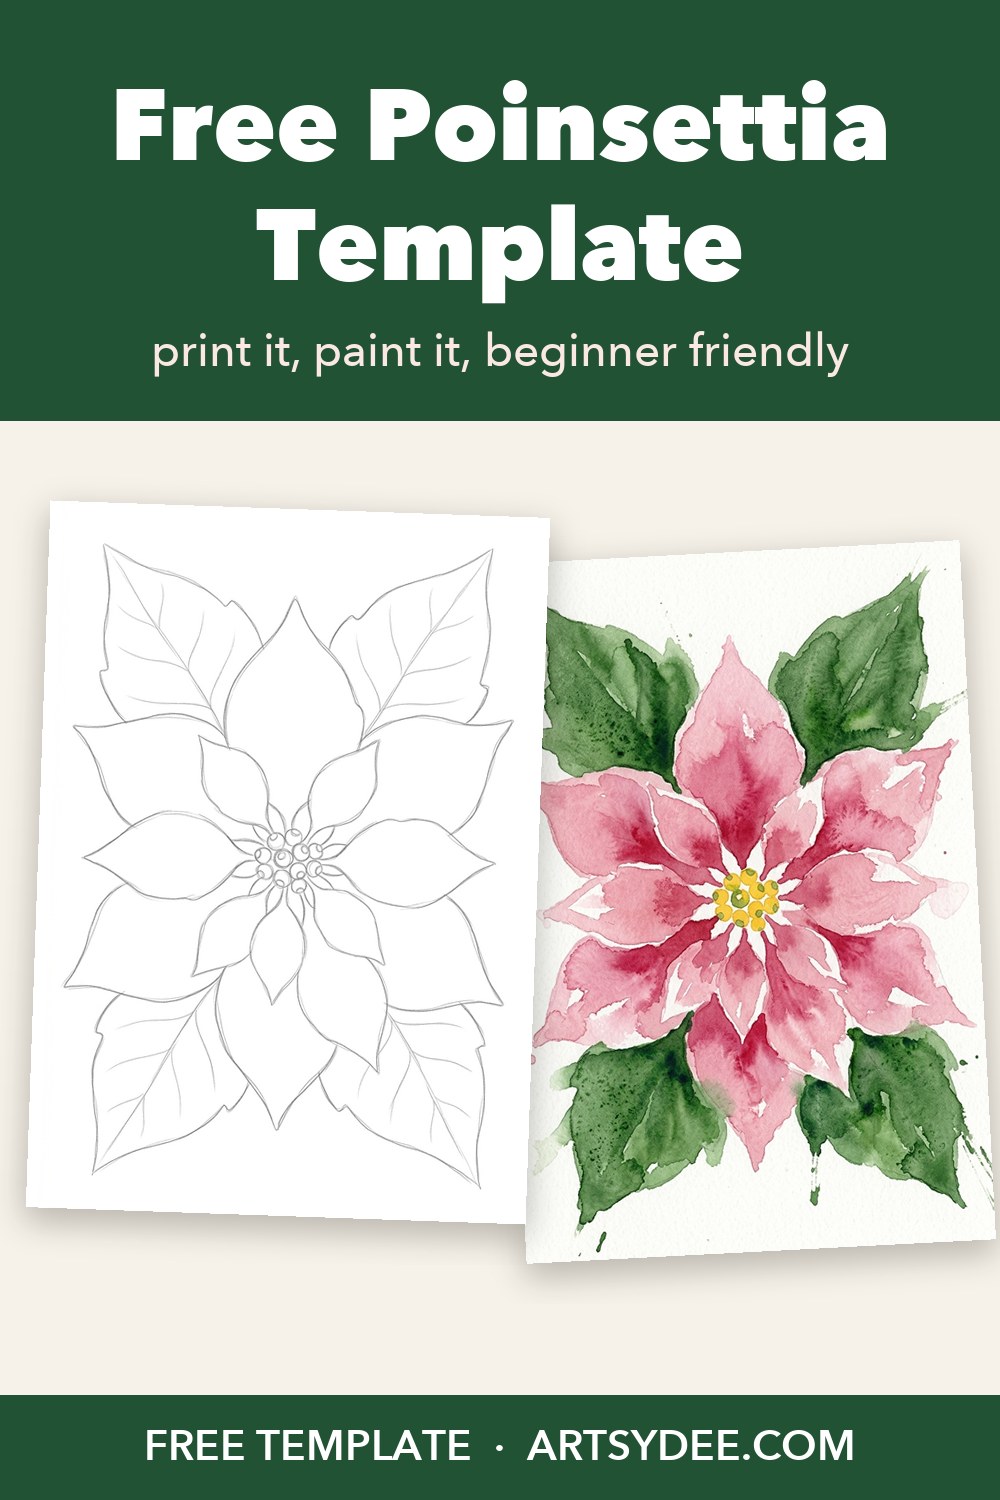
Pin this for later, and grab the free poinsettia template at the top of the post.