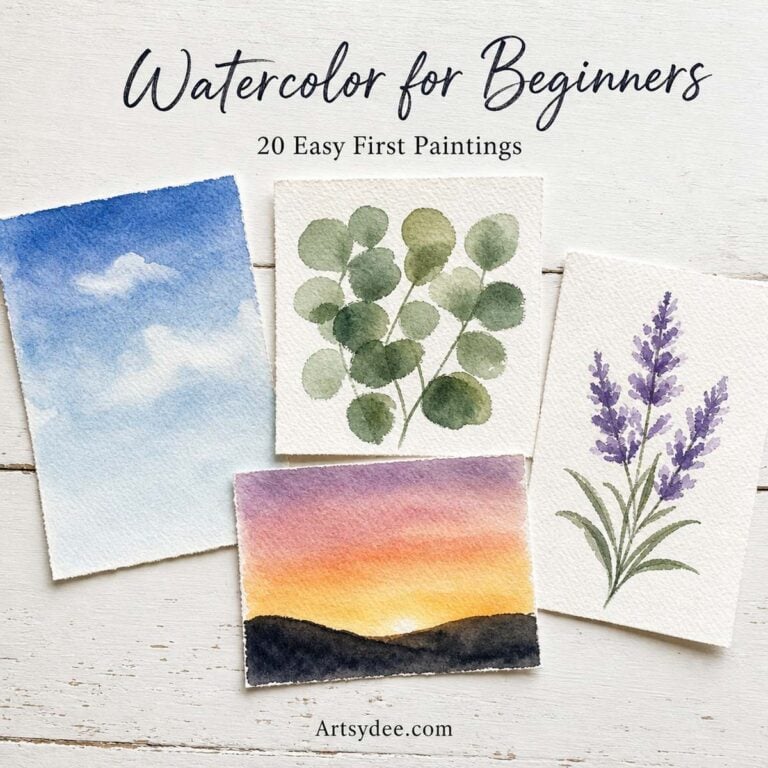
Most watercolor art for beginners advice hands you fifty pretty ideas and no clue where to start. So you paint a random rose, it goes muddy, and you decide you’re “not a watercolour person”. You are — you just started at painting number thirty. This post is different: it’s your actual first 20 paintings, in order. Each one is small, each one teaches exactly one skill, and each one sets up the next.
I taught art in classrooms for years; now I teach thousands of people to make things at their kitchen tables — and this is the sequence I wish someone had handed me at the start. To make it even easier, I’ve got 23 free printable watercolor templates for beginners below, so the drawing part is already done and you can get straight to the paint.
Free Beginner Watercolor Templates
Pop your email in below and I’ll send you 23 free printable watercolor templates — clean outlines you can print and paint straight over, perfect for the paintings in this post. You’ll get a download link on screen the moment you sign up.
Table of Contents
Table of Contents
What you actually need (it’s not much)
Quick answer: one small paint set, one pad of real watercolour paper, one round brush and a jar of water. That’s genuinely it — every painting in this post uses the same four things.
- A basic paint set — a Winsor & Newton Cotman set is the classic starter for a reason: proper artist-adjacent pigments at a student price.
- Real watercolour paper — this is the non-negotiable one. A Canson XL watercolour pad is cheap enough to use freely, and 300gsm cold press paper is half the reason watercolour “suddenly works”.
- One round brush — a size 6 round does everything in this post. I use a Princeton Heritage round size 6 for nearly all of it.
- Optional but lovely: Pentel water brushes if you want to paint on the sofa, and a Mijello folding palette if a white dinner plate isn’t cutting it anymore.
Heads up: some links in this post are affiliate links, which means I may earn a small commission at no extra cost to you if you buy through them. I only link to things I’d use myself.
If you want the longer version of what’s worth buying and what isn’t, I’ve written up my recommended watercolour supplies separately.
The wonky mindset
Quick answer: in watercolour, loose and wonky isn’t the beginner version of good — it is good. Trying to control every edge is what makes beginner paintings look stiff, muddy and overworked.
Watercolour is the one medium where the paint keeps working after you’ve put the brush down. Pigment drifts, colours bleed into each other, edges soften on their own. Fight that and you lose every time. Work with it and even your first paintings have that glowy, alive quality you’ve admired in other people’s work.
So here’s the deal for the next 20 paintings: wobbly lines are allowed. Backruns are allowed. A leaf that looks more like a tadpole is allowed. Every painting below is small — think postcard size, ten to twenty minutes — because small and frequent beats big and precious. You’re not making wall art yet. You’re teaching your hands what water does.
Paintings 1–5: Learn what water does
These five look humble, but they’re the entire engine room of watercolour. Every impressive painting you’ll ever make is these five skills in a nicer outfit.
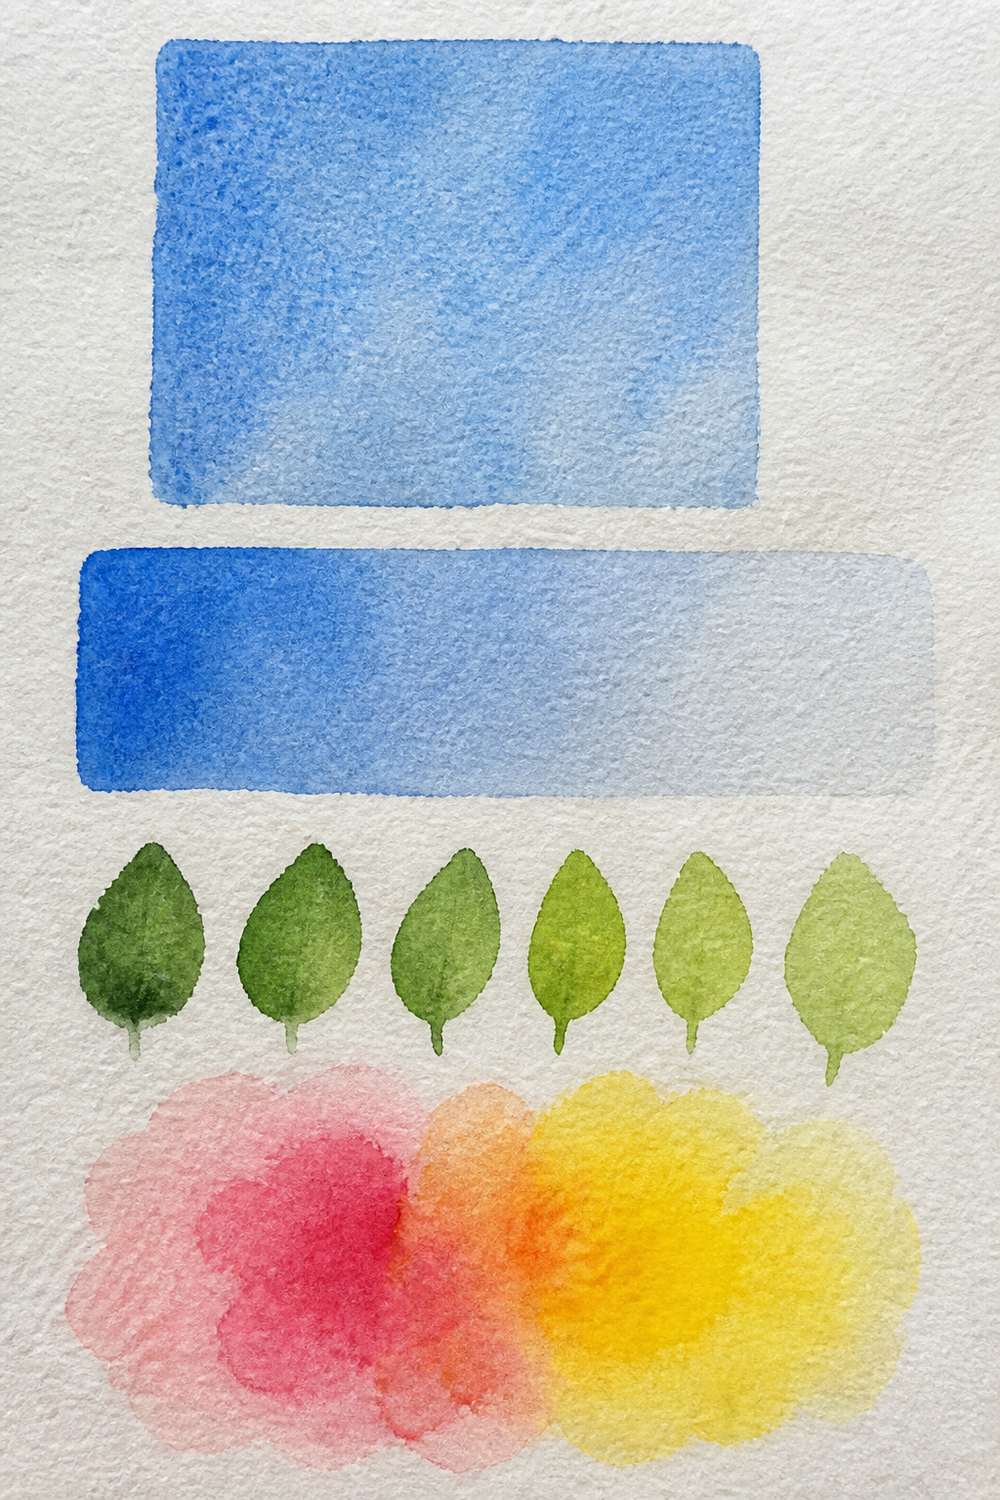
1. A flat wash square
Mix a puddle of one colour, then fill a square roughly the size of your palm, working top to bottom in overlapping strokes. Keep a bead of wet paint moving down the shape and don’t go back into anything you’ve already painted. It teaches you how much water a loaded brush really holds — which is the thing beginners misjudge most.
2. A graded sky
Same square, but this time add clean water to your brush with each stroke so the colour fades from deep at the top to almost nothing at the bottom. Congratulations — that’s a sky, and you’ll use it in paintings 11 through 15. It teaches dilution: how water, not more paint, controls lightness.
3. A row of blob leaves
Press the belly of the brush down, pull a short stroke, lift to a point. Do it six times in a row with slightly different greens. It teaches pressure — how one brush makes both fat shapes and fine tips — and it’s secretly the stroke behind most loose florals on Pinterest.
4. Two colour blooms
Wet two rough circle shapes with clean water, then touch a loaded brush of rose into one and yellow into the other so they bleed toward each other. Then leave them alone — no poking. This is wet-on-wet, the technique that makes watercolour look like watercolour, and it teaches the hardest skill of all: stopping.
5. A value ladder
One colour, five little squares, from the palest whisper to the strongest mix your pan will give you. Most “my painting looks flat” problems are value problems, not colour problems. This ladder is how you learn what your paint can do at both ends.
Paintings 6–10: One-stroke leaves and flowers
Now those strokes start looking like things. Botanicals are the friendliest first subjects because nature is already wonky — nobody has ever looked at a real lavender stem and checked it for symmetry.
6. A eucalyptus stem
Paint one thin line with the tip of your brush, then dot round blob leaves alternating down each side. It teaches the switch between tip and belly of the brush, and it looks far more sophisticated than the effort involved — the best possible ratio for a beginner.
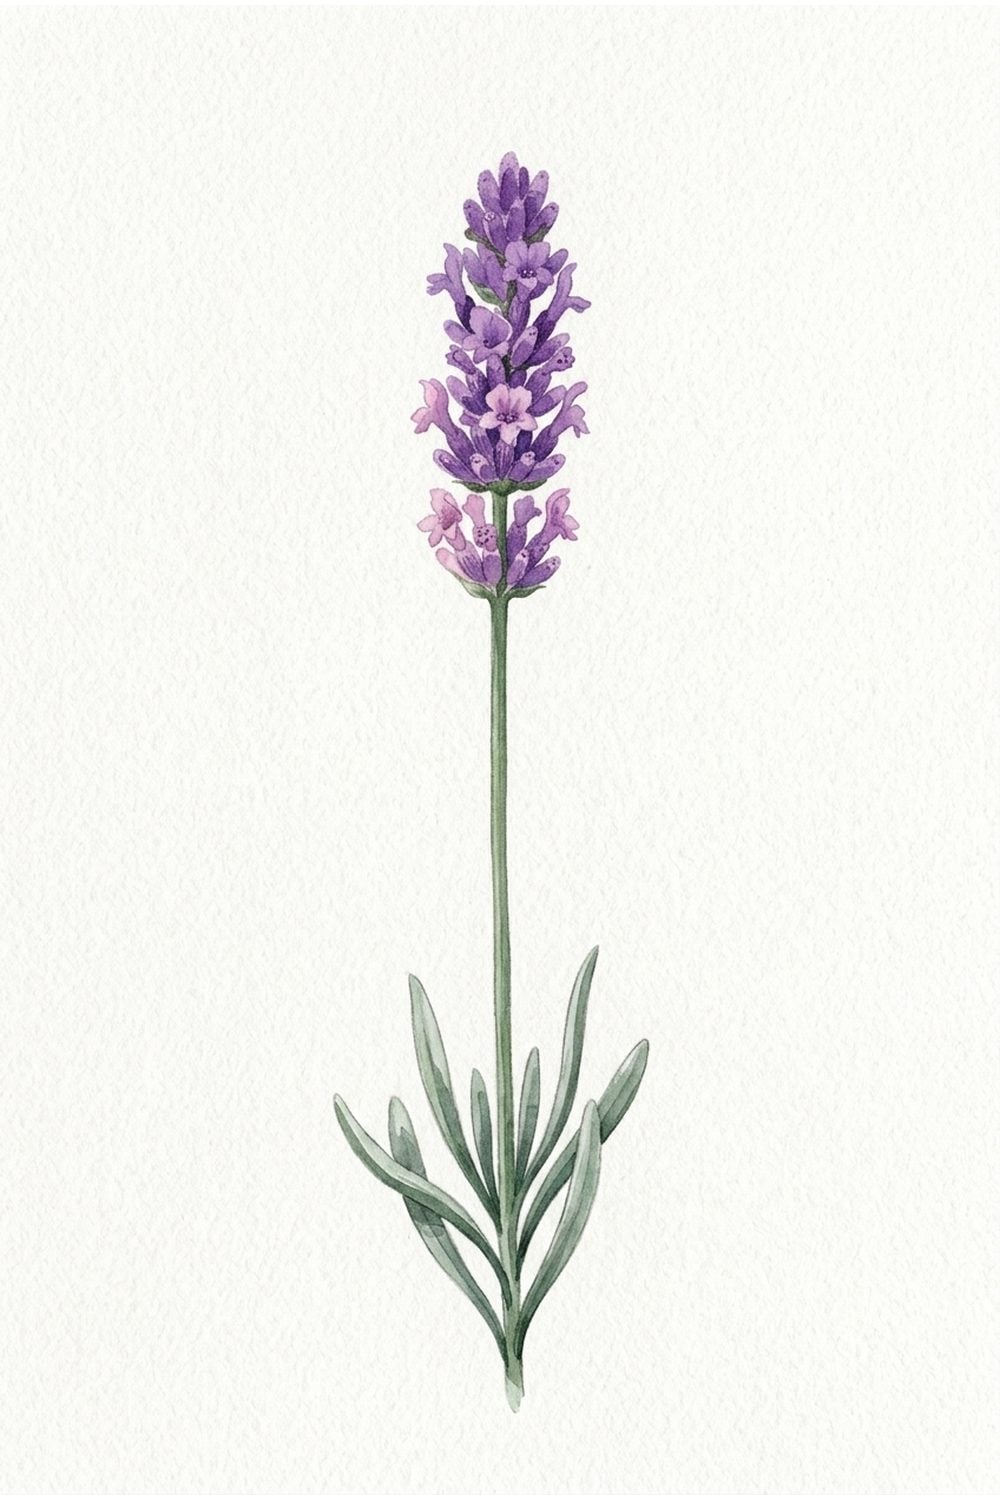
7. A lavender stem
A thin green line, then small purple dabs clustered up the top half, getting smaller toward the tip. Vary the purples — let some dabs touch and bleed. It teaches clustered marks and repetition, and three stems together already make a card-worthy little painting.
8. A loose five-petal flower
Five petal strokes arranged around an empty gap, then a few dots in the centre once the petals dry. The gap is the lesson: in watercolour the white paper does the highlights, and learning to leave space is worth more than learning any fancy stroke.
9. A fern frond
One curved spine, then small tapering strokes down each side, biggest at the base, tiniest at the tip. It’s a rhythm exercise — by the end of one frond your marks will be noticeably more relaxed than at the start. That loosening-up is measurable progress you can see on the page.
10. A tiny potted plant
A simple terracotta trapezoid, let it dry, then a mop of blob leaves spilling out of the top. This is your first painting with two parts that have to work together — and your first taste of the golden rule that runs through everything from here: let the first layer dry properly before you touch it.
🎨 Loving the wonky approach? This post is actually a little warm-up for something bigger. In September I’m opening the doors to the Wonky Watercolour School — a proper start-from-zero term where we paint together, wobbles welcomed, one relaxed lesson at a time.
Doors open on 8 September and the waitlist gets first dibs (and the best price). Pop your name on the waitlist here →
Paintings 11–15: Your first little scenes
Time to put your washes to work. Landscapes sound advanced, but a simple one is honestly easier than a flower — big soft shapes, no fiddly details, and the water does the prettiest parts for you.
11. A blue sky with clouds
Paint a graded blue sky (painting 2, remember?), then, while it’s still damp, dab clouds out of it with a scrunched piece of kitchen towel. That’s called lifting, and it teaches you that in watercolour you can take paint away, not just put it down.
12. Rolling hills
Three overlapping hill shapes: palest at the back, darkest at the front, drying fully between each. This is layering — glazing, if you want the fancy word — and it’s how flat washes become depth. If you enjoy this one, my easy watercolor landscapes post has ten more scenes at this level.
13. A three-colour sunset
Wet the whole sky, touch in yellow at the horizon, orange above it, a whisper of violet at the top, and let them blend themselves. Once it’s bone dry, add one dark hill along the bottom. It teaches wet-on-wet at scene scale — and there’s a full step-by-step sunset tutorial here when you want the deluxe version.
14. A calm sea horizon
A pale sky, a strip of blue sea, and — this is the trick — a few thin gaps of untouched white paper left across the water. Those gaps read as sparkle. It teaches planning your whites before the brush ever touches the paper, because watercolour has no white paint worth using.
15. A night sky with splattered stars
One deep indigo graded wash, dried completely, then white gouache or ink flicked off an old toothbrush. It teaches confident darks — beginners almost always mix too timidly — and controlled mess, which is the most fun lesson in this whole list.
Paintings 16–20: Your first proper subjects
Everything so far — pressure, dilution, layering, leaving whites, letting things dry — now combines into paintings you’d happily stick on the fridge. Or frame. I won’t tell.
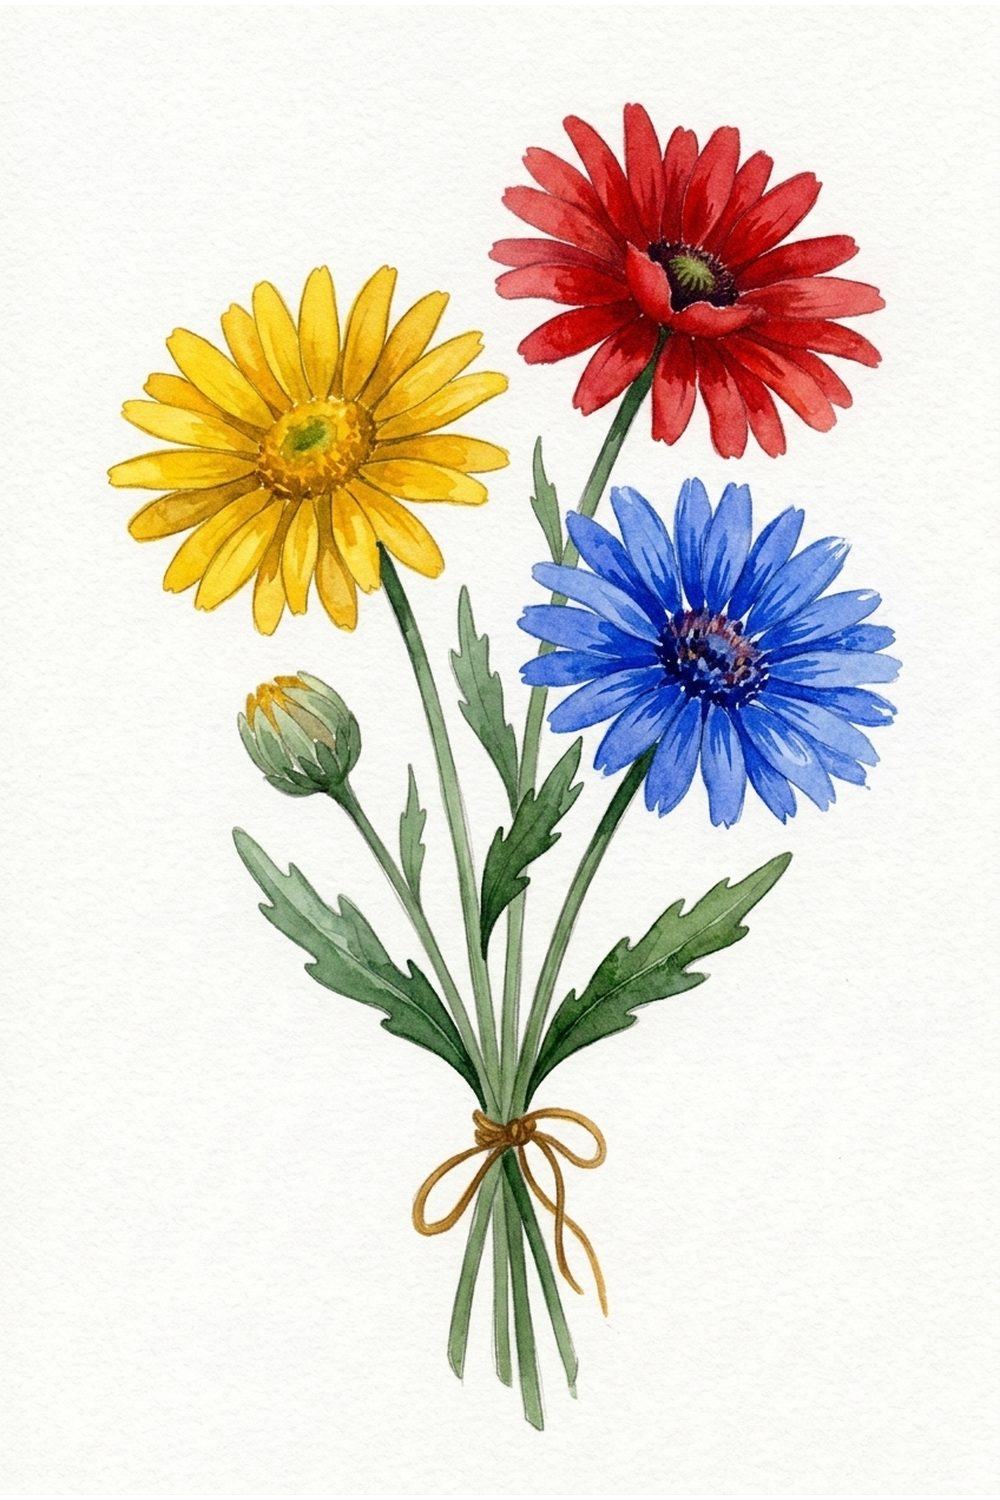
16. An ox-eye daisy
Petal strokes pulled inward toward an empty centre, a yellow middle dotted in once they’re dry, one stem, two leaves. It combines the five-petal flower with real petal direction — every stroke pointing at the same imaginary spot is what makes a flower look like it grew rather than got assembled.
17. A red toadstool
Wet the cap shape, drop in red, and leave a curved sliver of dry white paper along the top edge as the highlight. Stalk and dots once everything’s dry. It teaches reserved highlights inside a wet-on-wet shape — and it’s the painting people will ask you about, because that little white curve looks so professional.
18. A lemon
A yellow oval with a bump, dried, then a second pass of deeper yellow-orange on the shadow side, then a soft grey-violet shadow underneath it on the table. Three layers, one object. It teaches glazing for form — how flat shapes become round things sitting in real light.
19. A strawberry
A red heart-ish shape with tiny gaps of white left for the seeds, a green top of blob leaves, and a deeper red glaze on one side once dry. It’s the daisy’s leave-the-whites lesson and the lemon’s layering lesson in one small, cheerful package.
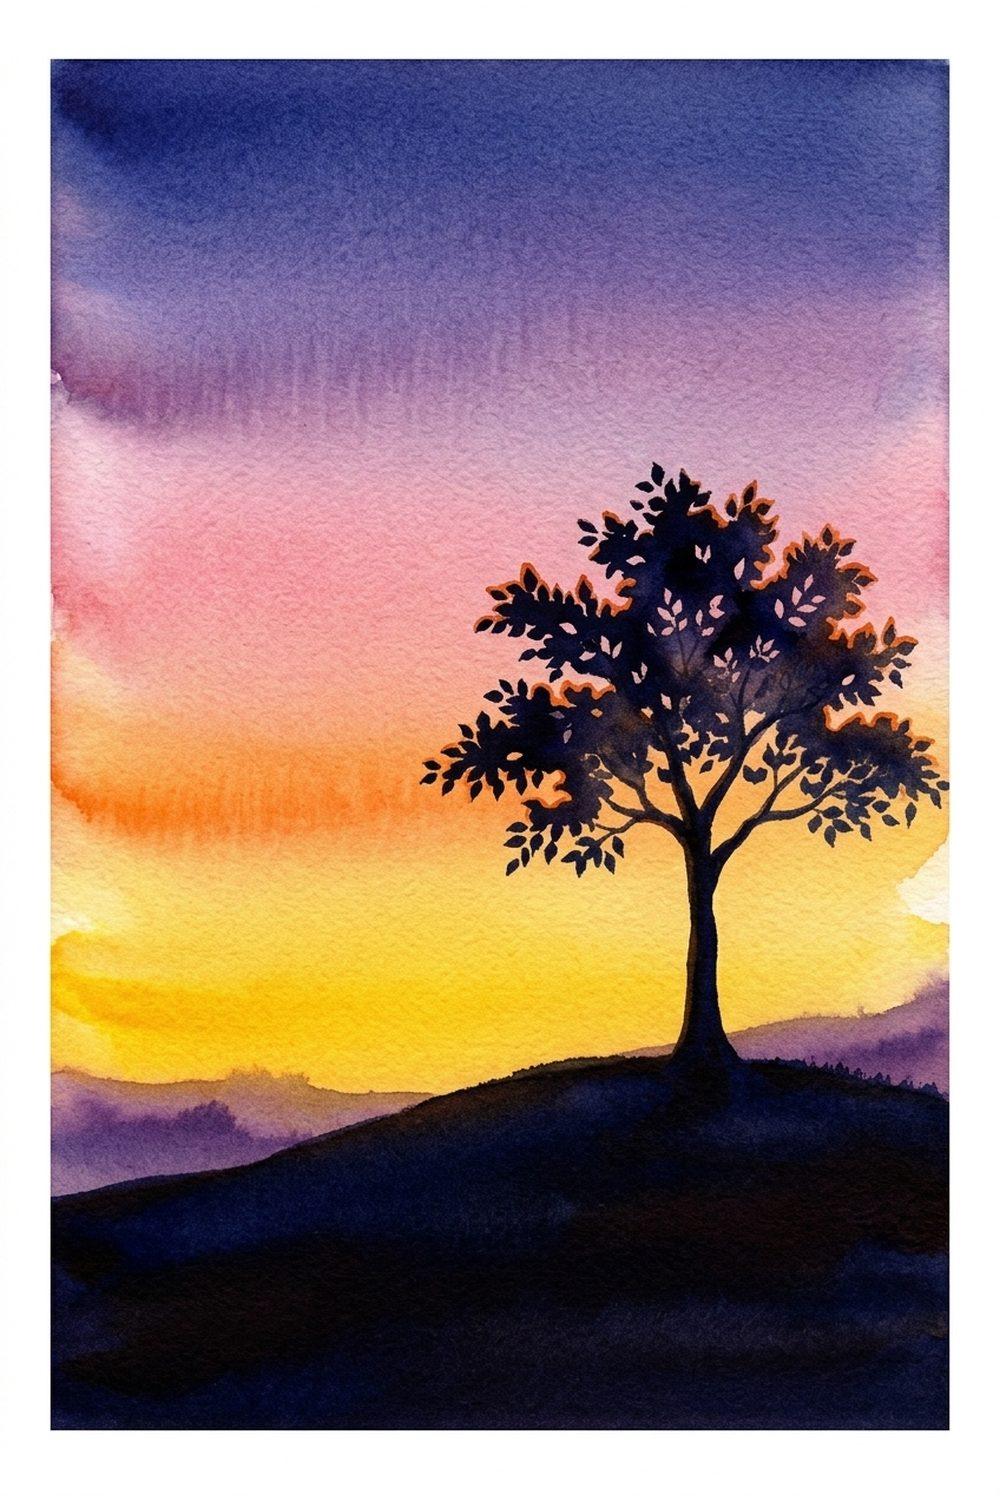
20. A lone tree at sunset
Your graduation piece: a wet-on-wet sunset sky, dried properly, then a dark hill and one bare-branched tree silhouette painted with the tip of your brush. Every single skill from paintings 1–19 shows up in this one. Paint it, date it, keep it — in six months you’ll love having proof of where you started.
Where to go after painting 20
If you’d like a steady supply of things to paint next, that’s exactly what my Patreon is for — new printable watercolour templates and tutorials landing every month, so there’s always a fresh painting waiting that’s pitched at your level.
It’s the gentlest way to keep the habit going once the first burst of enthusiasm meets a busy week. Come and have a look here →
Watch: 5 easy shapes to paint first
If you’d rather see these strokes moving before you try them, this short video walks through five easy shapes that map almost exactly onto Stage 1 and 2 above.
👆 Enjoyed that? Subscribe to Artsydee on YouTube — I share relaxed watercolour tutorials like this regularly, and it’s the closest thing to painting together.
One more thing for your calendar: I’m taking part in the Back to Creativity Summit — a free online summit running 18–20 August, full of workshops for anyone rebuilding a creative habit as an adult. If this post has you itching to make things again, it’s a lovely next nudge. (That’s an affiliate link — if you later choose a paid upgrade through it, I may earn a small commission at no extra cost to you.)
Frequently asked questions
What should a complete beginner paint first in watercolor?
A flat wash square, honestly — not a subject at all. Your first paintings should teach you how water and pigment behave: a flat wash, a graded wash, some one-stroke leaves and a wet-on-wet colour bloom. After those, simple botanicals and a three-colour sunset are the friendliest first “real” paintings.
What supplies do I need to start watercolor painting?
A small pan set, a size 6 round brush, a jar of water and real watercolour paper (300gsm / 140lb). The paper matters far more than the paints — ordinary printer paper buckles and pills, and it’s the number one reason beginners think they’re worse than they are.
Is it cheating to paint over printable templates?
Not even slightly. Painting over outlines separates the two hardest skills — drawing and colour — so you can learn one at a time. It’s the same reason piano students play written music before composing. That’s exactly what the 23 free templates above are for.
How long does it take to get good at watercolor?
You’ll surprise yourself within twenty small paintings — genuinely, that’s why this post is twenty paintings long. Ten to twenty minutes each, a few times a week, and within a month the difference between painting 1 and painting 20 will be obvious even to people who love you too much to be honest.
Before you go
Print a template, mix one puddle of blue, and paint a slightly wonky square today. That’s the whole assignment. Watercolor art for beginners doesn’t need to start with talent — it starts with a flat wash and the decision to let it be imperfect.
And if you want company for the journey, the Wonky Watercolour School waitlist is open — we start painting together in September, right from painting number one.
If you paint any of these I’d truly love to see — I’m on Instagram, Pinterest and YouTube.
You might also like
- Watercolor Ideas for Beginners
- Easy Watercolor Landscapes
- Mini Watercolor Landscapes for Beginners
- How to Mix Watercolor Colours
- How to Paint a Watercolor Sunset
Pin this for later!