
Last Updated on October 9, 2026 by Dee
This is how to use watercolor pencils for vibrant colors, plus a free printable watercolor pencil practice worksheet.
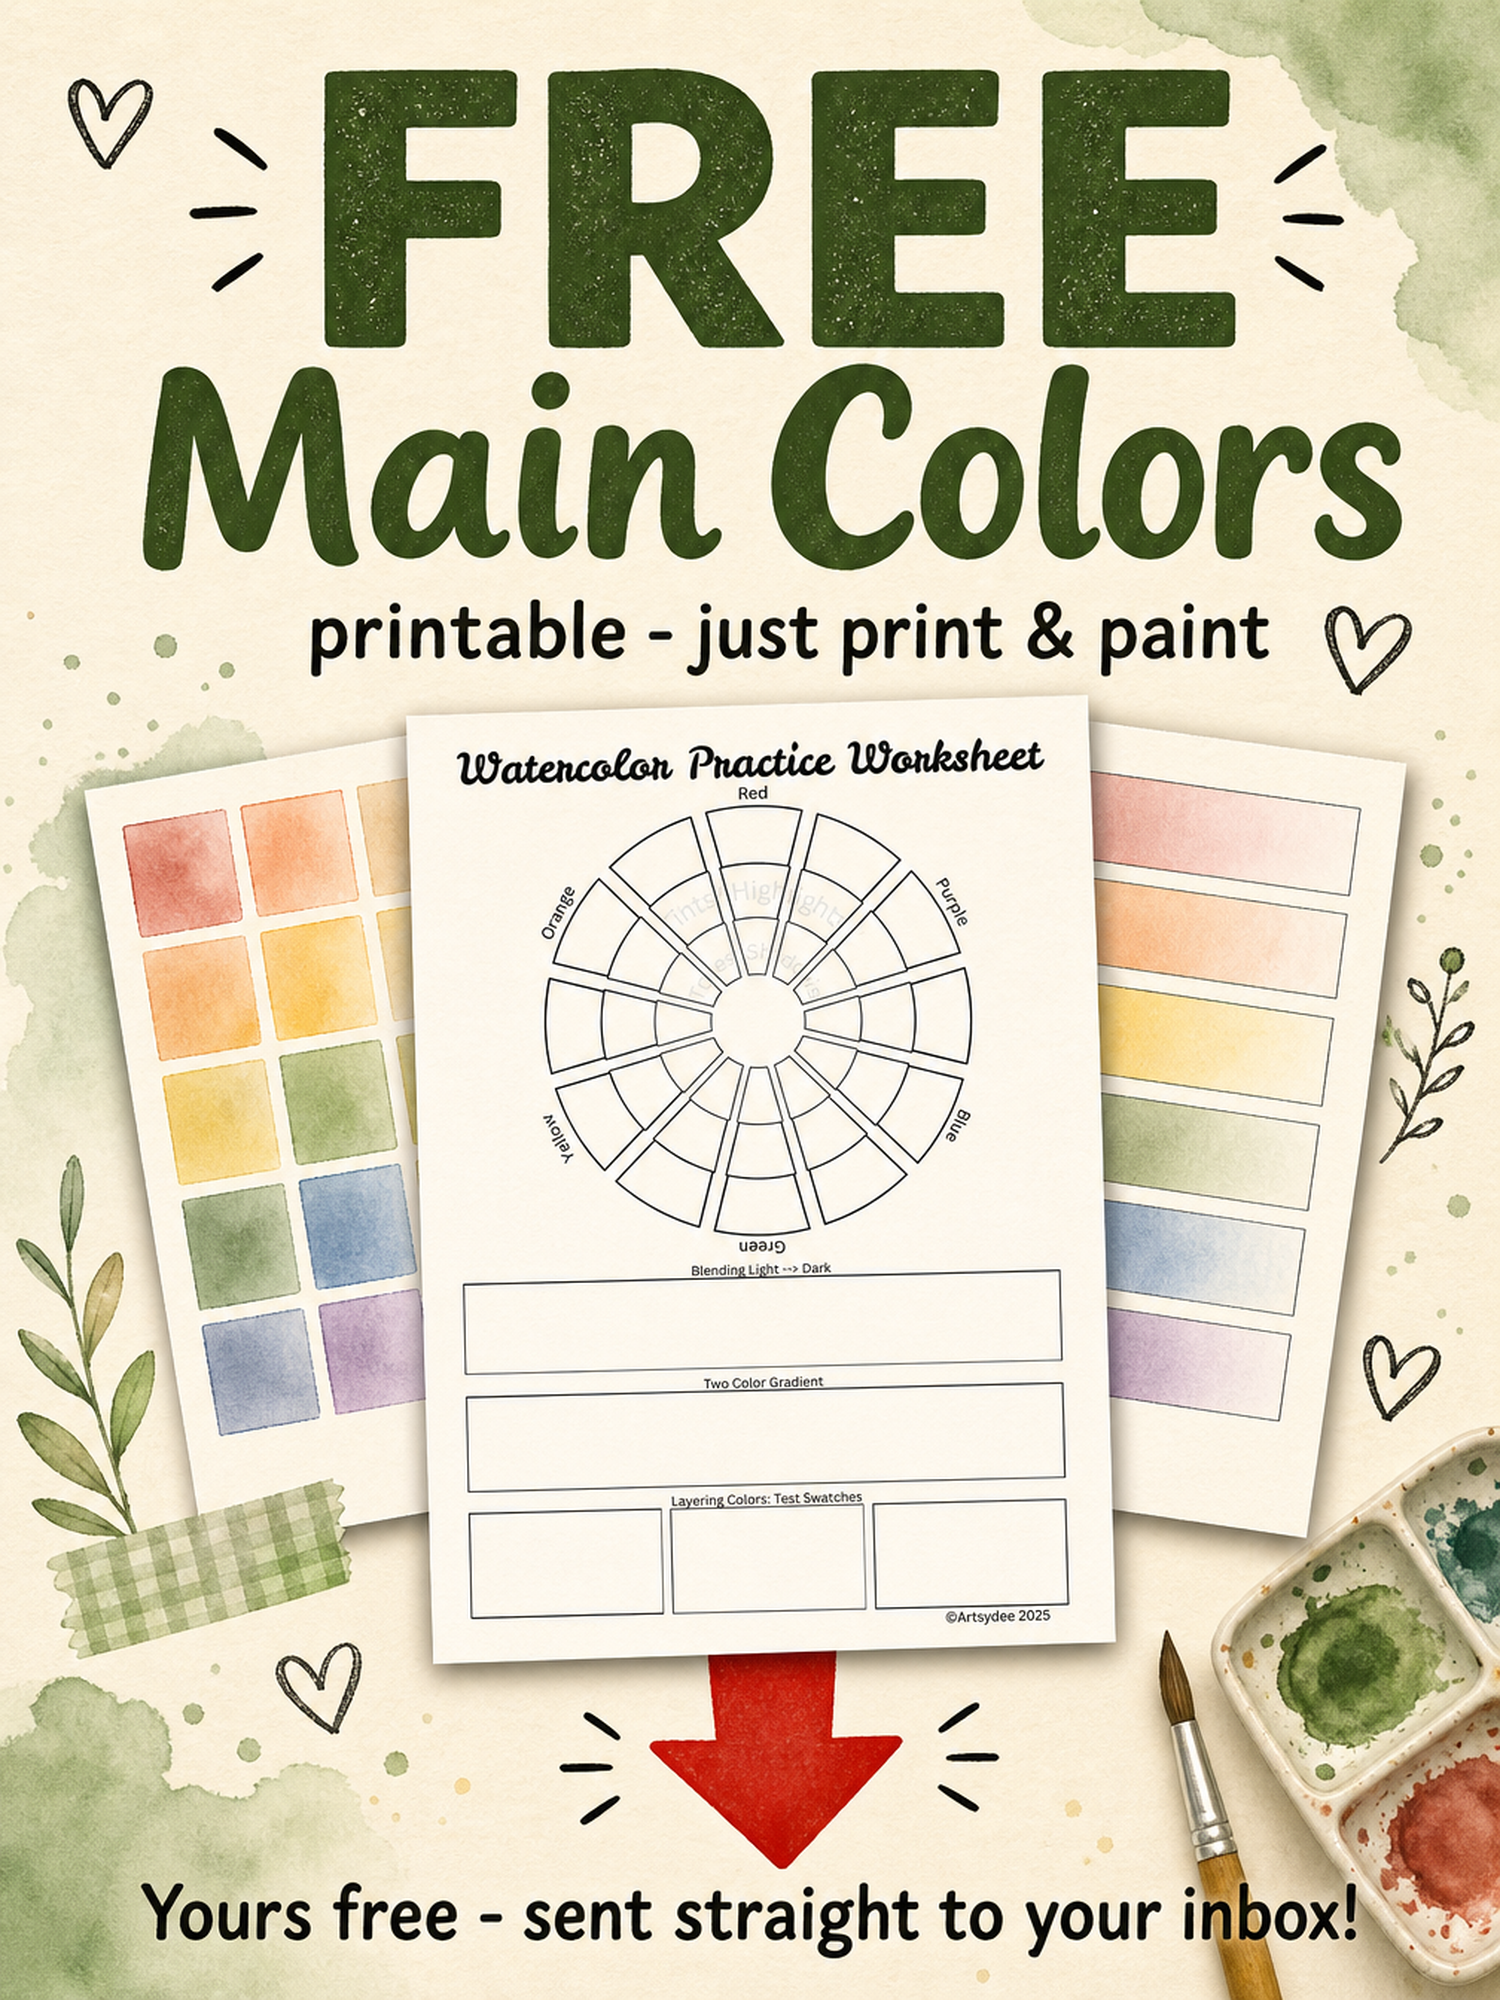
Watercolor pencils are a fantastic medium that bridges the gap between drawing and painting, offering versatility and vibrancy in your artwork. In this post, I’ll share tips and techniques for using watercolor pencils to create vibrant, eye-catching colors. You’ll also learn how to blend, layer, and add details for polished results—and I’ll introduce a special resource available to my Patreon members! Grab the free printable watercolor pencil worksheet at the top of this post!
Table of Contents
How To Use Watercolor Pencils for Vibrant Color! Watch the Tutorial ⬆
Before diving into the details, check out my video tutorial where I demonstrate these techniques step-by-step by creating a bright and colorful toucan using watercolor pencils. The video also includes tips on how to finish your piece with fine liner pens for added structure and detail.
Different Ways to Use Watercolor Pencils
Watercolor pencils are fun and easy to use and can be used on many surfaces. They are made with softcore in a wide range of beautiful hues.
The only drawback is that they are not always lightfast and don’t last as long as traditional watercolor paints. For that reason, if you are looking to buy watercolor pencils, you need to choose a good quality pencil.
You can use a set of watercolor pencils to create a painting with lots of details and expressive lines. Unlike watercolor paints, watercolor pencils are easy to control and you can keep your lines sharp by keeping your pencils sharp!
Watercolor pencils have a wide range of uses. The colors of these pencils can be subtle or dramatic. They are great for swatching and can be used to draw fine details and create beautiful, vibrant pictures. You can also use them to create bold colors and highlight specific areas of your painting. You can even try blending different colors to create different tones and contrasts.
- Just Coloring Like Regular Colored Pencils
Use them dry for precise lines, textures, and details, just like you would with standard colored pencils. - Dry Coloring Followed by a Water Wash
Lay down your colors dry and then use a damp brush to activate and blend the pigment into a watercolor effect. - Dipping the Pencil in Water
For a bolder and more saturated look, dip the pencil tip into water before coloring. - Removing Pigment from the Pencil Tip
Use a wet brush to lift pigment directly from the pencil tip, then paint as you would with traditional watercolor. - Dipping Pencil in Water for Delicate Effects
Create soft washes by lightly dipping the pencil in water and using it to color on damp paper. For inspiration, check out these fun drawing ideas.
Save this pin for future inspiration! 👇🏻
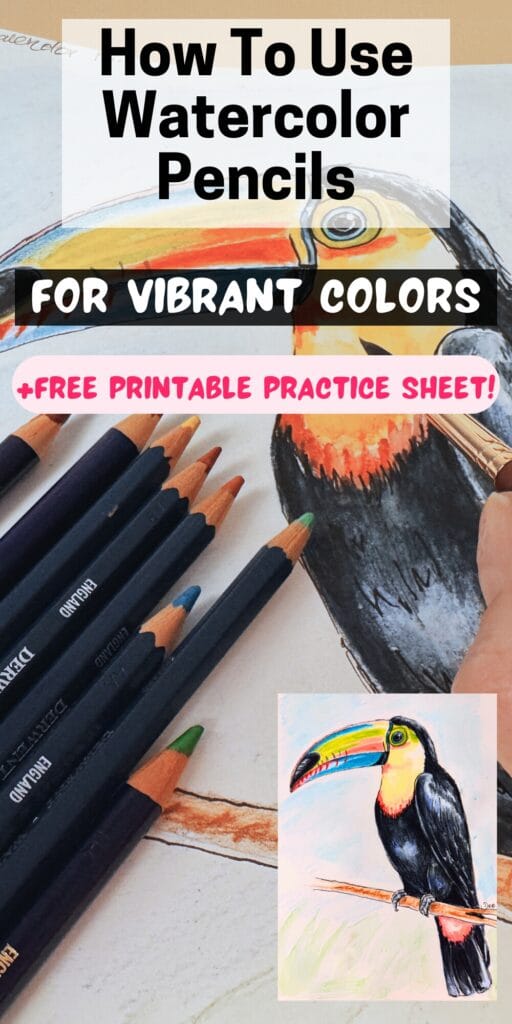
Try Out These Watercolor Pencil Techniques…
Watercolor pencils are versatile tools that combine the control of colored pencils with the blending capabilities of watercolors. Here are seven techniques you can use to enhance your watercolor pencil artwork:
- Dry on Dry: Start by using the watercolor pencils dry on dry paper, just like regular colored pencils. This technique allows for precise detailing and control over your drawing. After laying down the colors, you can then use a wet brush to activate the pigments and blend the colors.
- Wet on Dry: Apply a wet brush directly to the pencil tip to pick up the pigment, then paint onto dry paper. This method gives a watercolor effect with the convenience of a pencil, providing more control over the amount of pigment and water used.
- Dry on Wet: Draw on wet paper with a dry watercolor pencil to achieve soft, diffused lines that bleed into the paper, creating a unique texture and a more painterly effect.
- Wet on Wet: Wet the paper first and then apply the watercolor pencil. This will create intense, fluid strokes with colors that blend into one another seamlessly, ideal for backgrounds and washes.
- Layering: Layering is a technique where you apply one color over another. You can do this either with the pencil dry or by layering wet over dry for varied effects. This technique allows for depth and complexity in your color mixing.
- Scumbling: Use a light, circular motion to apply the pencil to the paper, creating a textured, uneven application of color. When water is added, this can create a granulated effect that adds interest to your piece.
- Grating Pigments: You can grate the tips of your watercolor pencils to create a powder, which you can then sprinkle onto your paper and blend with water. This technique is great for creating an uneven, speckled effect or for adding a burst of color.
Each of these techniques can be used alone or in combination to create a wide range of effects in your watercolor pencil artwork. The best way to get comfortable with these methods is to practice and experiment with each one.
Watercolor Pencils Techniques for Adding Detail After Drying
Once the watercolor layer is dry, use a sharpened pencil to add fine details, textures, and highlights. This is especially useful for enhancing depth and precision in your artwork.
Blending Watercolor Pencil Art for Beginners
- Always blend from lightest to darkest for smooth transitions.
- Layer multiple colors to create rich, dynamic blends.
- Use a clean, damp brush to soften edges and merge colors seamlessly.
Watercolor Pencil Tutorial Step by Step: Starting Your Drawing with a Pencil Sketch
Before diving into coloring, start with a light pencil sketch to outline your design. For beginners, check out how to start drawing for tips and techniques.
For Patreon Members: I regularly release exclusive drawing and painting templates to help you get started quickly. You can transfer these onto watercolor paper using a lightbox or even by holding them against a window for easy tracing.
How to Paint with Watercolor Pencils: Creating Shadows and Highlights
- Shadows: Layer darker colors over lighter ones to create depth. Use a damp brush to blend the edges smoothly.
- Highlights: Leave some areas uncolored or lift pigment with a clean, damp brush to create highlights.
Using Watercolor Pencils with Other Mediums
Watercolor pencils pair beautifully with other art supplies, such as:
- Micron Pens: Add crisp outlines or fine details.
- Markers: Layer vibrant colors over dried watercolor pencil washes.
- Charcoal: Incorporate dramatic contrast and texture.
- Traditional Watercolors: Mix and match for added versatility. You can experiment with these watercolor bird templates to practice mixed media techniques.
Watercolor Pencil Art Ideas & Tutorials
Watercolor pencils offer endless possibilities for creating stunning art. With a bit of practice, you’ll master blending, shading, and layering to bring your ideas to life. For more inspiration, explore these easy watercolor birthday card ideas or daisy templates for your next project.
Want more creative inspiration? On my Patreon, you’ll find exclusive templates, tutorials, and resources to help you grow your artistic skills. Join us and start exploring today! 👉 Artsydee’s Patreon
Watercolor Pencil Supply List
1. Watercolor Pencils
- Derwent Watercolour Pencils (Set of 24)
- Derwent Inktense Pencils
These high-quality pencils offer rich pigments and smooth application, perfect for achieving vibrant colors in your artwork.
2. Watercolor Paper
- Daler Rowney Aquafine Smooth Watercolour Paper, 300gsm
This heavyweight, smooth paper is ideal for watercolor pencils, providing a sturdy surface that handles water well without warping.
3. Fine Liner Pens
- Sakura Pigma Micron Fineliner Pens
These pens are excellent for adding detailed outlines and finishing touches to your watercolor pencil artwork.
4. Brushes
- Princeton Watercolour Brush (Round, Size 6)
A quality brush for activating watercolor pencils with water, allowing for smooth blending and washes.
Materials I Used In My Tutorial Video
Here’s a list of the materials & colors used in this project:
- Watercolor Pencils: Derwent Watercolor Pencils
- Paper: Daler Rowney Aquafine Smooth Paper, 300gsm
- Colors Used:
- Ivory Black
- Deep Vermillion
- Madder Carmine
- Crimson Lake
- Kingfisher Blue
- Light Blue
- Naples Yellow
- Green Apple
- Prussian Blue
- Violet
- Cadmium Yellow
- Emerald Green
Tips for Creating Vibrant Colors with Watercolor Pencils
- Choose High-Quality Materials:
Invest in artist-grade watercolor pencils and high-quality paper. Smooth, thick paper (at least 300gsm) prevents warping and allows the pigments to blend seamlessly. - Layer Colors:
Start with light layers and gradually build up the intensity. Use complementary or analogous colors to enhance vibrancy and richness. - Activate with Clean Water:
Use a damp brush (not overly wet) to activate the pigment. Too much water can dilute the colors, while too little may leave uneven patches. - Blend and Soften Edges:
Blend colors while they’re still wet to create smooth gradients. Work in small sections to maintain control. - Use Dry Pencil for Detail:
After the first wash dries, go back in with dry watercolor pencils for added texture and depth. Activate selectively for a dynamic effect. - Add Structure with Fine Liners:
Use micro fine liner pens to outline key details and create contrast. This is especially helpful for defining shapes and adding polish to your artwork.
The Benefits of Joining My Patreon
Want to take your watercolor pencil skills to the next level? Join my Patreon to access exclusive resources, including:
- Templates and Practice Sheets: Download the exact template used in this project to create your own vibrant toucan.
- Monthly Creative Resources: Enjoy exclusive printables, tutorials, and more to inspire your artistic journey.
- Supportive Community: Be part of a growing community of art enthusiasts who love to share and learn together.
👉 Join my Patreon here and unlock your creative potential today!
Grab the Watercolor Pencil Practice Worksheet
👉 Pop your email into the box near the top of this post and I’ll send these straight to your inbox — free!
Love This Watercolor Pencil Worksheet? Get Even More Exclusive Creative Goodies on My Patreon! 🎨
If you’re enjoying these free printables, why not join my Artsydee Patreon community? As a member, you’ll gain access to exclusive Procreate tutorials, watercolor lessons, and tons of printables like this one—delivered to you monthly (and sometimes even twice a month!). Plus, you’ll get sneak peeks at upcoming projects and have a say in what content I create next. ✨
Join today and unlock premium resources to take your creativity to the next level!
Other articles you might enjoy…
Grab our FREE watercolor stencils here!
Looking for the best colored pencils?
How to use watercolor on canvas
Looking for the best watercolor sketchbook?
The best tape for watercolor paper
21 Gorgeous Gifts for Watercolor Artists
7 Mesmerizing Watercolor Galaxy Ideas
13 Awesome Watercolor Backgrounds
🎬 Love video tutorials? Subscribe to my YouTube channel for weekly art tutorials and creative inspiration!
Frequently Asked Questions
Once you’ve worked through the free watercolour pencil worksheet, my Patreon is where the longer watercolour lessons and reference sets live.
Peek inside Patreon →What are the different ways to use watercolour pencils?
They're wonderfully flexible. You can colour with them dry for precise lines just like ordinary coloured pencils, lay down colour dry and then activate it with a damp brush, dip the tip in water for a bolder, more saturated look, or lift pigment straight off the tip with a wet brush and paint with it. Each one gives a slightly different result, so it's worth playing with all of them.
Which watercolour pencil techniques should a beginner try first?
I'd start with dry-on-dry — colouring on dry paper for control, then washing over it with a damp brush. From there explore wet-on-dry, dry-on-wet and wet-on-wet, plus layering, scumbling and even grating the pigment into a powder for a speckled effect. There are seven techniques in the post, and the best way to get comfortable is simply to practise each one and see what it does.
How do I blend watercolour pencils smoothly?
Always work from your lightest colour to your darkest — it keeps the transitions clean. Layer a few colours to build richer blends, then run a clean, damp brush over the edges to soften them and merge everything together. For shadows, layer darker colours over lighter ones and blend the edges; for highlights, leave areas uncoloured or lift pigment back off with a clean damp brush.
Do watercolour pencils work with other art supplies?
Yes, they pair beautifully with other mediums. Micron or fine liner pens are lovely for crisp outlines and fine detail once your washes are dry, and markers layer nicely over dried watercolour pencil for extra vibrancy. Adding fine liner structure at the end is exactly how I finish pieces like the toucan in the video.
How do I get the free watercolour pencil practice worksheet?
Pop your email into the free download box at the top of this post and I'll send the Watercolour Practice Worksheet straight to your inbox.
If these watercolour pencil techniques clicked for you, the next step is painting from a proper reference. My premium reference sets on Patreon come with colour-recipe cards, so you always know exactly which colours to layer — from £14 (~$18).
Browse the reference sets →