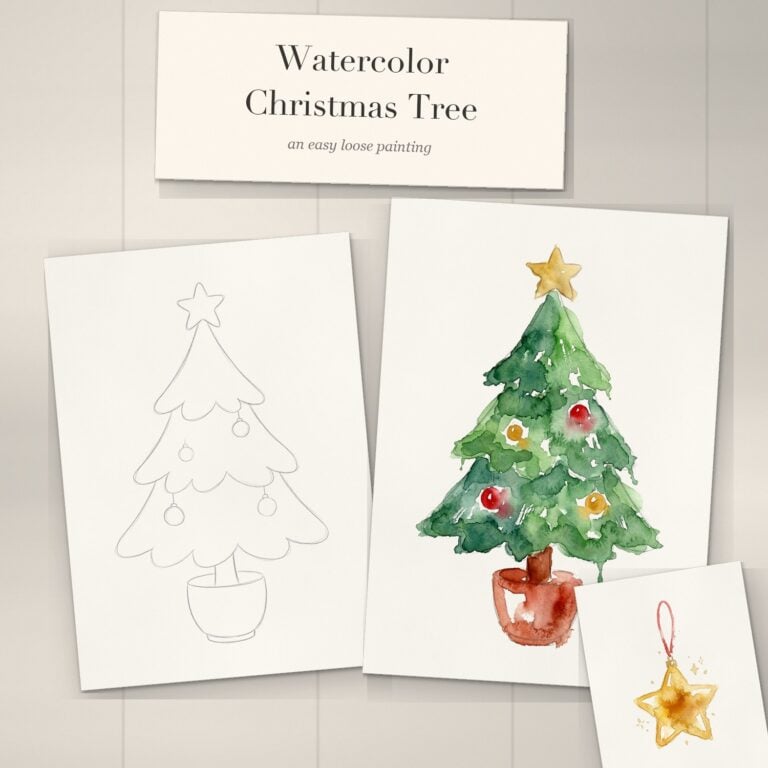
Here’s a loose, step-by-step watercolor Christmas tree for beginners, plus my free holly sprig template with a painted reference to warm up on.
Get a free Christmas watercolor template to warm up
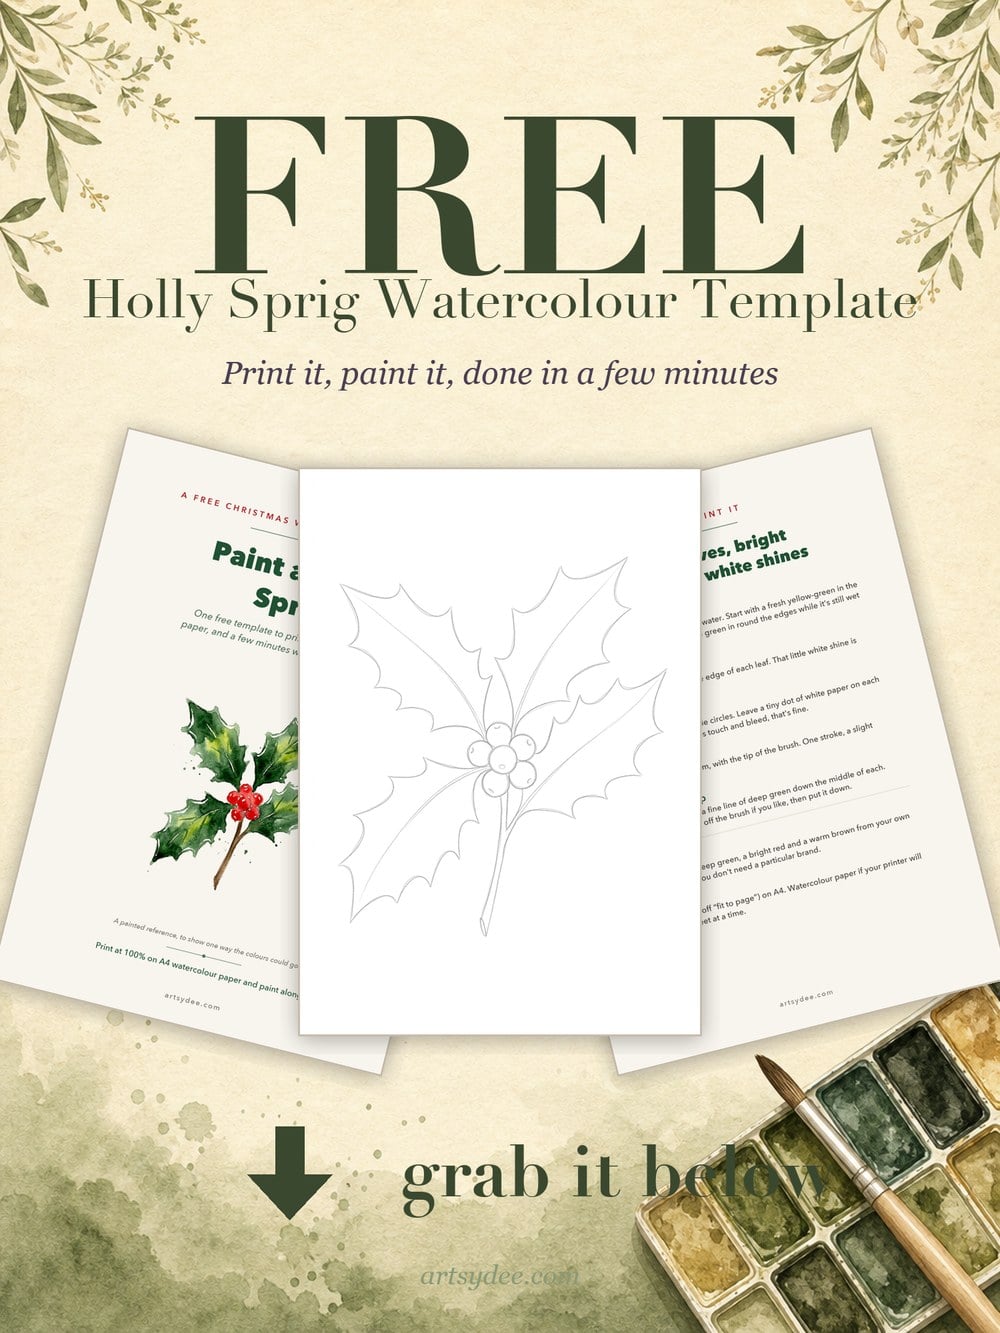
If you’d like a printed outline to paint while you practise, my holly sprig template is free. It comes with a painted reference and a page on how to paint it, and holly sits beautifully next to a tree on a card. Pop your email in below and it’ll land in your inbox.
A watercolor Christmas tree is one of the friendliest things you can paint in December. It’s basically a stack of green triangles, and the looser you paint it, the better it looks. A few wet layers of green, a couple of baubles, a gold star on top, and you’ve got the front of a Christmas card.
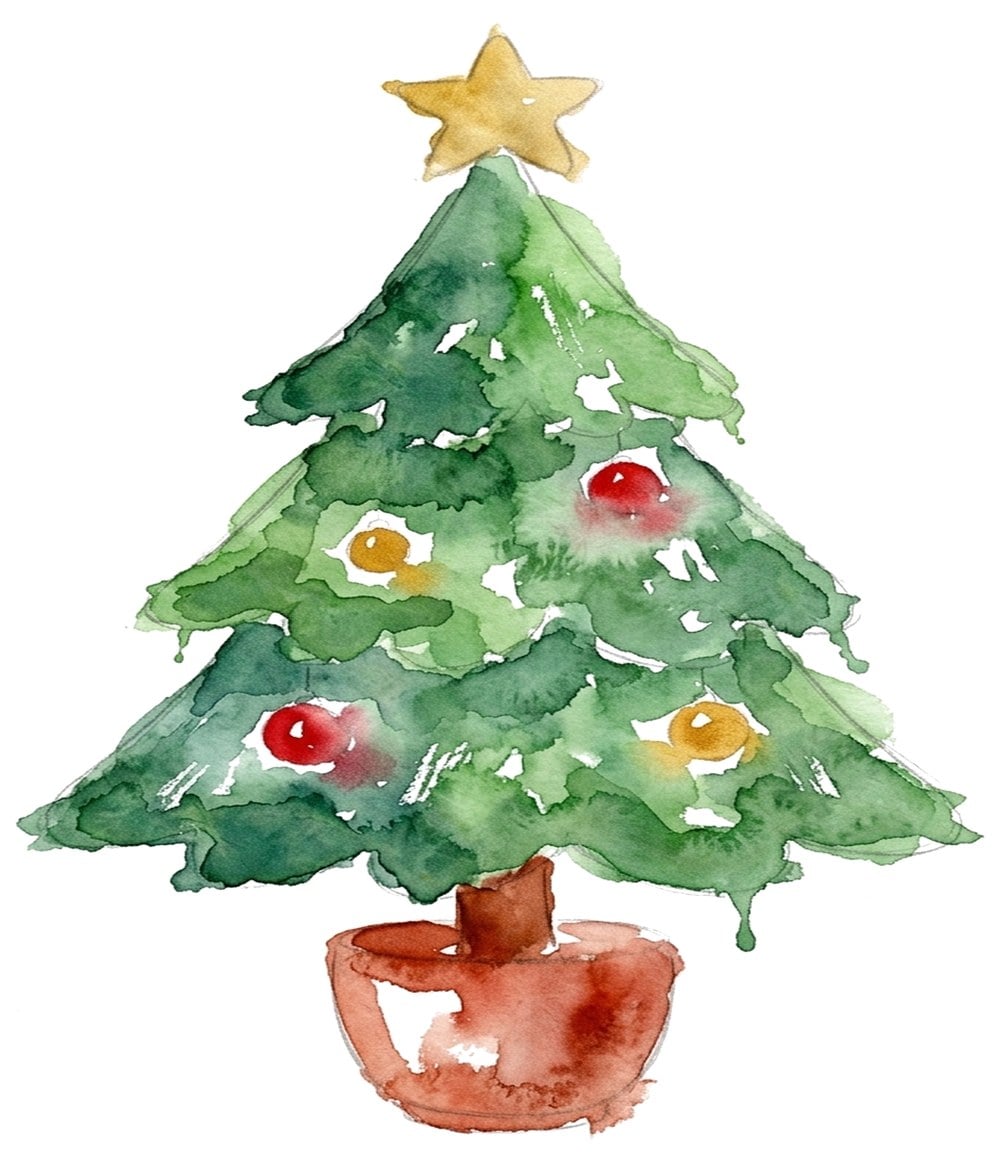
Today I’ll walk you through a little potted tree, step by step, using the painted reference below. It takes about ten minutes once you’ve done it once.
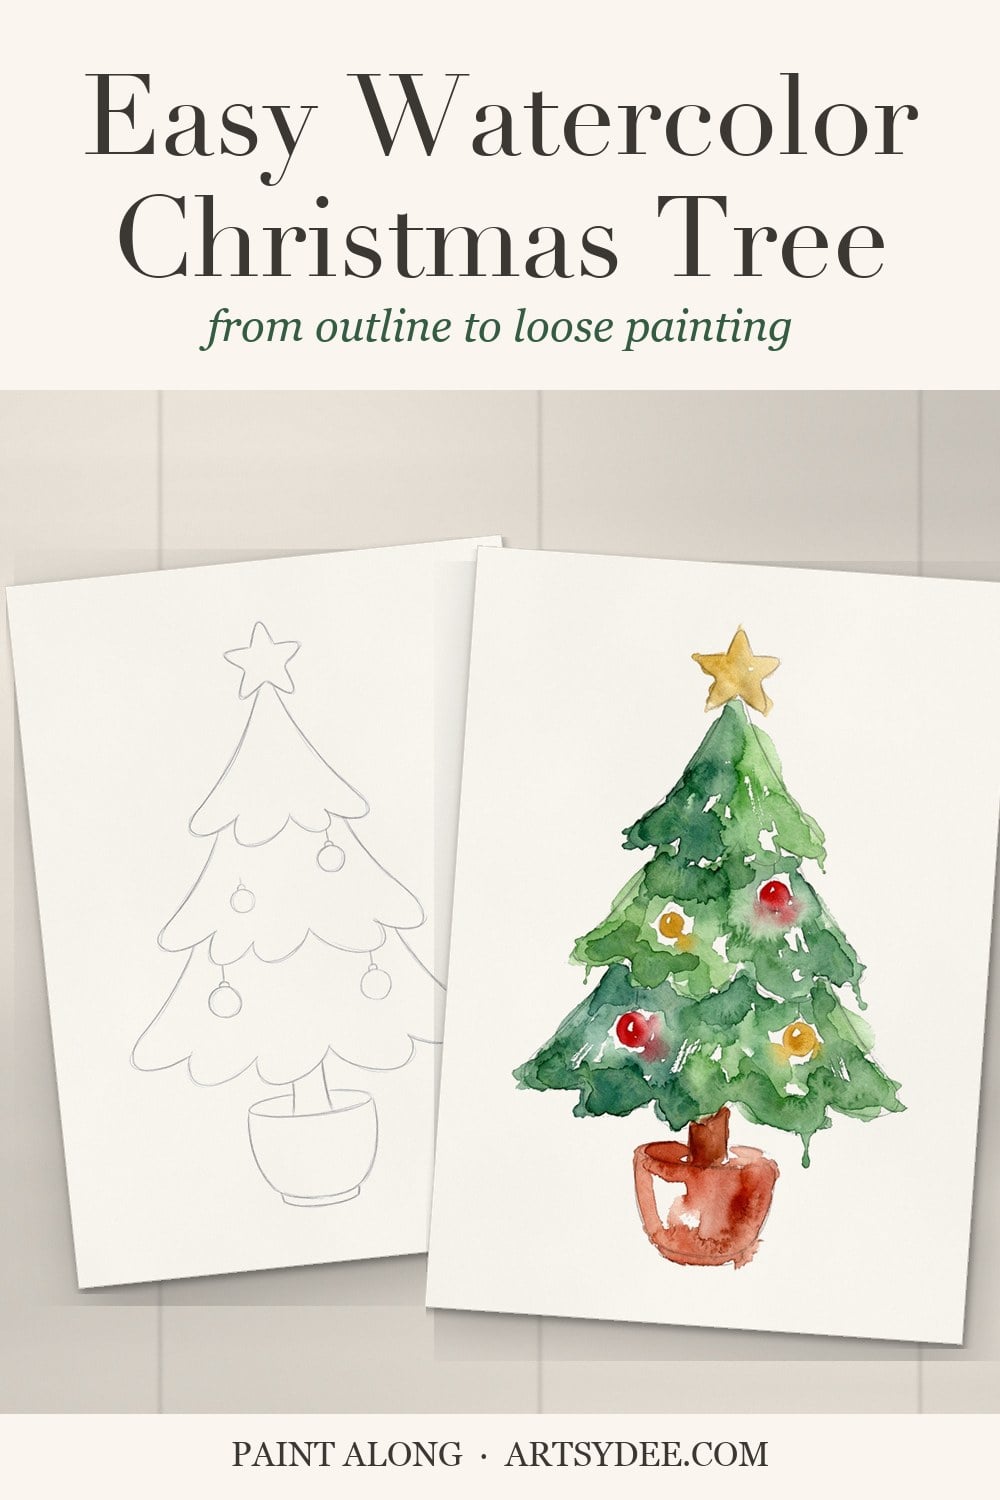
Table of Contents
What We’re Painting
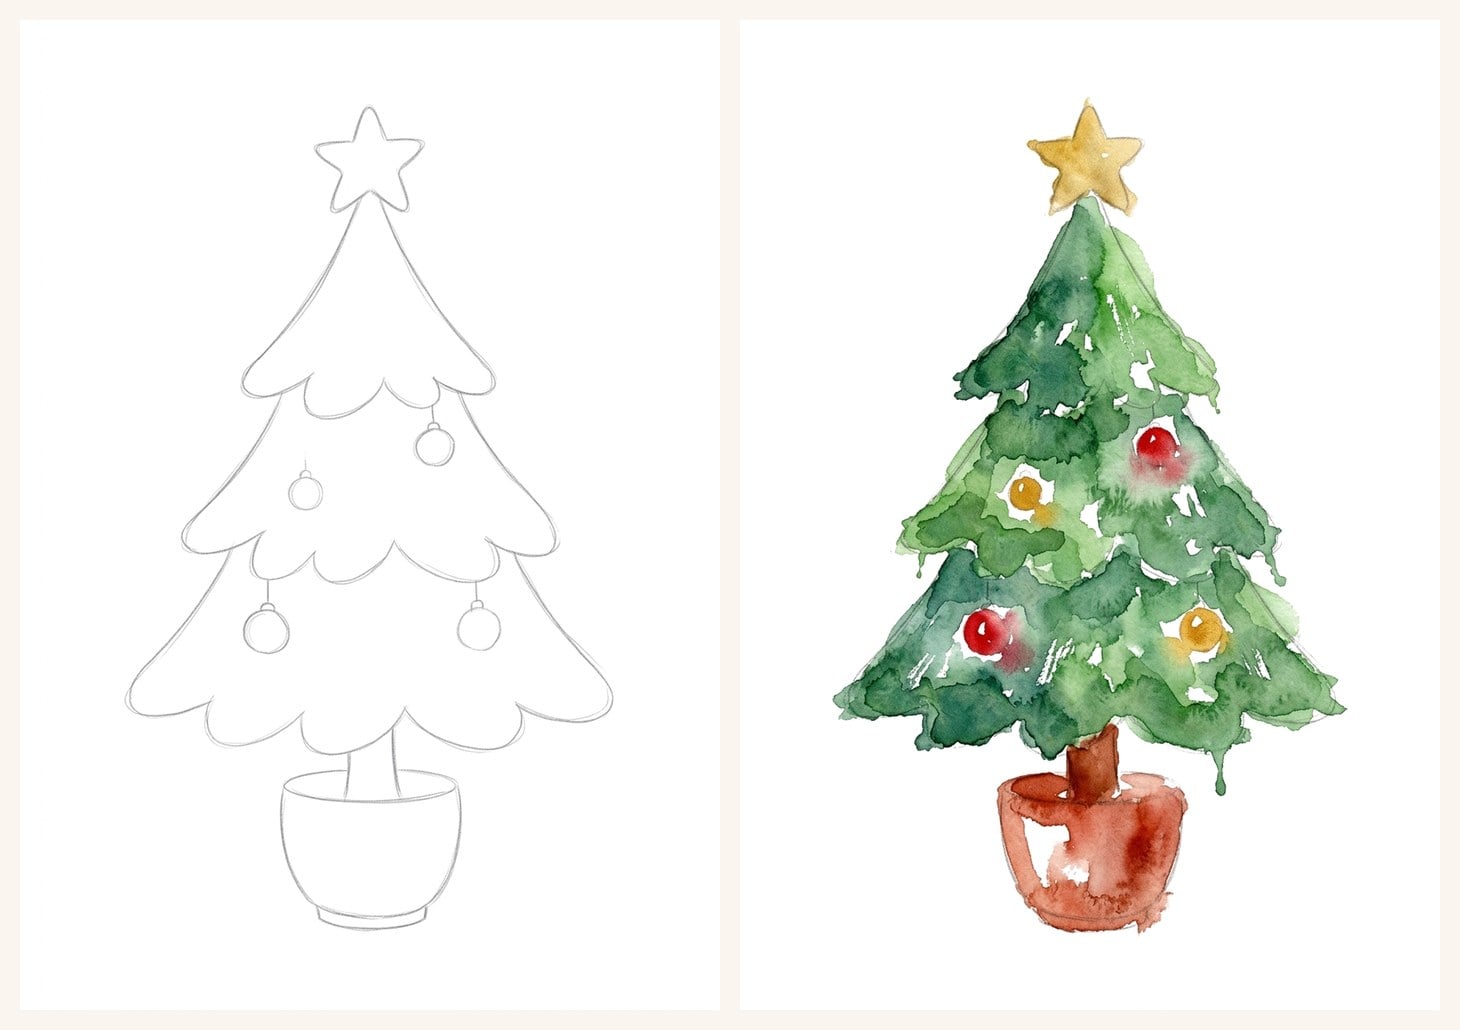
Quick answer: a small potted Christmas tree with three soft, scalloped tiers of green, four baubles, a gold star and a terracotta pot, painted loosely wet-in-wet.
Look closely at the painted reference and you’ll see it isn’t neat at all. The greens bleed into each other, there are little white gaps where the paper shows through, and a couple of drips run down from the bottom of each tier. That messiness is exactly what makes it look like watercolor rather than a coloring page. So if yours comes out a bit wild, you’re doing it right.
What You Need
You don’t need anything special. I’ll tell you what kind of colour to look for, so you can use what’s already in your box.
- Two or three greens: a fresh light green, a mid green and a deep, cool green. A blue-ish green is lovely for the shadows.
- A golden yellow for the star and two of the baubles.
- A bright red for the other baubles.
- A warm brown and a terracotta red-brown for the trunk and the pot.
- A round brush, size 6 to 8, with a good point. Something like the Princeton Heritage round brush in size 6 is perfect.
- Watercolor paper. A Canson XL watercolor pad is an easy everyday choice, and it’s thick enough not to buckle when you go in wet.
- Paint. A student set like the Winsor & Newton Cotman set paints a Christmas tree just as happily as anything fancy.
- Two jars of water and some kitchen roll. One jar for rinsing greens, one for clean water.
Some links in this post are affiliate links. If you buy through them I may earn a small commission, at no extra cost to you. I only link to things I actually use.
How to Sketch the Tree Shape
Quick answer: draw a tall, narrow triangle, split it into three tiers with wavy, scalloped bottom edges, then add a short trunk, a pot and a star on top. Keep the pencil light.
If you’re not working from a printed outline, here’s the shape I’d sketch:
- The star. A small five-pointed star near the top of the page.
- The top tier. A narrow triangle under the star, with a wavy, scalloped bottom edge, like the hem of a skirt.
- The middle and bottom tiers. Two more scalloped triangles, each a little wider than the one above, overlapping slightly.
- The trunk. A short, thick rectangle under the bottom tier.
- The pot. A rounded bowl shape with a band round the top.
- Four baubles. Little circles hanging from short lines along the tiers.
Keep the pencil soft and light. Watercolor is transparent, so any heavy lines will show through the paint. If you want more practice with tree shapes in general, my guide to painting watercolor trees covers the woodland kind too.
How to Paint a Watercolor Christmas Tree, Step by Step
Quick answer: paint each tier wet-in-wet from light green to deep green, leave little white gaps, let it dry, then add the baubles, the star, the trunk and the pot, and finish with a few dark accents.
Step 1: wet the top tier
Load your brush with the light green and plenty of water. Paint the top tier in one go, staying roughly inside your pencil line. Don’t worry about the scallops yet. Just get a puddle of light green on the paper.
Step 2: drop in the darker greens
While the tier is still shiny-wet, touch the mid green along one side and the deep green along the scalloped bottom edge. Let them bloom into the light green on their own. Resist the urge to stir it about. The paint does the blending far better than the brush.
Step 3: leave little gaps
Before the green settles, lift out a few tiny spots with a damp, clean brush, or just leave a few specks of paper unpainted. Those white flecks read as snow and sparkle, and they’re the difference between a flat green triangle and a tree.
Step 4: paint the other two tiers
Move down to the middle tier and repeat, then the bottom tier. Let each tier just touch the one above it. A little bleed between them looks like branches overlapping. If a drip runs down from the bottom edge, leave it. It looks lovely.
Step 5: let it dry completely
This is the hardest step for most of us. Put the kettle on. The baubles need dry paper, or they’ll melt into the green.
Step 6: baubles and star
Paint two baubles in bright red and two in golden yellow, each a small circle with a tiny dot of white paper left near the top for a shine. Then paint the star in golden yellow, adding a touch more yellow in the middle while it’s wet.
Step 7: trunk and pot
One stroke of warm brown for the trunk. Then paint the pot in terracotta, dropping a little darker brown into one side while it’s wet, so it looks rounded. Leave a slightly paler band round the top.
Step 8: a few dark accents, then stop
When everything is dry, take your deepest green and add a few small, dark marks under each scalloped edge, where the shadow would be. Three or four on each tier is plenty. Then stop. Really.
Six Ways to Change Your Tree
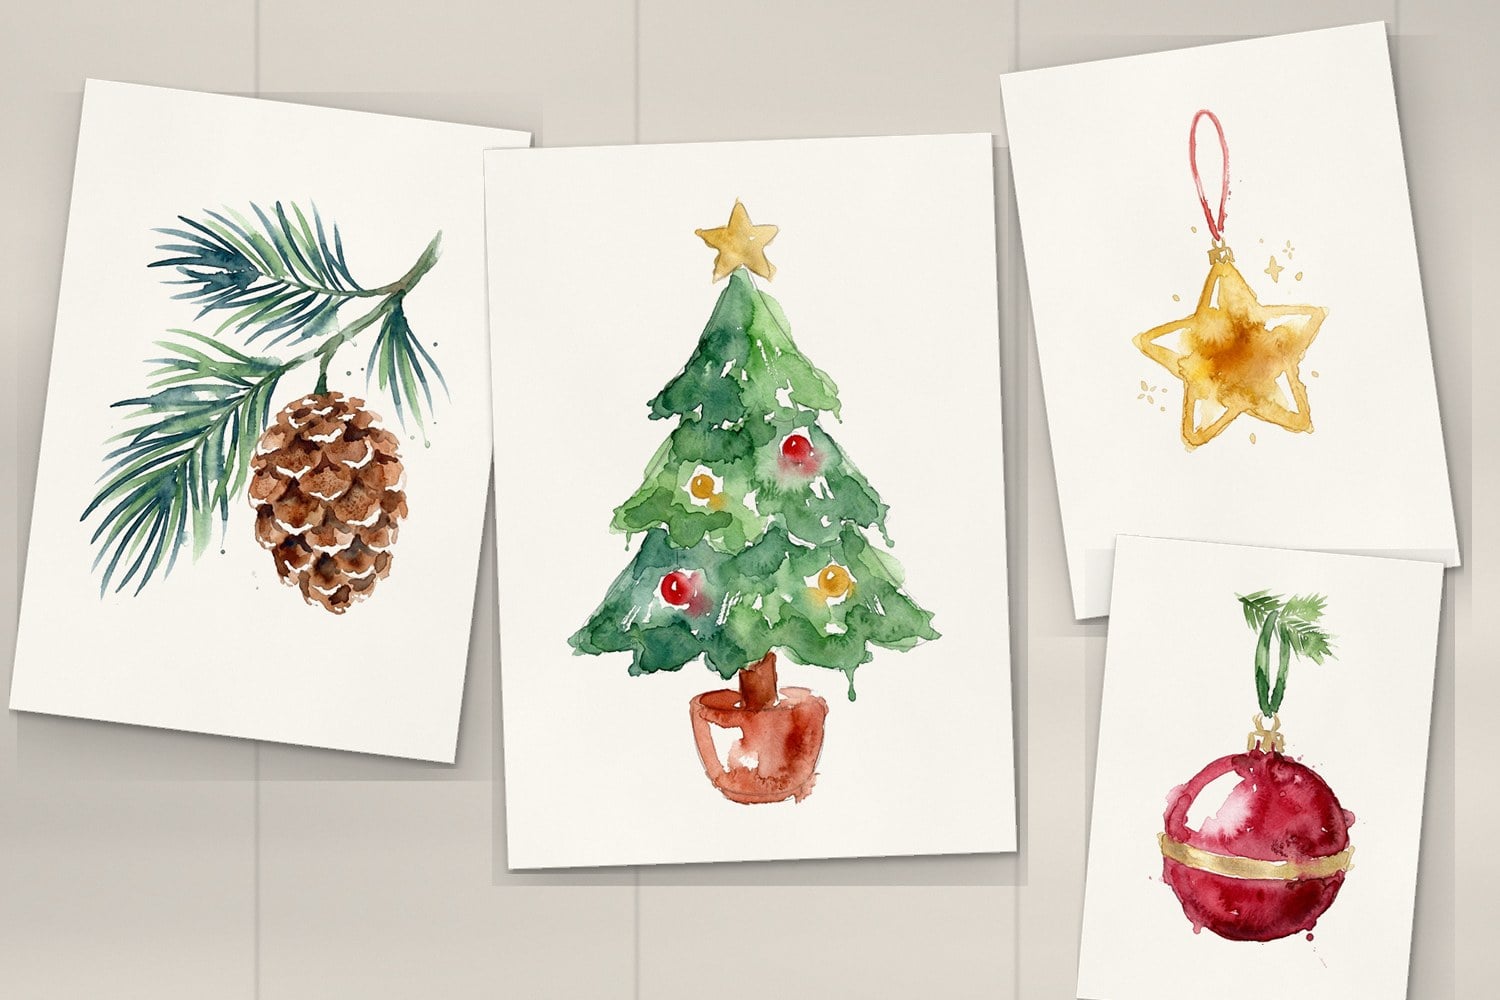
Once you’ve painted the tree once, try changing one thing at a time.
- A snowy tree. Leave bigger white gaps along the top of each tier, and add a pale blue-grey shadow under them once it’s dry.
- A frosty blue tree. Swap your greens for a teal, a soft blue and a grey. Silver or white baubles look lovely.
- A little forest. Paint three trees of different heights side by side, with no pots, standing on a soft line of snow.
- Tree with lights. Skip the baubles and dot tiny spots of yellow all over once the green is dry.
- A gold-only tree. Paint the whole tree in a warm yellow ochre with a darker gold at the edges. It’s very simple and very pretty on cream card.
- A gift-tag tree. Paint a tiny version, about 5 cm tall, and cut it out for a gift tag.
If you’re making cards, my watercolor Christmas cards post has lots of layout ideas, and the tree pairs with every one of them.
Tips for a Loose, Lively Tree
- Use more water than you think. Pale, wet green spreads and blends. Dry paint just sits there.
- Paint big first, small last. Tiers, then baubles, then accents. Details on wet paper disappear.
- Let the edges be soft. You don’t need to stay inside the pencil line. A tree with a few soft edges looks more alive.
- Leave white paper. White flecks in the green and a dot of shine on each bauble make it look finished.
- Paint three at once. By the time you’ve finished the third tree, the first is dry enough for its baubles.
Twenty Easy Christmas Paintings
This Christmas tree is one of twenty in Easy Christmas Watercolour Templates, which is coming on Monday 9 November.
It’s twenty quick Christmas subjects drawn as soft pencil outlines, the tree, a holly sprig, a robin, a red bauble, a loose wreath, a candle, a gold star, a pine sprig, a snowman, a stocking and more. Each one is paintable in a few minutes, and each comes with a painted reference and a Colour Inspiration Card.
Grab the free holly template at the top of this post and you’ll hear about it in my newsletter the week it’s ready.
For more Christmas subjects to paint right now, have a look at my easy Christmas watercolor paintings. And if you love painting from printed outlines, new watercolor template sets go up on my Patreon too, with painted references so you can see where the colour goes. You can also browse my shop for template sets you can paint today.
Frequently Asked Questions
What colors do I need for a watercolor Christmas tree?
Two or three greens (light, mid and deep), a golden yellow, a bright red, and a warm brown with a terracotta for the pot. Any student set has everything you need.
How do I stop my tree looking flat?
Use at least two greens wet-in-wet on each tier, leave a few white gaps, and add a few dark green accents under each scalloped edge once it’s dry. That light-to-dark change is what gives it shape.
Why do my baubles bleed into the green?
The green was still damp. Let the tree dry completely before you add the baubles, or the red and yellow will spread into the branches.
Is the Christmas tree template free?
The tree outline is part of the full Easy Christmas Watercolour Templates set. The holly sprig template is the free one. Pop your email in at the top of the post and it comes straight to your inbox.
What size should I paint it?
Anything from a 5 cm gift tag to a full A5 card works. Bigger trees are easier for beginners, because there’s more room for the water to move.
Final Thoughts
A loose watercolor Christmas tree is such a happy little painting. It doesn’t need to be perfect, it just needs plenty of water, a few greens left to mingle, and a gold star on top. Paint a few this week and pick your favourite for the front of a card.
Pin this for later so the steps are easy to find when your paints are out. You’ll find more Christmas painting ideas on my Pinterest, and if you’d like to paint along with me, subscribe to my YouTube channel for new watercolor videos every week. Everything is on the Artsydee YouTube channel.
Happy painting!
Dee x