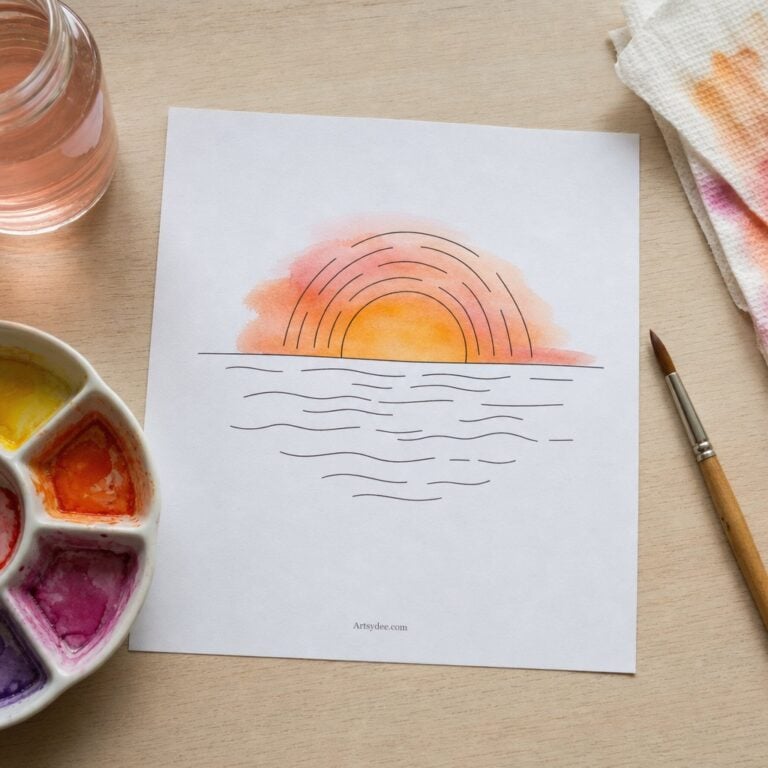
Last Updated on August 3, 2026 by Dee
A sunset is the most forgiving thing you can paint in watercolour, and I think it’s the best first landscape for exactly that reason. The colours do the blending themselves, the shapes are simple, and “a bit loose” genuinely looks better than “neat”.
Below is the way I paint them, step by step. And because the drawing part is what stops most people before they’ve started, I’ve put together 10 free sunset and sky outline templates you can print and paint straight over — pop your email in below and I’ll send them over, with a download link on screen straight away.
Table of Contents
Table of Contents
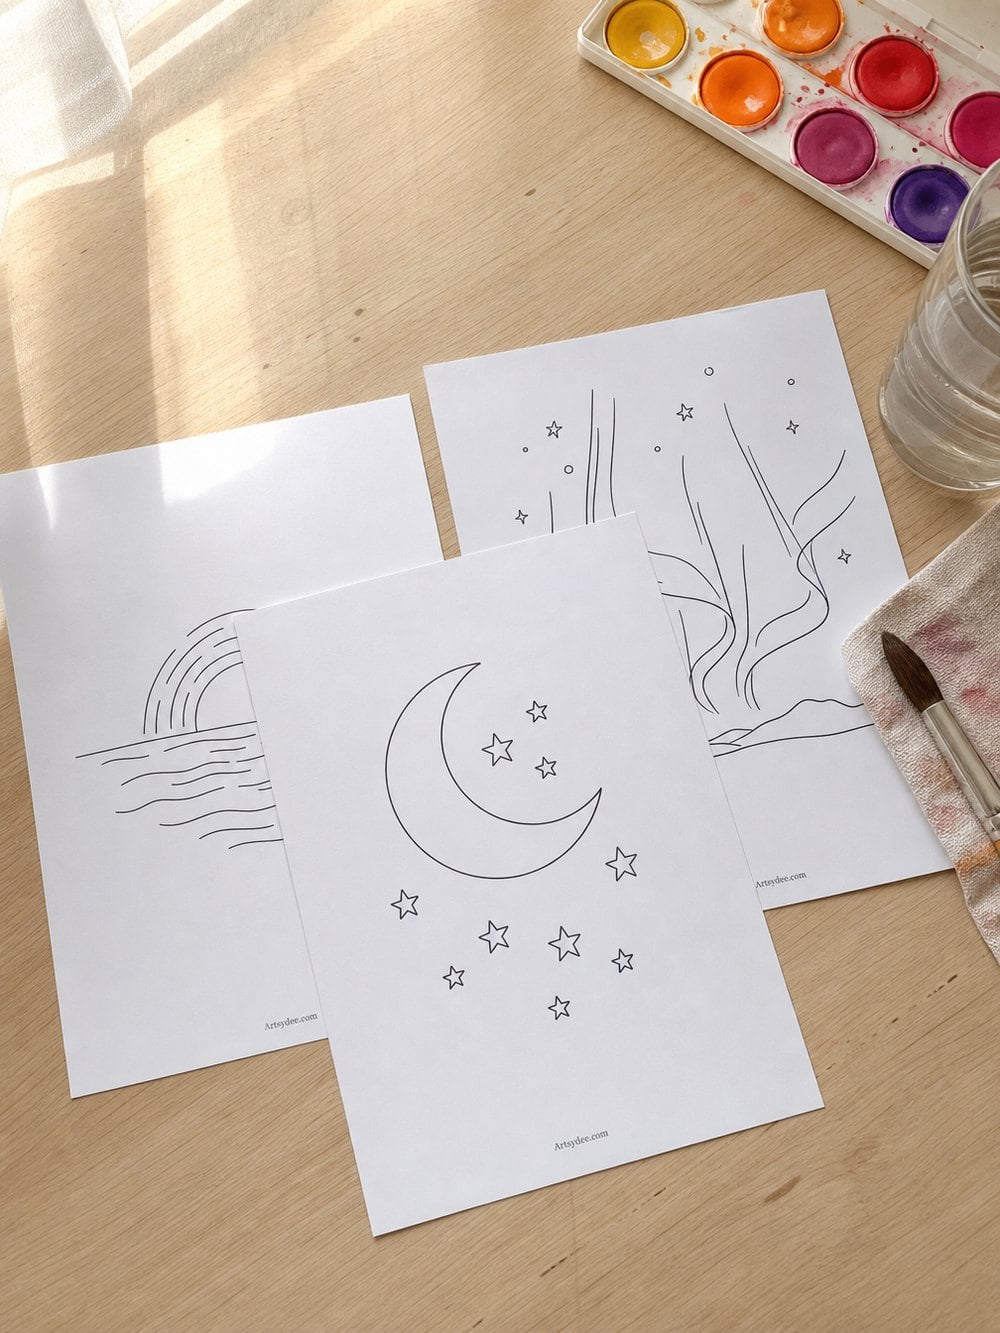
What you need (it’s not much)
Quick answer: watercolour paper, three colours, one round brush and a jar of water. A sunset needs fewer materials than almost any other subject.
- Paper that can take water — 300gsm / 140lb minimum. A Canson XL watercolour pad is the cheap, reliable option and won’t buckle under a big sky wash.
- Three colours — a warm yellow, an orange or red, and one cool colour. A Winsor & Newton Cotman set covers all of it.
- One round brush — a size 6 or 8 that holds plenty of water. I use a Princeton Heritage round size 6 for almost everything.
- Somewhere to mix — a Mijello folding palette if you want wells, though a white plate genuinely works.
- A printer, if you’re using the free outlines. I print mine on an Epson EcoTank because the cost per page is low enough that I don’t ration myself.
If you want the longer version of what’s worth buying and what isn’t, I’ve written up my recommended watercolour supplies separately.
The one thing that makes a sunset work
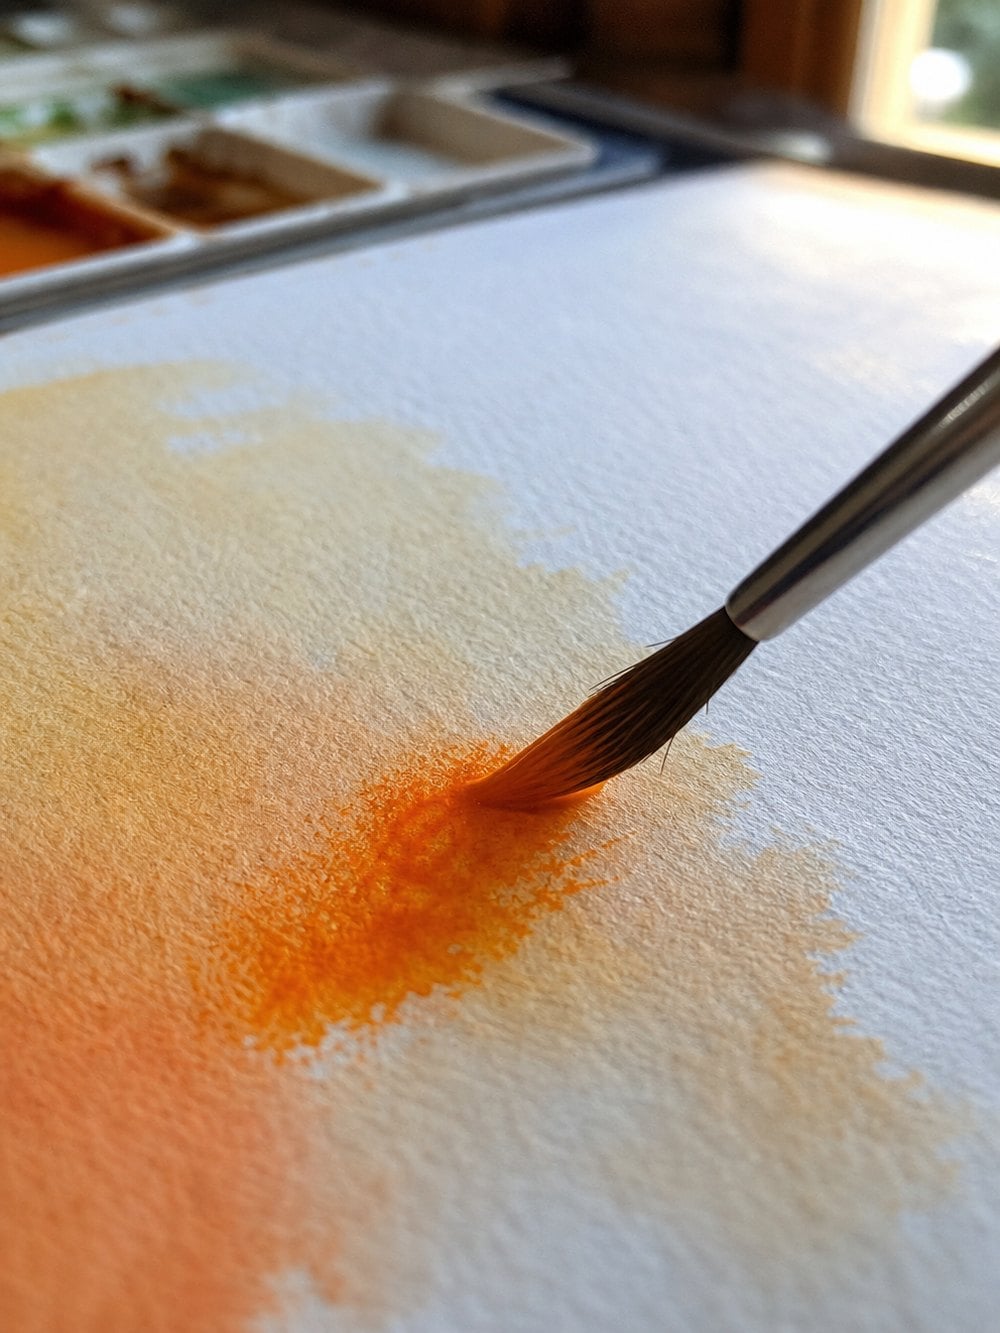
Quick answer: wet the sky first, then drop colour into it and let the water do the blending. This is called working wet-on-wet, and it’s the whole difference between a glowing sunset and a stripy one.
If you paint a sunset onto dry paper, every brushstroke leaves a visible edge, and you end up with bands of colour rather than a gradient. If you wet the paper first and touch the colour in, the pigment spreads on its own and the transitions happen without you. You’re not painting the blend — you’re setting up conditions where the blend happens.
The trade-off is that you’re working against the clock. Once the sheen goes off the paper, the window is closed. That’s why mixing your colours before you wet anything matters more here than in almost any other subject.
How to paint a watercolor sunset, step by step
Quick answer: wet the sky, lay warm colours from the horizon upward, let it dry completely, mirror the colours in the water, then put the dark silhouette in last.
- Tape the edges and tilt the board. Stick the outline down on all four sides with masking tape and prop the top edge up on a book. Gravity is doing half the work in a sunset — you want the wash to drift downward on its own.
- Wet the sky only. With a clean brush and clear water, wet the whole sky area right down to the horizon line. Leave the water and land completely dry. The paper should look satin, not puddled — if it’s shining back at you, blot it.
- Drop the warmest colour in at the horizon. Load your brush with yellow and touch it in just above the horizon. Don’t brush it around. Let it bloom outward by itself for a few seconds.
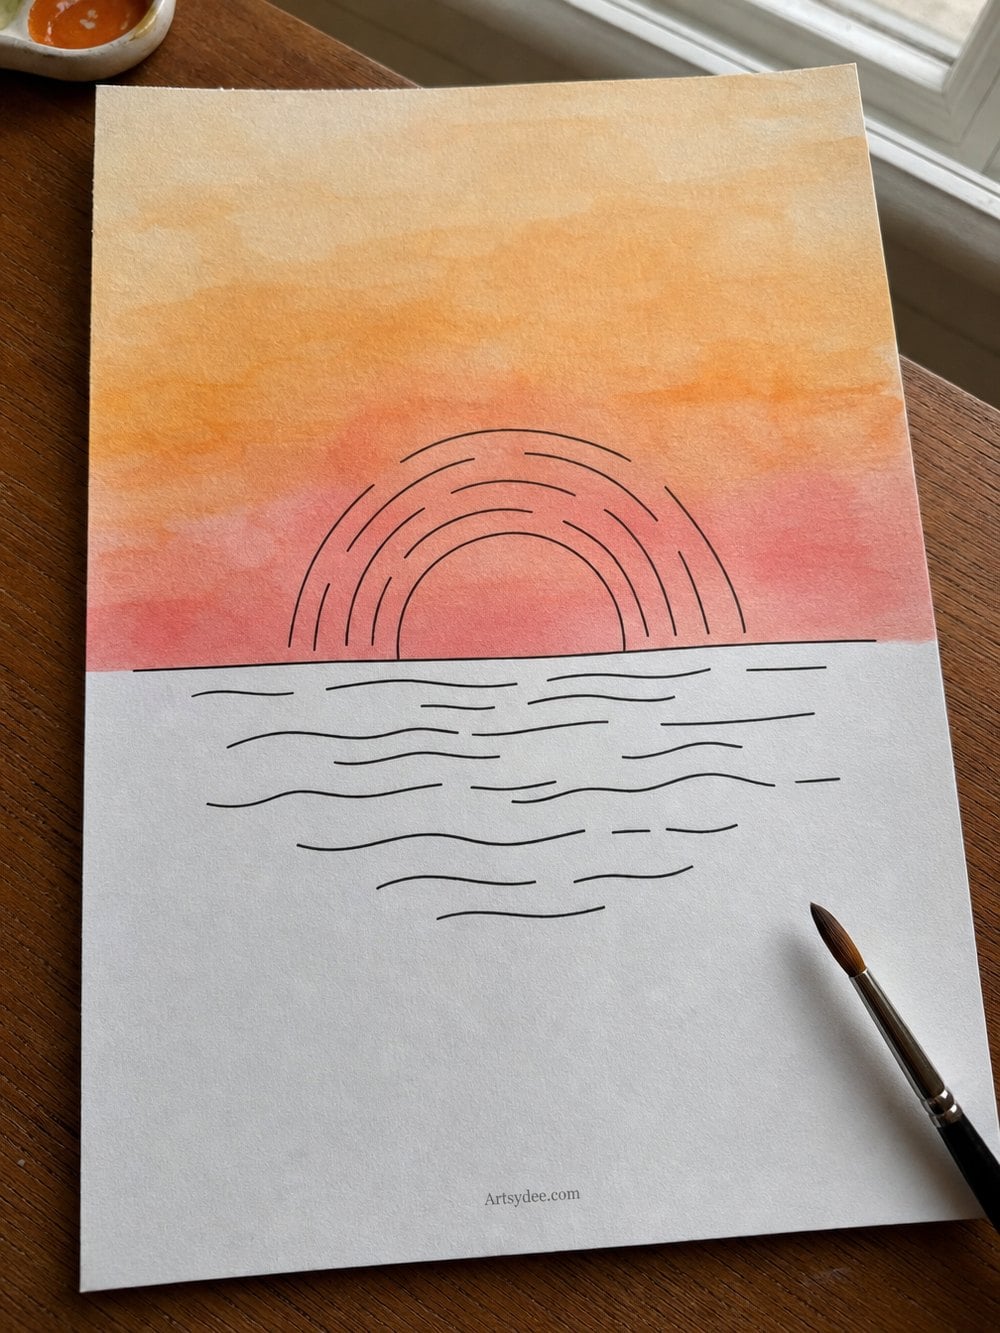
- Add orange above the yellow, then pink above that. Work upward in bands, letting each colour touch the wet edge of the one below. Where they meet they’ll blend on their own — that soft gradient is the whole trick, and it only happens while the paper is damp.
- Deepen the top of the sky. A touch of violet or dusty blue at the very top pushes the sky back and makes the warm colours near the horizon glow harder by contrast.
- Stop, and let it dry completely. This is the step people skip. Walk away. Anything you do to a half-dry sunset sky will leave a hard edge or a cauliflower bloom you can’t undo.
- Paint the water as a mirror. Once the sky is bone dry, wet the water area and repeat the same colours in the same order, but slightly greyer. Leave a few dry horizontal gaps of white paper for sparkle.
- Put the darks in last. Mix your deepest colour and paint the land, hills or silhouette in one confident go. It should be much darker than you think — that contrast is what reads as sunset.
Sunset colour combinations that always work
Quick answer: move from warm at the horizon to cool at the top of the sky. Any combination that follows that order will read as a sunset.
- Classic warm sunset: Lemon yellow → cadmium orange → rose madder → a whisper of violet
- Coastal evening: Naples yellow → soft peach → dusty pink → Payne’s grey at the top
- Dramatic afterglow: Gold → burnt orange → crimson → indigo, with a very dark land line
- Cool dusk: Pale yellow → apricot → mauve → cobalt, kept light and airy
If mixing is the part you find fiddly, my post on how to mix watercolour colours goes through building these from a small palette.
Five mistakes that flatten a sunset
Painting the sky too slowly
Watercolour dries as you work. Mix all your sunset colours before you wet the paper so you’re never stopping mid-wash to hunt for a pan.
Using too little water
A dry brush drags and streaks. For the sky wash you want the brush properly loaded — it should release colour the moment it touches the paper.
Fiddling while it dries
Every extra stroke into a drying wash creates a bloom. Sunsets reward walking away.
Making the silhouette too pale
If the land reads mid-grey, the whole thing goes flat. Mix it darker than feels comfortable and put it down in one pass.
Choosing muddy colours
Sunsets go grey when opaque or earth pigments creep in. Stick to transparent warm colours and add your cool tones only at the very top of the sky.
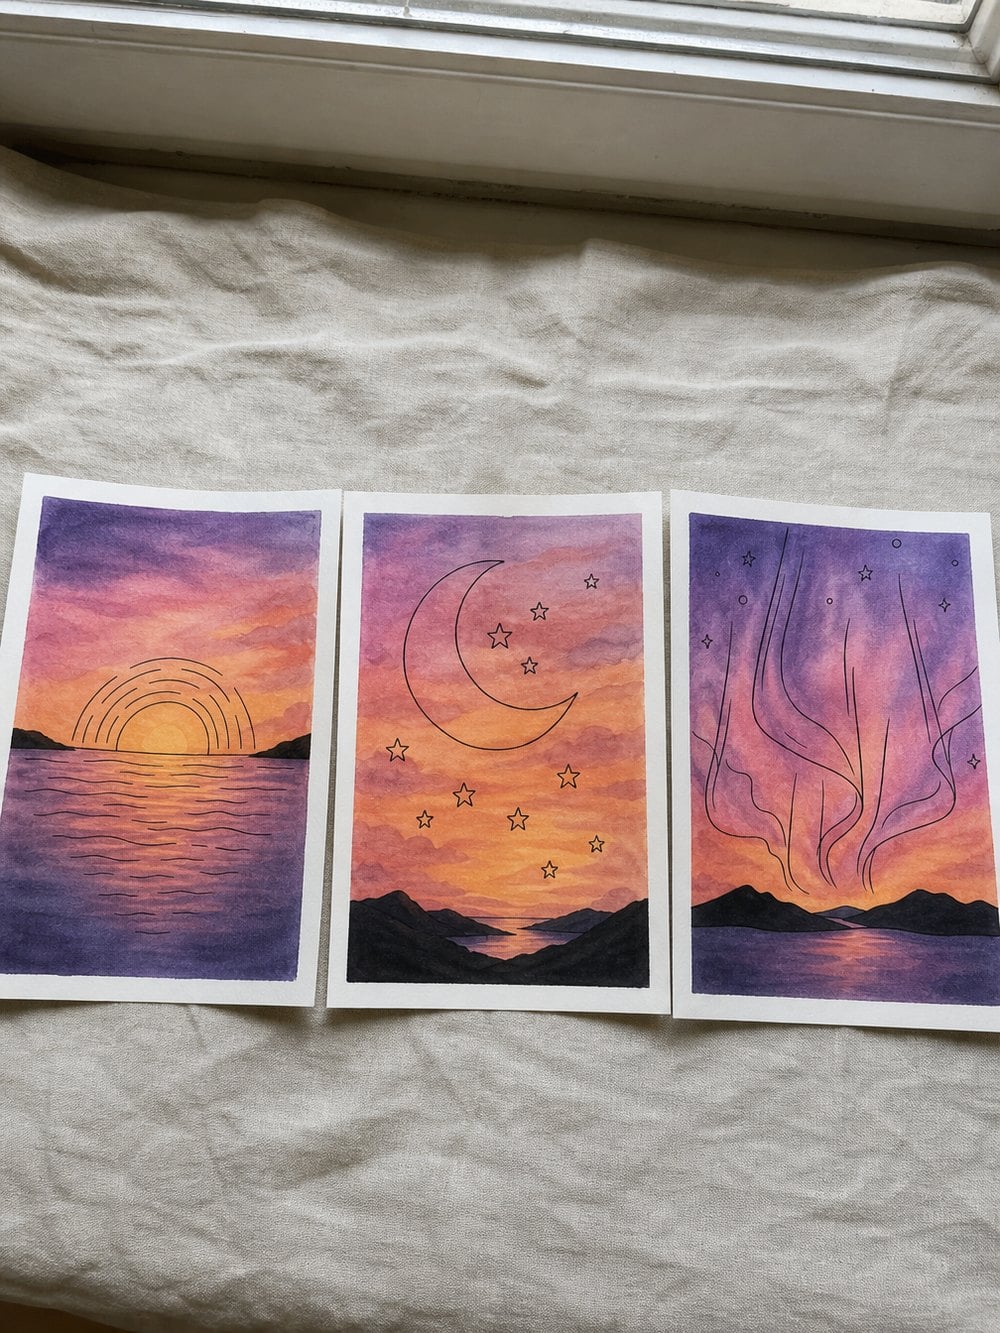
Grab your free sunset & sky outlines
The free pack has 10 outline templates — sunsets over hills and sea, mountain sunsets, a crescent moon, a galaxy swirl, northern lights, clouds at dusk and a starry night sky. Clean line art on white, sized to print at home.
Pop your email into the form above and they’ll come straight to your inbox, with a download link on screen the moment you sign up so you can start painting without waiting. They’re free for your own personal use — print as many copies as you like.
Want the full sunset reference set?
If you get through those ten and want to keep going, today I’ve released Sunset Landscapes — a premium reference set of 20 sunset scenes, each with its own colour recipe card telling you exactly which colours to mix and in what order.
It’s the set I wanted when I was learning: cliffs at golden hour, harbours at dusk, lone trees on hills, poppy fields, moorland afterglow. £14, and it’s yours to print forever. Have a look here.
And if you’d like new watercolour templates and tutorials landing every month, that’s what my Patreon is for — new resources, early access, and a look at how I actually put these sets together.
More watercolour posts you might like
- Easy Watercolor Landscapes
- Watercolor Ideas for Beginners
- How to Mix Watercolor Colours
- Watercolor Ocean Painting Ideas
- My Recommended Watercolour Supplies
Frequently asked questions
What colours do I need to paint a watercolor sunset?
Three is genuinely enough: a warm yellow, an orange or red, and one cool colour like violet or blue for the top of the sky. Sunsets go muddy when people reach for too many pigments, especially opaque or earthy ones. Start with yellow at the horizon, orange above it, and a cool tone at the very top.
Why does my sunset sky look streaky?
Almost always because the paper dried before you finished, or there wasn’t enough water on the brush. Wet the whole sky first, mix your colours before you start, and work quickly from the horizon upward while the surface is still damp.
Do I need special paper for watercolor sunsets?
You need paper made for watercolour — at least 300gsm / 140lb. A big wet sky wash will buckle and pill ordinary printer paper almost immediately. Cold press is the friendliest for beginners because it holds water long enough to blend.
Can I paint a sunset if I can’t draw?
Yes, and that’s exactly why the free outlines exist. The composition is already drawn for you, so all you’re doing is laying colour into shapes. Plenty of people paint over outlines for years — it’s a legitimate way to practise colour without fighting drawing at the same time.
How long should I let each layer dry?
Until it’s completely dry to the back of your hand, usually ten to fifteen minutes. If there’s any coolness left, it’s still damp. A hairdryer on low is fine once the shine has gone.
Before you go
Print one outline, mix three colours, and give yourself permission for the first one to be a practice. Sunsets are the subject where letting go genuinely produces a better painting than trying hard — which is a nice thing to be reminded of.
If you paint one I’d love to see it — I’m on Instagram, Pinterest and YouTube.
This post contains affiliate links, which means I may earn a small commission at no extra cost to you if you buy through them. I only link to things I’d actually use myself.
Pin this for later!