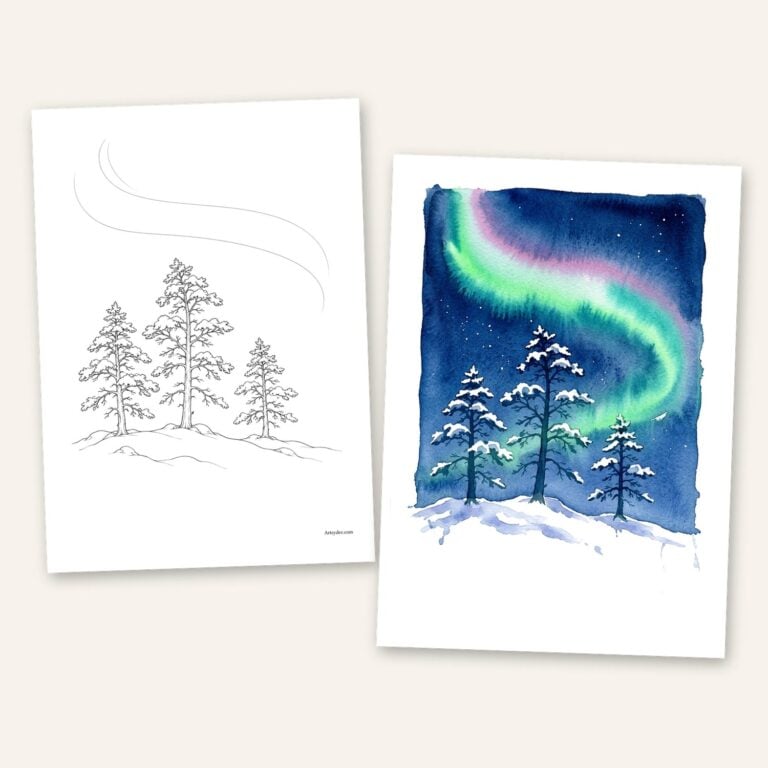
The northern lights are one of those subjects that look impossible and turn out to be one of the kindest things you can paint in watercolor. The paint does most of the work. You just have to get it wet and then get out of the way.
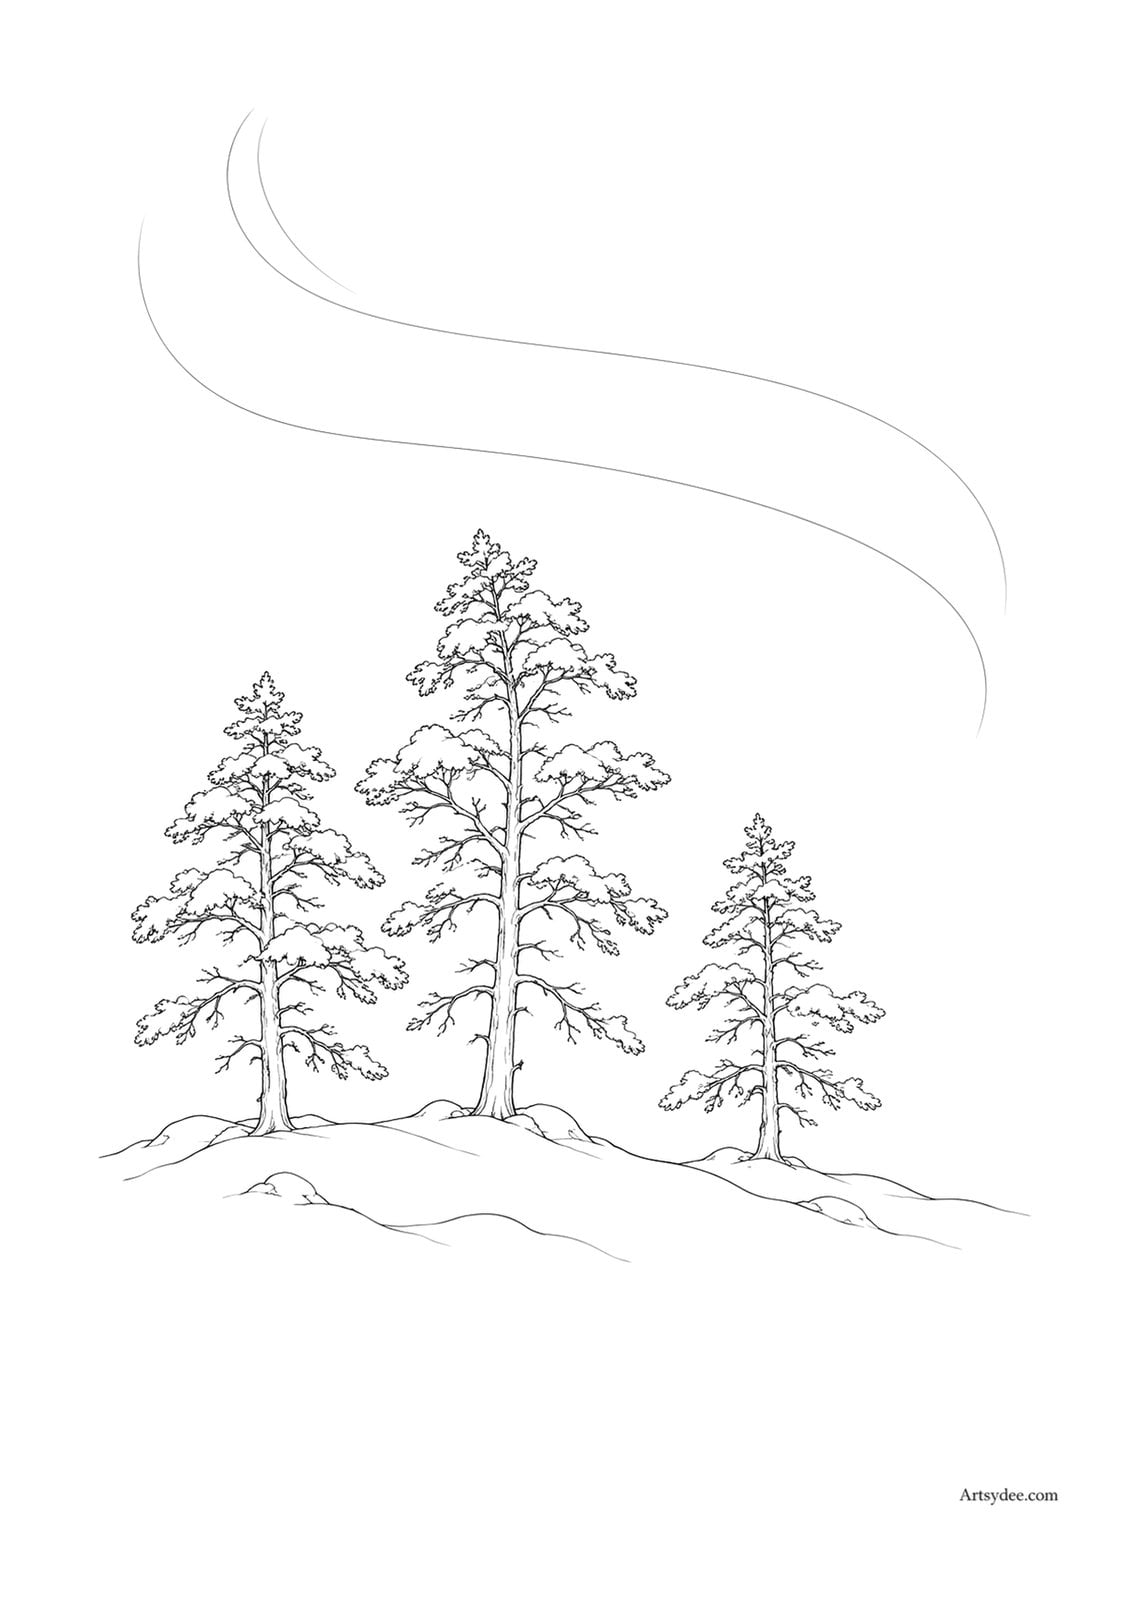
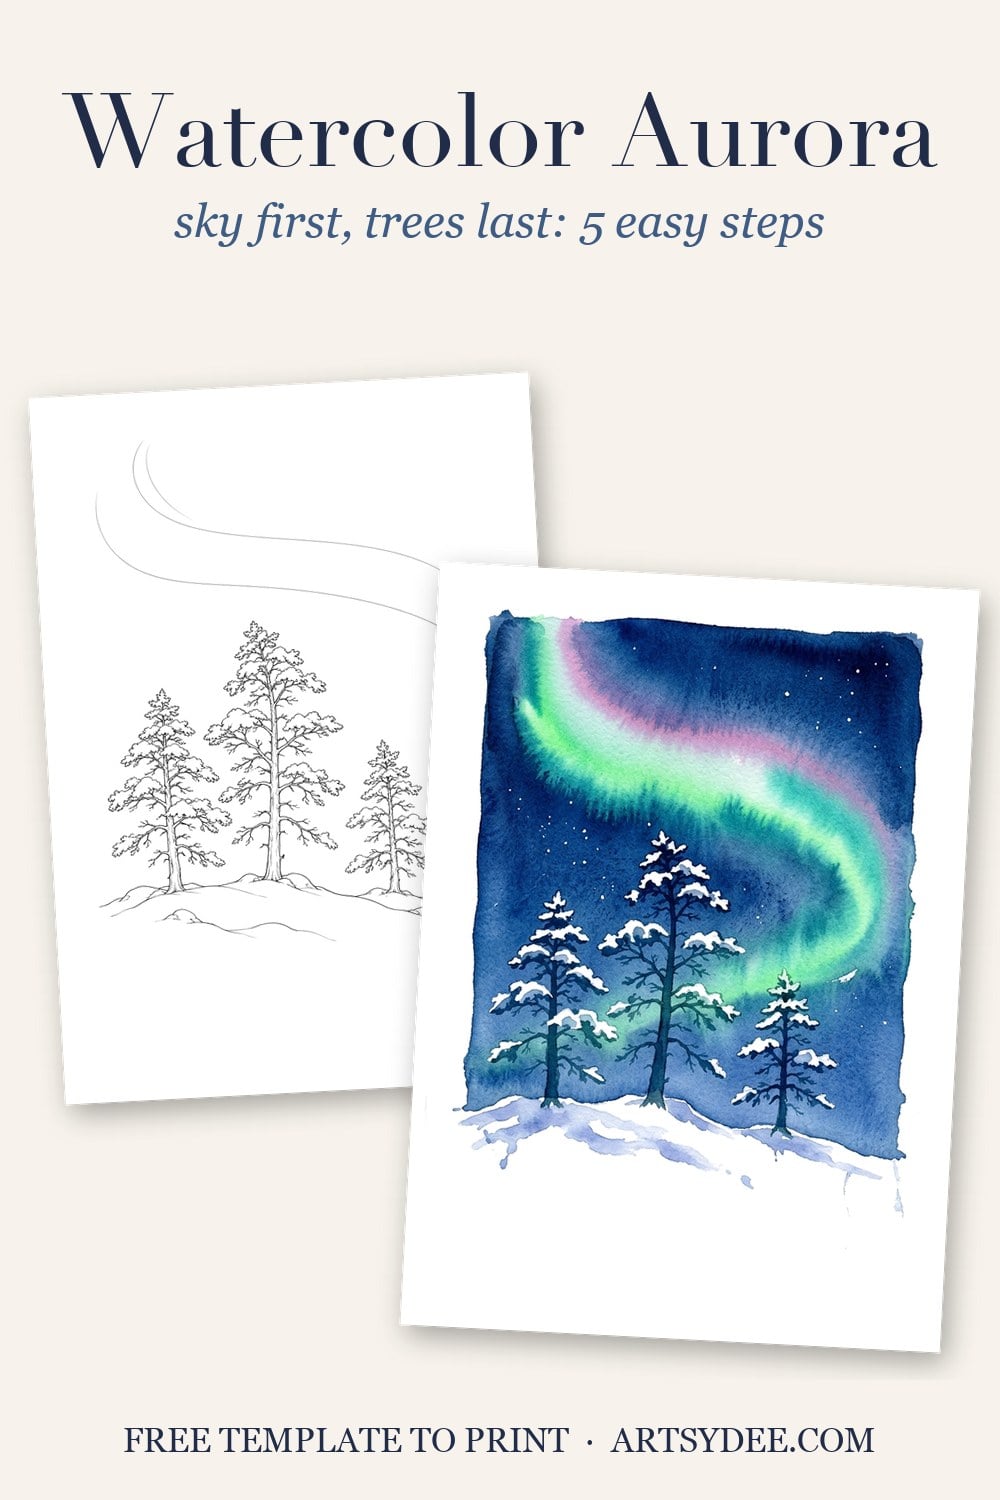
I’ve drawn the pines and the snowy ridge for you, with two faint guide lines for the aurora, so the whole evening is about the sky.
Get the free northern lights template 👇
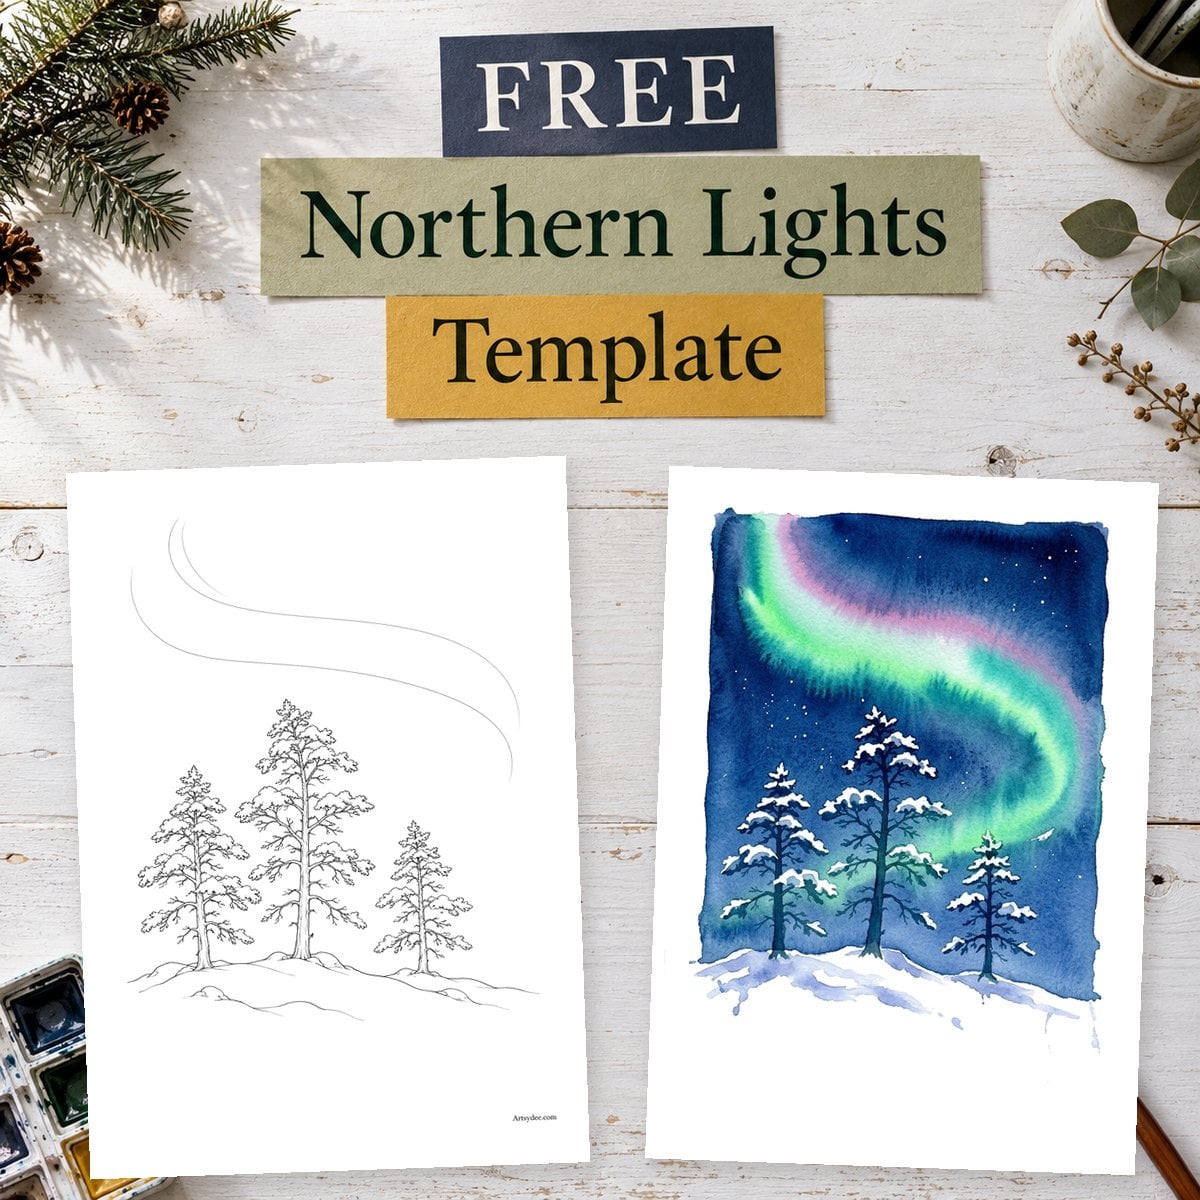
Quick answer: wet the sky, lay a band of green and teal, drop violet at the edges, then paint indigo around it while still damp; add black pine silhouettes once bone dry.
Print the template at 100% on A4 watercolor paper, then scroll down for the five steps, the colors and the little fixes that stop an aurora turning to mud.
Table of Contents
What We’re Painting
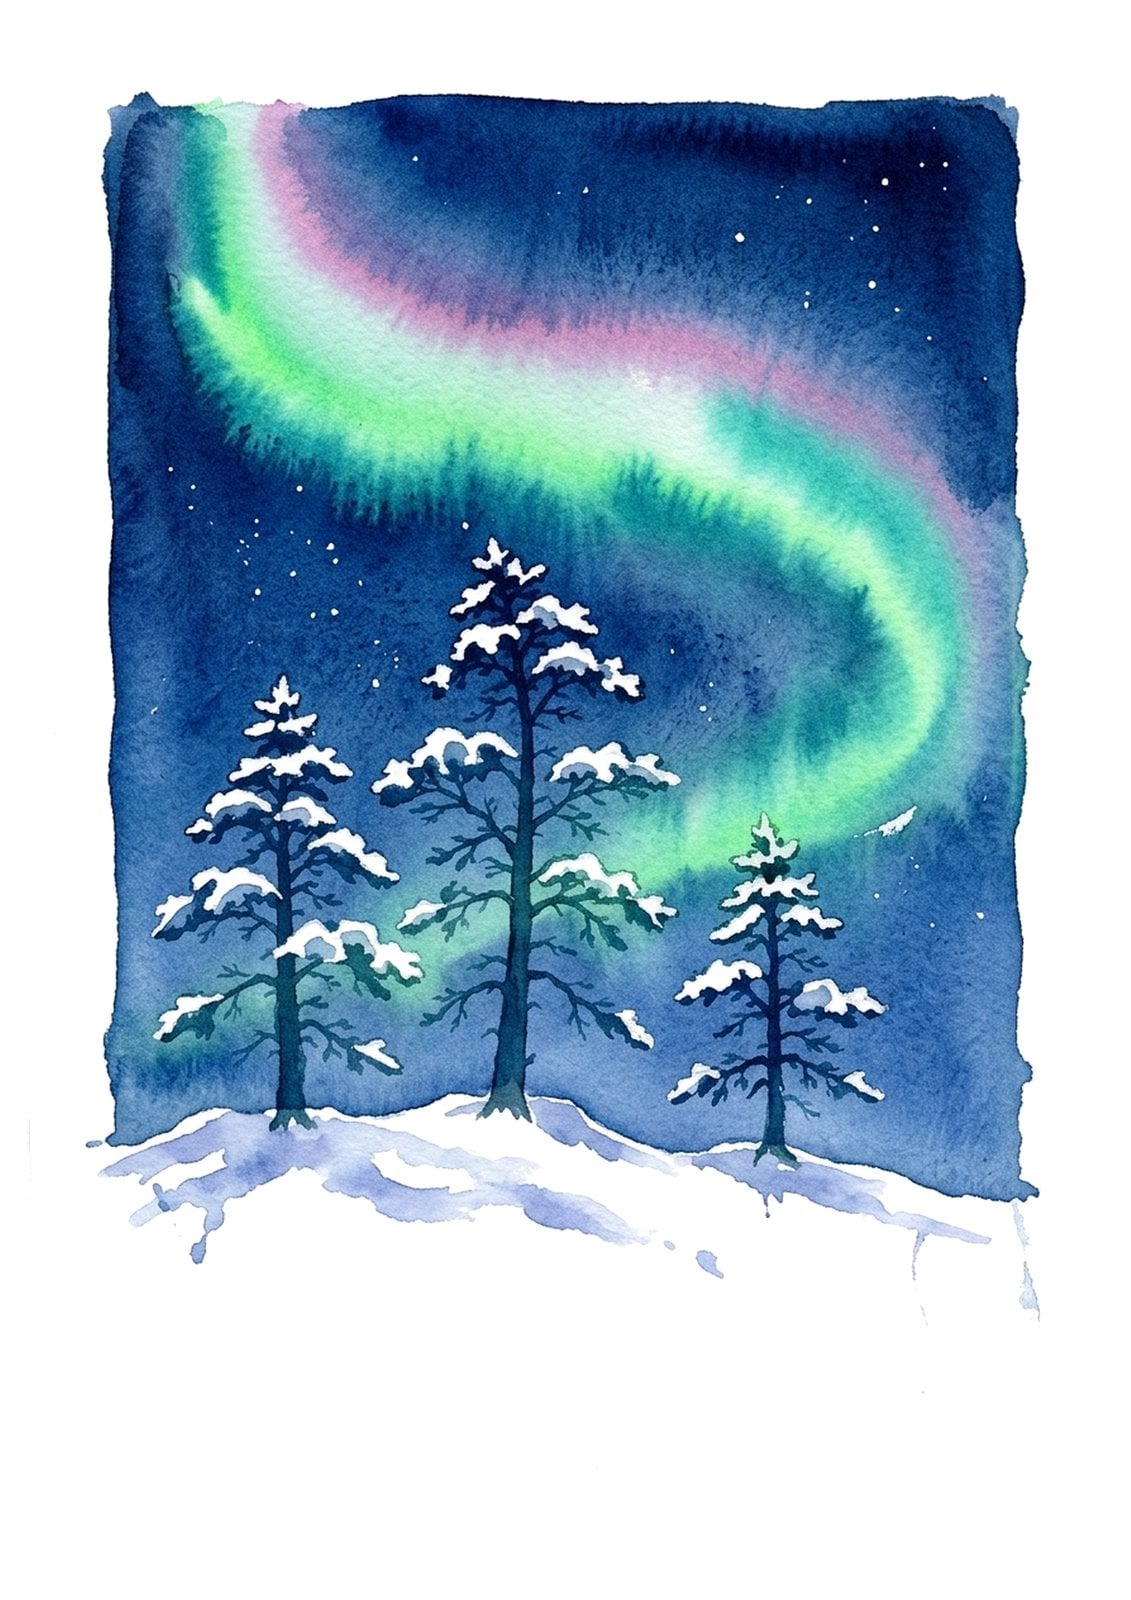
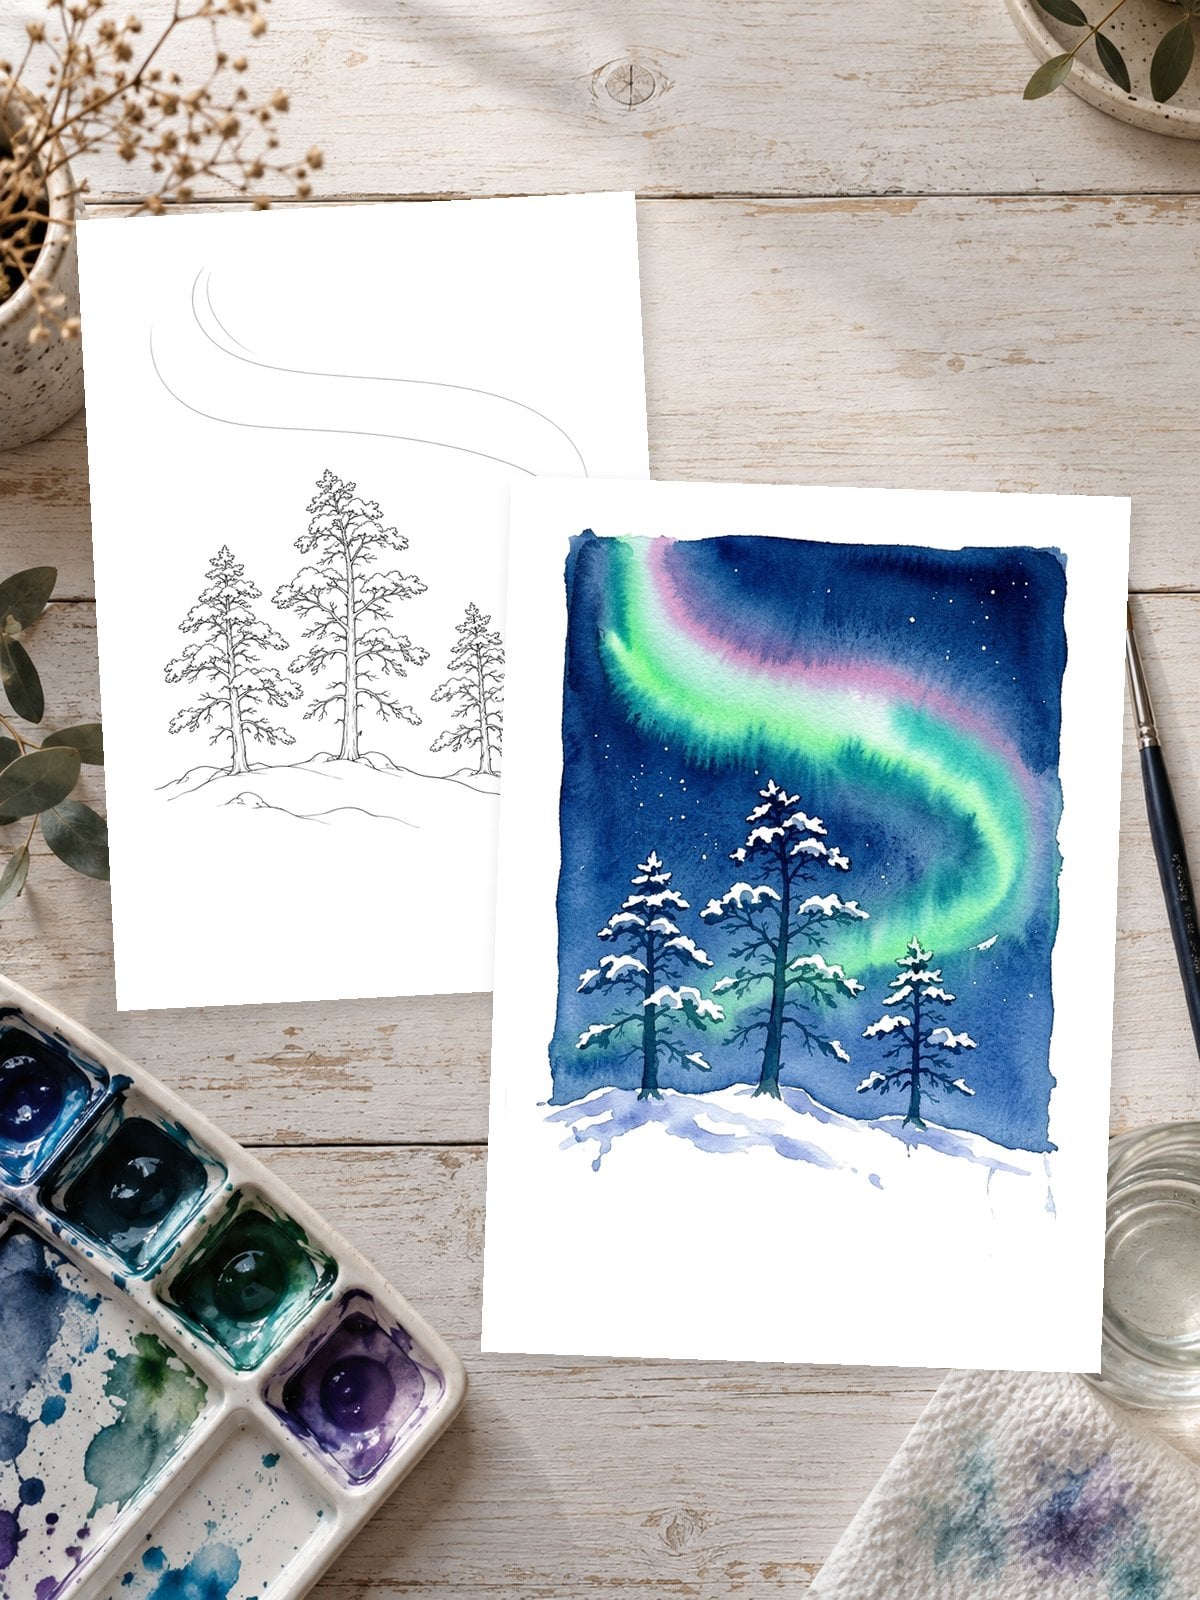
Quick answer: three snowy pines on a ridge under a sweeping green and violet aurora, painted loosely in watercolor over a printed pencil outline. A dark blue sky, a glowing band of green, white snow and a scatter of stars.
I love this one because it’s mostly sky. The trees and the ridge are drawn as soft pencil lines, and the aurora has just two faint guide lines, so you know roughly where the glow goes without feeling boxed in. Everything above the trees is open paper, there to be painted wet-in-wet.
It’s a lovely one for a winter evening: about 40 minutes of painting, plus a cup of tea while the sky dries.
What You Need
Nothing fancy. I’ll tell you what kind of color you need, so you can find something similar in your own box.
- A bright green, like a phthalo green or any clear, cool green.
- A teal or blue-green to soften the edges of the glow.
- A violet or a pink for the top of the aurora. Only a few drops.
- A deep blue: indigo, Prussian blue or Payne’s gray for the night sky.
- A size 8 to 12 round brush for the sky, and a smaller round for the pines. A Princeton Heritage size 6 round holds a lovely point for the branches.
- Watercolor paper your printer will take, or trace the outline onto a sheet from an Arches cold press block, which stays flat while the sky is soaking wet.
- A white gel pen such as a Sakura Gelly Roll white for stars, if you don’t want to flick paint.
- A jar of clean water, kitchen roll and, if you like, a pinch of table salt.
Any student set will do. If you’d like a small box of really bright pigments, the Daniel Smith Essentials set has a phthalo blue and a strong yellow that mix a gorgeous aurora green. Brand new to all this? My watercolor for beginners guide covers paper, brushes and paint without the overwhelm.
Some links in this post are affiliate links, which means I may earn a small commission at no extra cost to you if you buy through them. I only recommend things I’d happily use myself.
What Colors Are the Northern Lights?
Quick answer: mostly green, often with a teal or blue-green edge, and sometimes pink or violet at the top. Paint them with a bright green, a teal, a violet and a deep blue like indigo.
The real aurora borealis is mostly a soft, glowing green, because that’s the color the oxygen high up in the sky gives off. On a strong night you’ll often see a pink or violet fringe along the top edge of the curtain, and sometimes a blue-green where it fades into the dark.
For a painting, that gives you a simple recipe: green in the middle, teal at the soft edges, a little violet at the top, deep blue everywhere else. You don’t need to match a photo. If your green is a bit yellow or a bit blue, it’ll still read as northern lights, because the shape and the glow against the dark are what your eye recognizes.
One tip: test your green and violet side by side on a scrap first. Some violets turn grey the moment they touch green. If yours does, keep a hair of white paper between them, or swap the violet for a pink.
How to Paint the Northern Lights in Watercolor, Step by Step
Quick answer: wet the whole sky, float a band of green along the guide line, add violet at the top edge, paint deep blue around the glow while it’s damp, then let it dry and paint the pines.
Step 1: Wet the whole sky
Brush clean water over the sky, right down to the tree line, until the paper has an even sheen. Not puddles, just a shine. Go around the trees roughly. A bit of water touching a branch doesn’t matter, because you’ll paint the trees dark later anyway.
Step 2: The green glow
Load your brush with green and lay a soft band along the faint guide line. Let it spread on its own. Touch a little teal into the edges so the band fades out rather than ending in a stripe. If you want those streaky curtain rays, pull a few strokes of green upward with an almost dry brush.
Step 3: A touch of violet
Drop a few tiny touches of violet or pink along the top edge of the green. Let them kiss, but don’t stir them together. Two or three drops is plenty. This is the bit that makes people say “oh!” when they see it.
Step 4: The night sky, while it’s damp
Now paint deep blue into the rest of the sky, starting from the top corners and working toward the glow. Let it bleed softly into the edges of the green. Make it darkest at the very top. Then stop. Put the brush down and leave it, even if it looks a little patchy. It will settle as it dries.
Step 5: Let it dry, then the trees
Wait until the paper is bone dry. Not “nearly” dry: properly cool to the back of your hand. Then paint each pine as a dark silhouette in deep blue mixed with a little green. Leave the snow on the ridge and on the branches as white paper. Finish with a few white dots for stars from a gel pen, or flick a little white gouache off a toothbrush.
If you’d like extra sparkle, sprinkle a few grains of salt on the sky in Step 4 while it’s still damp. Brush them off once it’s dry and you’ll have tiny starbursts. It’s optional and lovely.
How to Keep the Sky Dark Without Muddy Greens
Quick answer: paint the dark blue around the green rather than over it, keep violet away from the middle of the green, and stop touching the glow once the blue is in.
Muddy aurora greens happen for three reasons, and they’re all easy to avoid.
- Blue painted over the green. Green plus a heavy layer of blue makes a dull teal-grey. Paint the blue up to the glow and let only the edges bleed.
- Violet mixed into the green. Green and violet are nearly opposites, and opposites make grey. Keep the violet on the top edge only.
- Going back in. When a wash is half dry, a second stroke lifts and stirs the pigment into a cloudy patch. If you missed a bit, leave it. Nobody will notice but you.
The other secret to a dark sky is simply strong paint. Mix more blue than you think you’ll need, with very little water, before you start Step 4. A pale night sky never looks like night. If it dries too light, you can glaze one more layer of blue over the top corners once it’s completely dry, but keep it well away from the glow.
If you’ve painted my watercolor sunset, it’s the same idea: the light part goes in first, the dark part goes around it, and you stop before you fiddle.
Do You Need Masking Fluid for the Pine Trees?
Quick answer: no. The pines go on last, on dry paper, as dark shapes over the sky, so there’s nothing to protect.
Lots of night sky tutorials start with masking fluid, and it puts beginners off before they’ve even wet the paper. With this template you can skip it. You paint the sky right over the tree area, let it dry, and then paint the trees on top in a dark blue-green. Dark over light always covers.
Where masking fluid can help is the snow. If you’d love crisp white snow along the branches, dab a little masking fluid on the snowy tops before Step 1, let it dry, paint as normal, then rub it off at the very end. Use an old brush and wash it in soapy water straight away. But honestly, painting around the snow with a damp brush, or adding a few touches of white gouache at the end, works just as well.
Common Aurora Problems (and Easy Fixes)
- The aurora looks like a stripe. The paper was too dry. Next time wet it again before you add the green, and soften the top and bottom edges with teal.
- Hard edges and cauliflower blooms in the sky. Wetter paint went into a drying wash. Work a little quicker, or keep the blue mix slightly drier than the paper.
- The sky turned grey. Too much violet, or the blue went over the green. See the section above.
- The trees look like lollipops. Use the tip of the brush and work down each tree in short, sideways, slightly ragged strokes, wider at the bottom. Pines are scruffy. Let them be.
If you’d like to practise that soft, loose look on other subjects, my loose watercolor techniques guide is a lovely next step.
Three More Ways to Paint an Aurora
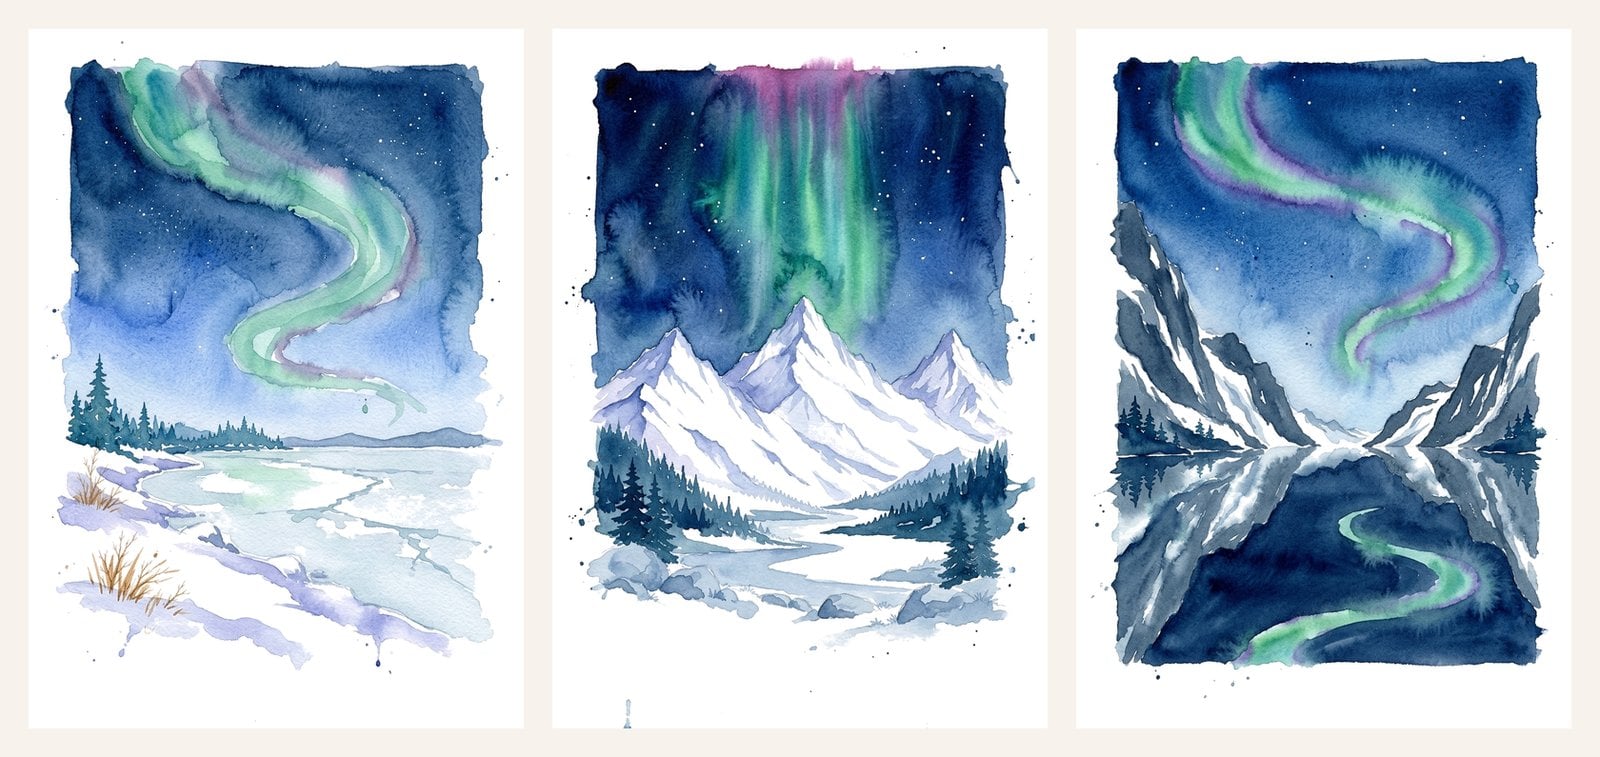
Once you’ve painted the pine ridge, the same five steps work for almost any aurora scene. These three painted references are from the full Winter Night Skies set:
- Over a frozen lake. Paint the aurora as usual, then repeat a softer, paler version of it upside down in the ice below. Reflections are always a little lighter and a little blurrier.
- Over snowy mountains. Let the green fall in long vertical curtains behind the peaks, and leave the mountain tops as white paper.
- Reflected in a fjord. A ribbon of aurora down the middle of the sky, mirrored in a dark winding strip of water between two cliffs.
For a galaxy version, with moons, planets and swirls of stars instead of the green glow, have a look at my watercolor galaxy ideas. And if you’d like a cosy daytime winter scene next, my snowy cottage winter watercolor comes with its own free template too.
Twenty Winter Night Skies to Paint

Your free template is page one of Winter Night Skies: twenty winter night and sky scenes drawn as soft pencil outlines. There’s an aurora over a frozen lake, aurora mountains, a full moon over snowy pines, a crescent over a cottage, the Milky Way over a winter field, a tawny owl against the moon, a lighthouse on a winter night, a blue-hour village and Orion over the pines. Each one comes with a painted reference and a Colour Inspiration Card, so you can see where the color goes.
The full set is on its way
The full Winter Night Skies set arrives on Monday 30 November: northern lights, moonlit snow and starry pines to paint.
You’ll find all my other printables in my Payhip shop.
Love Painting From Templates? Join Me on Patreon
If you love painting from printed outlines, come and paint with me on Patreon. New watercolor template sets go up there all the time, with painted references so you can see where the color goes, plus Procreate stamps and palettes.
Frequently Asked Questions
How do you paint the northern lights in watercolor?
Wet the sky with clean water, lay a soft band of green and teal, drop a little violet along the top edge, then paint deep blue around the glow while it’s still damp. Let it dry completely and paint the pine trees as dark silhouettes last.
What colors are the northern lights?
Mostly green, often with a teal or blue-green edge, and sometimes pink or violet at the top of the band. In a painting, a bright green, a teal, a violet and a deep blue like indigo or Payne’s gray are all you need.
How do you keep the sky dark without muddy greens?
Let the green settle first, then paint the dark blue around it rather than over it, and stop touching the glow once the blue is in. Mud usually comes from scrubbing a damp wash or mixing violet straight into the green.
Should I use masking fluid for the pine trees?
You don’t need it. The pines are painted last, on dry paper, as dark shapes over the sky, so there’s nothing to protect. Masking fluid is only handy if you want crisp white snow on the branches, and it’s optional.
Is the northern lights template really free?
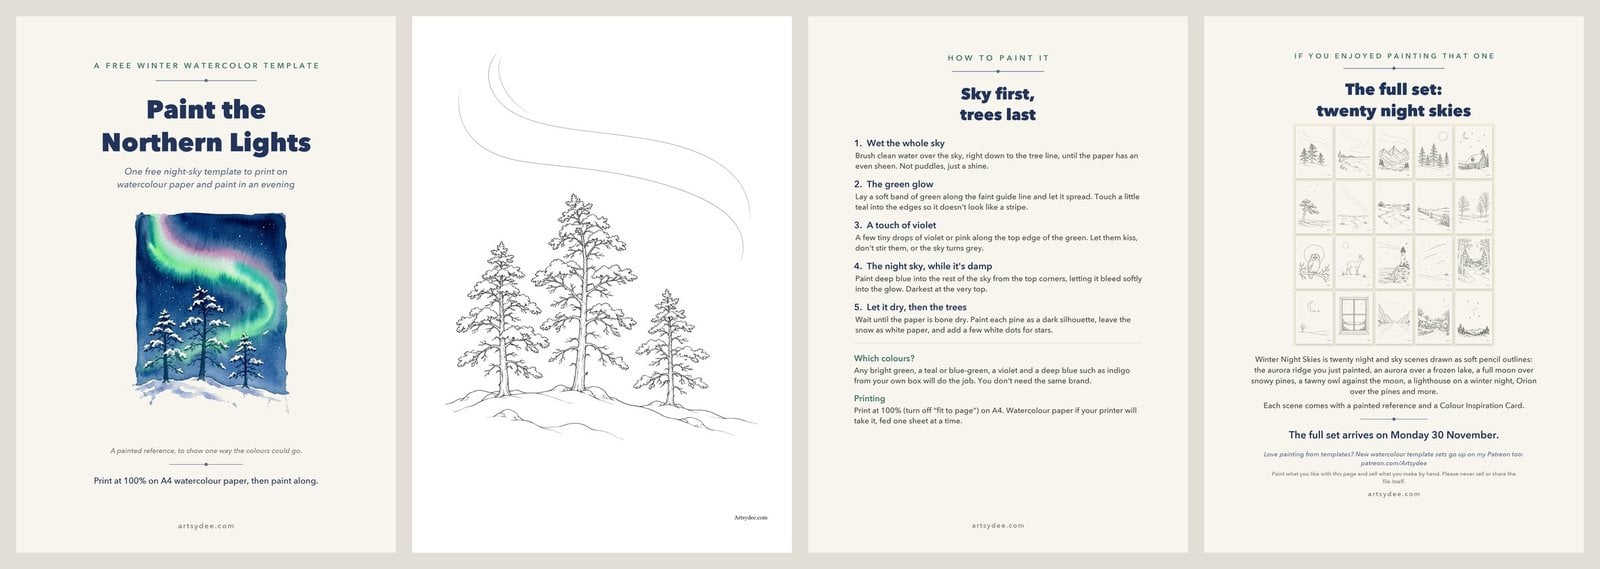
Yes. Pop your email in the box at the top of this post and the four-page PDF comes straight to your inbox: the cover with a painted reference, the outline, a how-to-paint page and a peek at the full set. You can also download it straight from the thank-you message.
Final Thoughts
Wet sky, green glow, a whisper of violet, deep blue around it, trees last. That’s the whole thing. The first one might come out a bit stripy or a bit pale, and that’s fine: the second one is always better, and the template is there to print again.
If you’d like the template, pop your email in at the top of the post and it’s yours.
For more painting ideas, come and find me on YouTube (subscribe here so you don’t miss the next one) and on Pinterest, where I save all my winter painting ideas.
Last updated 4 November 2026.
You Might Also Like
- 7 Watercolor Galaxy Ideas and How to Paint Them
- Easy Winter Watercolor: Paint a Snowy Cottage (Free Template)
- How to Paint a Watercolor Sunset (Step by Step + Free Outlines)
- Easy Watercolor Christmas Tree: A Loose Step-by-Step for Beginners
- Watercolor Christmas Cards: 15 Easy Designs to Paint
Pin this for later!
Happy painting!
Dee x