Last Updated on November 12, 2026 by Dee
Some evenings you want to paint but you don’t want a big project. You want something small, something you can finish before the tea goes cold, and something that’s actually useful when it’s done. That’s exactly why I love painting bookmarks.
I’ve drawn eight botanical bookmarks for you: lavender, eucalyptus, an olive branch, wildflowers, leaves and a fern. Pop your email in just below and I’ll send you both printable sheets, with a page on how to paint them. Print them on watercolour paper and you only have to think about the colour.
Get the free botanical bookmark outlines
For personal, educational and creative use. You may sell the things you make by hand with them, but please don’t share or resell the files themselves. Full licence.
Once they land in your inbox, print them at 100% on A4 watercolour paper, then scroll down for the step by step.
Table of Contents
What We’re Painting
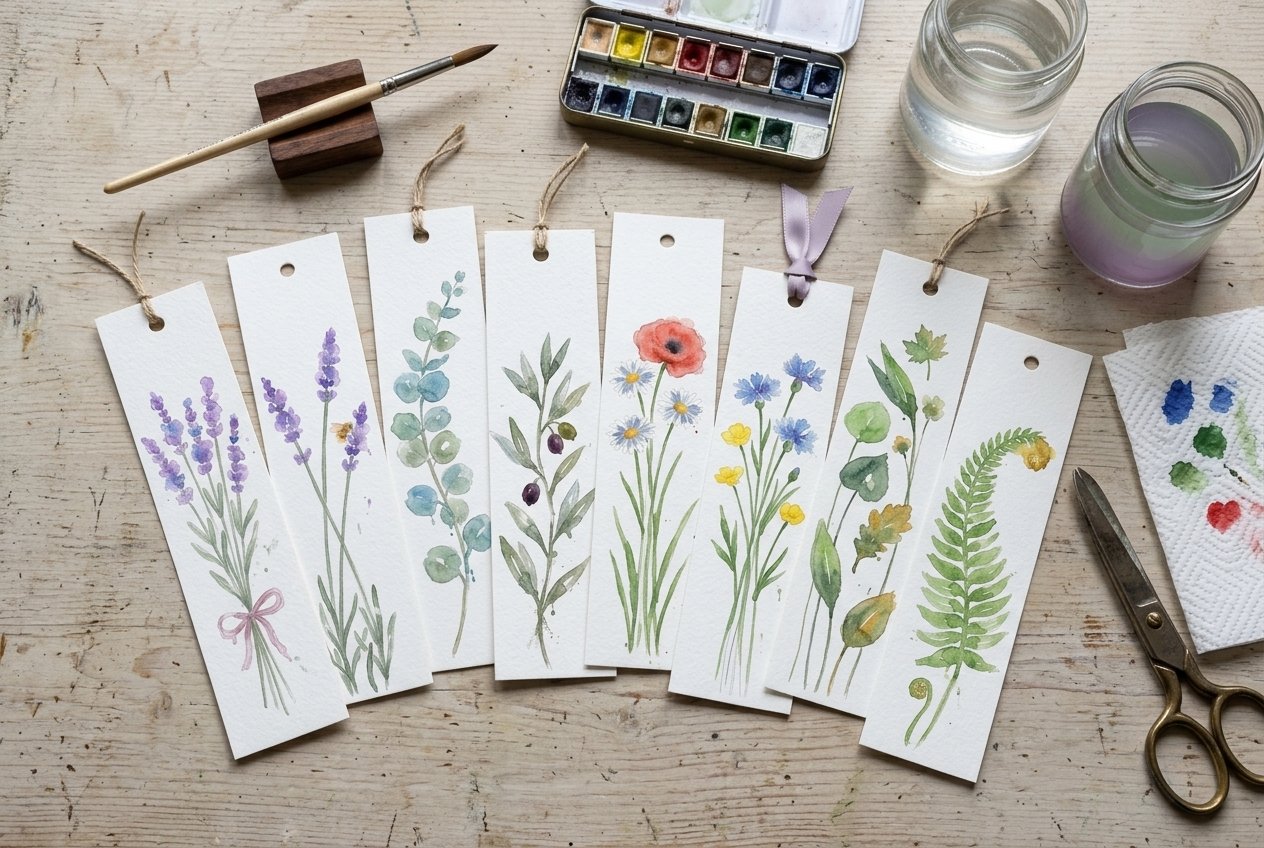
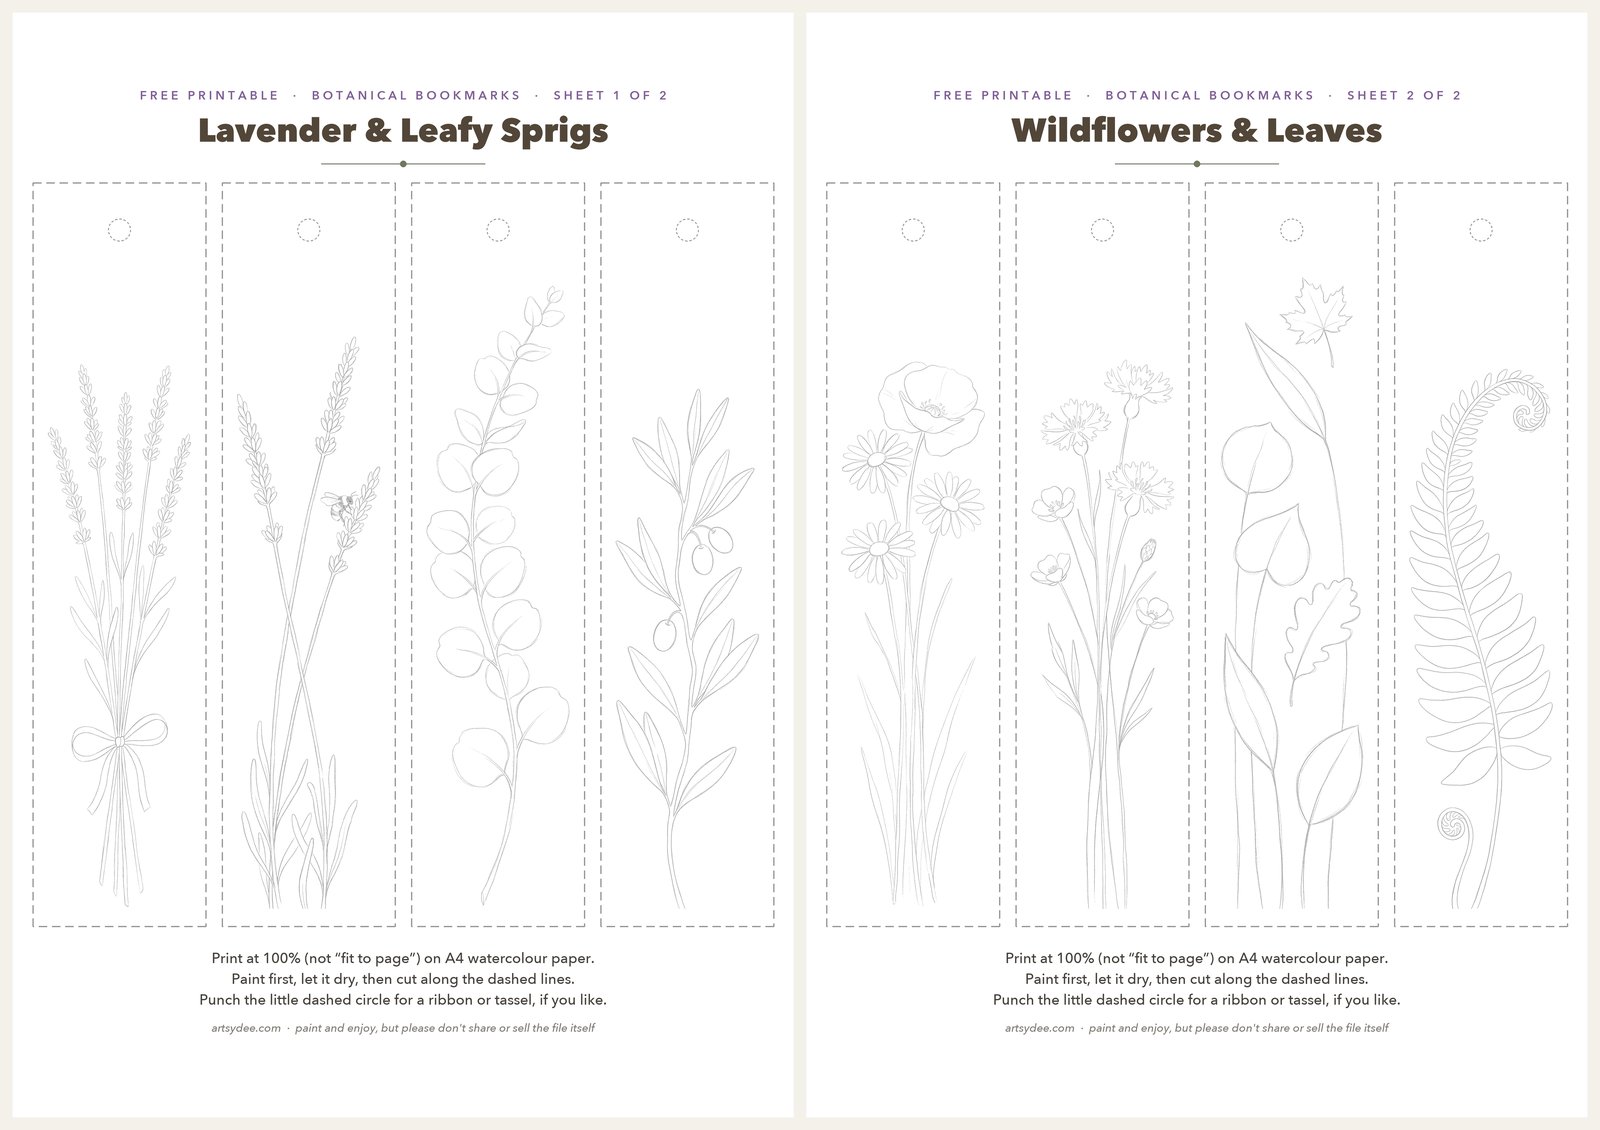
Quick answer: eight tall, slender botanical bookmarks, each about 4.6 × 20 cm (1.8 × 7.9 in), painted loosely in watercolour over a soft printed pencil outline. Four to a sheet, with dashed cut lines and a little circle to punch for a ribbon.
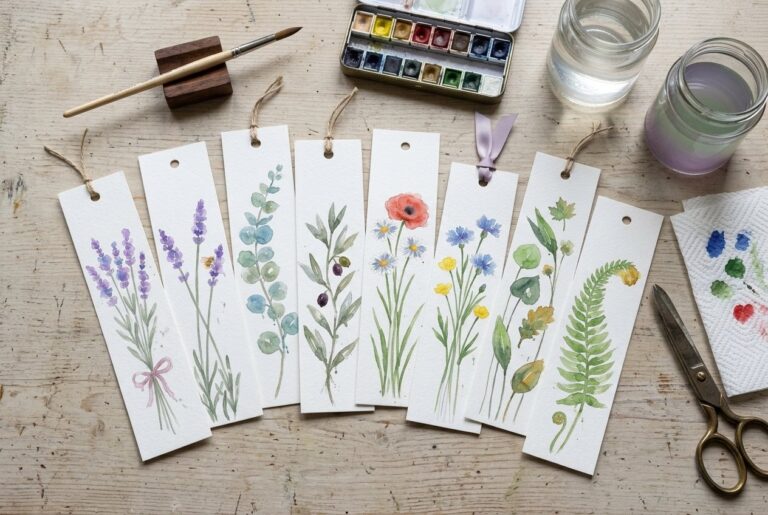
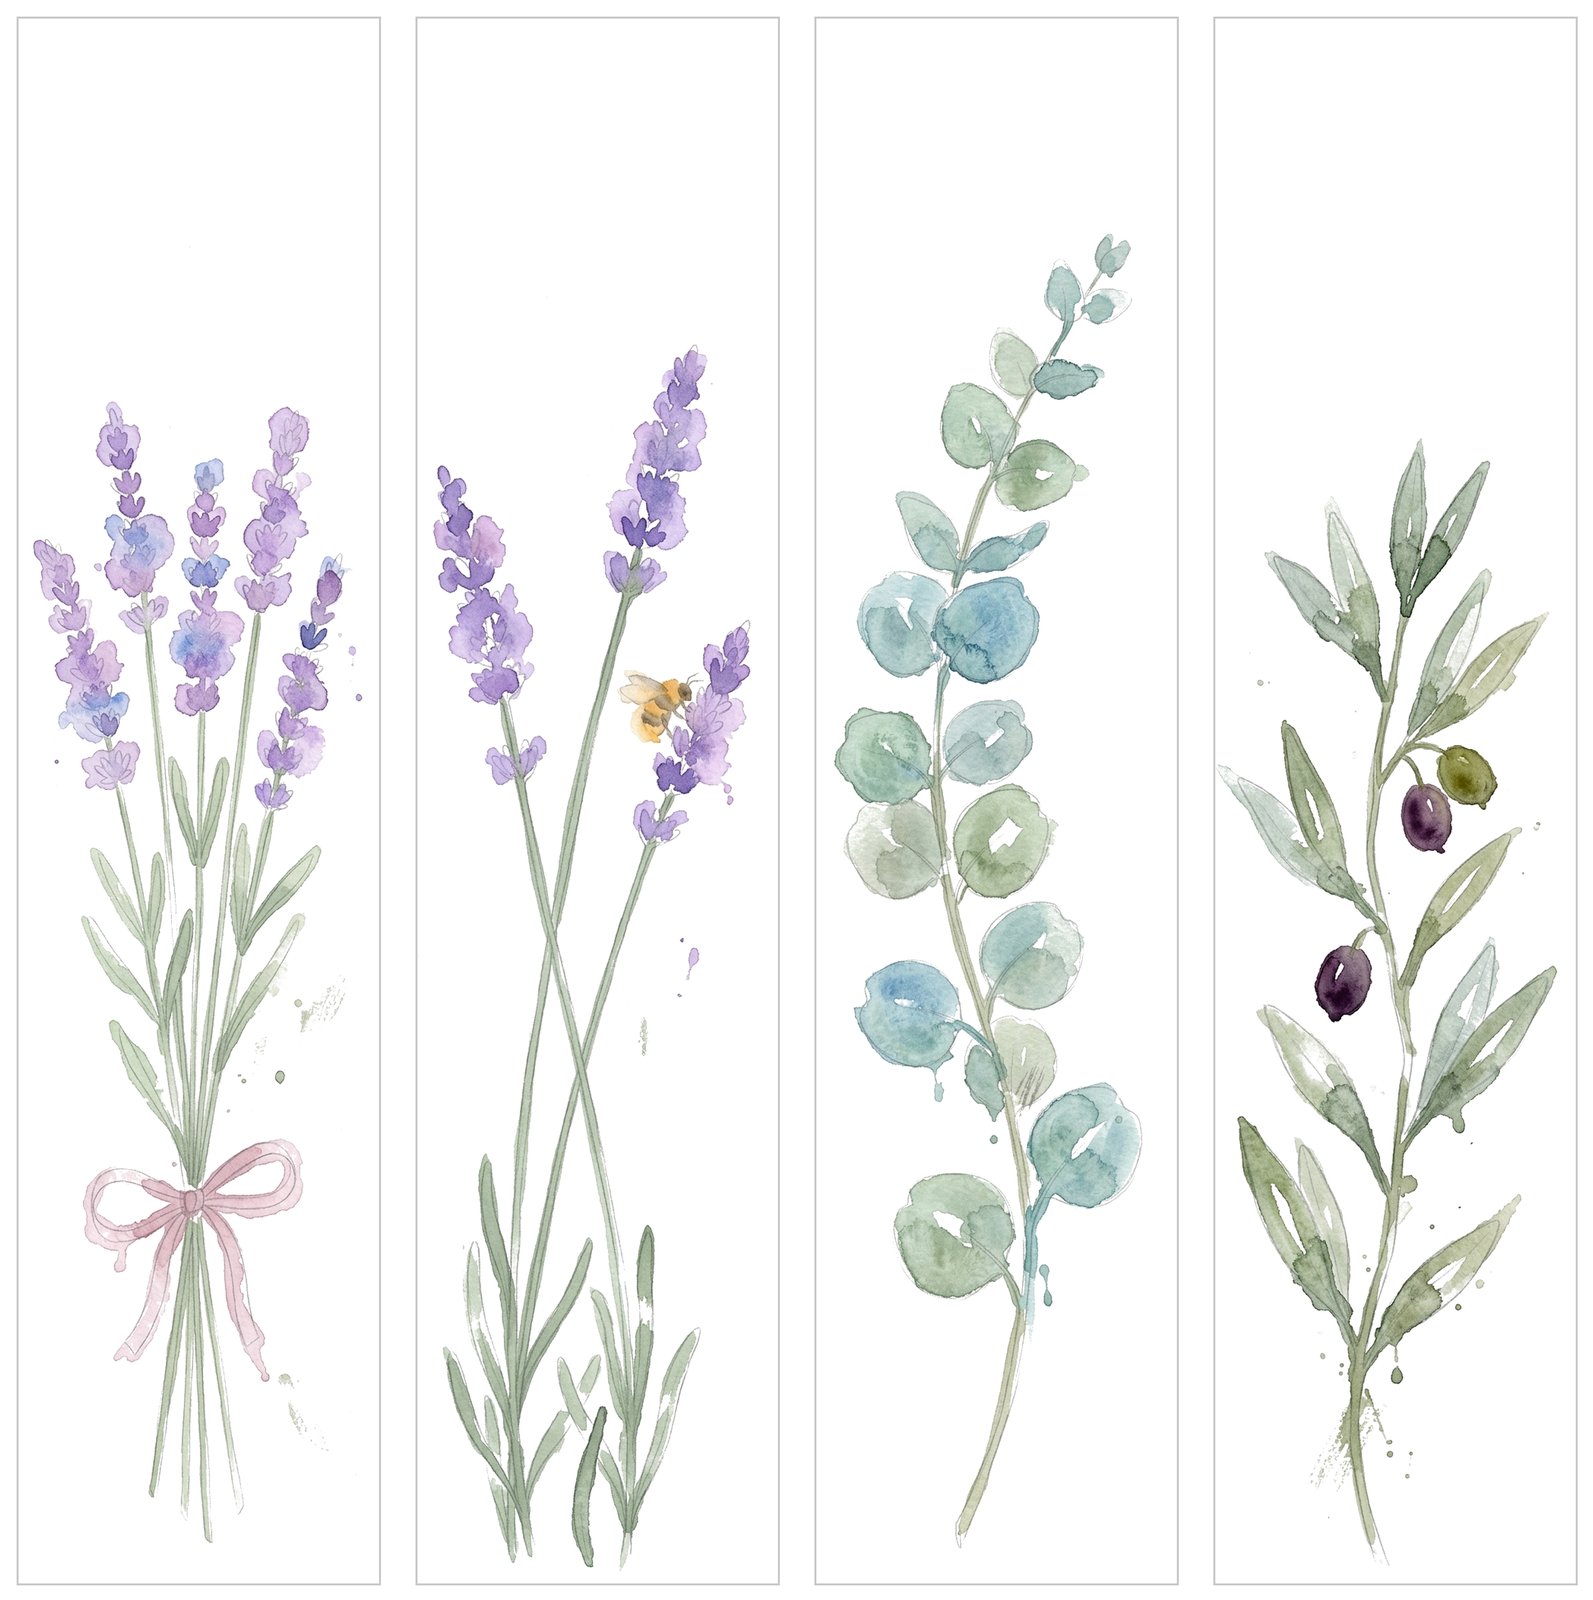
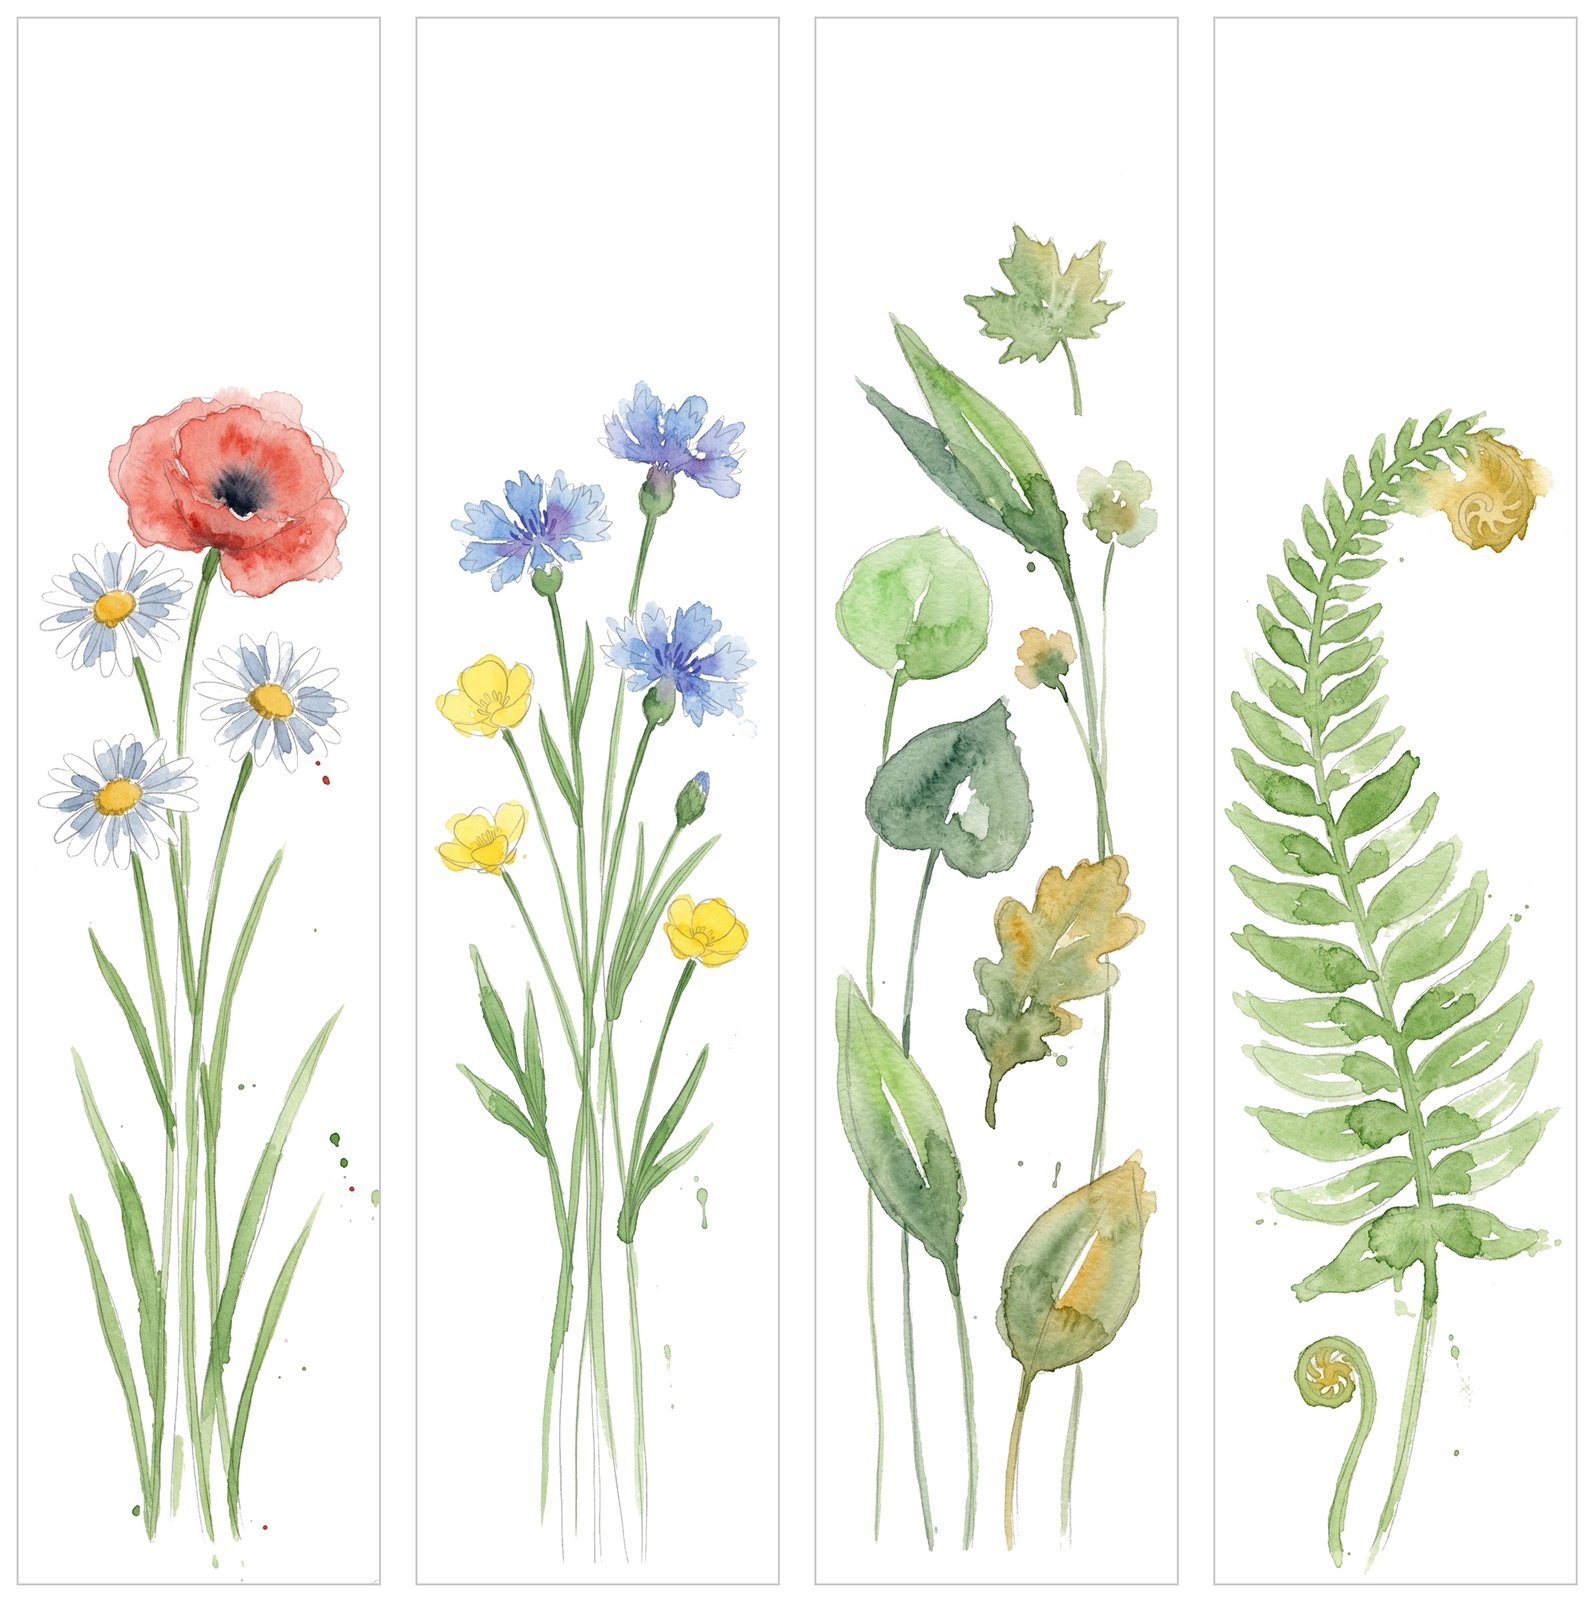
Sheet one is lavender and leafy sprigs: a tied bunch of lavender, two stems of lavender with a bumblebee, a trailing sprig of eucalyptus and an olive branch. Sheet two is wildflowers and leaves: poppies and daisies, cornflowers and buttercups, a few leaves on long stems and a curling fern.
They’re deliberately wobbly. Nobody wants a bookmark that looks like it came off a printing press. The charm is in the colour running a little past the line and the bits of white paper left showing.
What You Need
Nothing fancy, and most of it is probably on your table already.
- The printed bookmark sheets on A4 watercolour paper, or thick cartridge paper if your printer won’t take watercolour paper.
- A round brush with a good point. A size 8 or thereabouts is perfect, big enough to make a leaf in one stroke.
- Two jars of water, one for rinsing and one kept clean.
- Kitchen roll for blotting the brush and lifting any puddles.
- Your watercolours. Any set will do, pans or tubes.
- Scissors, or a craft knife and a metal ruler, plus a hole punch and some ribbon or twine if you like.
If you’re just starting out, my watercolour for beginners guide covers paper, brushes and paint without the overwhelm.
How to Paint Watercolour Bookmarks, Step by Step
Quick answer: tape the sheet down, drop the flower colour in first while it’s wet, paint each leaf in one or two strokes, touch a second colour into the damp leaves, then let it dry completely before you cut.
Step 1: print and tape it down
Print the sheet at 100% (turn off “fit to page”). If you have masking tape, run a strip round the edges of the paper and stick it to a board or the table. It stops the sheet curling as it gets wet, and peeling the tape off at the end is very satisfying.
Step 2: flowers first, nice and wet
Load your brush with lots of water and a little paint and drop the flower colour in first: purple for the lavender, red for the poppy, blue for the cornflowers. Let it bleed past the pencil line. Don’t chase it back in. That little wobble is what makes it look hand-painted.
Step 3: one or two strokes per leaf
For each leaf, press the belly of the brush down at the stem end and lift as you pull towards the tip. That’s a leaf. Resist the urge to fill every shape in neatly, and leave little slivers of white paper showing. They read as light catching the leaf.
Step 4: drop a second colour in
While a leaf is still damp, touch in a second colour: a little blue-green into the sage, a deeper green at the base of a fern leaflet, a bit of golden ochre at a leaf tip. Let the colours mingle on the paper rather than mixing them on the palette.
Step 5: stop early, then let it dry
This is the hard bit. Put the brush down a few minutes before you think you’re finished. Then leave the sheet to dry completely, at least twenty minutes, or use a hairdryer on a low setting held well back.
The Colours I’d Reach For
Quick answer: a soft lavender purple, a cornflower blue, a blue-green, two or three greens, a soft poppy red, a buttercup yellow and a golden ochre. That’s it.
- Lavender: a soft purple with a little blue dropped in while it’s wet, on sage-green stems.
- Eucalyptus: a blue-green and a grey-green, some leaves bluer than others.
- Olive branch: silvery sage leaves and a couple of deep plum olives.
- Poppies and daisies: a soft red for the poppy with a dark dab in the middle. Leave the daisy petals as white paper and add a whisper of blue-grey shadow around a yellow centre.
- Leaves and fern: fresh greens with a deeper green dropped in, and a touch of golden ochre on a tip or two.
Whatever is in your own box will do. If your purple is a bit pink or your green is a bit bright, add a tiny touch of its opposite colour to calm it down.
Three Common Wobbles (and Easy Fixes)
- The colour ran much further than you meant. Blot it straight away with a corner of kitchen roll, or leave it be. A bloom or a soft edge is what makes watercolour look like watercolour.
- The paper went wavy. That’s just the water. Once it’s bone dry, pop it under a couple of heavy books overnight and it’ll flatten.
- Everything looks a bit flat. Go back in once it’s dry with a slightly stronger mix of the same colour on one side of each leaf or flower. Just one side, then stop.
If you’d like to practise that loose, flowing look a bit more, my easy watercolour flowers tutorial is a lovely next step.
Cutting, Punching and Finishing
Quick answer: cut along the dashed lines once the paint is completely dry, punch the little circle at the top, and thread through a ribbon, some twine or a tassel.
A craft knife and a metal ruler give the cleanest edges, but good scissors are fine. If you’d like your bookmarks to last a long time in a handbag, a laminating pouch or a layer of clear book-covering film over the top works well.
They make lovely little gifts. Tuck one into a second-hand book for a friend, or pop one in with a birthday card. For more ideas, have a look at my watercolour bookmark ideas.
Twenty More Wildflowers to Paint
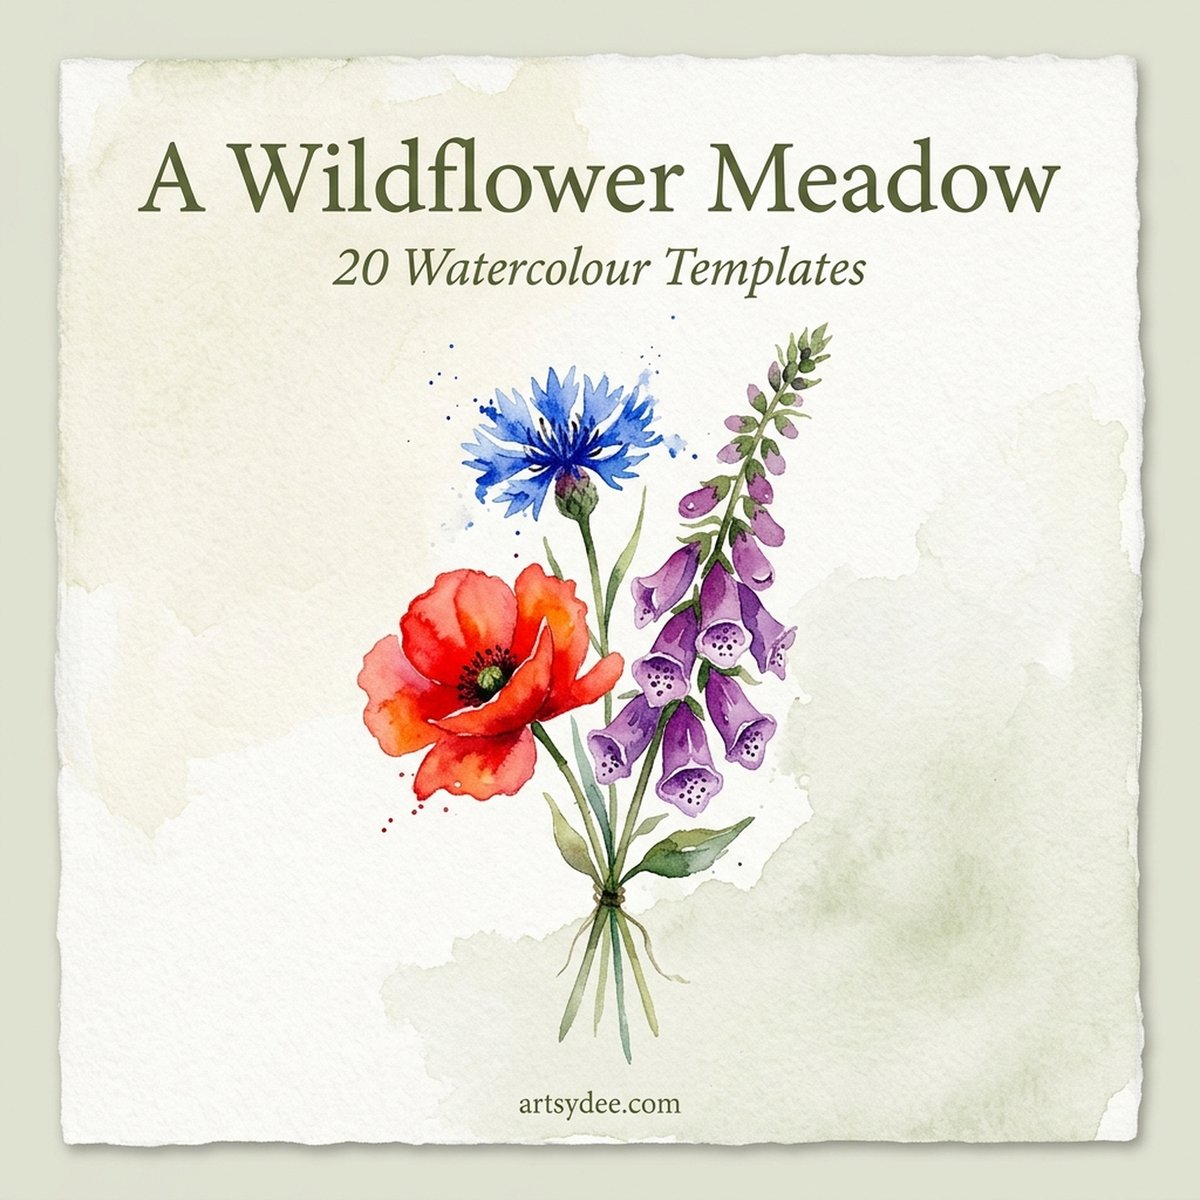
Enjoyed the wildflower bookmarks? A Wildflower Meadow is the bigger version.
It’s twenty British wildflowers drawn as soft pencil outlines, ready to print and paint: the poppy, cornflower, ox-eye daisy and buttercup from your bookmarks, plus foxglove, harebell, cow parsley, scabious, red campion, meadowsweet and more.
You get an A4 PDF and all twenty as separate PNGs, so you can print one at a time. It’s £9 (about $12), an instant download.
Frequently Asked Questions
Are the bookmark outlines really free?
Yes. Pop your email in the box at the top of the post and the PDF comes straight to your inbox. You can also download it right away from the thank-you message.
What size are the bookmarks?
Each one is about 4.6 × 20 cm (1.8 × 7.9 in), four to an A4 sheet. The sheets are A4. If your paper is a different size, choose “Fit to page” in the print box so nothing gets cut off.
Can I use cartridge paper instead of watercolour paper?
You can. Use the thickest paper your printer will take and a little less water, as thinner paper buckles more. It’ll still look lovely.
Are the painted references your own paintings?
They’re painted references to show one way the colours could go. Use them as a guide, or ignore them and choose your own colours.
Can I give away the bookmarks I paint?
Of course. Paint as many as you like and give them away. Please don’t share or sell the printable file itself.
Print a sheet, put the kettle on and give it a go. Big brush, lots of water, and stop sooner than you think.
Happy painting!
Dee x