Last Updated on October 7, 2026 by Dee
A robin is one of those subjects everyone wants to paint and almost nobody wants to draw. That round little body, the tail cocked up, the legs gripping a branch: get the shape slightly wrong and it stops looking like a robin at all.
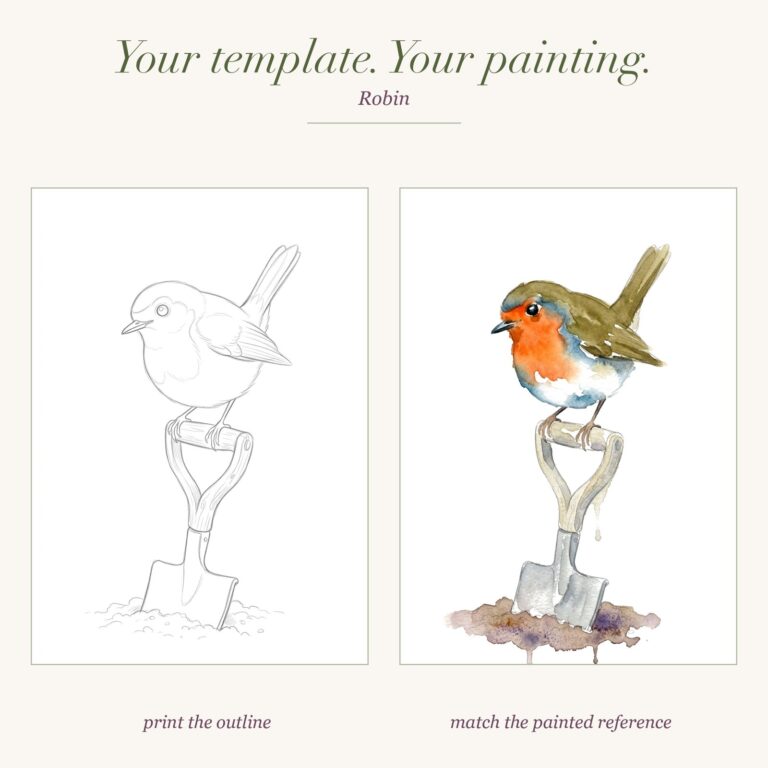
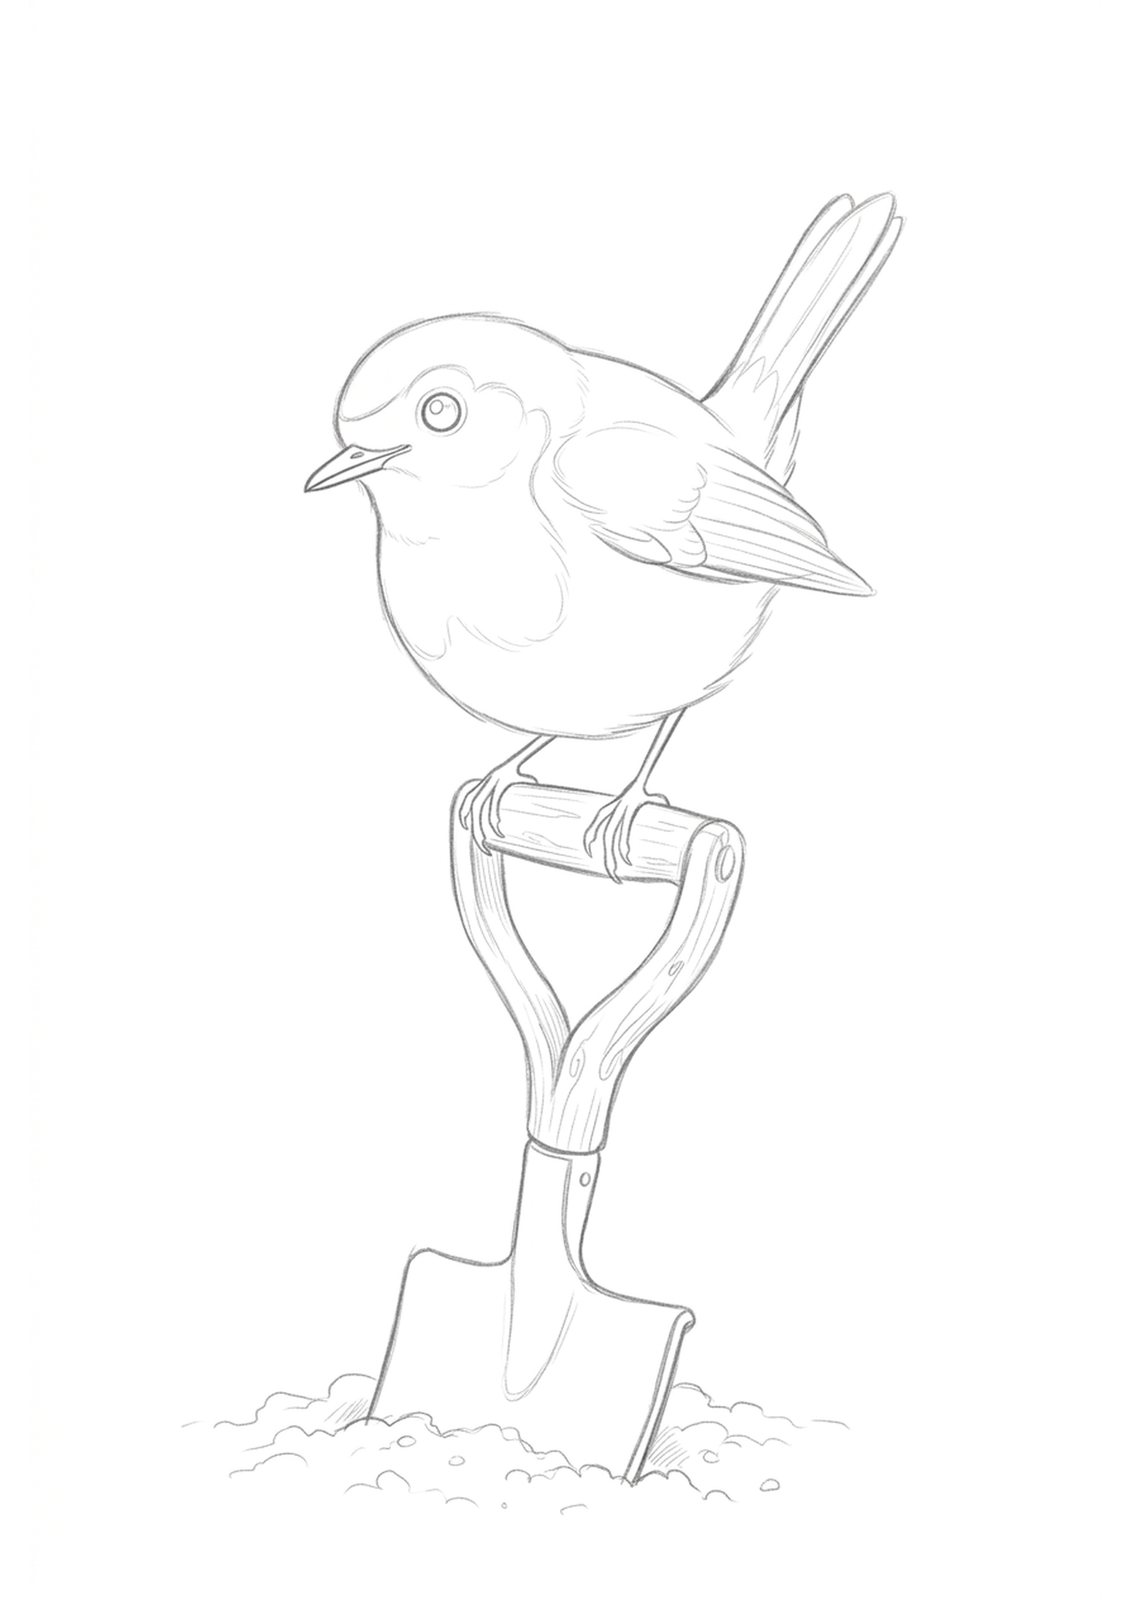
So I’ve done the drawing for you. Pop your email in just below and I’ll send you a free robin template: a robin perched on the handle of a garden spade, with a painted reference and a page on how to paint it. Print it on watercolour paper and you only have to think about the colour.
Get the free robin watercolor template
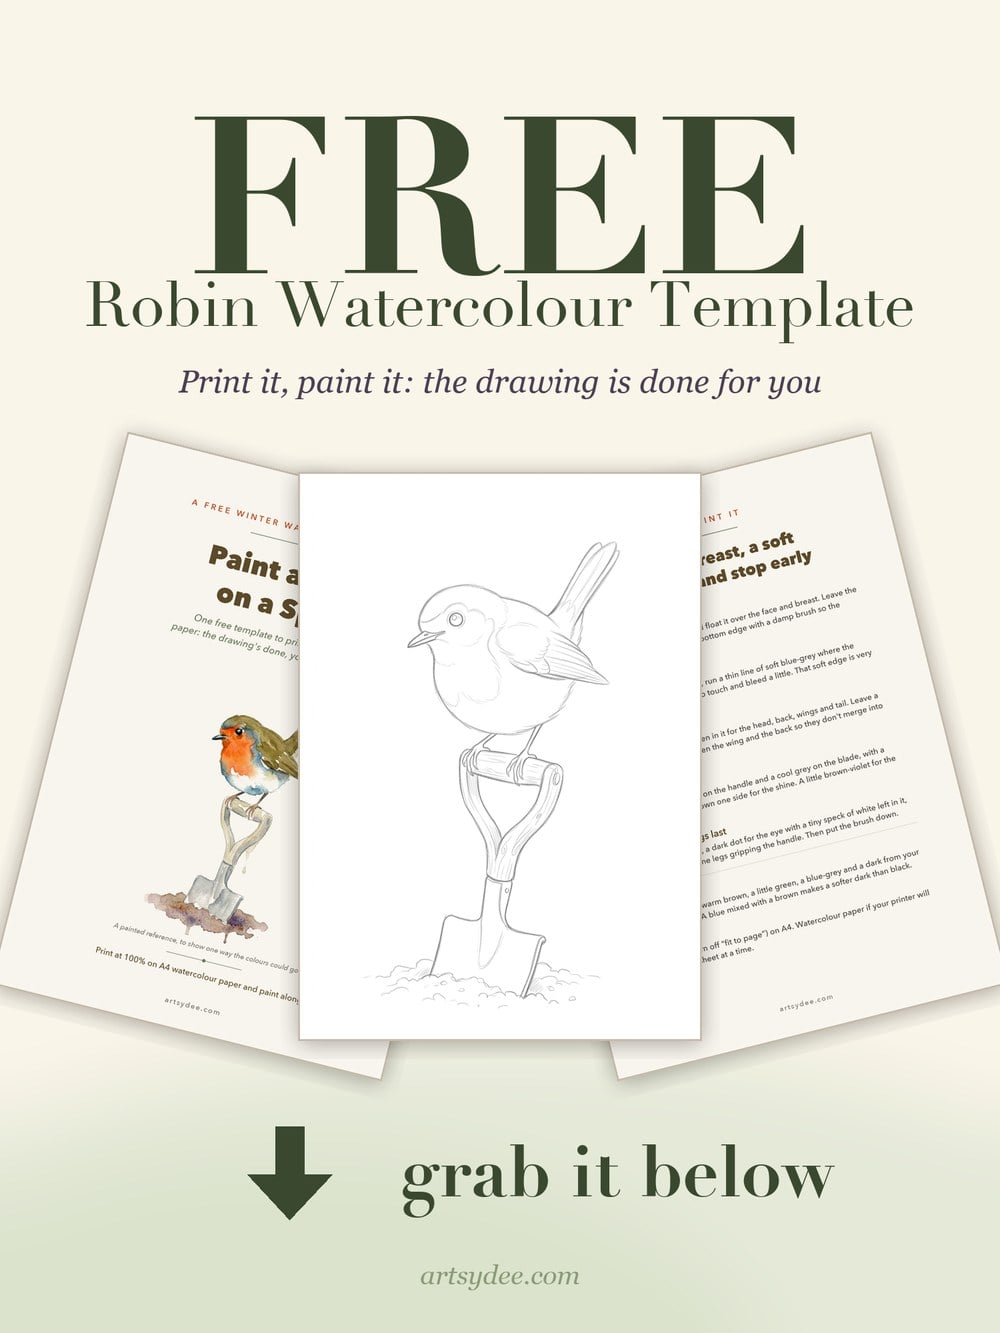
Once it lands in your inbox, print it at 100% on A4 watercolour paper, then scroll down for the step by step.
Table of Contents
What We’re Painting
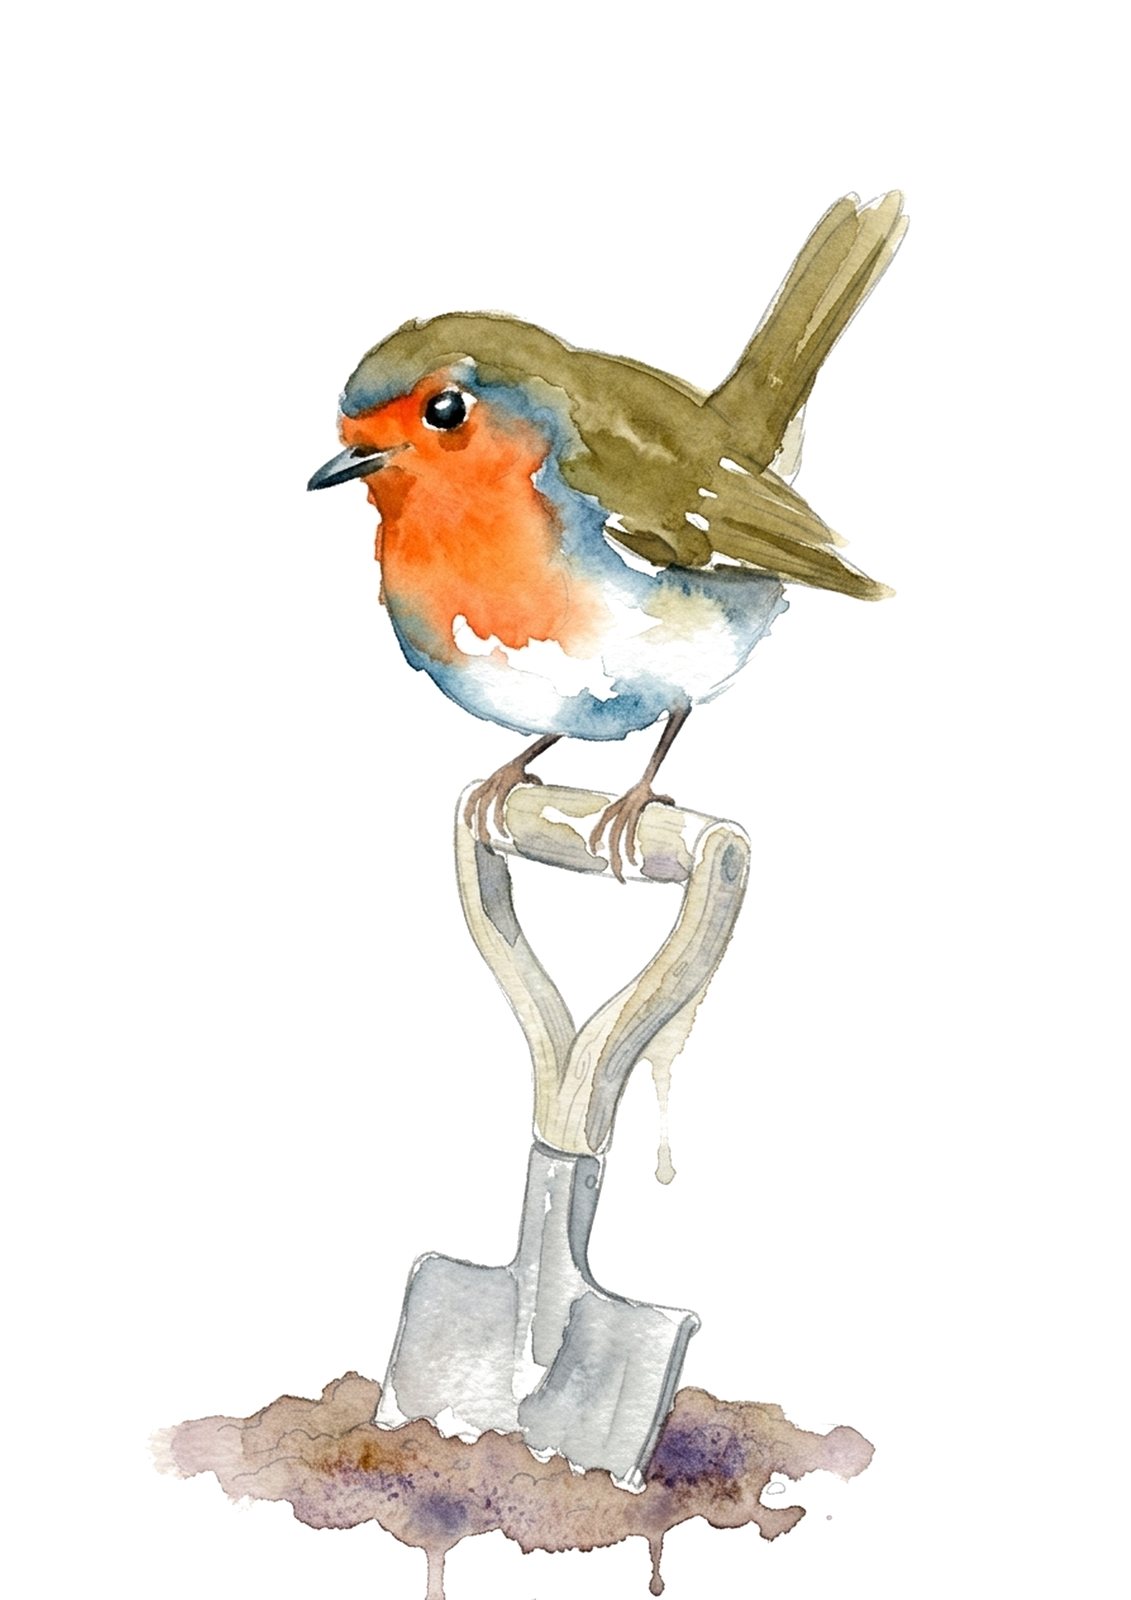
Quick answer: a European robin perched on the handle of a garden spade, painted loosely in watercolour over a printed pencil outline. Orange breast, soft blue-grey edge, warm brown back, and a little bit of soil at the bottom.
It’s a lovely winter subject. The robin is the bird you see in the garden when everything else has gone quiet, and the spade gives it a cosy, potting-shed feel that works for a winter card as well as a sketchbook page.
What You Need
Nothing fancy. I’ll tell you what kind of colour you need, so you can find something similar in your own box.
- An orange and a red for the breast (you’ll mix them).
- A warm brown and a little green for the head, back and wings.
- A blue-grey, or a blue with a touch of brown, for the soft edge and the spade blade.
- A dark for the eye, beak and legs. A blue mixed with a brown is softer than black.
- A size 6 to 8 round brush with a good point, plus a small one for the eye if you have it.
- The template, printed onto watercolour paper, a jar of clean water and a bit of kitchen roll.
Any student watercolour set will do. If you’re just starting out, my watercolor for beginners guide covers paper, brushes and paint without the overwhelm.
How to Paint a Watercolor Robin, Step by Step
Quick answer: paint the orange breast first while it’s wet, add a thin blue-grey edge and let it bleed, paint the warm brown back with a hairline of white beside the wing, then the spade, and finish with the eye, beak and legs once everything is dry.
Step 1: the breast first, nice and wet
Mix an orange with a touch of red and float it over the face and breast. Leave the belly as white paper. While it’s still wet, soften the bottom edge with a clean damp brush so the orange fades gently into the white.
Step 2: a whisper of blue-grey
While the orange is still just damp, run a thin line of soft blue-grey where the breast meets the back. Let the two colours touch and bleed a little. That soft, slightly smudgy edge is very robin, so don’t tidy it up.
Step 3: a warm brown back
Mix a warm brown with a little green in it and paint the top of the head, the back, the wings and the tail. Leave a hairline of white paper between the wing and the back so they read as two shapes instead of one brown blob.
Step 4: the spade
A pale, warm wood colour on the handle and a cool grey on the blade, with a strip of white paper left down one side for the shine. Then a little brown-violet for the soil, very loose, and let it bleed wherever it wants.
Step 5: eye, beak and legs last, then stop
When everything is completely dry, paint a dark dot for the eye and leave a tiny speck of white paper in it. Add a thin dark beak and fine legs gripping the handle. Then put the brush down. A robin looks best with a few soft edges left alone.
Getting the Robin’s Colours Right
Quick answer: a robin’s breast is orange rather than red, it’s edged with a soft blue-grey, the back is an olive brown, and the belly is mostly white paper.
- Orange, not red. Despite the name “robin redbreast”, the breast is a warm orange. Pure red reads as a cardinal.
- The blue-grey border. That thin grey line between the orange and the brown is the detail that makes it look like a real robin.
- Olive brown, not chocolate. A little green in the brown keeps the back looking natural.
- White belly. Leave it as paper, with just a whisper of warm grey underneath if you want some shadow.
- Dark eye with a catchlight. One tiny speck of white paper in the eye brings the whole bird to life.
Three Common Robin Problems (and Easy Fixes)
- The breast looks flat or muddy. You probably went back into it while it was drying. Paint it in one go, wet, and leave it alone.
- The robin looks like a cartoon. Usually it’s a hard outline of dark paint around the body. Let the colours meet softly instead and let the pencil line do the outlining.
- The brown and orange turned to mud. The two washes touched while both were very wet. Next time, let the orange go just damp before you add the blue-grey and brown.
If you’d like to practise that soft, loose look on other subjects, my loose watercolor techniques guide is a lovely next step.
What to Do With Your Painted Robins
- Christmas cards. Paint the robin on folded watercolour card. My watercolor Christmas cards post has fifteen easy designs to go with it.
- Gift tags. Paint two or three robins on one sheet, cut them out and punch a hole for ribbon.
- A winter journal page. If you keep a junk journal, a painted robin looks lovely on a robin Christmas junk journal spread.
- A little series. Paint the same robin three times in slightly different colours and see which you like best.
For more quick festive subjects, have a look at my easy Christmas watercolor paintings.
Twenty Winter Garden Birds
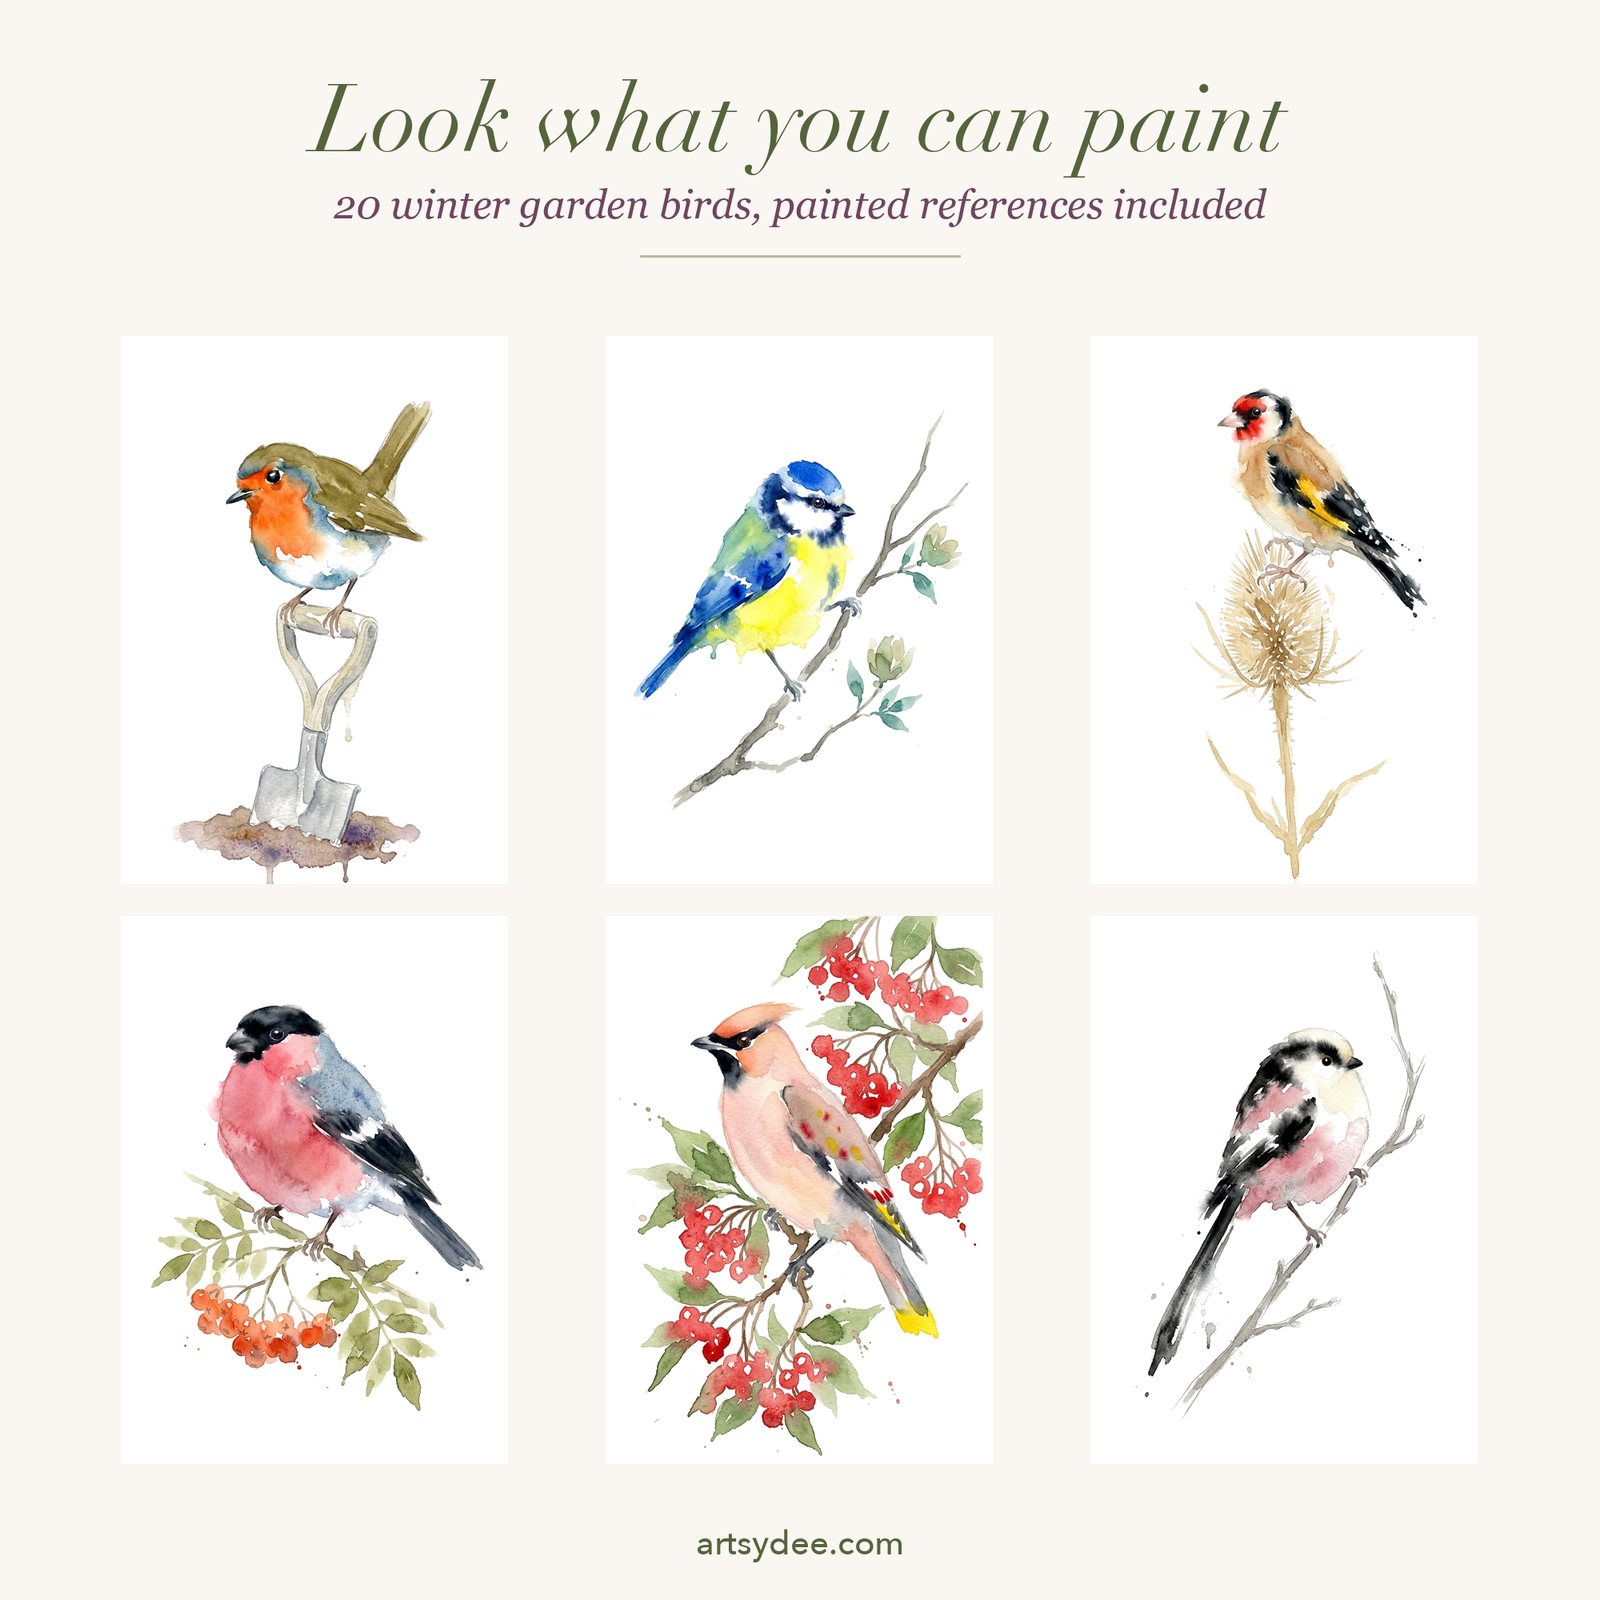
Winter Garden Birds Identified is coming on Monday 16 November.
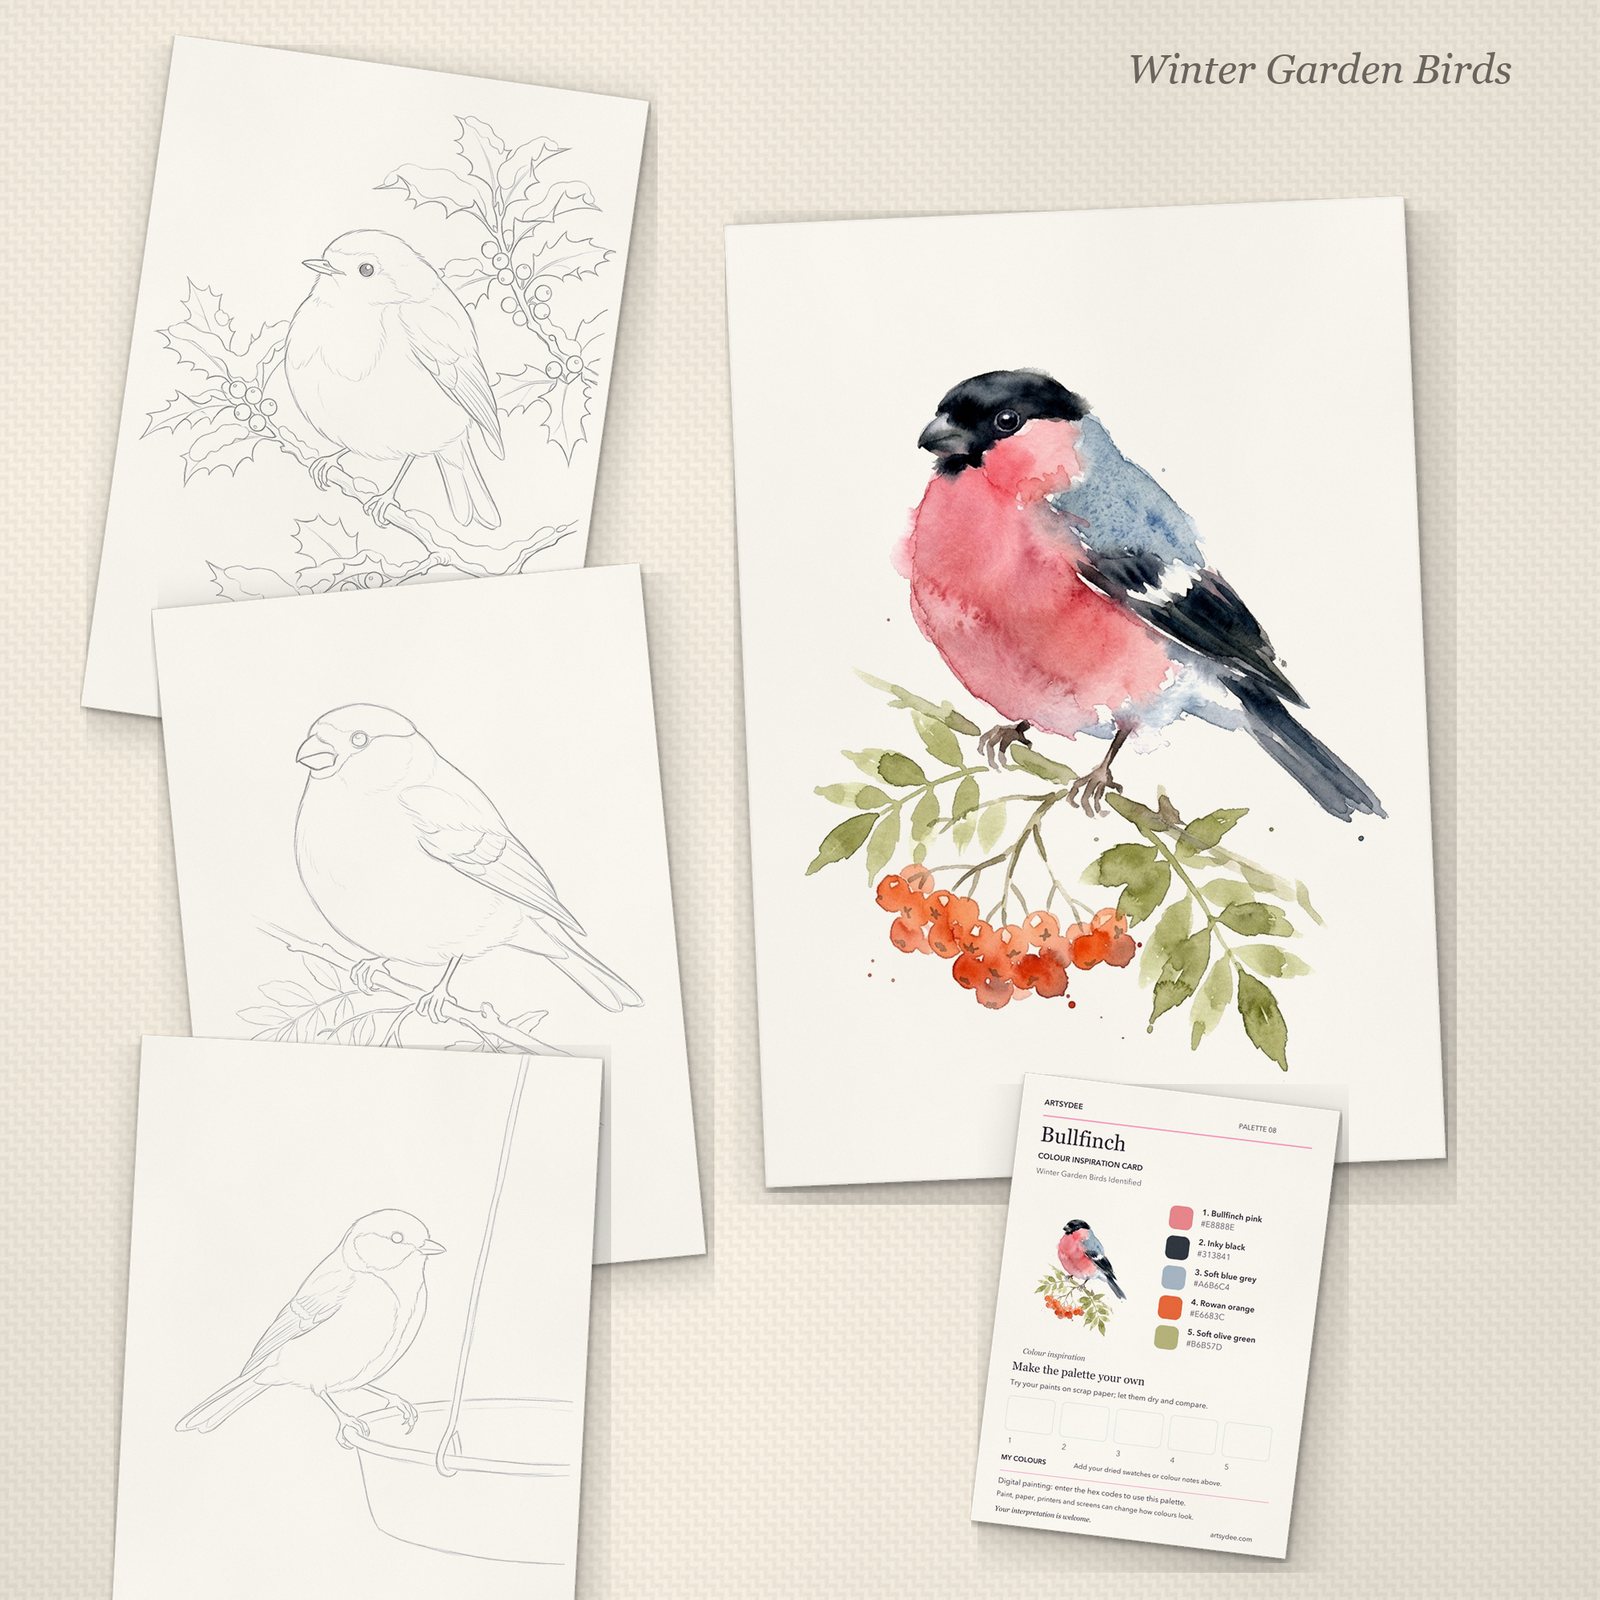
It’s twenty British garden birds drawn as soft pencil outlines: the robin you’ve just painted, a robin in the snow on holly, a blue tit, a wren, a blackbird, a goldfinch, a long-tailed tit, a bullfinch, a waxwing, a nuthatch and more. Each one comes with a painted reference and a colour inspiration card, plus a bird identifier page so you know who’s who.
Grab the free robin template above and you’ll hear about it in my newsletter the week it’s ready.
Frequently Asked Questions
Is the robin template really free?
Yes. Pop your email in the box at the top of the post and the PDF comes straight to your inbox. You can also download it right away from the thank-you message.
What paper should I print it on?
Watercolour paper if your printer will take it, fed through one sheet at a time. Print at 100% on A4 (turn off “fit to page”). On US Letter, check the edges aren’t cut off before you print on the good paper.
I’m a complete beginner. Is a robin too hard?
Not with the outline done for you. It’s really just three washes (orange, brown and a little grey) and a few dark details at the end. If a colour bleeds where you didn’t plan it, it just looks more like watercolour.
Is the painted reference your own painting?
It’s a painted reference to show one way the colours could go. Use it as a guide, or ignore it and choose your own colours.
Can I sell cards I paint from the template?
Yes, you can sell what you paint by hand. Please don’t share or sell the template file itself.
Print the robin, put the kettle on and give it a go. Orange first, brown second, details last, and stop sooner than you think.
Happy painting!
Dee x