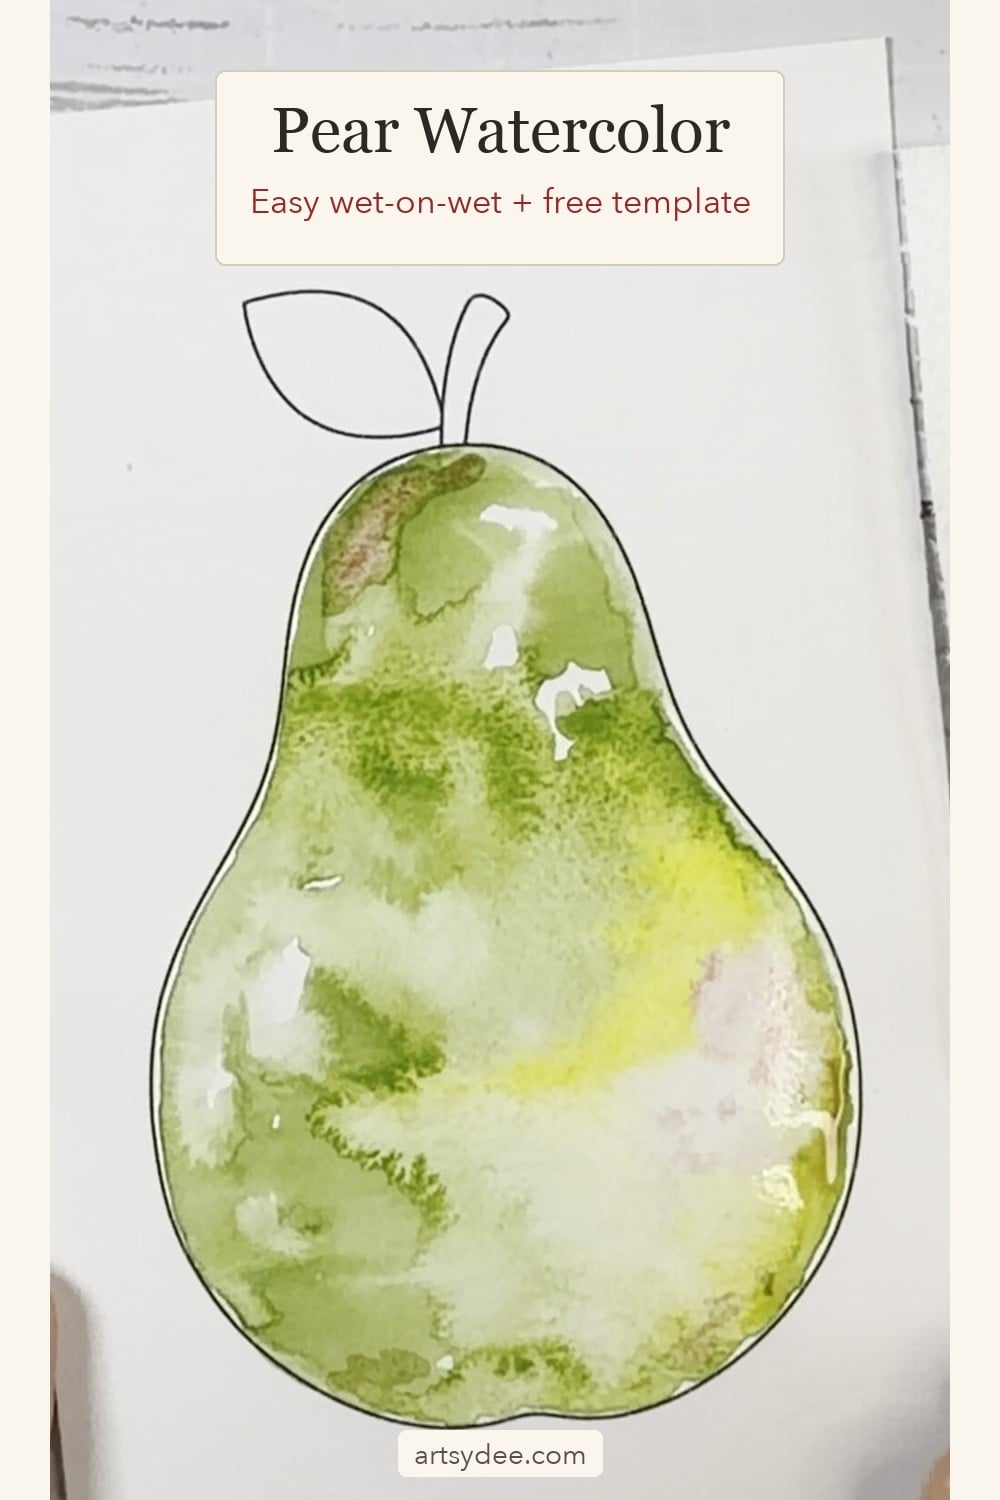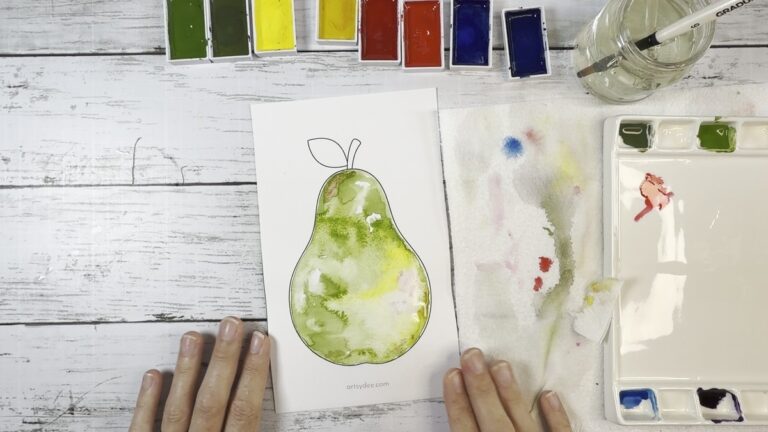
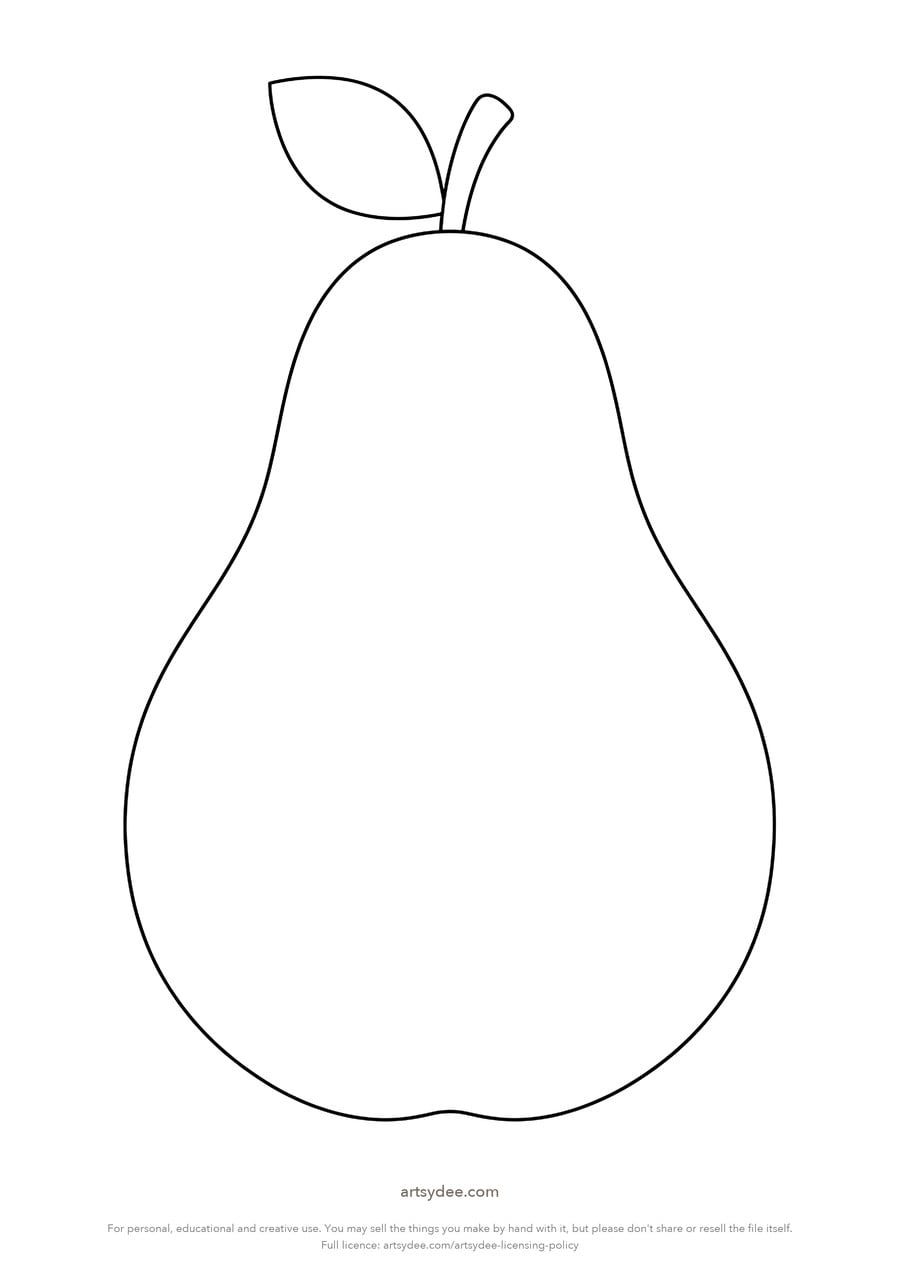
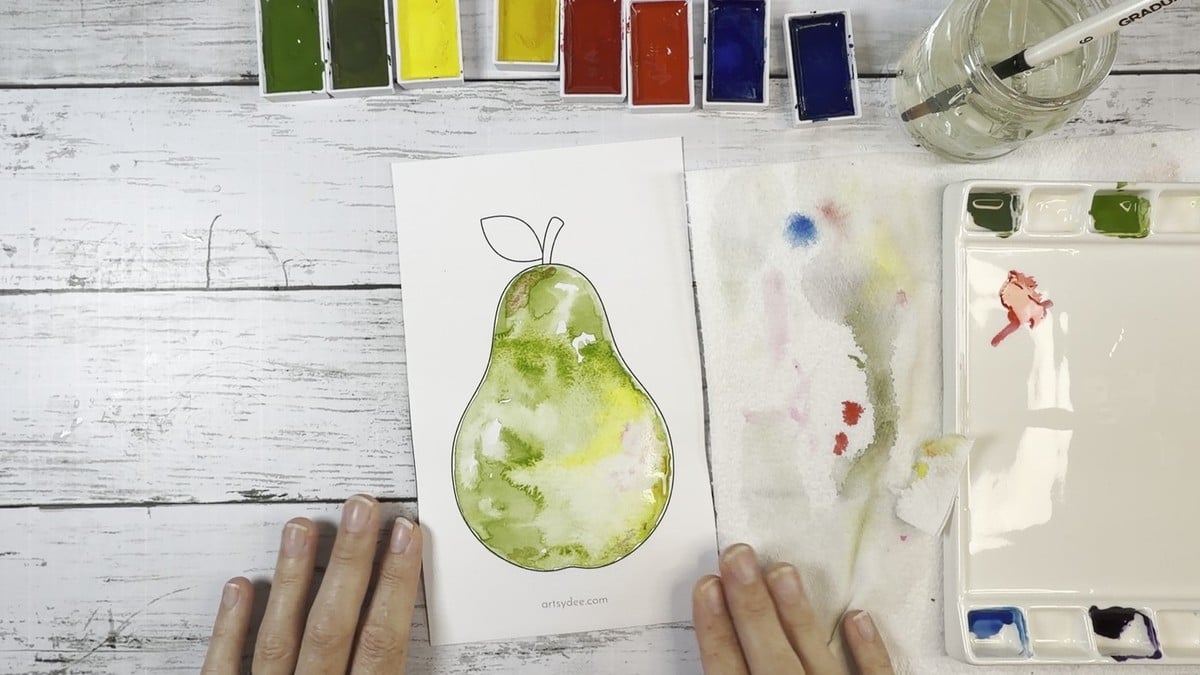
This is the pear I painted in my wet-on-wet video, and the outline is free to print. All it takes is clean water, a little green and a little yellow.
Get the free pear template
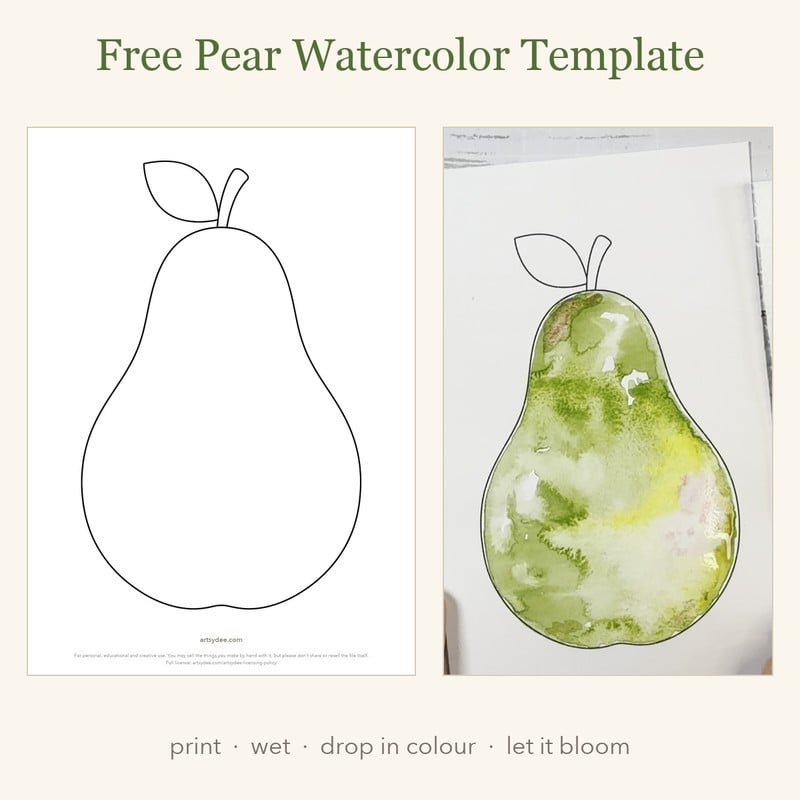
For personal, educational and creative use. You may sell the things you make by hand with it, but please don’t share or resell the file itself.
Wet-on-wet is one of my favourite ways to use watercolour, because it does half the work for you. You wet the paper, touch in some colour and watch it bloom. A simple shape like a pear gives you a lovely bit of structure to practise on, so you can stop worrying about the drawing and enjoy the paint.
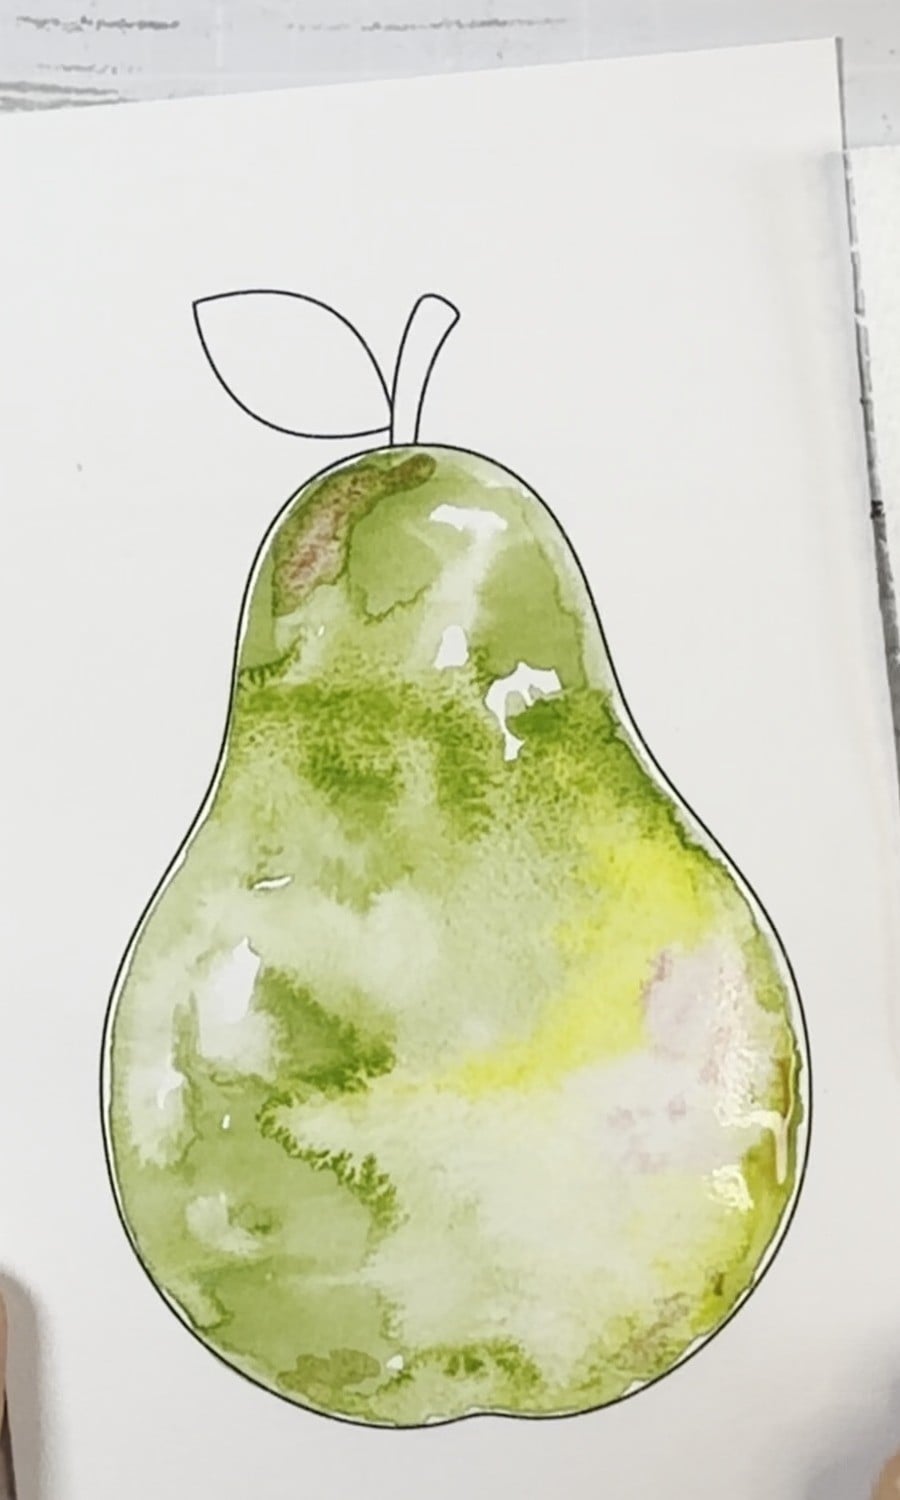
Table of Contents
What Is Wet-on-Wet Watercolor?
Quick answer: wet-on-wet means dropping wet paint into a wet surface. The colour spreads by itself and makes the soft blooms and bleeds that give watercolour its loose look.
It’s one of the classic watercolour techniques, and it’s the one that makes people say “how did you do that?” The trick is less about skill and more about timing: the paper has to still be wet when the colour goes in.
What’s in the Free Pear Template
Quick answer: a 3-page A4 PDF: the pear outline, a page with the painting steps, and a page of printing tips.
The pear has a leaf and a stem and a nice big body, so there’s plenty of room for your colours to move. It’s the same outline I use in the video. If you like it, it also comes in my Simple Shapes Practice Pack.
What You’ll Need
This post contains affiliate links, which means I may earn a small commission at no extra cost to you.
- The pear template, printed or traced.
- Thick watercolour paper, 300 gsm (140 lb) if you can. An Arches cold press block is lovely, and a Canson pad is a good everyday choice. There’s more in my guide to the best watercolor paper for beginners.
- Watercolour paints, a green and a yellow. A small Cotman set has all you need.
- A round brush, a jar of clean water and a piece of tissue for lifting.
Your printer might not take thick paper. Mine doesn’t. I printed this one on thin mixed-media paper for the video, and it buckled as it got wet. You can print on ordinary paper and trace the outline instead, or see my tips on how to print templates on watercolor paper.
Watch Me Paint the Pear
It’s about six and a half minutes, painted in one go, so you can follow along at your own pace.
How to Paint a Loose Pear, Step by Step
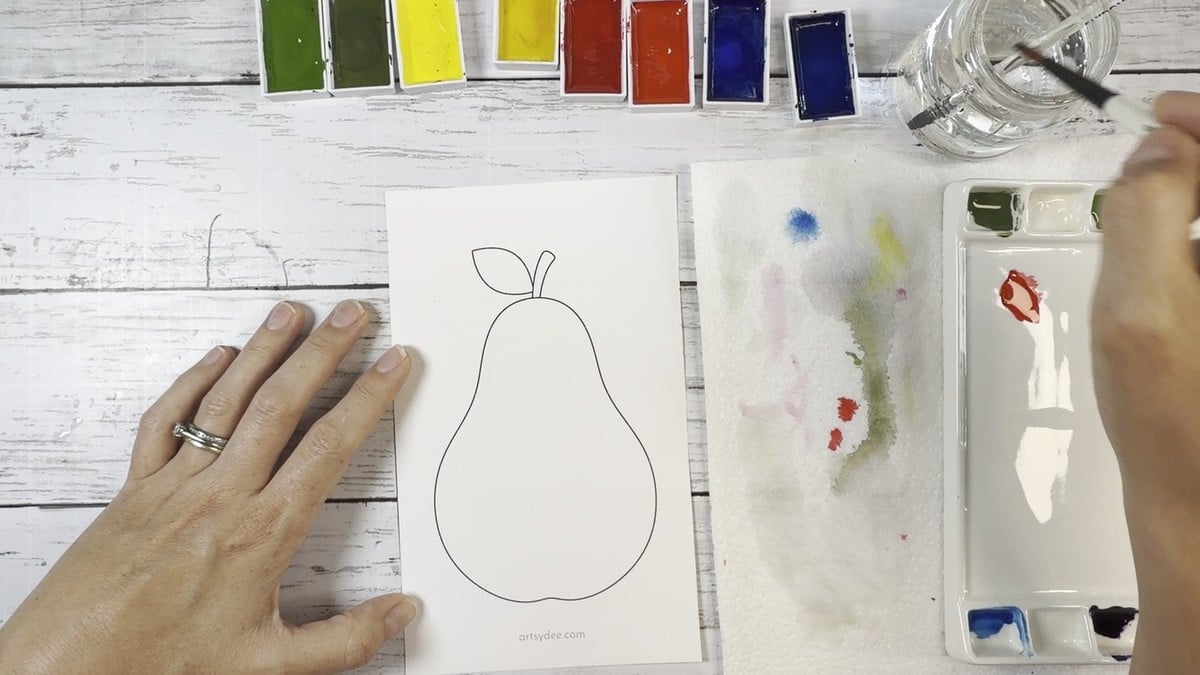
1. Wet the shape with clean water
Start with a clean pot of water and a clean brush, and paint clean water all over the inside of the pear. Work quite quickly so the water doesn’t dry. You want a nice sheen on the paper, with no water dripping off it.
2. Drop in your green
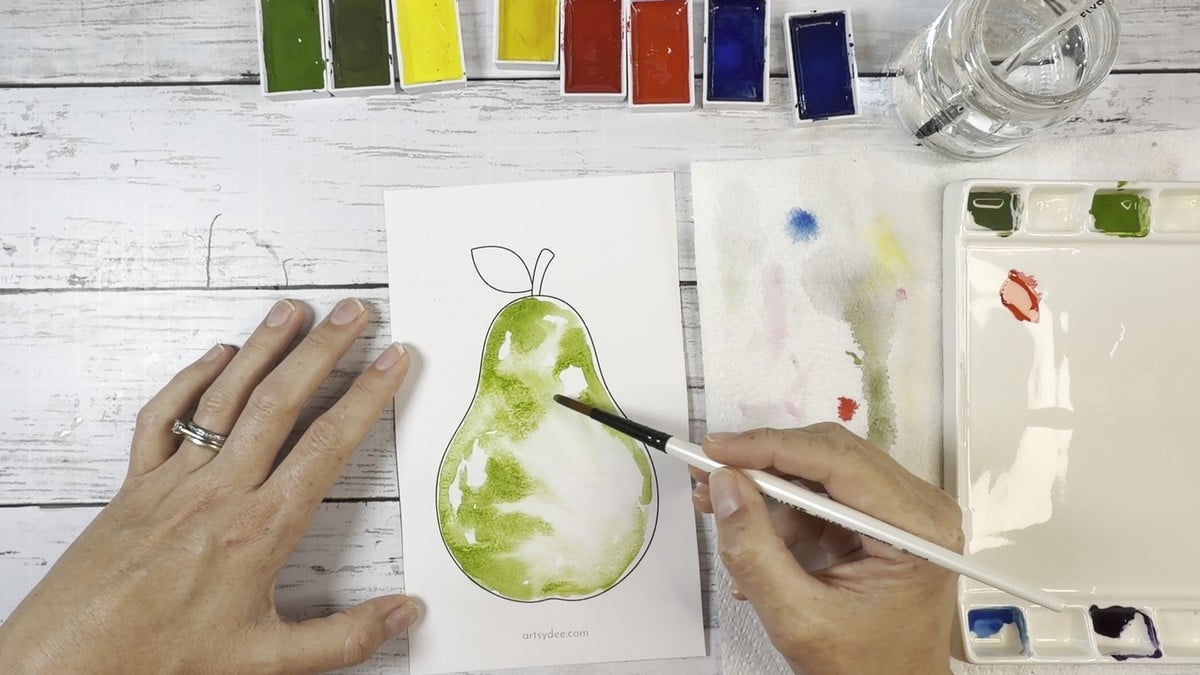
Pick up a little green and touch it on to the wet paper. Then let it go. It will bloom and bleed by itself, and that’s the bit you’re here for.
3. Build the shape and leave some white
To make the pear look round, let darker green settle into the dips of the shape. Leave some areas white and move the paint around a little. While it’s still wet, you can drop more in.
4. Add your yellow
While the paper is still wet, drop some yellow into the green. This is where the magic happens, because the two colours start to play with each other and bleed together.
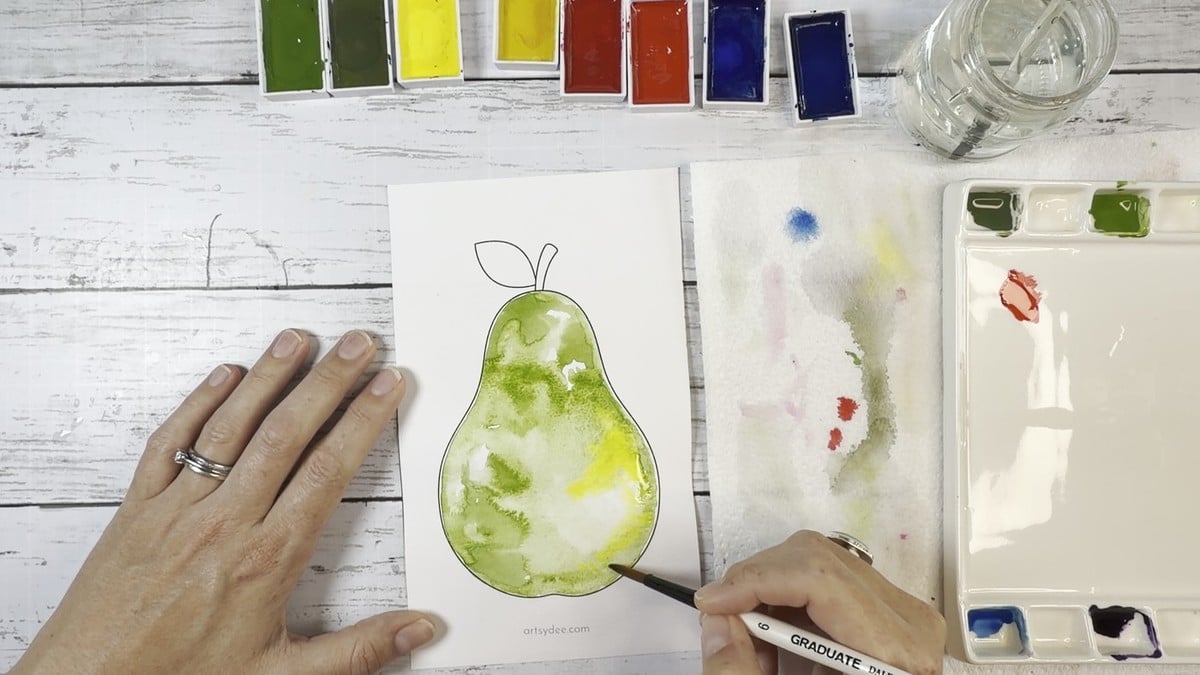
5. Soften and lift
If you see hard edges you don’t want, put a little water on your brush, dab some off and gently scrub the edge away. If you’ve got too much water, lift it with a piece of tissue, but go carefully, because tissue can take off more paint than you meant it to.
If Your Pear Isn’t Doing What You Want
- Hard edges everywhere? The paper dried too soon. Soften them with a damp brush, and work a little faster next time.
- Puddles sitting on the paper? Too much water. Dab it with tissue. It happened to me in the video, twice.
- The paper is warping? It’s too thin for this much water. Try thicker paper, and tape it down.
- The colour isn’t spreading? The paper has dried. Let it dry fully, wet it again and carry on.
Tape helps more than you’d think. My guide to tape for watercolor paper has the kinds that won’t tear your sheet.
Other Ways to Use the Pear Drawing
- Trace it on to watercolour paper as a pear drawing, then paint it however you like.
- Colour straight on to the printout with pencils or markers.
- Try other colours. Warm reds and pinks make a lovely ripe pear.
- Paint it a few times and see how different each one comes out. It’s good practice.
If you want more simple things to paint, have a look at my things to watercolor list and my loose watercolor techniques.
Love Painting Fruit?
If you enjoyed this, my Heritage Apple Orchard set has 20 watercolour templates with Colour Inspiration Cards, for £14.
And my weekly watercolour template sets go out on Patreon, if you’d like something new to paint.
Frequently Asked Questions
Is the pear template really free?
Yes. Pop your email in the box at the top of this post and the PDF comes straight to your inbox. You can also download it right away from the thank-you message.
What paper should I use for wet-on-wet?
Thick paper, ideally 300 gsm (140 lb) watercolour paper, because thin paper buckles when it’s wet. I printed mine on thin mixed-media paper for the video and you can see it warp.
My printer won’t take watercolour paper. What can I do?
Mine won’t either. Print the outline on ordinary paper, then trace it on to your watercolour paper against a window.
What colours do I need?
A green and a yellow are enough. I used mostly those two for the pear in the video, with a little touch of warm pink.
What size is the template?
It’s A4. If your paper is a different size, choose “Fit to page” when you print and the pear comes out a touch smaller.
Can I sell what I paint on it?
For personal, educational and creative use. You may sell the things you make by hand with it, but please don’t share or resell the file itself. The full licence is on my licensing page.
Final Thoughts
Don’t worry about making it perfect. A pear with blooms and a few wobbly edges looks far better than a careful one, so print the outline, wet the paper and see what the paint decides to do.
I’d love to see your pear. Save more ideas from my Pinterest boards, or subscribe to my YouTube channel for more paint-alongs. You can also browse my Payhip shop.
Happy painting!
Dee x
You Might Also Like
- Simple Watercolor Shapes to Practice Daily
- Free Lemon Watercolor Template
- Things to Watercolor
- Loose Watercolor Sketchbook Pages
- Watercolor for Beginners
Pin this for later!