Last Updated on September 30, 2026 by Dee
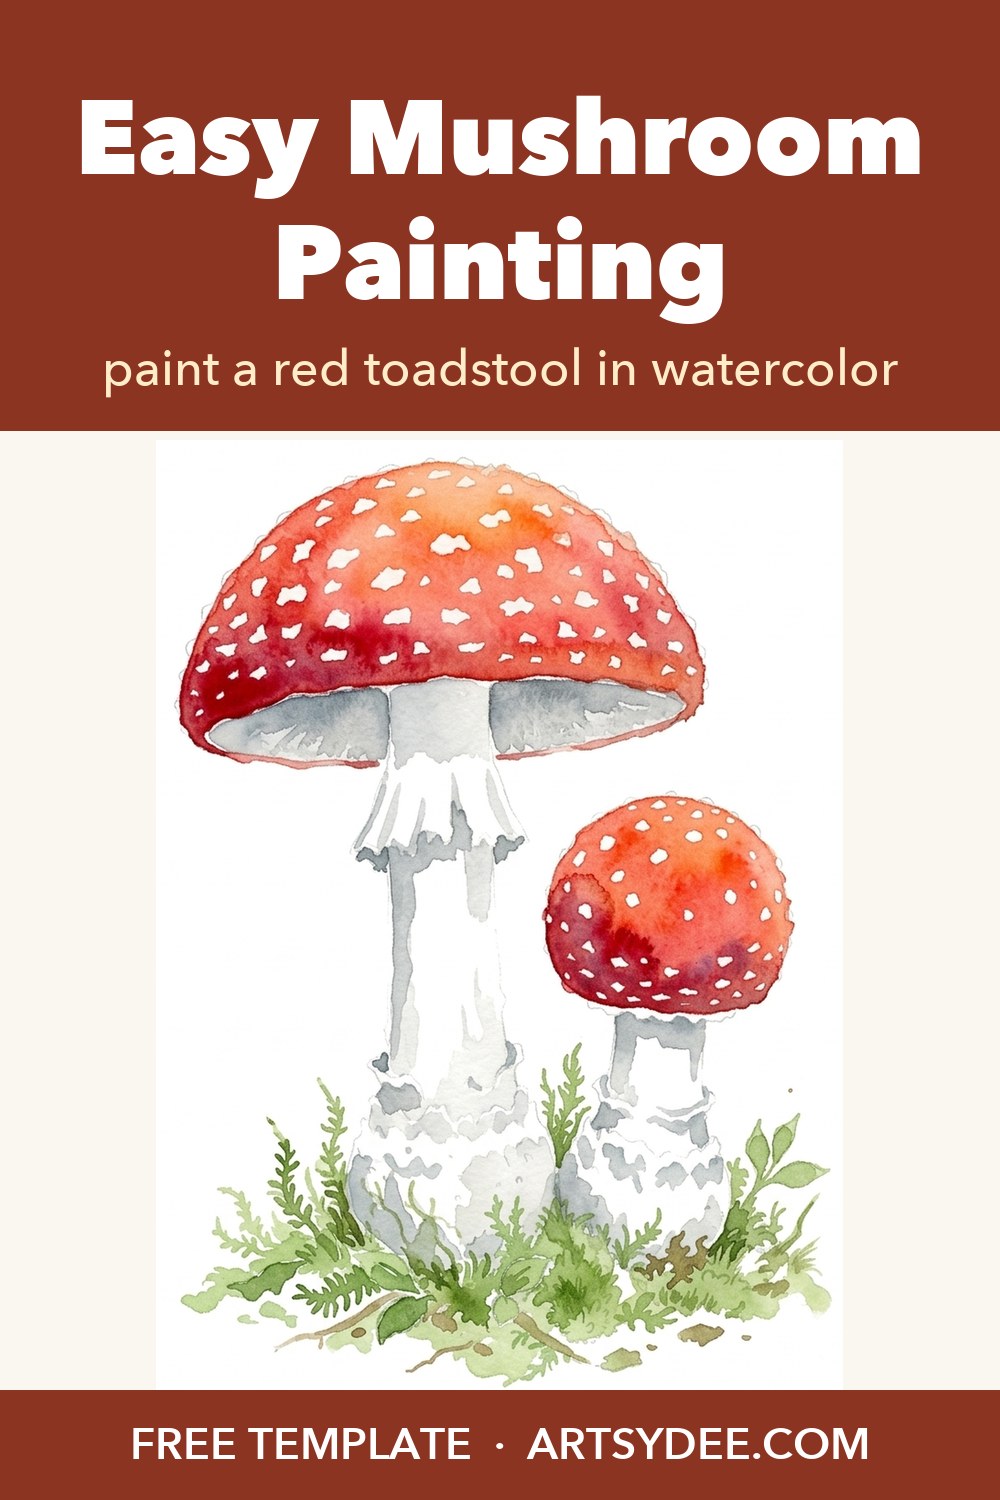
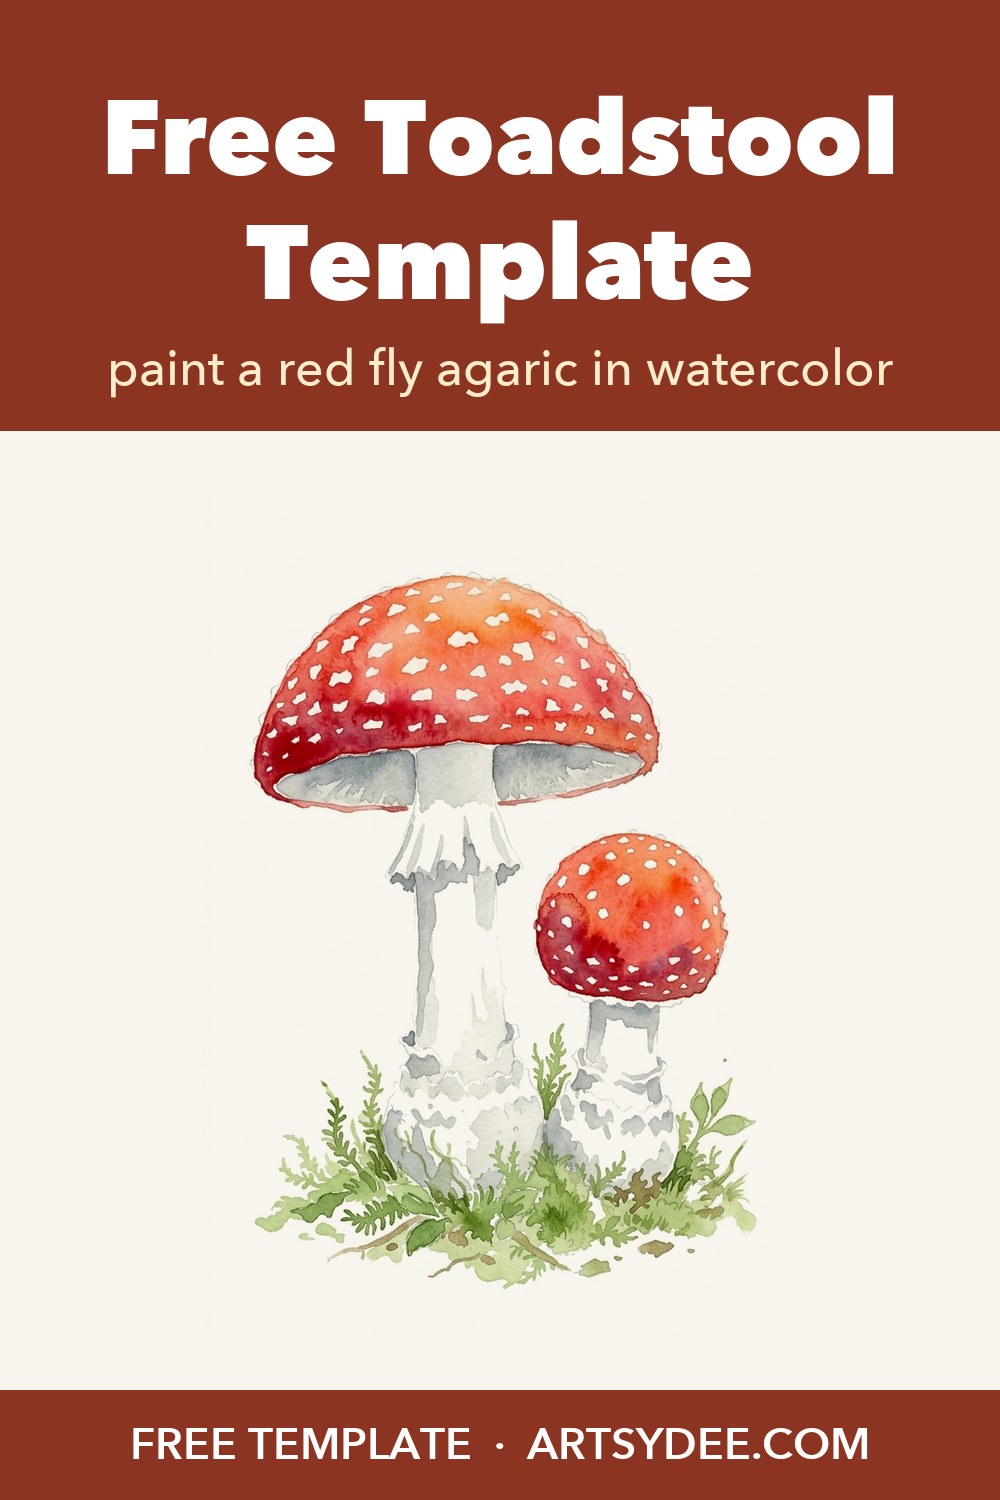
This might be the easiest mushroom painting you’ll ever do, and the white spots on the red toadstool more or less paint themselves. Today we’re painting a bright red fly agaric in watercolor, the red-and-white toadstool we all drew as children. The shape is already drawn for you, so all you have to do is paint.
The fly agaric template is free. Pop your email in just below and I’ll send it straight over, with a painted reference and a page on how to paint it, so you can print it on watercolour paper and paint along.
Get the free fly agaric toadstool template
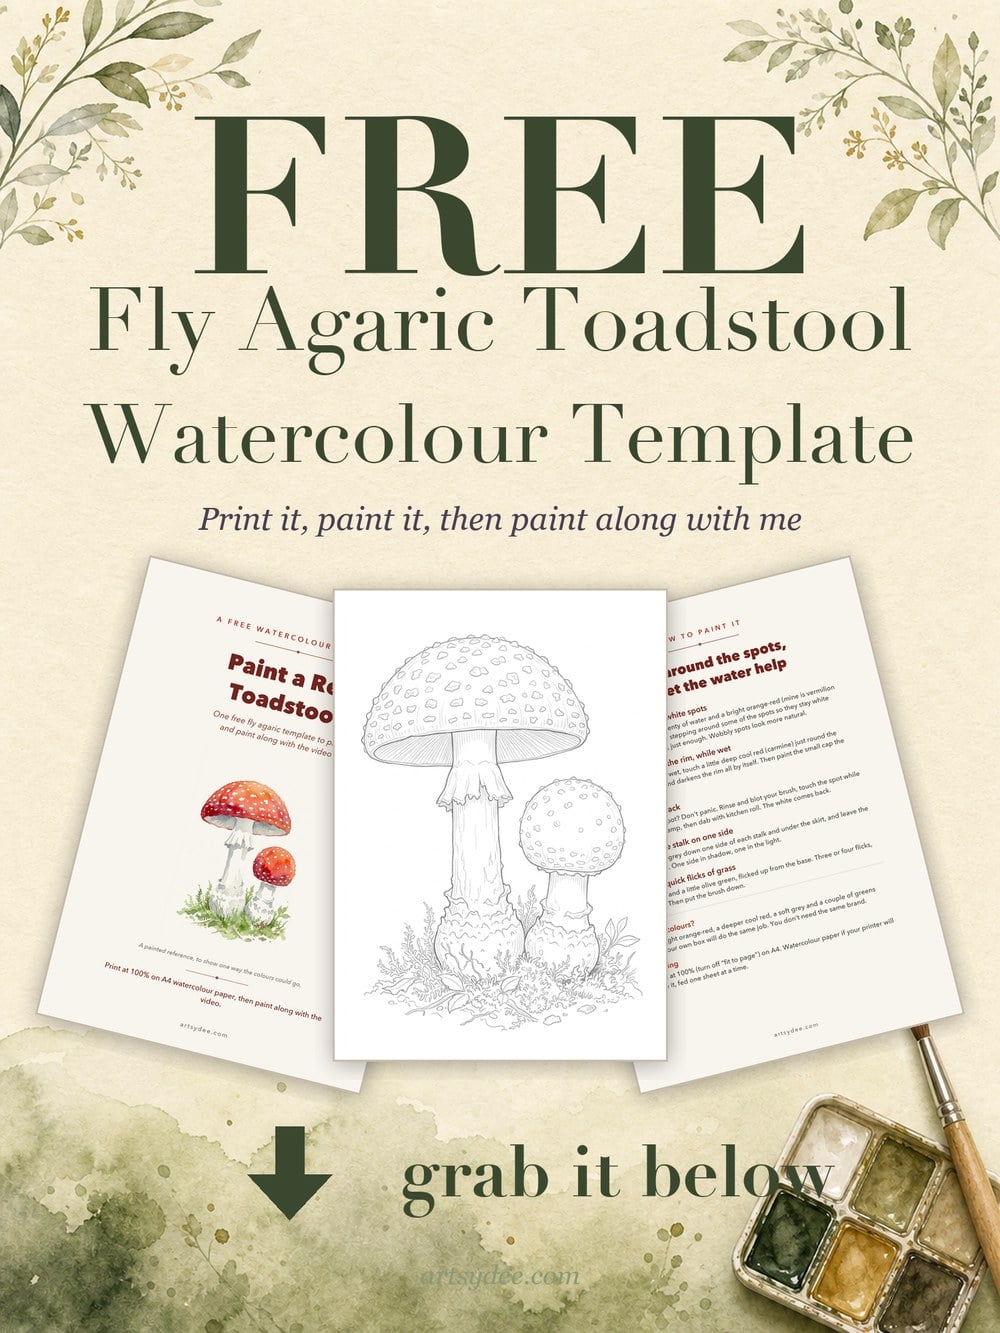
Once it lands in your inbox, print it at 100% on A4 watercolour paper, then scroll down for the step by step.
Table of Contents
What We’re Painting (and the Video)
Quick answer: the video paints the fly agaric, the red toadstool with white spots. It’s one little lesson: paint the red around the spots so the paper stays white, drop a deeper red in at the rim while it’s wet, and lift a spot back out if you flood it.
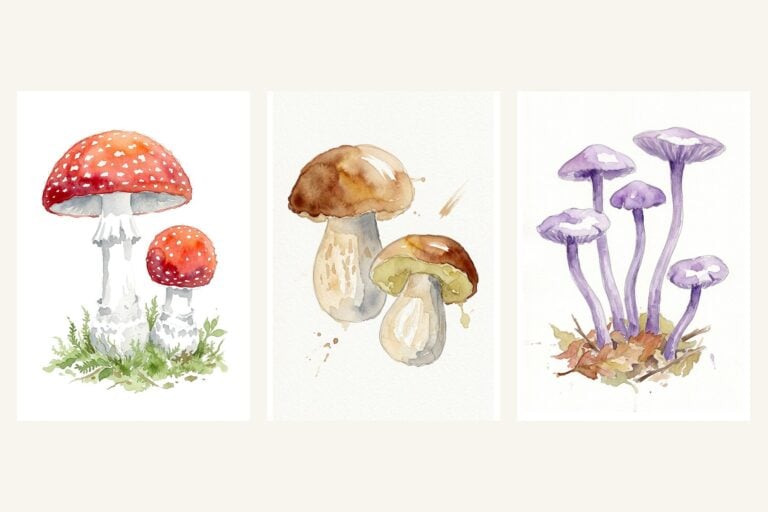
The template is printed straight onto watercolour paper as a soft pencil outline, so there’s no drawing and no tracing. It’s a lovely autumn project for watercolor for beginners, and it’s quick enough to finish in one sitting. If you’d like to keep going afterwards, I’ve added two more mushrooms to try next, a golden penny bun and some purple amethyst deceivers, with painted references so you can see where the colour goes.
What You Need
Nothing fancy. I’ll tell you what kind of colour you need, so you can find something similar in your own box.
- For the red toadstool: a bright orange-red (vermilion hue), a deeper cool red (carmine), a soft cool grey, and a couple of greens (sap green and olive green) for the grass and moss.
- A size 6 round brush. One is plenty.
- The free template, printed onto watercolour paper.
- A jar of clean water and a bit of kitchen roll. The kitchen roll matters today.
- If you try the two next ones: yellow ochre, burnt sienna and a little olive green for the penny bun; a soft lilac (lavender) and a deep purple (mineral violet) for the amethyst deceivers.
If you’re shopping, these are my go-to supplies: the Holbein Artists’ watercolour set (or the Kuretake Gansai Tambi 48 colour set, which is a lovely everyday box), a Princeton Heritage round brush in size 6 and a Canson XL watercolour pad. A cheerful student set will paint this toadstool just as happily.
Some links in this post are affiliate links. If you buy through them I may earn a small commission, at no extra cost to you. I only link to things I actually use.
How to Paint a Red Toadstool (Fly Agaric)
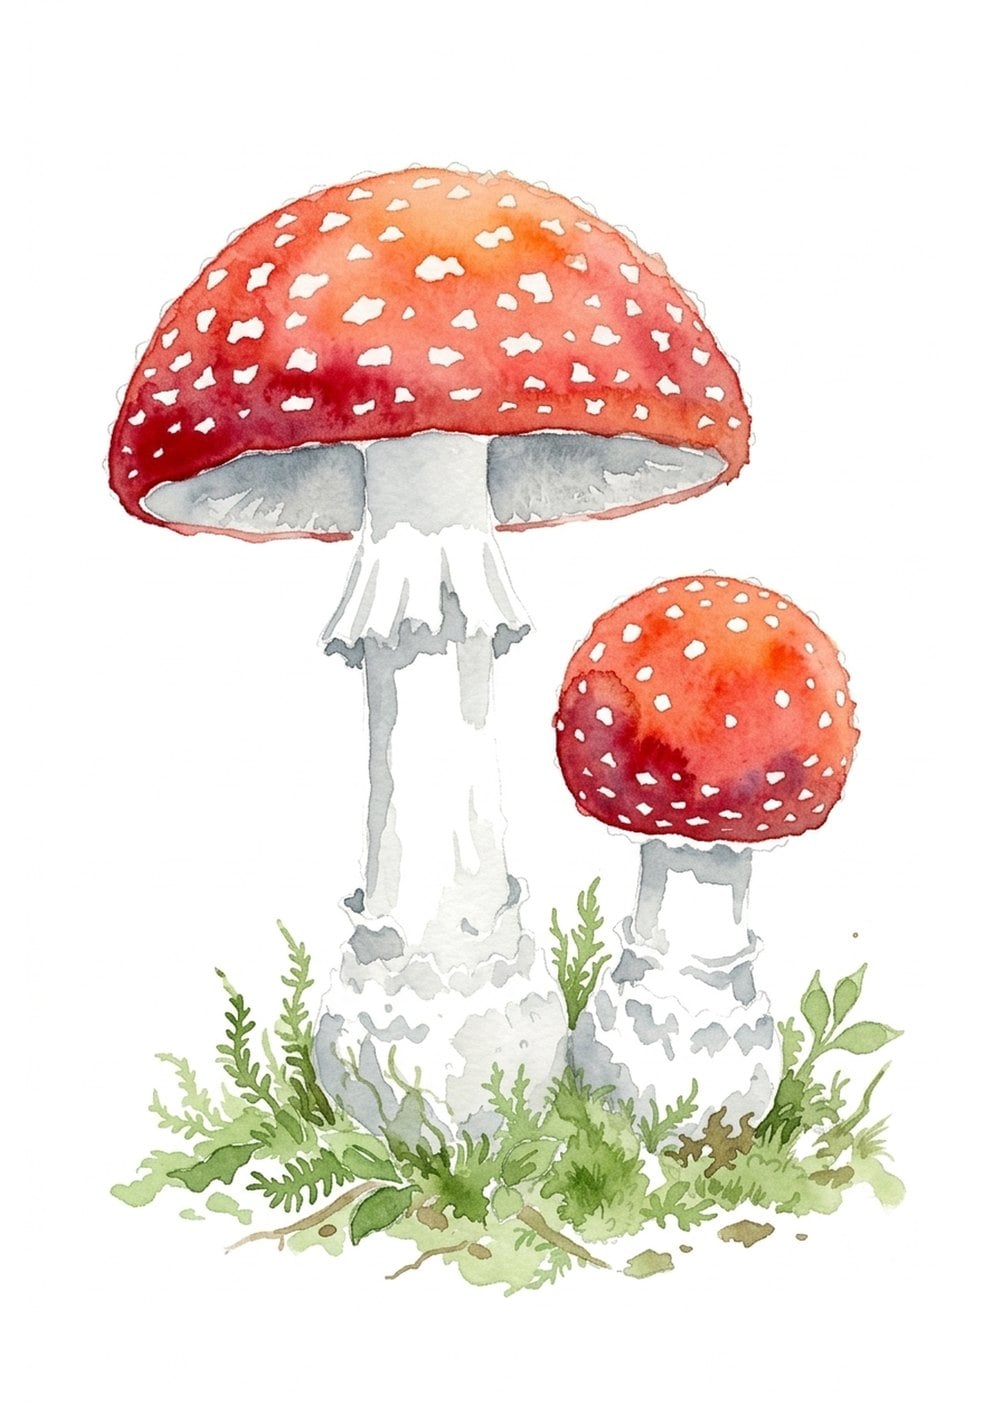
Quick answer: paint the cap in bright orange-red, stepping around the white spots so they stay bare paper. While it’s wet, touch a deeper red round the rim. Soft grey down one side of the stalk, and a few quick flicks of green at the base.
The fly agaric is the red-and-white toadstool everyone draws as a child, and everybody worries about the white spots. Here’s the secret: you don’t paint them. The paper is the white.
Step 1: paint around the white spots
Load your brush with plenty of water and vermilion. Paint the big cap, stepping around some of the spots so they stay white paper. Not all of them, just enough. You don’t need perfect circles. Wobbly spots look more natural.
Step 2: deeper red at the rim, while it’s wet
While the red is still wet, touch a little carmine just round the edge of the cap and watch it creep in and darken the rim all by itself. That deeper, cooler red is your shading, and the water does it for you. Then paint the small cap the same way.
Step 3: lift a spot back
If a spot got flooded, don’t panic. Rinse your brush, blot it on kitchen roll, touch the spot while the cap is still damp and dab it. The white comes back. It’s one of the most satisfying moments in watercolour.
Step 4: shade the stalk on one side
A very watery soft grey down one side of each stalk and under the skirt, and leave the rest as paper. One side in shadow and one side in the light is the whole trick for a round stalk.
Step 5: a few quick flicks of grass
Finish with sap green and a bit of olive green, flicked up from the base for grass and moss. Three or four flicks, not thirty. Then put the brush down.
Try This Next: a Golden Penny Bun
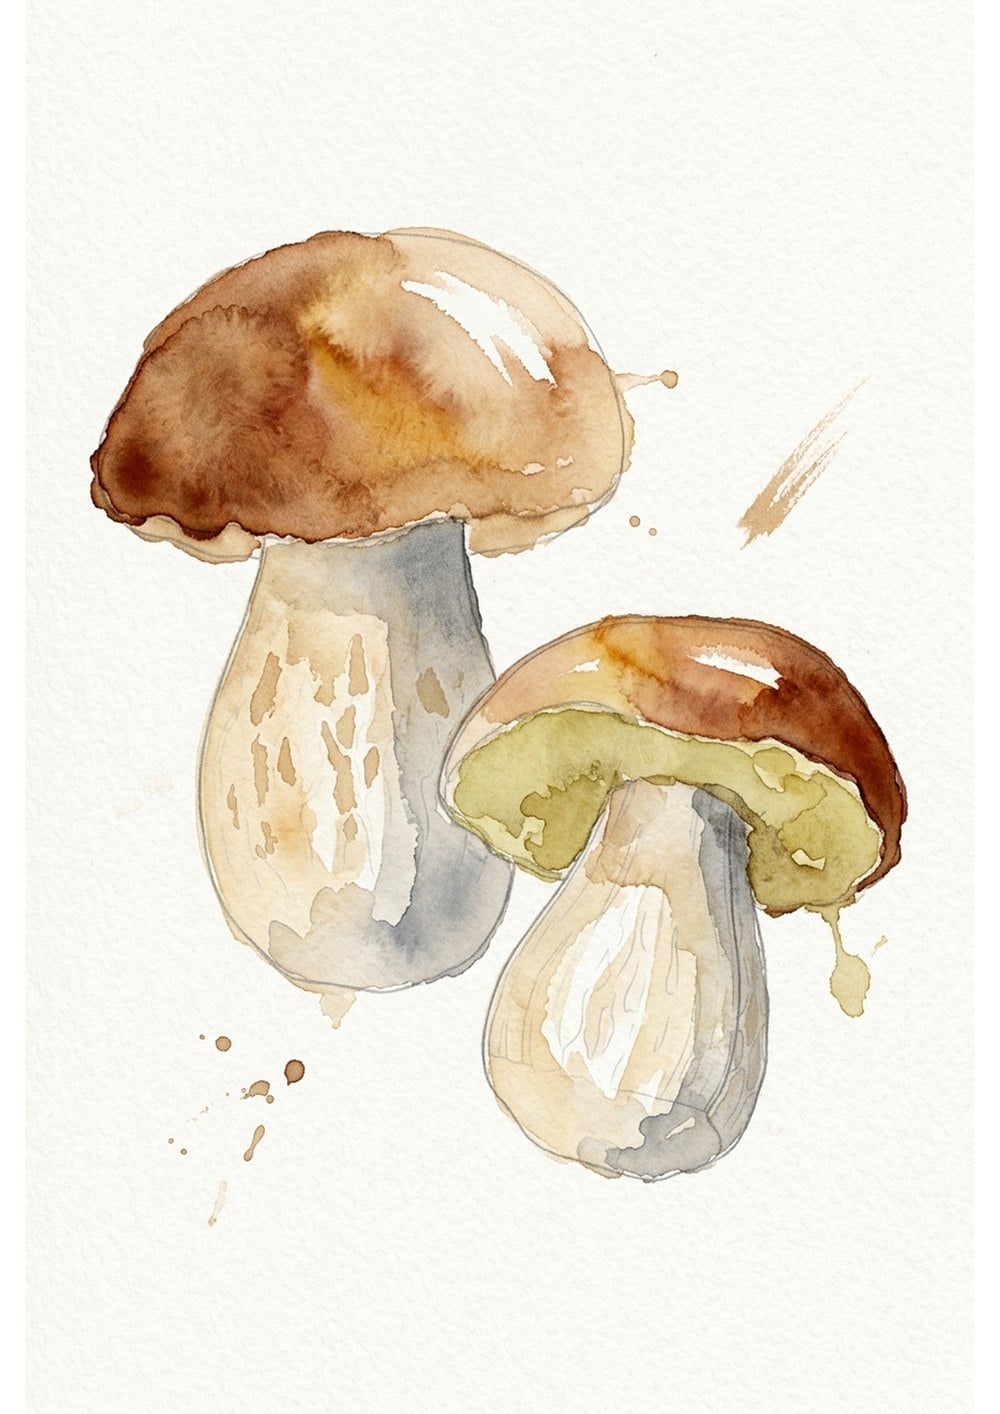
Quick answer: paint a pale golden wash on the cap, drop rusty brown into the top while it’s wet, and leave one small streak of white paper for the shine. Soft grey on the stems, a khaki-green underside, and you’re done.
If the toadstool made you want another, the penny bun is a gentle next step, and it uses the same idea of letting white paper do the work. Wet the cap with a watery yellow ochre, touch burnt sienna along the top and let it spread on its own, and leave a small streak of untouched paper near the top so the cap looks round and glossy. A very watery cool grey down one side of each stem, then a little greenish yellow mixed with olive green for the lime-khaki underside. The penny bun template is part of the full Wild Mushroom Identifier set.
Try This Next: Purple Amethyst Deceivers
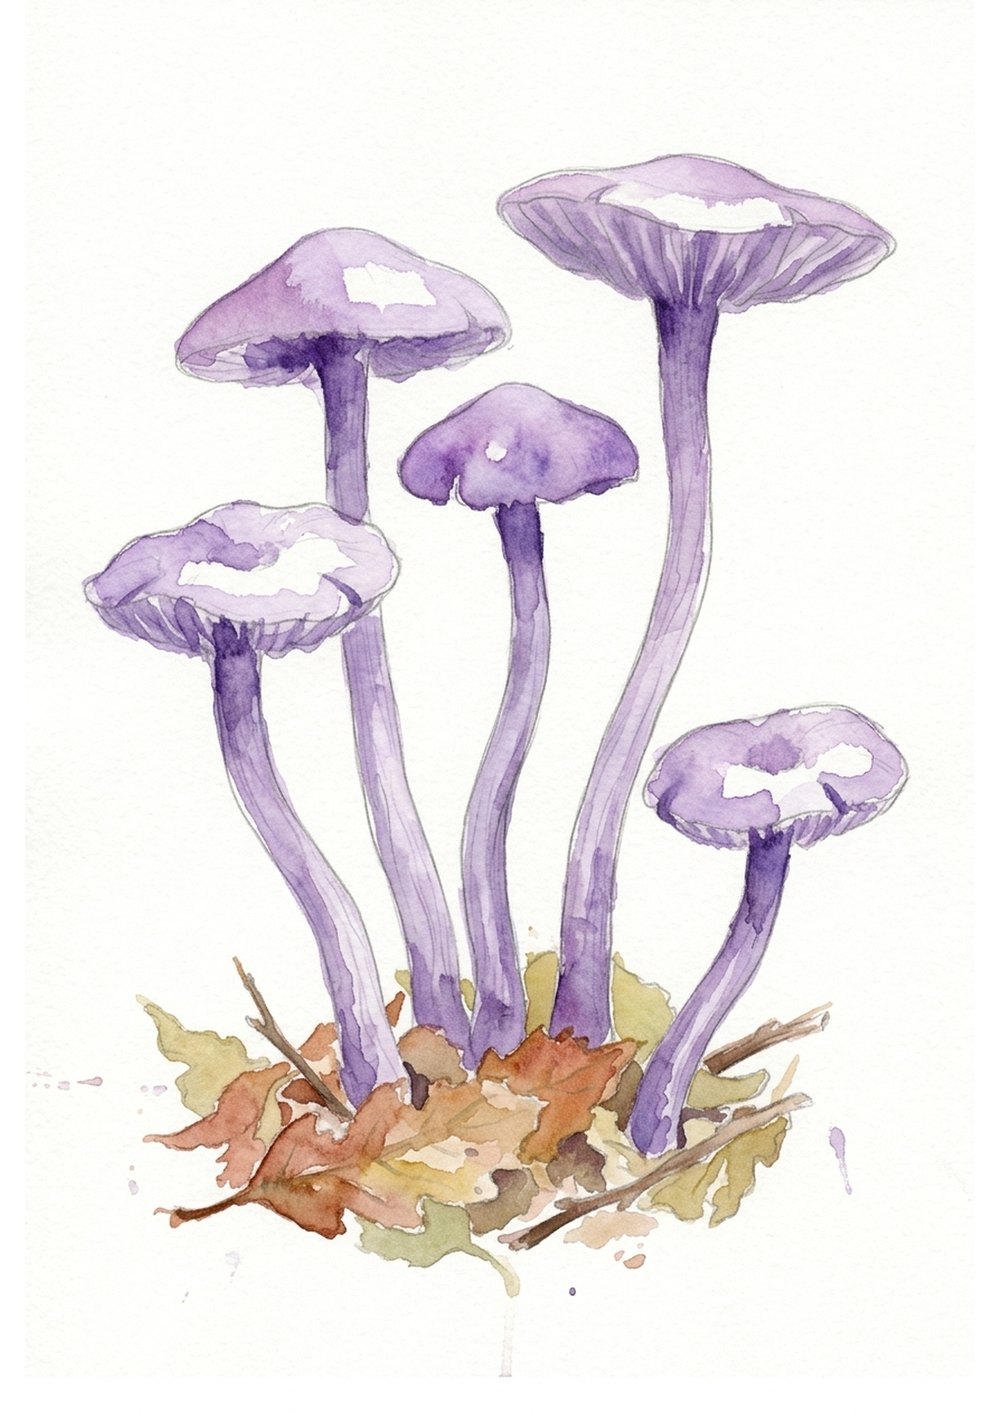
Quick answer: paint each little cap in soft lilac, drop deep purple into the centre while it’s wet, and keep the stems paler. A few warm browns underneath for autumn leaves.
Amethyst deceivers are real British woodland mushrooms, and yes, they really are that purple. Work on one cap at a time: wet lavender first, then a touch of mineral violet dropped into the middle so the two melt together. Keep the stems a paler lilac and let them fade out towards the bottom. For the leaf litter, mix burnt sienna with yellow ochre and dab it in loosely, with a touch of olive green here and there. This template is in the full set too.
Five Tips for Easier Mushroom Painting
- Leave the paper white for highlights and spots. It’s brighter than any white paint.
- Drop, don’t push. A second colour touched into a wet wash always looks softer than one you brush in.
- One mushroom at a time. Let a cap settle before you paint the one next to it, so they don’t run together.
- Use soft grey, not black, for shadows. It keeps the mushrooms light and fresh.
- Stop sooner than feels right. Most mushroom paintings get overworked in the last two minutes.
If you’d rather draw your mushrooms next time, my 30+ easy mushroom drawing ideas are a lovely place to start, and my beginner’s guide to mixing watercolor colours will help you find those browns and khaki greens.
All Twenty Mushrooms
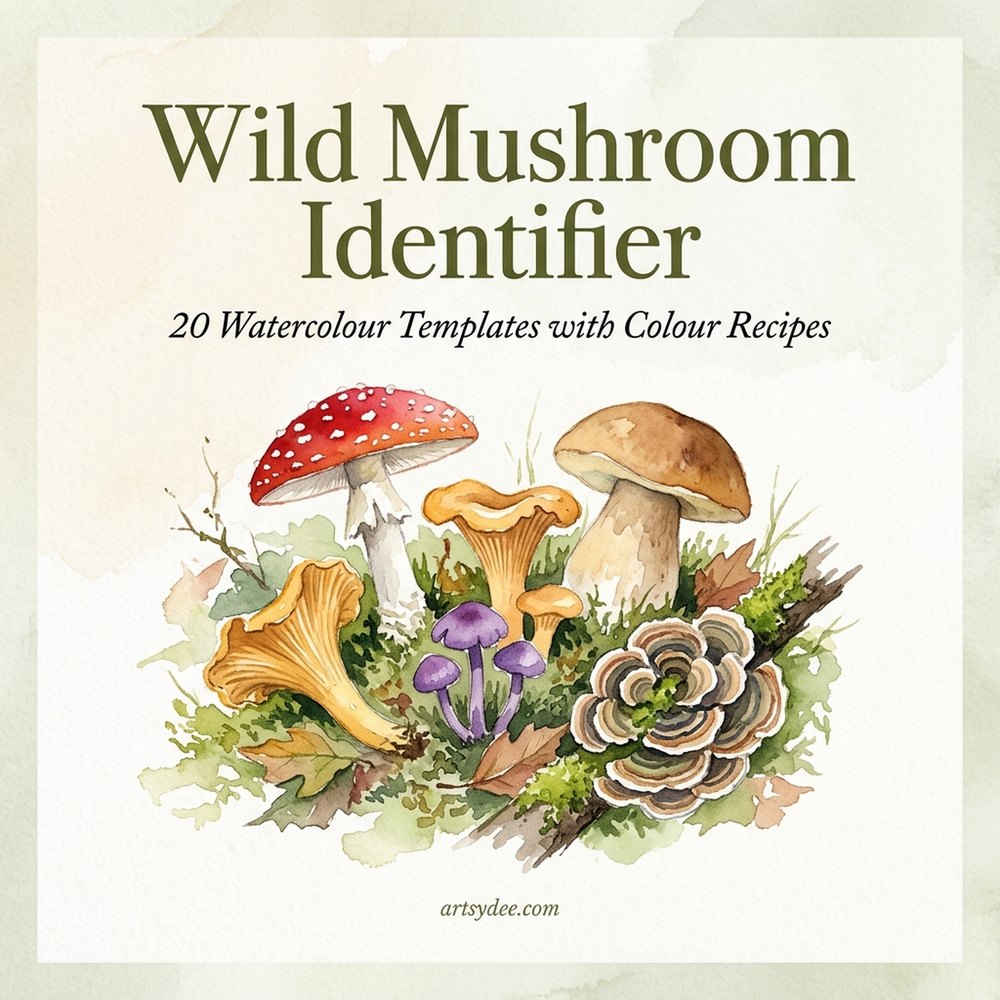
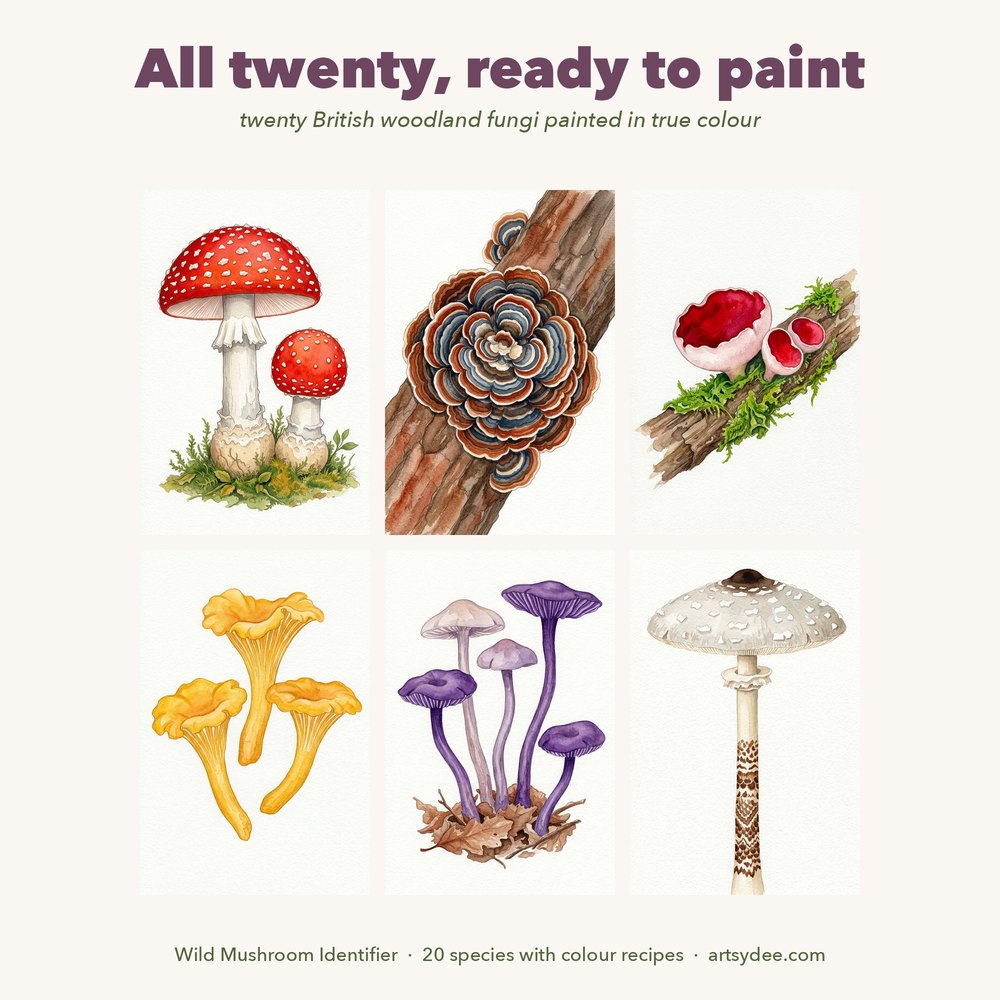
Love painting these? The fly agaric is one of twenty. Wild Mushroom Identifier is my set of twenty British fungi drawn as soft pencil outlines: the penny bun and the amethyst deceivers from this post, chanterelles, a shaggy ink cap, a parasol, a giant puffball, chicken of the woods, turkey tail and more. Every template comes with its own colour recipe card, so you never have to wonder what to mix.
It’s £14, an instant download, yours to keep.
Want a new set to paint every month? That’s what my watercolour members get over on Patreon: printed outlines, no drawing, just paint, with painted references so you can see where the colour goes. Come and paint with me on Patreon →
And a little something for the new year: my Wonky Watercolour School opens again for Term Two in January. It’s a relaxed eight-week course for anyone who’s ever put the brushes away because a painting “wasn’t good enough”. Join the Term Two waitlist to hear first.
Frequently Asked Questions
Is the fly agaric toadstool template really free?
Yes. Put your email in the box near the top of this post and the PDF comes straight to your inbox: a cover with a painted reference, the fly agaric template itself, a page on how to paint it, and a peek at the full set.
What’s the easiest mushroom to paint in watercolor?
The red toadstool is a lovely first one, because the white spots are simply paper you leave unpainted. The penny bun is just as gentle: a golden wash on the cap, a streak of white paper for the shine, soft grey stems and a khaki underside.
How do you paint the white spots on a toadstool?
You don’t paint them at all. Paint the red around each spot and leave the paper white. If a spot gets flooded, lift the colour back out with a clean, damp brush while the cap is still wet.
What paper should I print the template on?
Watercolour paper if your printer will take it, fed through one sheet at a time. Print at 100% on A4 with “fit to page” turned off. Ordinary printer paper is fine for a practice run, but it will buckle once it gets wet.
Are the penny bun and amethyst deceiver templates free too?
They’re part of the full Wild Mushroom Identifier set. The free template is the fly agaric.
Can I sell the mushrooms I paint?
You’re welcome to sell the paintings you make by hand. Please don’t sell or share the template files themselves.
You Might Also Like
- 10 easy mushroom drawings with free templates, if you’d like to draw the lines yourself
- 55 free mushroom coloring pages for the evenings you’d rather colour than paint
- autumn watercolor painting for beginners: an acorn and maple keys, with a free acorn template
- fall watercolor painting ideas for more cosy autumn subjects
- watercolor for beginners: 20 easy first paintings if you’re just starting out
Final Thoughts
Print the fly agaric template tonight, put the kettle on and paint along. Then come back and tell me how it went. I’d genuinely love to see yours.
If this was your speed, subscribe to my YouTube channel for a new paint-along every week, and come and say hello on Pinterest. Pin this for later so you can find the steps again when your paint is out.
Happy painting!
Dee x