Last Updated on September 30, 2026 by Dee
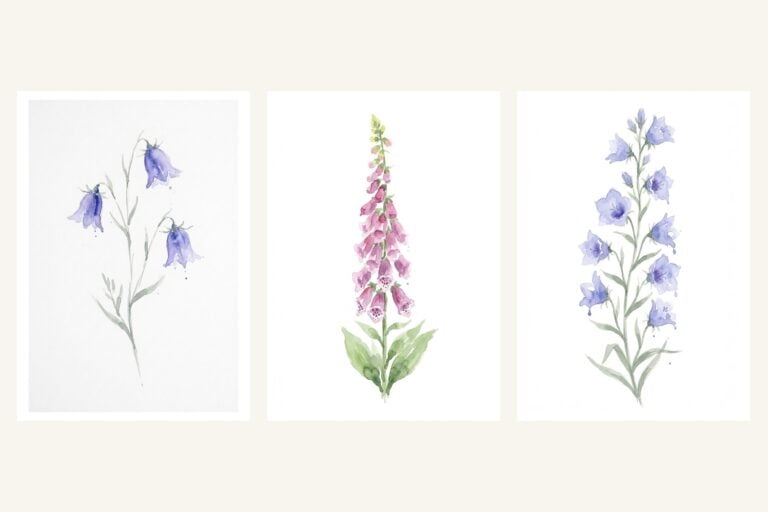
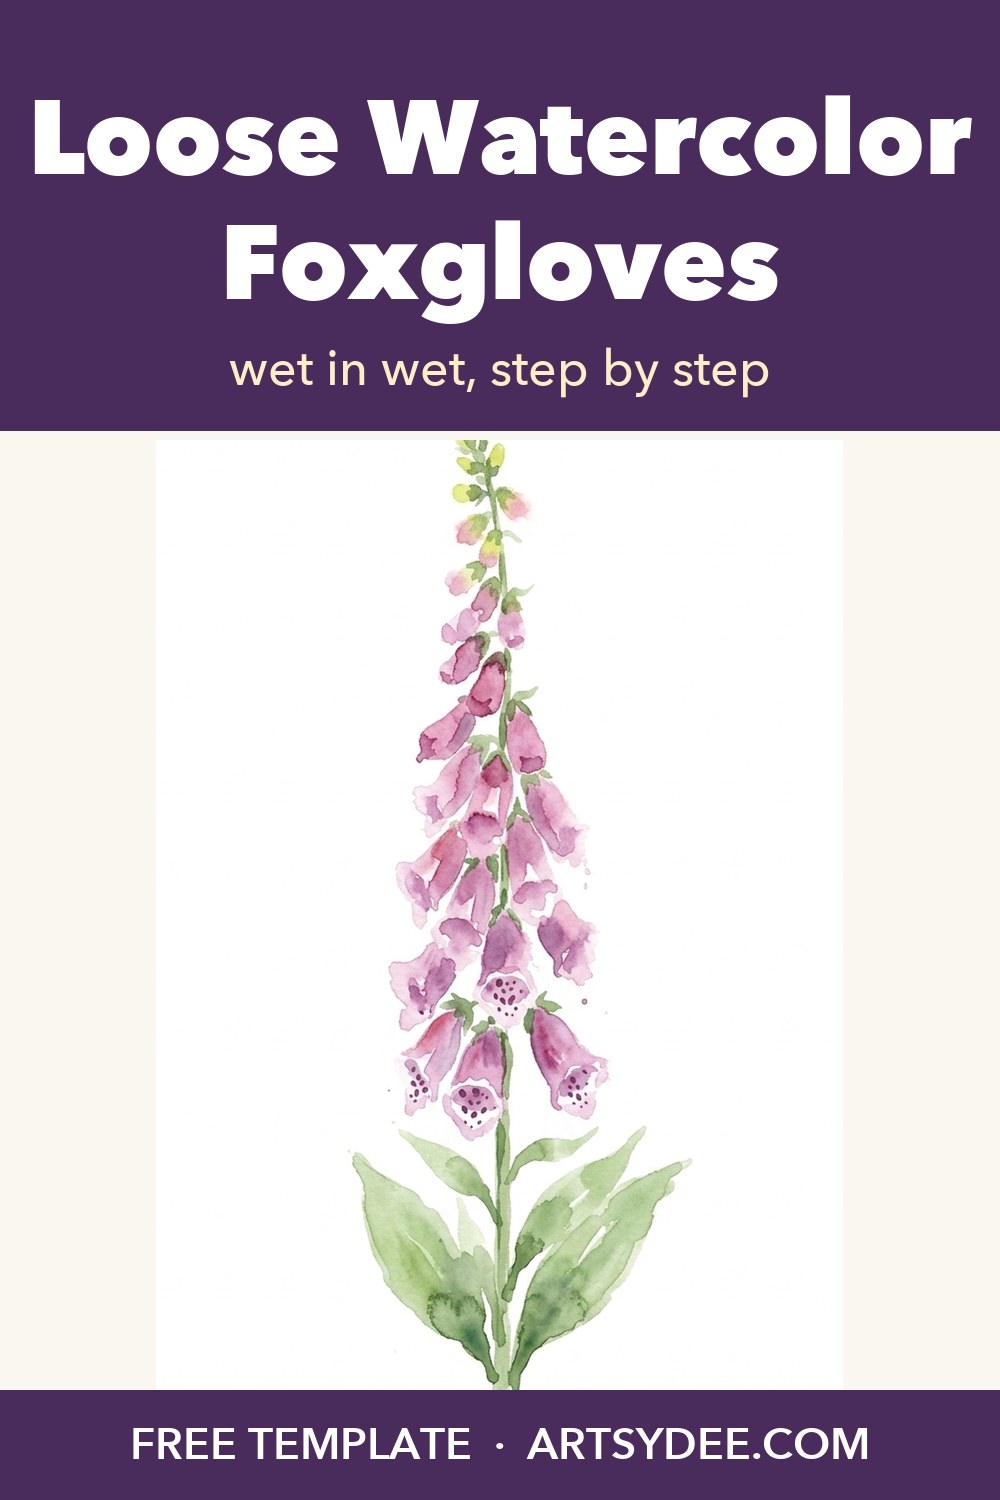
Loose watercolor flowers look hard, but these foxgloves mostly paint themselves when you work wet-in-wet. In the video we paint two cottage garden flowers: a harebell and a foxglove. There’s a blue bellflower further down too, as a painted reference to try next. The shapes are already drawn for you, so all you have to do is paint.
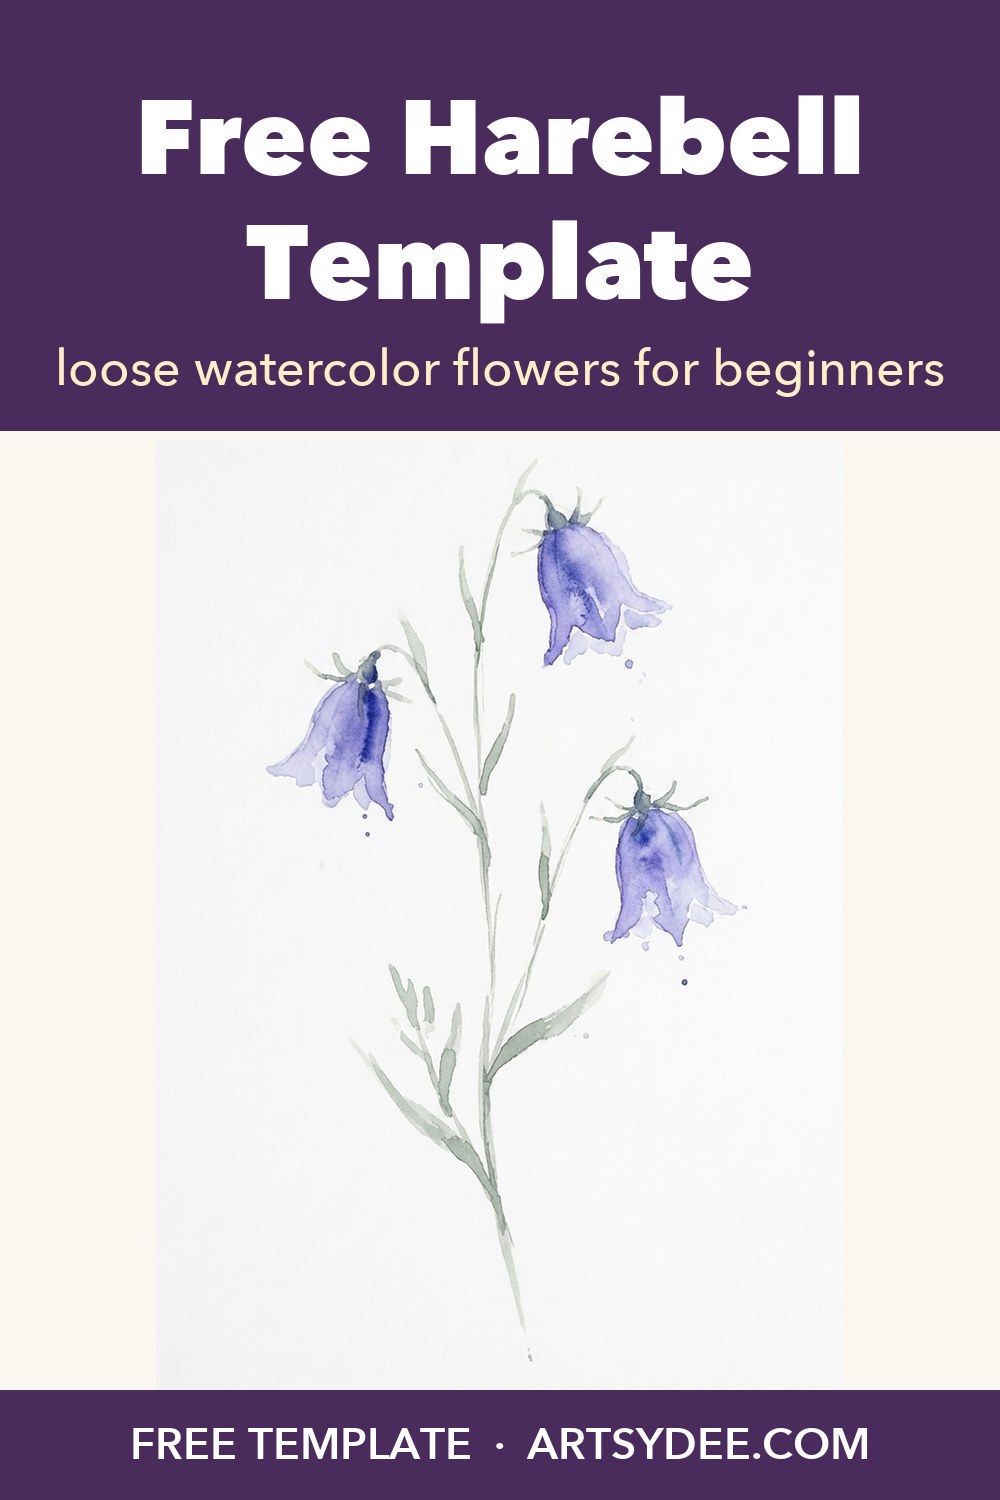
The harebell template is free. Pop your email in just below and I’ll send it straight over, with a painted reference and a page of colour notes, so you can print it on watercolour paper and paint along.
Get the free harebell watercolor template
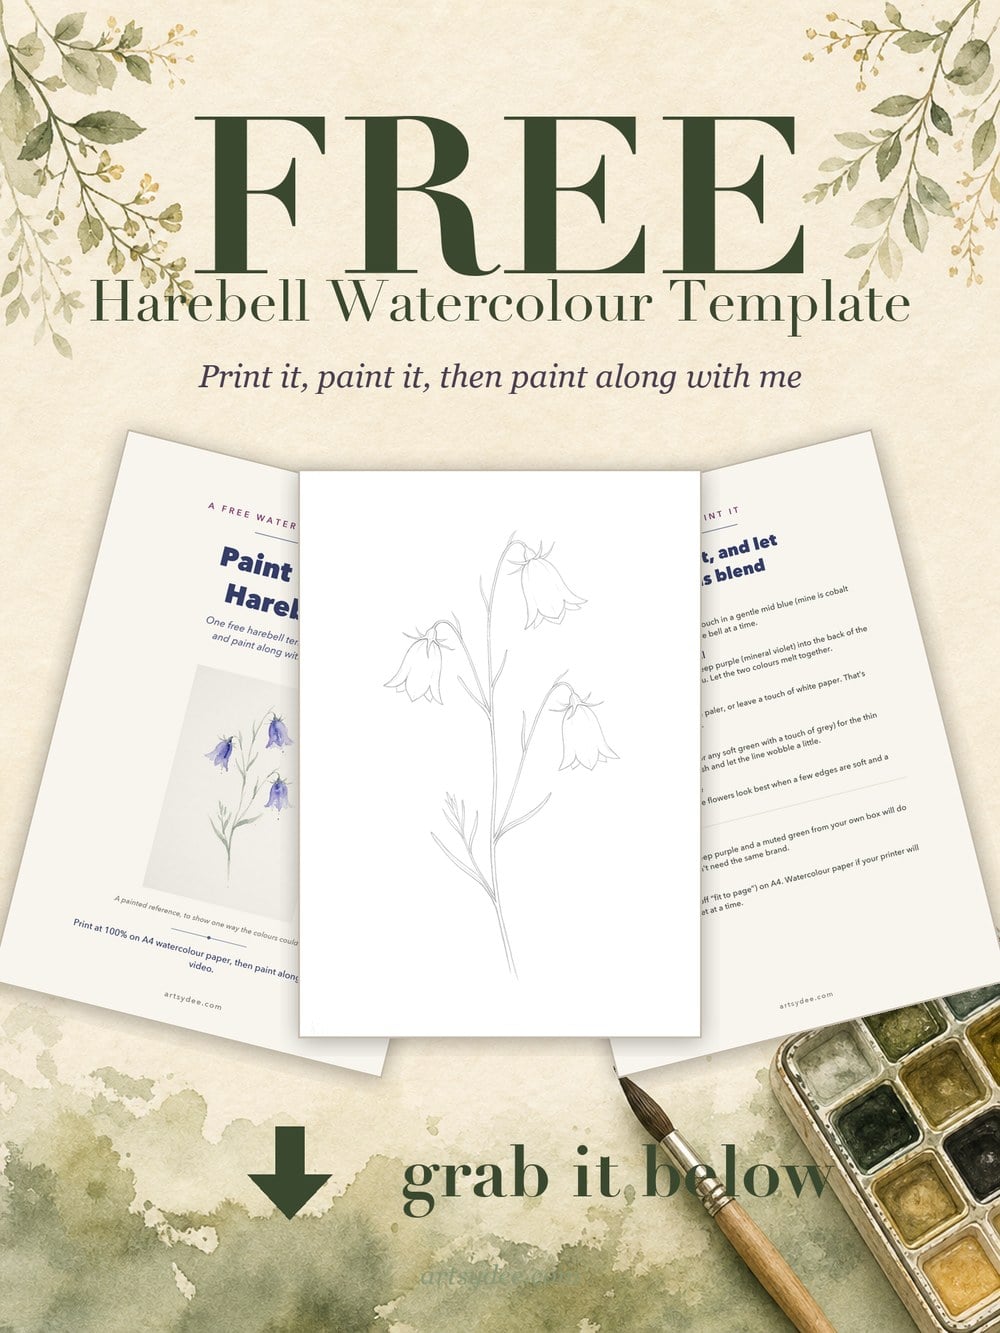
Once it lands in your inbox, print it at 100% on A4 watercolour paper, then scroll down for the step by step.
Table of Contents
What We’re Painting (and the Video)
Quick answer: the video paints a harebell and a foxglove, two bell-shaped cottage garden flowers, both in the same relaxed way. You wet a shape, touch colour in, drop a second colour in while it’s still wet, and then leave it alone. The harebell is the gentlest start and the foxglove is the showpiece. The bellflower isn’t in the video; it’s a painted reference further down that puts the two together, for when you’d like a next step.
The templates are printed straight onto watercolour paper as soft pencil outlines, so there’s no drawing and no tracing. It’s a lovely way into watercolor flowers for beginners, because the outline holds the shape while the paint stays free.
What You Need
Nothing fancy. I’ll tell you what kind of colour each flower needs, so you can find something similar in your own box.
- For the harebells: a gentle mid blue (cobalt blue hue), a deep purple (mineral violet) and a soft, muted green (terre verte).
- For the foxglove: a rosy purple (shell pink with a little mineral violet), a greenish yellow for the tight buds at the top, a dark plum for the spots (mineral violet with crimson lake), a fresh leaf green (sap green) and a deeper green (hooker’s green) at the base of the leaves.
- For the bellflower: a soft lilac (lavender), the same mid blue, and sap green with terre verte for the stem.
- A size 6 round brush with a good point.
- The templates, printed onto watercolour paper.
- A jar of clean water and a bit of kitchen roll.
If you’re shopping, these are my go-to supplies: the Holbein Artists’ watercolour set (or the Kuretake Gansai Tambi 48 colour set, which is a lovely everyday box), a Princeton Heritage round brush in size 6 and a Canson XL watercolour pad. A cheerful student set will paint these flowers just as happily.
Some links in this post are affiliate links. If you buy through them I may earn a small commission, at no extra cost to you. I only link to things I actually use.
What Wet-in-Wet Means (in One Minute)
Quick answer: wet-in-wet means adding paint to paper (or paint) that is still wet, so the colour spreads and softens on its own. It’s the secret behind loose watercolor flowers.
Wet the petal shape first with clean water, or with your first colour, and while it still has a shine, touch in a second colour. Watch it bloom. The less you fiddle, the fresher it looks. If you’d like a deeper look at the technique, my loose watercolor flowers tutorial walks through wet-on-wet petals and bouquets in detail.
How to Paint Loose Harebells
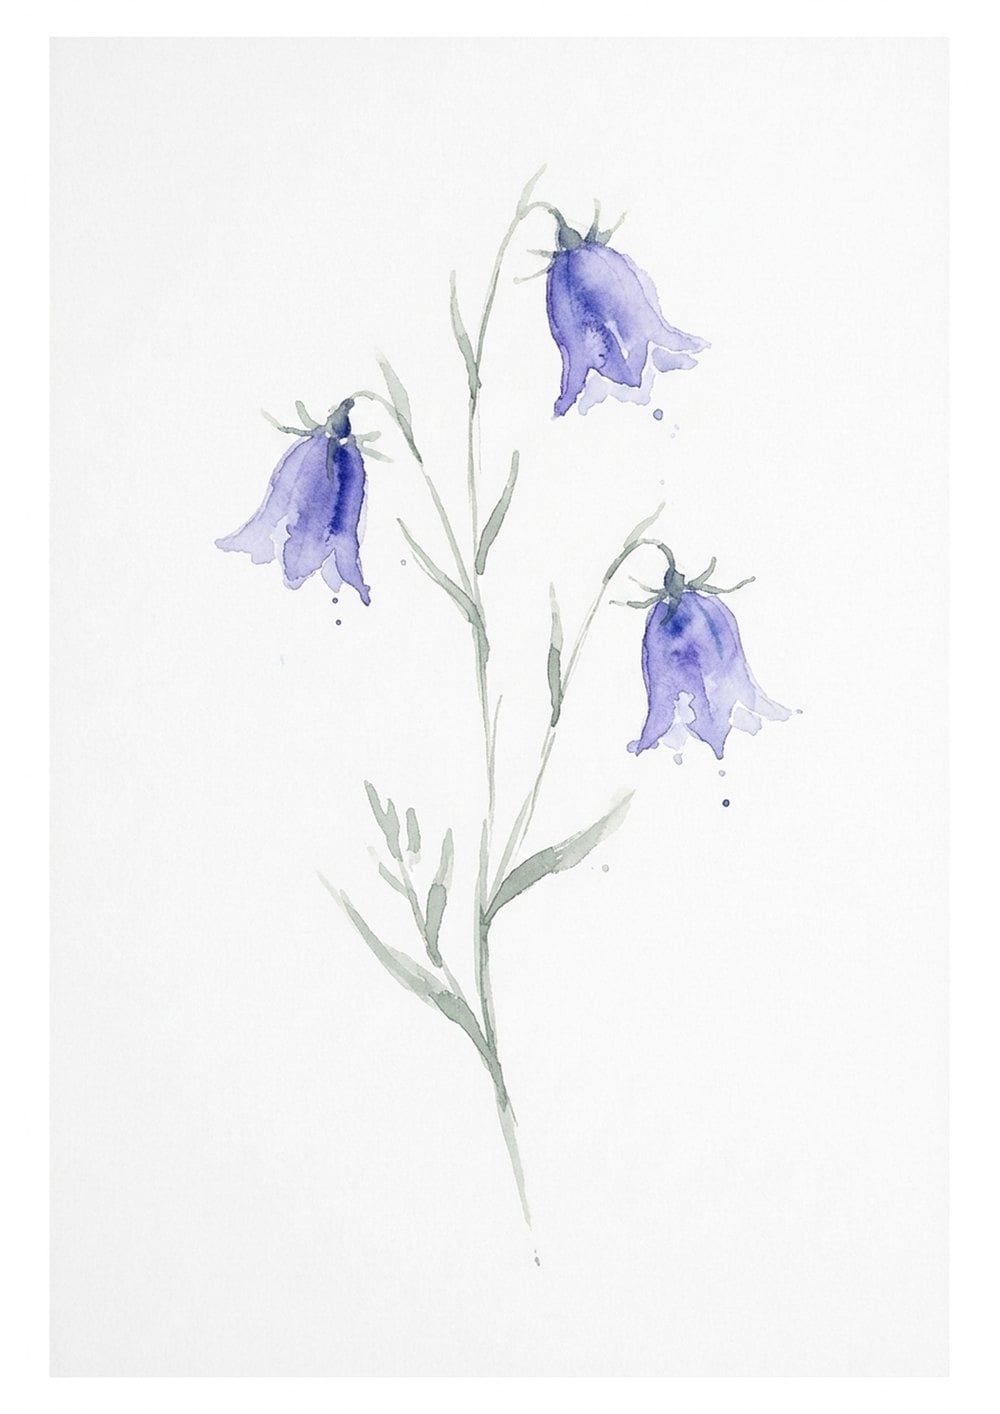
Quick answer: paint one bell at a time with clean water and a soft blue, drop deep purple into the back of the bell while it’s damp, keep the frilly lip paler, then add fine, wobbly green stems.
Step 1: wet the first bell
Paint one bell with clean water, then touch in a gentle mid blue and watch it spread to the edges. Do one bell at a time, so the wet ones don’t run into each other.
Step 2: deepen the back of the bell
While it’s still damp, drop a little deep purple into the back of the bell, where it curves away from you. Let the blue and purple melt together. That soft change of colour is what makes the bell look rounded.
Step 3: keep the lip light
Keep the frilly edge of each bell paler, or leave a touch of white paper. It’s what makes harebells look so delicate.
Step 4: fine, soft stems
A muted green, like terre verte, for the thin stems. Use just the tip of the brush and let the line wobble a little. Harebell stems are never ruler-straight.
How to Paint a Loose Watercolor Foxglove
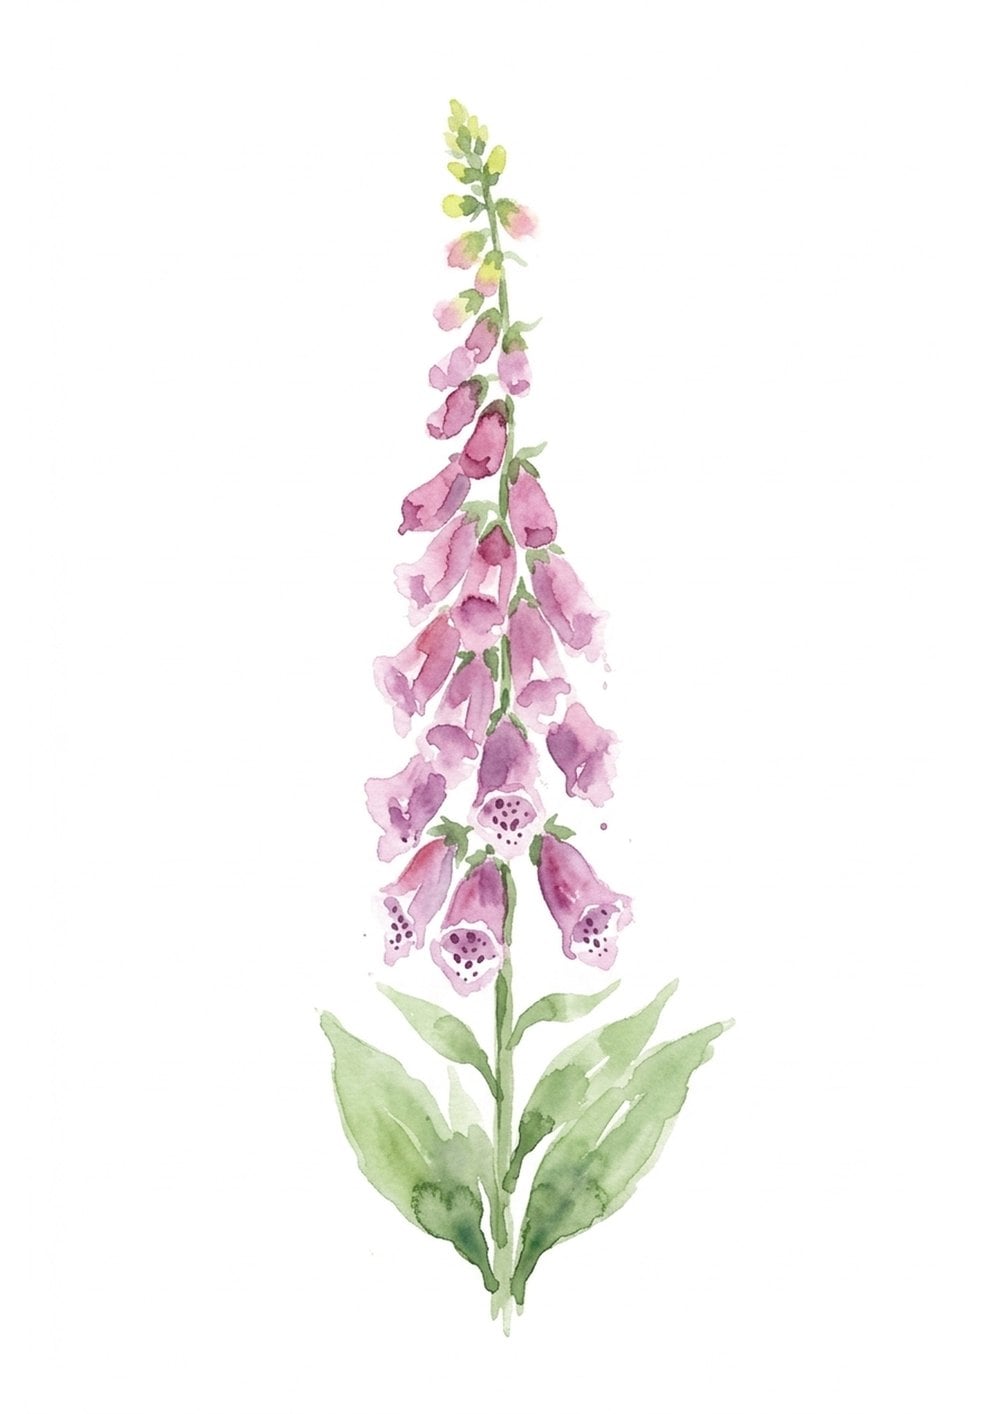
Quick answer: work from the top down. Greenish yellow for the tight buds, rosy purple bells that get bigger as you go down, dark plum spots dropped into the throats while they’re damp, then fresh greens for the leaves.
Foxgloves are the queen of the cottage garden, and a flower so many people want to paint. They look complicated, but a foxglove is really just a tower of small bells, and each bell is painted exactly like the harebell.
Step 1: buds at the top
Start at the tip of the spire with a pale greenish yellow for the tightly closed buds. Let a little rosy purple creep into the lower buds as they begin to open.
Step 2: rosy bells, top to bottom
Mix shell pink with a little mineral violet for a rosy purple. Paint each bell wet, one at a time, working down the spire. Let some bells touch and blend, and leave little gaps of paper between others. The mix of soft and crisp edges is what makes it look loose.
Step 3: the freckled throats
While a bell is still damp, dot a dark plum (mineral violet with a touch of crimson lake) inside its throat. The spots will soften and spread slightly, which is exactly what real foxglove freckles look like.
Step 4: leaves and stem
Sap green for the leaves and stem, with a deeper hooker’s green dropped in at the base of each leaf while it’s wet. Keep the greens quieter than the flowers so the bells stay the star.
How to Paint a Bellflower (Campanula)
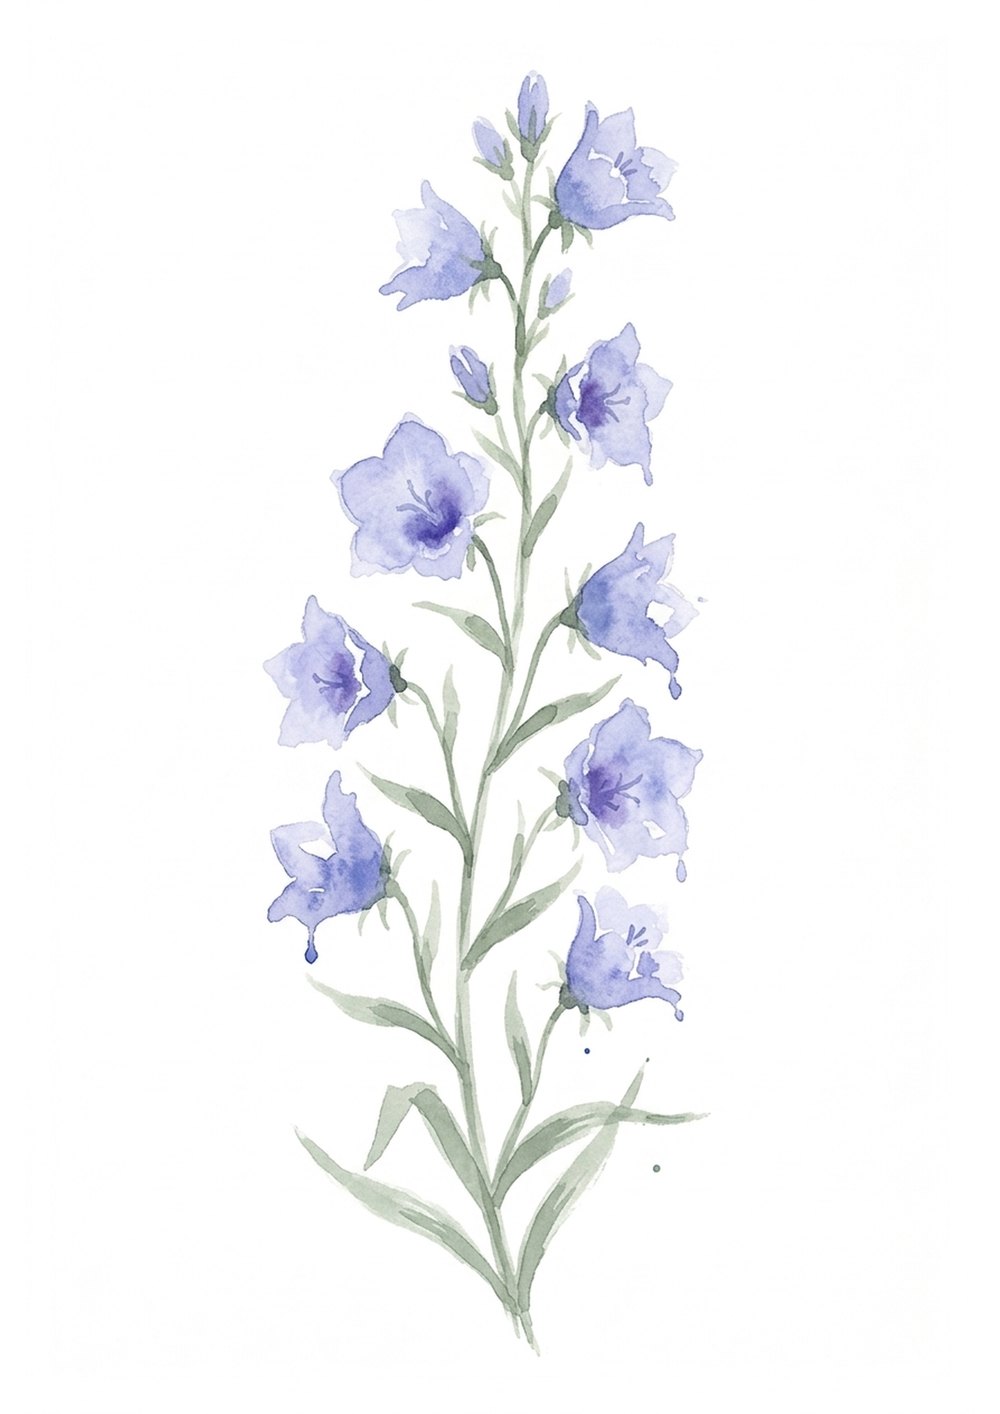
Quick answer: the bellflower is harebell and foxglove combined. Lilac and blue bells painted wet-in-wet up a tall stem, with a soft green stem painted last.
Paint each open bell in soft lavender, then drop a little mid blue into the base of the bell while it’s wet. Keep the bells at the top smaller and paler. Finish with a stem of sap green softened with terre verte, and a few narrow leaves. If one bell blooms into its neighbour, leave it. That’s the loose look we’re after.
Five Tips for Looser Watercolor Flowers
- Wet the shape first. Colour dropped onto damp paper spreads softly on its own.
- One bell at a time. Neighbouring wet bells will flood into each other.
- Drop, don’t push. Touch the second colour in, then take the brush away.
- Leave some white paper. Little gaps of untouched paper keep a painting fresh.
- Stop while it still looks loose. Loose flowers get tight in the last two minutes.
For more to paint, try my watercolor flowers for beginners post (a daisy and a poppy, with a free daisy template), or loose watercolor techniques beyond flowers when you want to let go even more.
Eighteen Cottage Garden Flowers to Paint
Love painting these? The harebell is one of eighteen. Foxgloves & Bell Flowers is my set of eighteen cottage-garden flowers drawn as soft pencil outlines: five different foxgloves, including the classic purple one from this post, Canterbury bells, the peach-leaved bellflower, English bluebells, lily of the valley, snake’s head fritillary, snowdrops and more. Every one is an A4 template at 300 DPI, as one PDF and as separate PNGs.
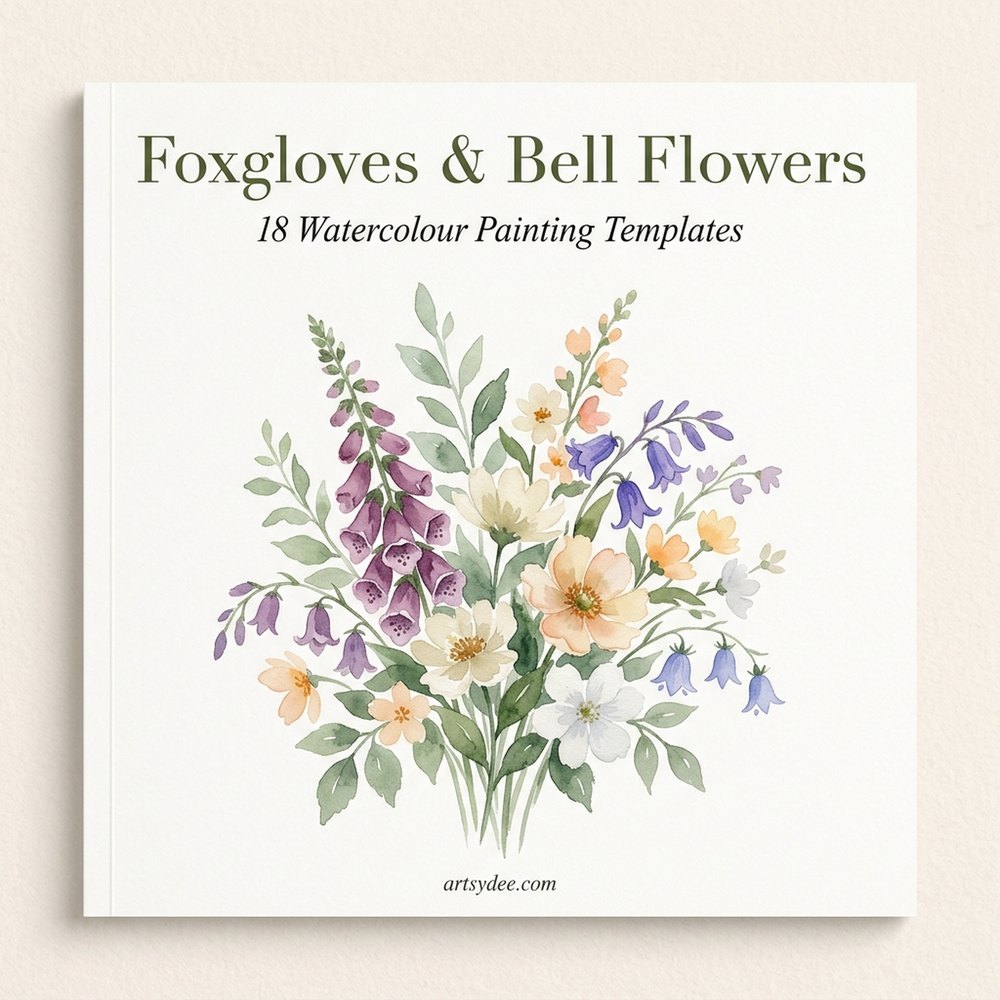
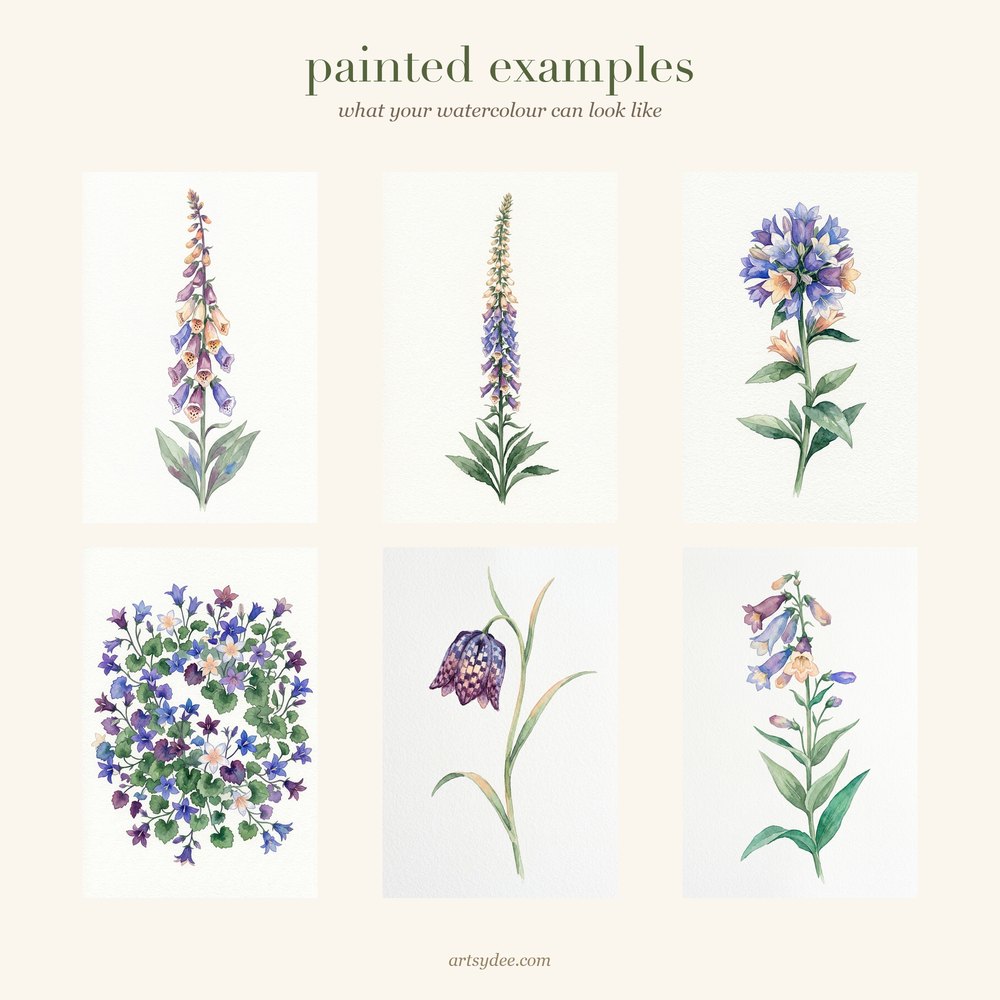
It’s £8, an instant download, yours to keep.
Want a new set to paint every month? That’s what my watercolour members get over on Patreon: printed outlines, no drawing, just paint, with painted references so you can see where the colour goes. Come and paint with me on Patreon →
And a little something for the new year: my Wonky Watercolour School opens again for Term Two in January. It’s a relaxed eight-week course for anyone who’s ever put the brushes away because a painting “wasn’t good enough”. Join the Term Two waitlist to hear first.
Frequently Asked Questions
Is the harebell template really free?
Yes. Put your email in the box near the top of this post and the PDF comes straight to your inbox: a cover with a painted reference, the harebell template itself, a page on how to paint it, and a peek at the full set.
What does “loose” mean in watercolor flowers?
Loose means letting the water and pigment do some of the work: soft edges, colours blending on the paper, a few gaps of white, and not every petal outlined. It feels relaxed rather than precise, and it’s much more forgiving for beginners.
How do you paint foxglove spots in watercolor?
Dot a dark plum colour inside each bell while the bell is still damp. The spots soften and spread a little, just like real foxglove freckles. If you’d like crisper spots, wait until the bell is dry.
What paper should I print the template on?
Watercolour paper if your printer will take it, fed through one sheet at a time. Print at 100% on A4 with “fit to page” turned off. Ordinary printer paper is fine for a practice run, but wet-in-wet needs paper that can take water.
Are the foxglove and bellflower templates free too?
They’re part of the full Foxgloves & Bell Flowers set. The free template is the harebell.
Can I sell the flowers I paint?
You’re welcome to sell the paintings you make by hand. Please don’t sell or share the template files themselves.
You Might Also Like
- loose watercolor flowers: an easy tutorial with free floral bouquet templates
- watercolor flowers for beginners: a daisy and a poppy, with a free daisy template
- 10 free wildflower drawing templates for your sketchbook
- 25+ watercolor flower paintings to try when you’re ready for the next flower
- watercolor for beginners: 20 easy first paintings if you’re just starting out
Final Thoughts
Print the harebell template tonight, put the kettle on and paint along. Then come back and tell me how it went. I’d genuinely love to see yours.
If this was your speed, subscribe to my YouTube channel for a new paint-along every week, and come and say hello on Pinterest. Pin this for later so you can find the steps again when your paint is out.
Happy painting!
Dee x