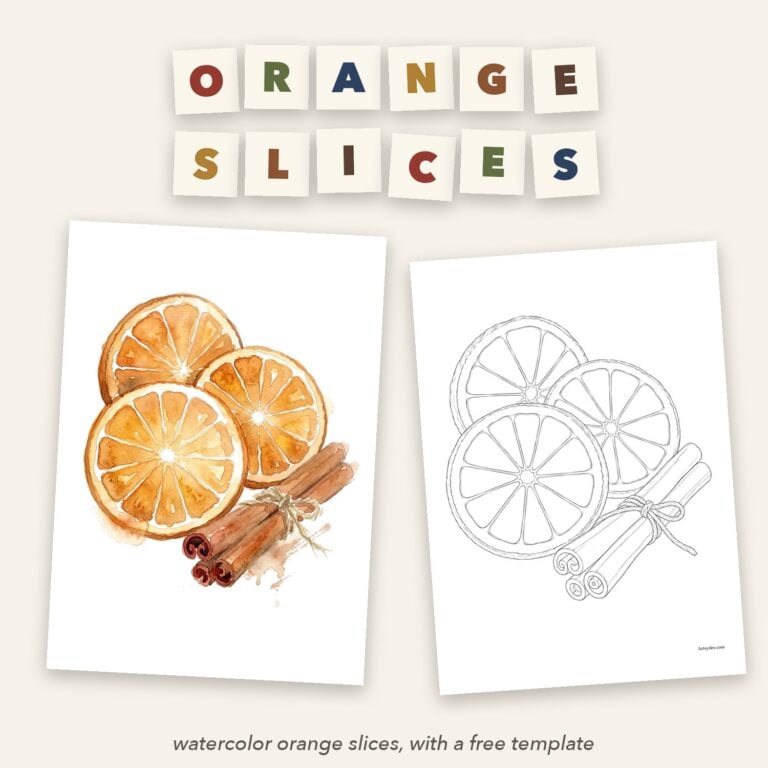
The short version: wet one slice, float in a pale yellow-orange and leave the center star and the thin lines between the segments as white paper for the pith. Drop a stronger orange into the outer end of each segment while it’s wet, then add a burnt orange rind once it’s dry.
Dried orange slices are everywhere at Christmas: strung on garlands, tied to presents, hung on the tree with a bit of twine. They’re also one of the loveliest things you can paint, because all that glowing, see-through orange is exactly what watercolor does best.
The tricky part is the drawing. All those segments, the rind, the little star in the middle. So I’ve done it for you. Pop your email in just below and I’ll send you a free orange slices template with a painted reference and a page on how to paint it.
Get the free orange slices watercolor template
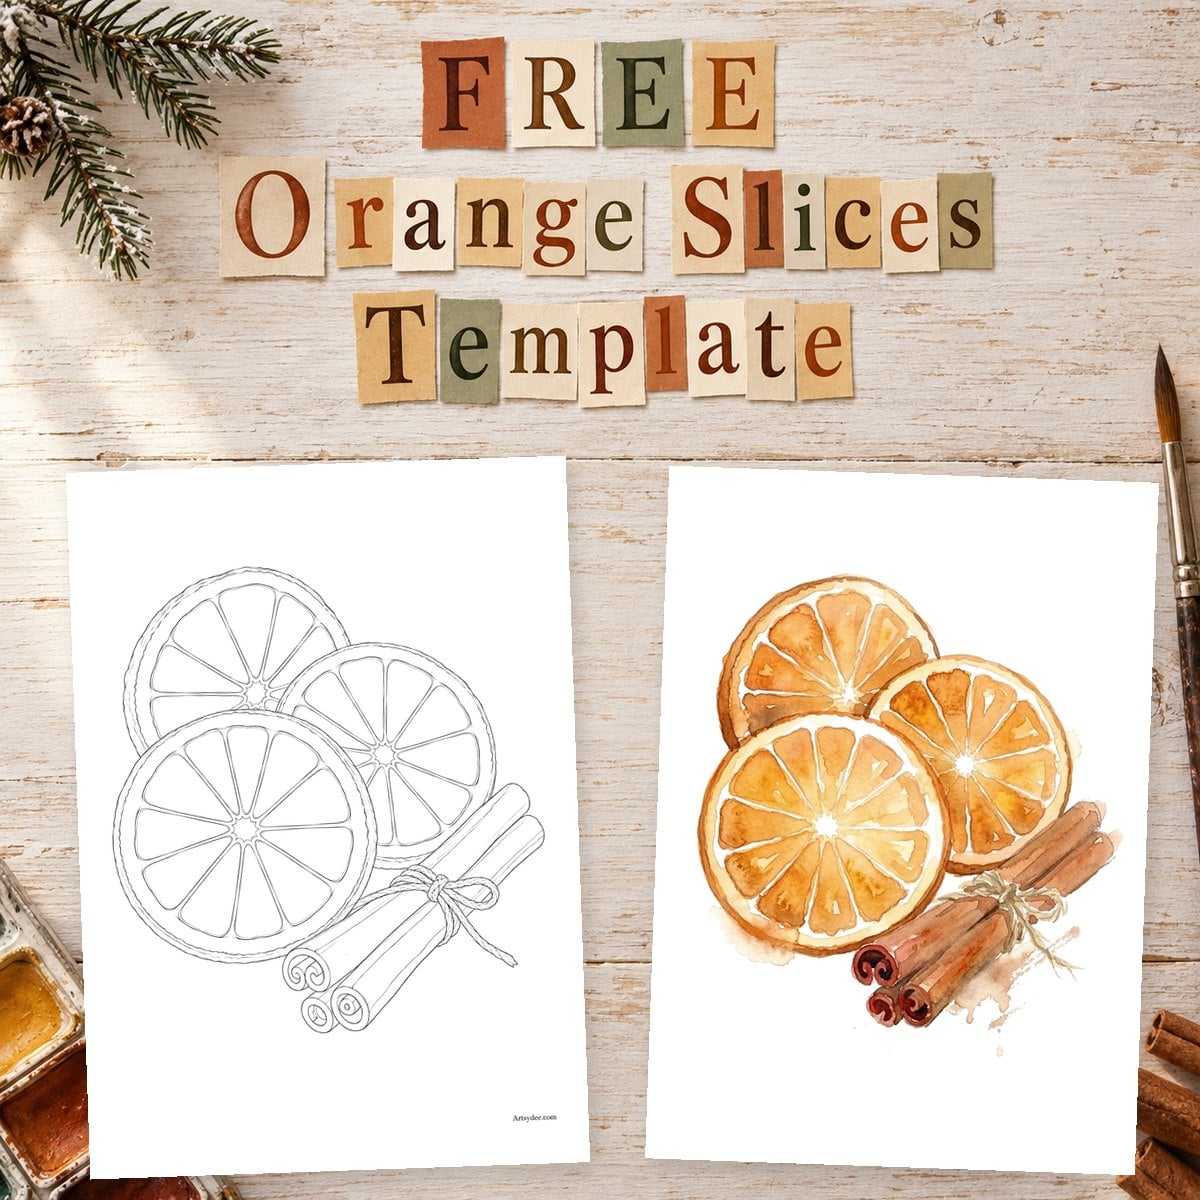
Once it lands in your inbox, print it at 100% on A4 watercolor paper, then scroll down for the step by step.
Table of Contents
What We’re Painting
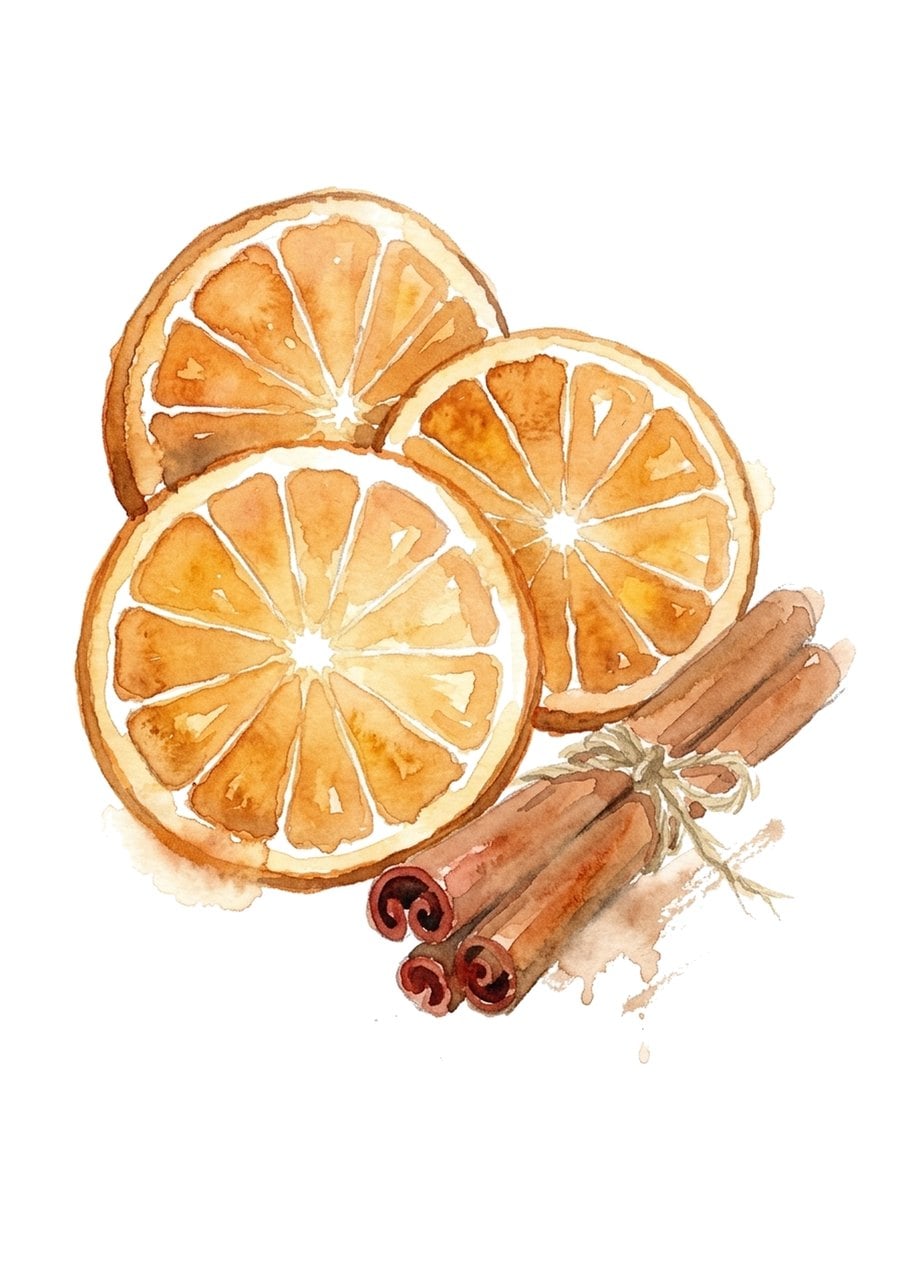
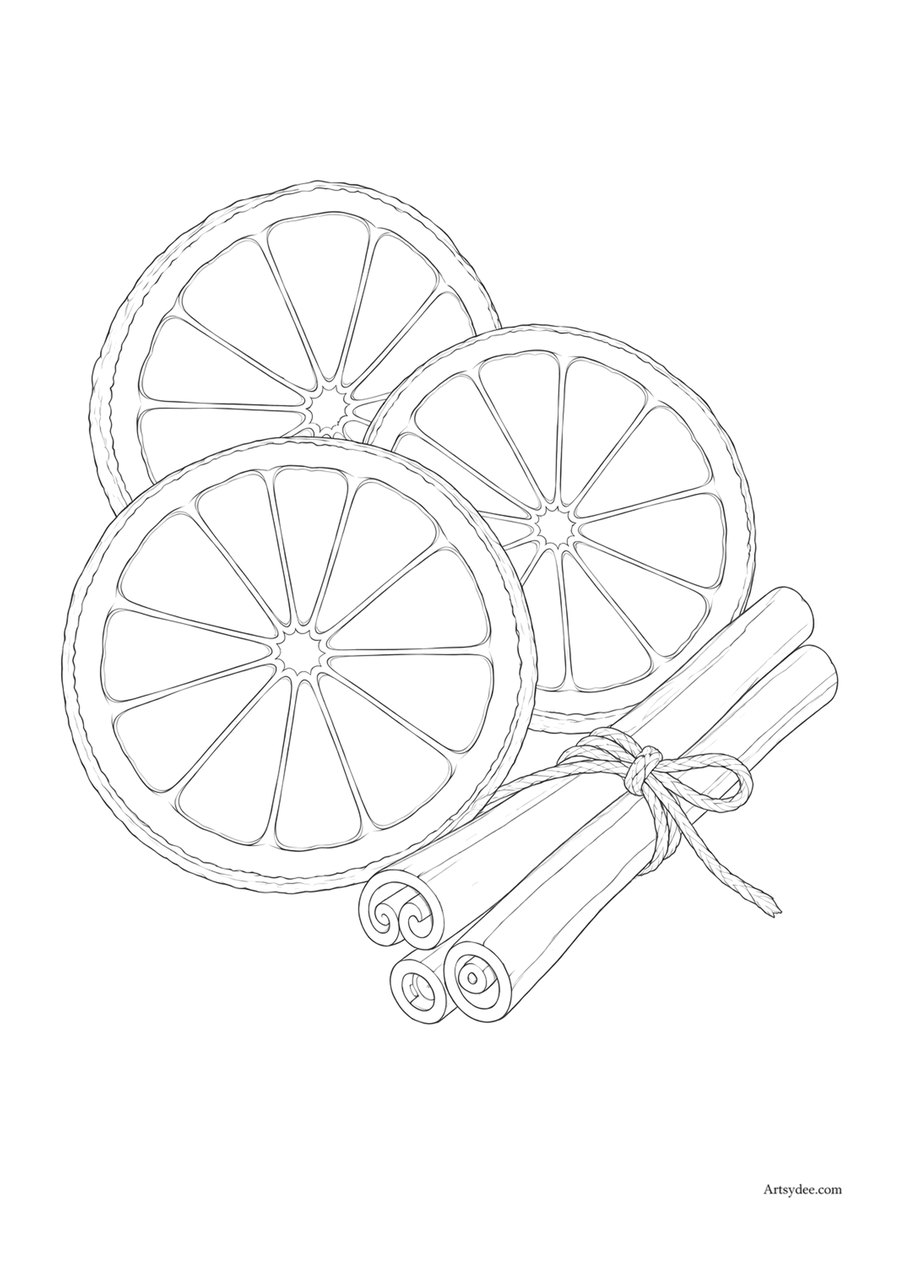
Quick answer: three dried orange slices overlapping on the page, with a little bundle of cinnamon sticks tied with twine tucked against them. You paint it loosely in watercolor over a printed pencil outline, one slice at a time.
It’s the first page of my Natural Christmas set, and I picked it as the free one because it teaches you almost everything you need for painting citrus: glowing washes, crisp white lines left as paper, and a darker edge added at the end. Once you’ve painted one orange slice, lemons, limes and clementines all work the same way.
It’s also a very forgiving subject for a beginner. Real dried oranges are blotchy, uneven and a bit caramelized at the edges, so a few blooms and wobbles only make yours look more real.
What You Need
Nothing fancy. I’ll tell you what kind of color you need, so you can find something similar in your own box.
- A warm yellow for the pale golden glow in the middle of each slice.
- An orange, or mix one from that yellow and a little red.
- A burnt orange or burnt sienna for the rind and the caramelized edges.
- A warm red-brown and a darker brown for the cinnamon sticks.
- A size 6 to 8 round brush with a good point, plus a small one for the rind if you have it.
- The free template, printed onto watercolor paper, a jar of clean water and a bit of kitchen roll.
If you’re shopping, these are lovely: the Daniel Smith Essentials watercolor set has a glowing yellow and a warm red to mix your oranges, a Princeton Heritage round brush in size 6 is perfect for the segments, and an Arches cold press watercolor block is a treat for finished pieces. A white Sakura Gelly Roll pen is handy if you lose a pith line and want it back. Any student set will paint these oranges just as happily.
Some links in this post are affiliate links. If you buy through them I may earn a small commission, at no extra cost to you. I only link to things I actually use.
If you’re just starting out, my watercolor for beginners guide covers paper, brushes and paint without the overwhelm.
How to Paint Watercolor Orange Slices, Step by Step
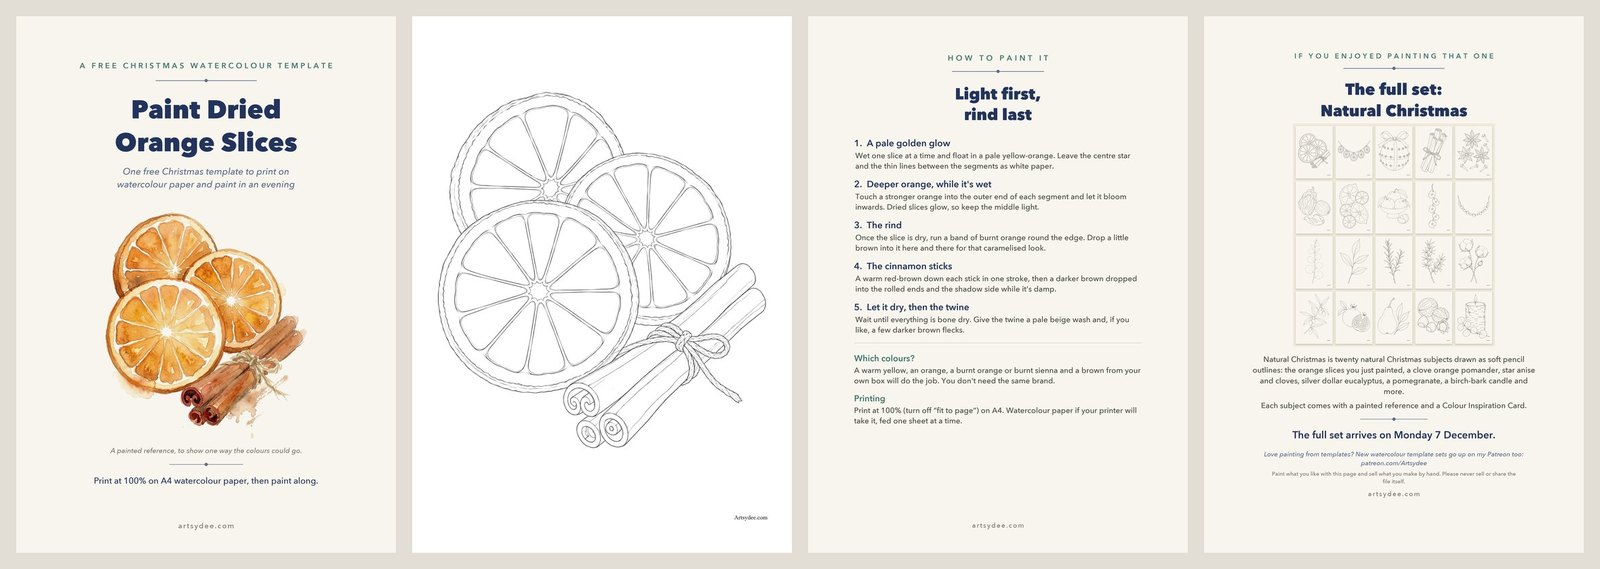
Quick answer: light first, rind last. A pale golden wash, a stronger orange dropped into the outer end of each segment while it’s wet, then the burnt orange rind once the slice is dry, the cinnamon sticks, and finally the twine.
Step 1: a pale golden glow
Wet one slice at a time with clean water, just inside the rind line. Float in a pale yellow-orange and let it spread. Leave the little star in the center and the thin lines between the segments as white paper. Those white lines are the pith, and they’re what make it read as an orange slice rather than an orange circle.
Step 2: deeper orange, while it’s wet
While that first wash is still shiny, touch a stronger orange into the outer end of each segment, near the rind. Let it bloom inwards on its own. Don’t push it to the middle. Dried slices glow from the center, so keep the middle light and the color strongest at the edges.
Step 3: the rind
Once the slice is completely dry, run a band of burnt orange round the edge with the tip of your brush. Drop a little brown into it here and there while it’s wet. That gives you the slightly caramelized, toasty look of a real dried orange.
Step 4: the cinnamon sticks
A warm red-brown down each stick in one stroke. While it’s still damp, drop a darker brown into the rolled ends and along the shadow side. Leave a thin sliver of the lighter color showing on the top edge so each stick looks round.
Step 5: let it dry, then the twine
Wait until everything is bone dry. Give the twine a pale beige wash and, if you like, a few darker brown flecks. Then step back and stop. The loose, uneven bits are the charm, so resist the urge to tidy them.
What Colors Make a Dried Orange Slice Look Real?
Quick answer: a warm yellow, a true orange and a burnt orange or burnt sienna. The trick is using all three at different strengths: palest in the middle, strongest at the outer segments, darkest on the rind.
- Warm, not lemony. A cool lemon yellow makes the slice look green. Use a warm, golden yellow.
- Strongest color at the edge. Light shines through a dried slice, so the middle stays pale and glowing.
- A brownish rind. Dried oranges go a little caramel at the edges. A touch of brown in the burnt orange does it.
- White paper for the pith. Don’t paint white. Leave it.
- A hint of red for fresh blood oranges. If you’d like a variation, drop a little crimson into the segments instead of the deeper orange.
You don’t need the same brand as anyone else. Any warm yellow, orange and burnt sienna from your own box will do the job.
Keeping the Segments and Pith Clean
Quick answer: paint each slice wet but not flooded, leave the pith lines as paper from the start, and don’t go back into a slice while it’s drying. If the segments do run together, lift a line out with a clean damp brush once it’s dry.
- The segments merged into one blob. Your brush was too wet. Blot it on kitchen roll before you go near the pith lines, and paint the segments with the tip.
- The color turned muddy. You probably went back in while it was half dry. Paint it in one go and leave it alone. If it’s already muddy, let it dry and lift the worst of it out.
- The rind bled into the slice. The slice wasn’t quite dry. Touch the back of your hand to the paper first: if it feels cool, wait.
- You lost a pith line. Once everything is dry, run a clean damp brush along it and blot. Or add it back with a white gel pen.
If you’d like to practise that soft, loose look on other subjects, my loose watercolor techniques guide is a lovely next step.
Turning Your Painted Oranges Into Natural Christmas Decor
This is the fun bit. Painted orange slices work for so much more than a sketchbook page, and they fit right in with a natural, homemade Christmas.
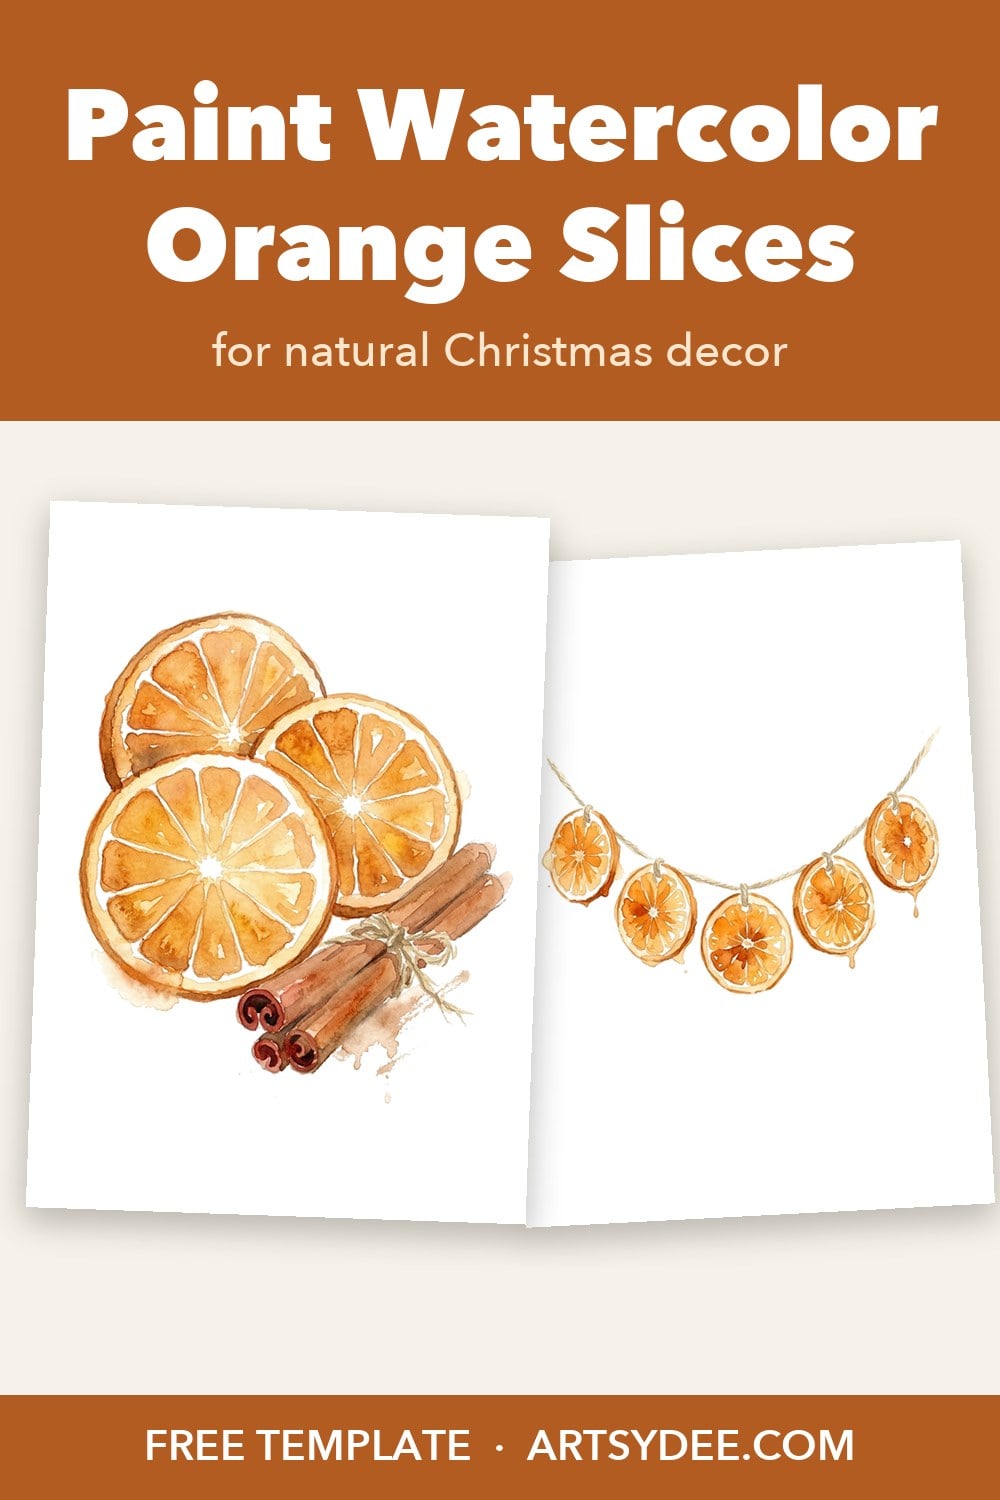
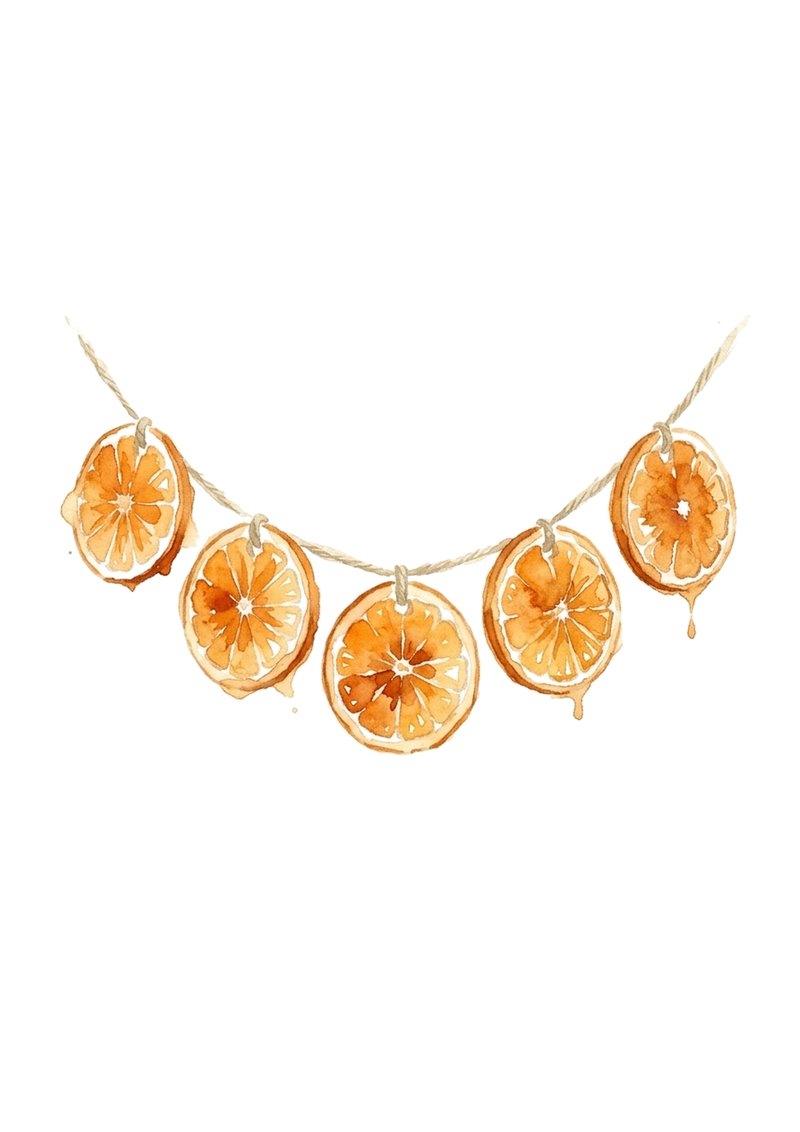
- A paper orange garland. Paint a sheet of slices, cut them out, punch a hole near the rind and thread them onto twine with a cinnamon stick between each one. It looks like a real dried orange garland and never goes soft.
- Paper ornaments. Glue two painted slices back to back with a loop of twine in between and hang them on the tree.
- Gift tags. One slice on a kraft tag, with a sprig of rosemary tucked under the string, is about the prettiest tag there is.
- Christmas cards. Paint the whole template on a quarter sheet and glue it onto a folded card. My watercolor Christmas cards post has more easy designs.
If you love making ornaments, my DIY Christmas ornaments post has six free printables to color, paint and hang.
More Citrus and Spice to Paint Next
Once you’ve painted one orange slice, the same method works on every kind of citrus and a lot of Christmas spice.
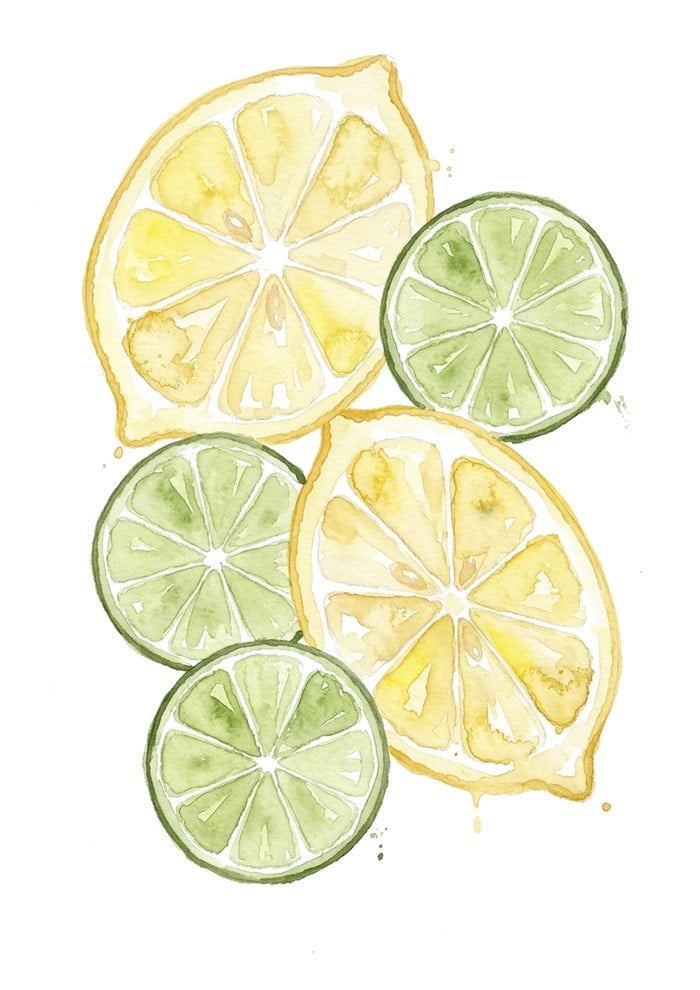
Lemon and lime wheels are painted exactly like the orange: a pale wash with the pith left white, a stronger color dropped into the outer segments, and a darker rind at the end. Use a warm yellow for the lemon and a fresh yellow-green for the lime.
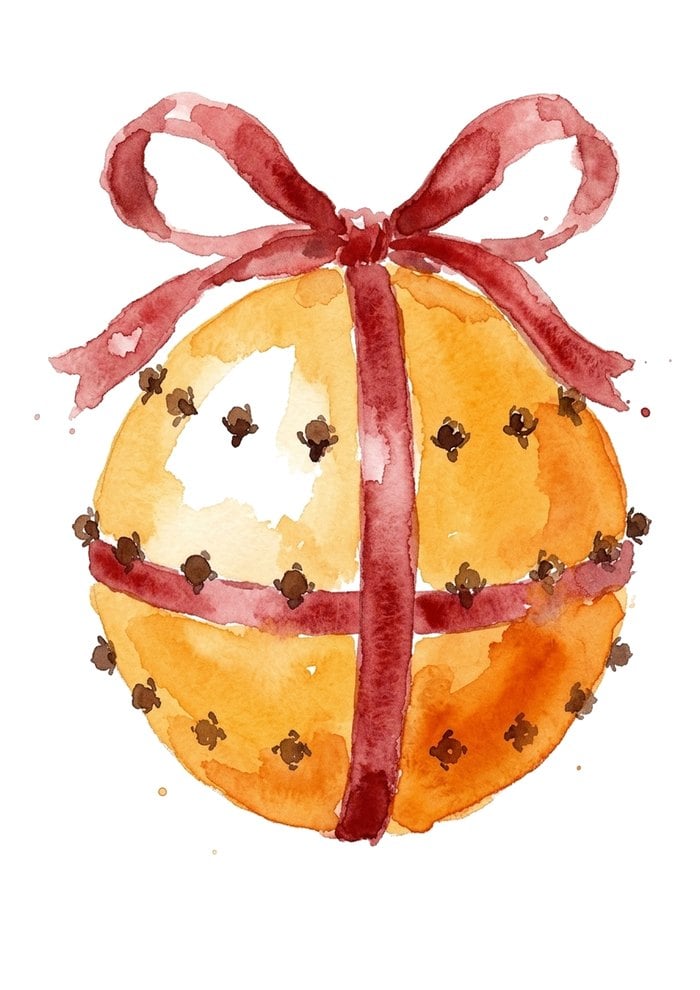
A clove orange pomander is a whole orange instead of a slice, so you paint one big round wash, lighter on the side the light hits, then dot in the cloves with a dark brown once it’s dry. For a classic red-and-green, my easy Christmas watercolor paintings walk through a loose holly sprig, and my easy winter watercolor paints a snowy cottage.
Twenty Natural Christmas Subjects
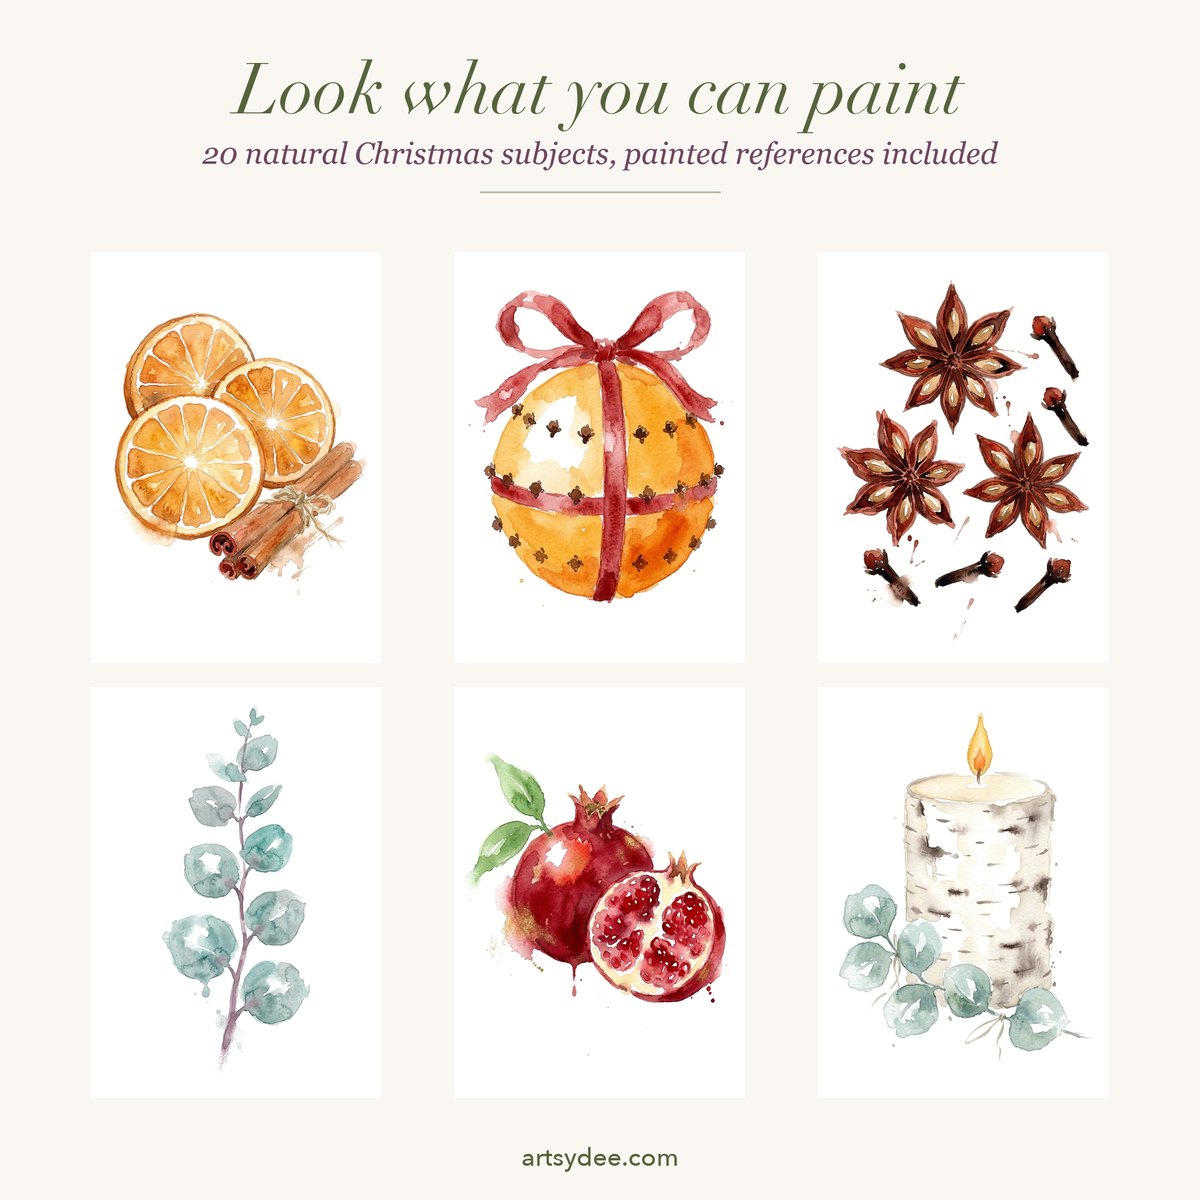
Your orange slices are page one of Natural Christmas: twenty natural Christmas subjects drawn as soft pencil outlines, from a dried orange garland, a clove orange pomander and star anise with cloves to silver dollar eucalyptus, a pomegranate and a birch-bark candle. Each one comes with a painted reference and a Colour Inspiration Card.
Want more natural Christmas subjects to paint?
The full Natural Christmas set arrives on Monday 7 December: dried oranges, spices and winter greenery to paint.
Grab the free orange slices template above and you’ll hear about it in my newsletter the week it’s ready. In the meantime, you can browse my other template sets in my Payhip shop.
Want a new set to paint every month? New watercolor template sets go up on my Patreon all the time: printed outlines, no drawing, just paint, with painted references so you can see where the color goes. Come and paint with me on Patreon →
Frequently Asked Questions
How do you paint an orange slice in watercolor?
Wet the slice, float in a pale yellow-orange and leave the center star and the lines between the segments as white paper. While it’s wet, drop a stronger orange into the outer end of each segment. When it’s dry, add a burnt orange rind with a touch of brown.
What colors make a dried orange slice look real?
A warm golden yellow, a true orange and a burnt orange or burnt sienna, with a little brown in the rind. Keep the middle pale and the edges strong, because light shines through a dried slice.
How do you paint the segments and pith without them muddying?
Leave the pith lines as white paper from the start, paint with a brush that isn’t dripping, and don’t go back into a slice while it dries. If two segments run together, lift a line out with a clean damp brush once it’s dry.
Can I make paper orange-slice garland ornaments?
Yes, and they’re lovely. Paint a sheet of slices, cut them out, punch a hole near the rind and thread them onto twine. Glue two back to back with a loop between them for tree ornaments.
Is the orange slices template really free?
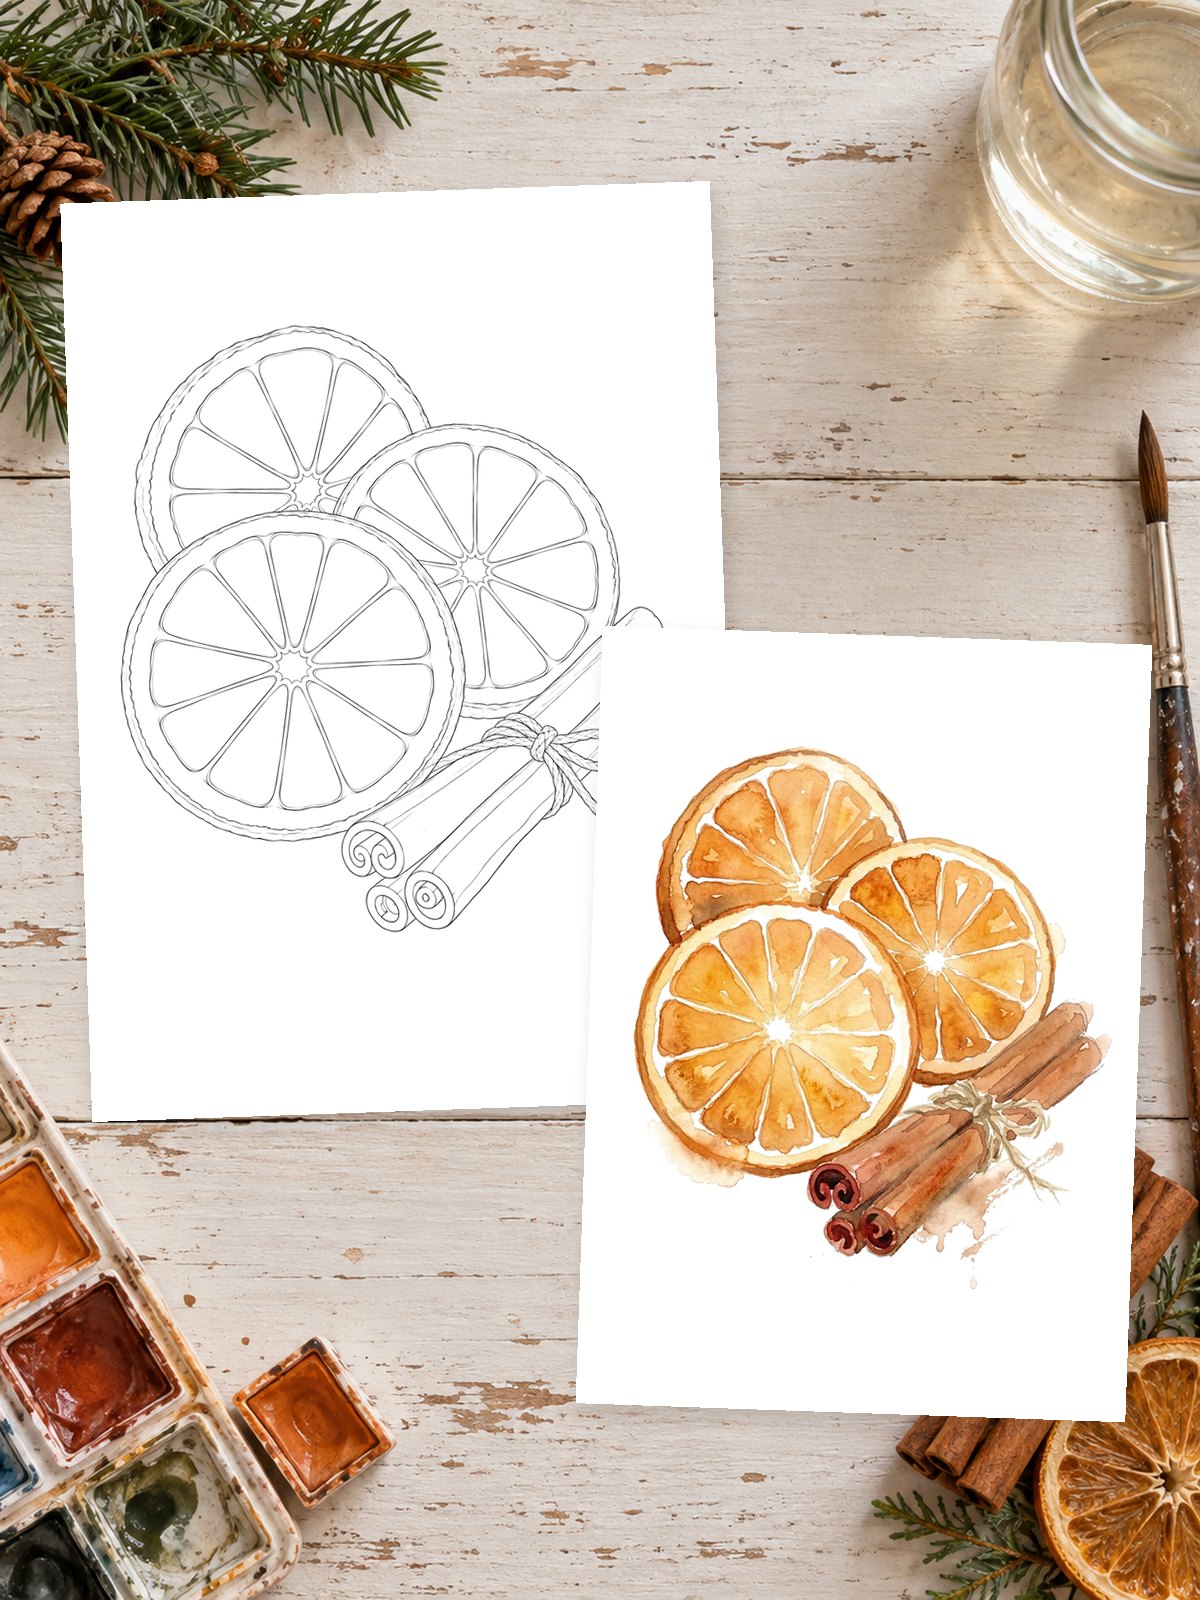
Yes. Pop your email in the box near the top of this post and the PDF comes straight to your inbox: a cover with the painted reference, the template itself, a page on how to paint it and a look at the full set. The painted reference is there to show one way the colors could go.
Final Thoughts
Watercolor orange slices look like they took ages, but they’re really just a pale wash, a stronger orange dropped in while it’s wet, a few white lines left alone and a toasty rind at the end. Print the template, put the kettle on and paint a few. Then cut them out and hang them up, because they make the nicest natural Christmas decorations.
If this was your speed, subscribe to my YouTube channel for more paint-alongs (all the videos are at youtube.com/@artsydee), and come and say hello on Pinterest. Pin this for later so you can find the steps again when your paint is out.
Happy painting!
Dee x
You Might Also Like
- 60+ Christmas watercolor templates for more festive subjects to paint
- 50+ Christmas watercolor ideas to try this holiday season
- Holiday painting ideas for cosy December afternoons
- How to paint a watercolor robin with a free robin template
- DIY Christmas ornaments to color, paint and hang
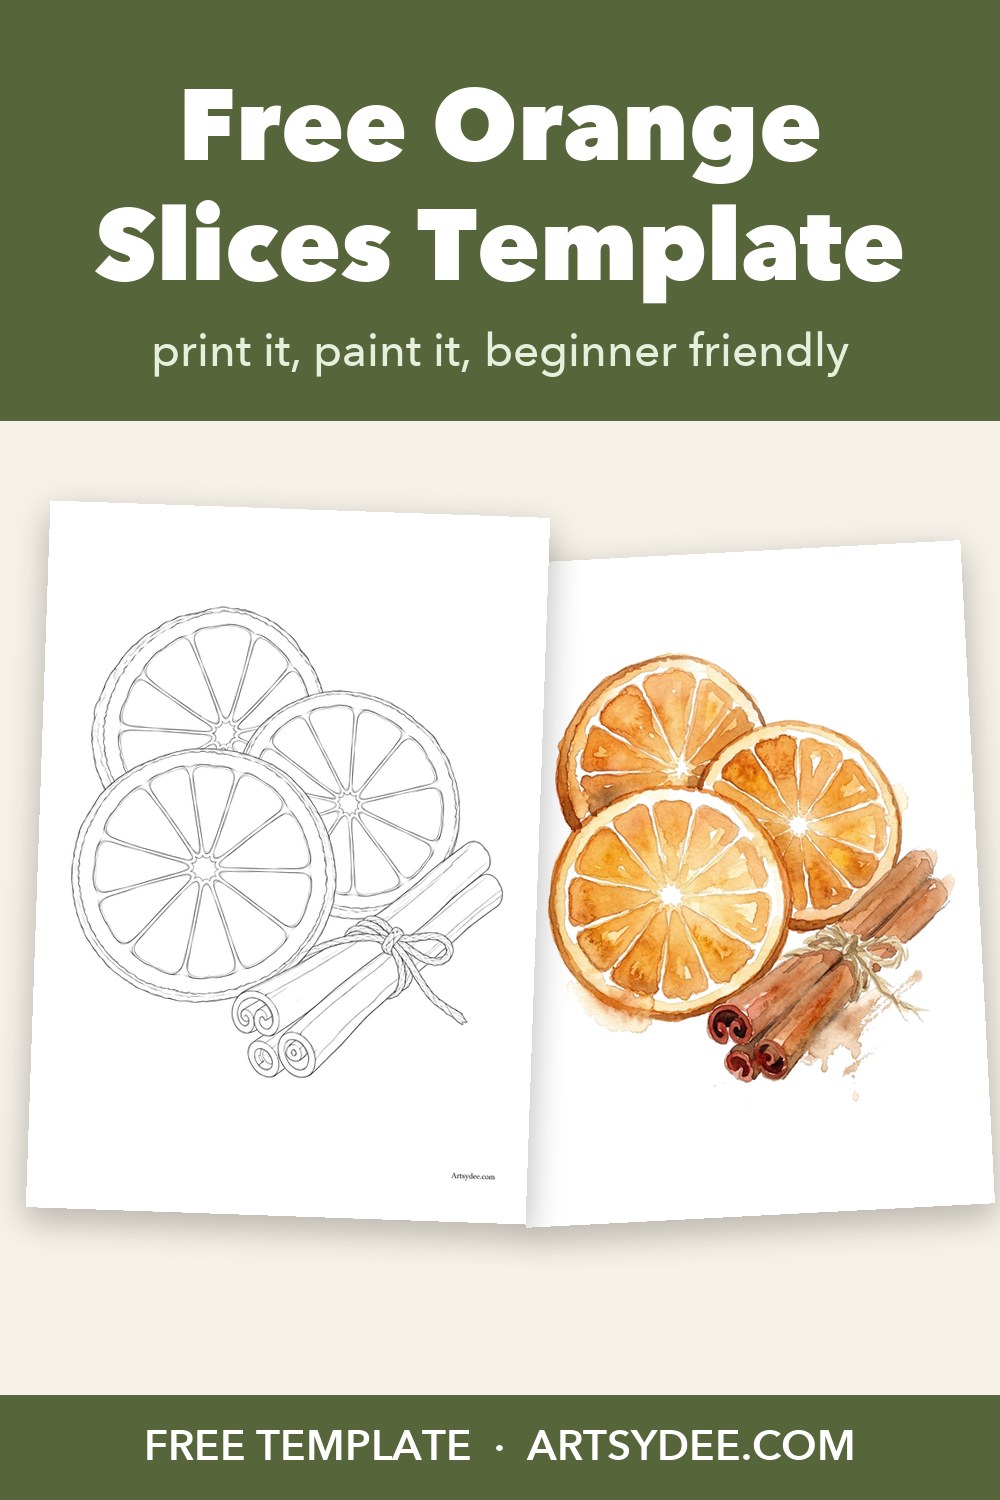
Pin this for later, and grab the free orange slices template at the top of the post.